Sweet Chrome Heart Nail Art — A Detailed Step-by-Step Tutorial
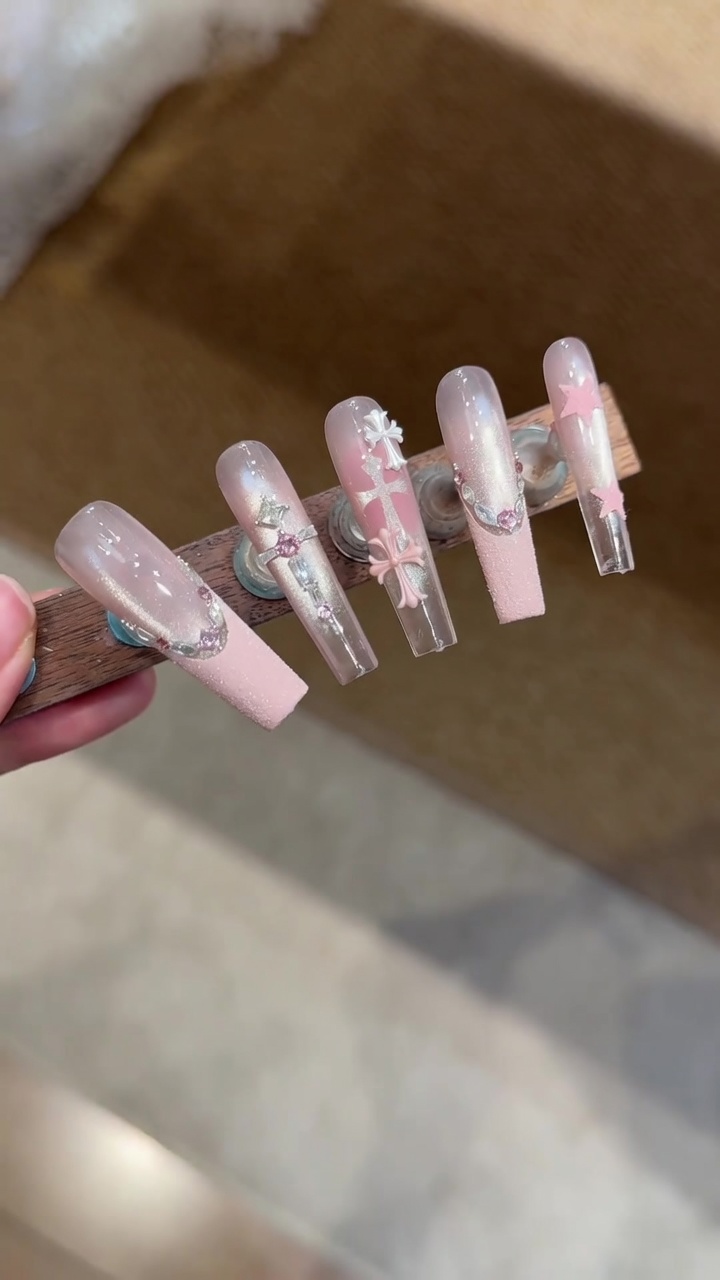
Create this dreamy, detailed nail set featuring soft pink gradients, sparkling cat-eye effects, and 3D chrome heart accents with our easy tutorial.
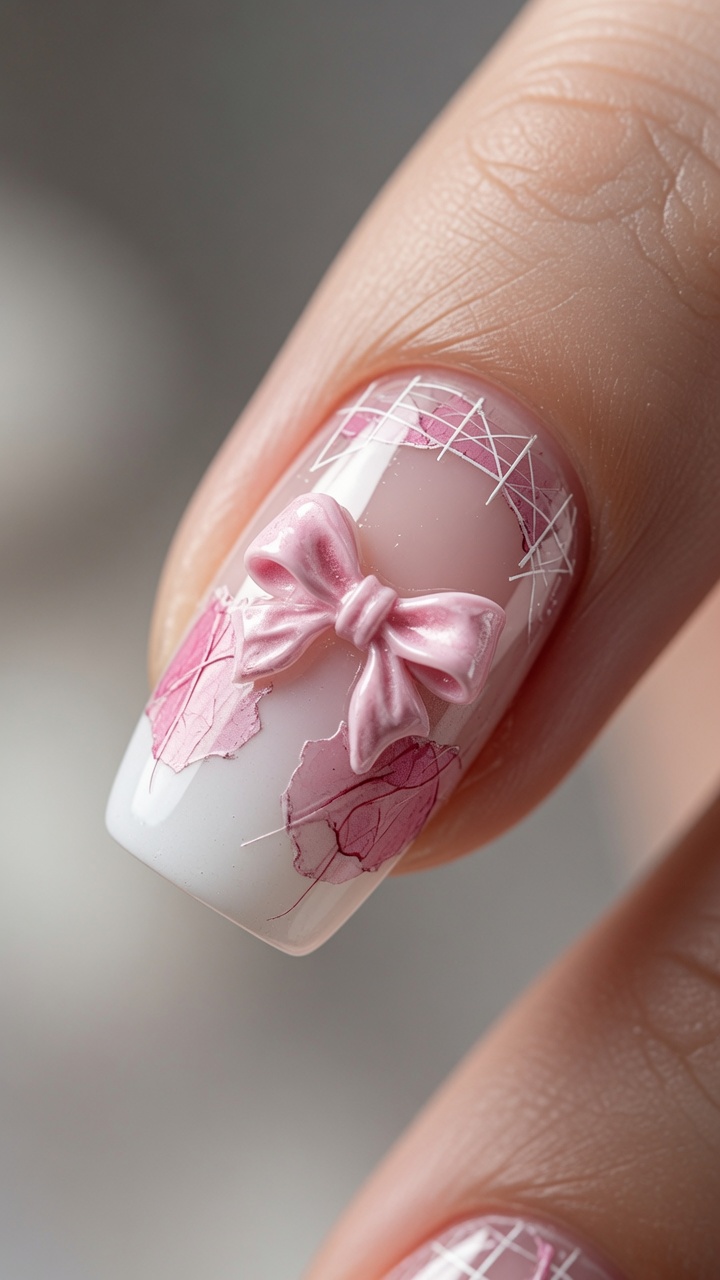
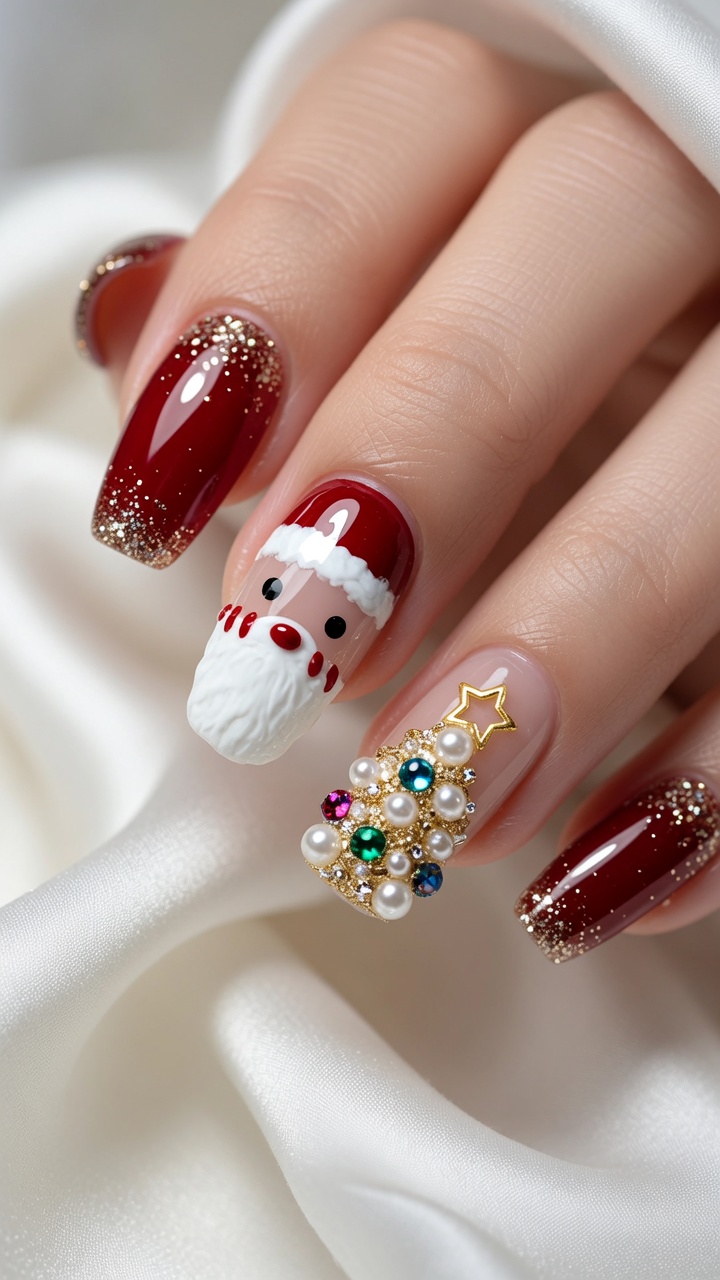
The Chrome Heart aesthetic is a beautiful blend of edgy and sweet, perfectly captured in this soft pink gradient set. This look combines the depth of cat-eye polish with delicate 3D elements like crystal powder, rhinestones, and chrome heart molds. It is a fantastic way to experiment with mixed-media nail art while maintaining a feminine and sophisticated color palette.
Steps
- 1Prepare the nail surface
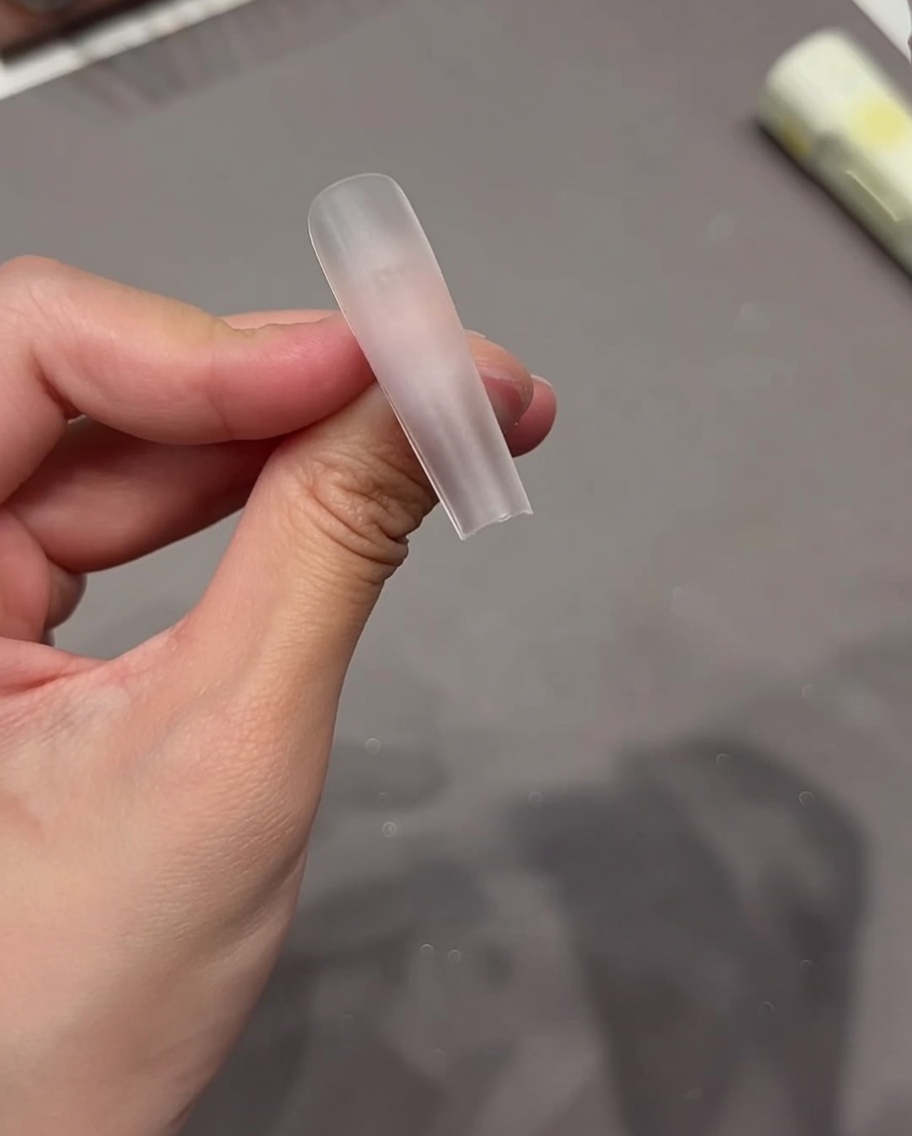
Apply a sticky tab to the surface of the nail tip. This essential step protects the nail surface from natural oils, ensuring better adhesion for the subsequent gel layers.
Tip: Make sure the nail surface is clean and dry before applying the sticky tab to ensure it stays in place. - 2Apply base coat
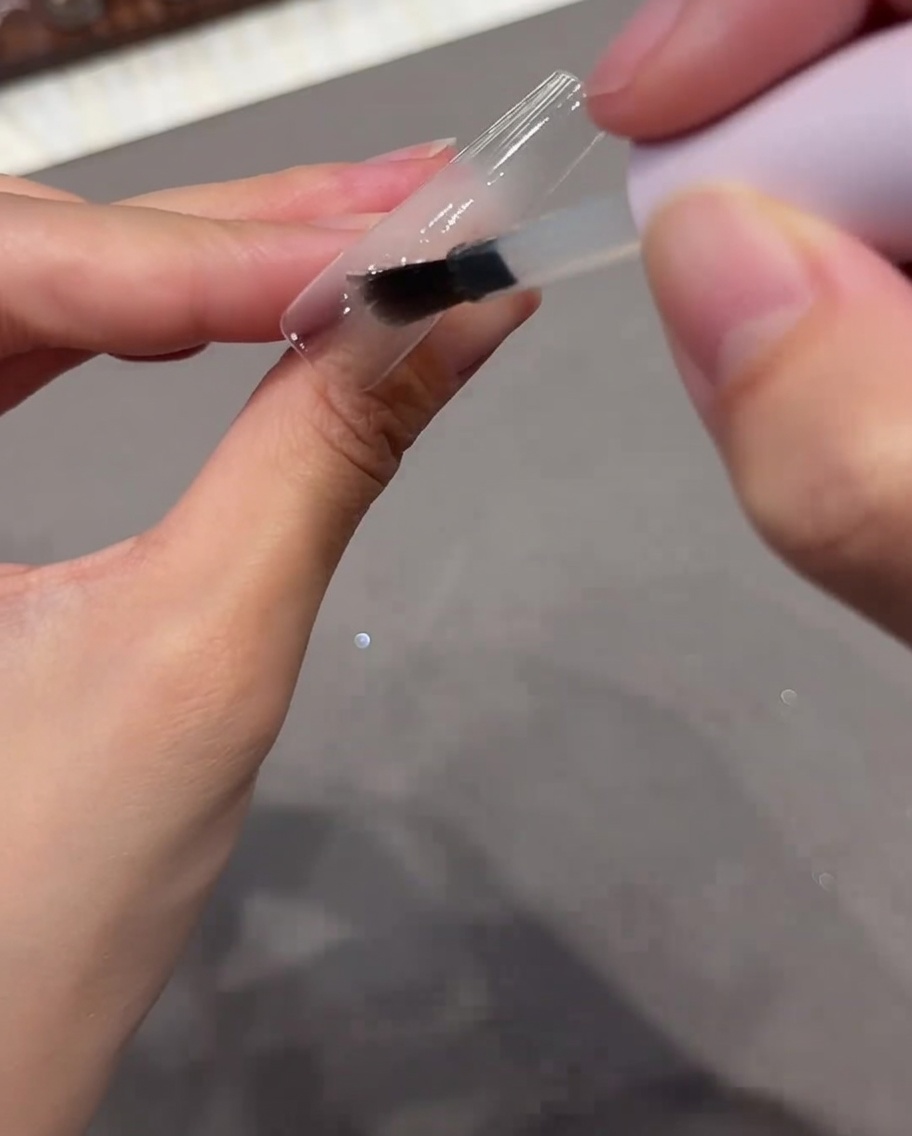
Apply a thin, even layer of base coat over the entire nail tip. This acts as a foundation, promoting smooth application and longevity for the following gel colors.
Tip: Keep the layer thin to prevent pooling at the edges of the nail. - 3Apply nude pink gel base
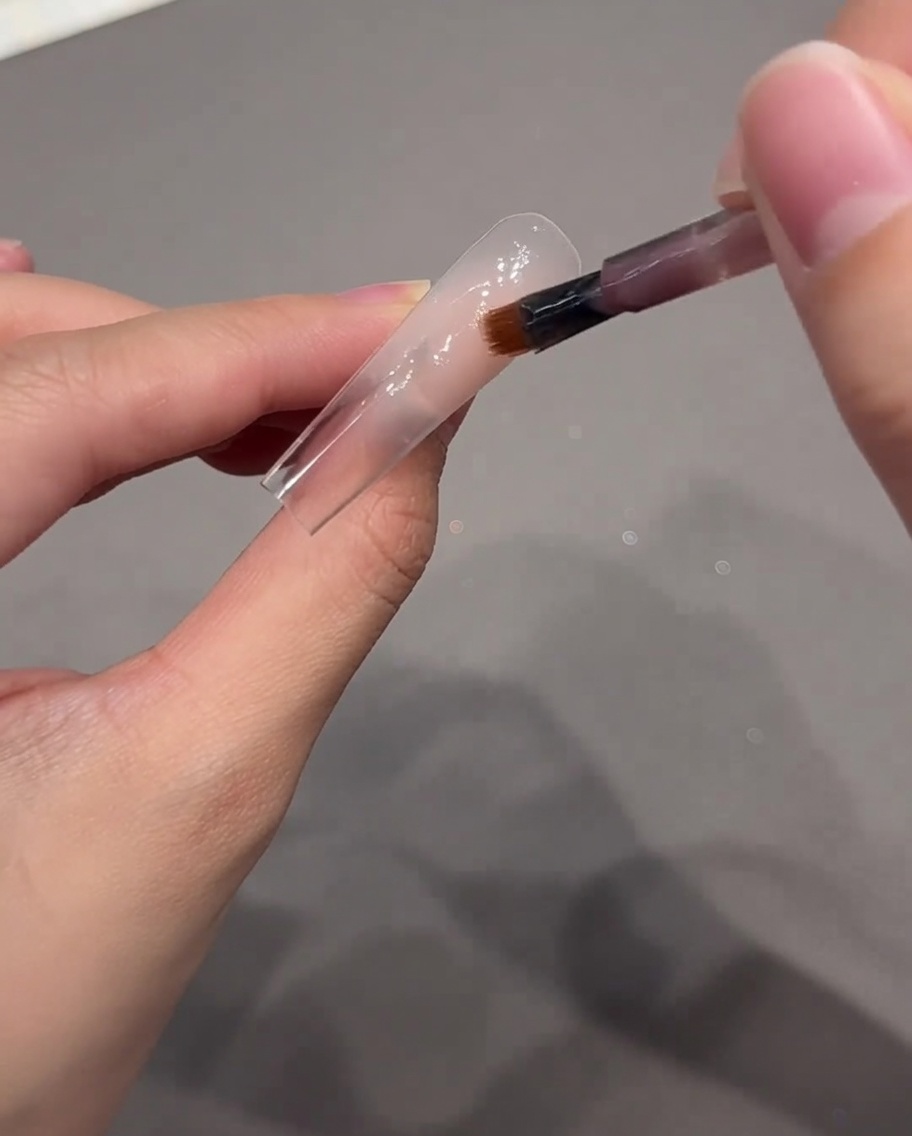
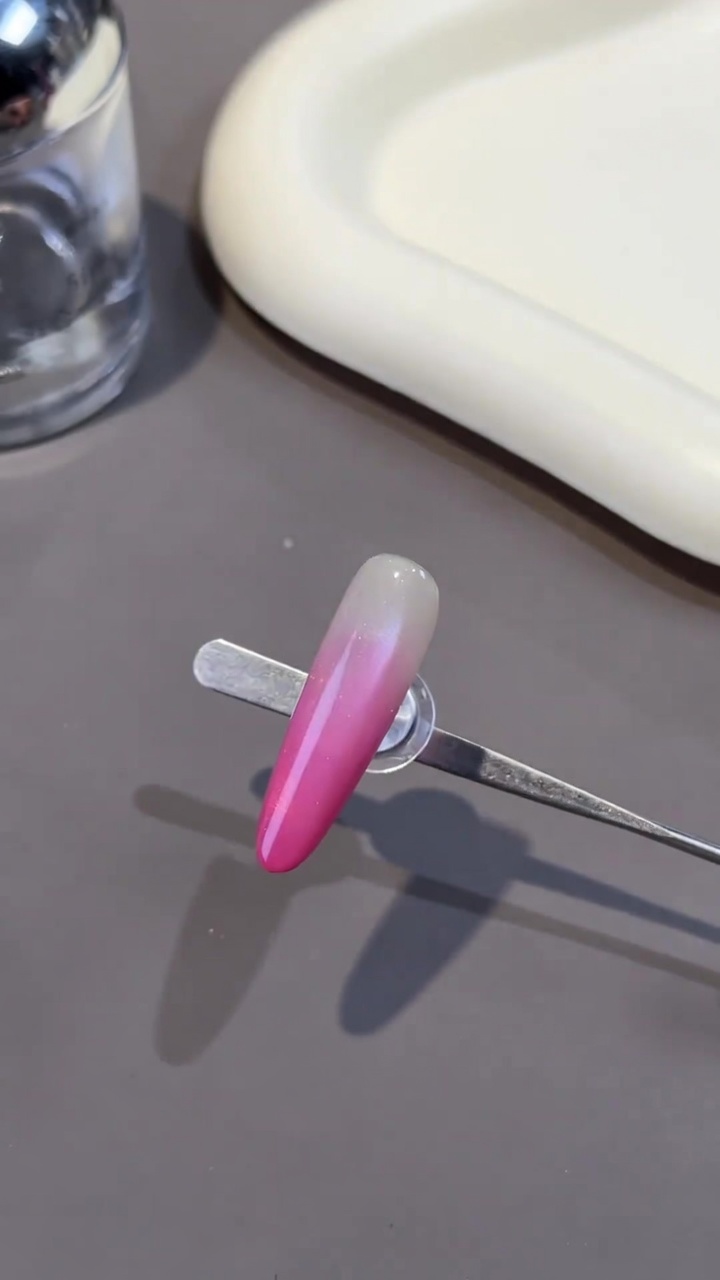
Apply a small amount of nude pink gel to the back edge of the nail. This will serve as the base color for your gradient design.
Tip: Using a smaller amount of gel at the start helps in creating a smoother, more natural-looking gradient. - 4Create the gradient
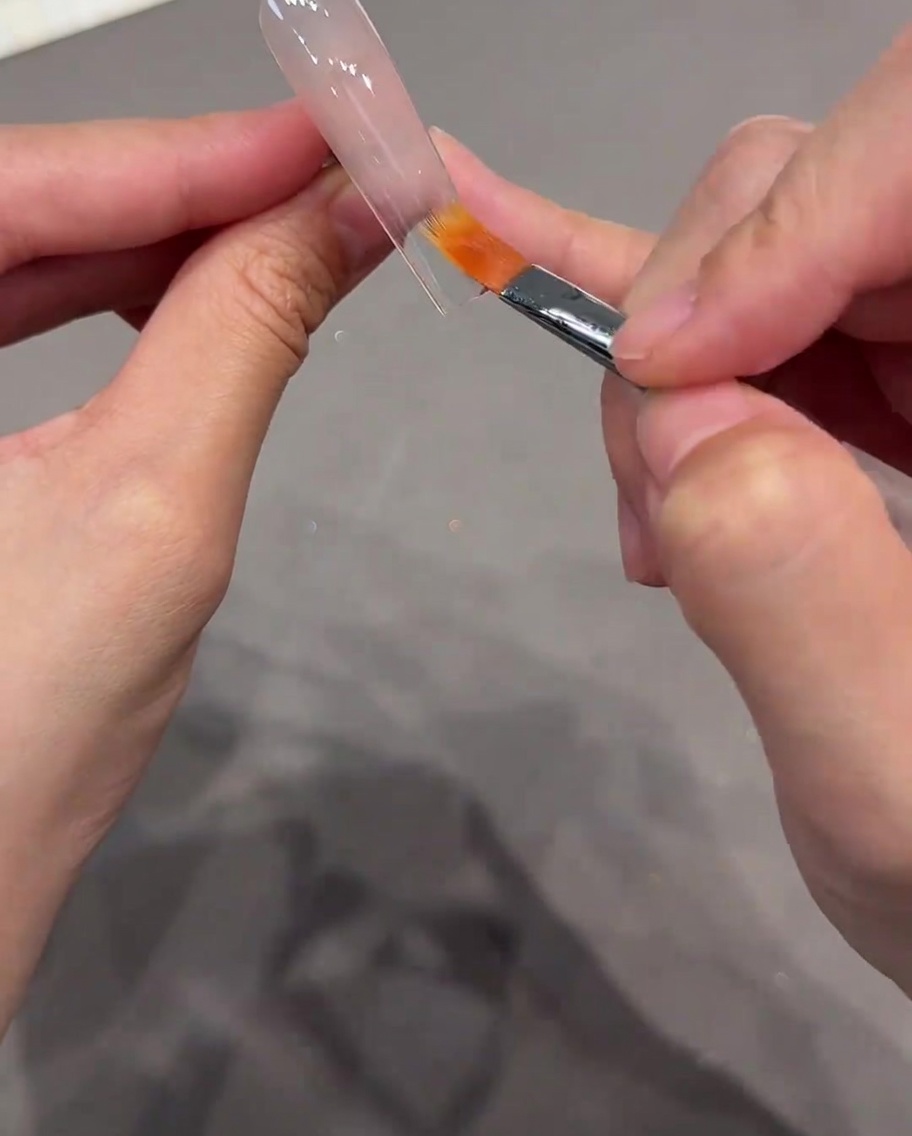
Using your brush, gently blend the nude pink gel from the back edge toward the middle of the nail. Use light, sweeping motions to ensure the color transitions smoothly for a natural gradient effect.
Tip: Work with a light touch to avoid harsh lines and achieve a seamless blend. - 5Apply cat eye gel
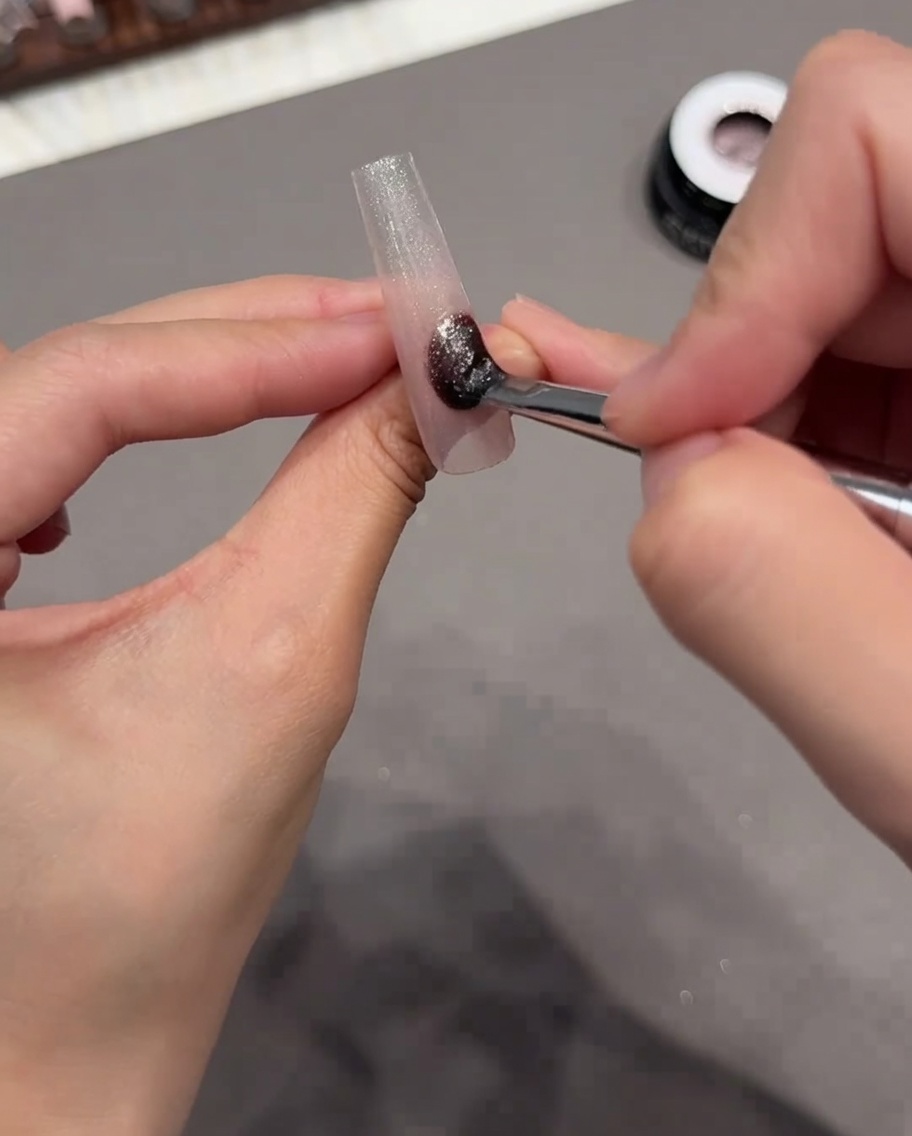
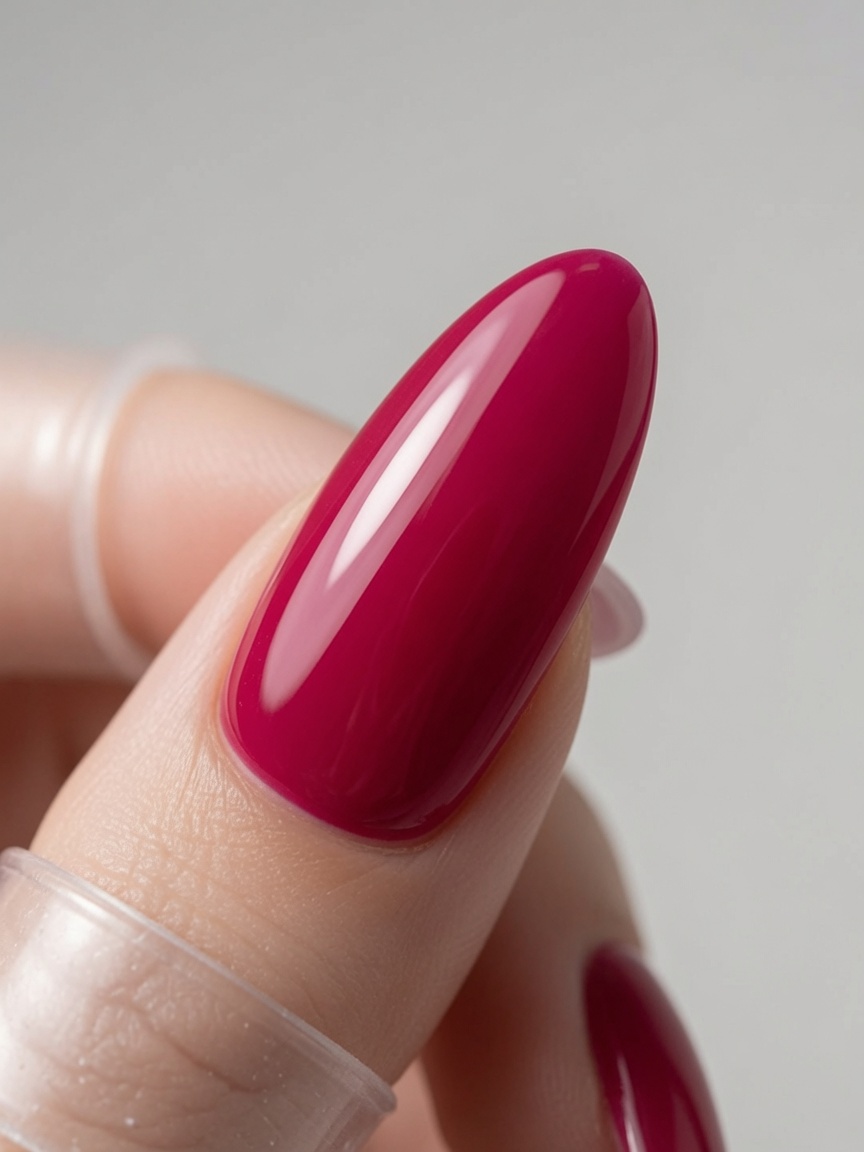
Apply a layer of Water Cat Eye gel in color #01 over the entire nail. This special polish will create the base for your cat eye effect.
Tip: Apply a consistent, even layer to ensure the magnetic particles are distributed uniformly. - 6Create the cat-eye highlight
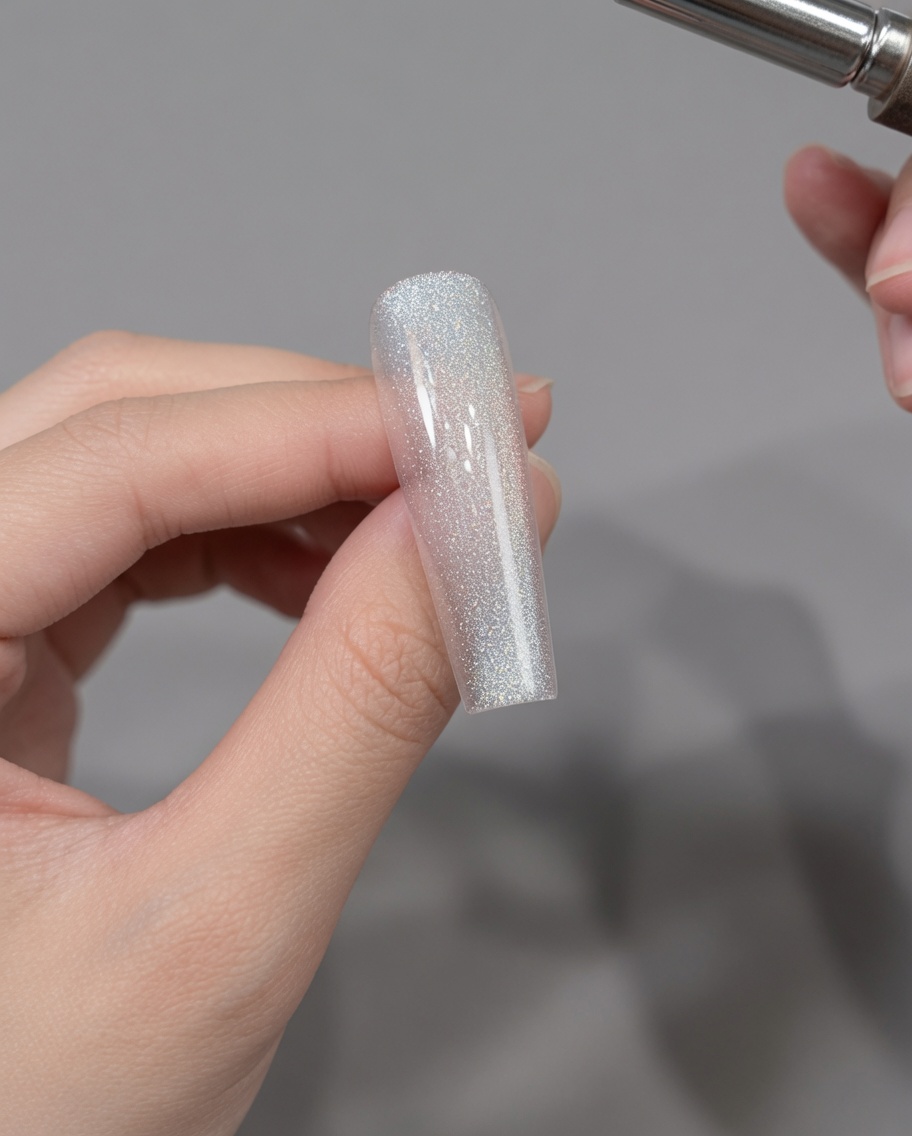
Before curing, hover a magnet over the nail and slide it side-to-side. This technique moves the metallic particles in the gel to form a wide, shimmering highlight.
Tip: Move the magnet slowly and consistently to get the desired effect without disturbing the gel too much. - 7Create Glass Ball Cat Eye Effect
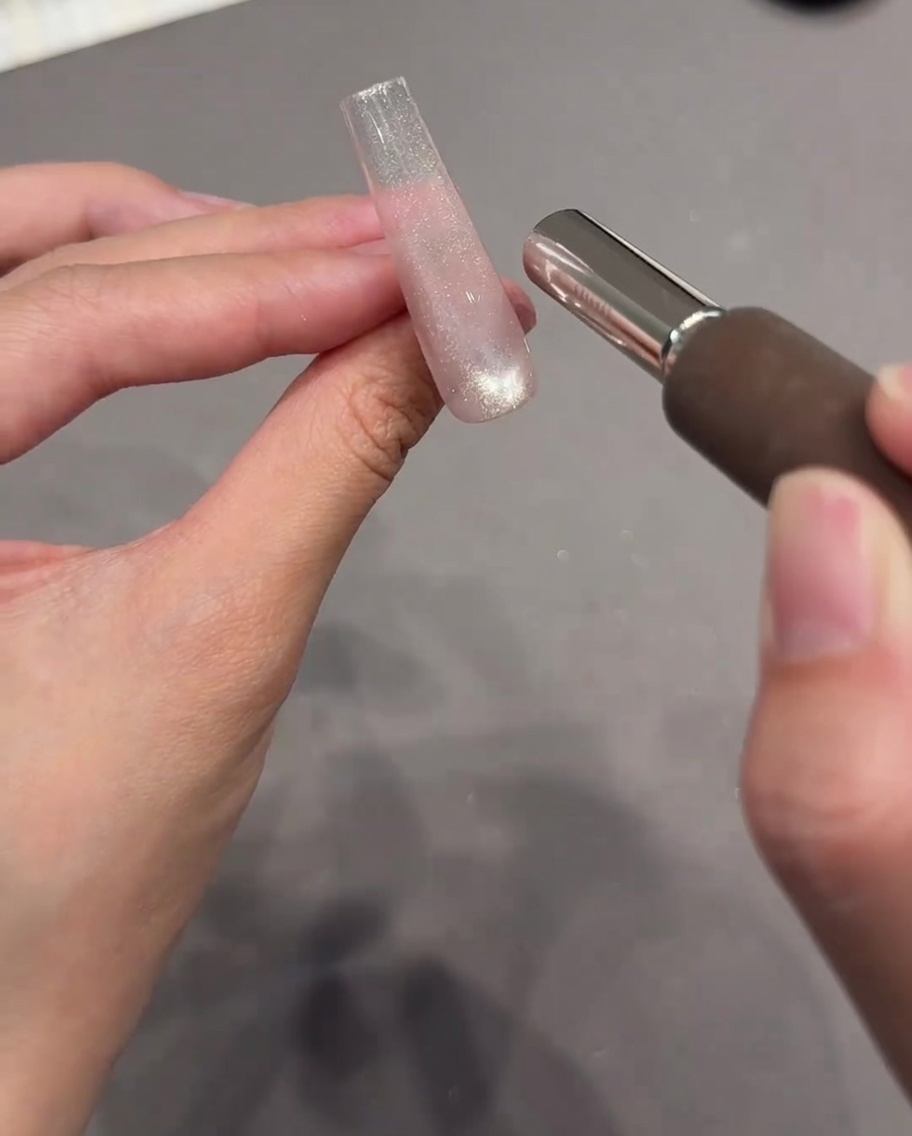
After applying the Water Cat Eye gel over the entire nail, hold your cylindrical magnet close to the surface. Move the magnet in a smooth circular motion around the edges of the nail to gather the magnetic particles in the center, creating a stunning concentrated highlight often called a glass ball effect.
Tip: Keep the magnet as close to the gel surface as possible without touching it for the sharpest magnetic pull. - 8Apply Top Coat
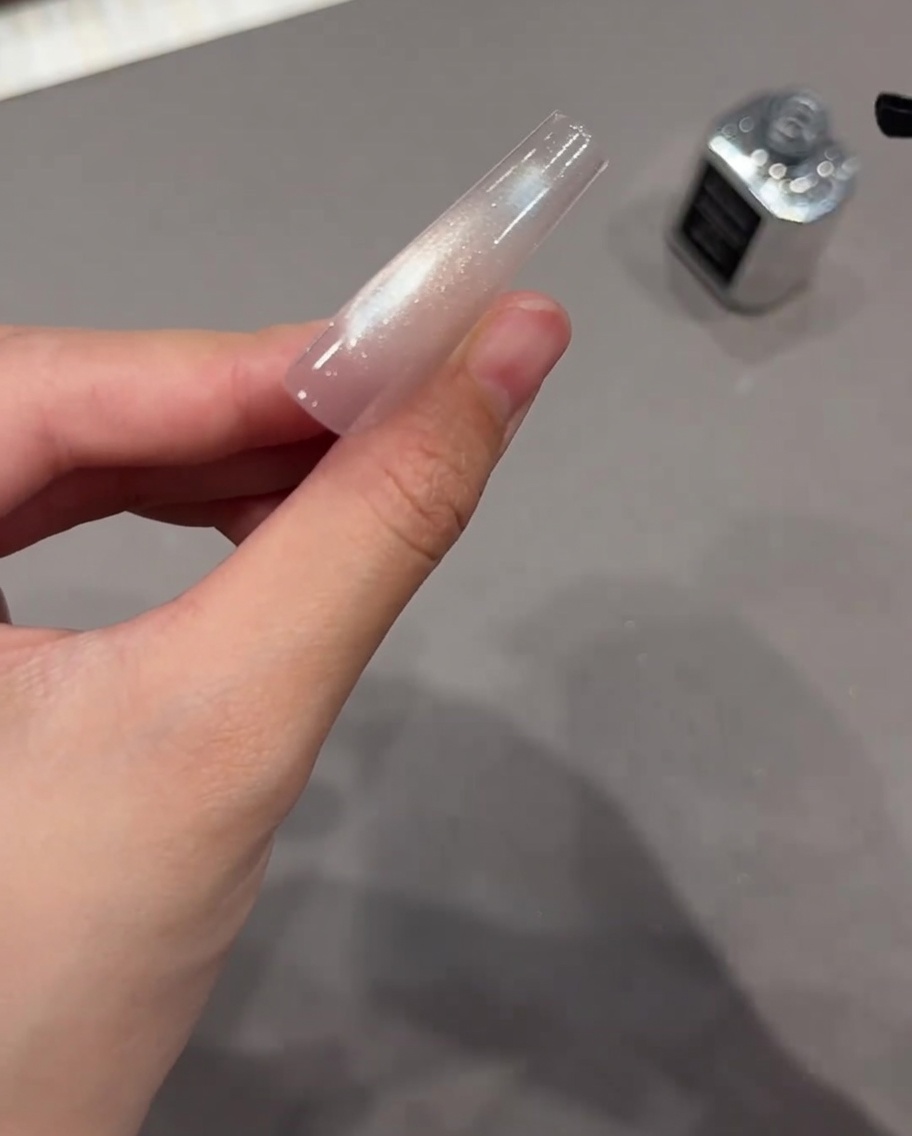
Once the cat eye effect is fully cured, apply a smooth, even layer of top coat over the entire nail. This seals in the magnetic design, levels the surface, and creates a perfectly smooth foundation for the stickers and 3D art to follow.
Tip: Make sure to cap the free edge of the nail with the top coat to prevent premature lifting or chipping. - 9Apply French Guide Sticker
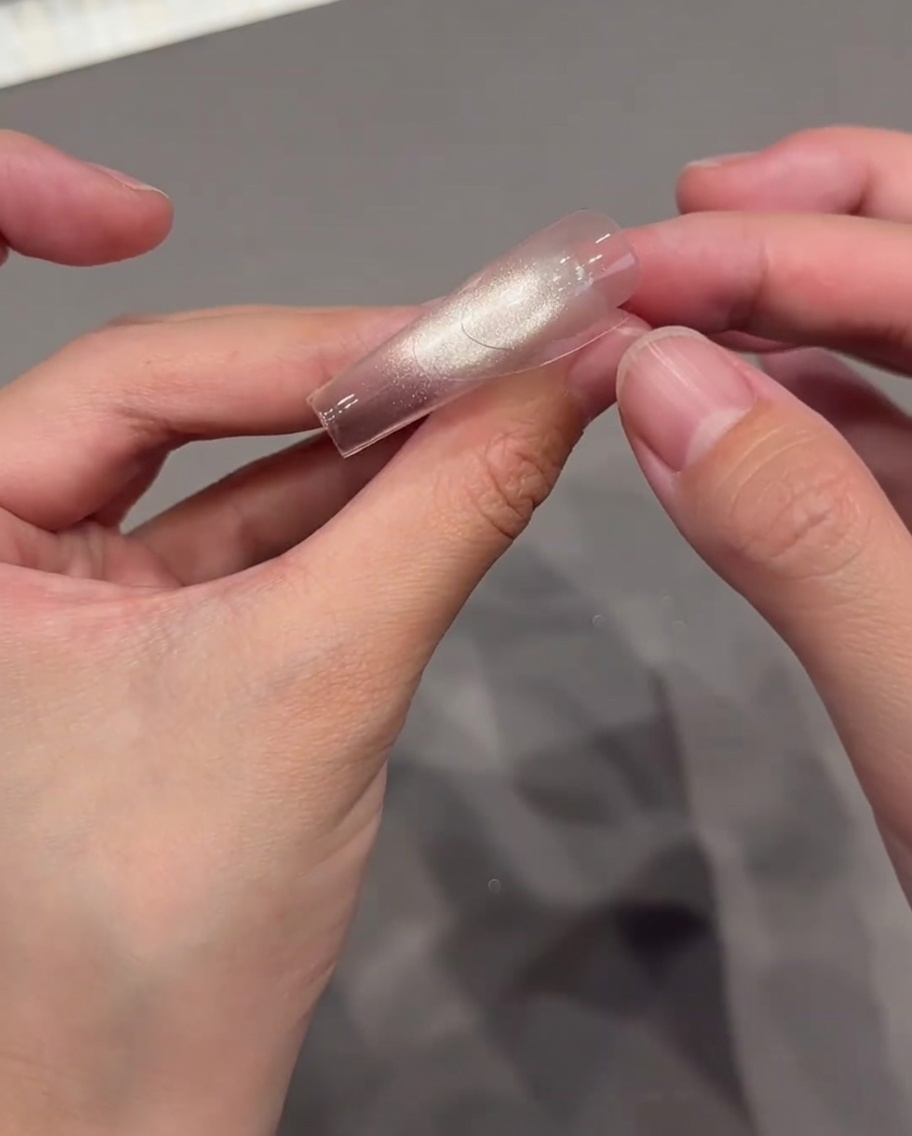
Take a transparent, curved French-style guide sticker and carefully place it onto the nail. Position the curve to define exactly where you want your textured French tip design to start, pressing the edges down firmly so no gel can seep underneath the line.
Tip: Use tweezers to handle and place the sticker accurately without transferring skin oils to the adhesive backing. - 10Apply Nude Pink Gel Tip
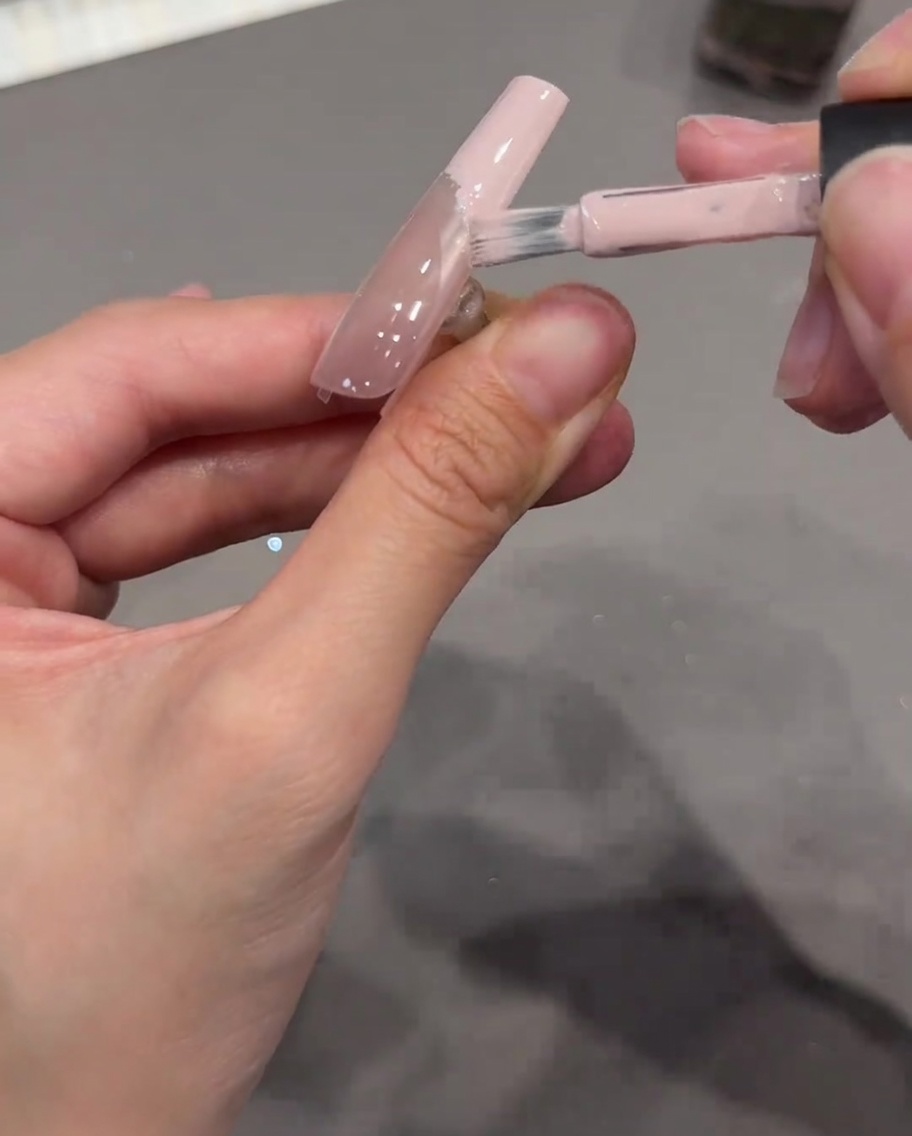
Using the sticker as a sharp boundary line, apply a layer of nude pink gel over the free edge section of the nail. Use smooth strokes to fill the area completely right up to the curved guide. Do not cure the gel yet.
Tip: Keep the gel application relatively thin near the sticker boundary to prevent a bulky ledge when the guide is removed. - 11Apply crystal powder
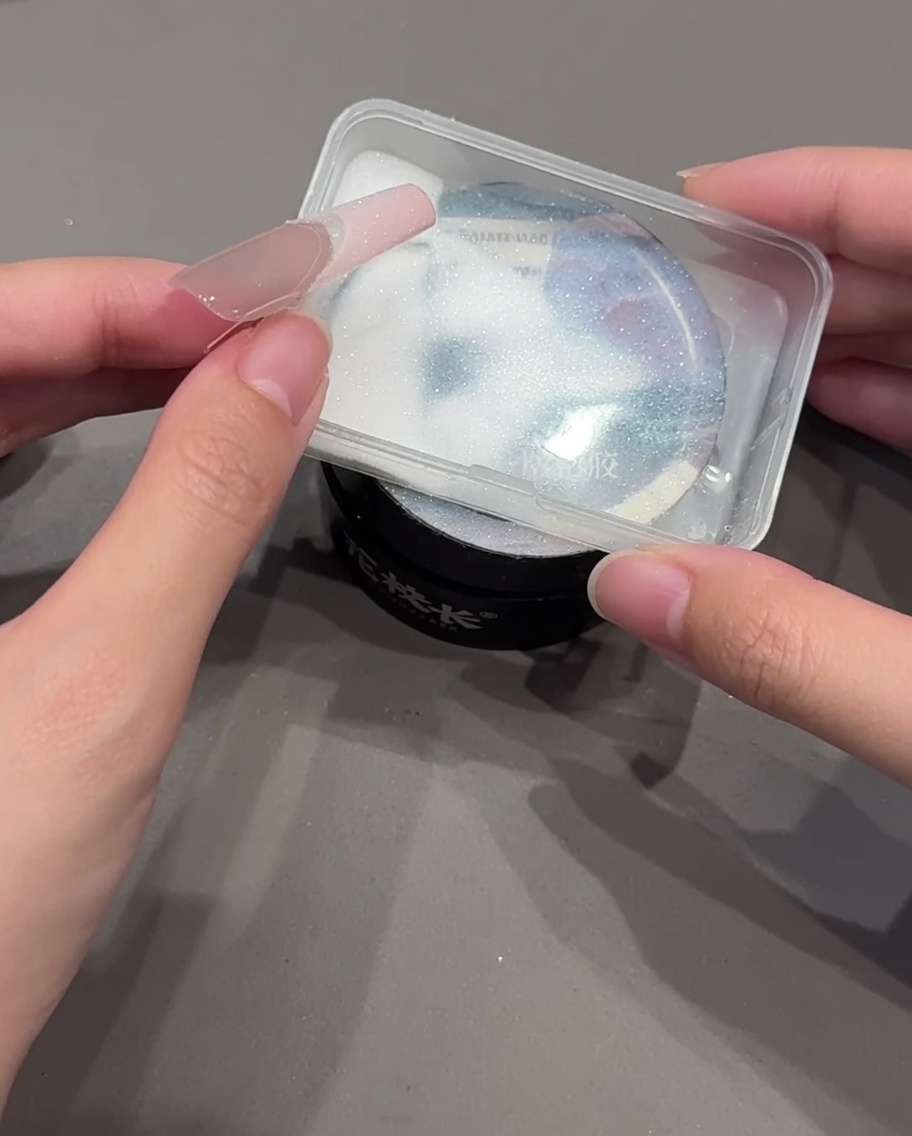
While the nude pink gel tip is still wet and uncured, hold the nail over a tray and heavily sprinkle clear crystal powder over the area. Ensure the wet gel is fully saturated, then gently tap the finger to shake off excess before curing.
Tip: Gently tap the side of the finger a few times to shake off excess loose powder before curing, which helps maintain a crisp shape. - 12Reveal Textured French Tip
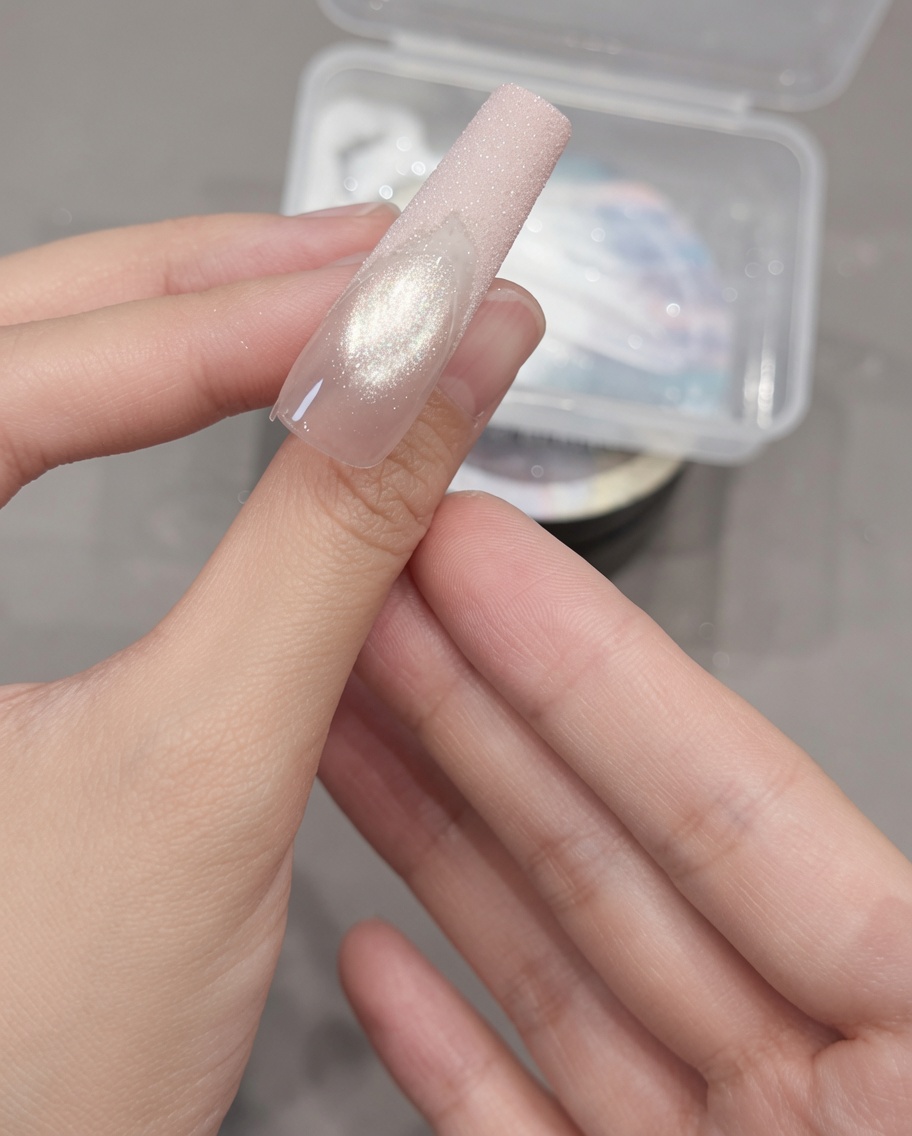
Once the nail is fully cured, carefully peel off the French guide sticker. Use a stiff manicure dust brush to thoroughly scrub away any remaining loose crystal powder from the nail surface, revealing a perfectly sharp, textured nude pink French tip against the smooth base.
Tip: Always wait until the nail is completely cool from the UV/LED lamp before brushing to ensure the gel and powder are fully locked in place. - 13Apply French-style rhinestones
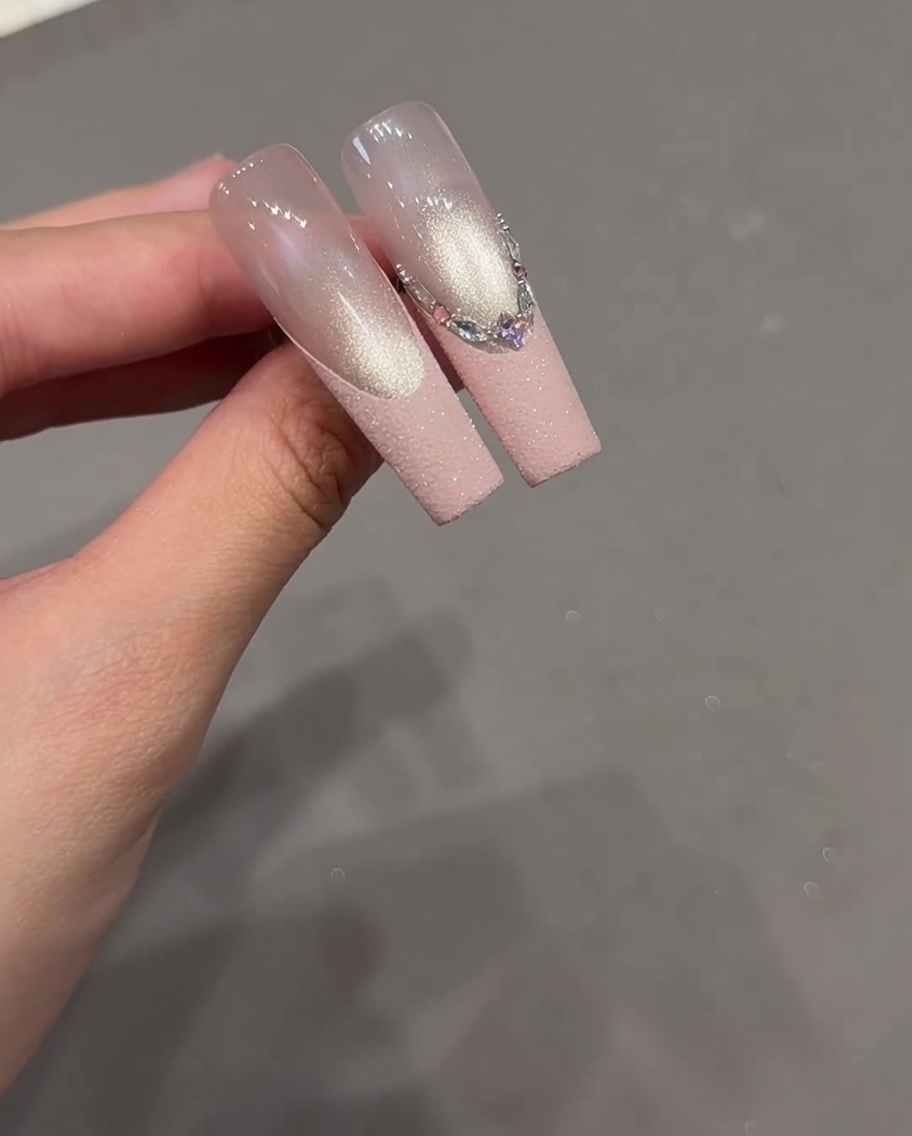
Continue the French design by applying a strip, a flat-back round stone, a marquise stone, and a pink square stone along the French line. Place the rhinestones carefully to create an elegant, detailed look. Ensure they are set firmly into the gel and cure to secure them in place.
Tip: Use a wax pencil or fine-tip tweezers to place each stone precisely where you want it before curing. - 14Apply star sticker
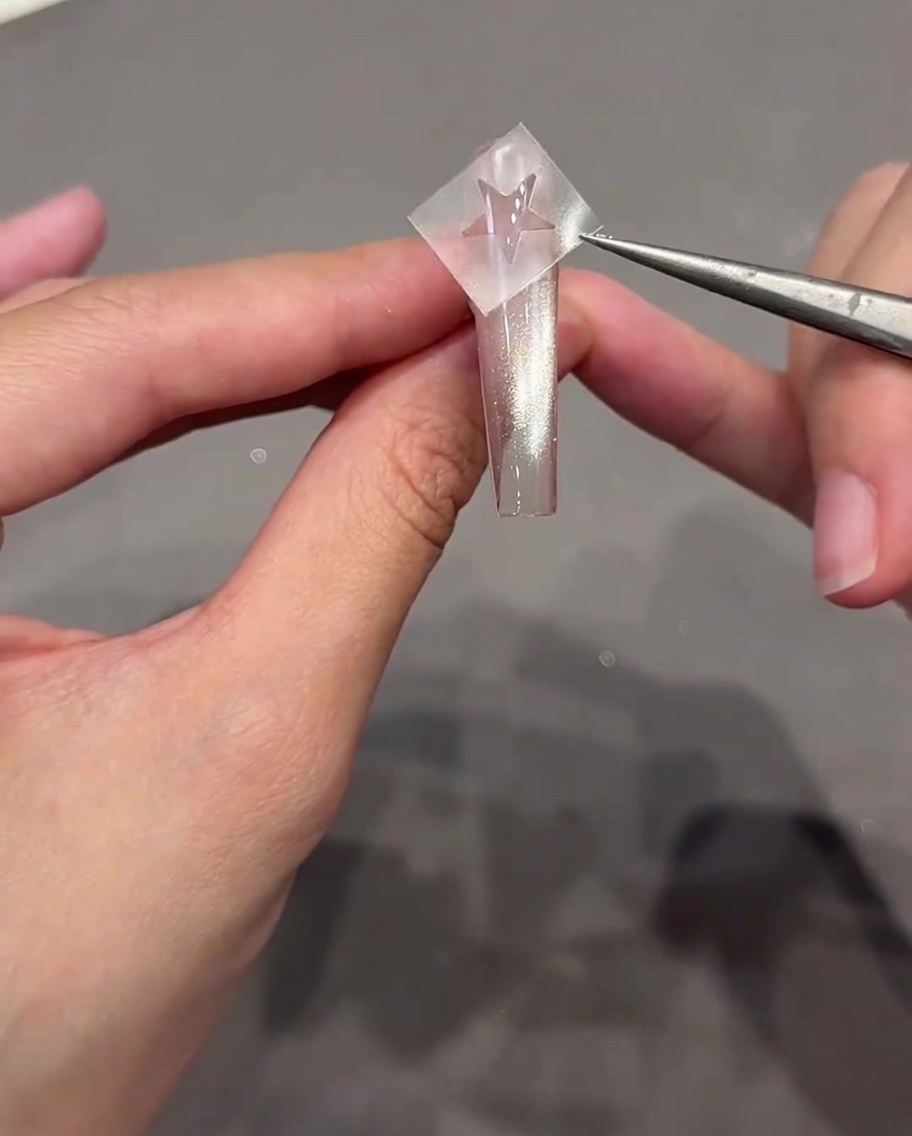
For the star nail design, carefully place a star-shaped sticker onto the nail after the top coat has been applied. Position it exactly where you want the design to appear. This will serve as a template for the crystal powder application in the following step.
Tip: Use tweezers to position the sticker accurately to ensure the final star shape is clean and well-defined. - 15Apply gel and crystal powder
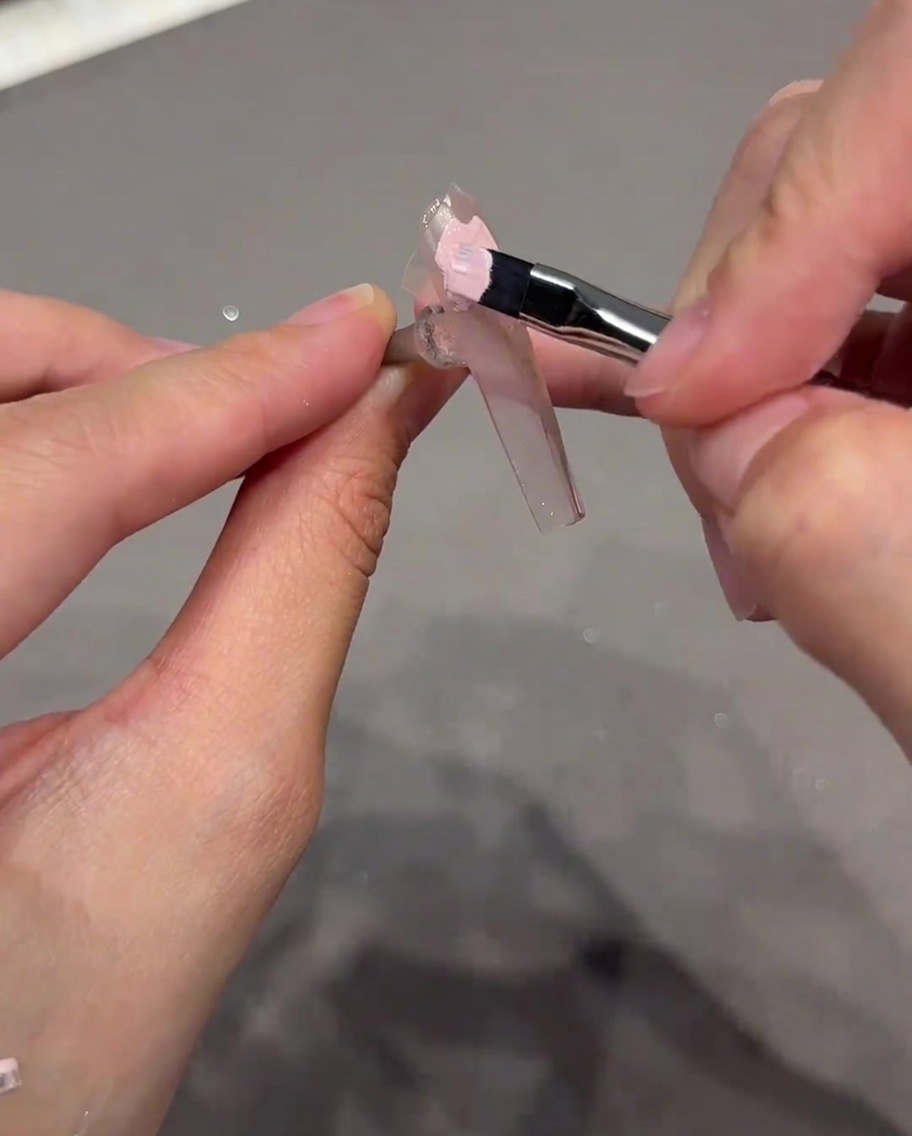
Apply a layer of nude pink gel over the star sticker on the nail. While the gel is still wet, sprinkle crystal powder over the star shape to add texture and detail. Cure the nail under your lamp to set the gel and powder in place.
Tip: Be sure to sprinkle the powder evenly to fully cover the area within the sticker for a consistent look. - 16Remove the star sticker
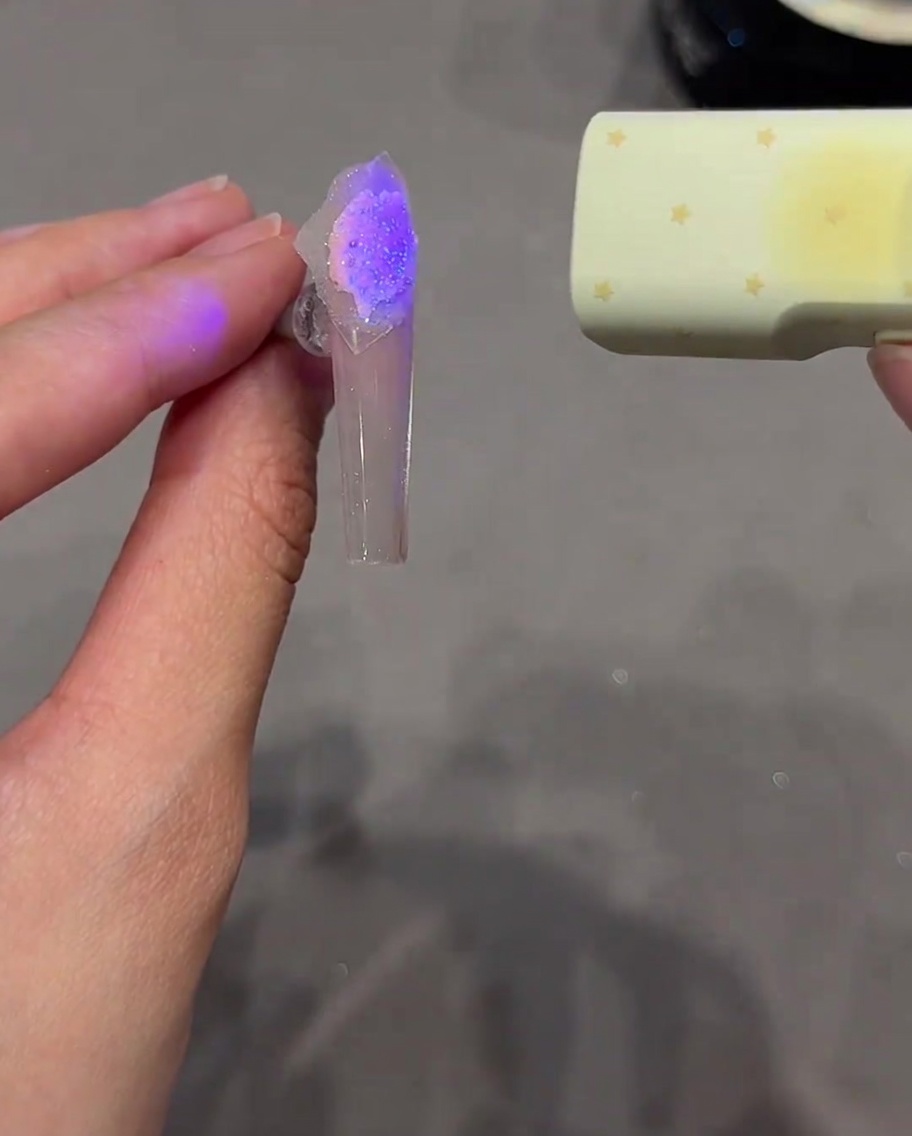
After curing the nail, gently peel off the star sticker using tweezers. Carefully remove it to reveal the crisp, clear star shape created by the crystal powder and nude pink gel underneath. Once removed, cure the nail again to finalize the setting.
Tip: Peel slowly to avoid disturbing the edges of the design, ensuring the star outline remains sharp. - 17Remove sticky layer
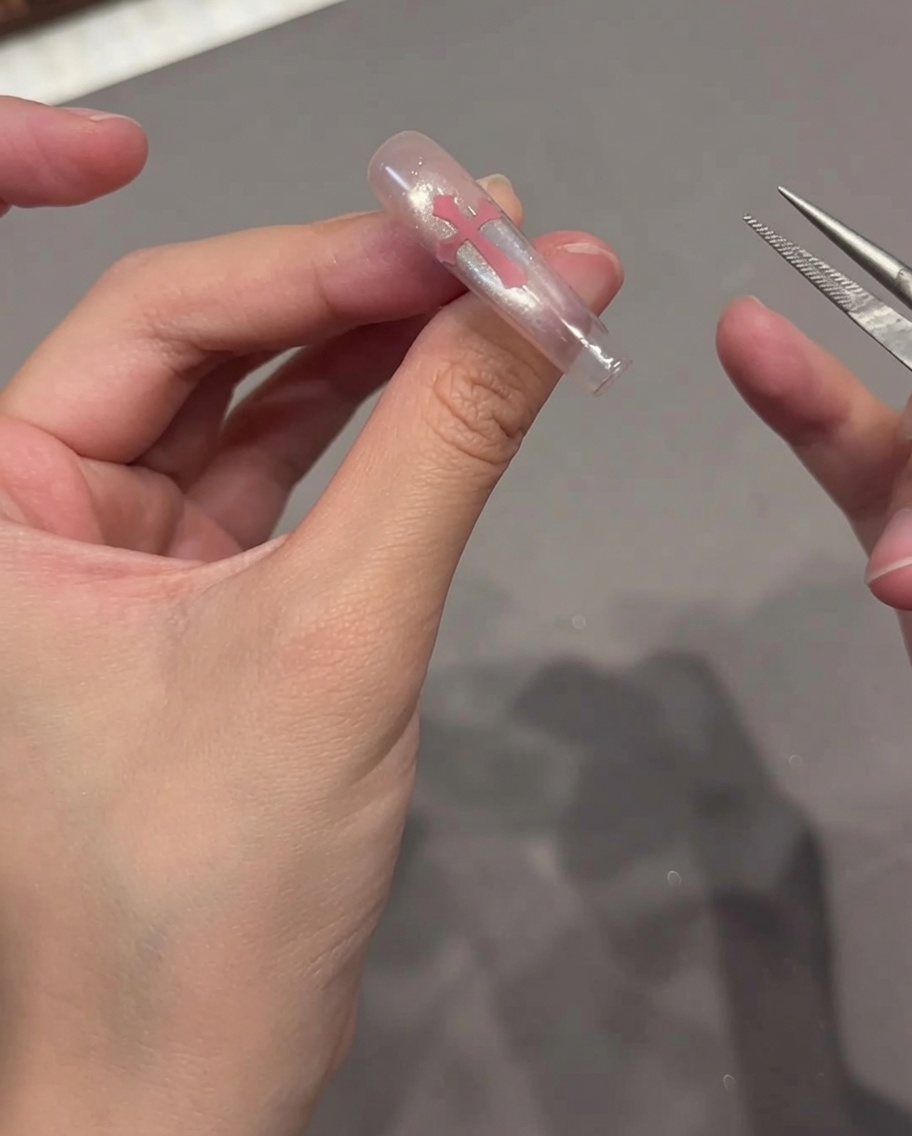
After curing the cat eye nail, use a lint-free wipe with a little cleanser to remove the tacky inhibition layer from the surface. This will leave the nail smooth and ready for the next step, such as applying stickers or further decorations.
Tip: Wipe firmly but gently to ensure all residue is removed without damaging the cat eye effect. - 18Apply Chrome Heart sticker
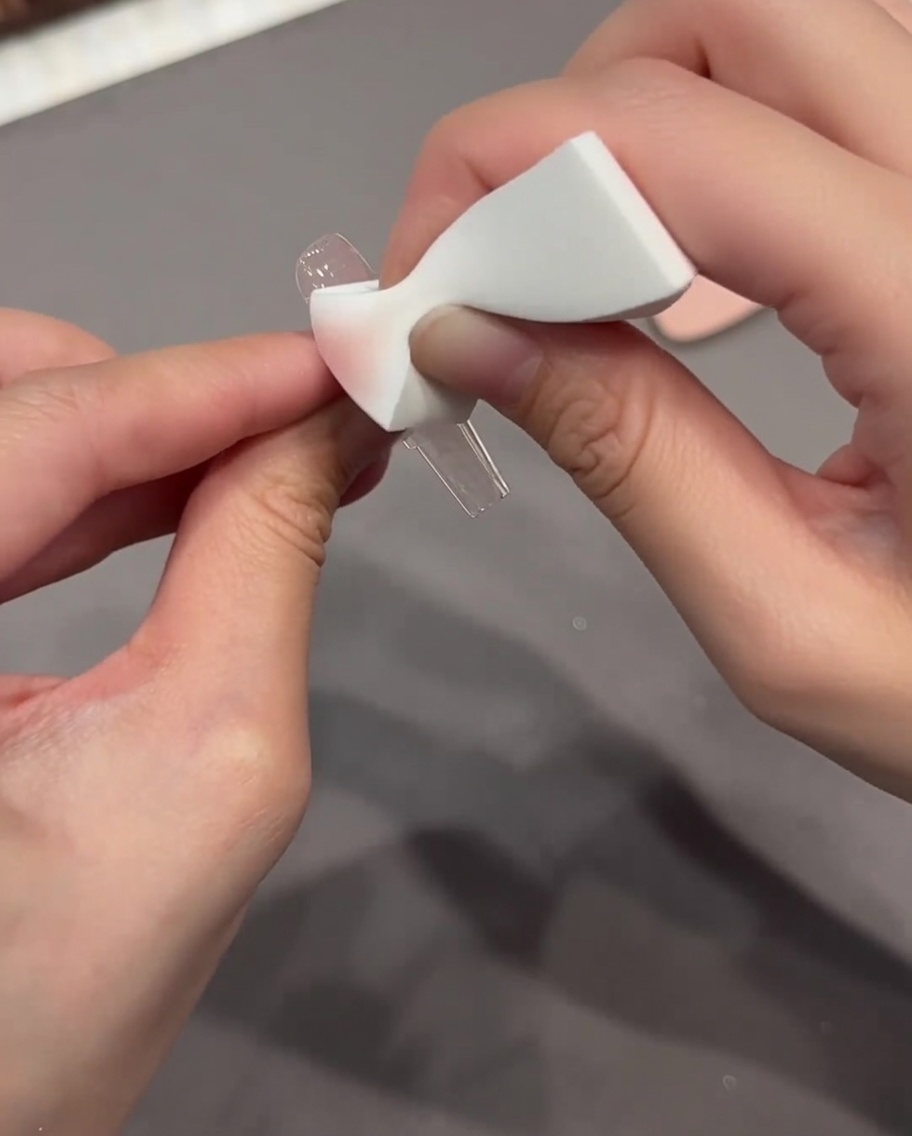
Apply a Chrome Heart sticker to the nail. Gently tap it with a sponge to press the hollow heart pattern into the nude pink gel surface. This technique helps transfer the design clearly. Once placed, use a clean sponge to lightly blend the edges of the sticker for a seamless finish.
Tip: Tapping with a sponge helps get a more even transfer of the design than just pressing with a finger. - 19Transfer the heart pattern
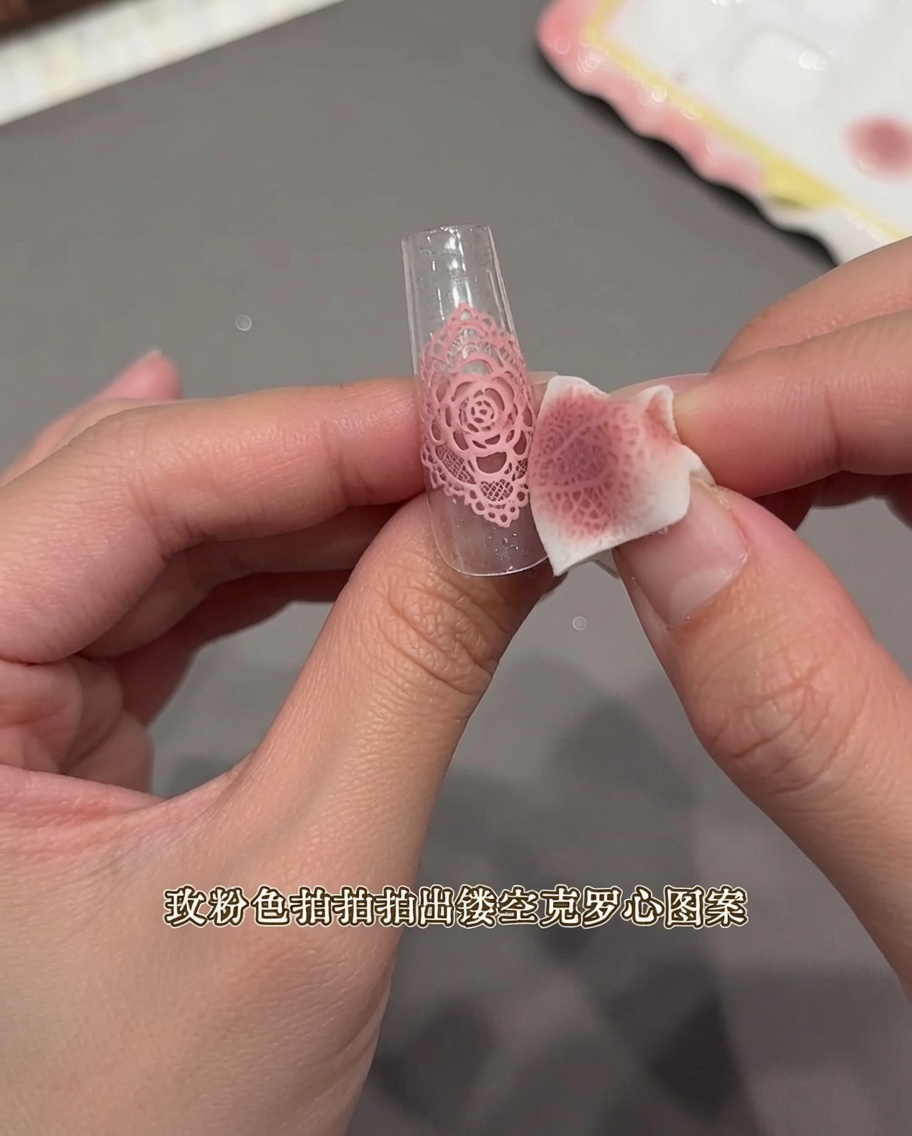
Take a makeup sponge and gently tap over the sticker applied to the nail. This action presses the nude pink gel through the hollow areas of the sticker, effectively transferring the heart pattern onto the nail surface.
Tip: Use a light, dabbing motion to ensure the gel transfers cleanly without smudging or bleeding under the sticker edges. - 20Blend pattern edges
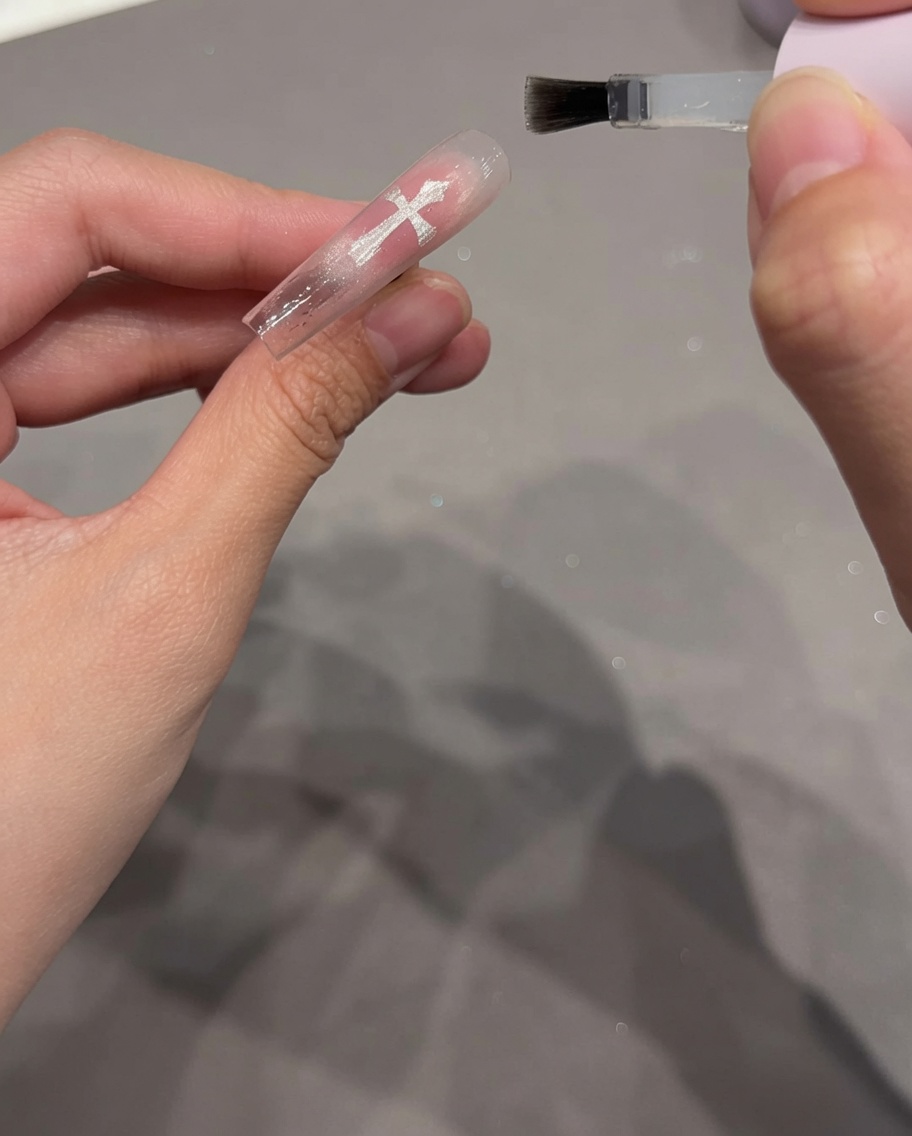
Using a clean section of your sponge, lightly dab the edges of the newly transferred heart pattern. This softens the transition between the pattern and the base of the nail, creating a seamless, natural look.
Tip: Keep your sponge clean to avoid picking up excess product that could blur the crisp lines of your design. - 21Encapsulate with builder gel
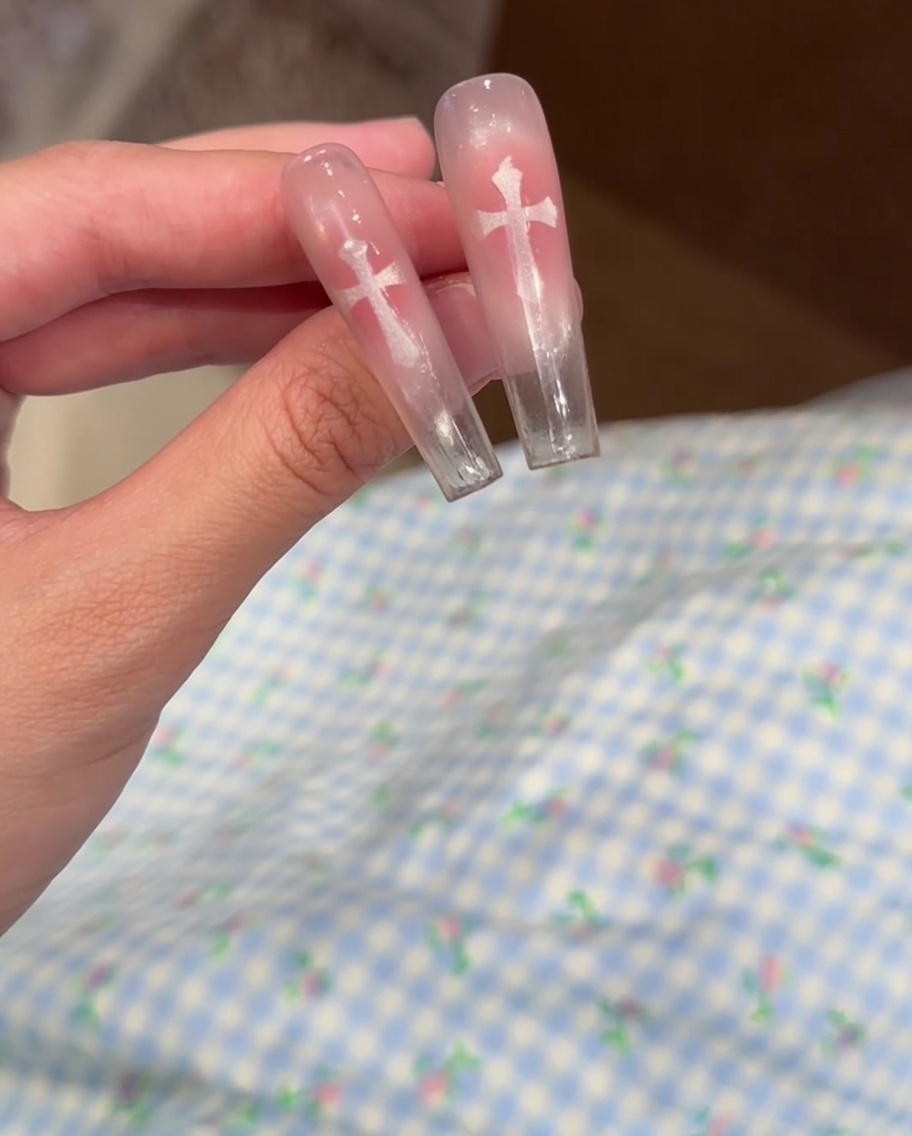
After the pattern is transferred and blended, apply a layer of soft builder gel over the entire nail. This protects the design and creates a smooth, durable surface for the final embellishments.
Tip: Ensure the builder gel is applied evenly to fully encapsulate the pattern, especially around the edges of the design. - 22Apply chrome heart mold
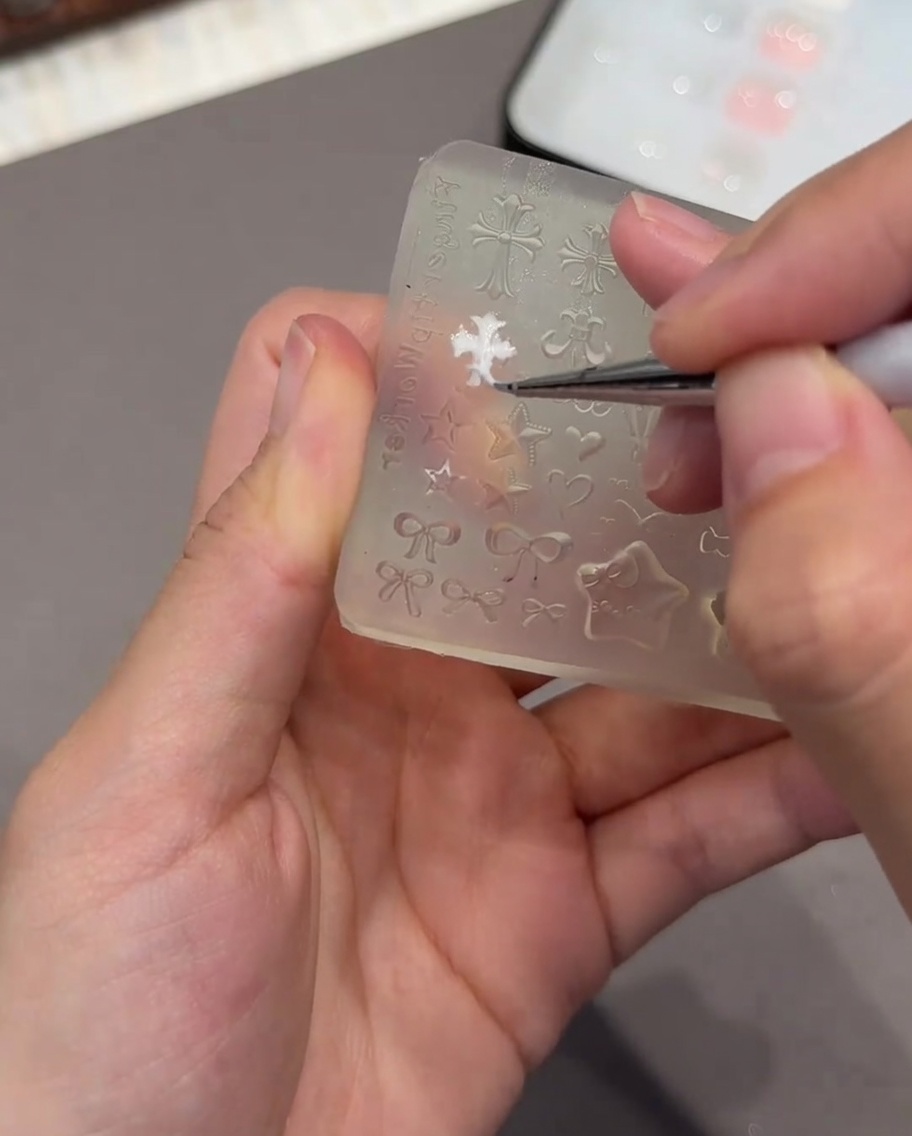
Using precision tweezers, carefully place the white chrome heart mold onto the desired position on the nail. Press it gently to ensure it adheres securely to the builder gel layer before curing.
Tip: Use high-quality tweezers for better control when placing small 3D nail art molds.