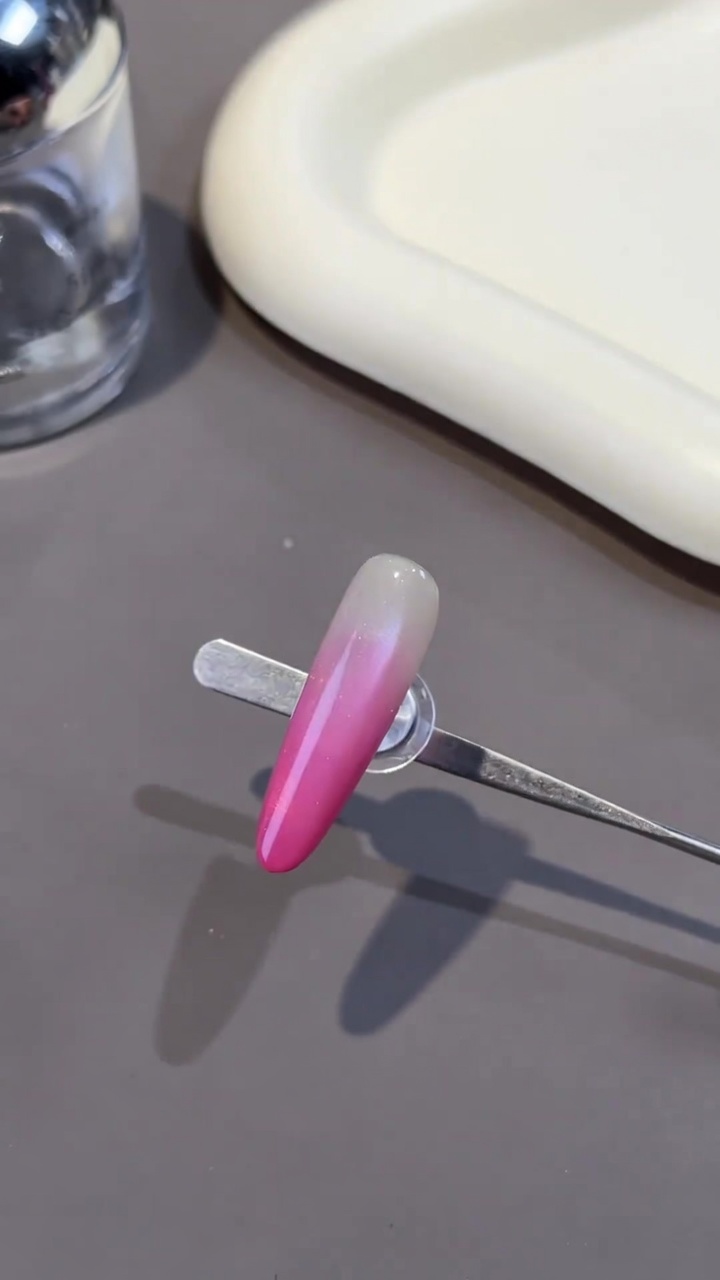
Pink Ombre Cat-Eye Gel Nails — Step-by-Step Tutorial
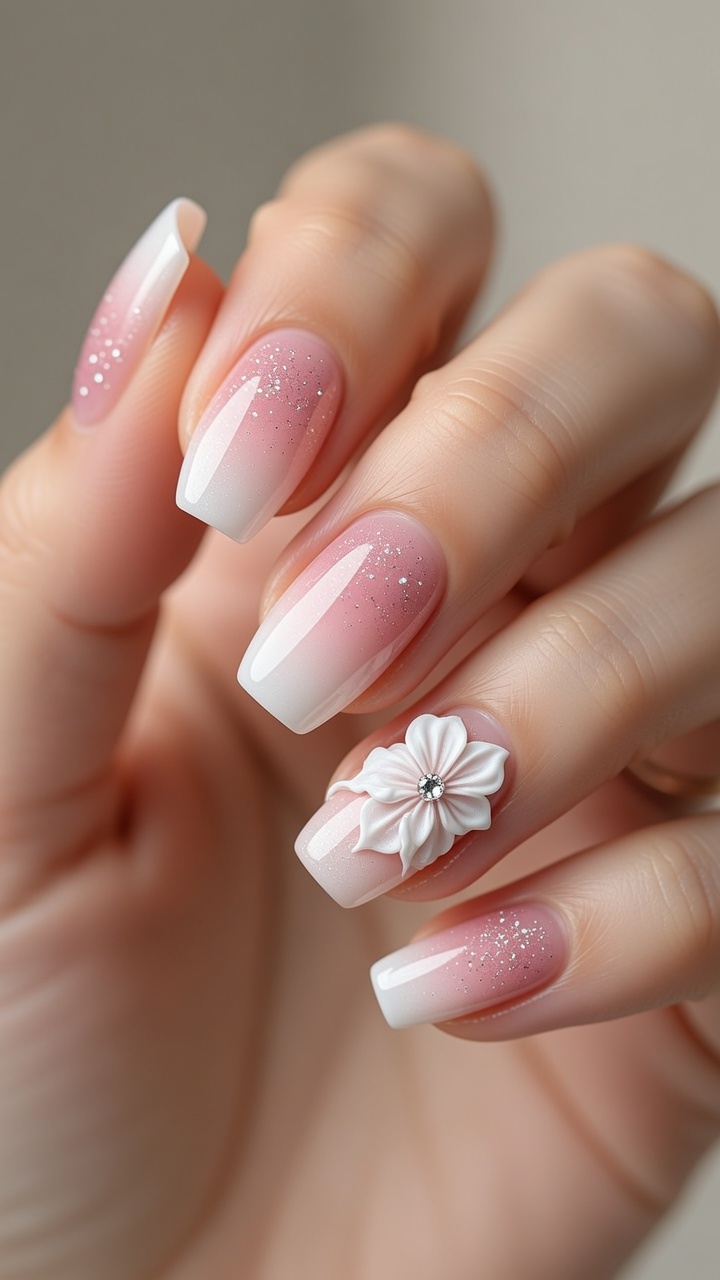
Create a stunning, ethereal look with this pink ombre cat-eye nail tutorial. Learn how to blend gradients and master magnetic gel effects at home.
The combination of a soft pink ombre gradient and the depth of magnetic cat-eye gel creates a sophisticated, multi-dimensional look that is perfect for any season. By layering color and manipulating magnetic particles, you can achieve a professional-quality finish that looks both delicate and eye-catching. This tutorial breaks down the process into simple, manageable steps so you can recreate this elegant manicure yourself.
Steps
- 1Apply nude base coat
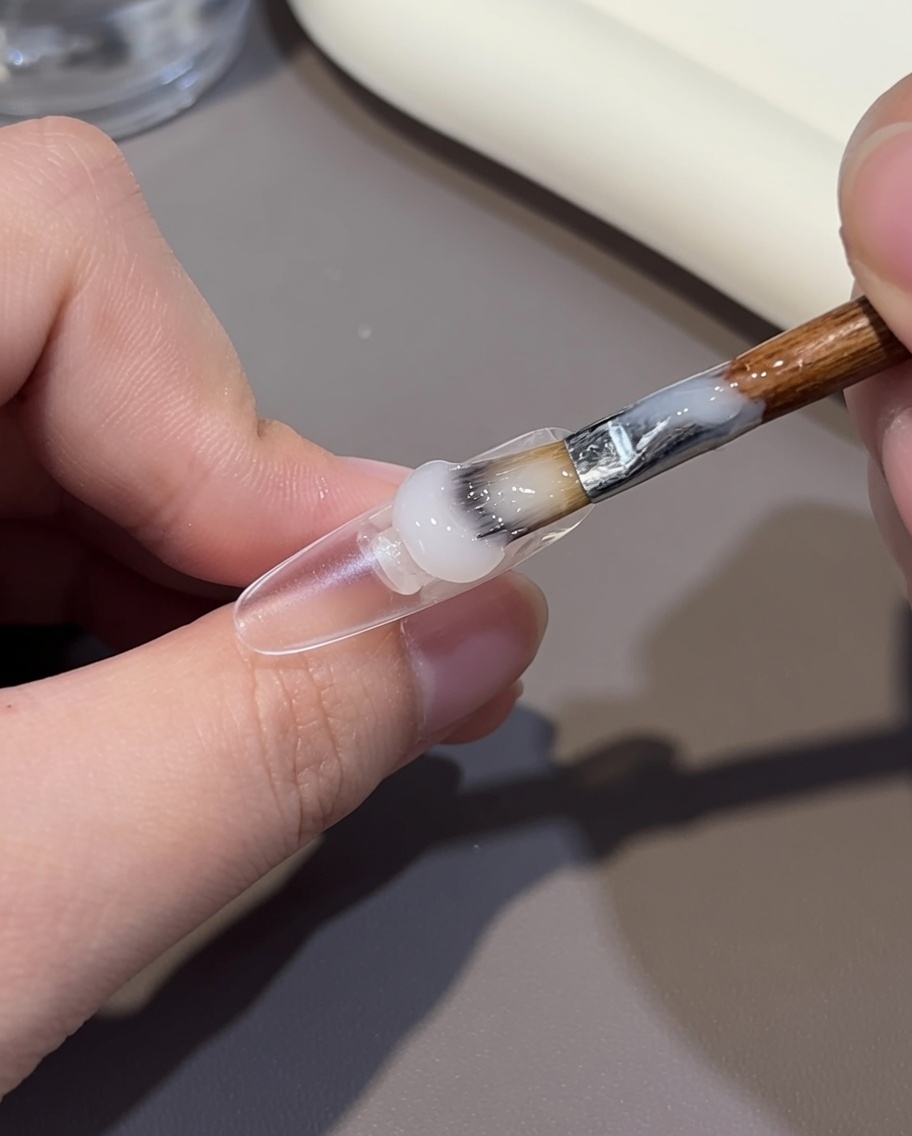
Apply a thin layer of nude base coat to the back half of the nail. Using your brush, carefully blend the edge of the gel toward the center of the nail to create a smooth, natural-looking gradient transition. This creates the foundation for the ombre effect.
Tip: Work in thin layers to ensure the gel levels smoothly and prevents a bulky transition line. - 2Blend for gradient transition
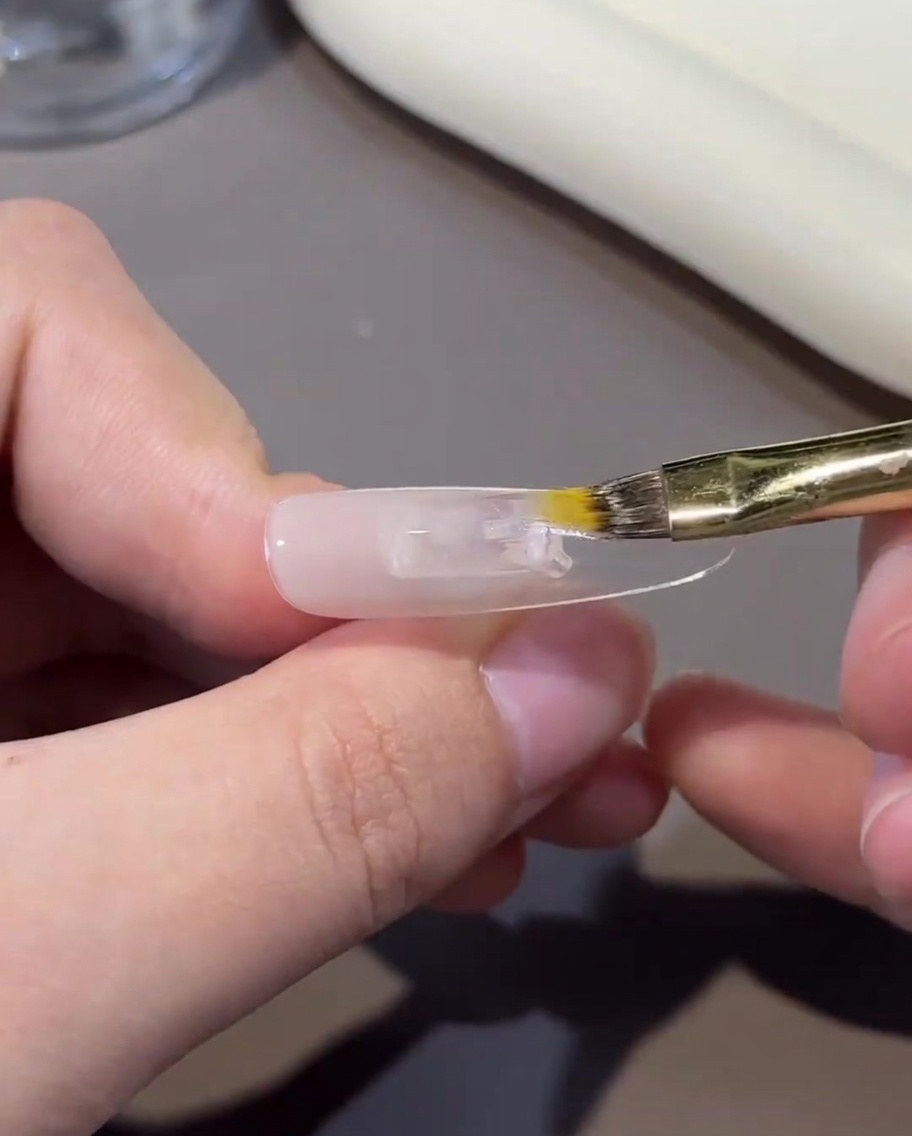
Using the tip of your brush, gently feather out the edge of the applied nude gel towards the free edge of the nail. This blending technique is essential to avoid a harsh line and achieve a seamless, natural transition for the ombre.
Tip: Keep your brush strokes light and soft to avoid lifting the gel while blending. - 3Cure the base layer
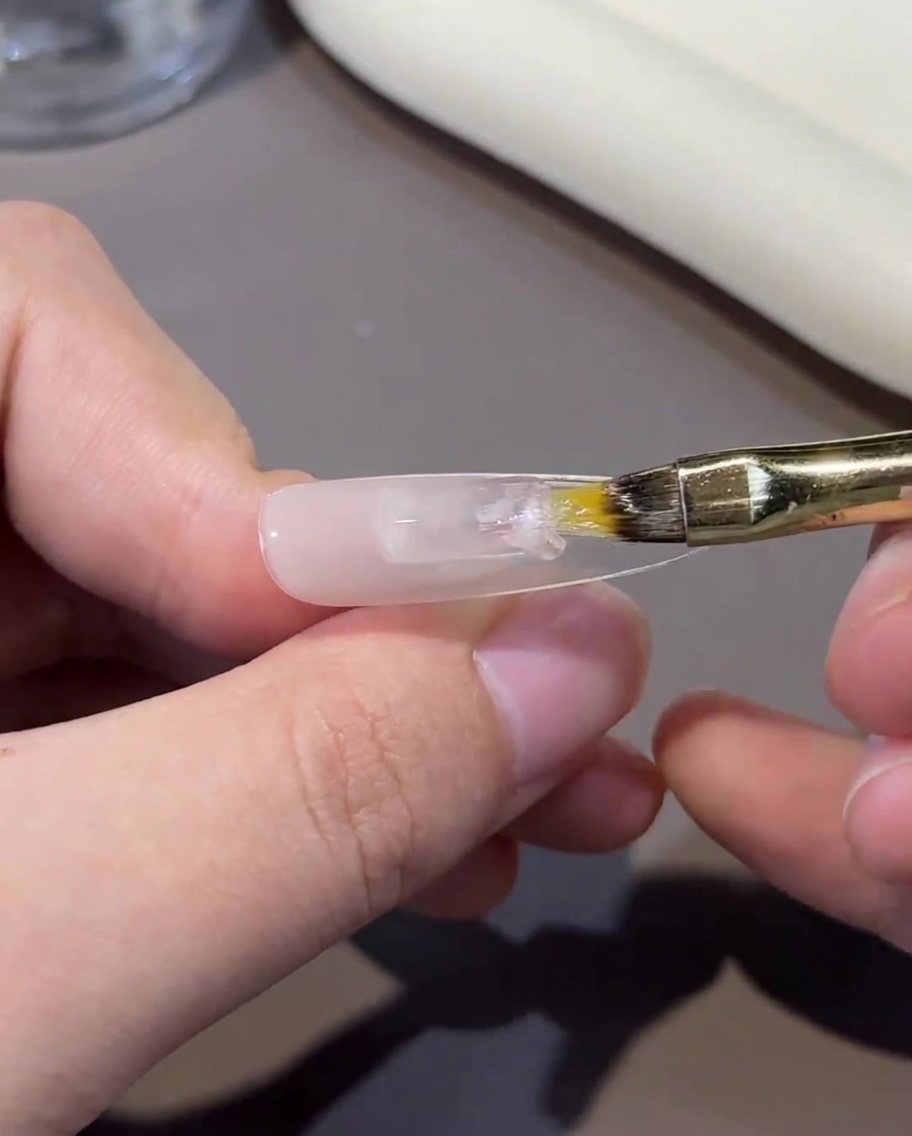
Place the nail under your UV/LED lamp to cure the base coat. Ensure the hand is positioned correctly to allow for even curing across the entire nail surface. Follow the manufacturers recommended curing time for your specific gel product.
Tip: Do not rush the curing process; a full cure ensures durability and prevents later lifting. - 4Apply strengthening gel
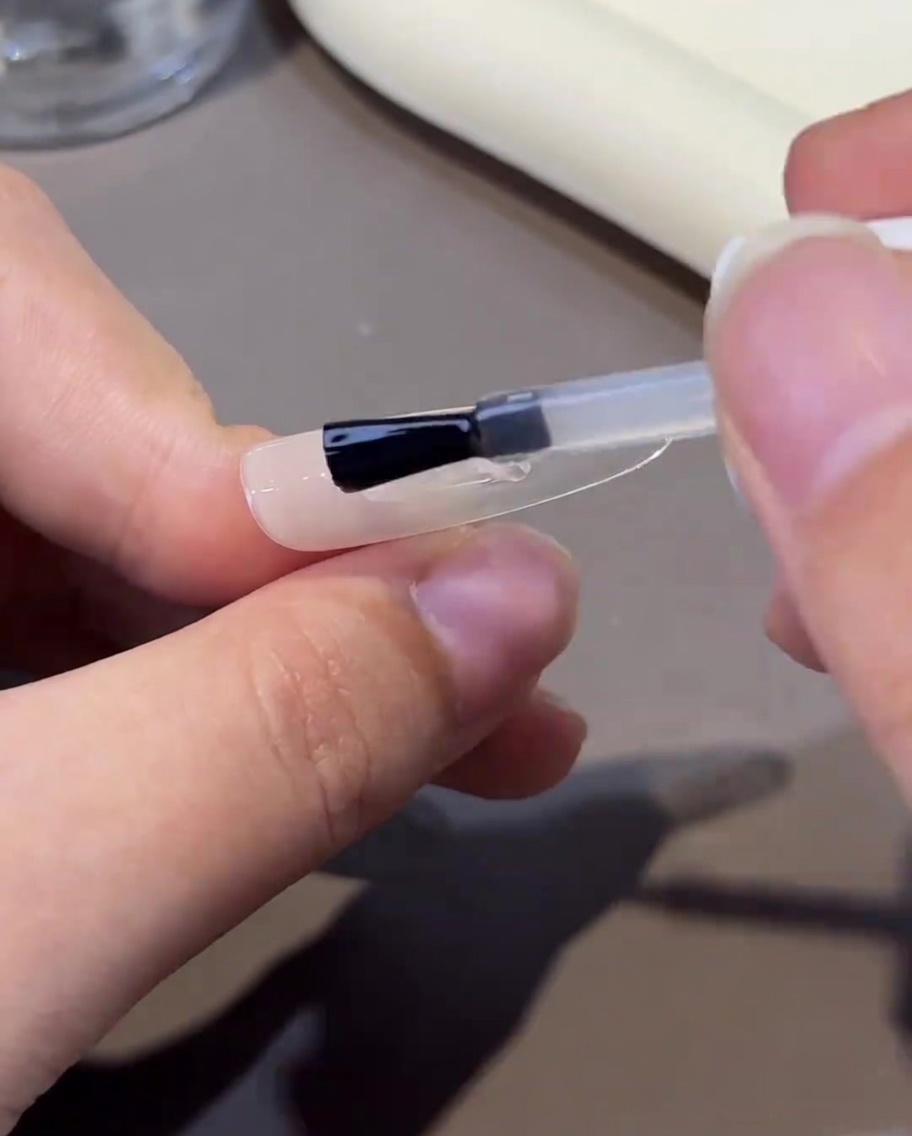
Apply a small bead of clear strengthening gel to the center of the nail. Allow the gel to self-level for a moment before using your brush to guide it evenly across the surface, covering the previous layer. This adds structure and creates a perfectly smooth, level surface.
Tip: Check the surface reflection under your lamp light to see if the gel is perfectly level. - 5Cure the strengthening layer
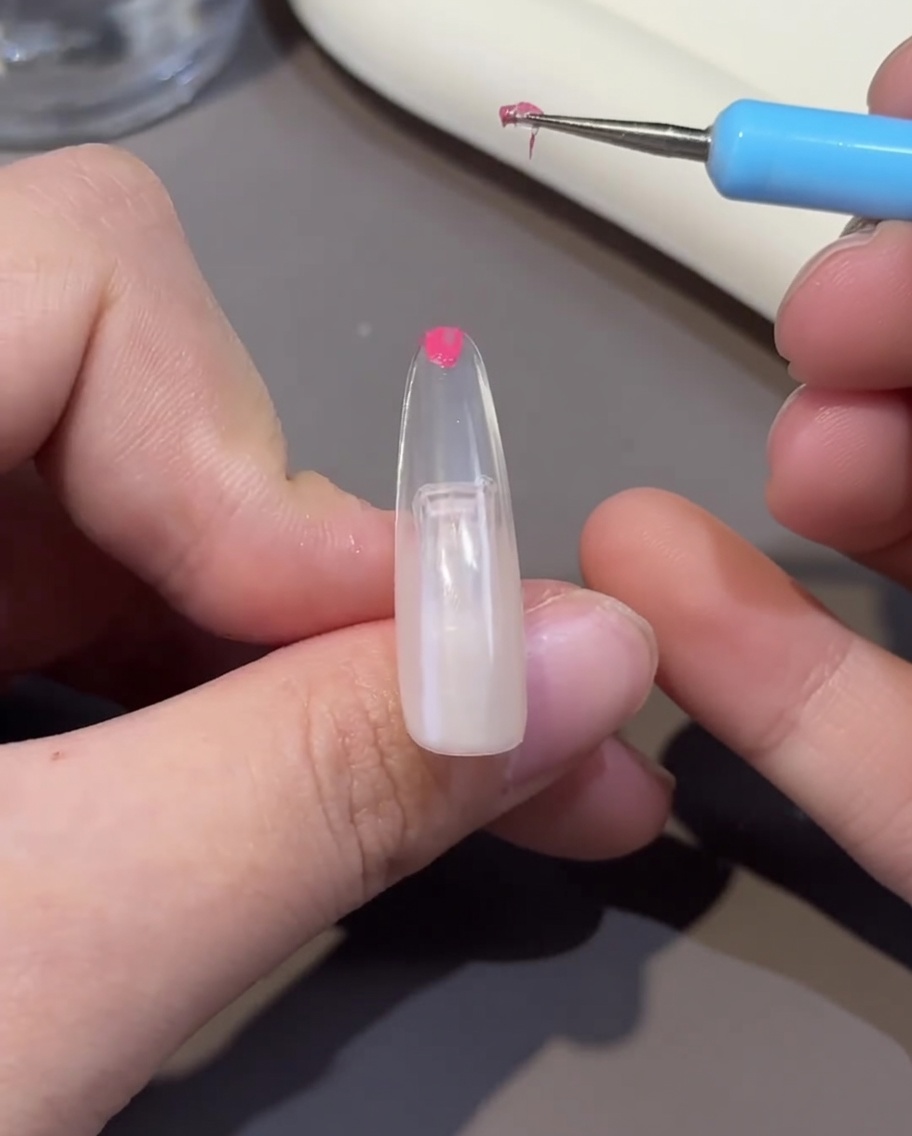
Once the strengthening gel is leveled to your satisfaction, place the nail under the UV/LED lamp. Cure for the full duration specified by your product instructions to ensure the structural layer is completely hardened.
Tip: If you feel any heat spike, you can briefly pull your hand out of the lamp and re-insert it. - 6Remove sticky inhibition layer
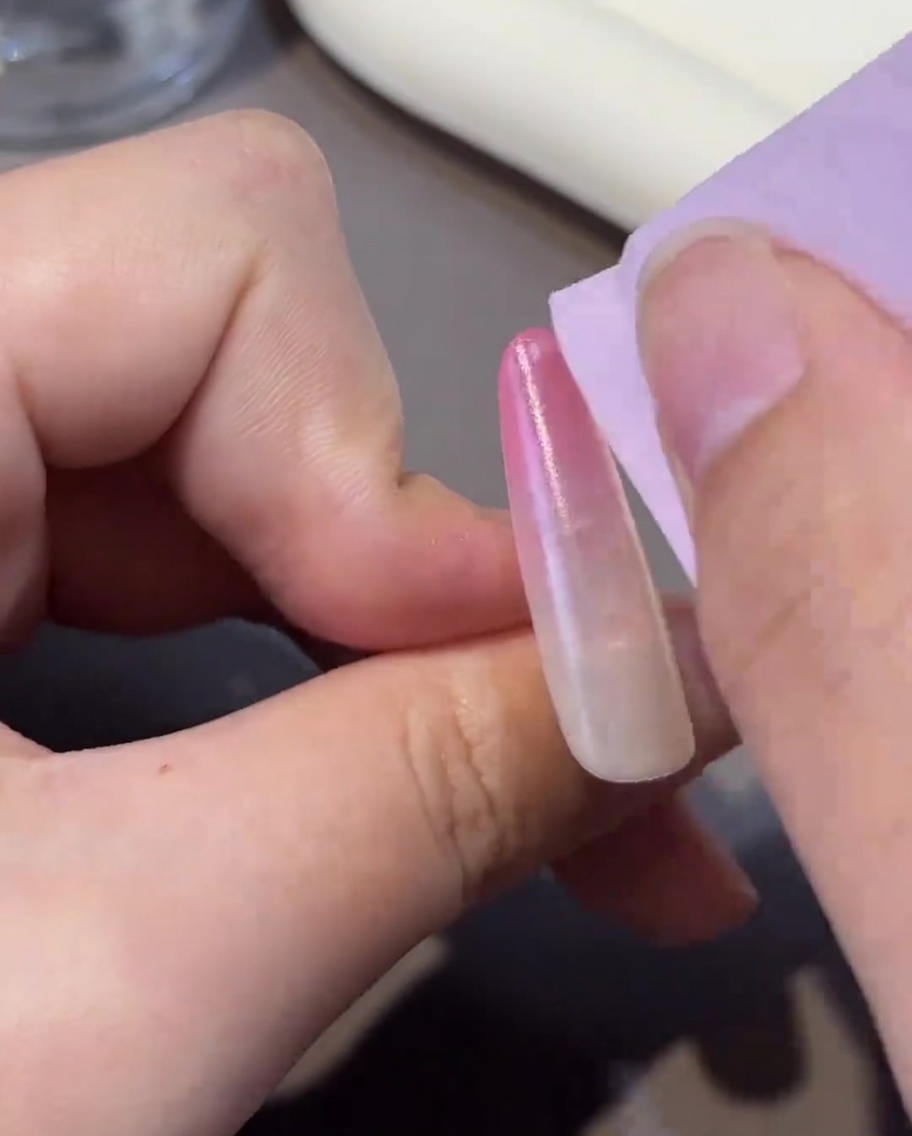
After curing, use a lint-free wipe saturated with nail cleanser or high-percentage isopropyl alcohol to remove the sticky inhibition layer from the surface of the nail. This reveals the smooth, cured finish and prepares the nail for the next application step.
Tip: Always use a clean part of the wipe for each nail to avoid spreading uncured residue. - 7Apply first pink color coat
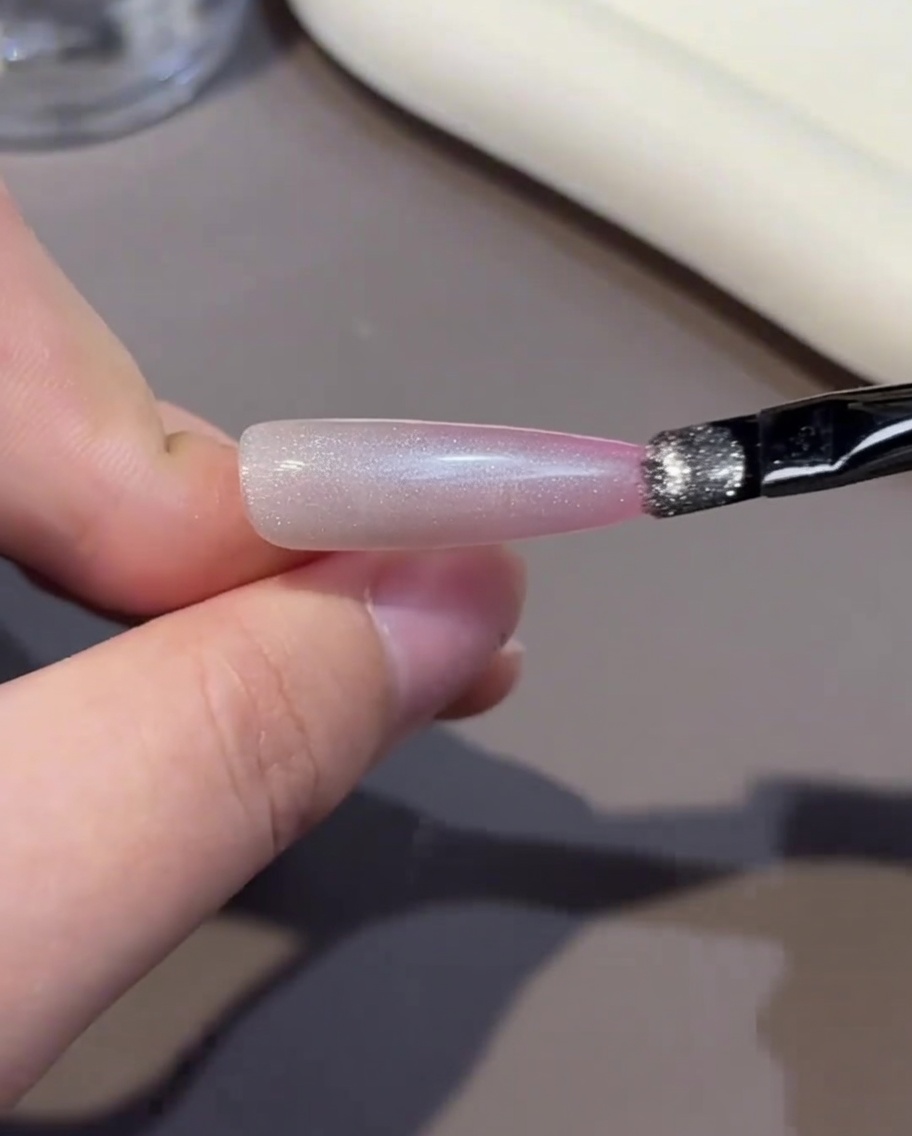
Apply a thin layer of pink color gel to the tip of the nail. Use the brush to gently blend the color upward to ensure a smooth transition with the base coat, then cure under the lamp.
Tip: Keep the layer thin to prevent the gel from pooling and ensure even curing. - 8Cure the pink color coat
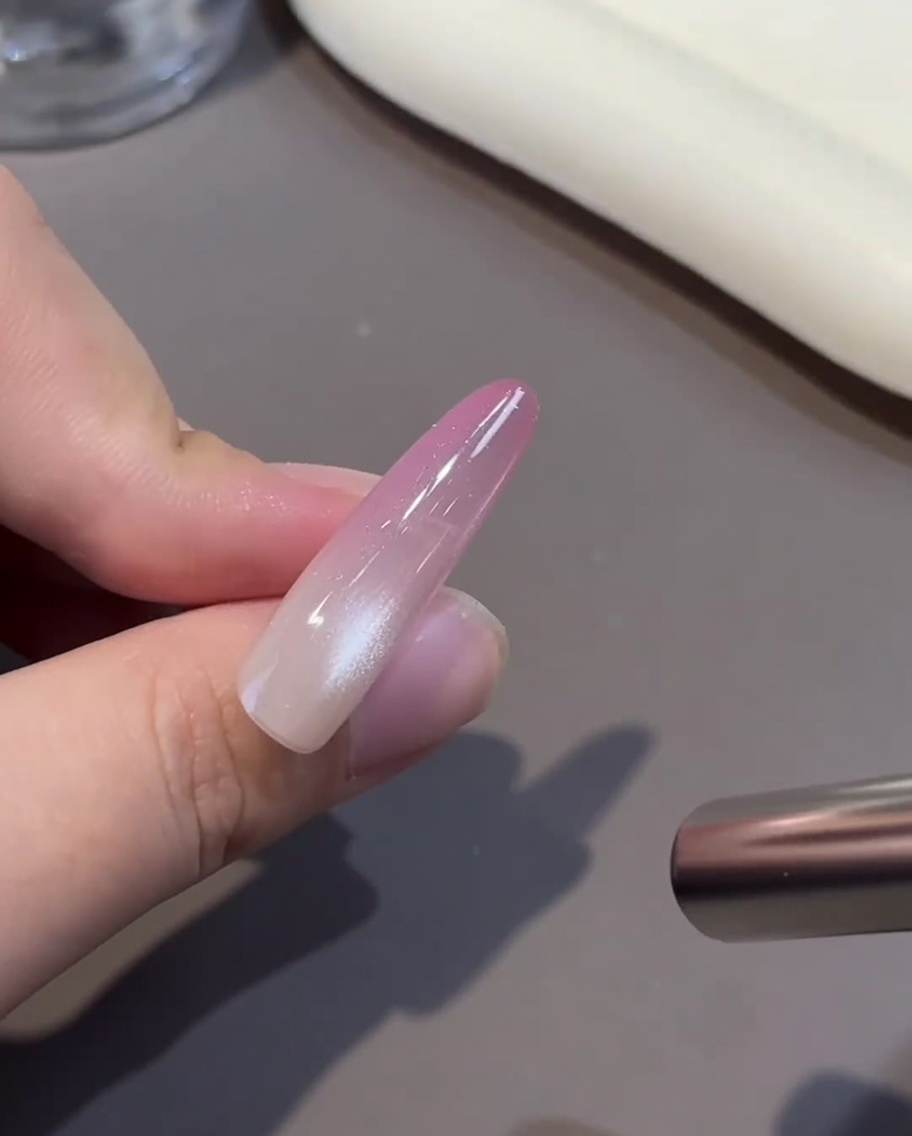
Place the nail under the UV/LED lamp to cure the first coat of pink gel. Ensure the nail is positioned correctly to allow for a full and even cure of the gel layer.
Tip: Check that the lamp is clean to ensure optimal light intensity for curing. - 9Apply white cat-eye gel
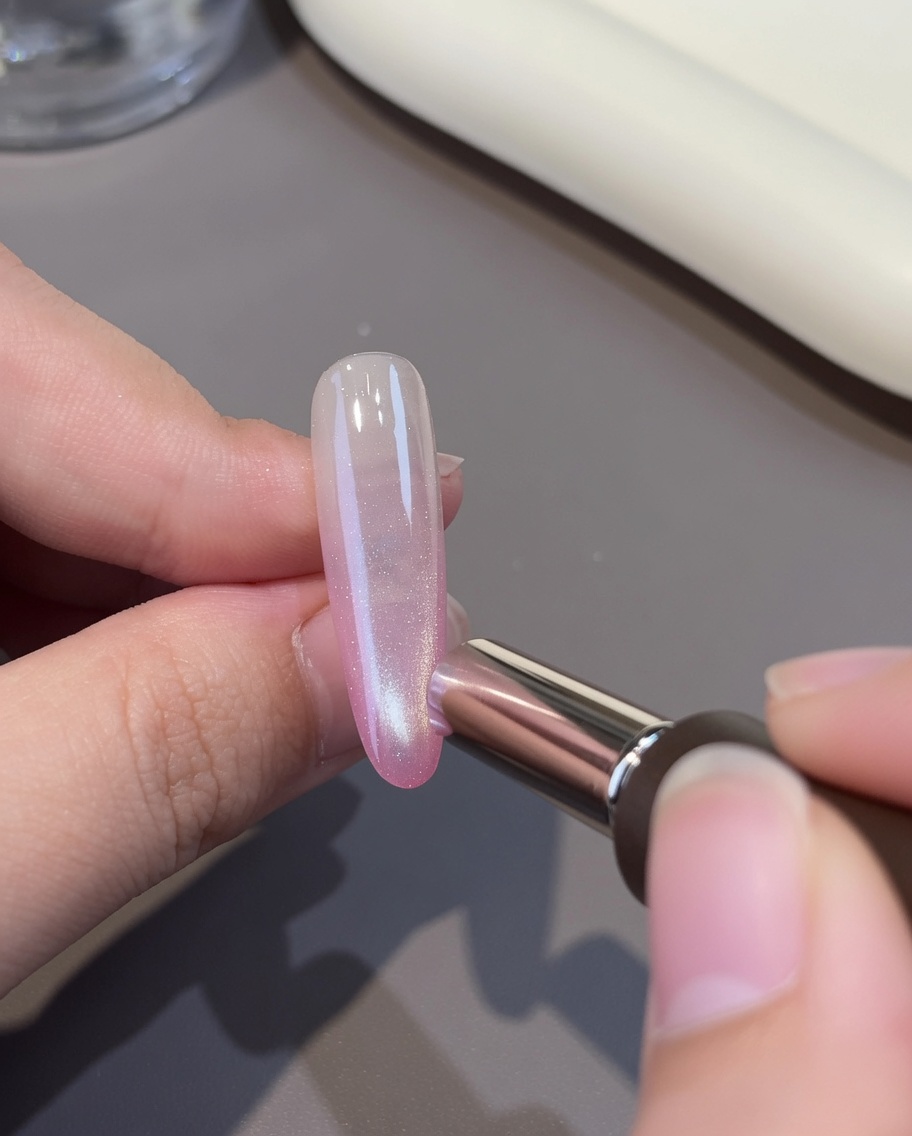
Apply a layer of white cat-eye gel over the pink base. This will provide the foundation for the magnetic cat-eye effect.
Tip: Apply an even coat to ensure the magnetic effect appears consistent across the nail. - 10Create cat-eye effect
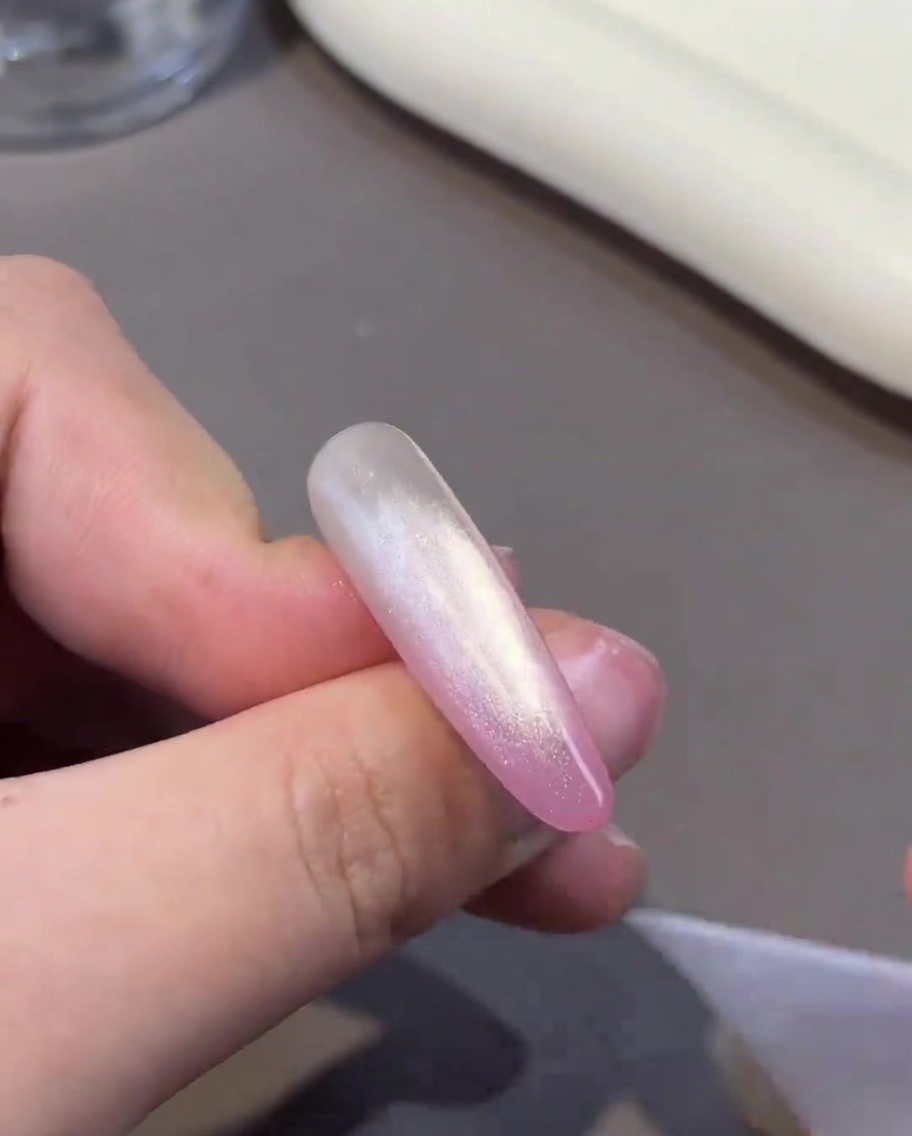
Hold a magnet near the nail to move the magnetic particles in the white cat-eye gel. Adjust the magnets position to achieve your desired pattern, then hold it steady to set the effect before curing.
Tip: Move the magnet slowly to create crisp, defined lines in the cat-eye effect. - 11Cure the cat-eye gel
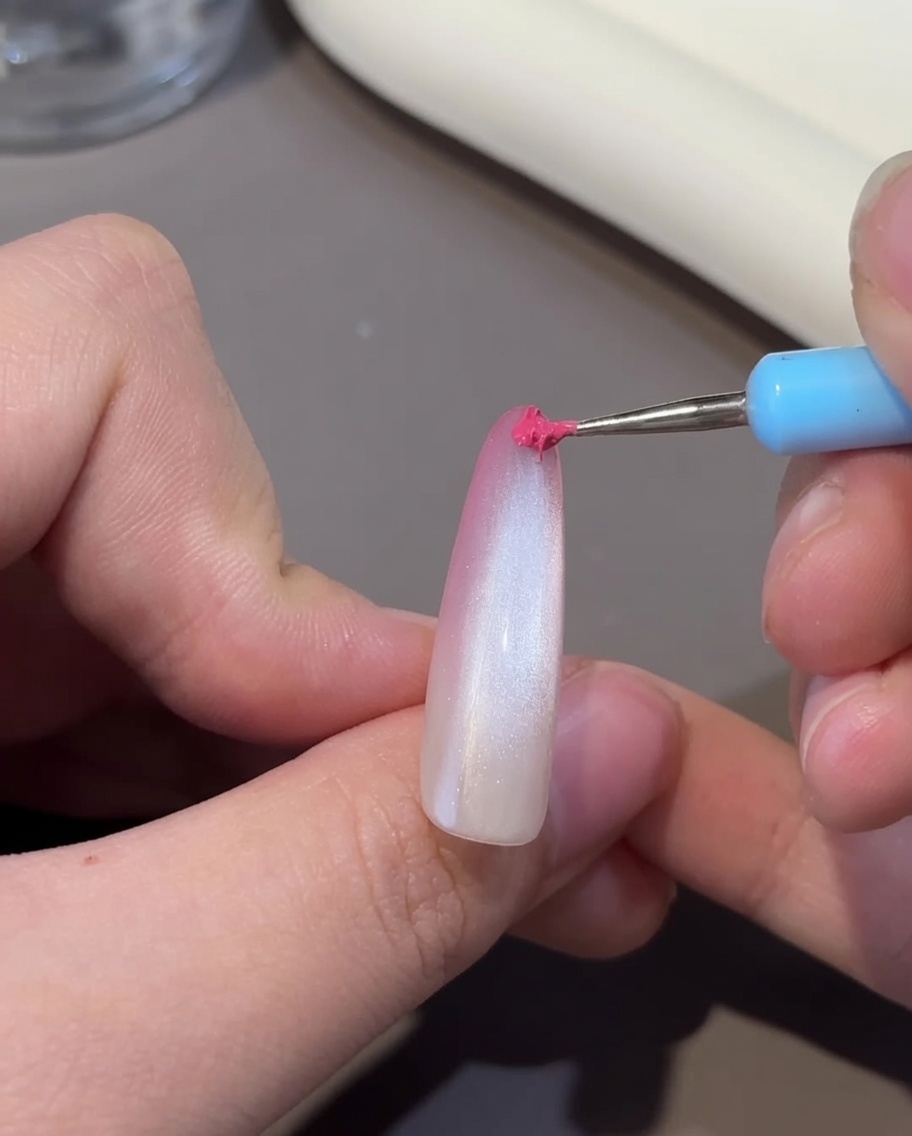
Immediately place the nail under the lamp to cure the cat-eye gel. Curing promptly helps lock in the magnetic design you created.
Tip: Avoid moving the nail too much before placing it in the lamp to maintain the magnetic pattern. - 12Clean the nail surface
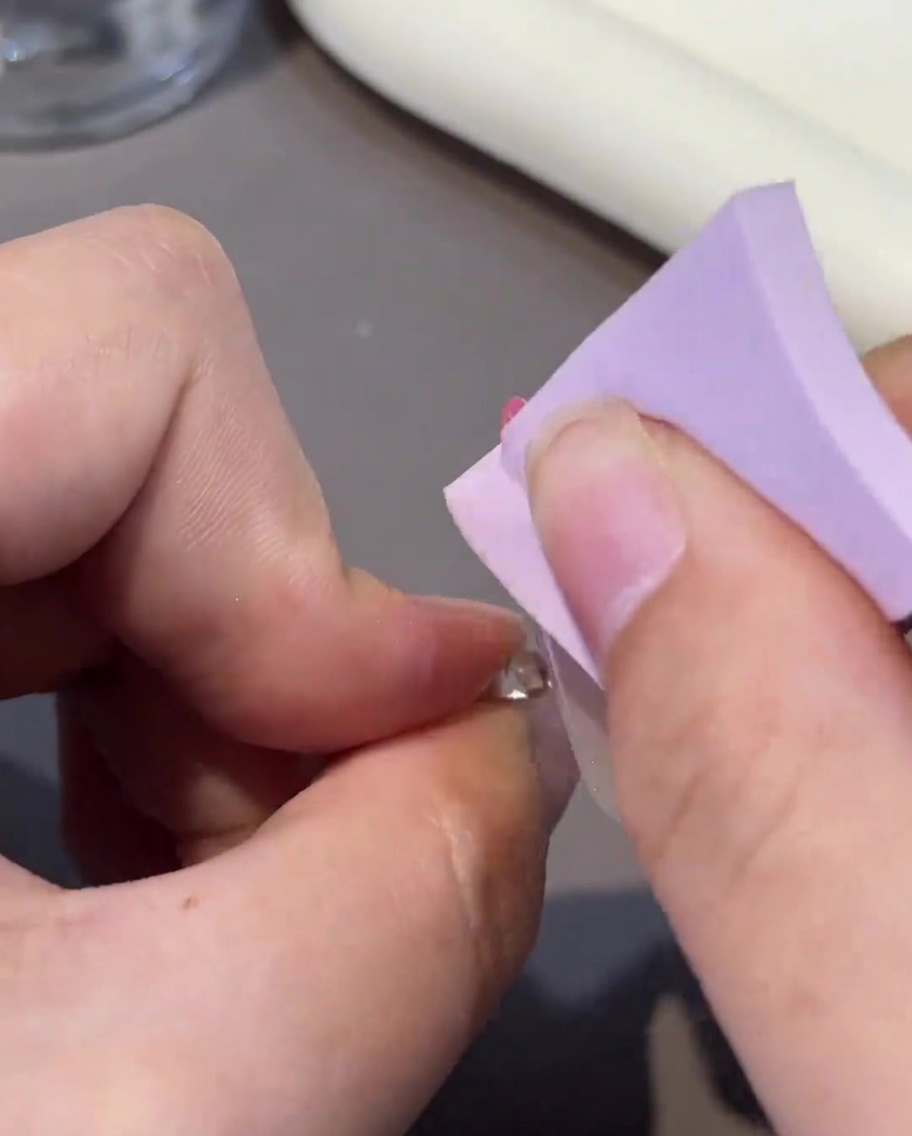
Use a lint-free wipe dampened with cleanser to gently wipe away any excess floating gel or sticky residue from the nail surface after curing.
Tip: Wipe in one direction from base to tip to avoid spreading any residue back onto the cured gel. - 13Apply second pink coat
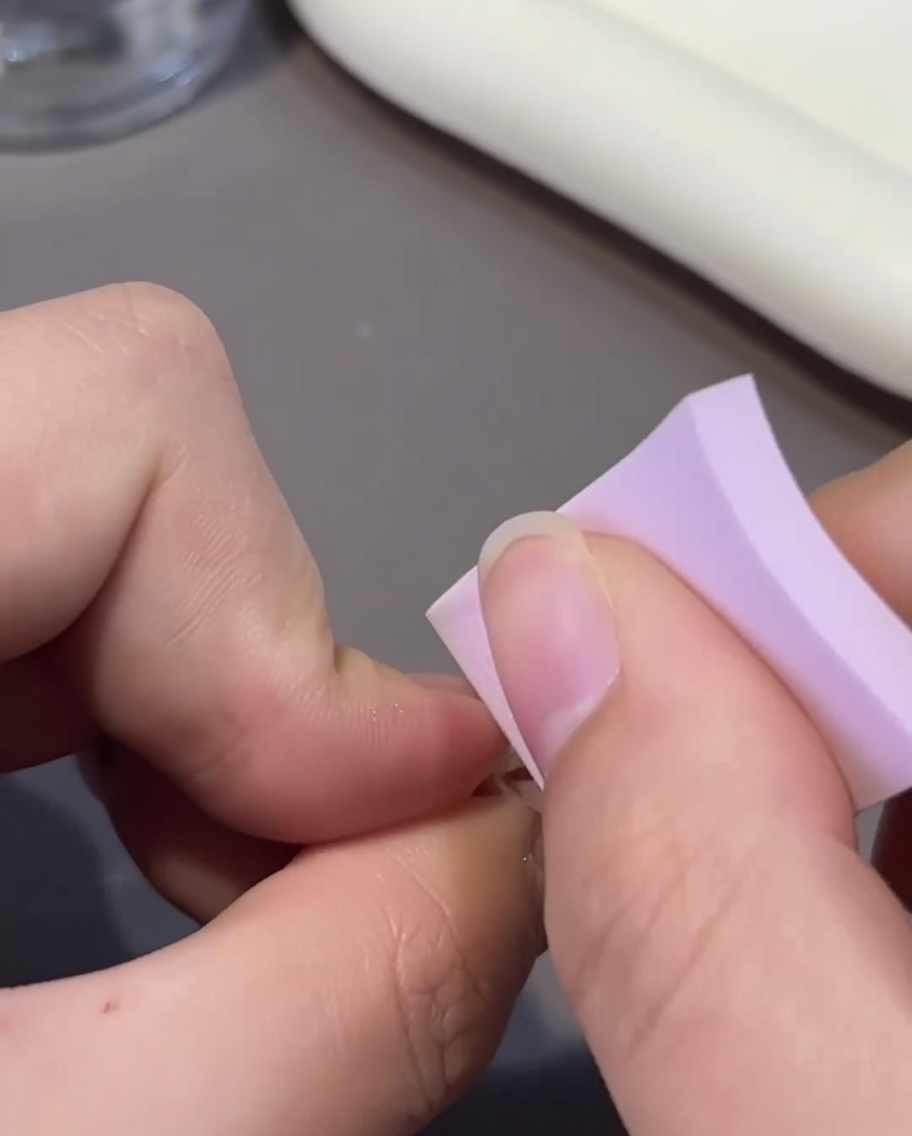
Apply a second thin, even layer of the pink color gel over the previous cured layer to intensify the color and ensure a smooth, professional finish. Cure the nails under your UV/LED lamp for the recommended time to fully set the gel.
Tip: Applying two thinner coats is better than one thick coat; this prevents the gel from bubbling or peeling. - 14Apply top coat
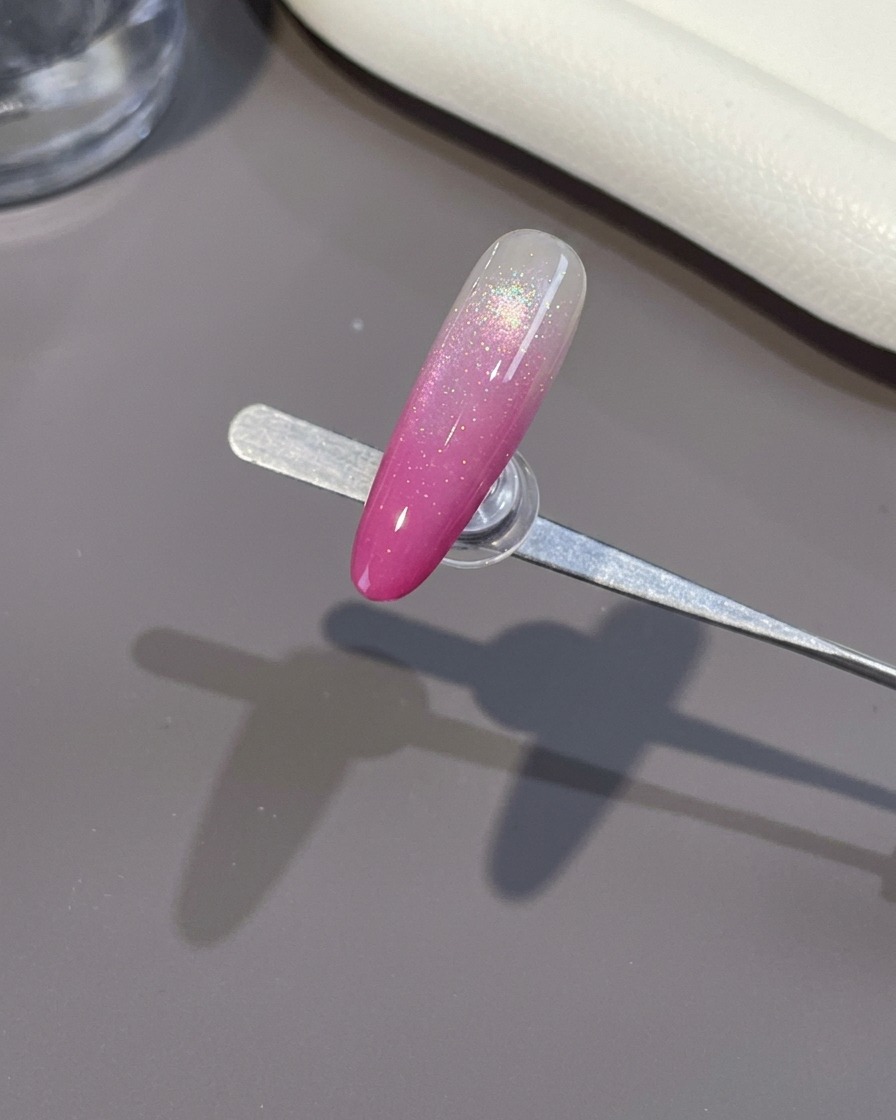
Apply a final layer of glossy top coat over the cured pink ombre design. Ensure you cap the free edge of the nail to protect against wear and increase longevity. Cure under your UV/LED lamp until completely dry to finish the look.
Tip: The top coat provides a protective barrier and a high-shine finish, sealing your nail art.