Pink and White Gradient Nails
3D Flower Nail Art Tutorial
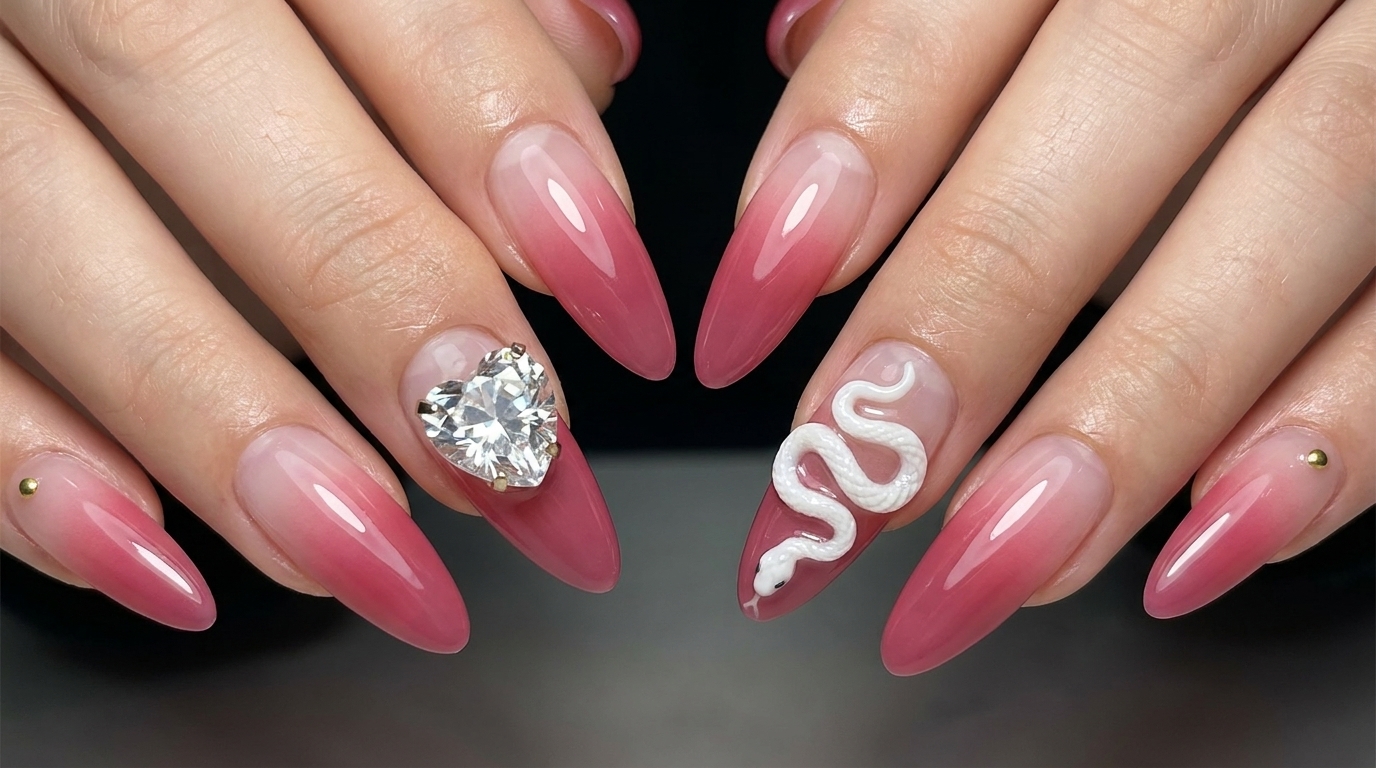
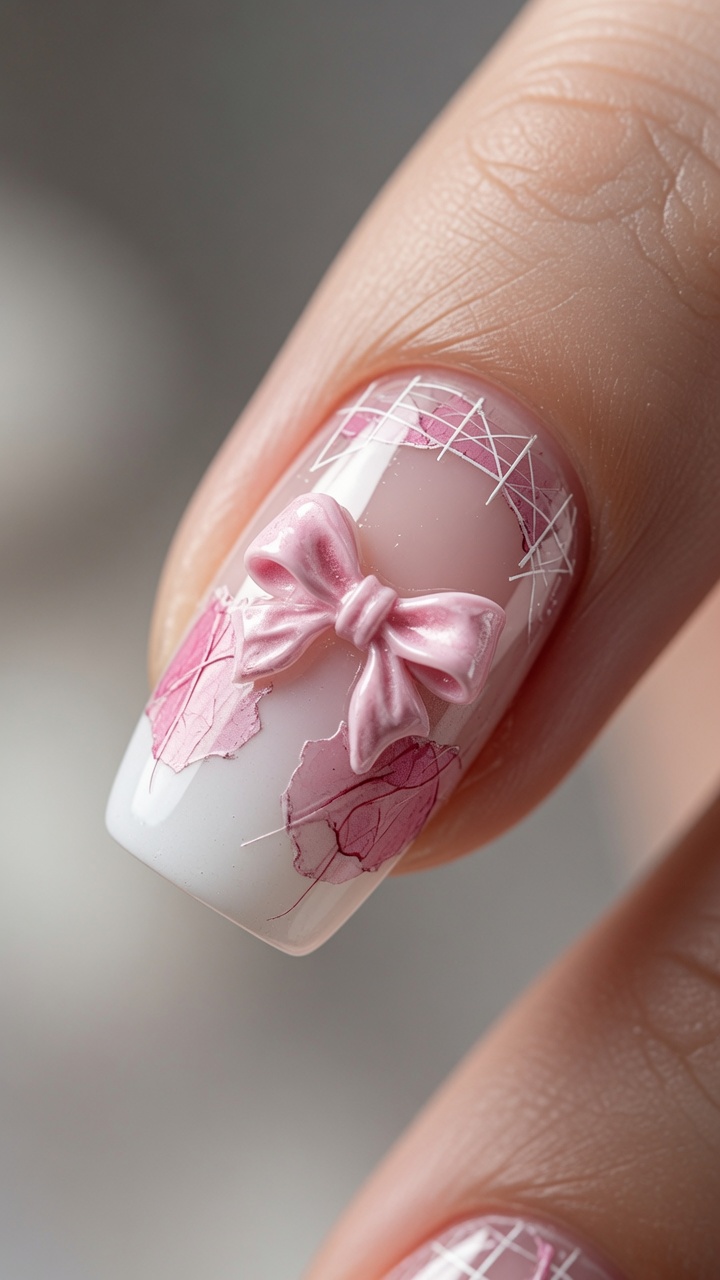
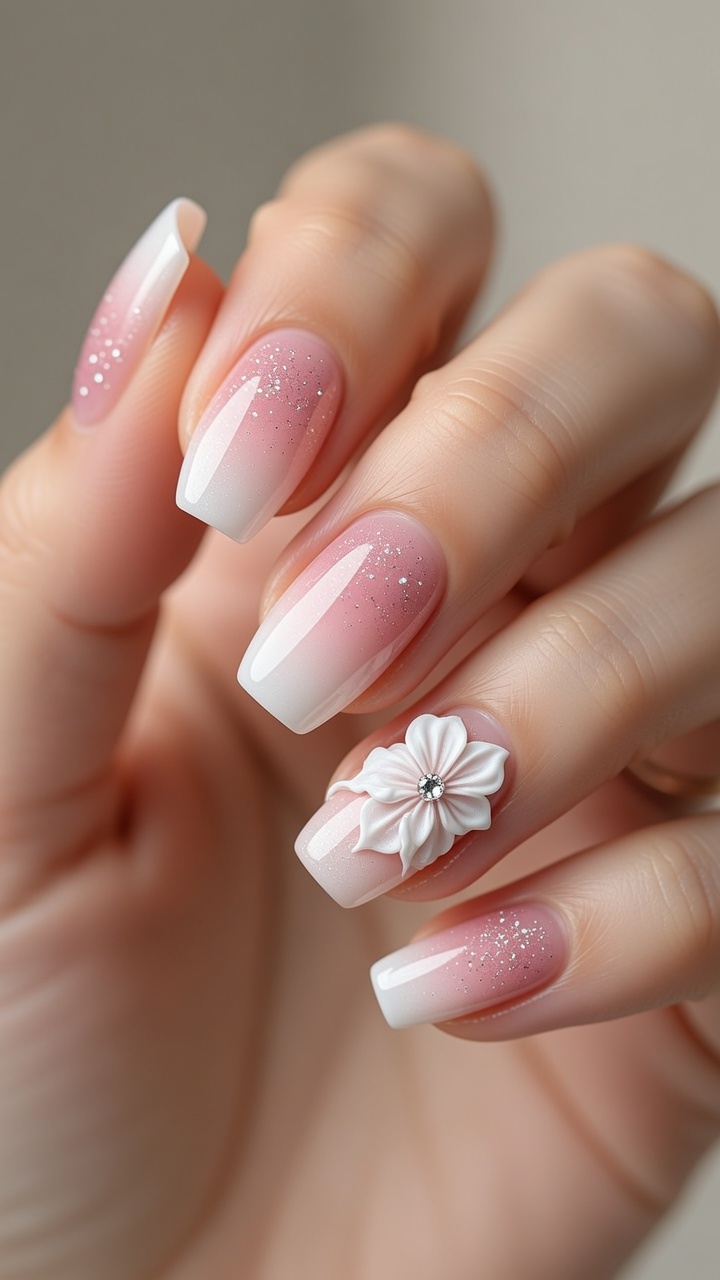
Learn how to create a flawless pink and white gel gradient manicure, beautifully accented with an elegant 3D flower and rhinestone.
Gradient nails are a timeless favorite, but adding a sculpted 3D flower takes this look to an entirely new level of elegance. In this tutorial, we focus on achieving a seamless transition between the soft pink base and the crisp white tips using a sheer nude blending layer. We also highlight the importance of prioritizing your nail health by using high-quality materials while achieving a stunning, salon-worthy finish.
Steps
- 1Apply pink base gel
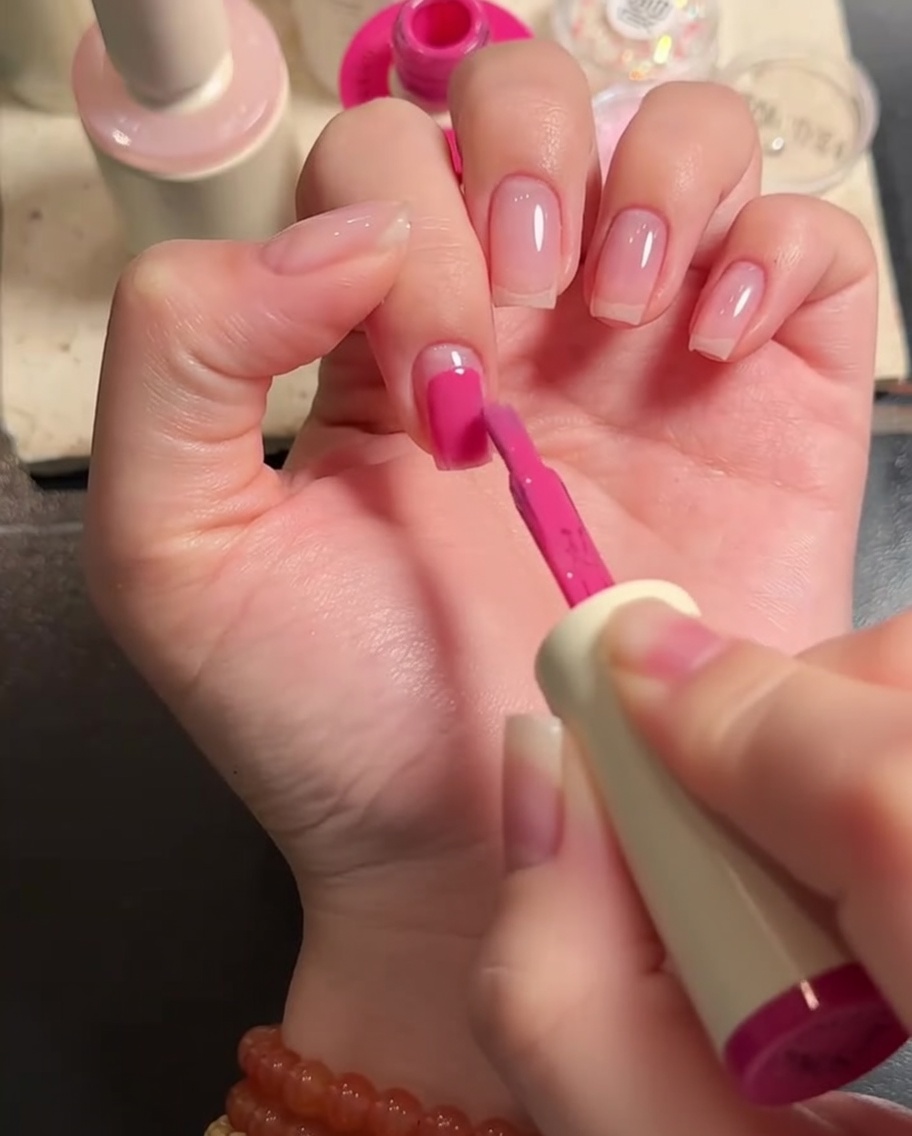
Apply a thin, even layer of pink gel to the nail plate using a flat brush. Carefully work the product around the cuticles and sides of the nail to ensure smooth coverage. This layer provides the foundation for the nail design.
Tip: Use light, controlled strokes with the flat brush to avoid streaks and pooling near the cuticle. - 2Cure the base layer
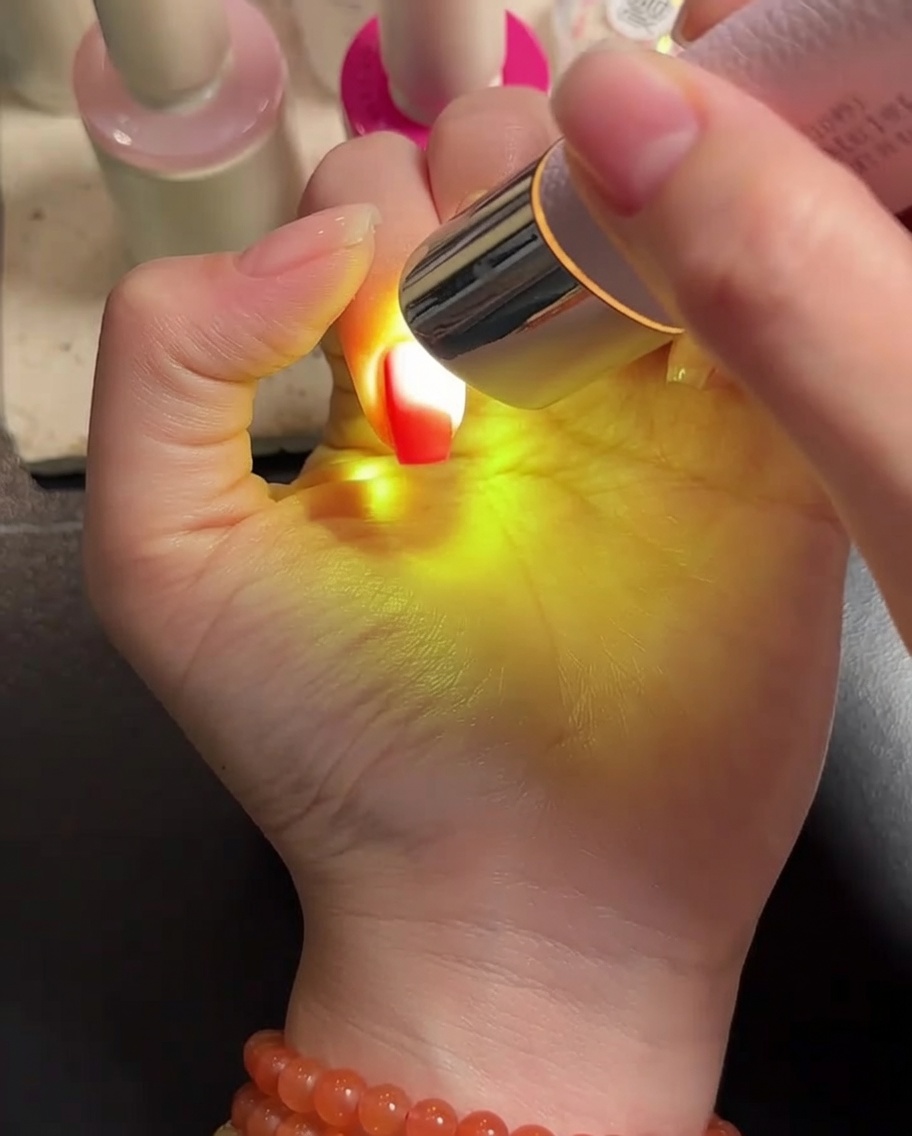
Place your nails under the LED lamp to cure the pink gel base layer. Ensure your hand is positioned comfortably to allow even light exposure across all fingers.
Tip: Ensure your fingers are positioned directly under the light source for the full duration recommended by the gel manufacturer. - 3Apply white gradient
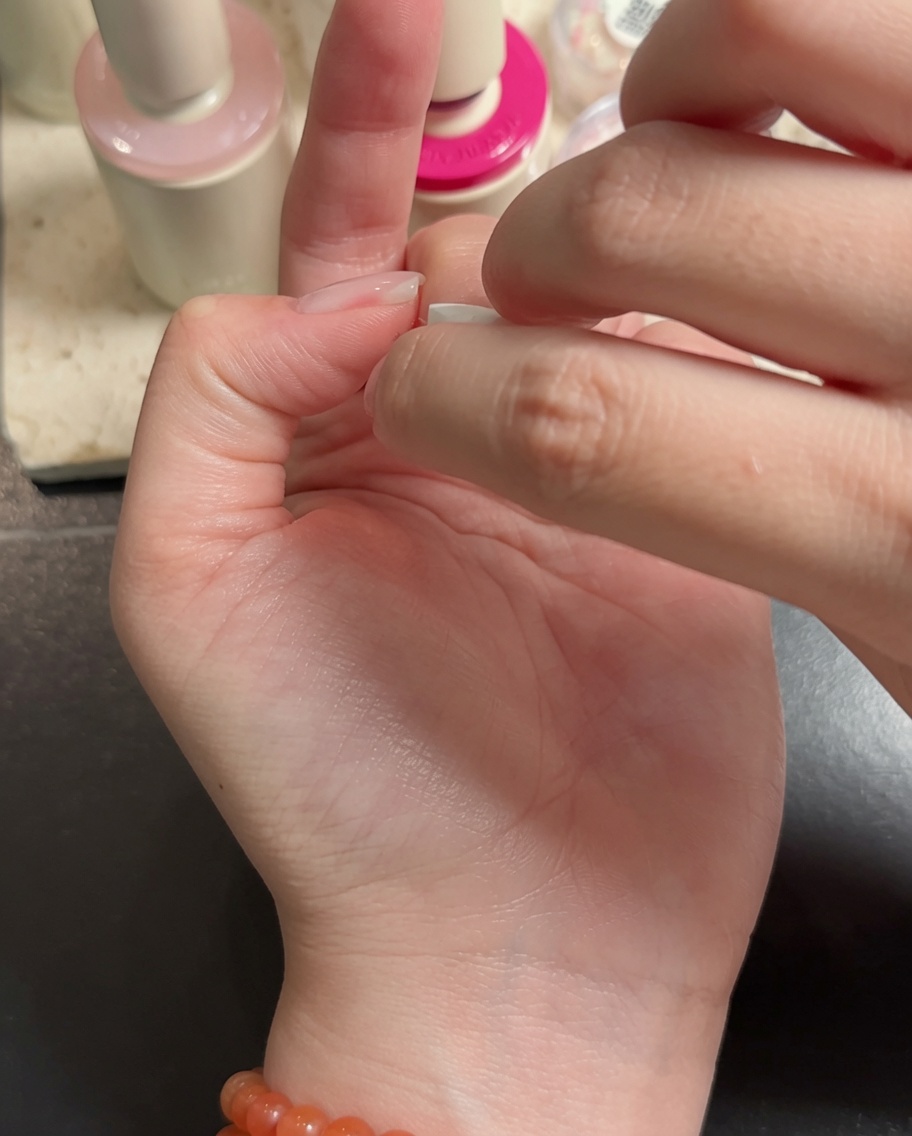
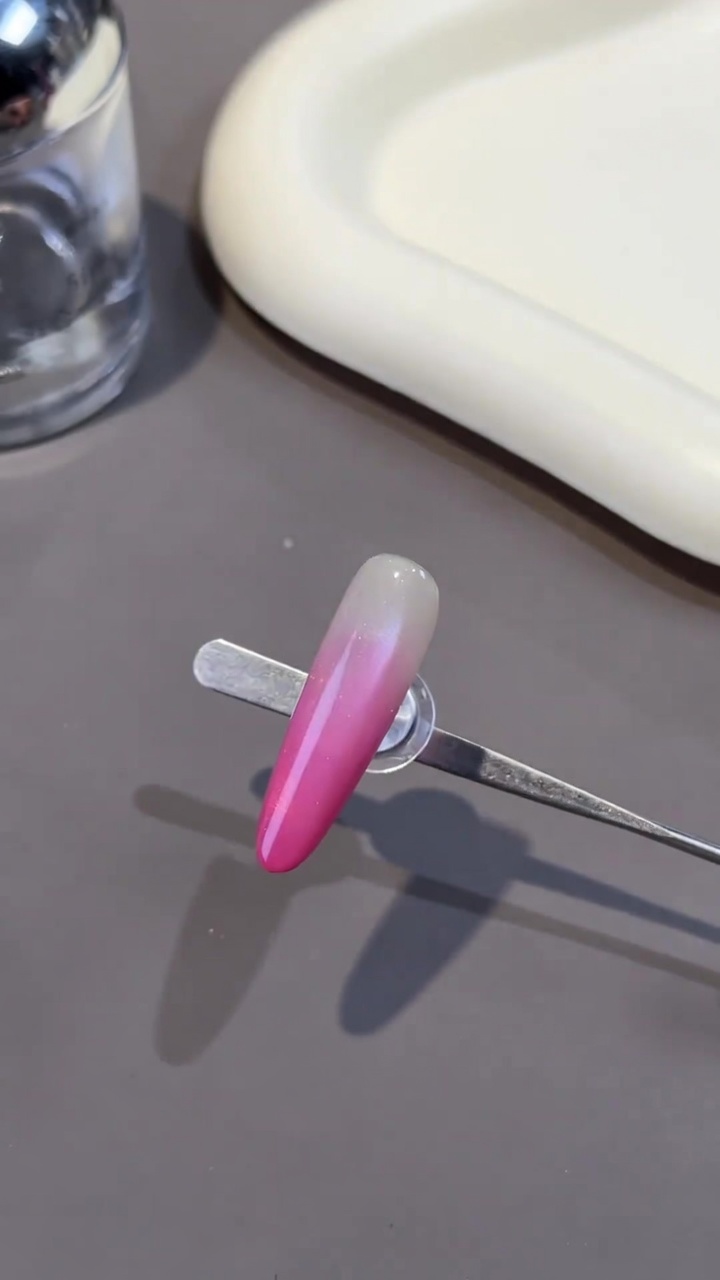
Apply a white gel to the middle and ring fingers to create a soft gradient effect. Focus on masking the smile line to achieve a seamless transition between the colors.
Tip: Use a light tapping motion with the brush or a sponge to blend the white gel into the pink base for a smooth ombre transition. - 4Cure the gradient
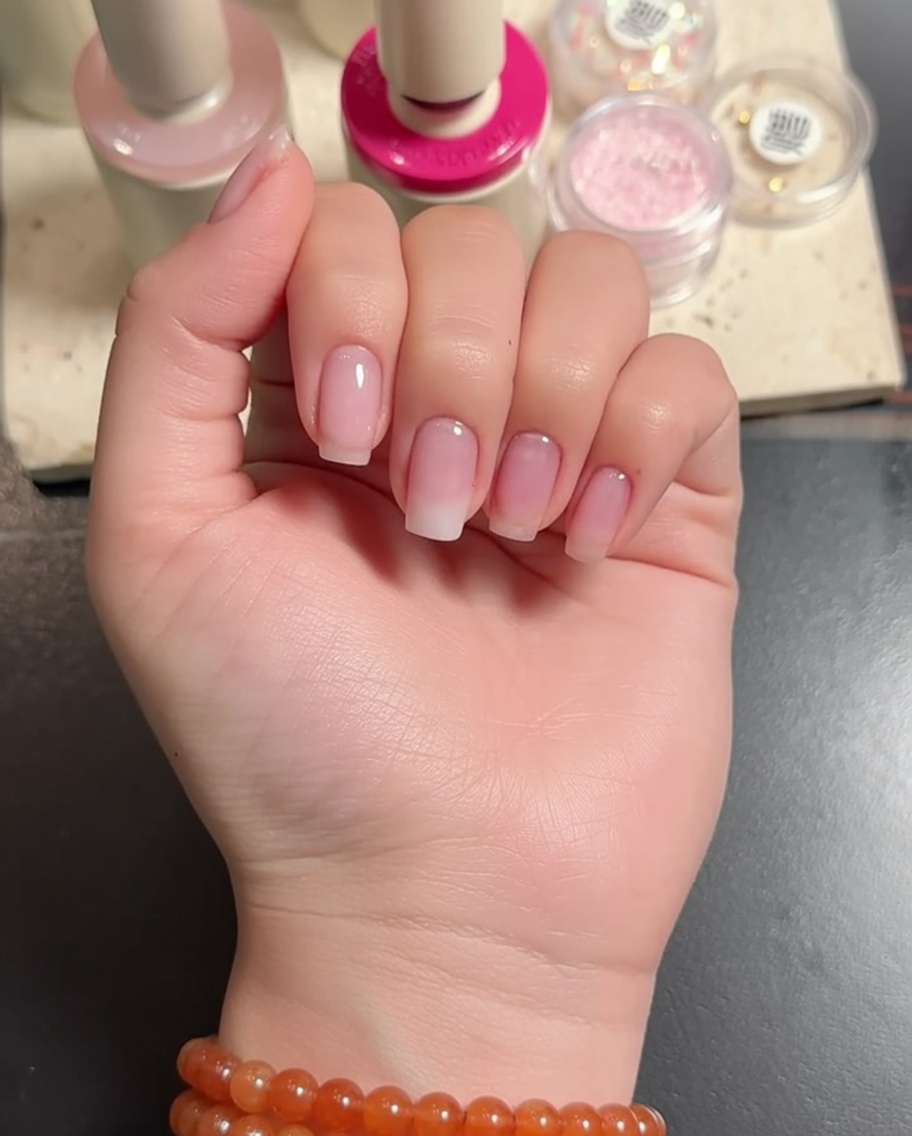
Place your nails under the LED lamp to cure the white gradient layer. This ensures the design is set before proceeding to the next step.
Tip: Ensure the gradient layer is fully cured to prevent any smudging when applying the next layer. - 5Apply sheer nude blending layer
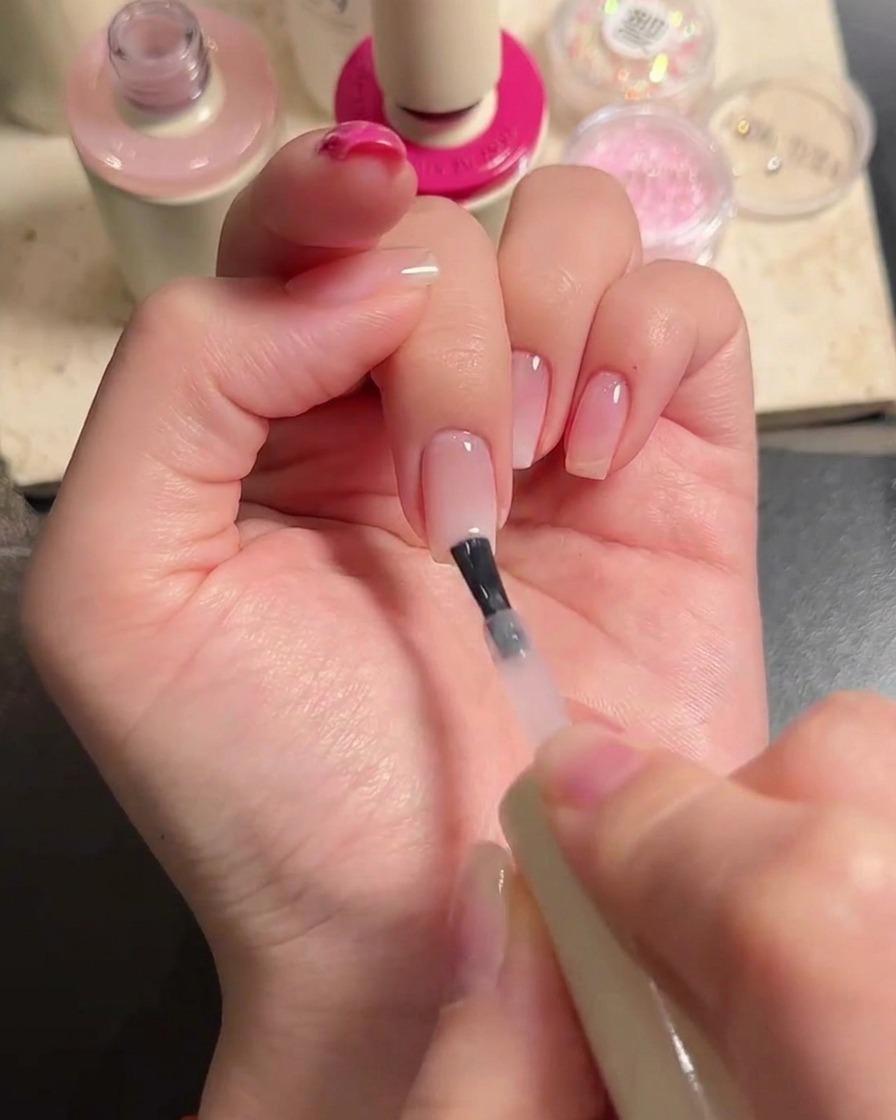
Apply a thin layer of sheer nude gel over the entire nail to blend the base color and the white gradient together. This softens the transition and creates a natural-looking finish.
Tip: Use a very thin layer of sheer nude gel to avoid adding too much bulk to the nail. - 6Cure the blending layer
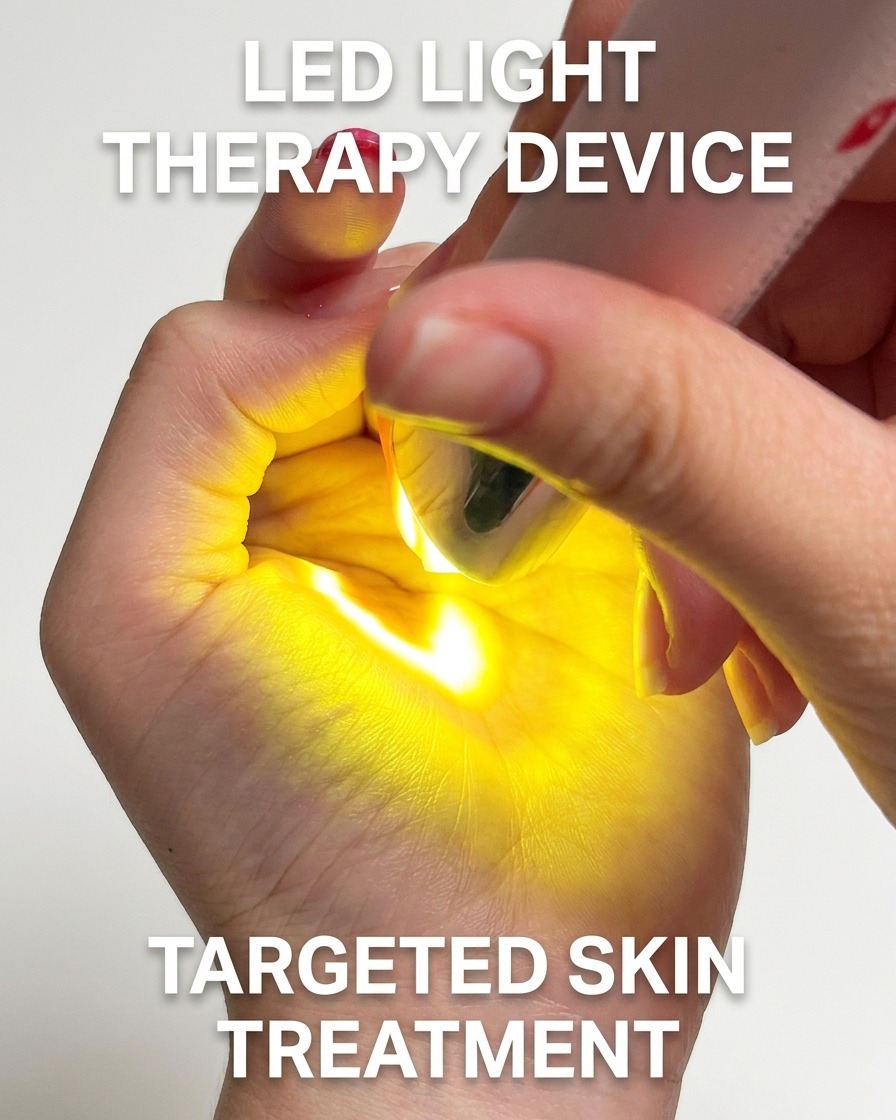
Cure the sheer nude blending layer under the LED lamp. This final curing step for the base and gradient ensures the entire design is durable and smooth.
Tip: Check that the nude layer is completely dry after curing before moving on to the top coat application. - 7Apply pink gel to the remaining nails
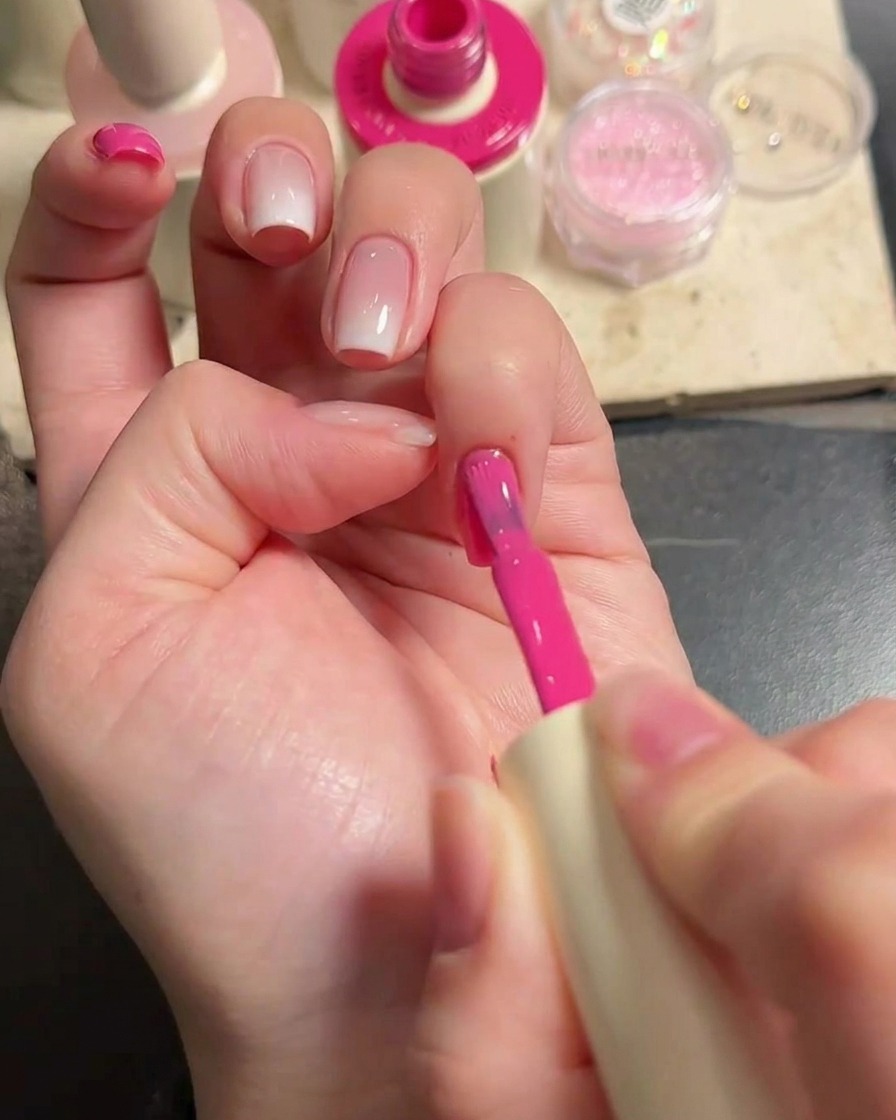
Using a flat brush, carefully apply a thin, even layer of pink gel to the remaining nails that have not yet been coated. Ensure you reach the cuticle area and sides without flooding the skin. After application, cure the nails under an LED lamp to set the product.
Tip: Apply the gel in thin layers to ensure a smooth, durable finish and proper curing. - 8Cure the pink gel
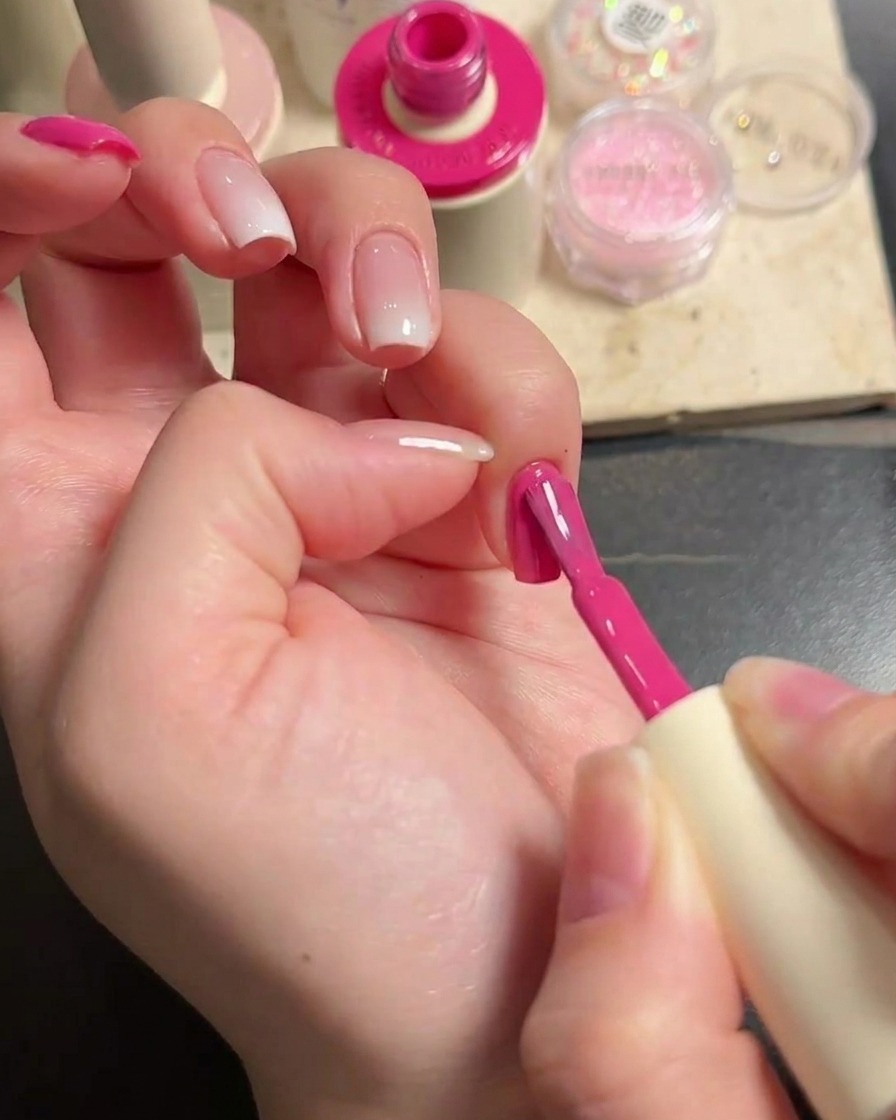
Place the hand with the newly applied pink gel under an LED lamp. Ensure the fingers are positioned so that all nails receive even exposure to the light. Cure for the recommended time to fully set the gel.
Tip: Keep your hand steady inside the lamp to avoid smudging the uncured gel. - 9Apply top coat to base layers
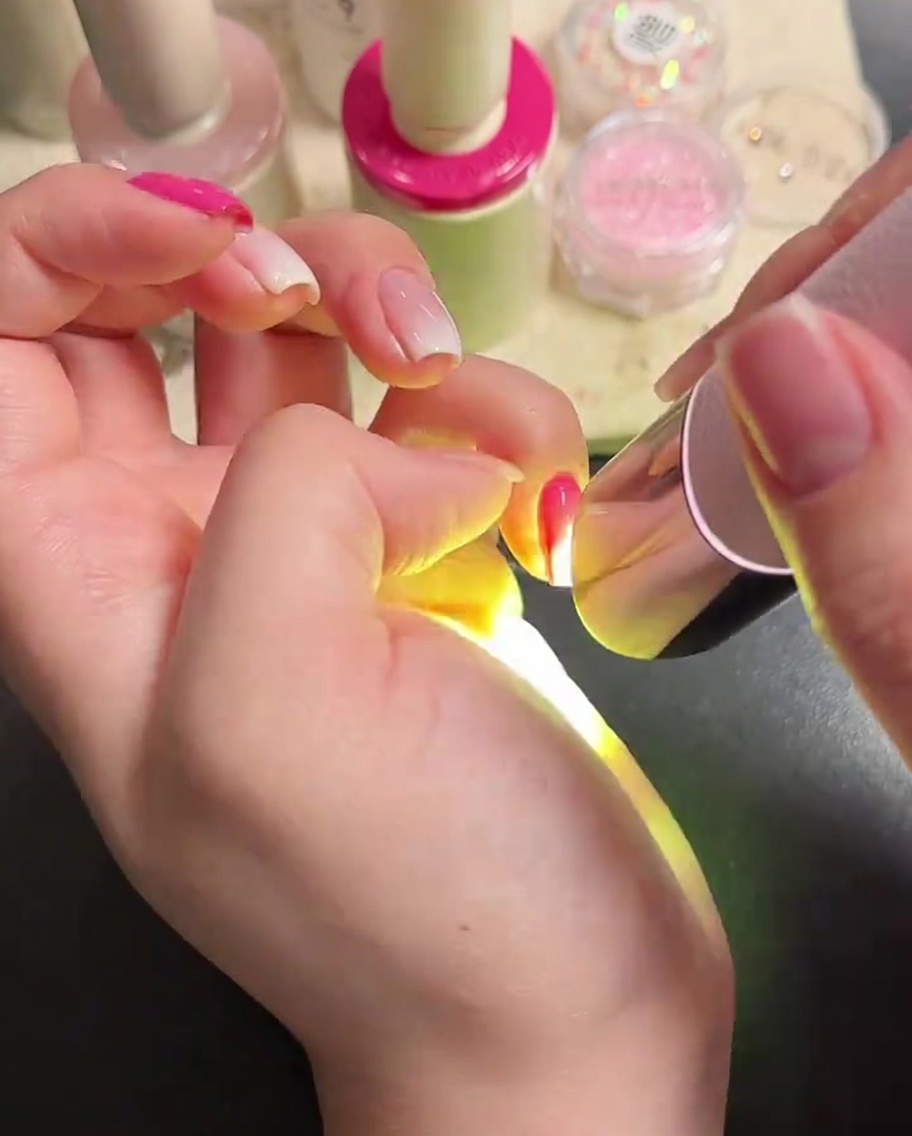
Apply a clear, high-shine top coat to all fingers to seal the base color and gradient. This step protects the foundation layers before adding the 3D embellishments.
Tip: Cap the free edge of each nail with the top coat to further protect your manicure from chipping. - 10Cure the base top coat
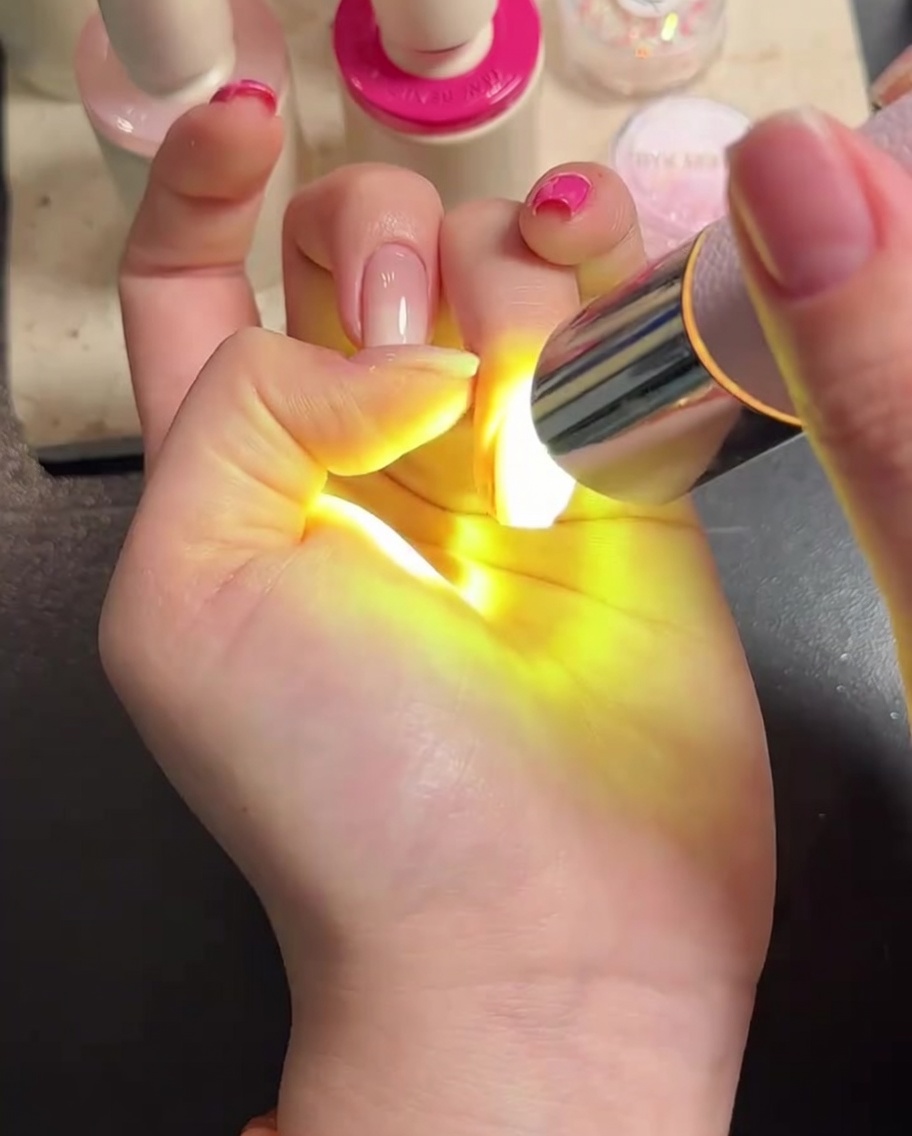
Place your hand under the LED lamp to harden the top coat. This ensures the foundational manicure is completely set and smooth before you attach any charms.
Tip: Do not rush the final cure; allow the full recommended time for the best shine and durability. - 11Apply adhesive for decoration
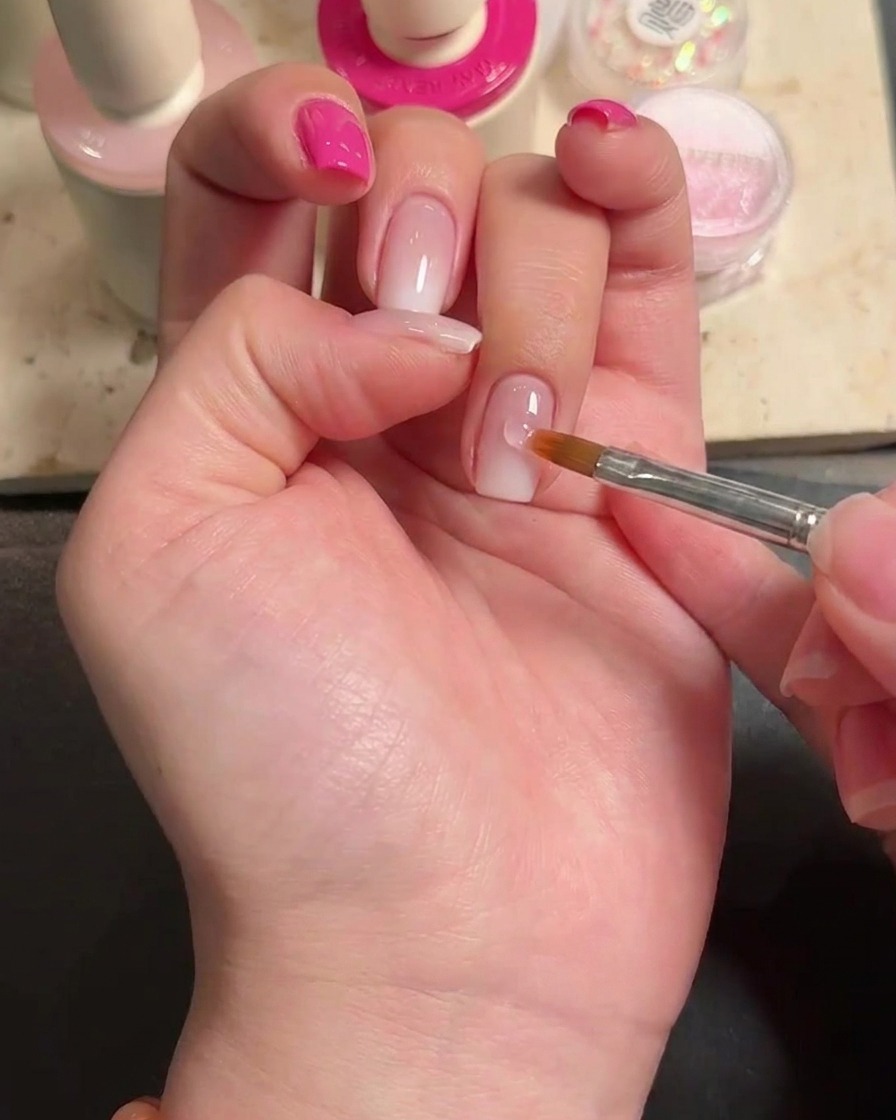
Apply a small, precise drop of nail glue to the center of the ring finger nail where you plan to place the 3D flower decoration. Be careful to apply only as much as needed to secure the charm.
Tip: A little glue goes a long way; using too much can create a messy look around the charm. - 12Attach 3D nail charm
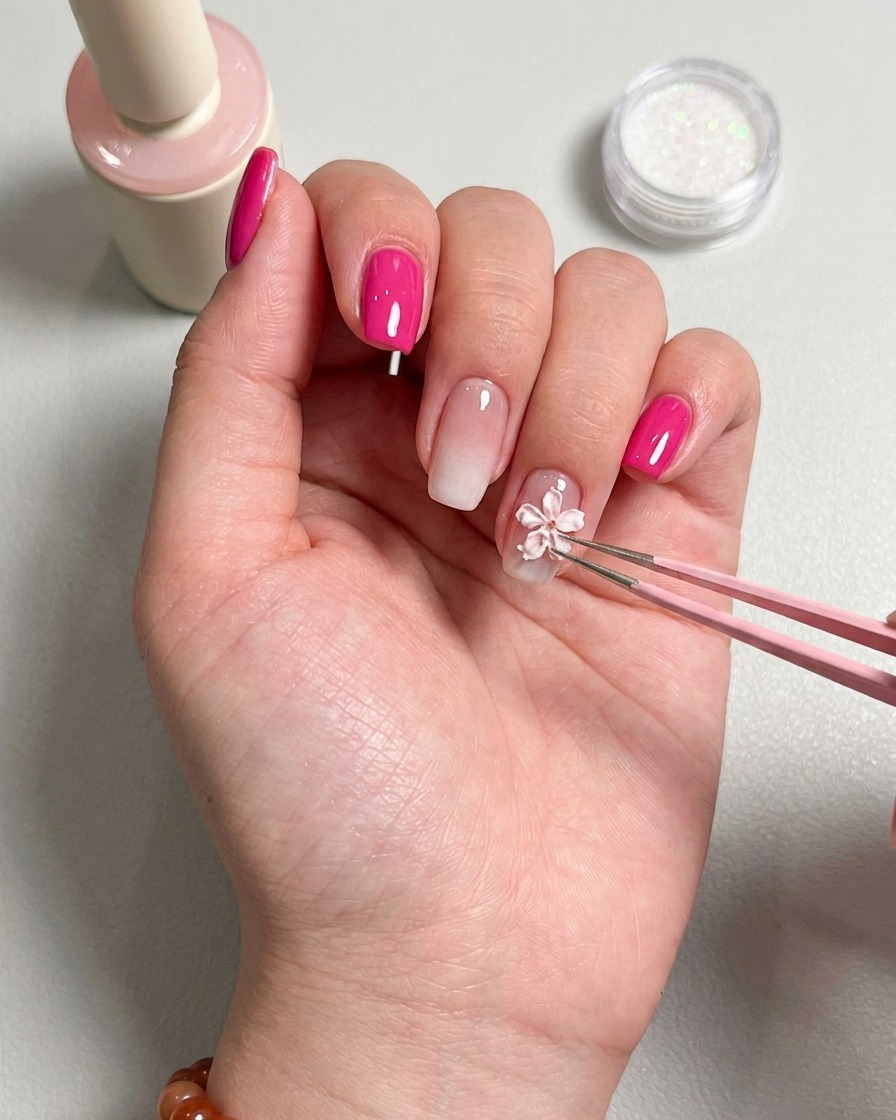
Using tweezers, carefully pick up the 3D flower decoration and press it firmly onto the spot where you applied the glue. Hold it in place for a few seconds to ensure it bonds securely to the nail surface.
Tip: Use high-quality tweezers to maintain control over the placement of delicate 3D charms. - 13Place the rhinestone
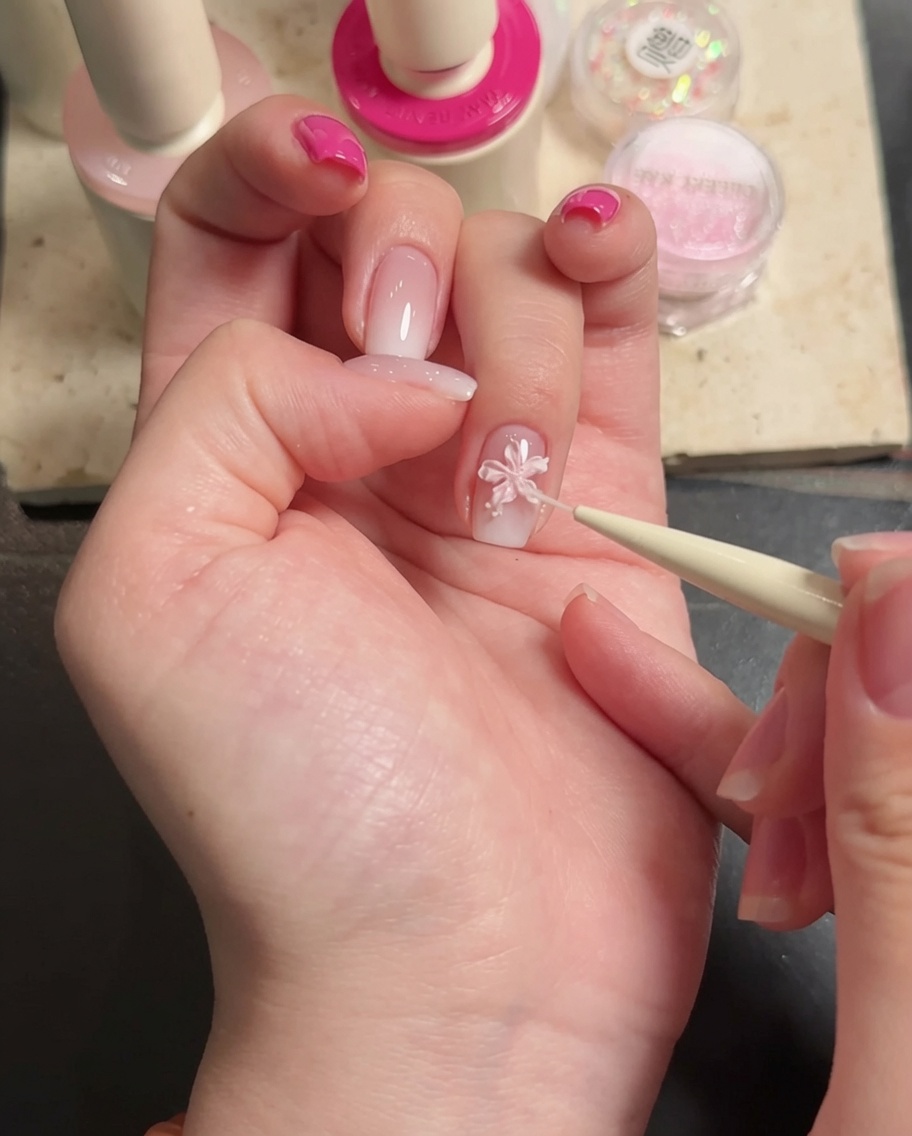
Using precision tweezers, carefully pick up a small rhinestone and place it directly into the center of the 3D flower decoration previously applied to the ring finger. Ensure it is centered and settled into the tacky adhesive layer. Cure under the UV/LED lamp to secure the decoration in place.
Tip: If the rhinestone shifts before curing, gently nudge it back to the center of the flower with the tip of your tool. - 14Apply final top coat
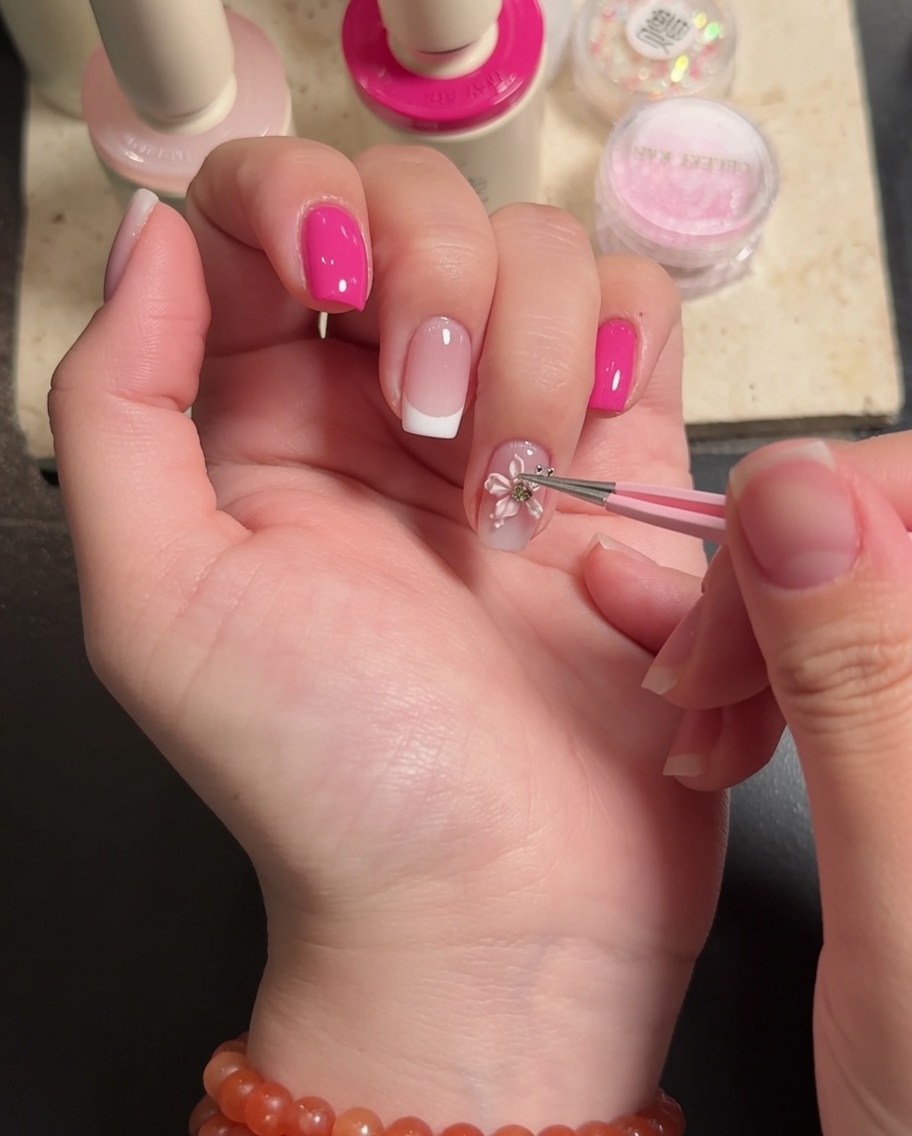
Apply a final layer of top coat over the entire nail, being careful to work around the 3D flower decoration to ensure it is sealed without flooding the details. This protects the nail art and ensures a long-lasting, glossy finish. Cure the nail one final time under the UV/LED lamp to complete the manicure.
Tip: Take your time with the top coat application around 3D elements; using a smaller detail brush can help you navigate around the texture effectively.