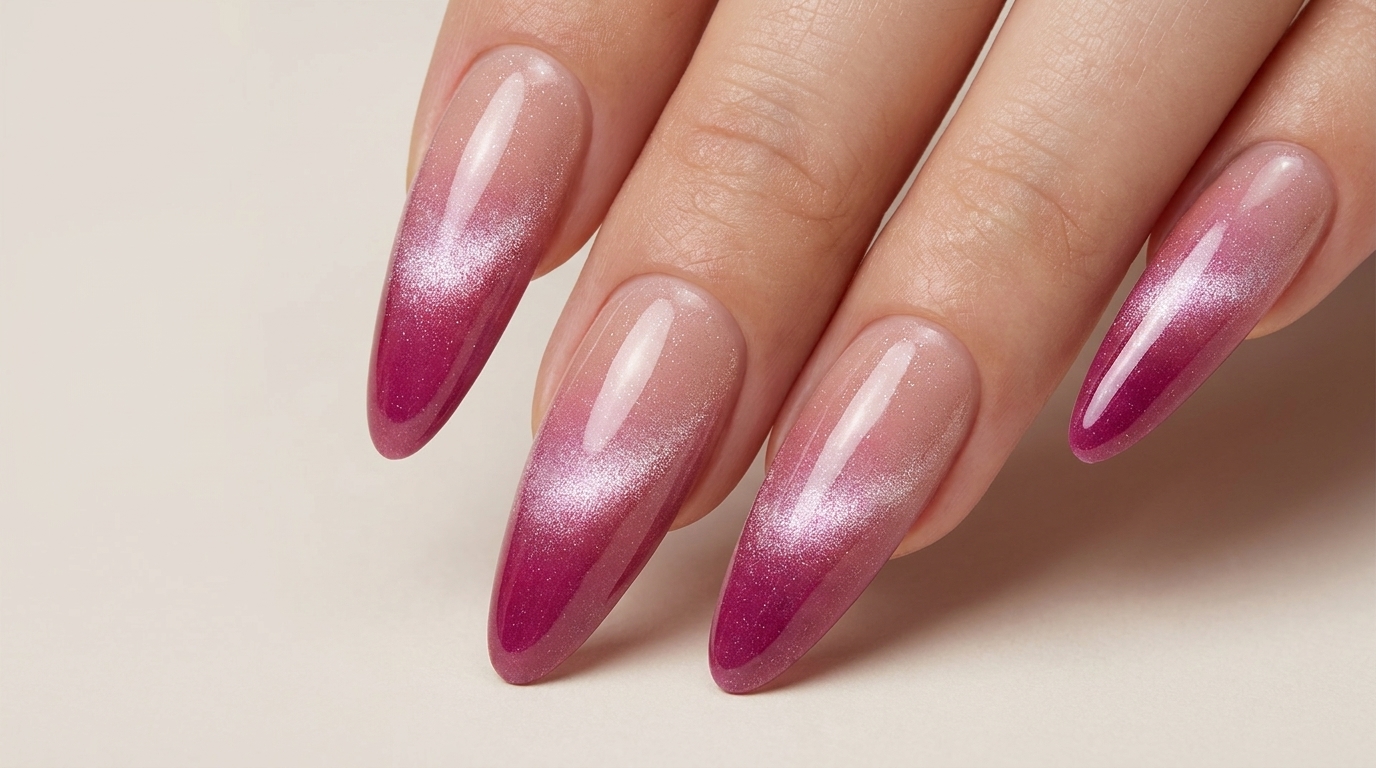
Rose Pink Ombre Nails
3D Sculpted Snake & Crystal Art
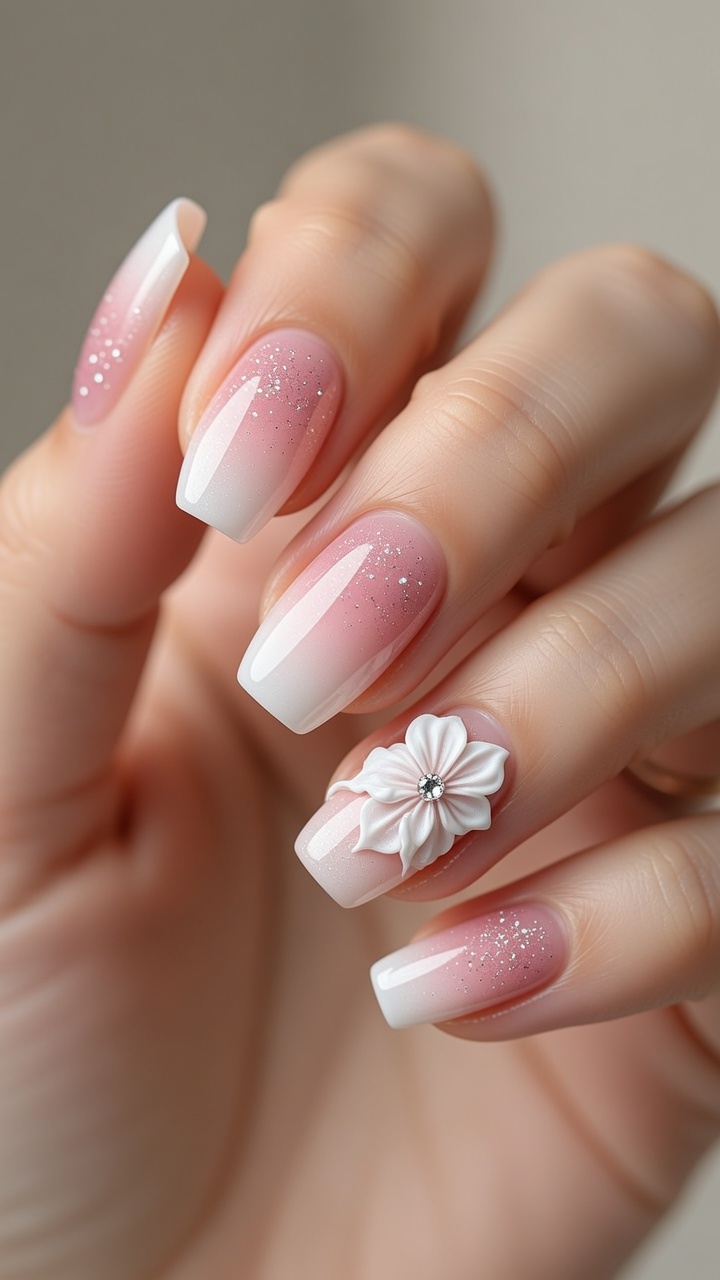
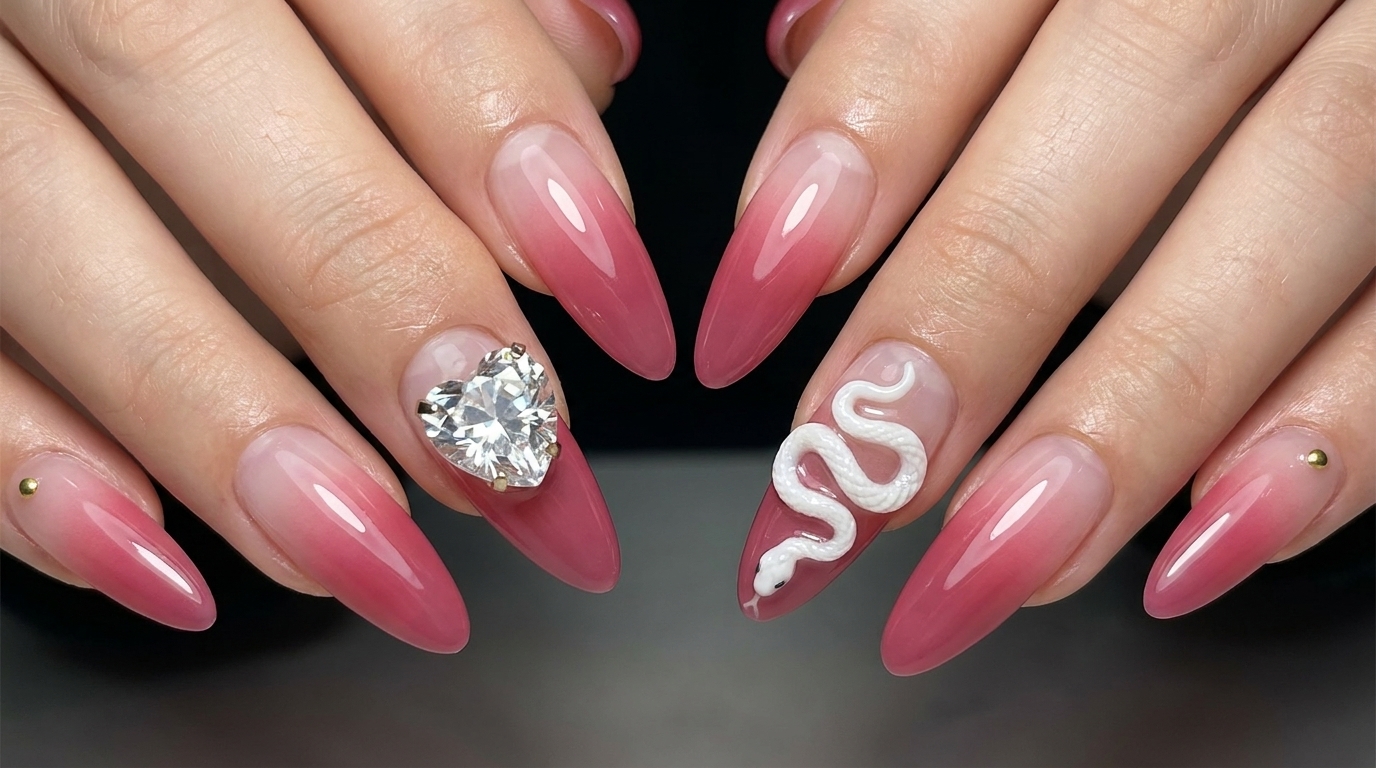
Master seamless gradient blending and 3D gel art with this stunning rose pink ombre manicure, featuring a dazzling heart crystal and an intricate sculpted snake.
Combining delicate romance with a touch of edge, this nail look perfectly balances a soft rose pink ombre with bold 3D accents. The seamless gradient is built layer by layer for a natural transition, while the statement crystal and intricately sculpted white snake add spectacular dimension. Using 3D sculpting gel and careful detailing, this tutorial will help you elevate your nail art skills to create a true statement masterpiece.
Steps
- 1Clean and prep the nail surface
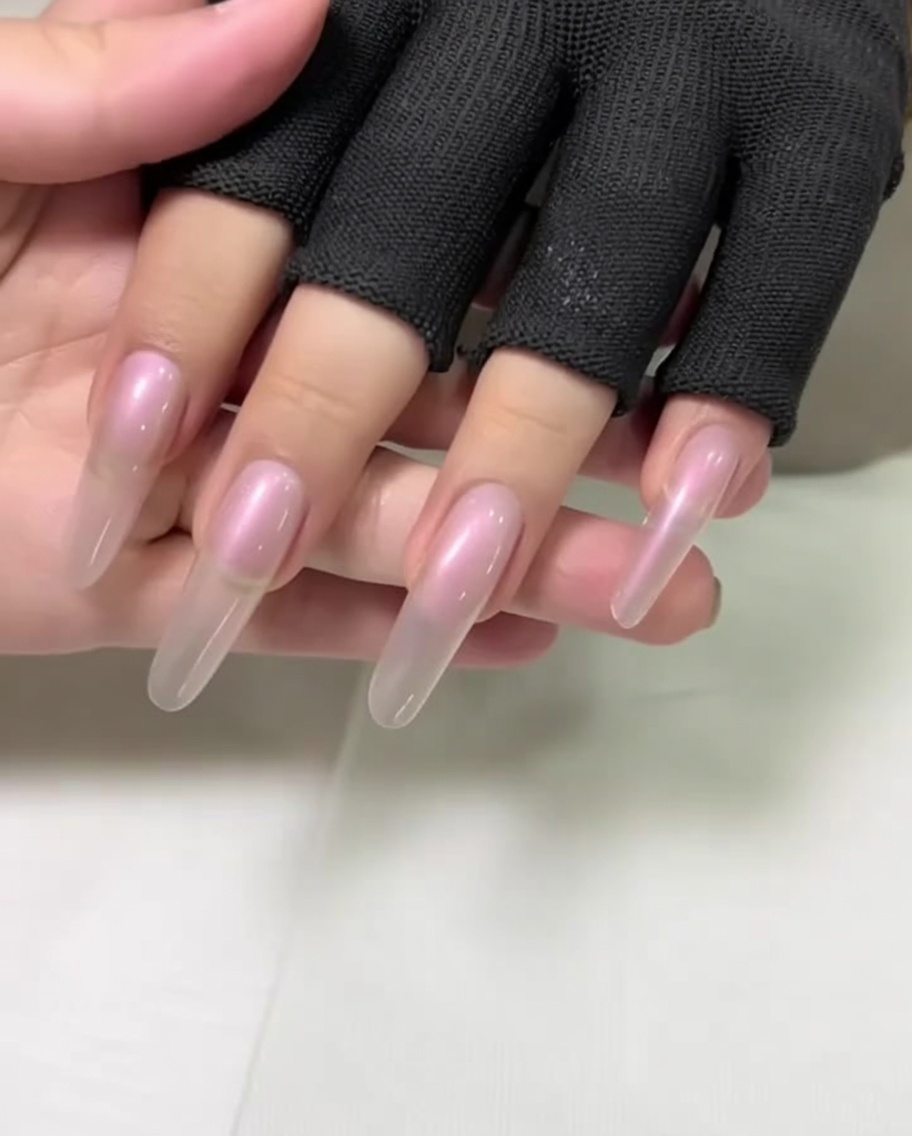
Begin by gently pushing back the cuticles to create a clean canvas. Ensure the nail plate is free of debris and oils, providing a smooth surface that will allow the base color and subsequent layers to adhere properly for a long-lasting manicure.
Tip: Be gentle when pushing back cuticles to avoid damaging the delicate skin around the nail plate. - 2Apply the first ombre layer
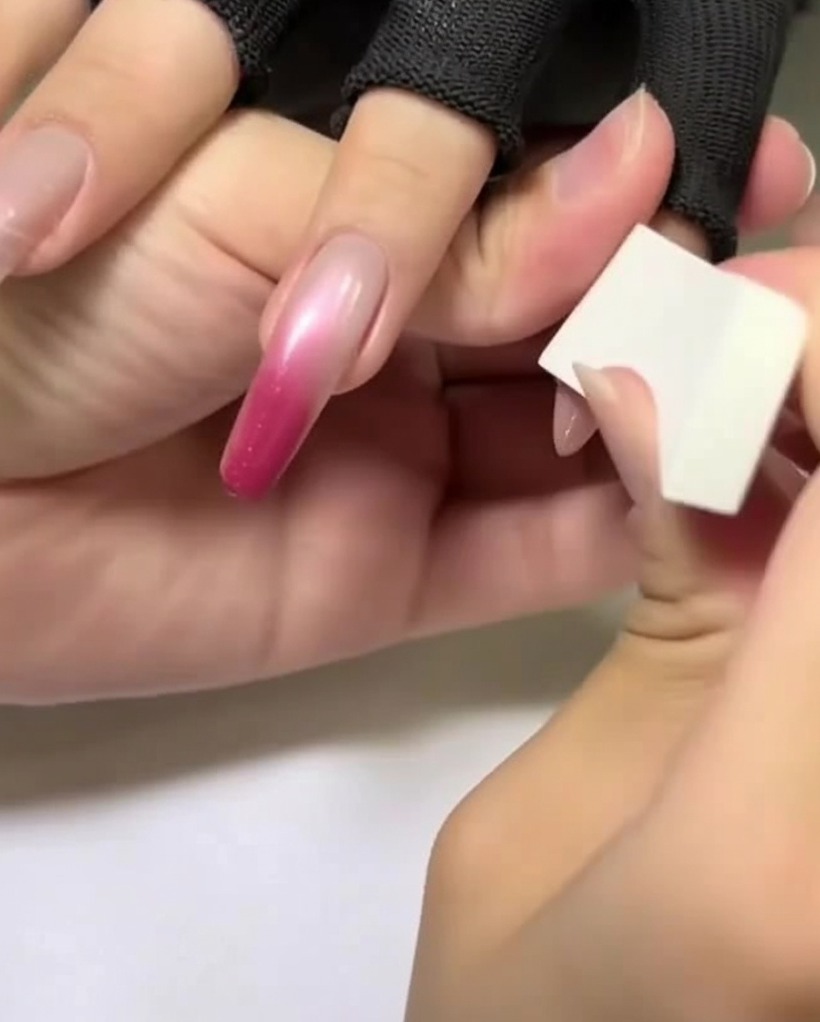
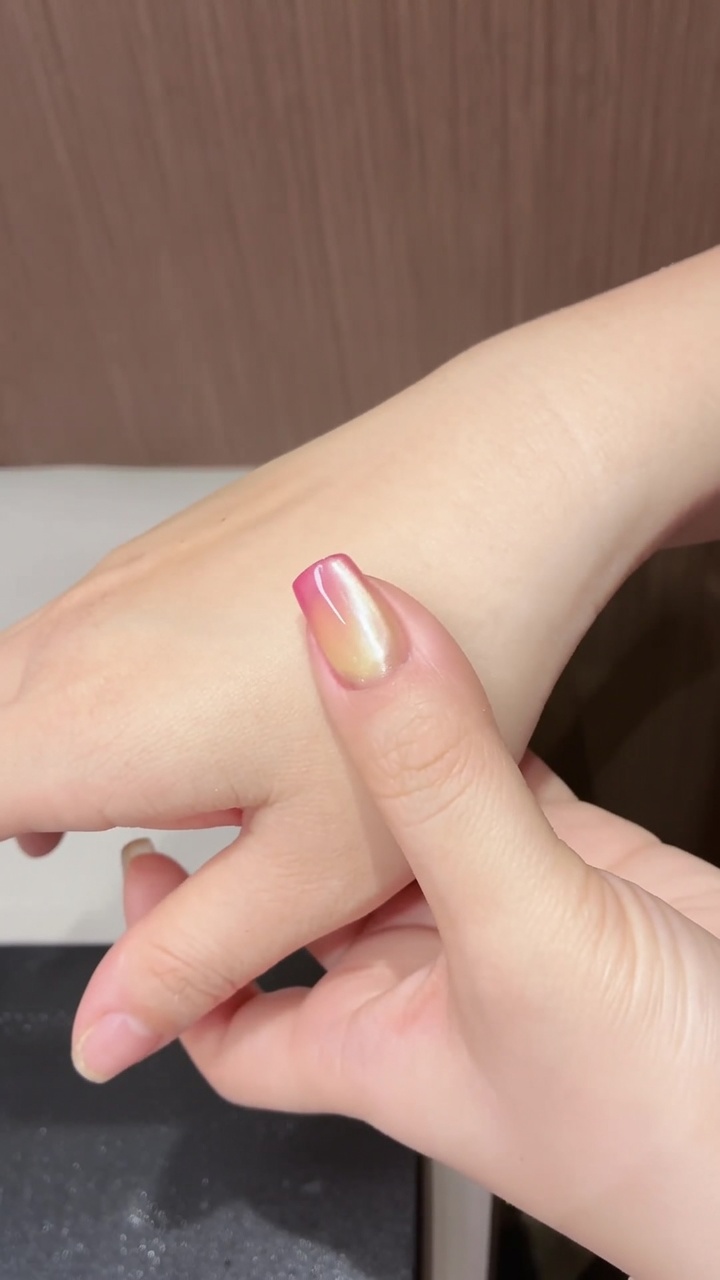
Apply the first layer of the rose pink ombre color using a makeup sponge. Focus this layer high up on the nail to establish the lightest part of the gradient, ensuring a smooth and natural transition for the subsequent layers.
Tip: Use a light dabbing motion with the sponge to avoid creating harsh lines or streaks. - 3Apply the second ombre layer
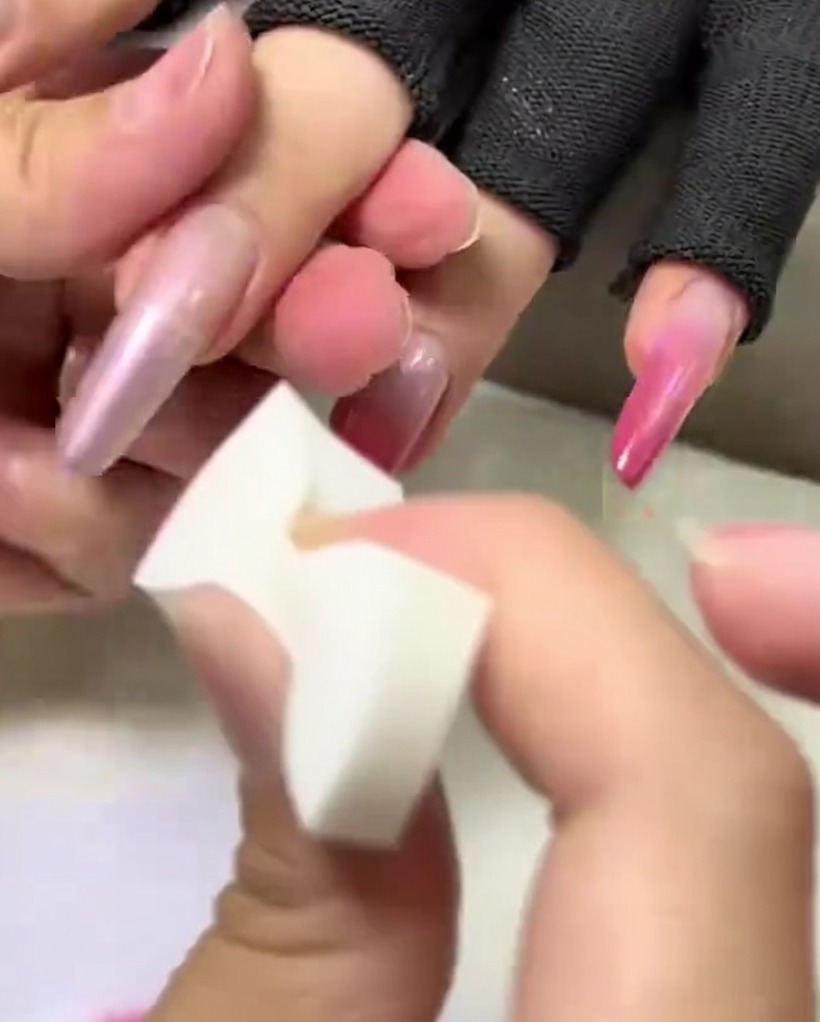
Apply a second, more concentrated layer of the rose pink ombre color, overlapping the first layer but keeping it slightly lower on the nail. This overlapping technique builds the intensity of the gradient and creates a seamless depth.
Tip: Ensure the sponge is slightly dampened or has enough pigment to blend the colors together effectively. - 4Apply the third ombre layer
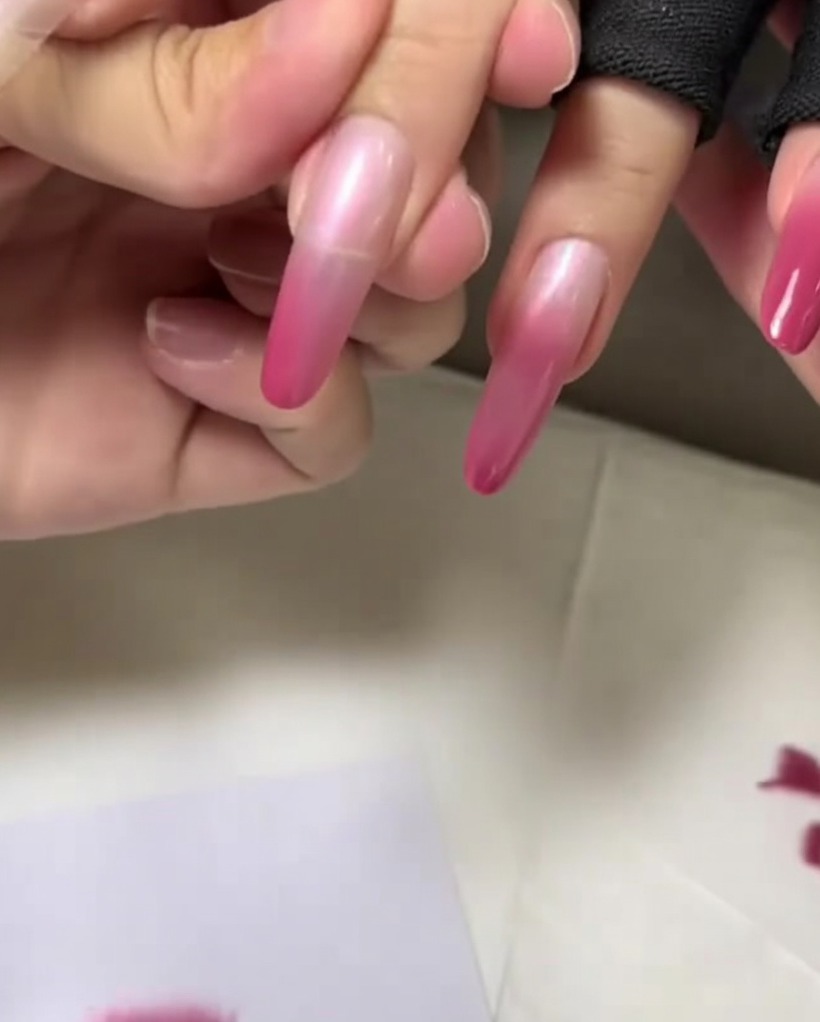
Apply the final, third layer of pink ombre at the very tip of the nail. This layer should be the most concentrated, creating the darkest point of the gradient to complete the ombre transition.
Tip: Focus the pigment primarily on the free edge to ensure the darkest part of the ombre is at the tip. - 5Prep for Crystal Placement
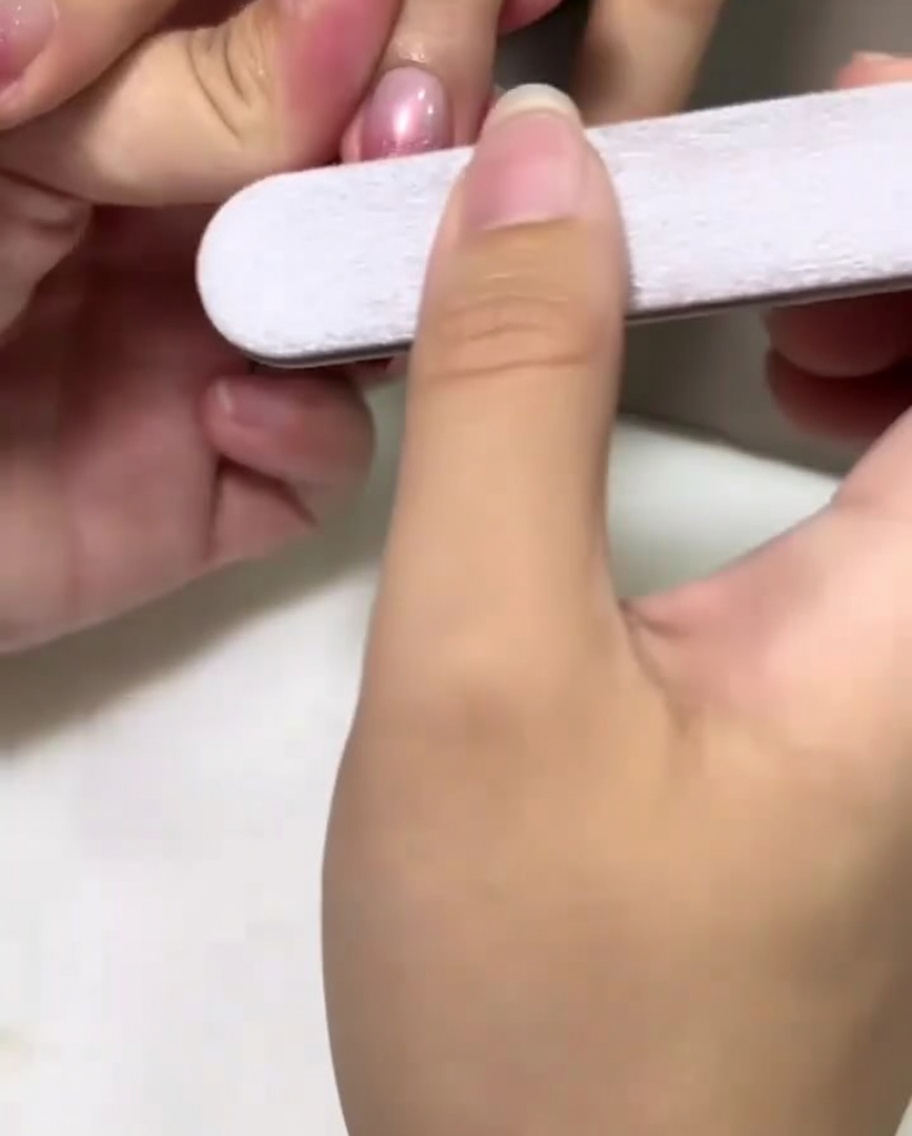
Use a nail file or buffer to gently rough up the surface of the nail where the crystal will be placed. This creates a slightly textured area that allows the gel adhesive to bond more securely, preventing the heavy crystal from popping off.
Tip: Only buff the specific spot where the gem will go to avoid dulling the glossy finish of your base color. - 6Apply Gel Adhesive
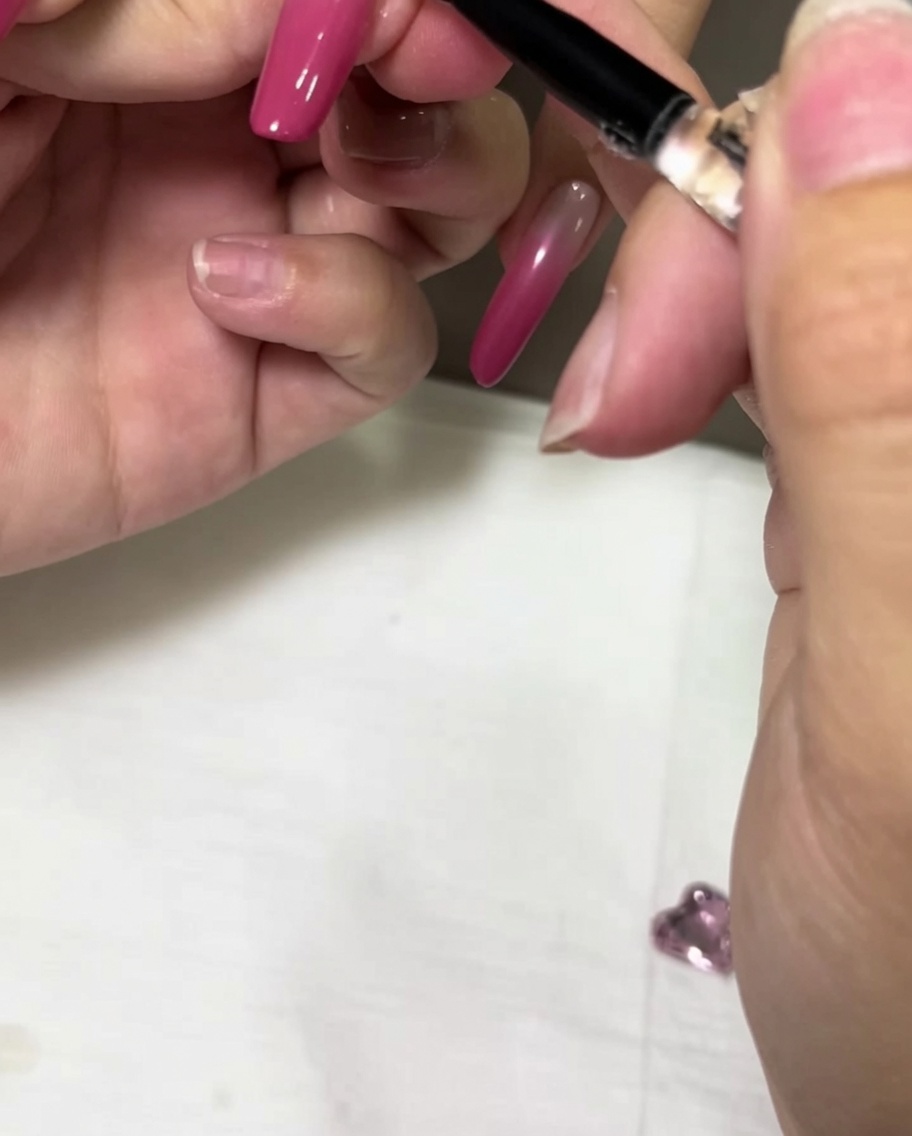
Using a detail brush, apply a dab of clear gel adhesive or thick builder gel directly to the area where you want the crystal to sit. Ensure you use enough gel to slightly encapsulate the edges of the crystal for a strong, long-lasting hold.
Tip: A thick, non-wipe gem gel works best for large crystals because it holds them in place without sliding around before curing. - 7Place the Crystal
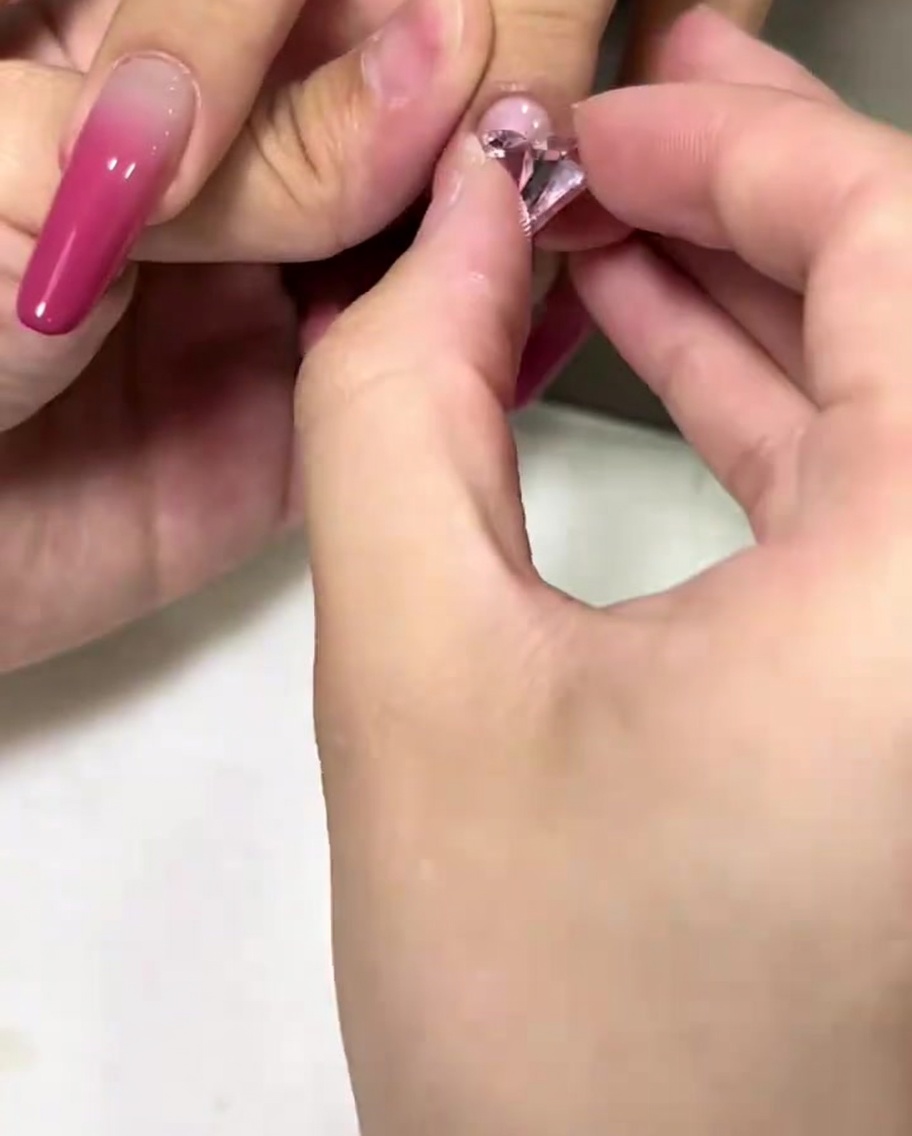
Carefully position the large heart-shaped crystal onto the wet gel adhesive. Press it down gently to ensure it is fully embedded in the gel, and make any final adjustments to its placement before curing the nail under your lamp.
Tip: Use wax tweezers or a specialized crystal picker tool for better visibility and precise placement of large gems. - 8Begin Sculpting the Snake
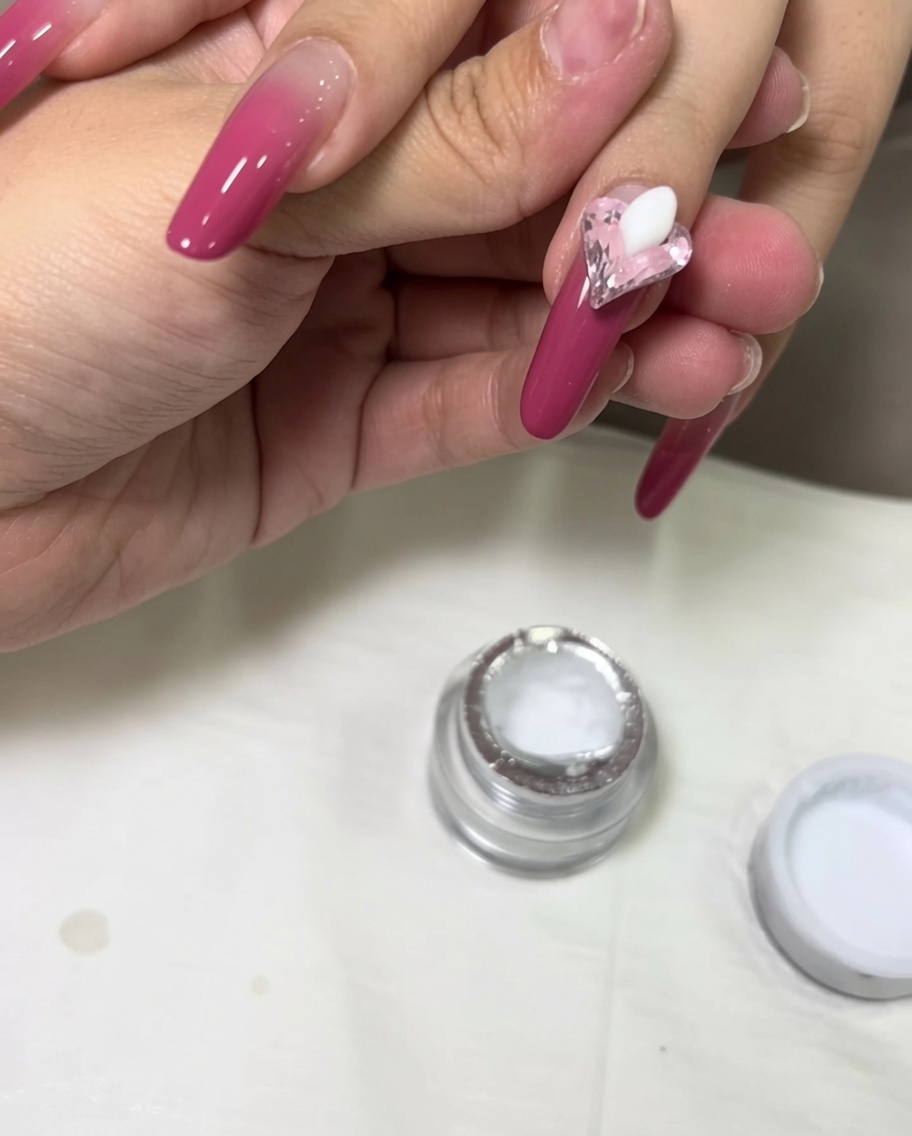
Apply a bead of white 3D sculpting gel or thick acrylic next to the crystal to start forming the snake. Mold the gel to create the general shape, working in small sections to control the volume and thickness of the snakes body.
Tip: Work with small, manageable beads of 3D gel to maintain control over the intricate shape. - 9Refine the 3D snake
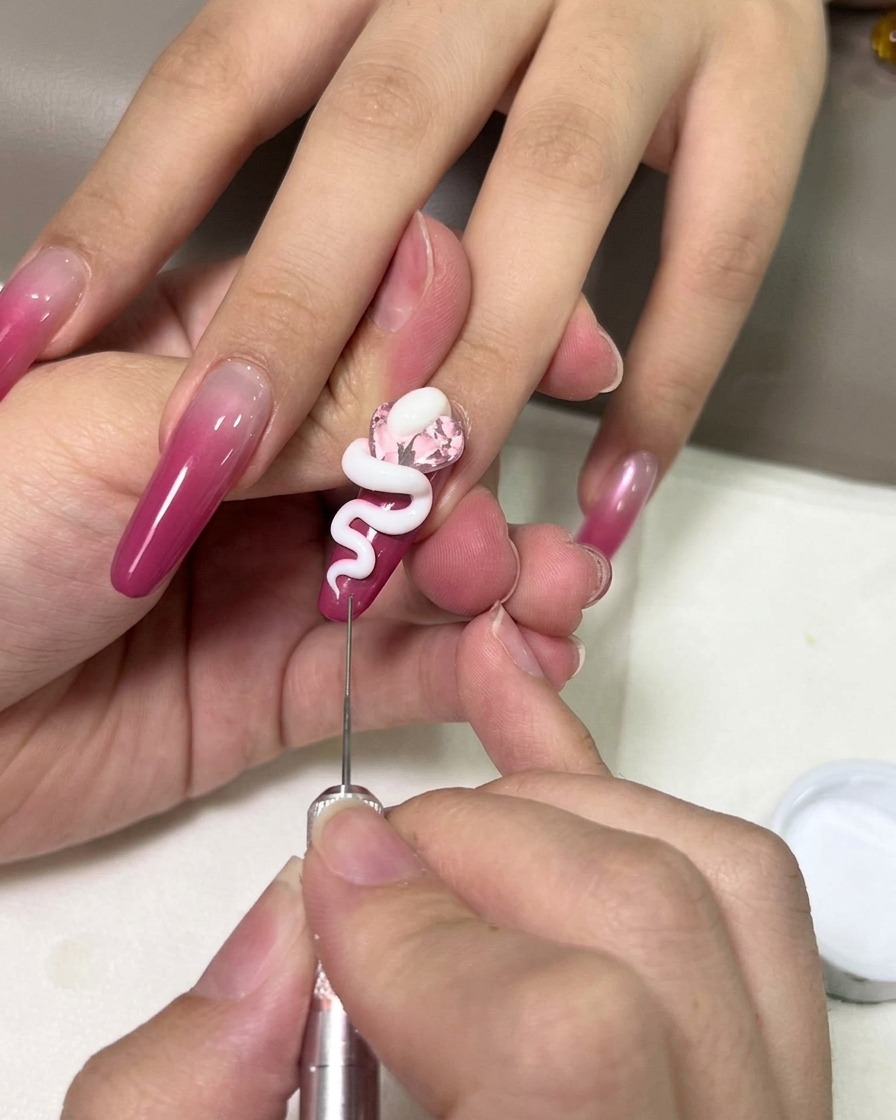
Using a precision tool, carefully adjust and refine the curves of the 3D white sculpting gel snake. Gently taper the tail and ensure the body shape sits flush against the nail and the embedded crystal to create a natural, seamless transition.
Tip: Keep your tool slightly damp with slip solution or alcohol if the sculpting gel starts to stick, allowing for smoother manipulation. - 10Add Snake Texture
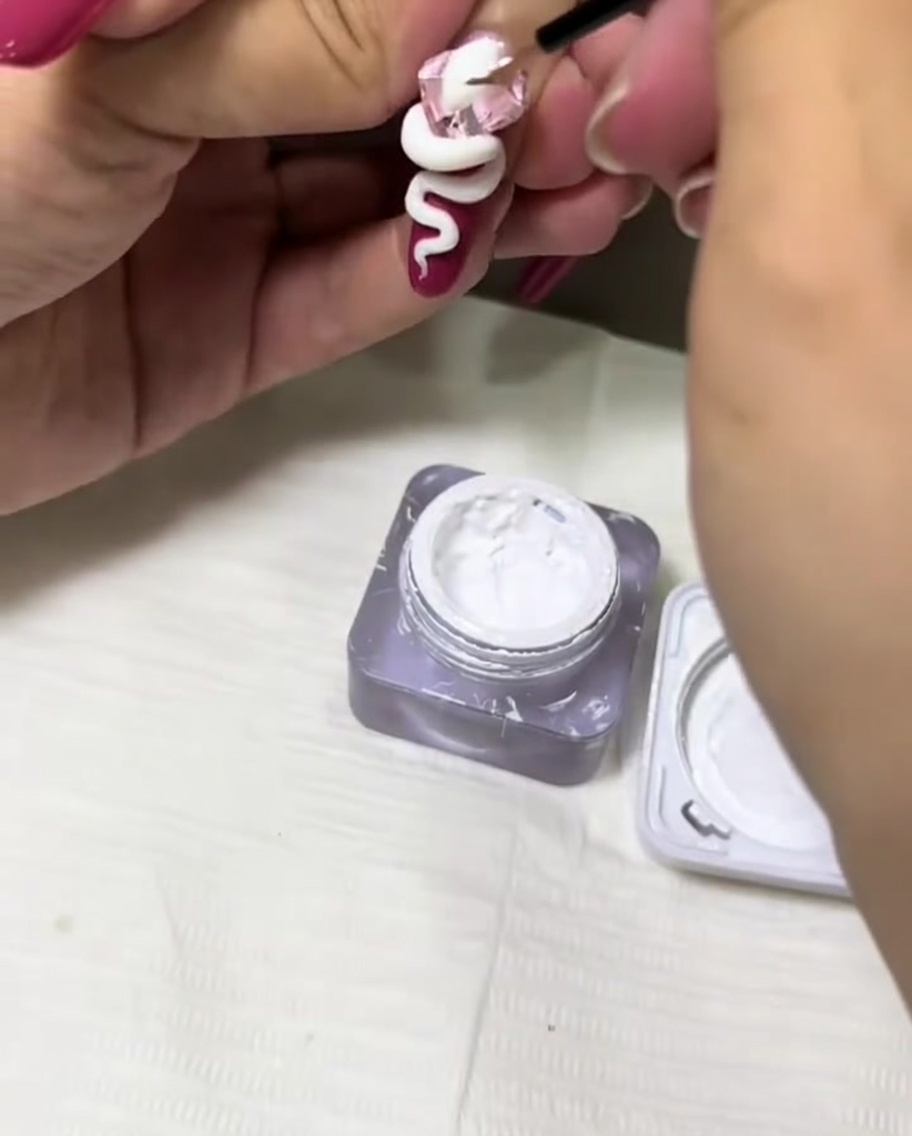
Use a thin detail brush to apply more white sculpting gel or a mix of gel and powder to build up the texture on the snakes body. You can create subtle lines or a grid pattern to mimic the look of scales for added dimension.
Tip: Applying a light sprinkle of clear acrylic powder over the wet gel before curing can also provide a realistic, textured matte finish. - 11Paint the grid lines
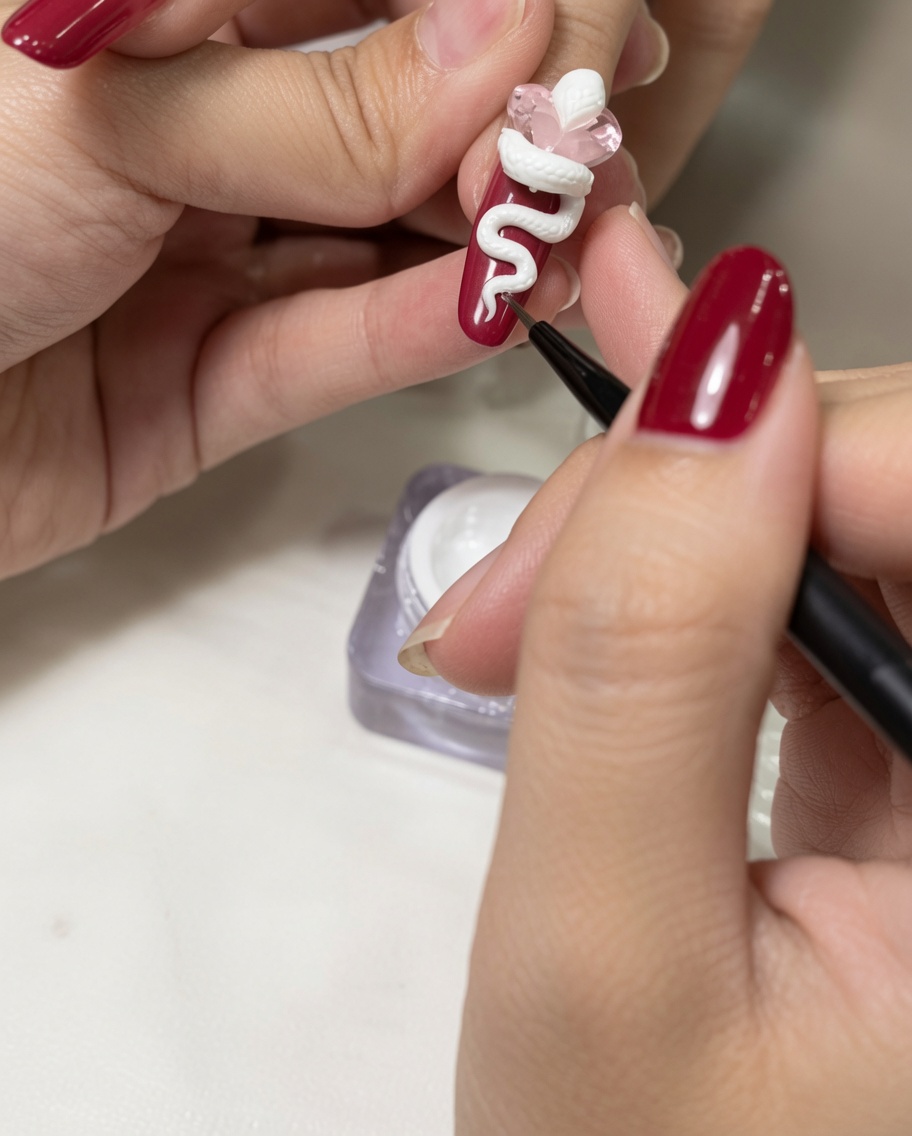
Dip a fine liner brush into white gel polish or sculpting gel and paint delicate lines onto the nail surface to create the grid pattern. Work carefully to add this intricate texture around the existing design without overlapping the 3D elements.
Tip: Lightly load only the very tip of your liner brush with product to keep the lines crisp and avoid flooding the nail surface.