Spring Tulip Gradient Nails — Step-by-Step Cat-Eye Tutorial
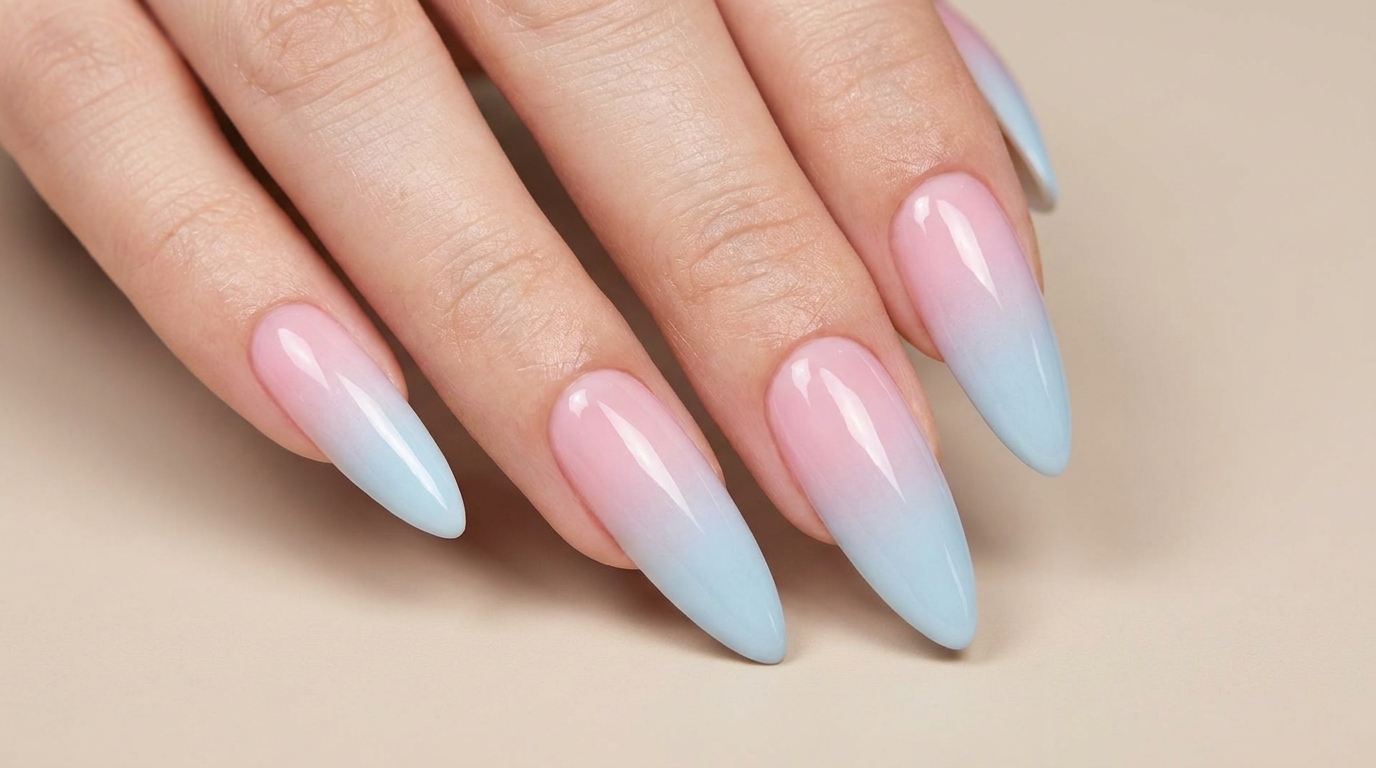
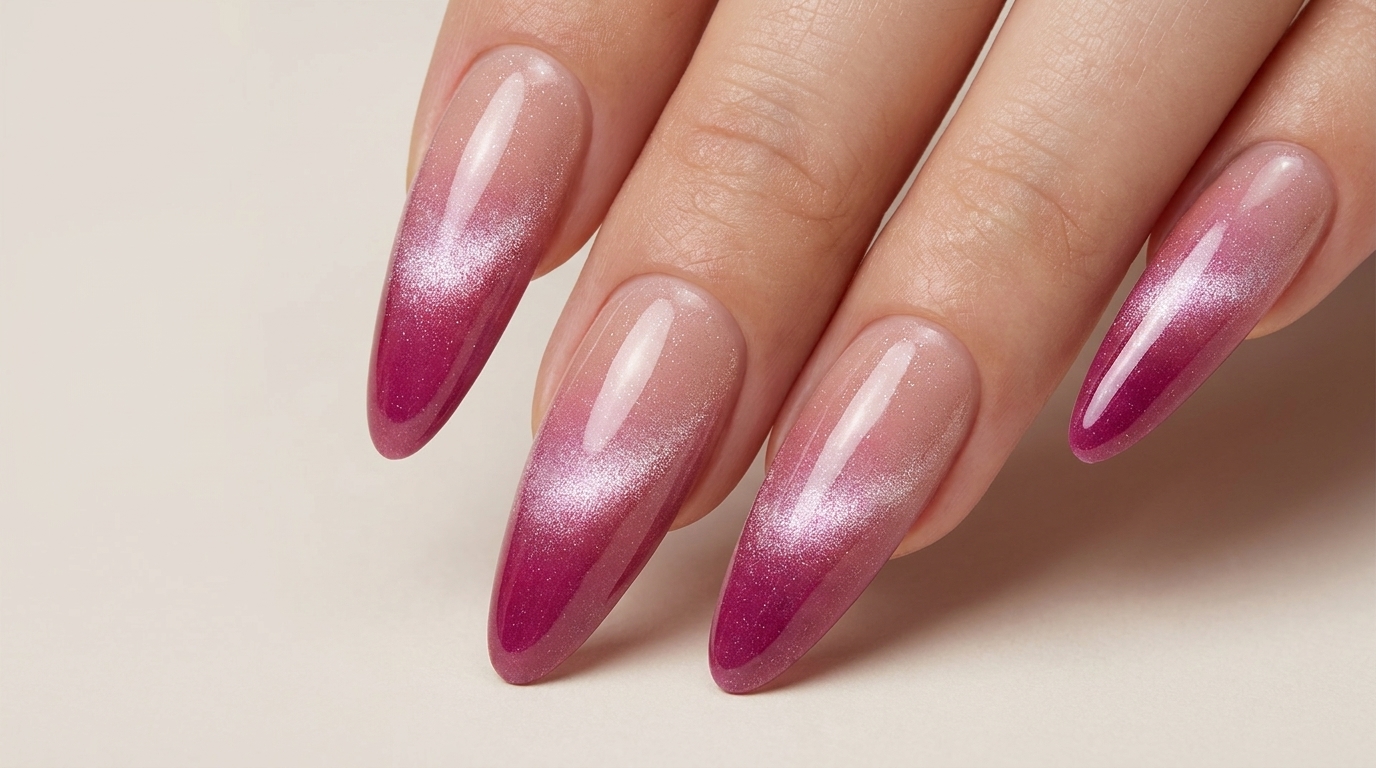
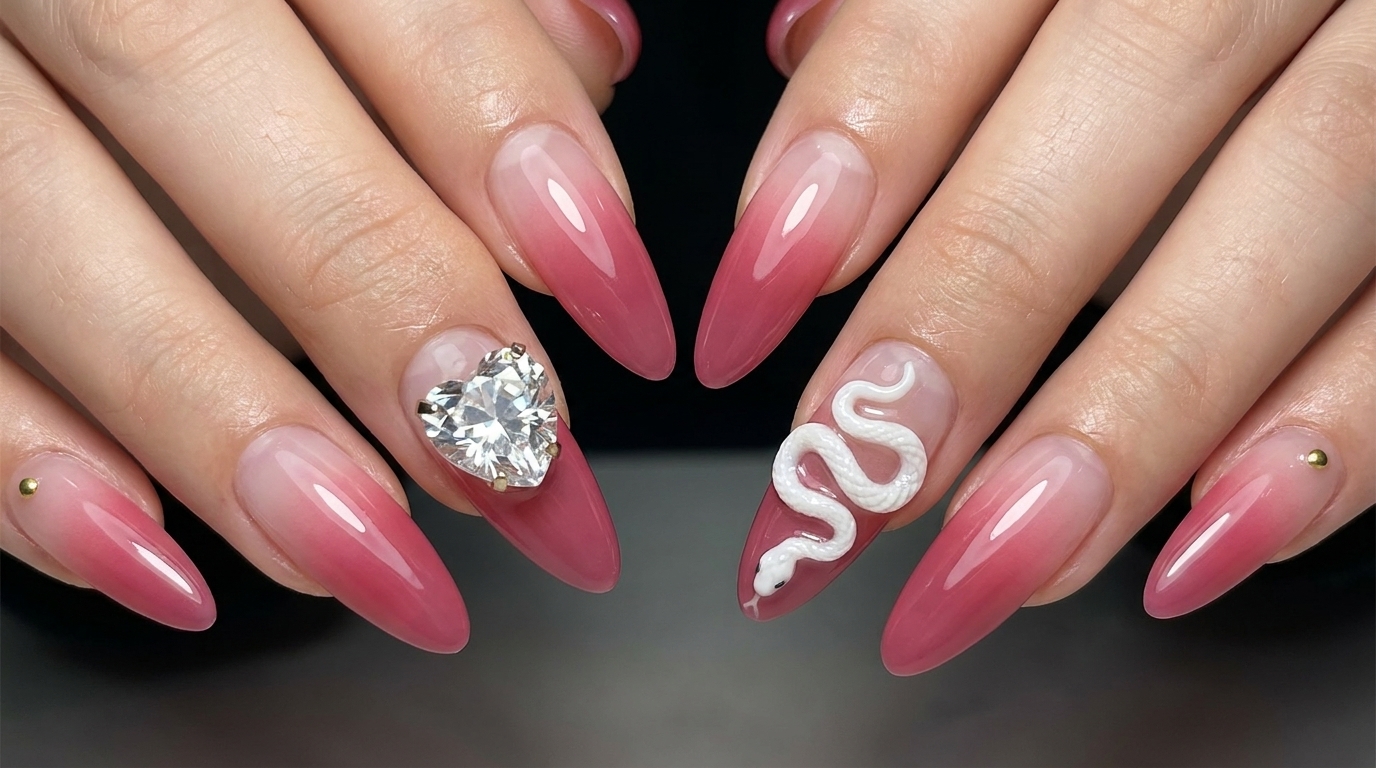
Capture the beauty of spring with these tulip-inspired gradient nails. This tutorial guides you through blending magenta and yellow gels beneath a shimmering cat-eye finish.
Floral-inspired gradients are a beautiful way to welcome the warmer seasons. This spring tulip look combines a soft magenta and yellow sponge-blended gradient with a modern, luminous cat-eye overlay. It is a stunning combination of classic color blending and trendy magnetic gel techniques that creates a 3D light effect resembling a glowing flower.
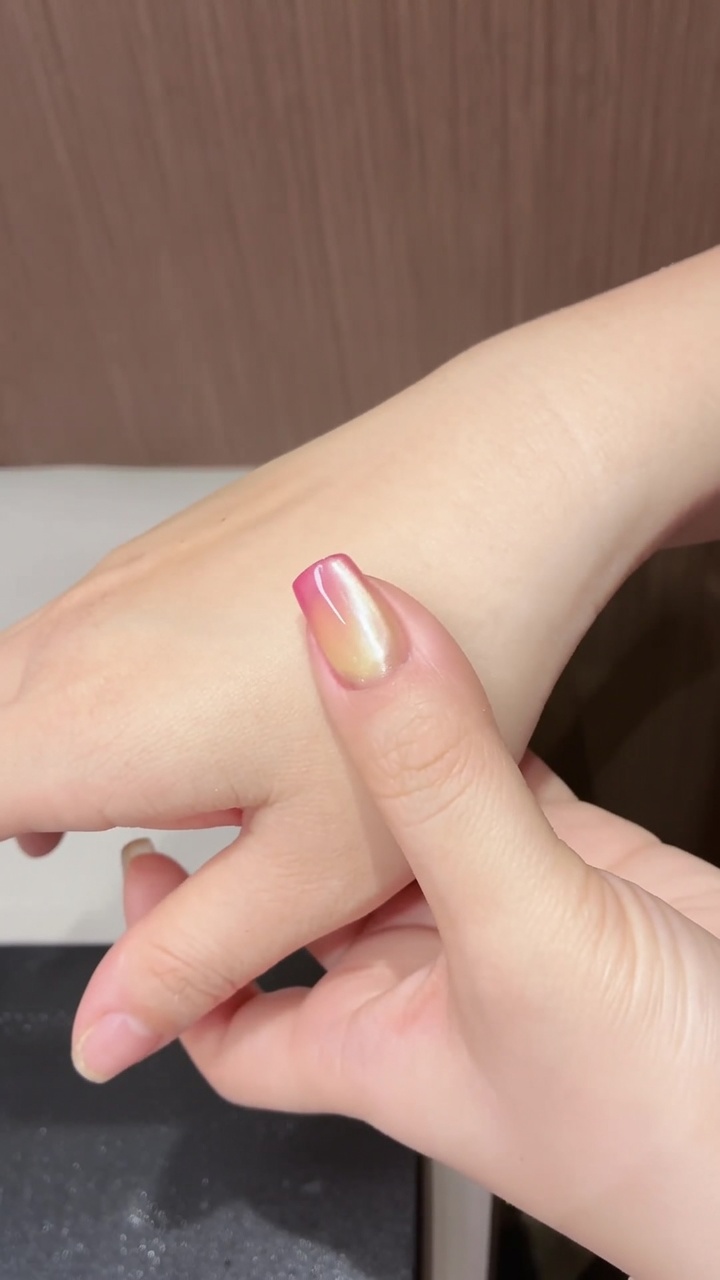
Steps
- 1Apply magenta gel tip
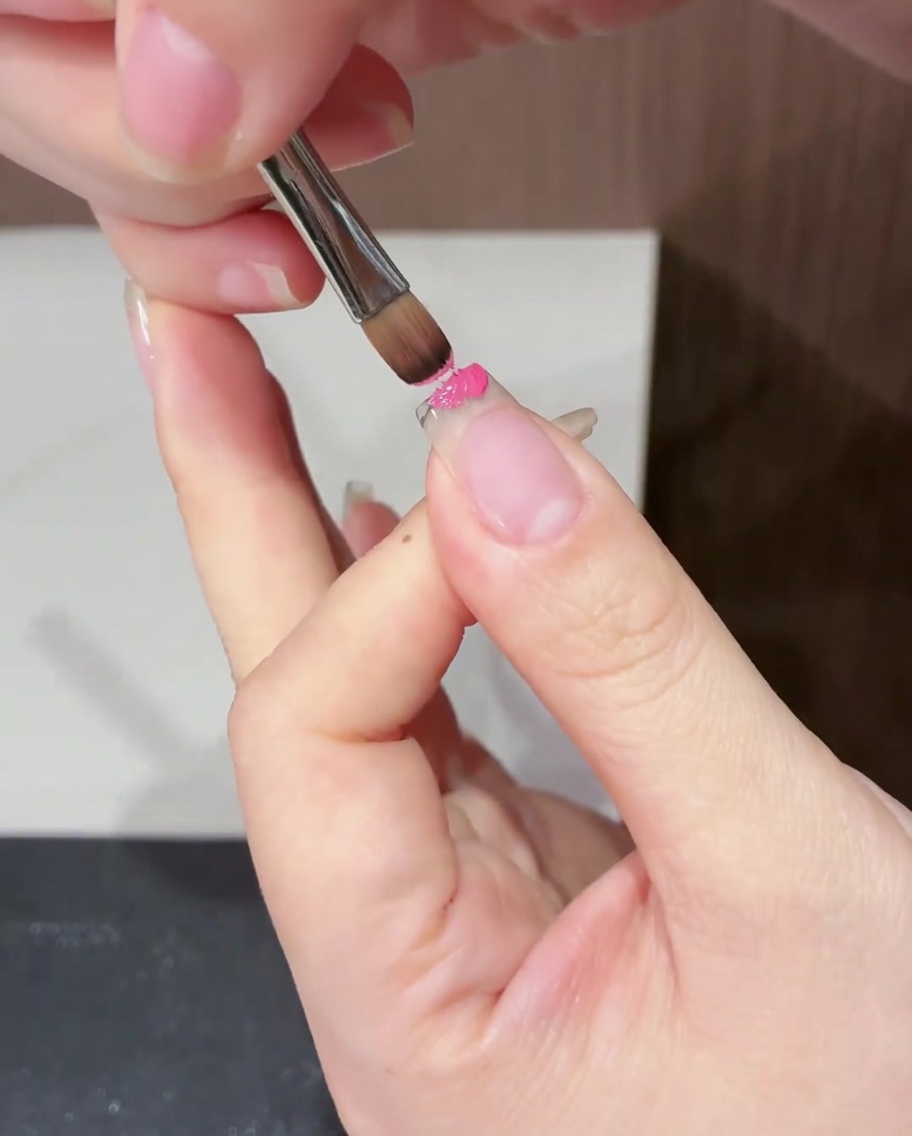
Using a flat brush, carefully apply a small amount of magenta gel polish to the tip of the nail. This creates the base for your gradient tulip design. Ensure the application is thin and even to prevent pooling at the edges.
Tip: Work with a small amount of product to maintain better control and prevent the gel from running into the cuticle area. - 2Create the gradient effect
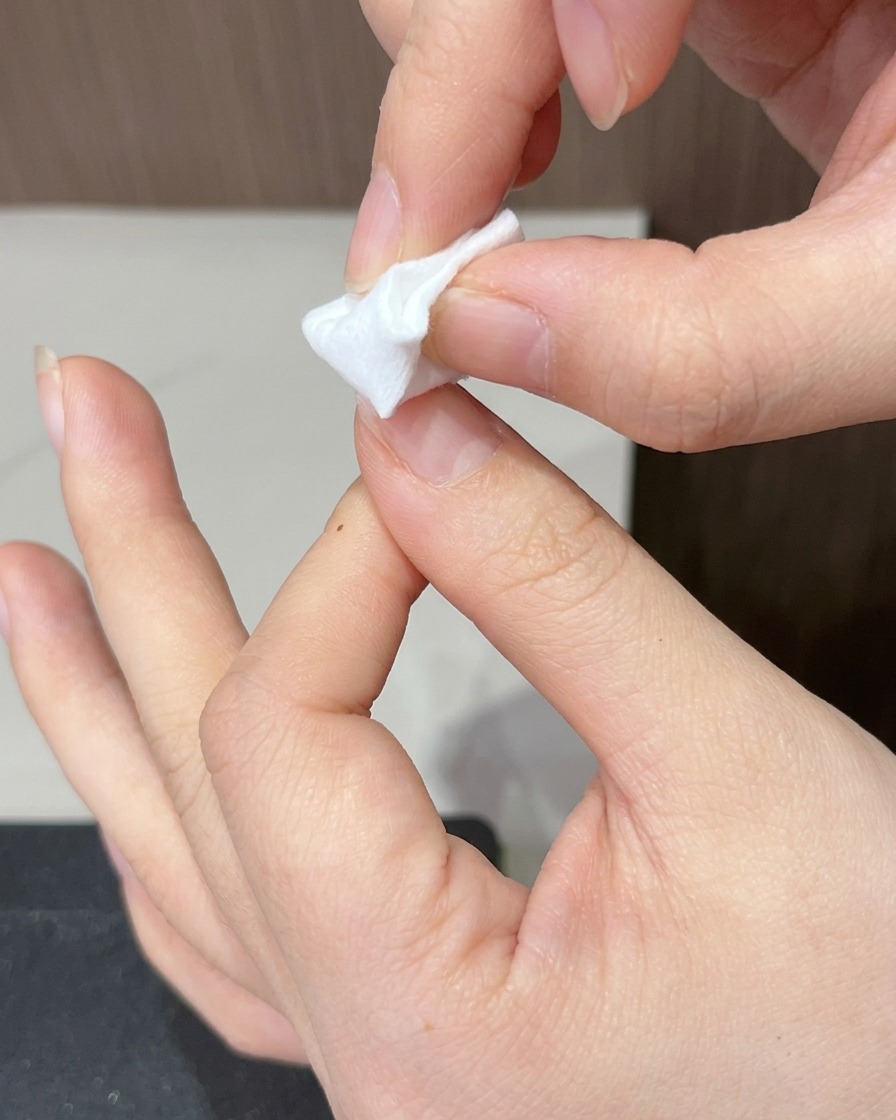
Take a clean makeup sponge and gently dab the magenta gel polish downwards toward the middle of the nail. This blending motion diffuses the color, creating a smooth gradient transition from the tip.
Tip: Use a light tapping motion rather than pressing hard, which helps achieve a softer, more seamless blend. - 3Cure the gradient base
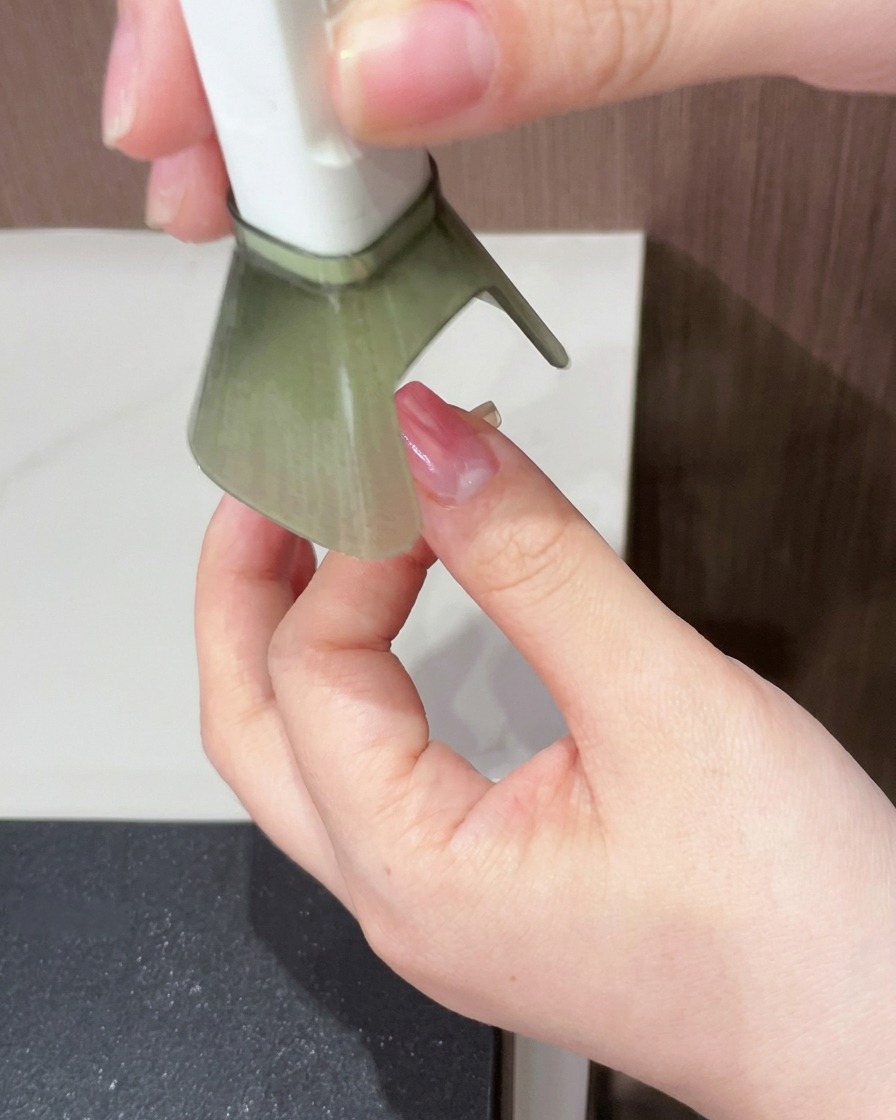
Once the gradient is blended to your satisfaction, place your finger under a UV/LED lamp. Cure for the recommended time to fully set the magenta gel layer before moving on to the next part of the design.
Tip: Keep your finger steady and centered under the lamp to ensure an even cure across the entire nail surface. - 4Add yellow gel detail
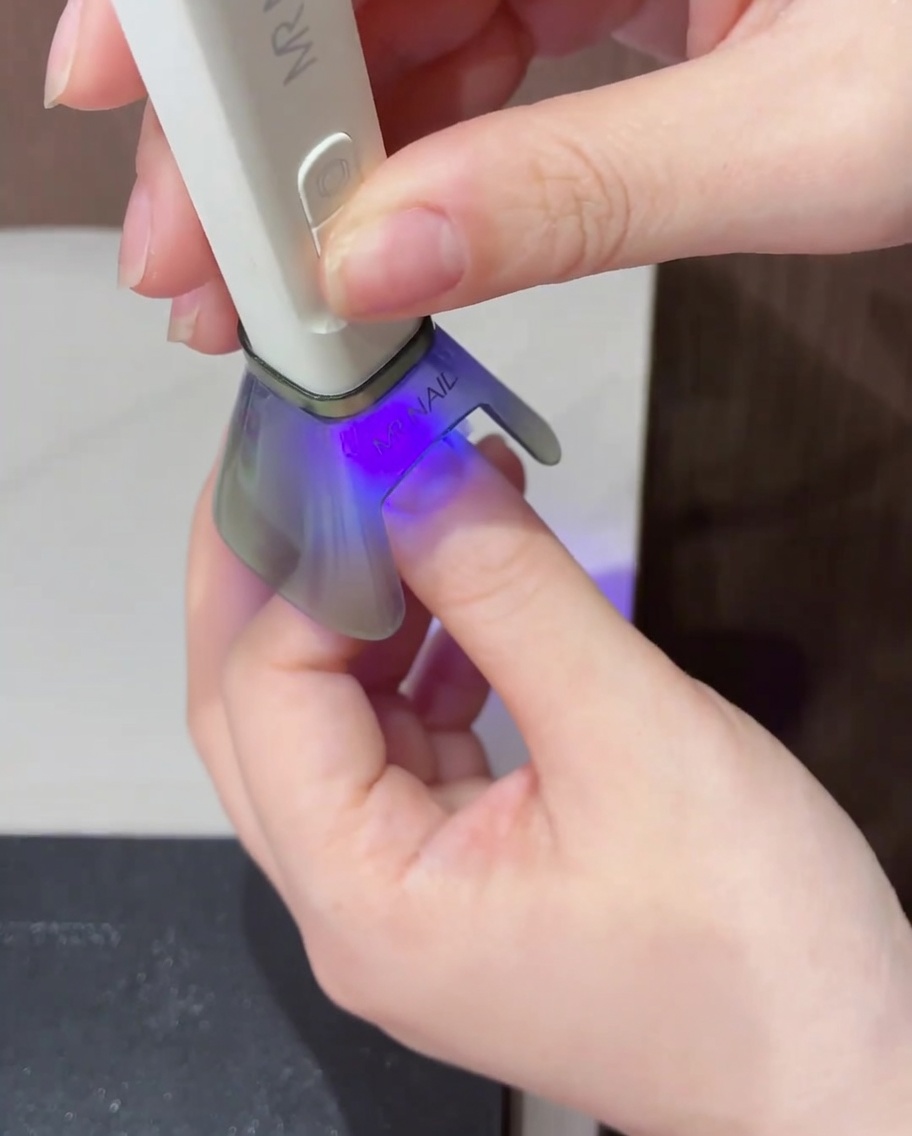
Place a small, precise dot of yellow gel polish in the center of the cured nail. This will be blended to form the main color of your tulip design.
Tip: You only need a small amount of yellow gel to create the center highlight; adding too much can make blending more difficult. - 5Blend into tulip shape
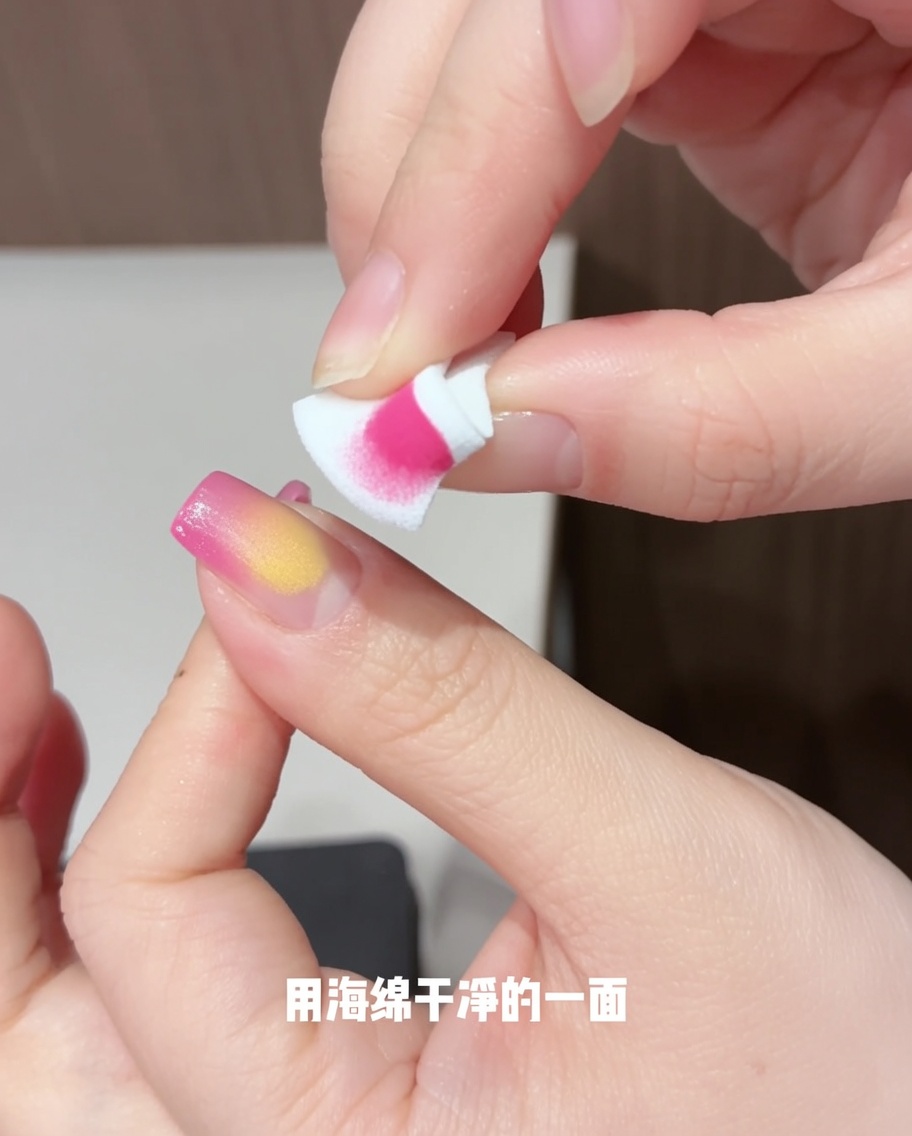
Using a fresh, clean side of your sponge, gently dab the yellow dot in all directions—up, down, left, and right. This technique blends the yellow into the magenta base, shaping it into the distinctive look of a tulip.
Tip: Maintain a soft touch while dabbing to blend the colors without completely muddying the transition. - 6Cure the tulip art
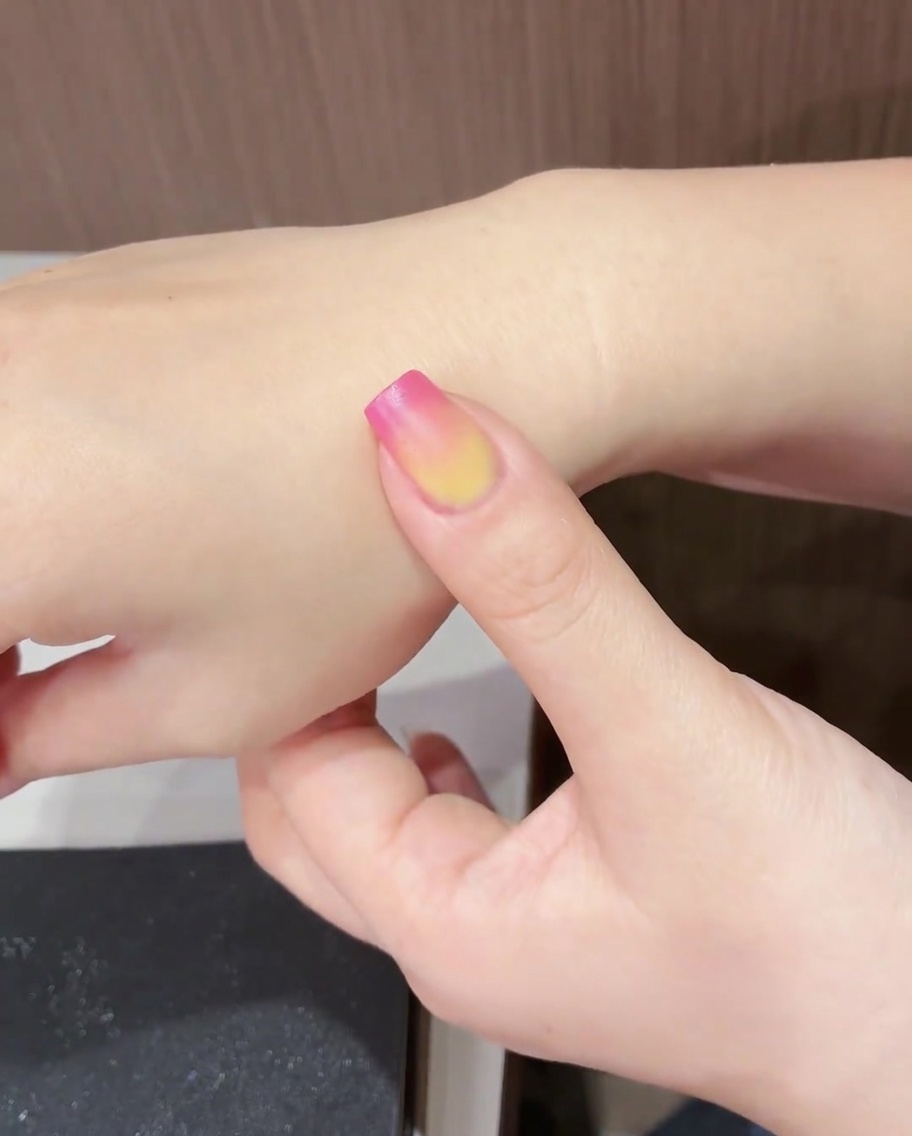
Place your finger back under the UV/LED lamp to cure the completed tulip design. Curing ensures the blended colors are set and prepared for the final protective layers.
Tip: Ensure the nail is fully positioned under the light source for the complete duration recommended for your specific gel polish. - 7Apply cat-eye gel polish
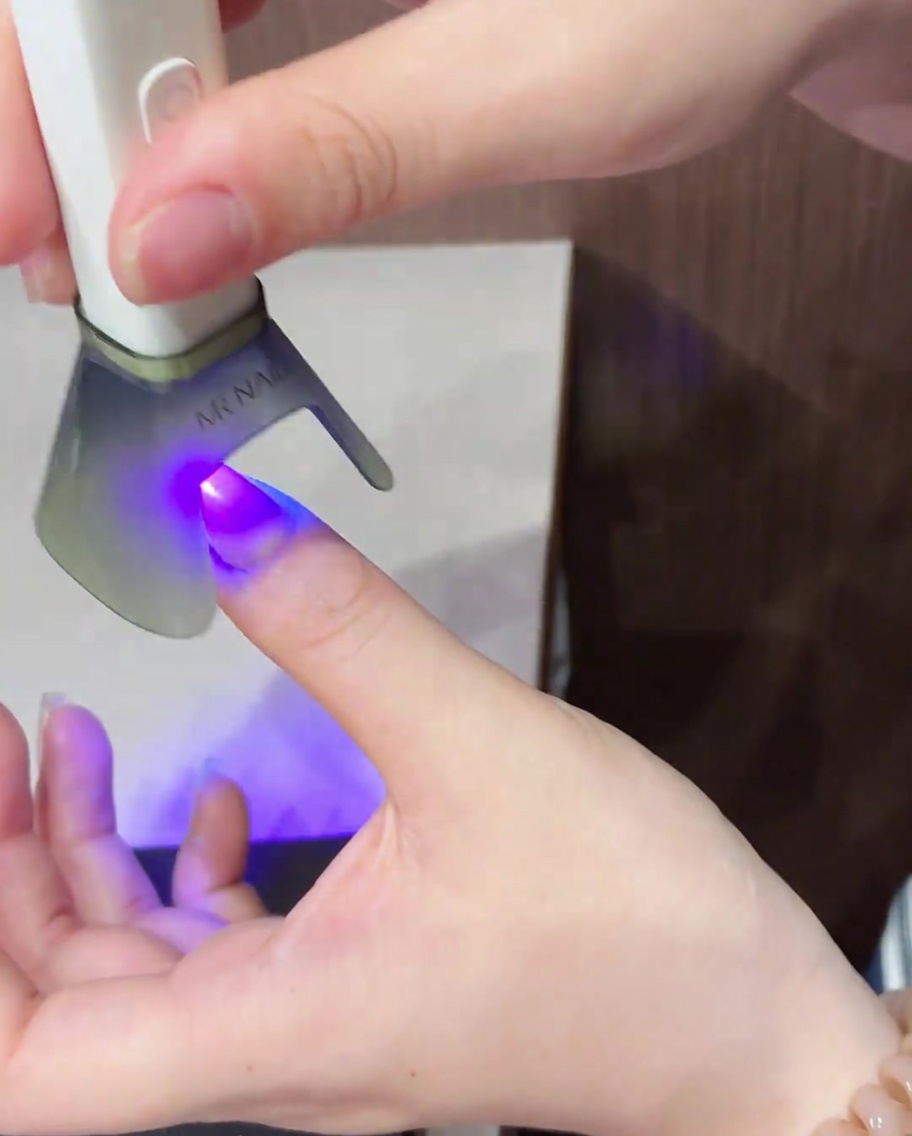
Apply an even, medium-thin layer of the fine cat-eye gel polish over the entire nail surface, ensuring complete coverage. Do not cure the polish immediately, as it needs to remain wet to react to the magnetic tool.
Tip: Ensure your fine cat-eye gel has a clear or very sheer base so the colorful tulip gradient remains vividly visible underneath. - 8Create cat-eye effect
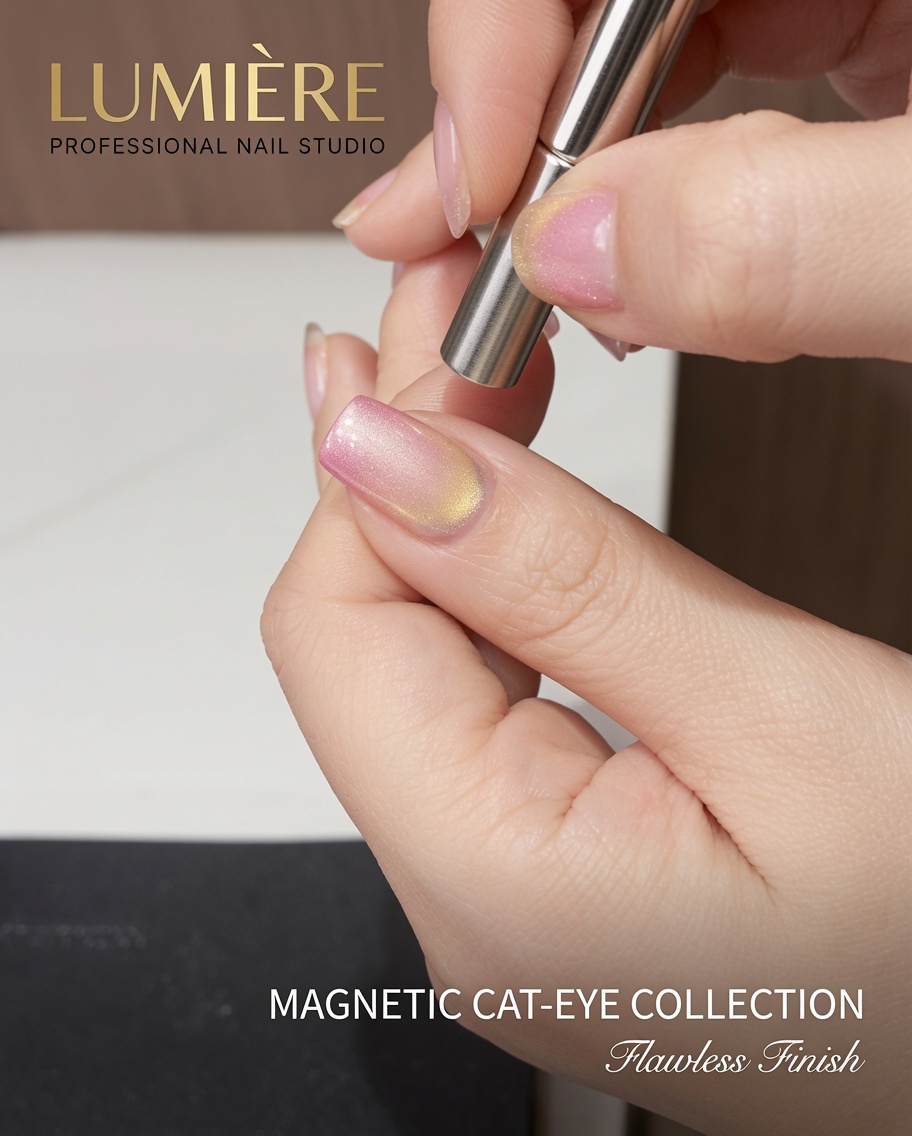
Before curing, hold the edge of the magnet on the side of your nail. Gently move it up and down to manipulate the magnetic particles, creating a distinct, shimmering light strip down the center of the nail. Maintain a consistent distance from the nail surface to ensure the strip is sharp and clean.
Tip: Keep the magnet steady to avoid blurring the line; if you arent happy with the strip, you can wipe it off with a lint-free wipe and reapply the cat-eye gel to try again. - 9Cure the cat-eye gel
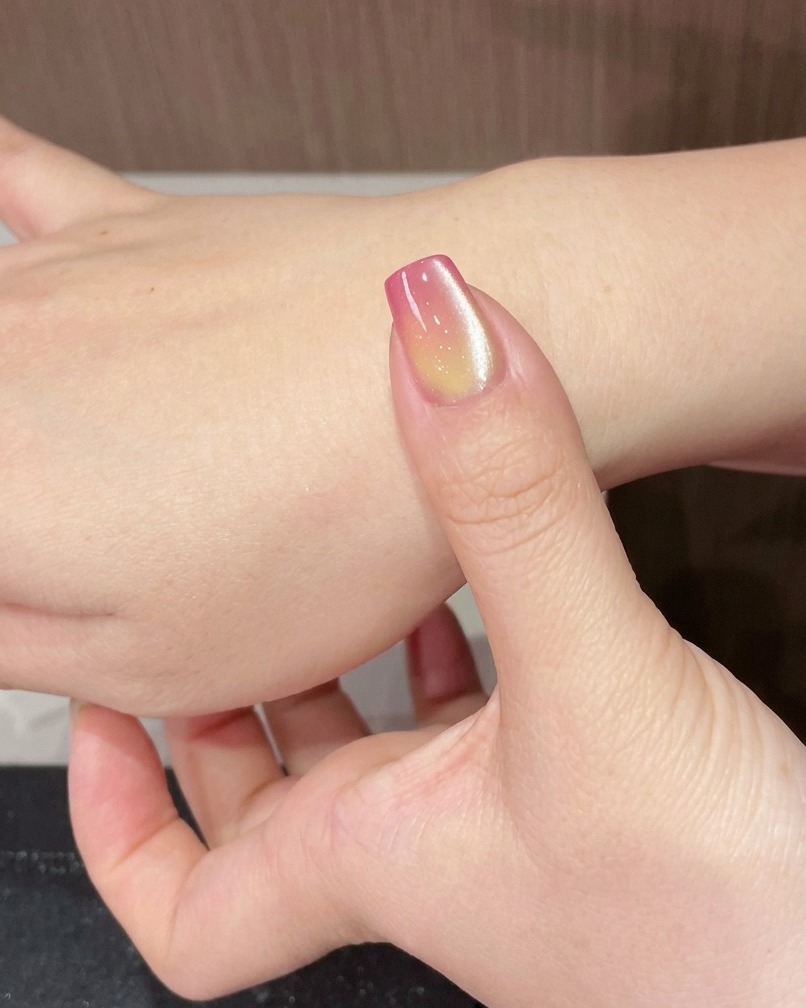
Place your finger under the UV/LED lamp to cure the cat-eye gel design. Ensure the nail is positioned directly under the light source for the full recommended curing time to set the magnetic particles in place.
Tip: Do not move your hand while curing, as this can shift the magnetic strip or cause the gel to wrinkle. - 10Apply shiny top coat
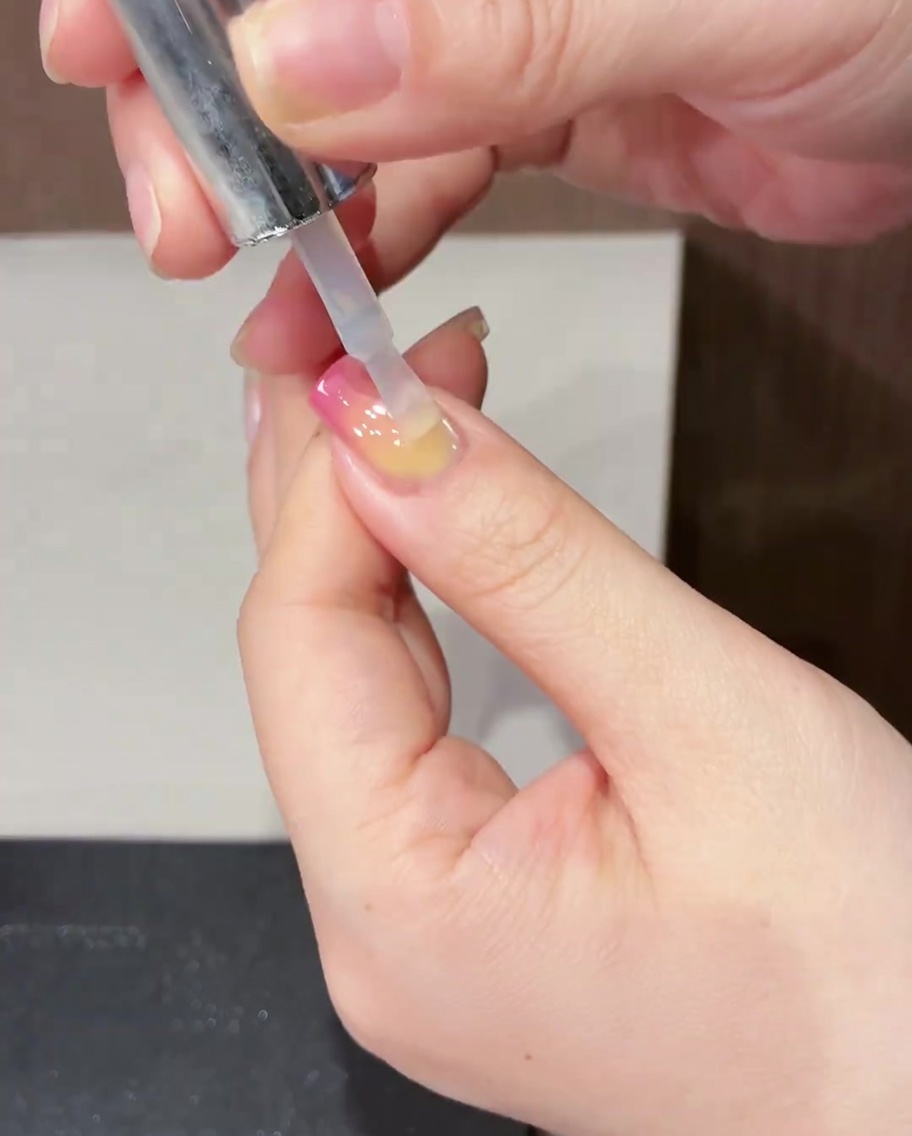
Apply a layer of clear, high-shine top coat over the cured nail design to seal and protect the art. Ensure you cap the free edge of the nail to increase the durability of the manicure. Cure fully under your UV or LED lamp as specified by the product instructions.
Tip: Apply the top coat smoothly to avoid streaks, and ensure no product touches the skin to prevent lifting. - 11Final cure
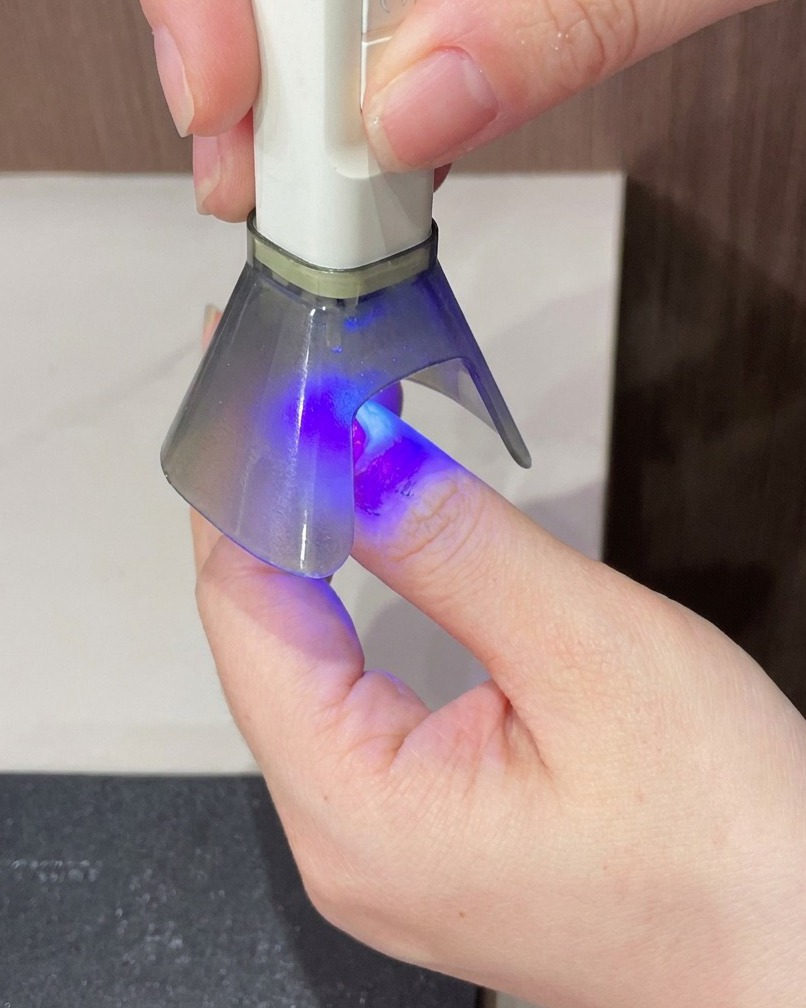
Place your finger under the UV/LED lamp for a final cure. This step ensures that your top coat is fully hardened and that the entire manicure is durable and ready to wear.
Tip: Check that the nail is positioned fully within the lights reach to prevent any under-cured spots.