Blue and Pink Gradient Gel Nails — Easy Ombre Tutorial
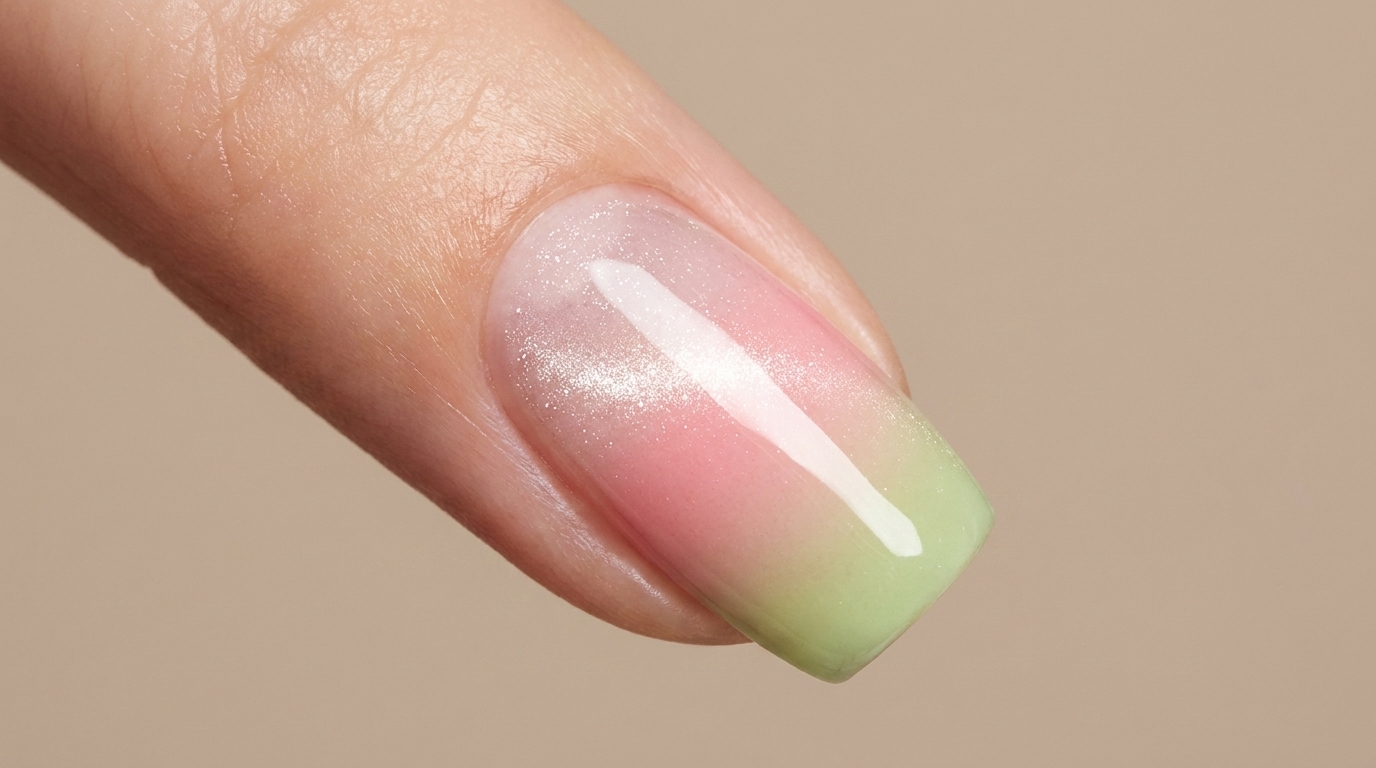
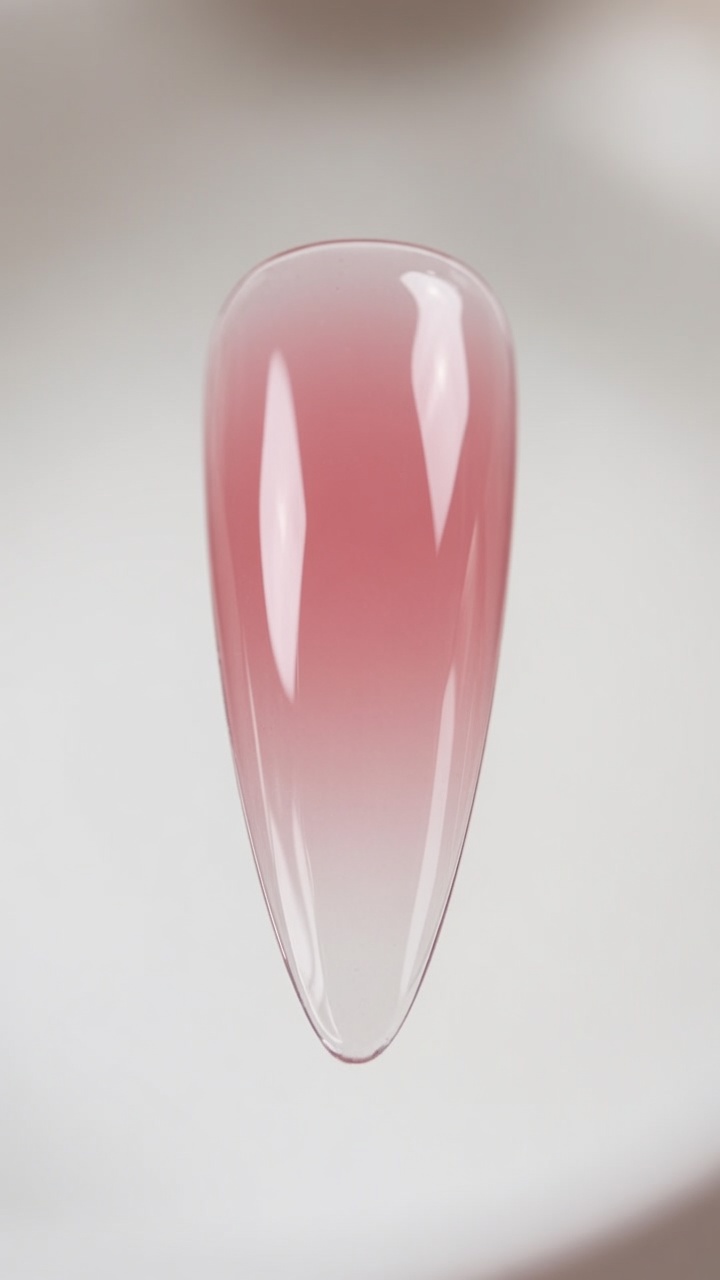
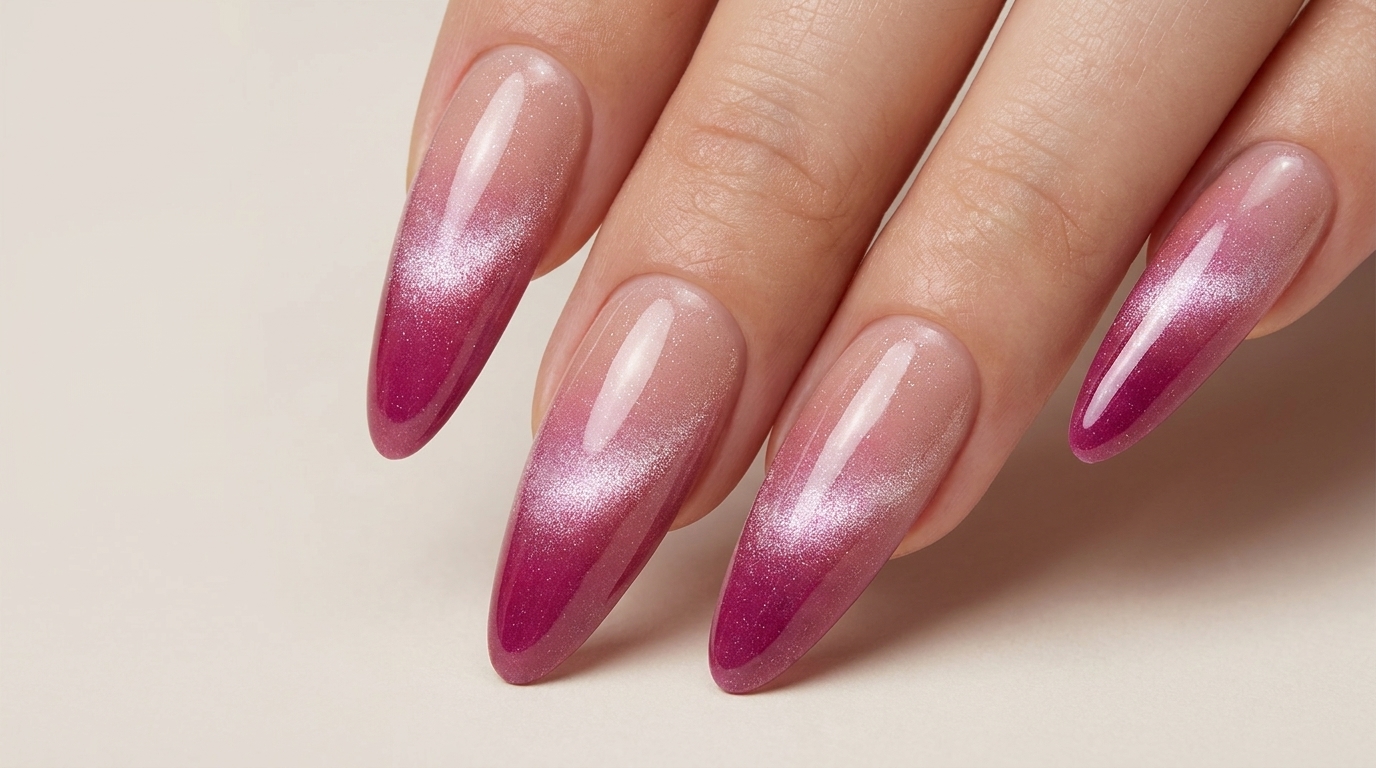
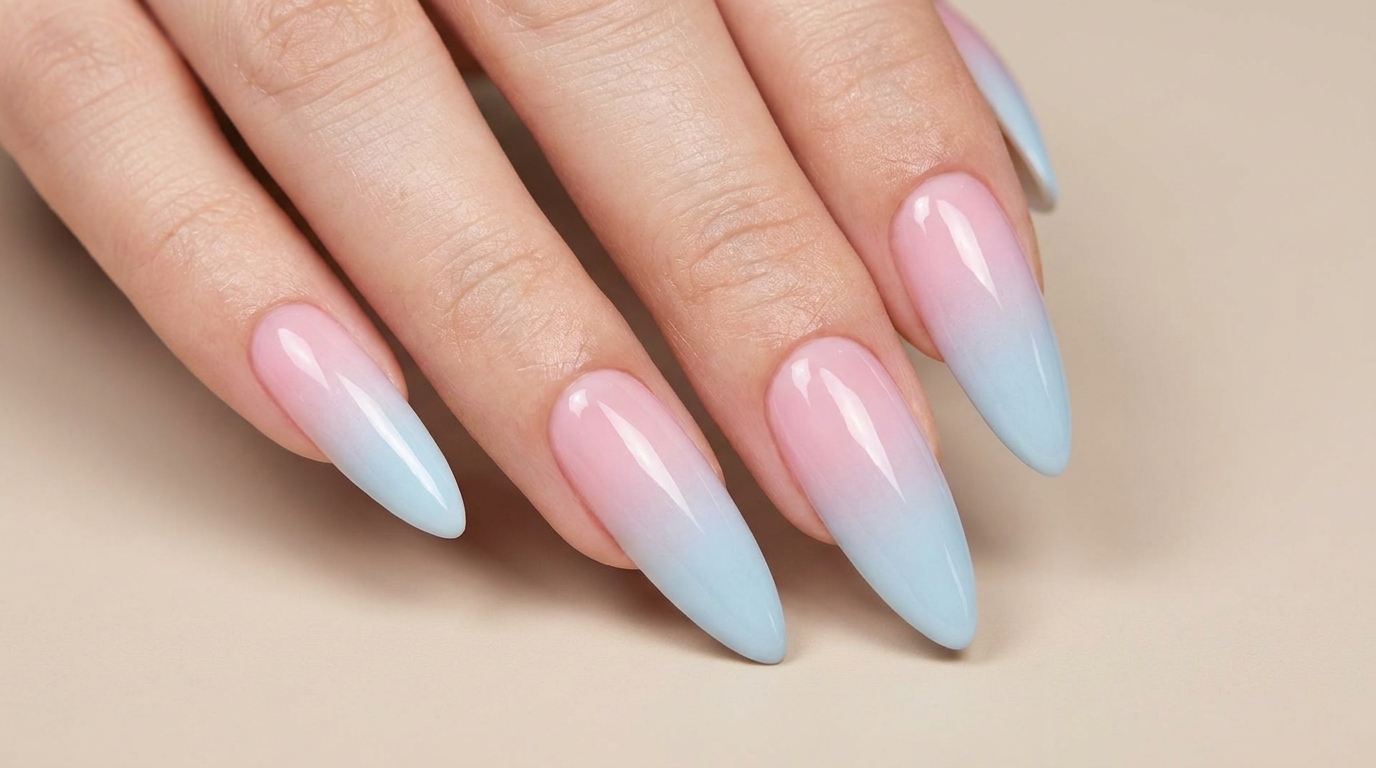
Master the perfect airbrushed look with this blue and pink gradient nail tutorial. Learn how to blend colors seamlessly using a simple sponge technique.
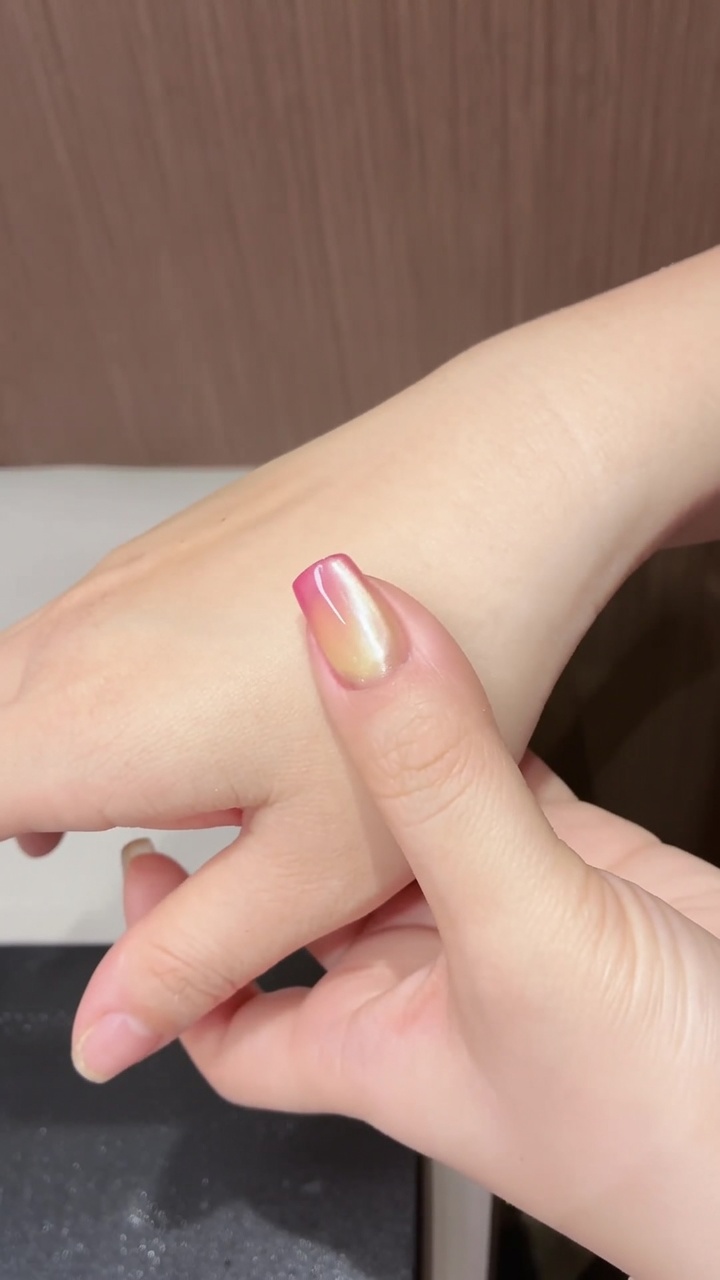
The soft transition of colors in an ombre manicure creates an airy, sophisticated look that is surprisingly easy to achieve at home. By utilizing a sponge blending technique, you can combine these pretty blue and pink shades for a seamless, professional finish. This tutorial breaks down the process, helping you build vibrant opacity and create that dreamy gradient effect on your own almond-shaped nails.
Steps
- 1Apply pink gel polish
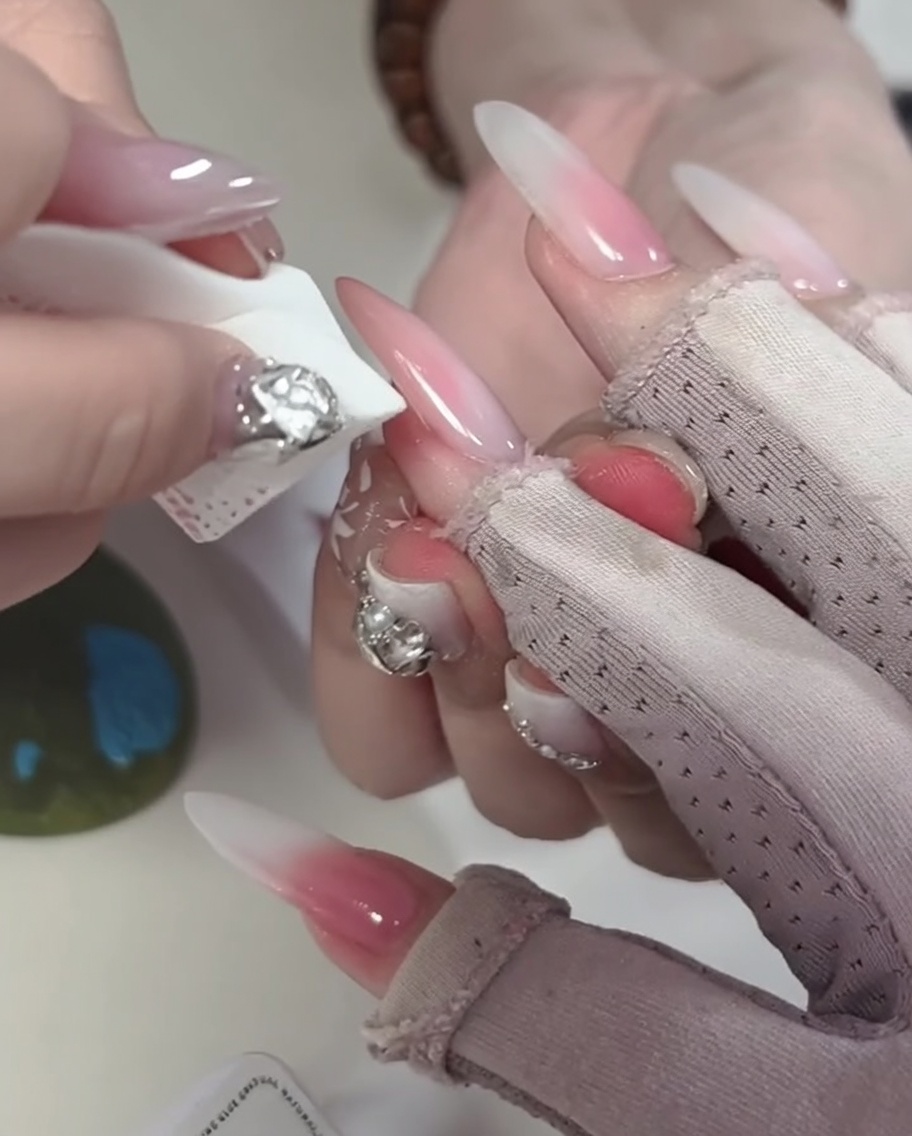
Use a small makeup sponge to pick up pink gel polish from your mixing palette. Gently tap the sponge onto the nail to apply the color, focusing on building an even, diffused layer. Applying the gel with a sponge helps create a seamless, airbrushed base that is perfect for starting your gradient effect.
Tip: Dabbing rather than swiping ensures the color goes on smoothly and prevents harsh lines or brush strokes. - 2Prepare gel colors on palette
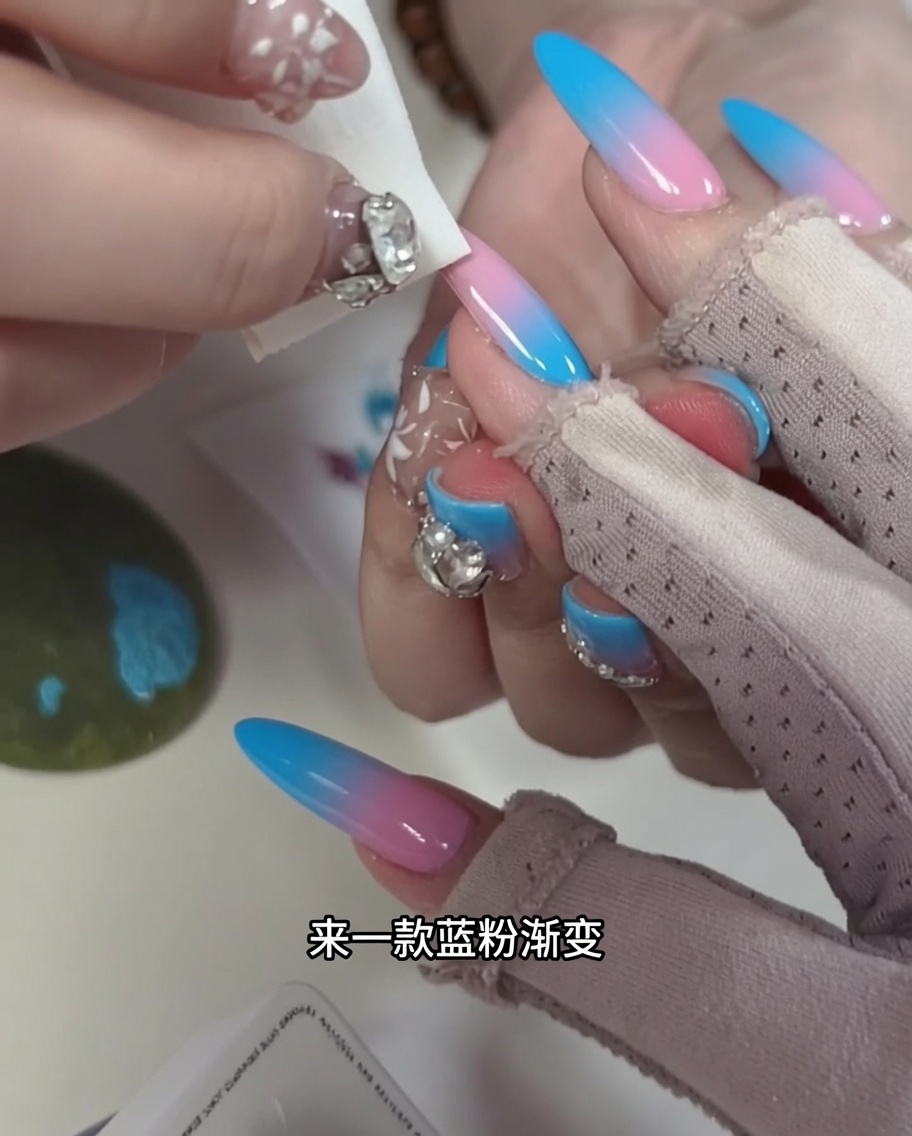
Squeeze a small amount of blue gel polish and pink gel polish onto your mixing palette, placing them side by side. This setup allows you to easily pick up both colors with your sponge for the gradient effect.
Tip: Keep the two colors close together on the palette to make picking them up with the sponge easier. - 3Load the sponge with color
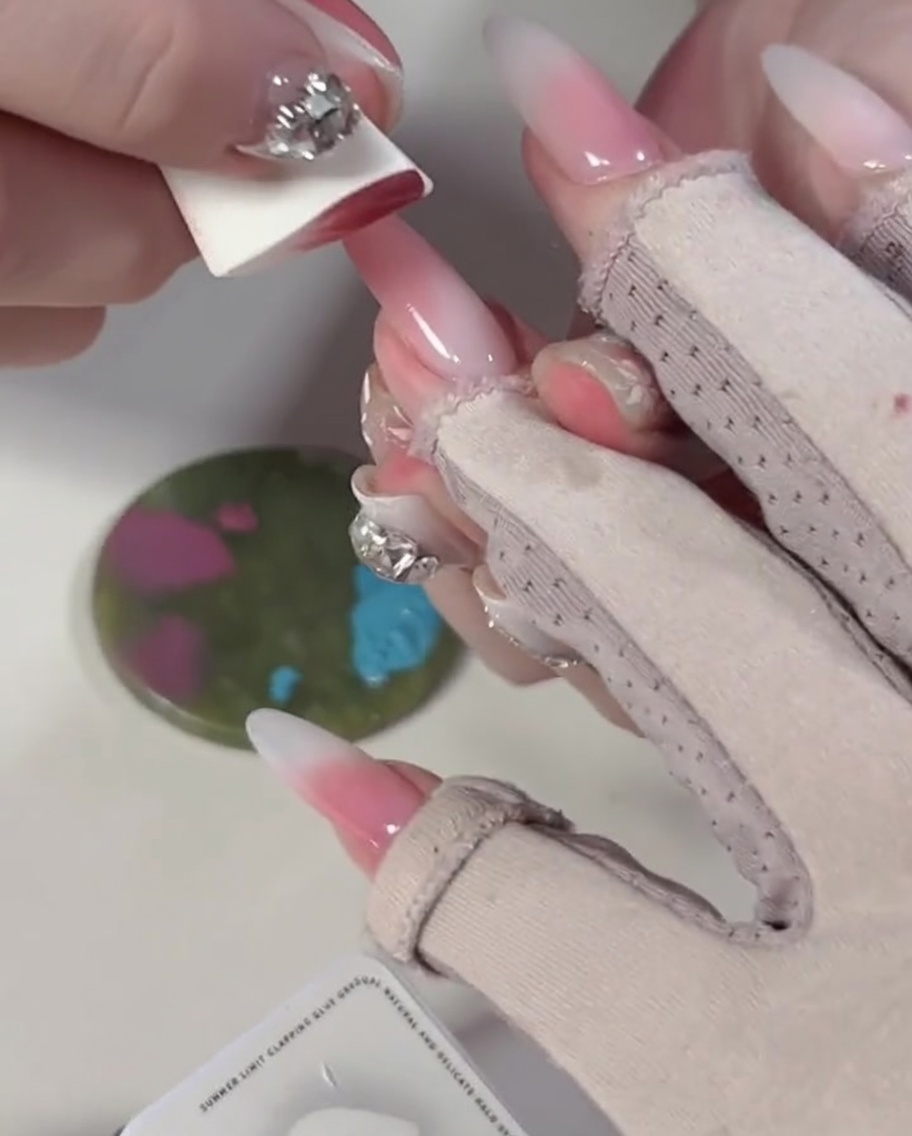
Apply a block of blue gel polish and a block of pink gel polish side-by-side on your mixing palette. Use a clean nail art sponge to tap onto both colors, picking up a generous amount of product to create the base for your gradient.
Tip: Ensure the gel colors are placed right next to each other on the palette so they can blend smoothly on the sponge. - 4Apply color to the nail
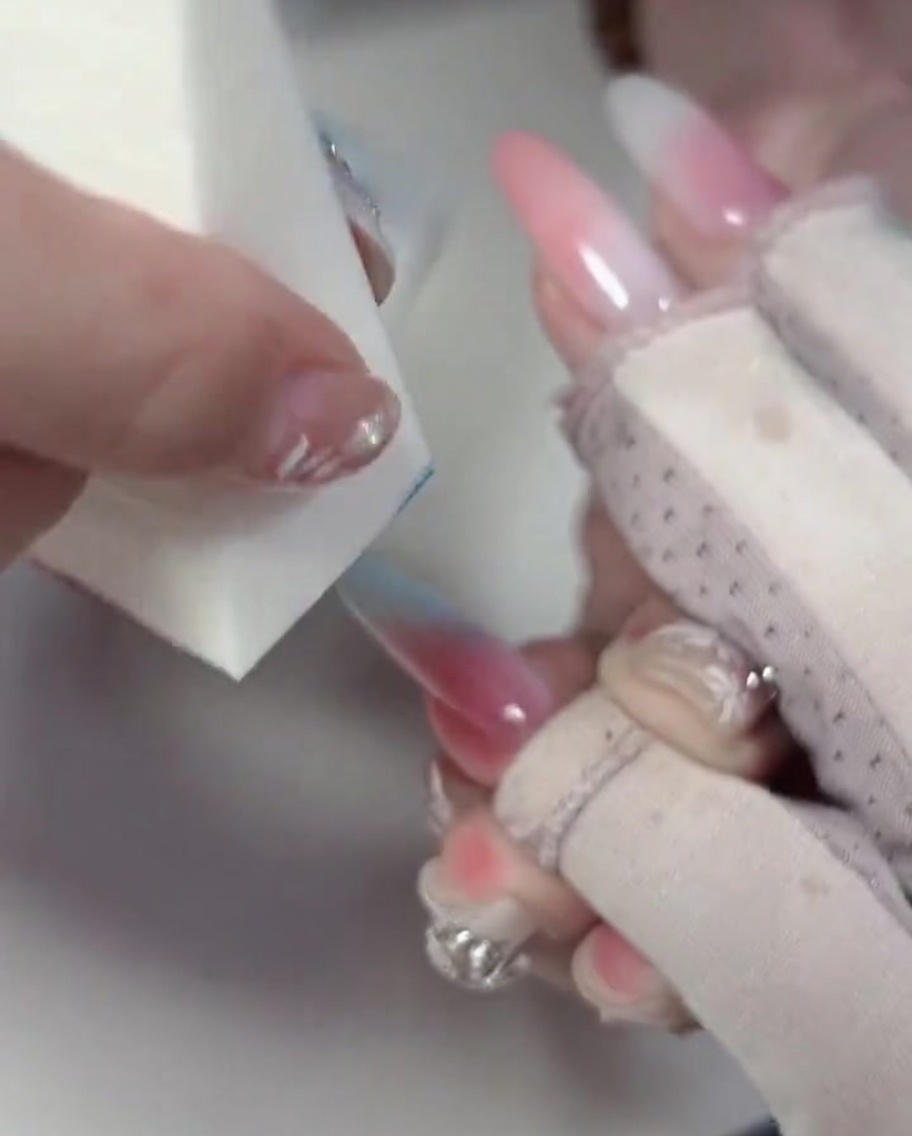
Gently tap the loaded sponge onto the nail tip area. Focus the blue gel towards the free edge of the nail to begin establishing the gradient effect. Use light, repeated tapping motions to deposit the color evenly.
Tip: Keep your tapping motion light to avoid creating bubbles in the gel polish. - 5Blend the gradient
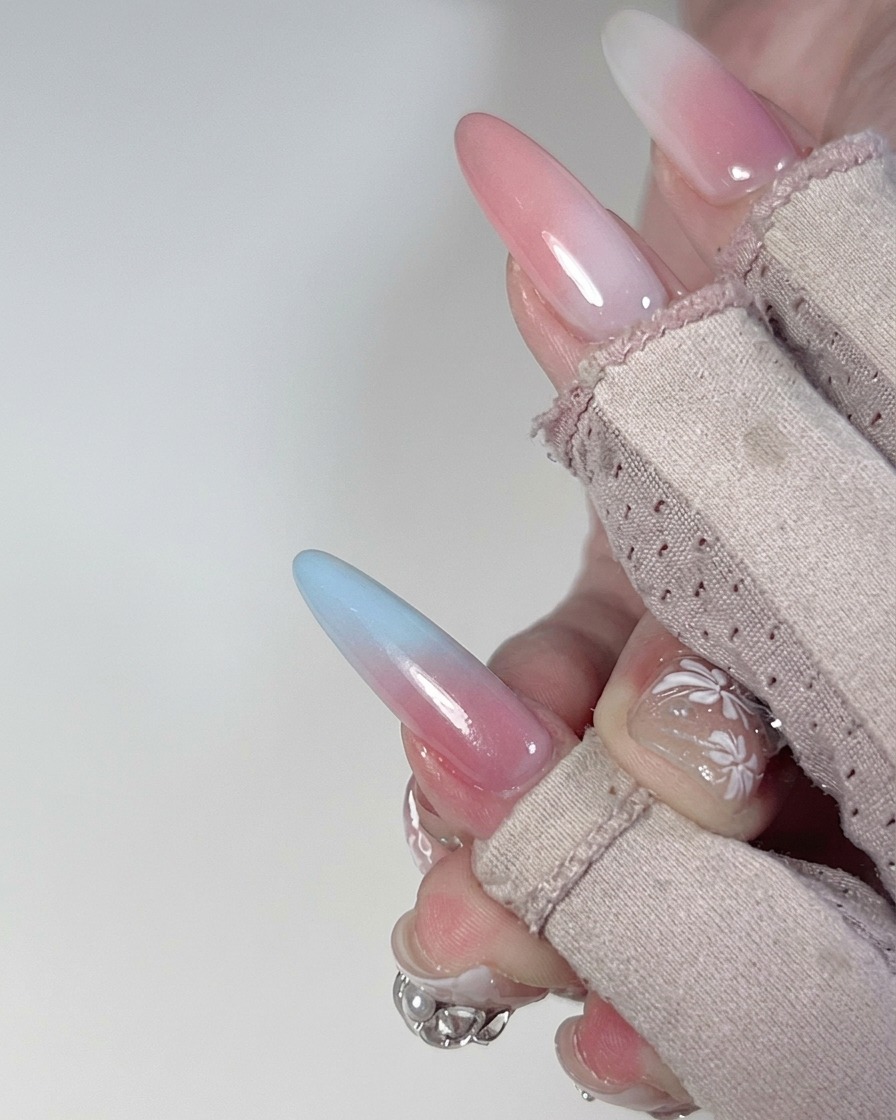
Using the same sponge, continue tapping over the interface where the blue and pink colors meet. The overlapping tapping action will blur the harsh line between the two colors, creating a seamless gradient transition.
Tip: If the colors arent blending well, add a tiny bit more polish to the sponge and continue tapping. - 6Refine the gradient surface
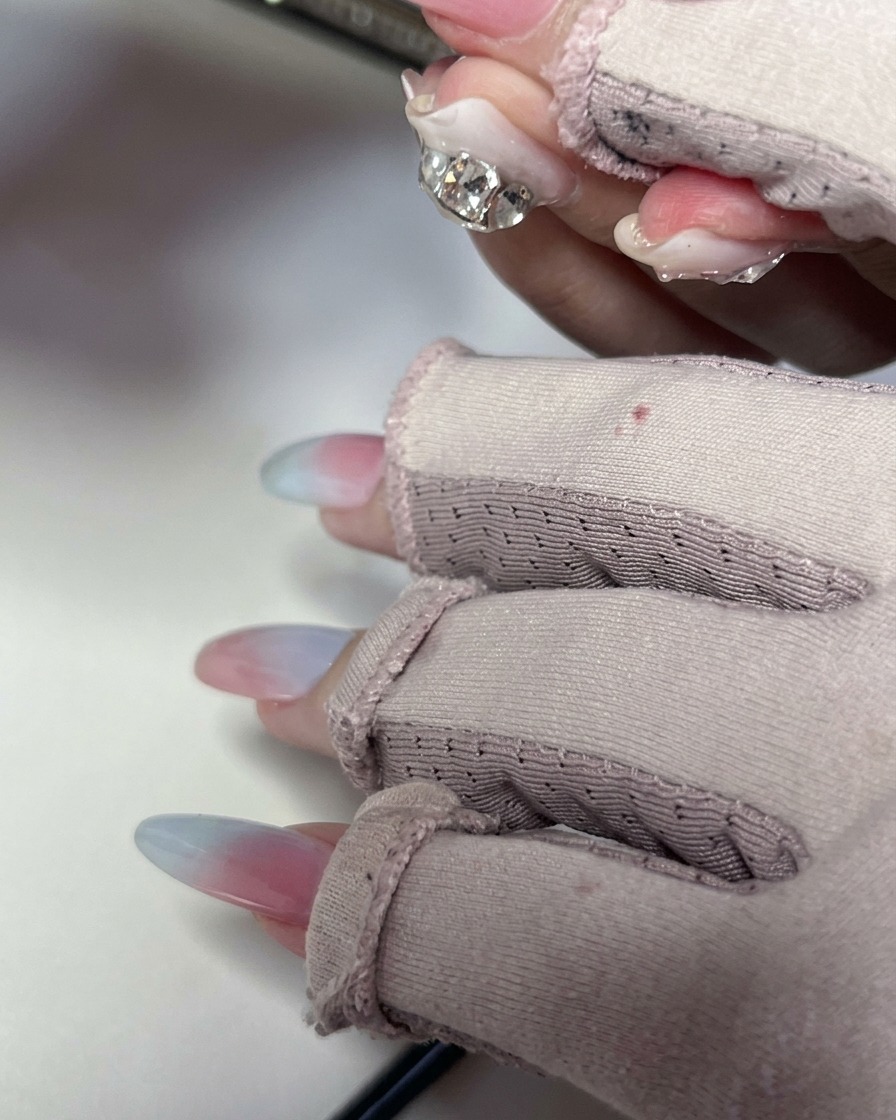
Once the colors are blended, use the clean side or a fresh part of the sponge to gently tap over the entire gradient surface. This helps to smooth out any texture and ensures the transition edges are soft and even.
Tip: Focus on keeping the pressure consistent across the entire nail for a smooth finish. - 7Build opacity
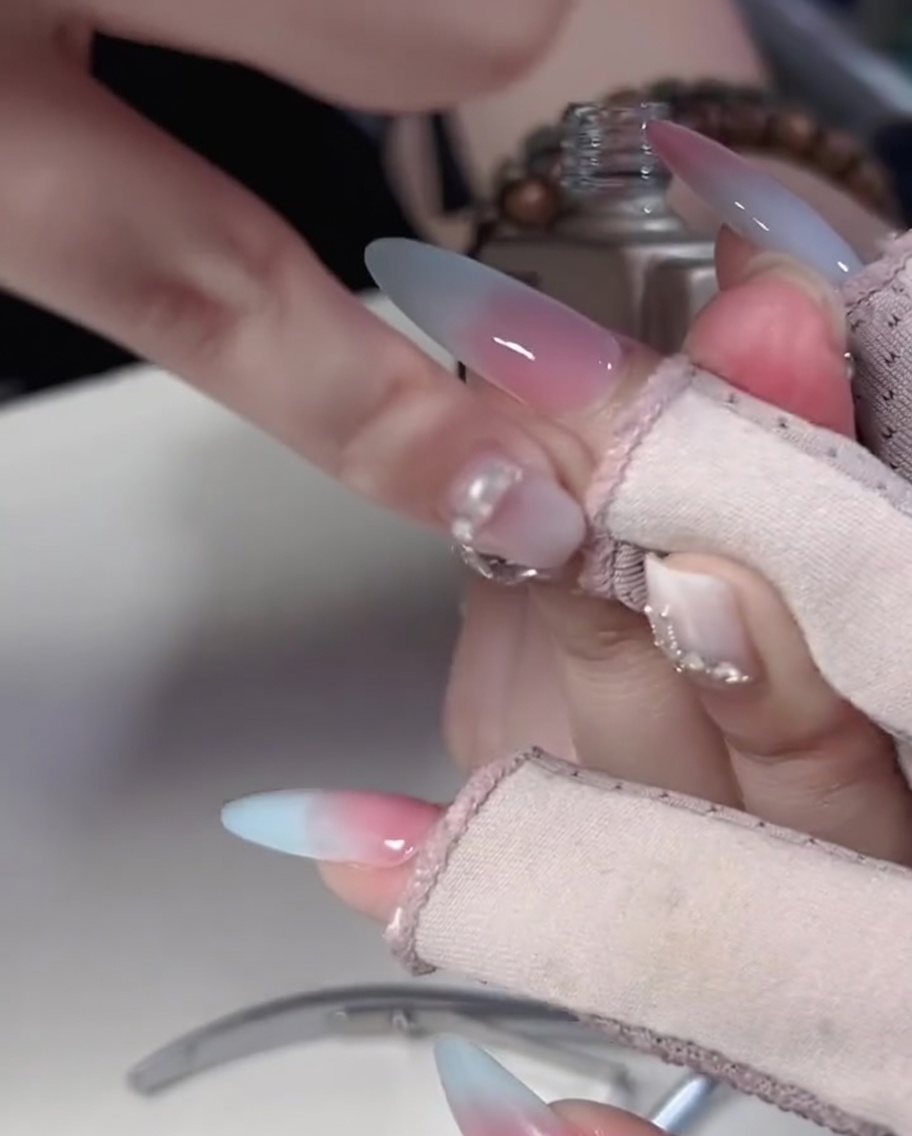
Repeat the color loading and tapping process for a second layer. Applying a second coat helps to build the necessary depth and opacity for a vibrant, professional-looking gradient. Cure the nail under a UV/LED lamp after this step.
Tip: Ensure the first layer is fully cured or at least partially set if your technique requires it before applying the second layer. - 8Apply strengthening top coat
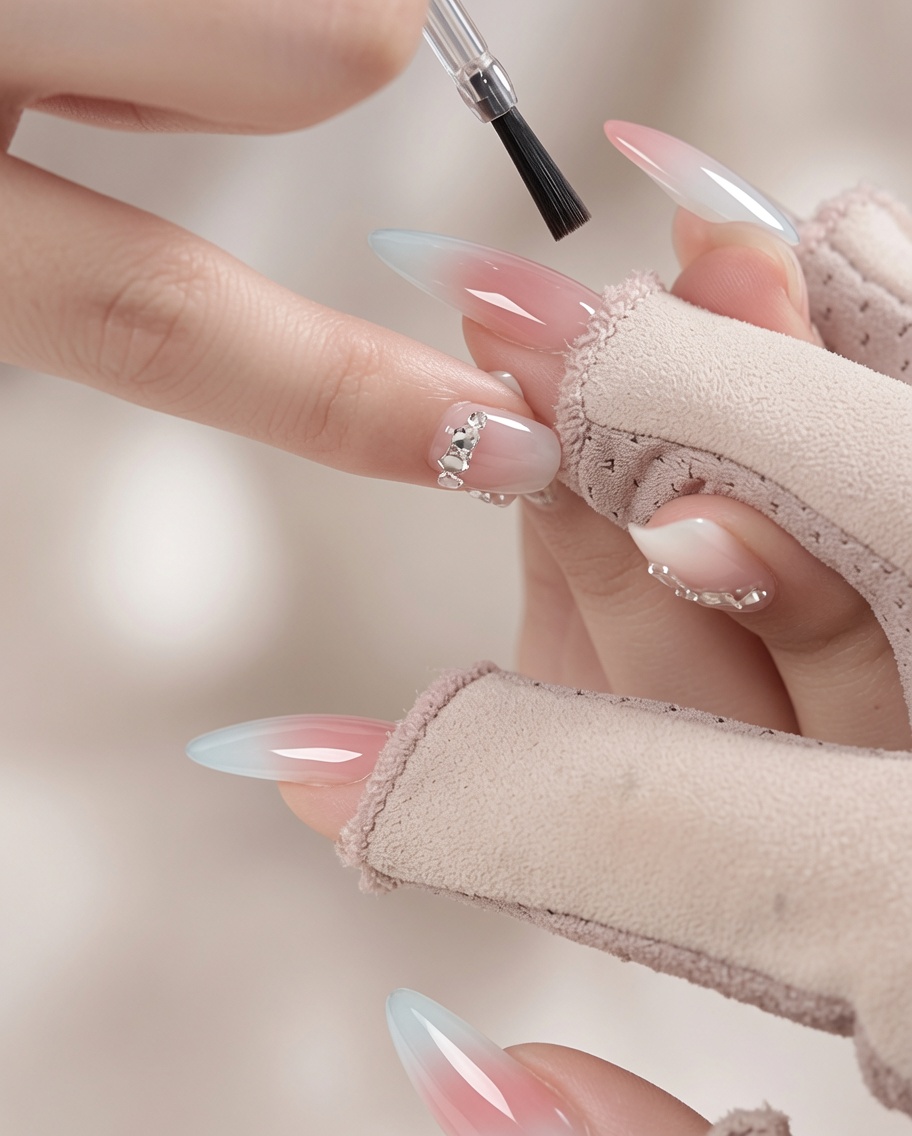
Apply a thin, even layer of strengthening top coat over the entire nail to seal the blue and pink gradient design. Be sure to cap the free edge of the nail to protect the color and add durability to your manicure.
Tip: Apply the top coat slowly and carefully to avoid any air bubbles for a smooth, glass-like finish.