Magnetic Magenta Ombre Gel Nails — Professional Step-by-Step Tutorial
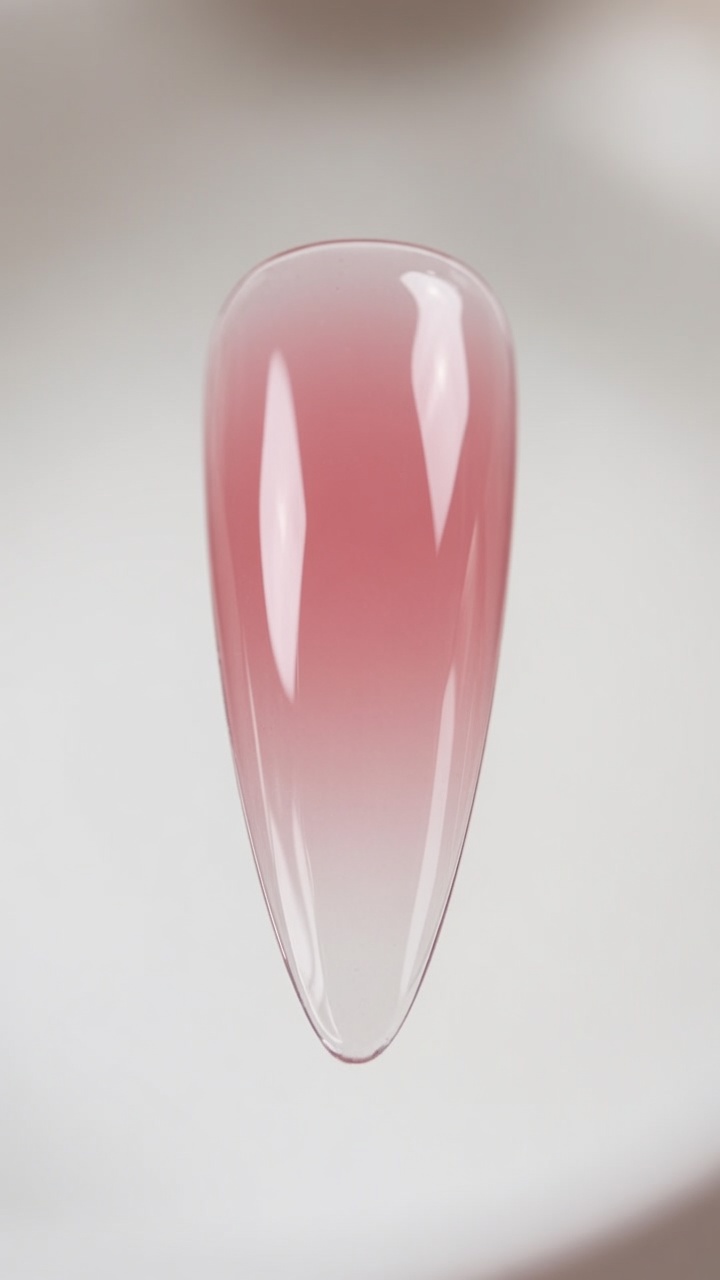
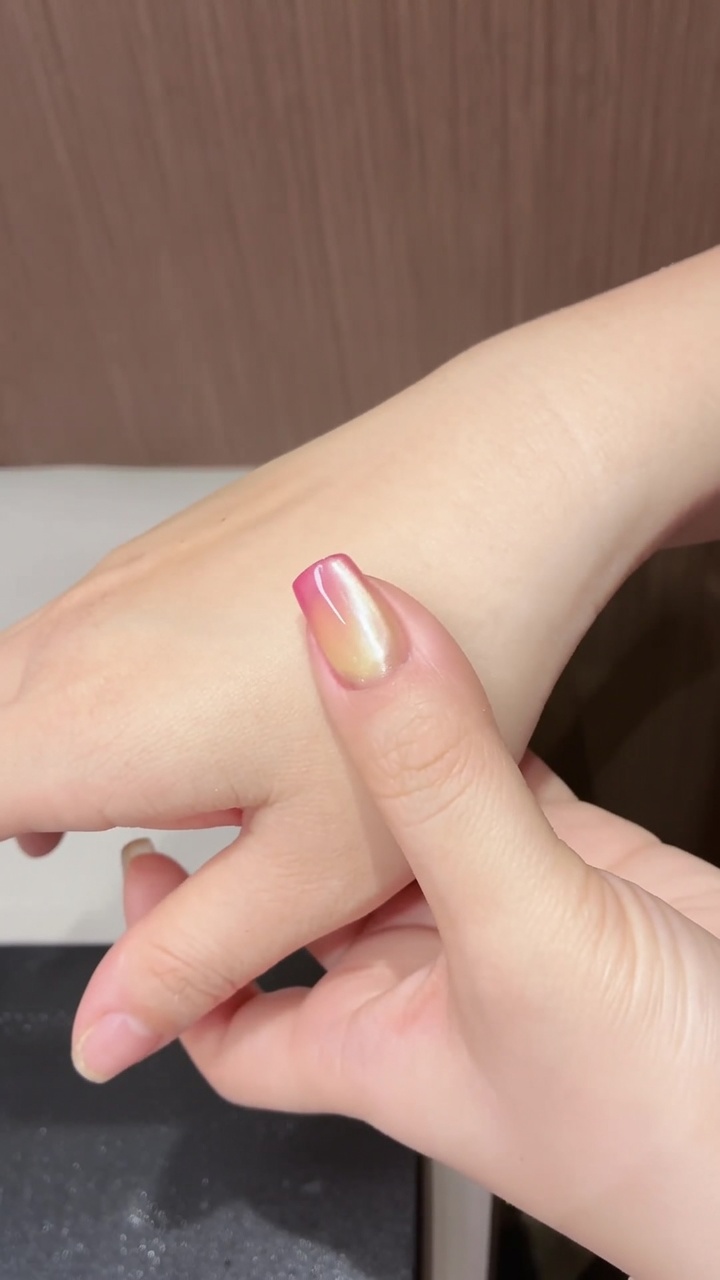
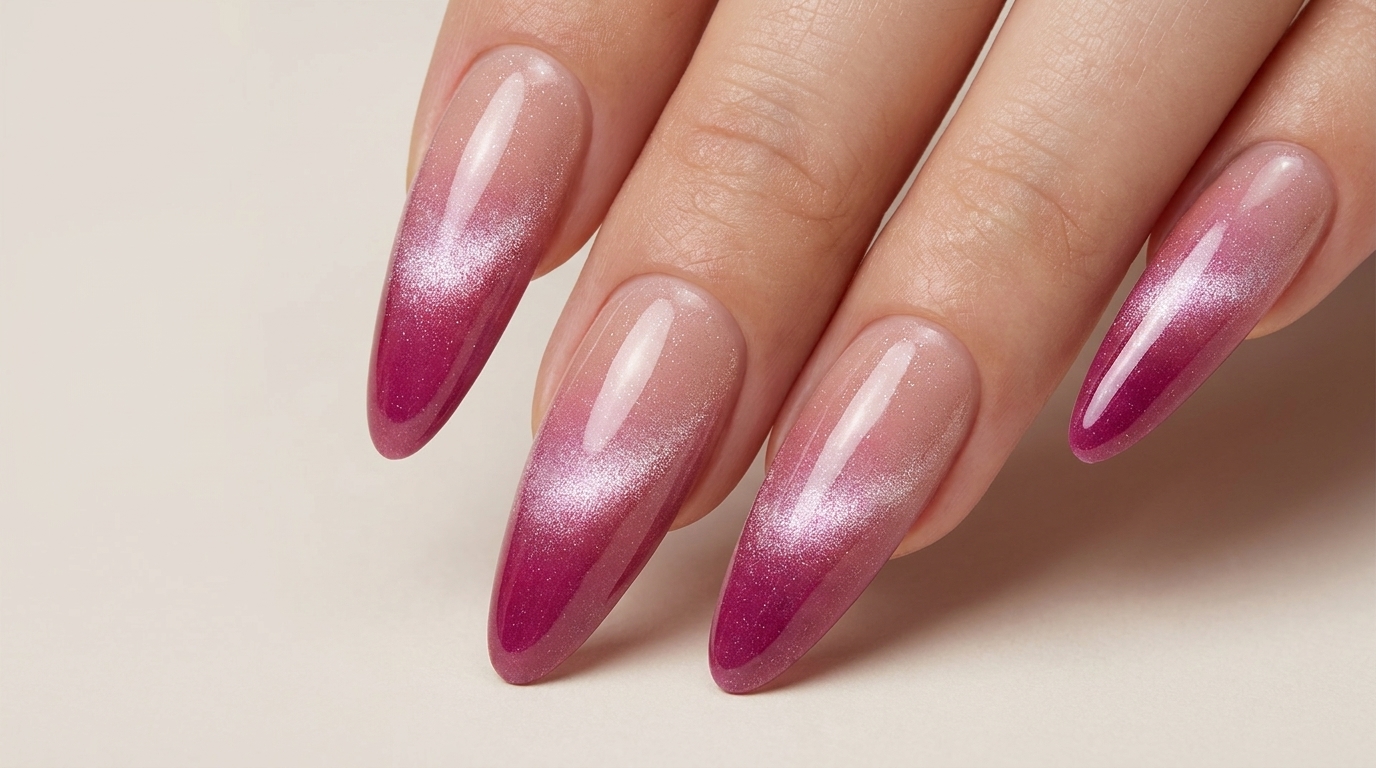
Create a stunning magenta-to-nude ombre with a shimmering cat-eye effect. This professional-grade tutorial guides you through the magnetic gel technique.
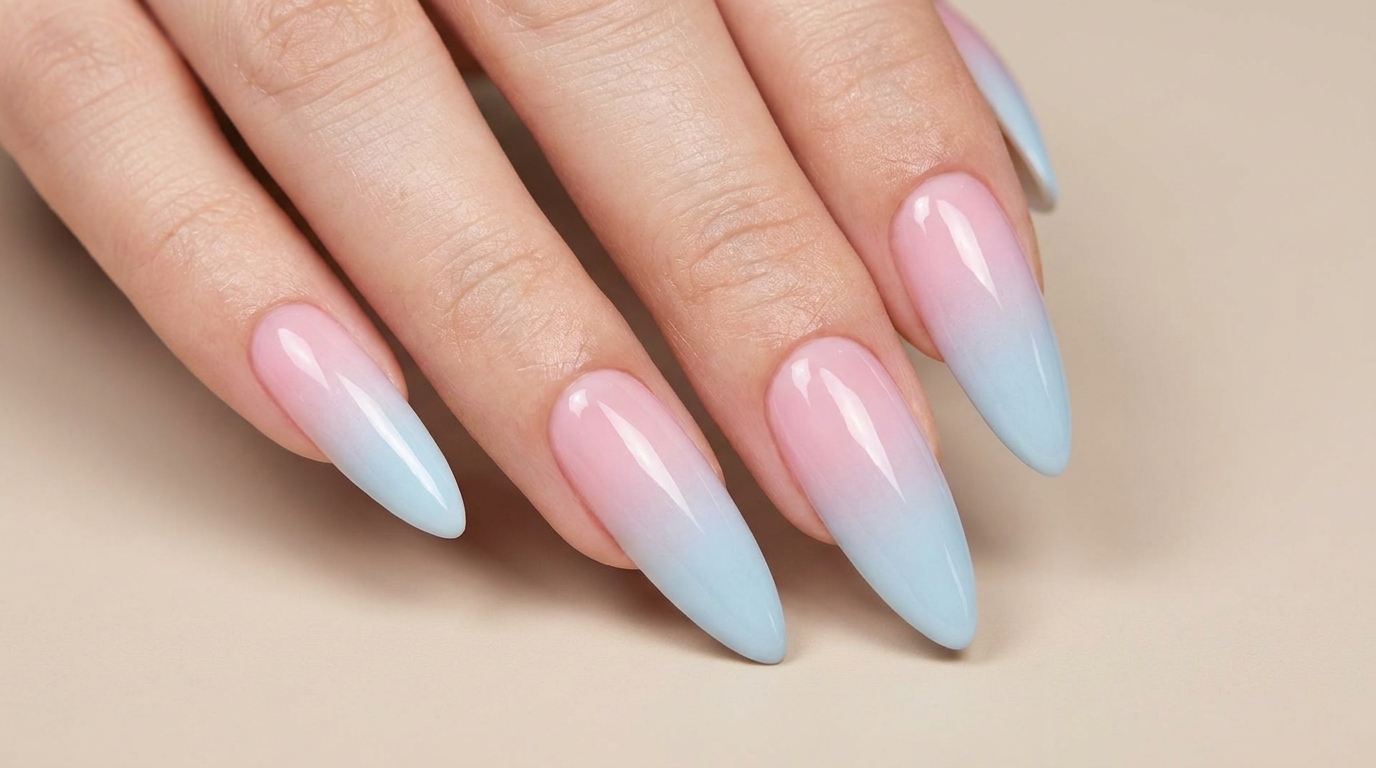
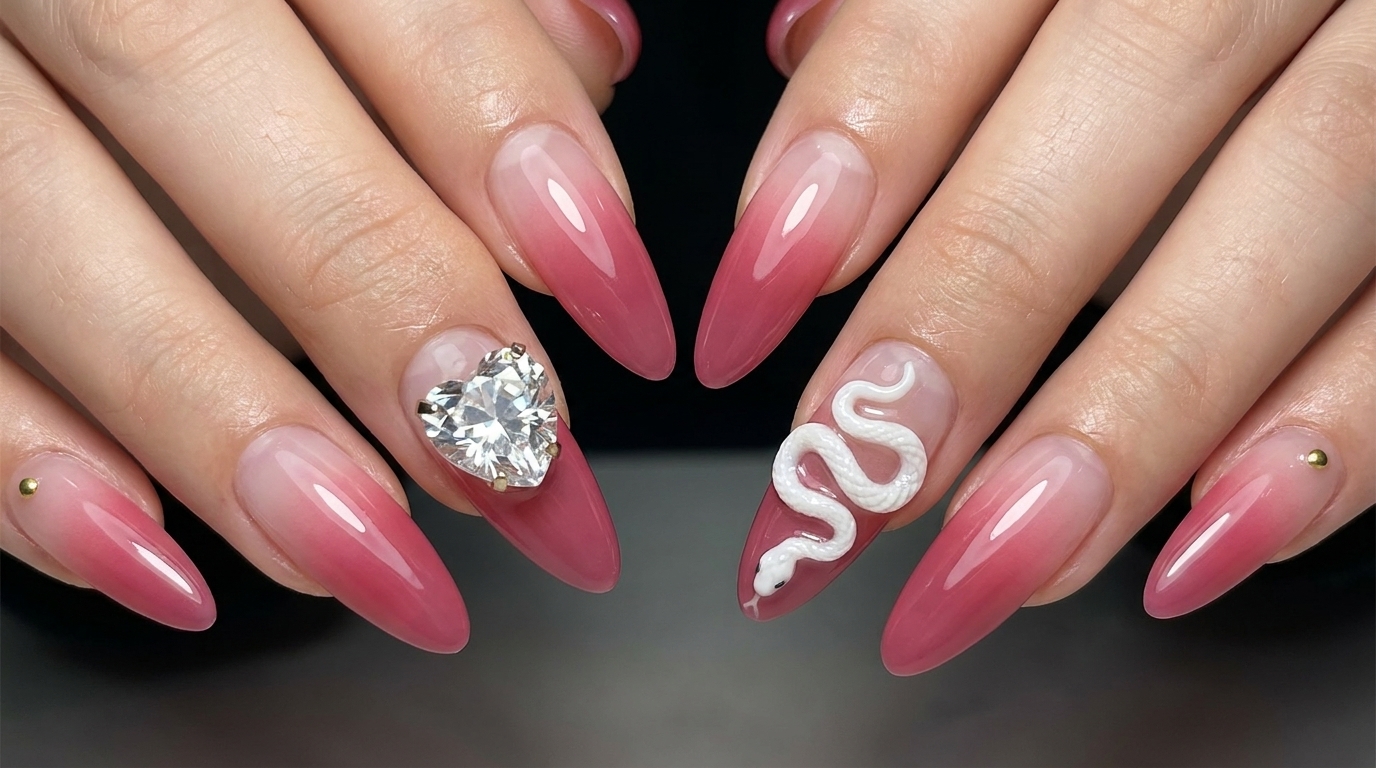
The fusion of a seamless ombre gradient with the depth of magnetic cat-eye polish creates a truly sophisticated finish. This look transitions perfectly from day to night, offering a unique play of light and color. Follow these steps to master the delicate balance of pigment blending and precise magnet placement for a salon-quality result.
Steps
- 1Apply clear base coat
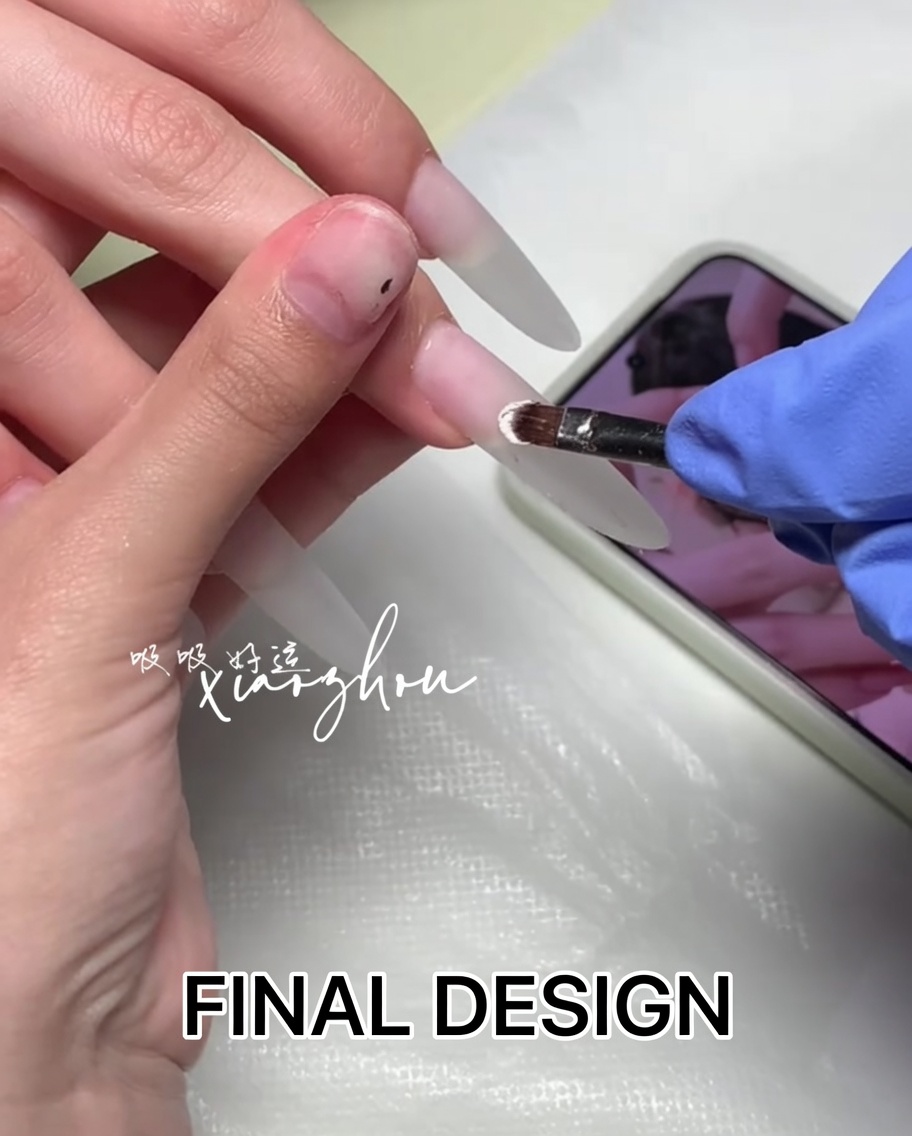
Apply a thin, even layer of clear base coat to the nail plate. Ensure you coat the surface thoroughly while avoiding the cuticle area. This provides a necessary foundation for the subsequent layers of gel polish to adhere properly.
Tip: Apply in thin, controlled strokes to prevent pooling around the cuticles. - 2Apply nude gel polish
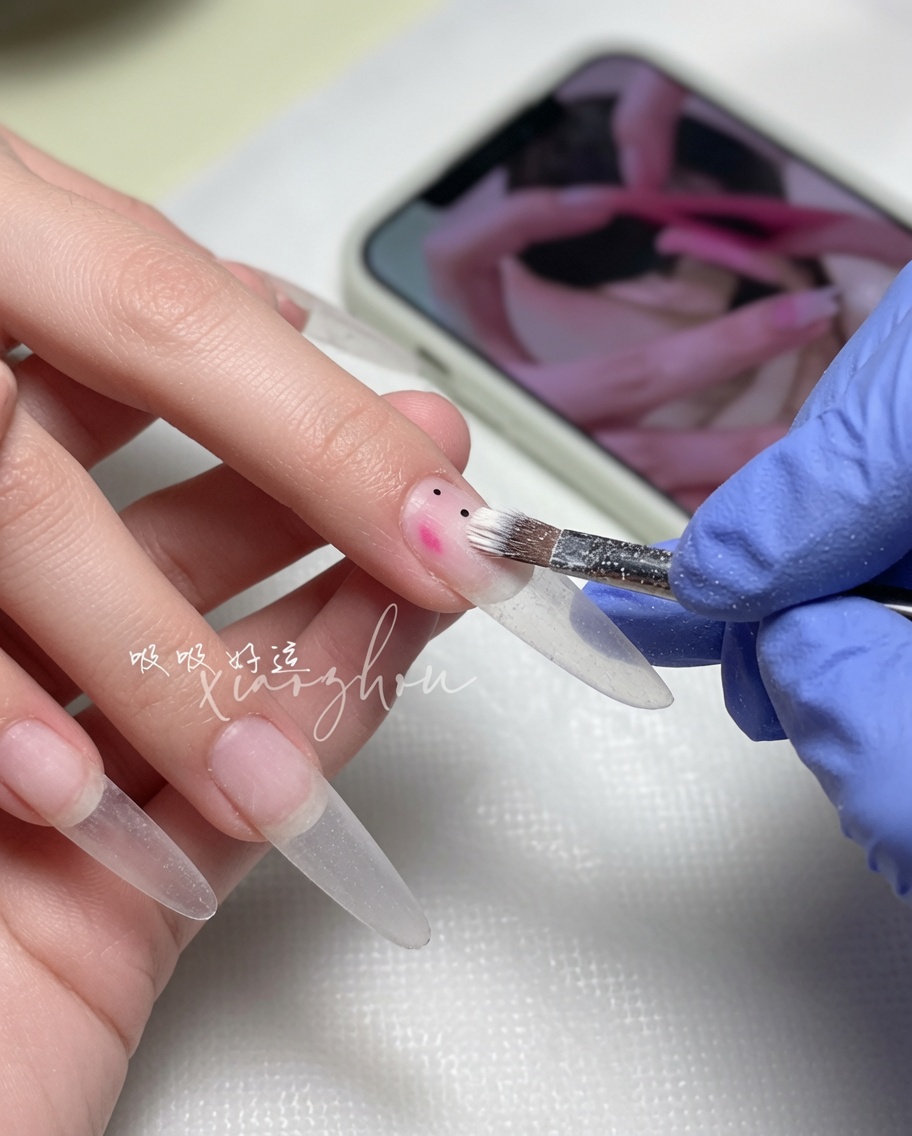
Apply a thin layer of nude gel polish over the base coat. Ensure smooth coverage across the entire nail plate for an even base color. Cure the layer according to your lamps instructions to ensure it is properly set.
Tip: Keep the layer thin to prevent lumps and ensure the polish cures through completely. - 3Clean cuticle area
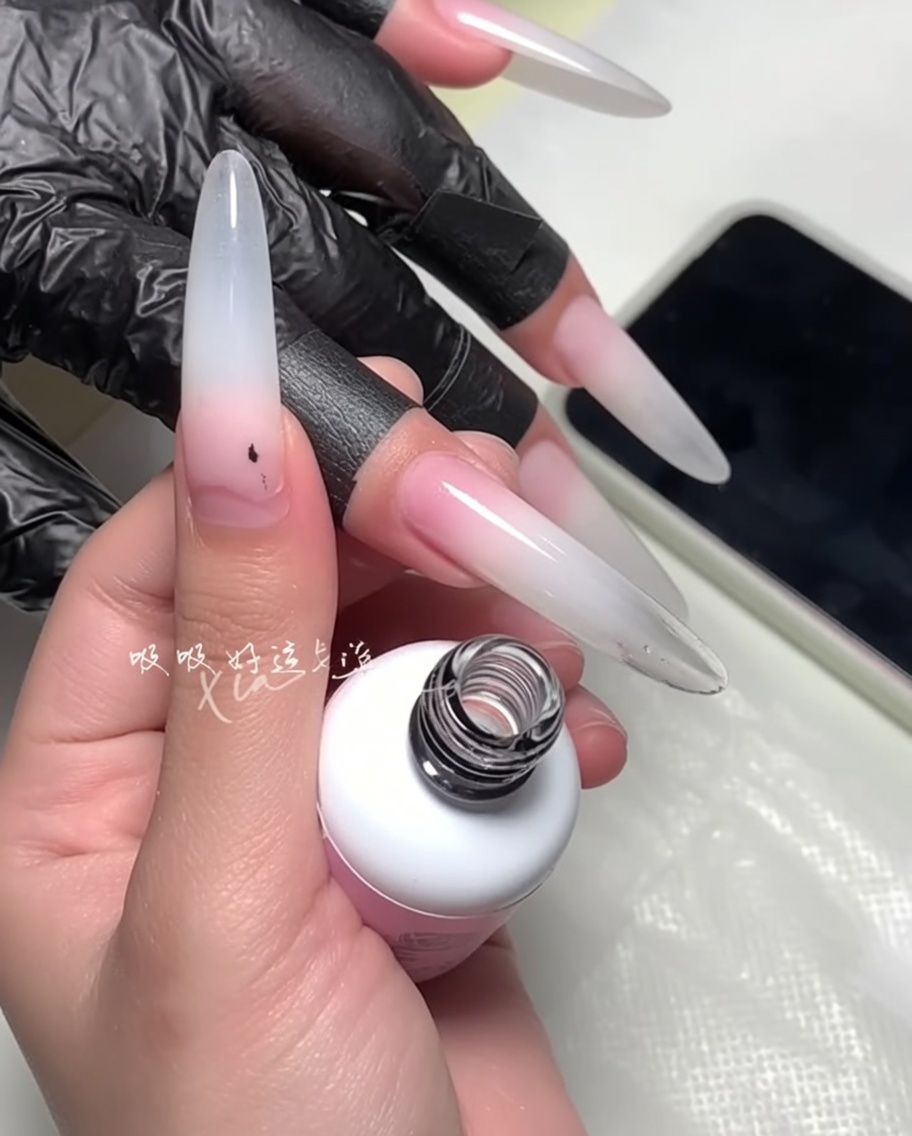
Using a lint-free wipe soaked in alcohol, gently clean any excess gel from around the cuticle area. This creates a neat, professional finish and prevents the polish from touching the skin.
Tip: Work carefully around the cuticle to avoid smudging the polish on the nail plate. - 4Apply magenta gel
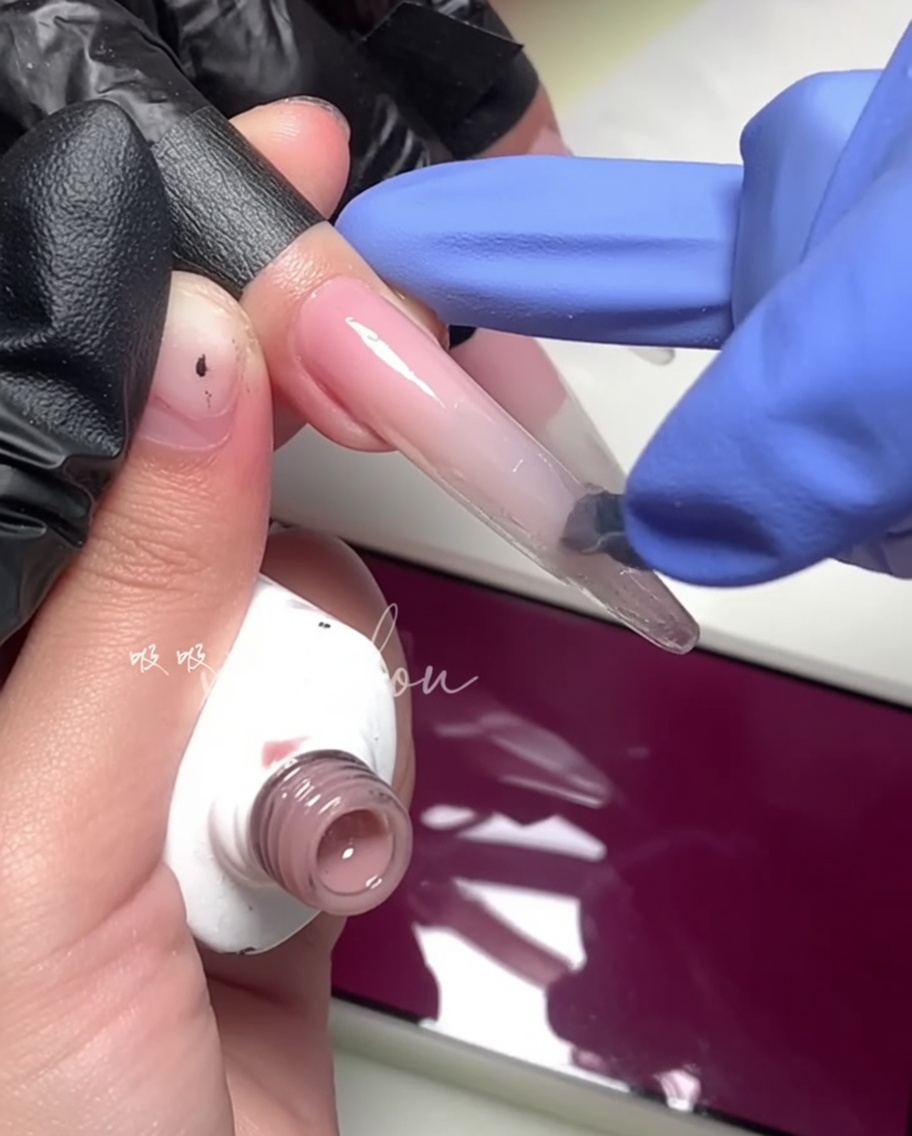
Apply a concentrated amount of magenta gel polish to the tip and middle portion of the nail. This will serve as the starting point for creating your gradient effect, allowing the color to transition from the tip toward the center.
Tip: Focus the pigment on the tip to build intensity where you want the color to be darkest. - 5Blend colors
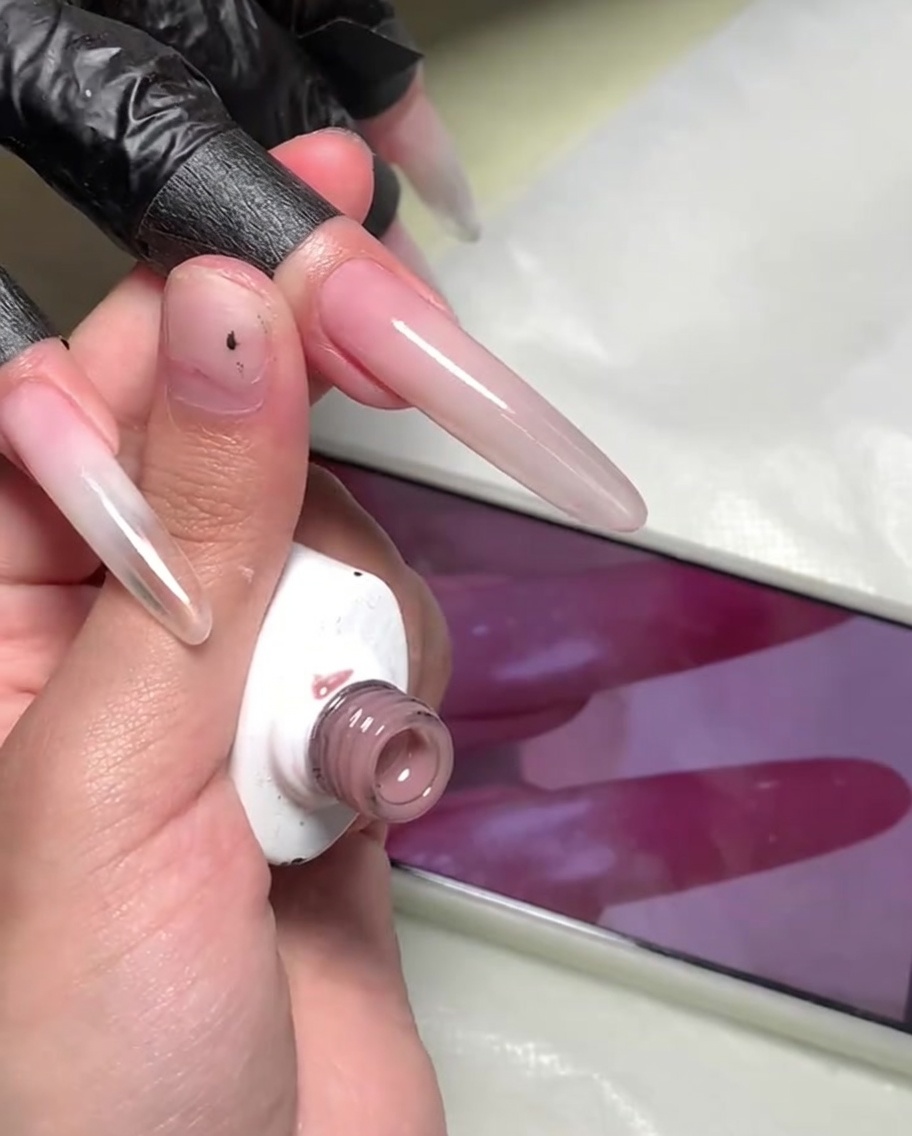
Using a makeup sponge or specialized blending tool, gently pat the junction between the magenta tip and the nude base. This blending action softens the line of demarcation, creating a smooth, professional-looking gradient.
Tip: Use a light tapping motion to avoid creating streaks in the wet gel polish. - 6Deepen the gradient
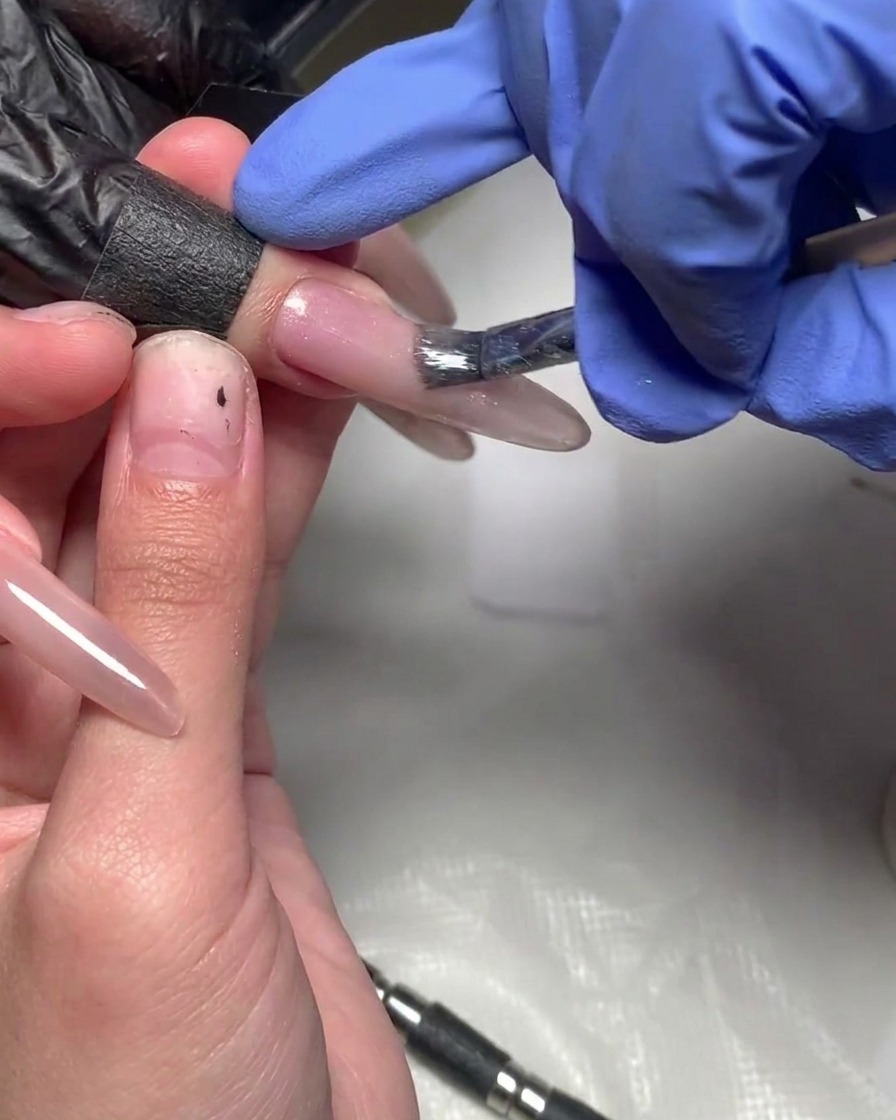
Apply a second layer of magenta gel to the tip to intensify the color saturation. Re-blend the edge with your tool if necessary to maintain the smooth transition. Cure again to set the depth of the gradient look.
Tip: Focus the second layer strictly on the tip to maintain the ombre gradient effect without covering the nude base entirely. - 7Create magnetic cat-eye effect
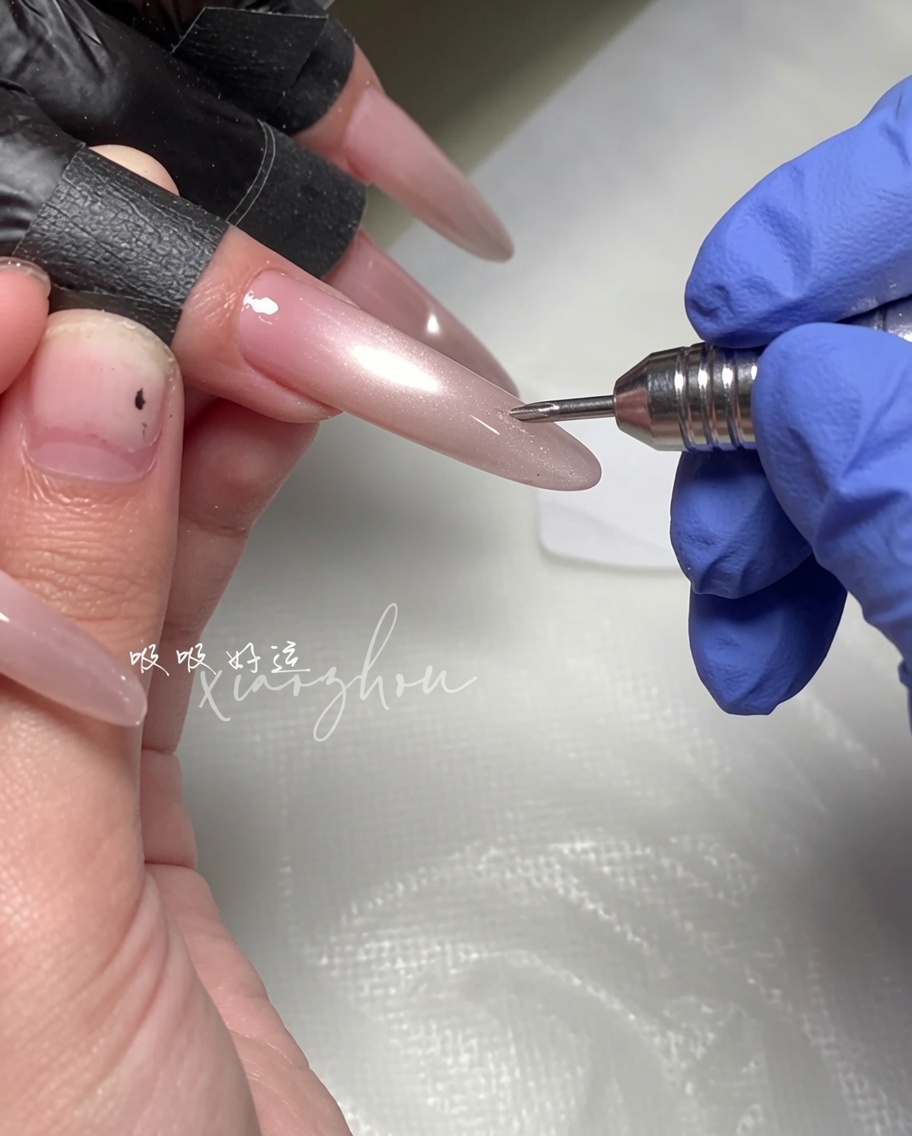
Hold the magnetic tool over the wet gel polish without touching the surface to manipulate the metallic particles. Move the magnet to achieve your desired pattern, such as a crisp diagonal line or a soft shimmer effect. Once satisfied with the pattern, cure the nail immediately to lock the shimmer in place.
Tip: Keep the magnet very close to the nail for the strongest, most defined line, but be careful not to bump the wet surface. - 8Clean nail edges
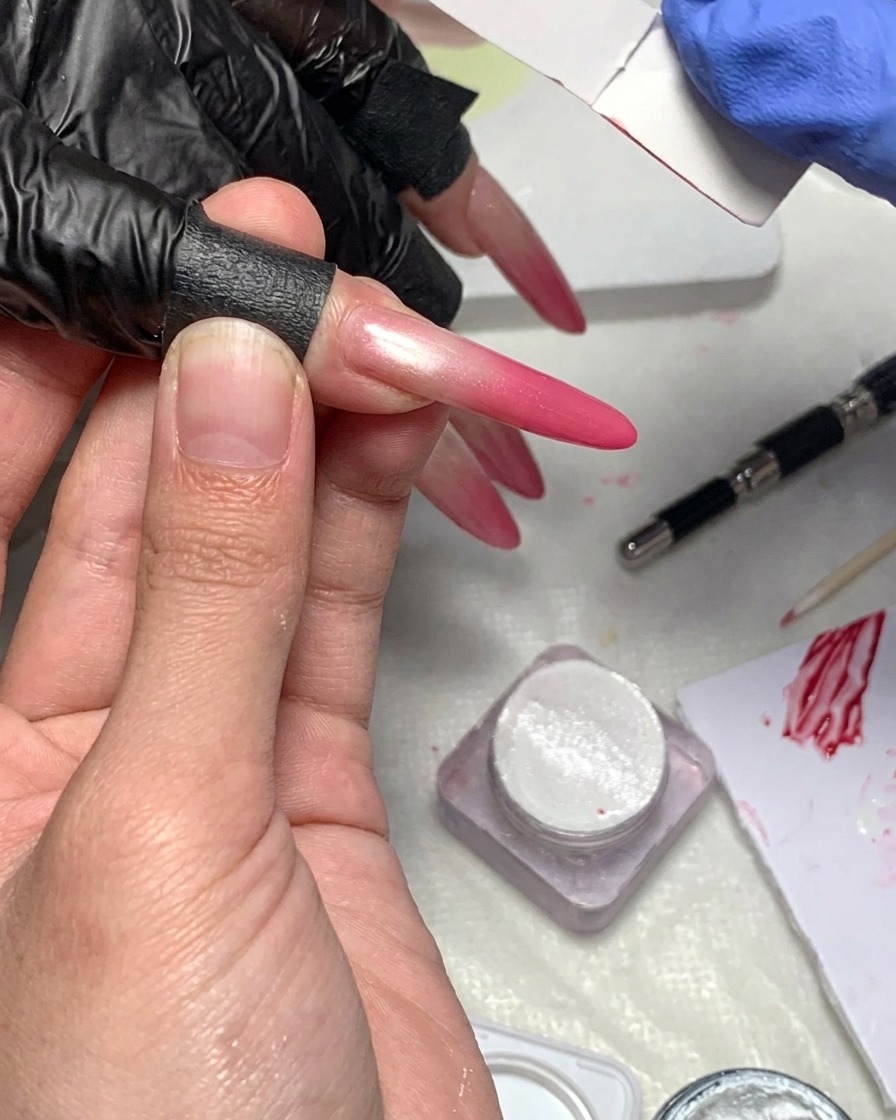
Using a lint-free wipe, gently clean around the edges of the nail to remove any excess gel or residue. This step ensures the nail surface is smooth and the cuticle area is clean, creating a polished and professional finish.
Tip: Be careful not to press too hard or touch the nail surface, as this may smudge the uncured gel. - 9Apply glossy top coat
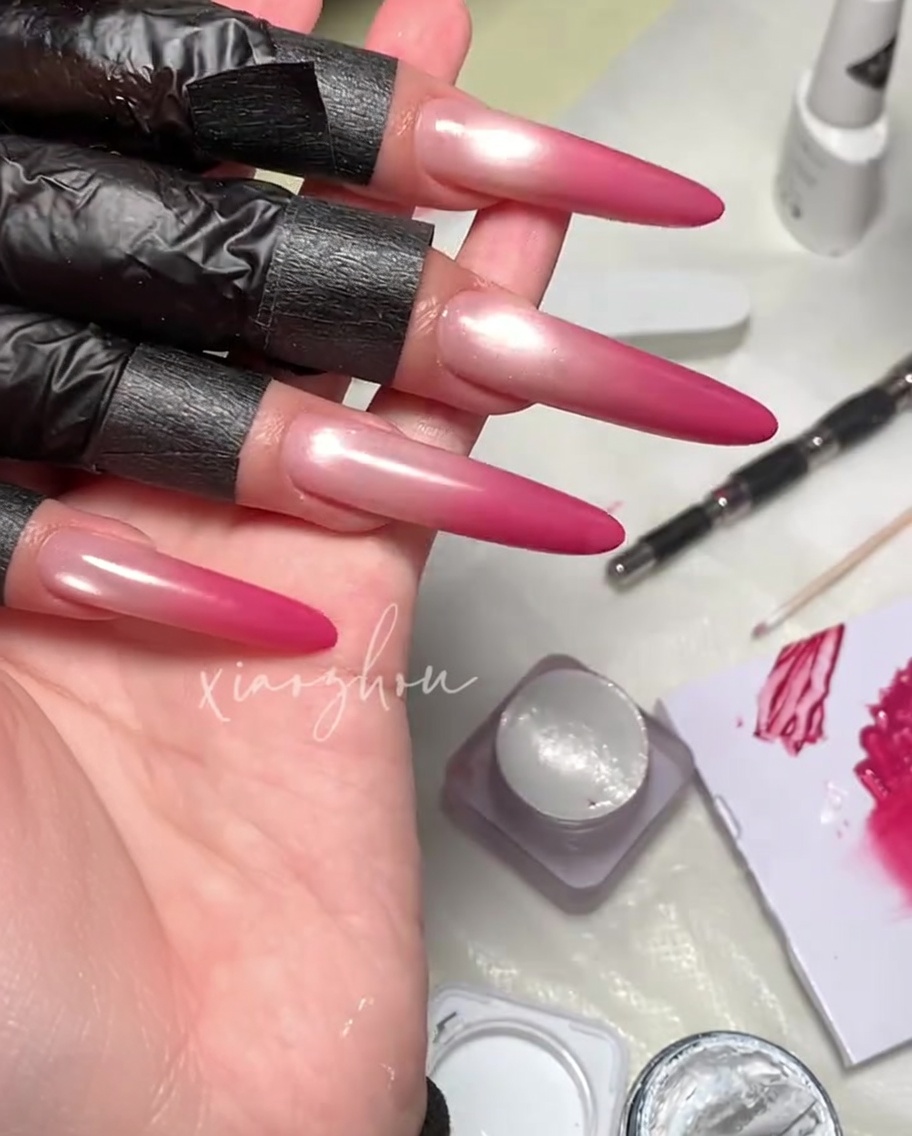
Apply a final layer of glossy top coat to protect the design and add shine. Ensure you cap the free edge of the nail for longevity and prevent chipping. Cure under the UV or LED lamp for the full recommended time to ensure a hard, high-gloss finish.
Tip: A smooth application of top coat evens out the surface and makes the cat-eye shimmer really pop.