Soft Pink Gel Ombre Nails — Beginner Step-by-Step Tutorial
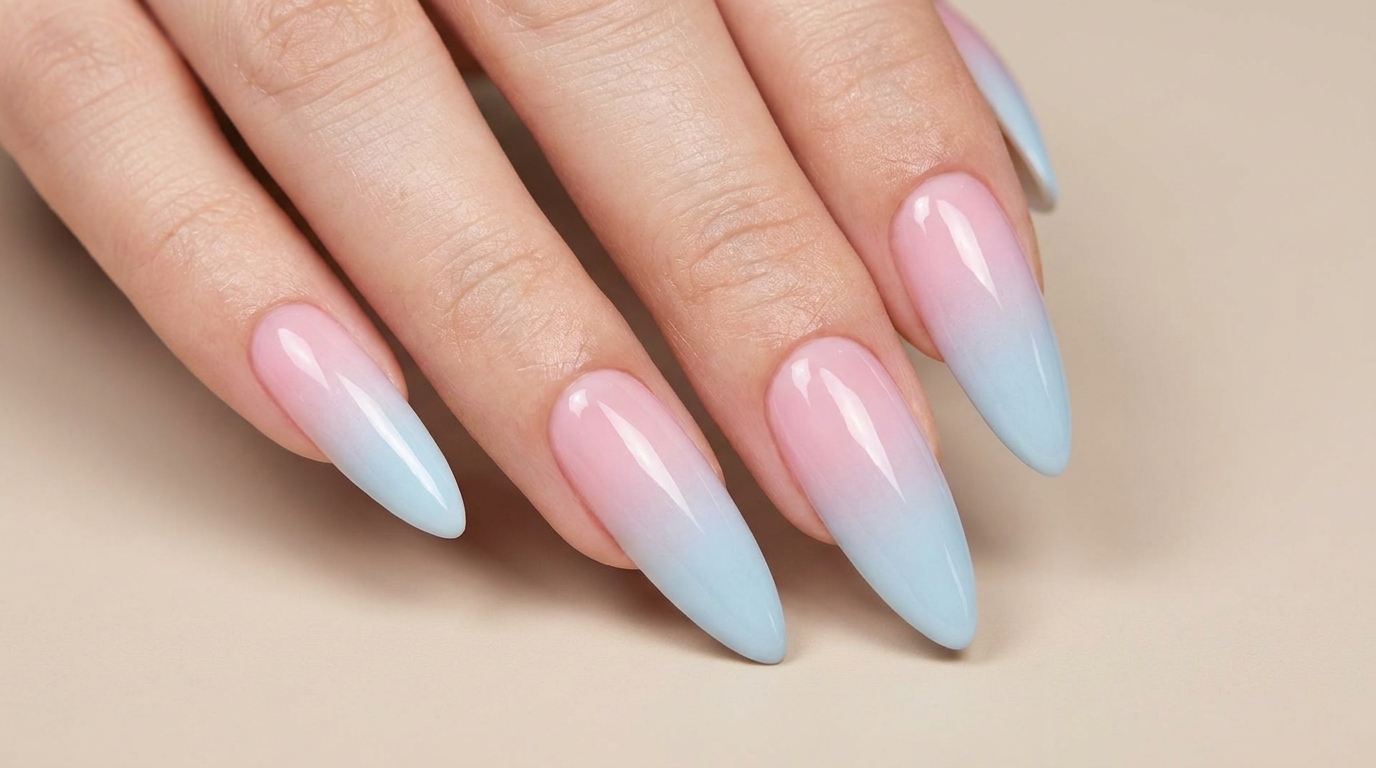
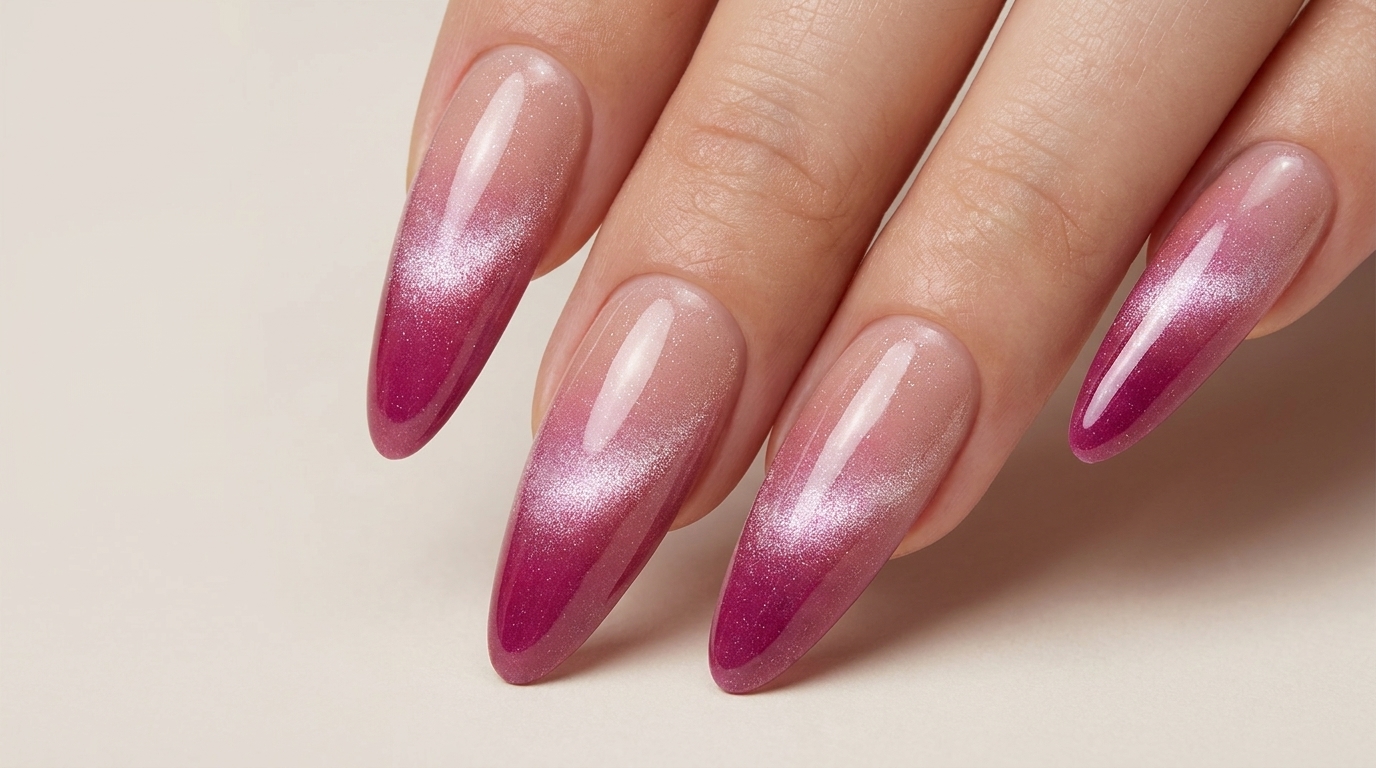
Create a seamless pink-to-clear gradient with this simple patting sponge technique. Perfect for a professional, glossy, and natural-looking finish at home.
The ombre gel nail look is a timeless trend that offers a soft, airbrushed finish perfect for any occasion. By mastering the patting technique with a makeup sponge, you can achieve a professional-quality gradient transition without needing advanced artistry skills. This tutorial breaks down the process into easy steps to ensure you get a vibrant, smooth, and perfectly blended manicure.
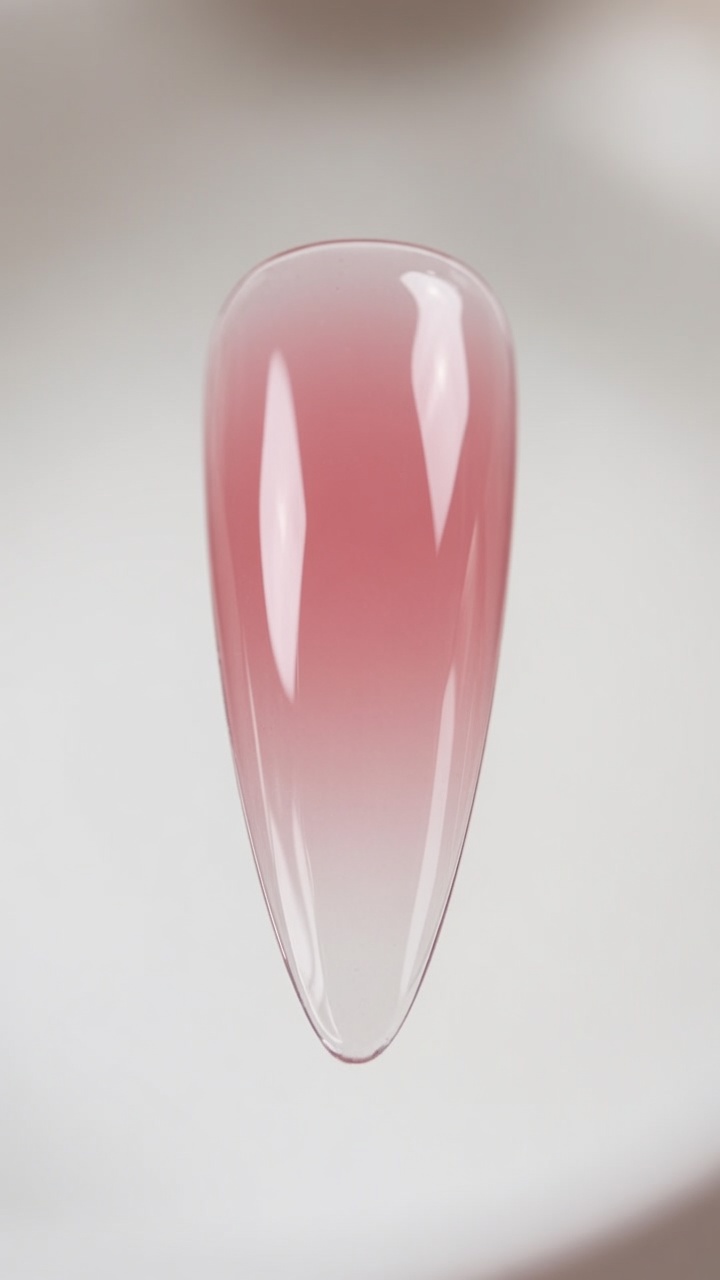
Steps
- 1Prepare the nail with patting gel
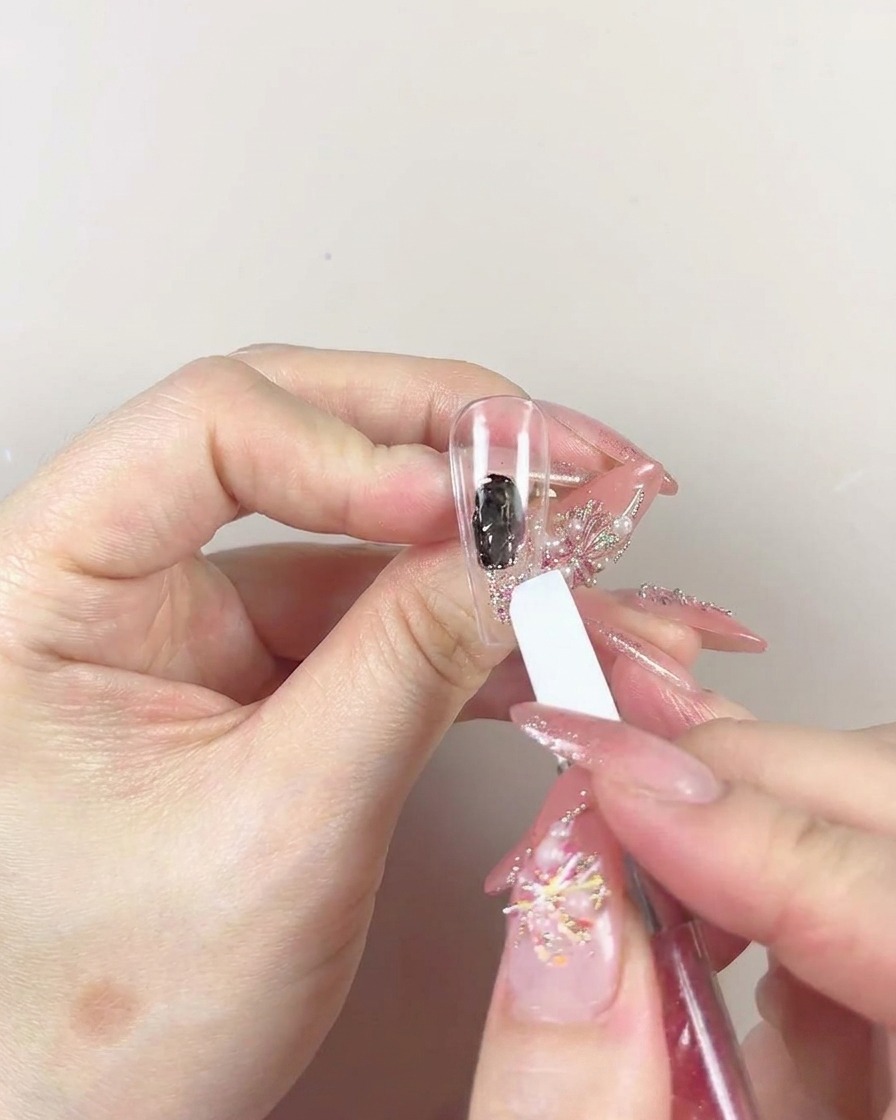
Apply a small amount of patting gel to the nail tip using a brush. If the nail is long, use more product to cover the area. If you are working over an existing base color, remove the sticky layer first for a smoother result.
Tip: Focus the gel application primarily on the tip area where you want the darkest part of the gradient to be. - 2Begin the gradient with the sponge
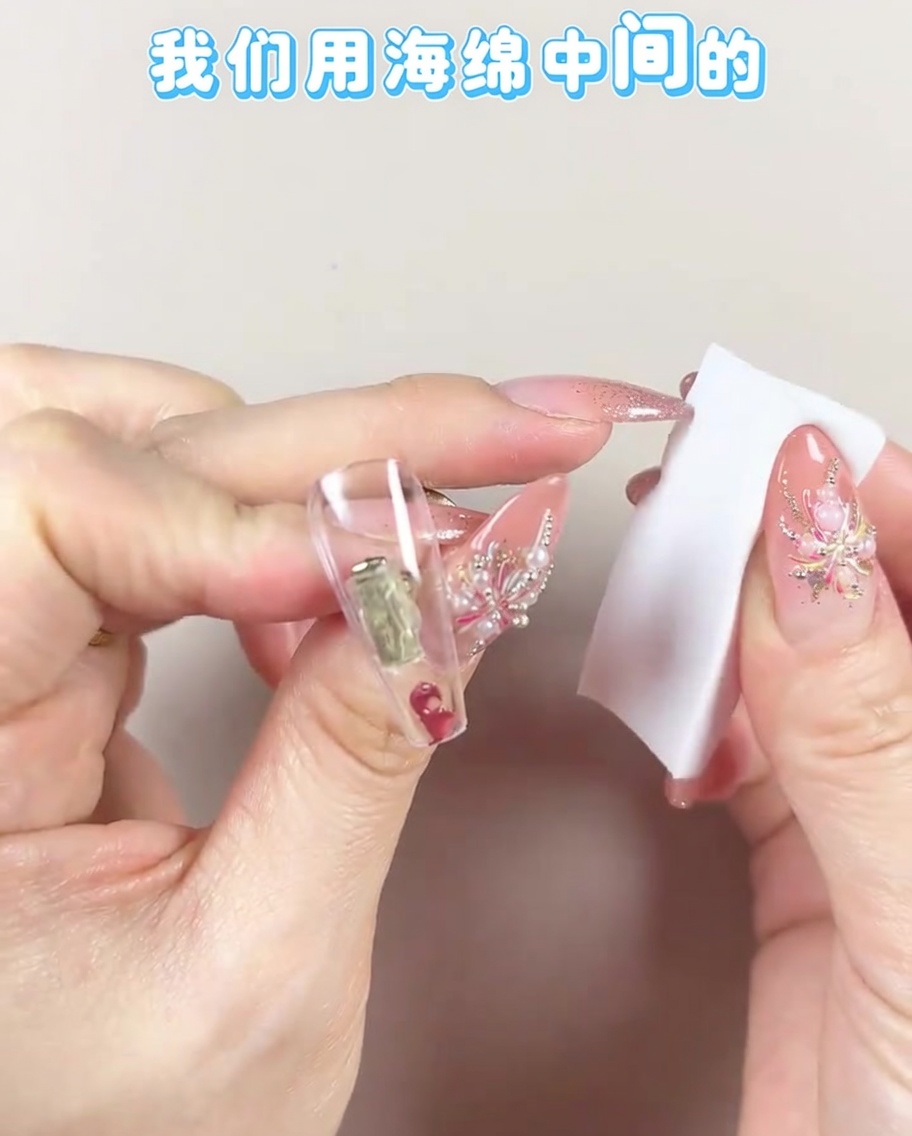
Take a makeup sponge and use the center to begin patting the gel onto the nail. By using the center, you concentrate the product intensity, which provides a strong base for your gradient. Keep the sponge in one spot initially to ensure the color pigment is deposited clearly while the sponge absorbs some of the excess product.
Tip: Keep the sponge upright and use the edge to control the placement of the color accurately. - 3Build color intensity
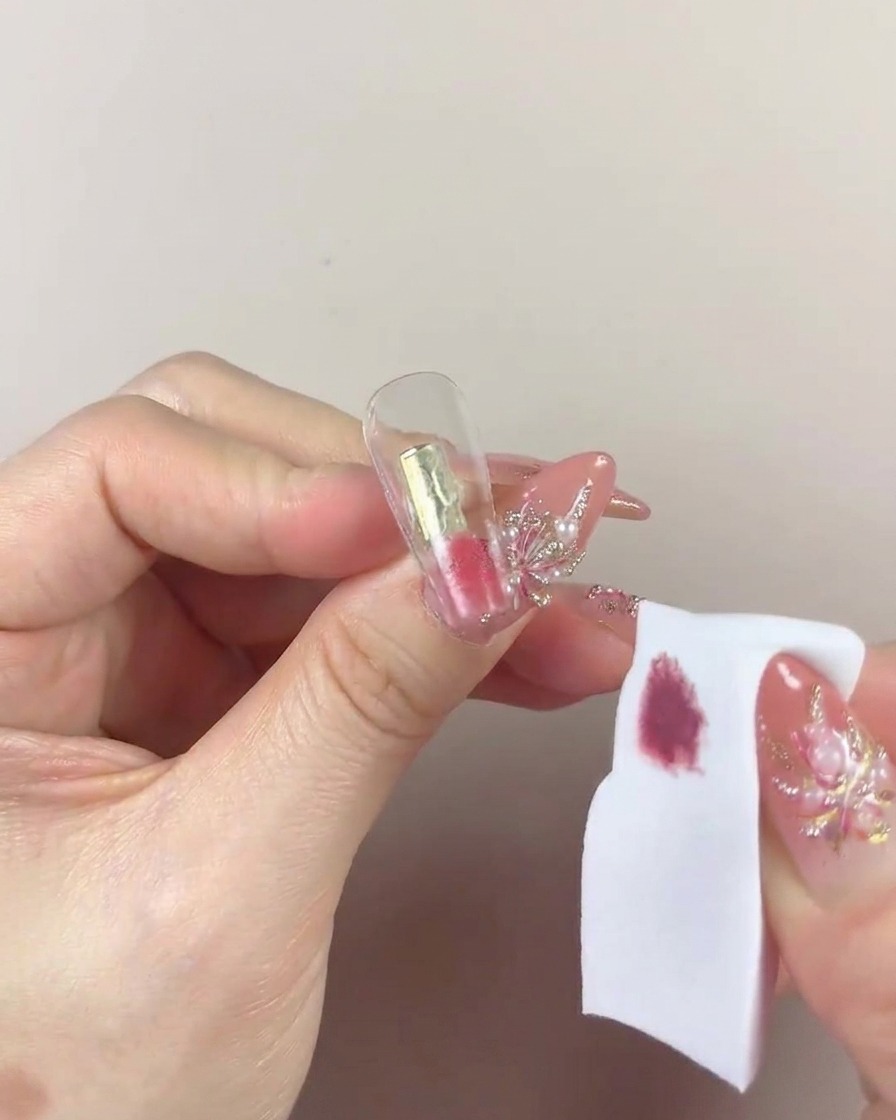
Continue patting repeatedly in the same spot. This technique allows the sponge to absorb excess product, preventing a thick application while the pigment begins to diffuse into a natural-looking gradient.
Tip: Ensure your hand pressure is consistent to keep the color density even during this stage. - 4Blend the gradient
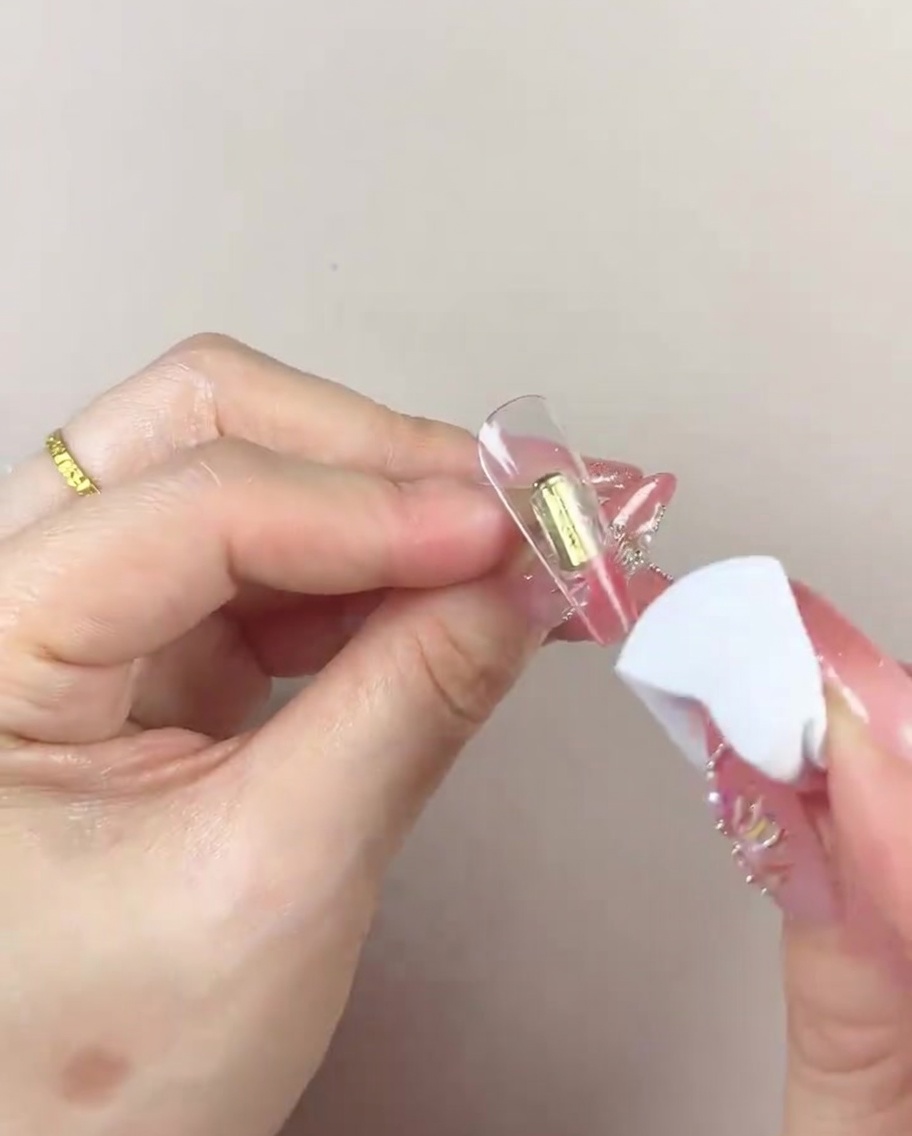
Gently transition the sponge in a left-and-right motion across the nail tip. This horizontal movement helps to smooth out the transition between the dark center and the surrounding area. Blend carefully until the harsh lines start to dissipate and the gradient looks more seamless.
Tip: If the transition looks uneven, continue the side-to-side blending motion until you reach the desired smooth appearance. - 5Extend the gradient upwards
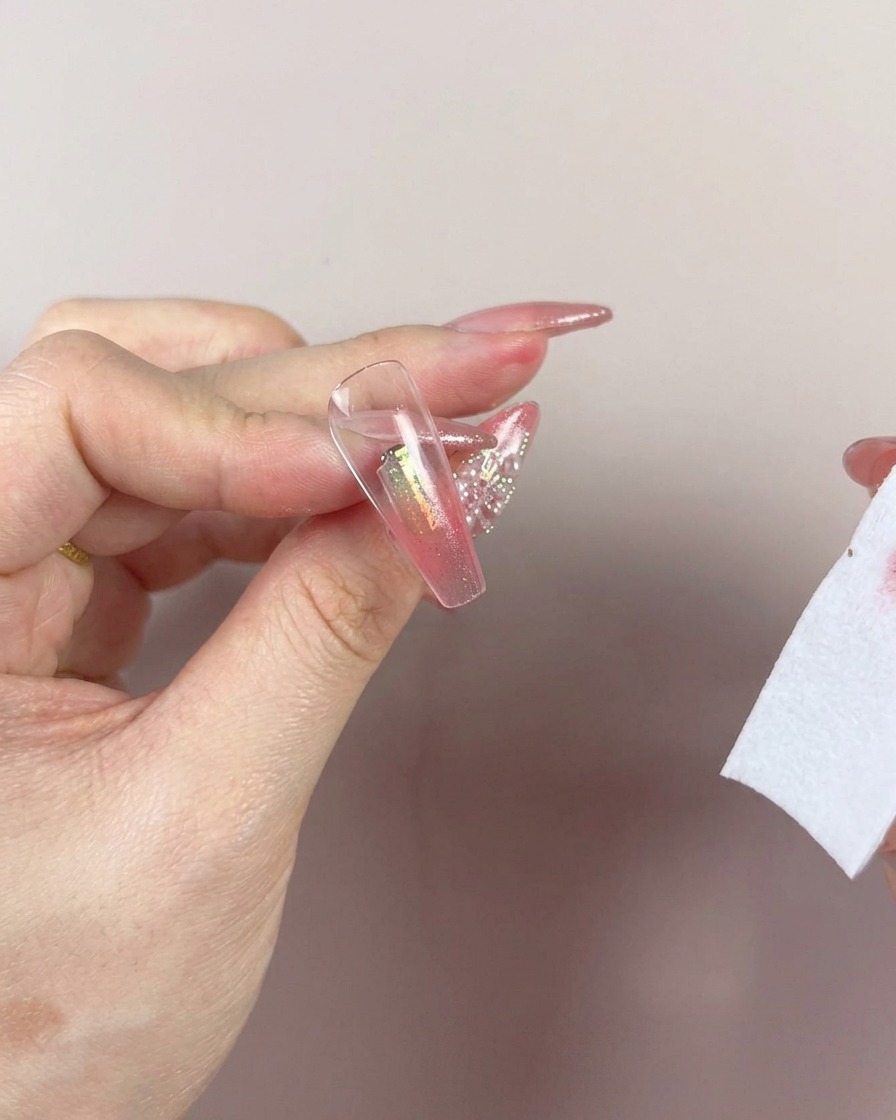
Use the lighter-colored portion of the sponge to pat the upper part of the nail to reach the desired height. Avoid using the dark center of the sponge here, as it carries too much pigment.
Tip: Keep the sponge upright and use just the edge to maintain control over the fade height. - 6Refine the gradient transition
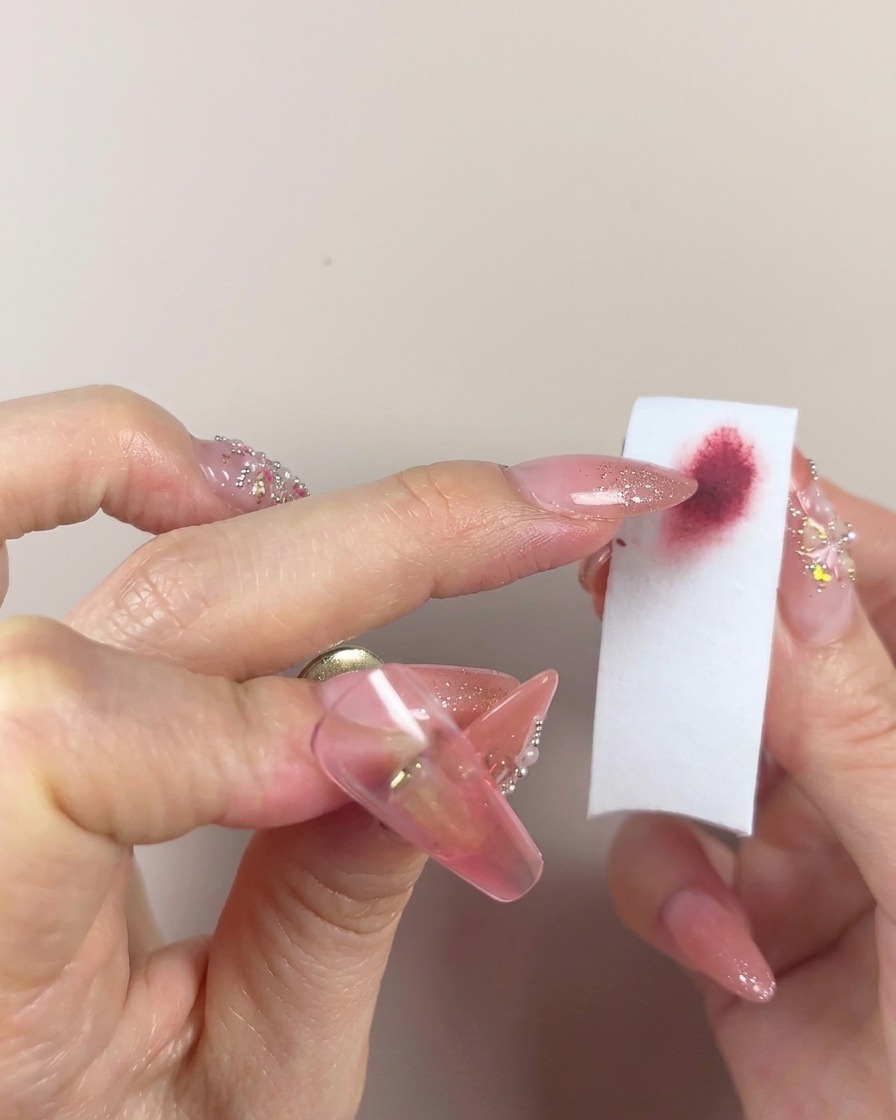
Continue blending by using the clean edge of the sponge to gently pat and smooth the color transition. If you notice any heavy spots or harsh lines, use a clean side of the sponge to soften them. This refinement step is crucial for achieving a professional, airbrushed look.
Tip: Work patiently; it is better to blend with multiple light pats than one heavy, saturated pat. - 7Refine the gradient
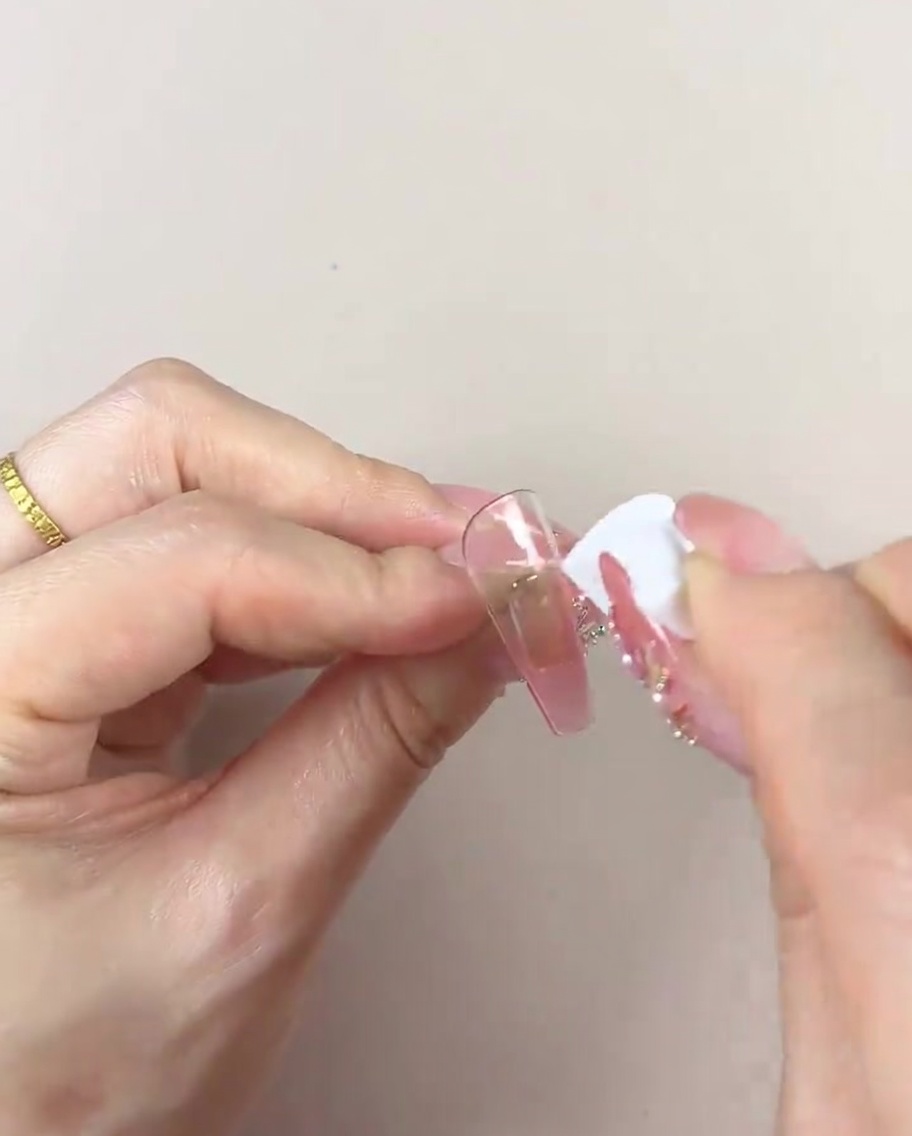
If the gel was applied too heavily, use a clean side of the sponge to gently pat and smooth the color transition. This helps blend the colors and remove harsh lines for a seamless effect.
Tip: Work in small, gentle motions to avoid lifting the previously applied color. - 8Cure the gradient
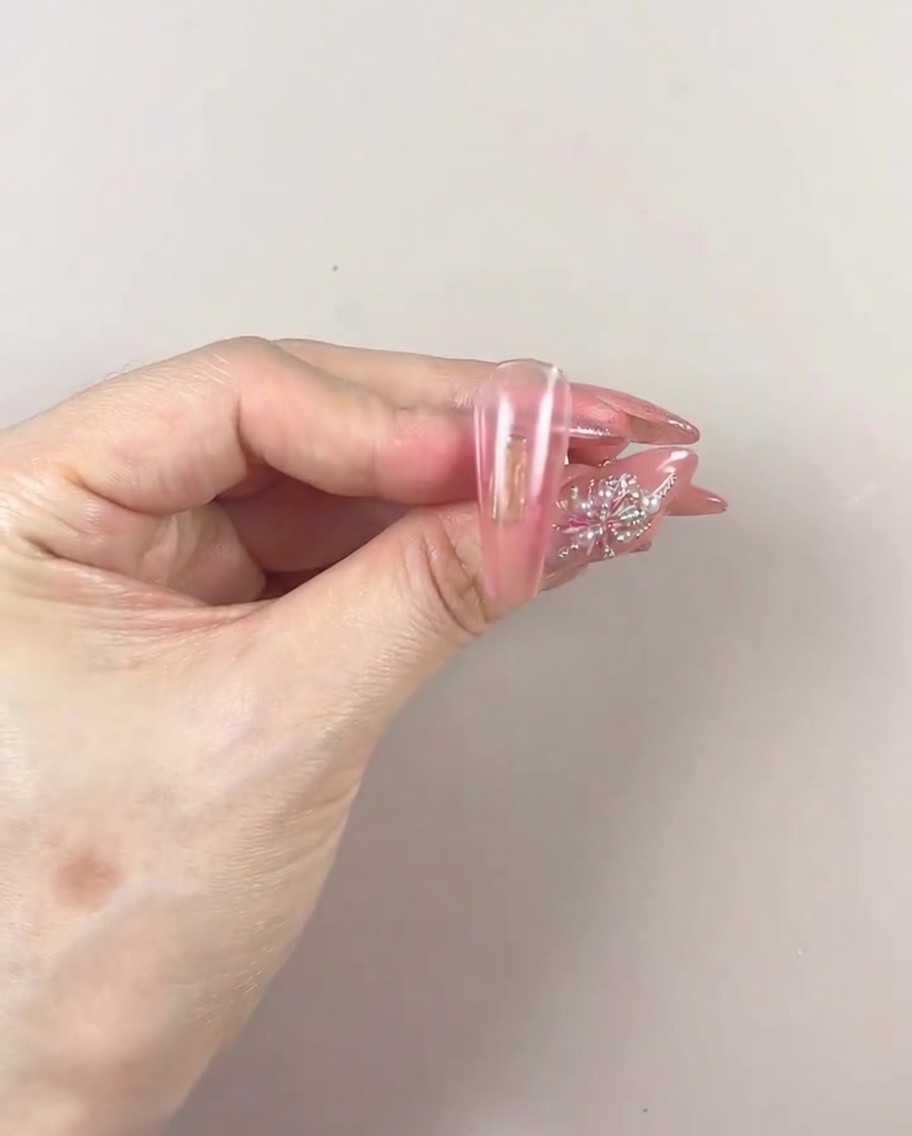
Once the first layer of the gradient is applied and blended to your satisfaction, place your hand under the UV/LED lamp. Cure the gel according to the manufacturers recommended time to ensure the layer is fully set.
Tip: Ensure the hand is placed flat and steady under the lamp for an even cure. - 9Apply second gradient layer
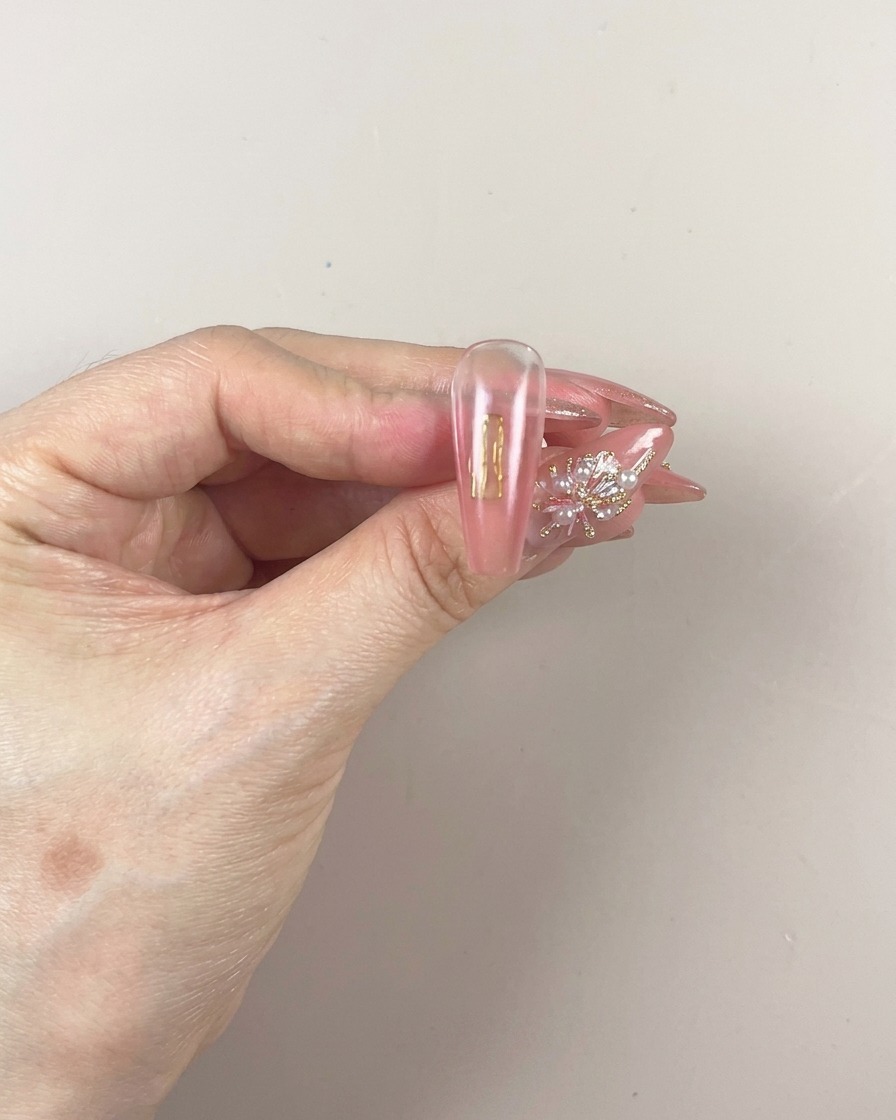
Apply more patting gel to the lower part of the nail. This second layer will deepen the color intensity at the tip and enhance the ombre transition.
Tip: Keep the layer thin to prevent the gel from pooling at the free edge. - 10Pat for intensity
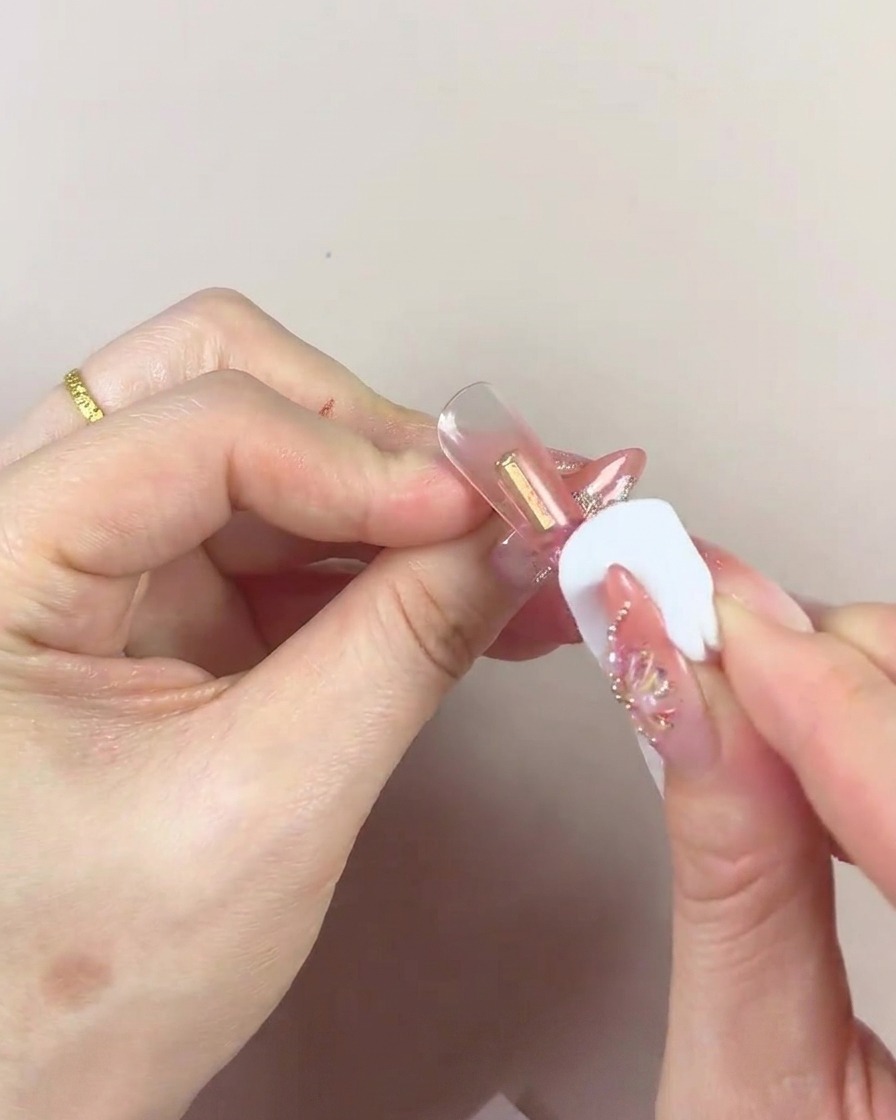
Using the dark center of the sponge, pat the newly applied second layer of gel on the lower part of the nail. Keep the sponge upright and use the edge to maintain precise placement.
Tip: Hold the sponge upright and use the edge to maintain precise placement. - 11Blend the second layer
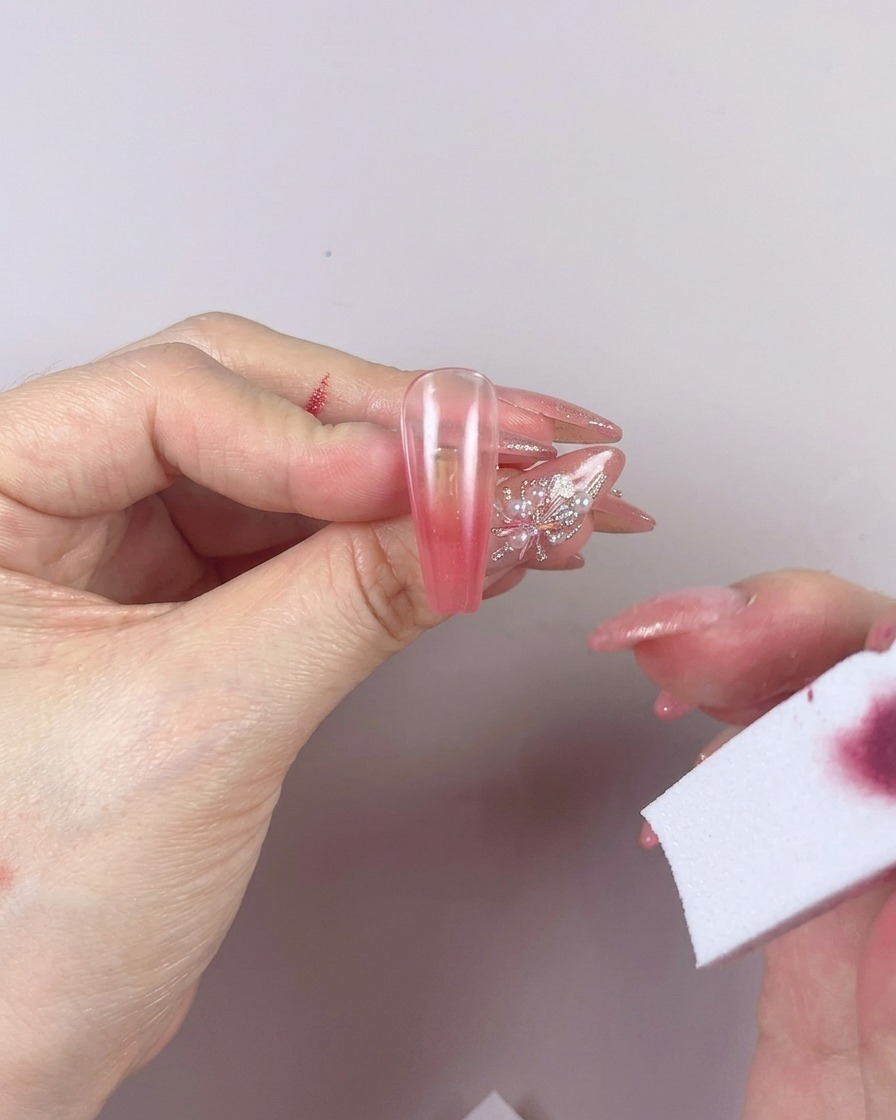
After patting the color, blend the transition using left-to-right motions with the sponge. This movement ensures the second layer integrates smoothly with the existing gradient without creating sharp lines.
Tip: If the transition remains uneven, use the lightest part of the sponge for a final gentle blend. - 12Correct heavy application
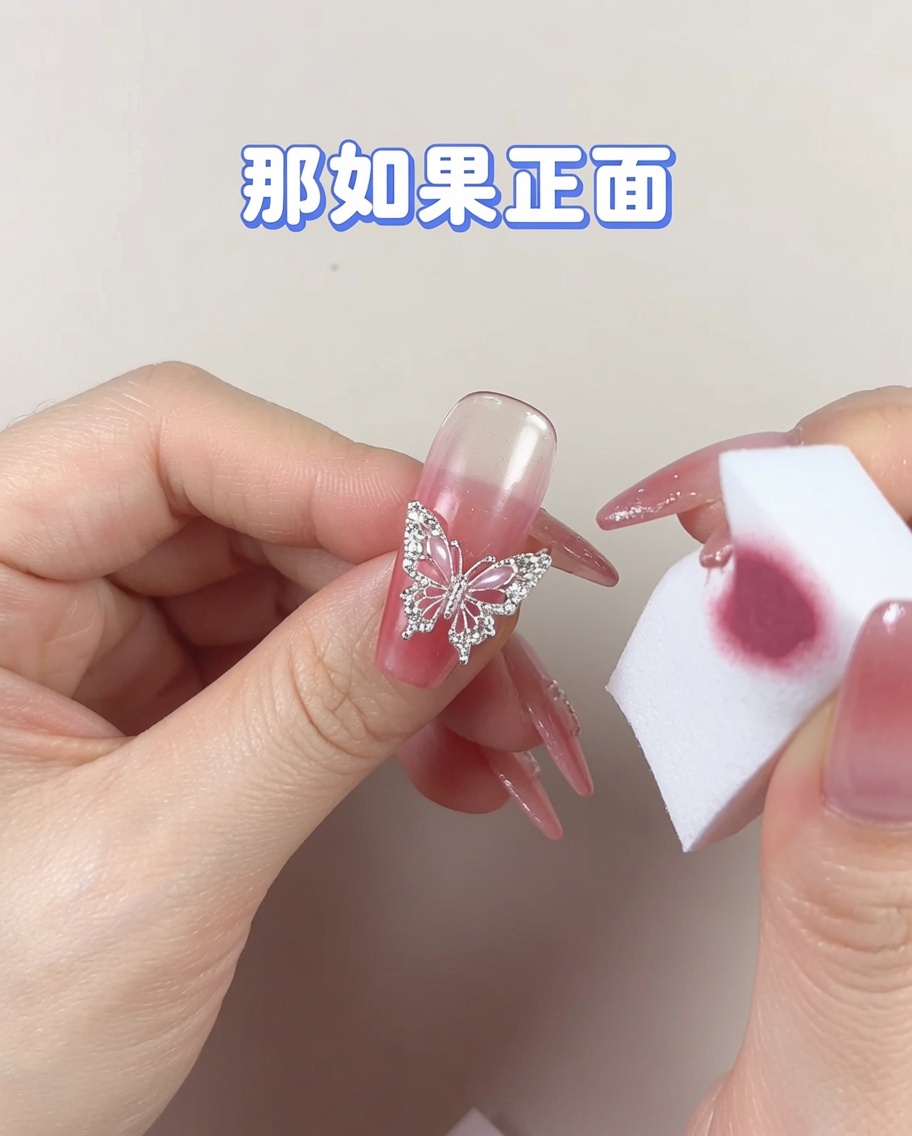
If you notice spots where the gel was applied too heavily, take a clean side of the sponge and gently pat those areas. This technique lifts excess product and smooths the surface for a professional, even finish.
Tip: Regularly rotate your sponge to use a clean surface for the best blending results. - 13Smooth the color transition
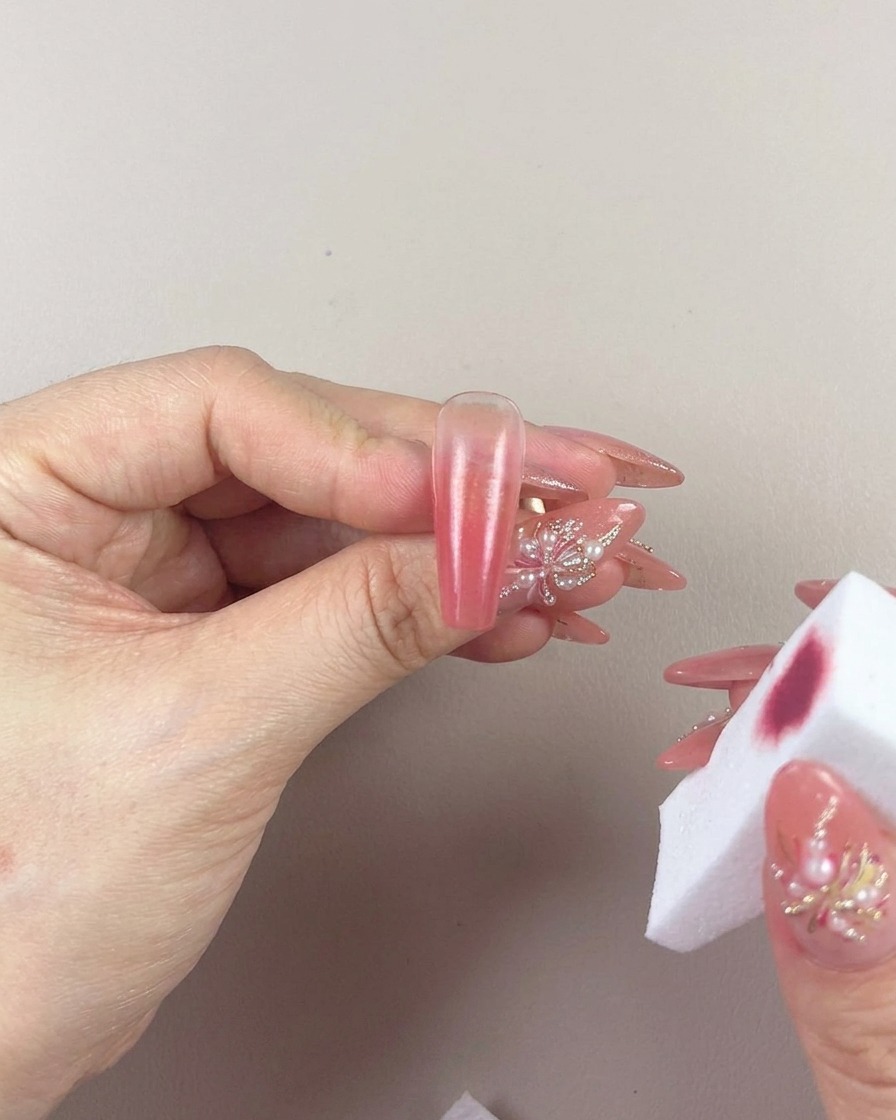
Using a clean section of the sponge, gently pat the area where the colors meet to blur the lines. Keep your motions light to avoid lifting the product and ensuring a professional-looking ombre finish.
Tip: If the transition is still not smooth, use the lightest part of the sponge or a clean edge to blend the colors together more effectively. - 14Final tip saturation
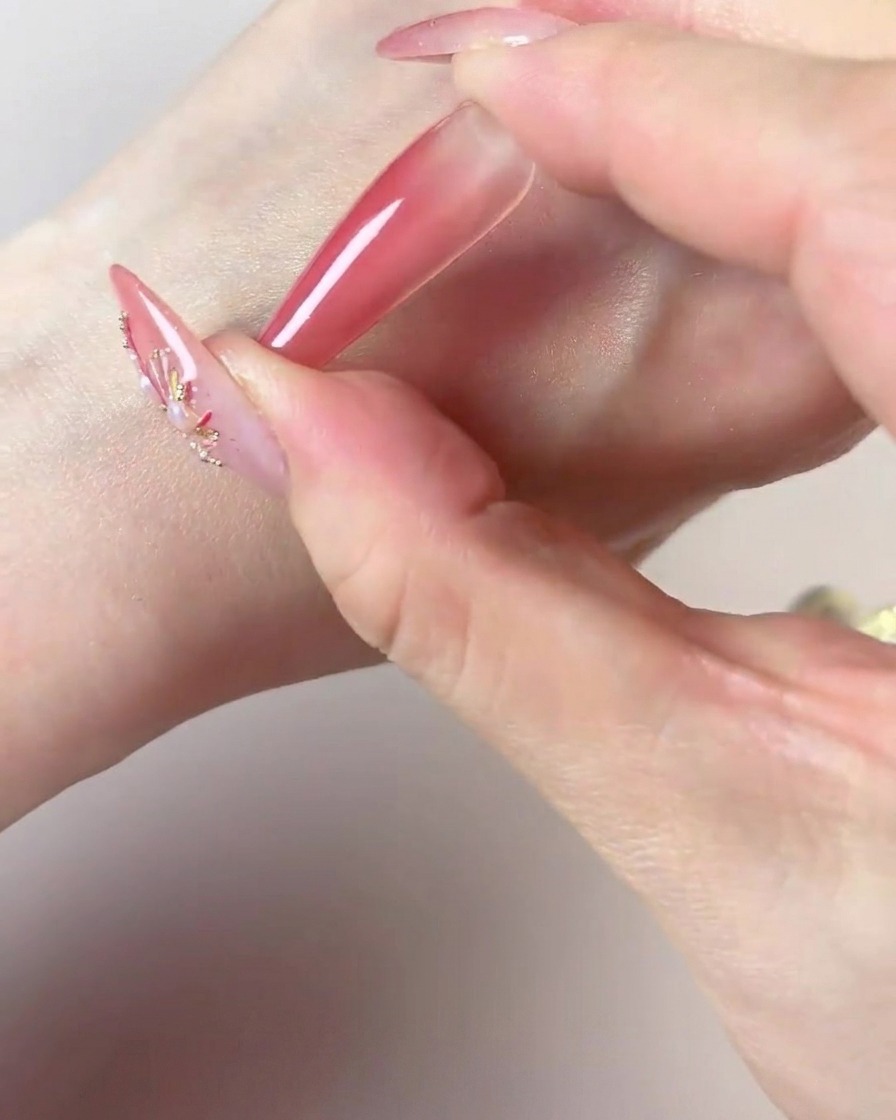
If the tip of the nail appears too light after the initial blending, apply a small amount of the darker gel polish to the center of your sponge and pat it onto the free edge of the nail. Repeat this motion until you reach your desired level of color intensity. This final adjustment ensures a vibrant and even ombre finish across the nail.
Tip: Focus the darker pigment specifically at the very tip, keeping the gradient soft as it moves toward the cuticle.