Colorful Gradient Cat Eye Nails — Step-by-Step Tutorial
Master this dreamy, multi-colored gradient look with a magical cat eye shimmer. Follow our simple tutorial to achieve a professional salon finish at home.
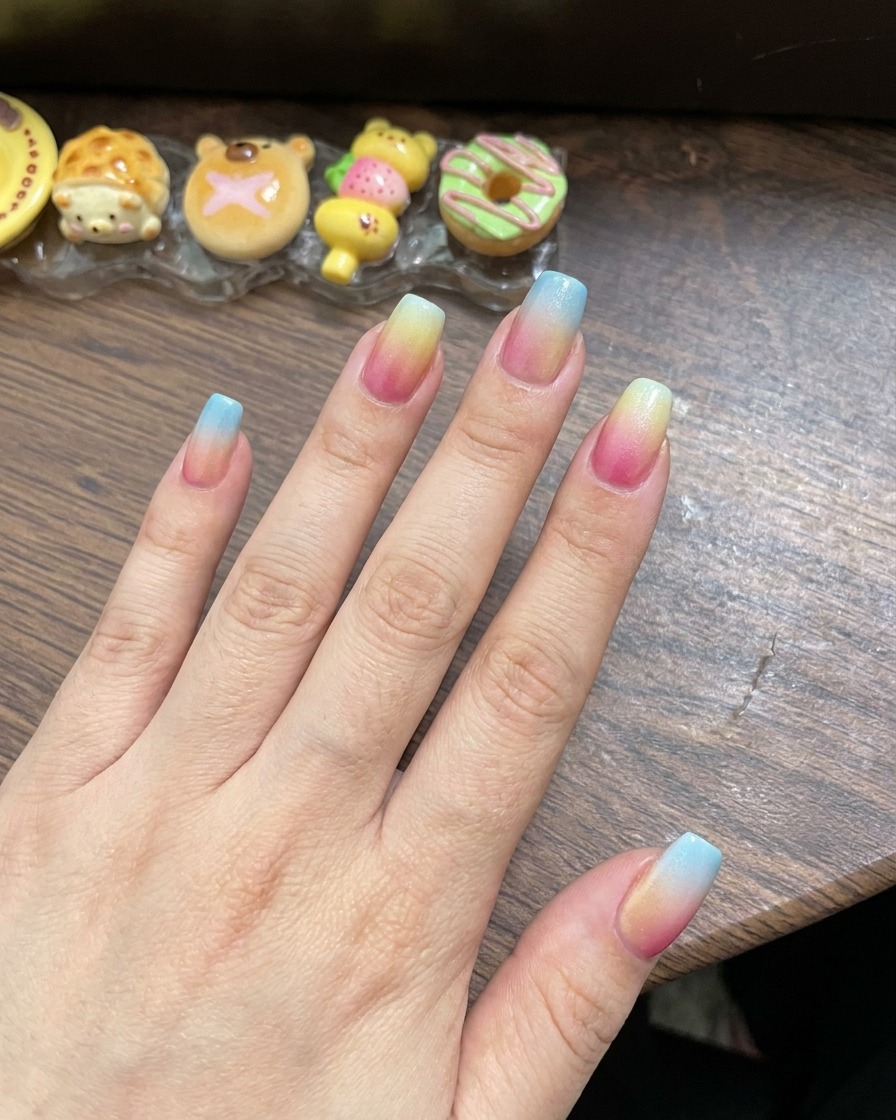
Colorful gradient nails meet the mesmerizing depth of cat eye polish in this stunning manicure. By using a sponge to blend custom colors before applying magnetic polish, you can create a soft, ethereal transition that catches the light beautifully. This technique is perfect for adding a touch of whimsy and sophisticated sparkle to your nail art collection.
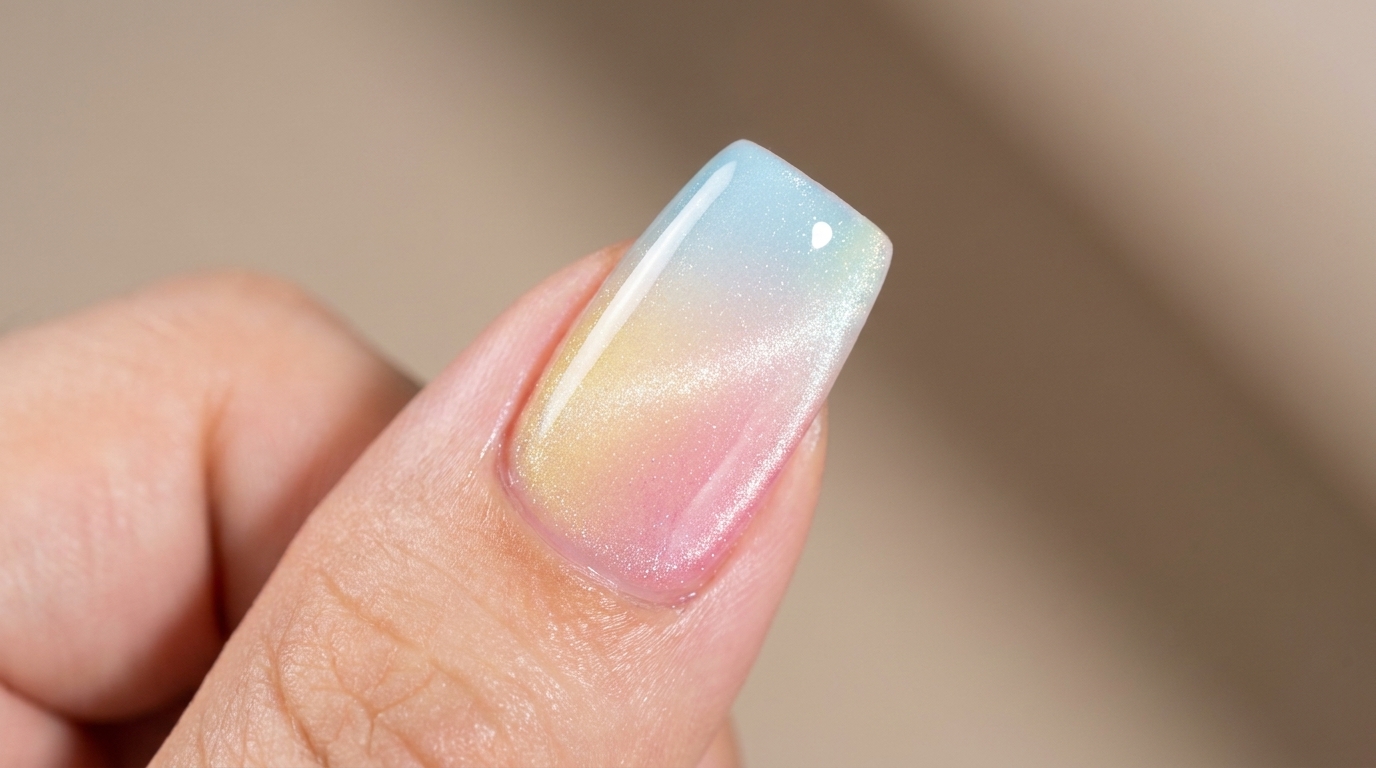
Steps
- 1Apply color squares
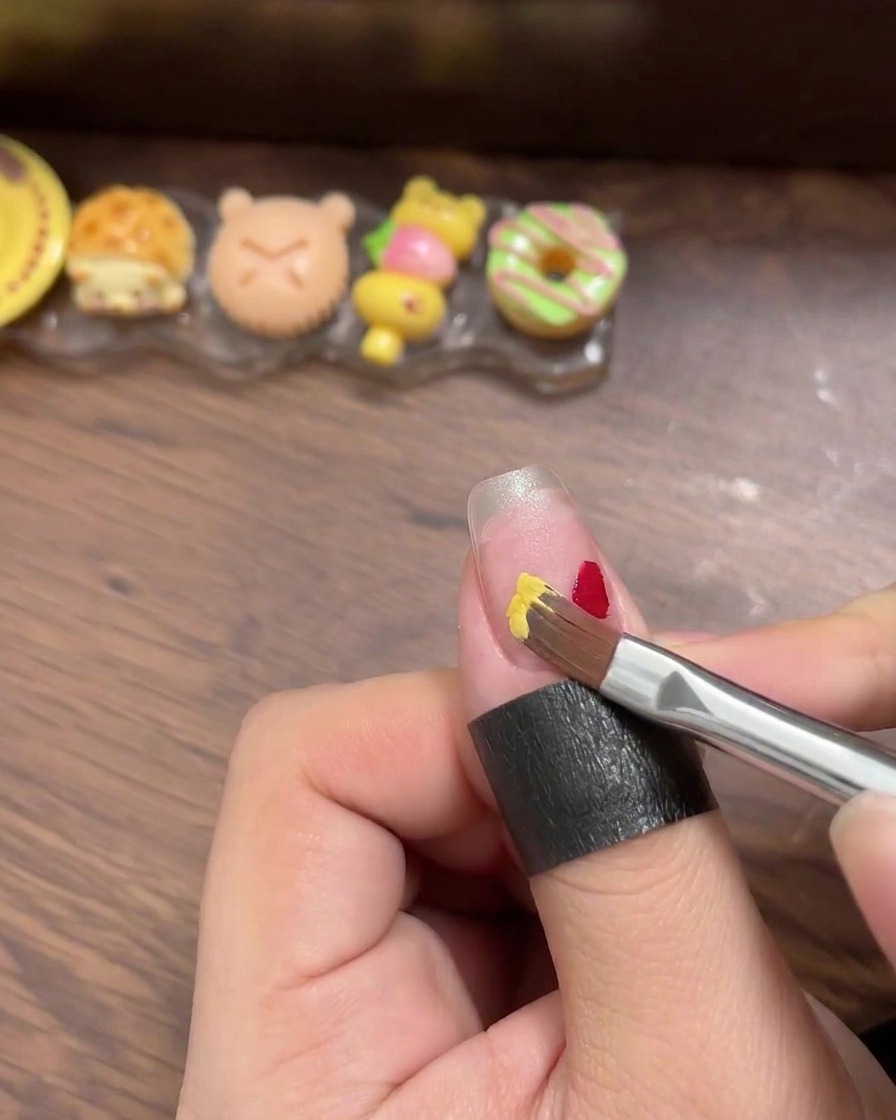
Using a liner brush, apply four small, distinct squares of different colored gels onto the nail tip. Ensure the squares are placed close together without overlapping to allow for an even gradient transition.
Tip: Keep the gel squares small to ensure they blend together smoothly without becoming muddy. - 2Blend colors with a sponge
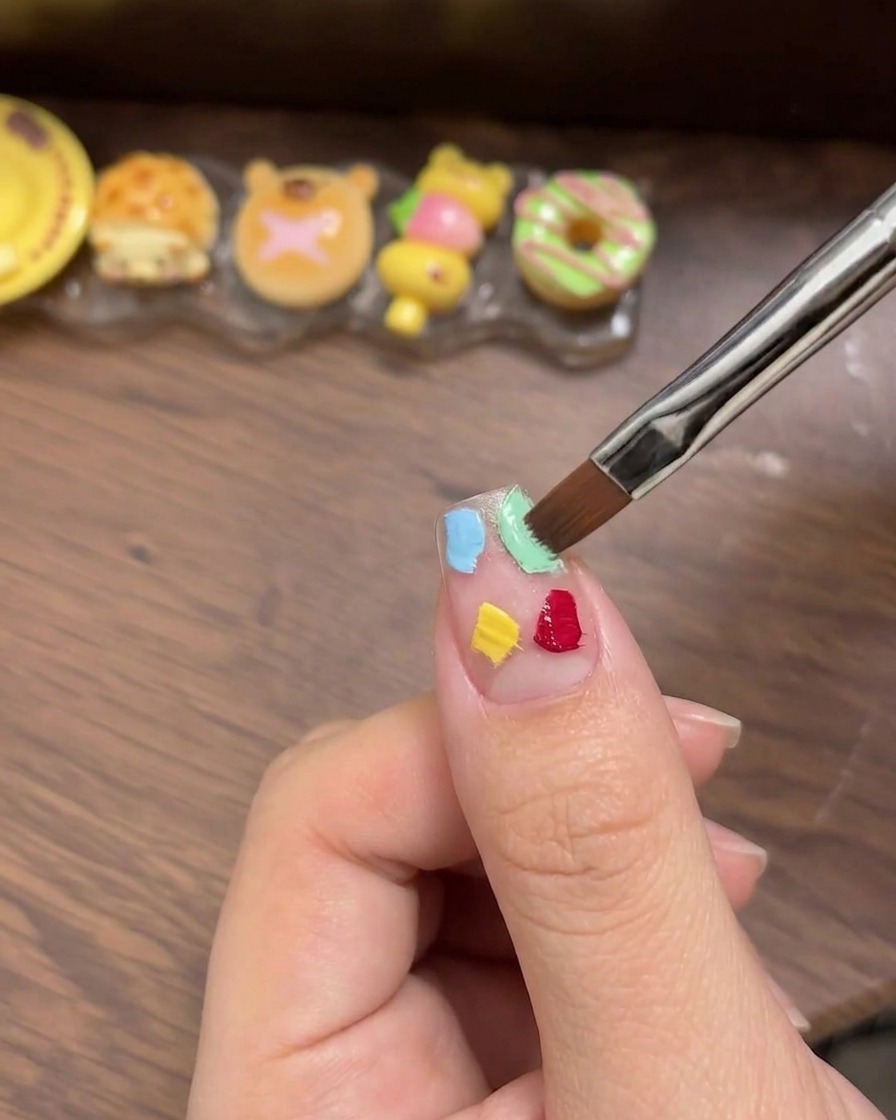
Using a small white makeup sponge, gently press and pat over the applied gel squares. Continue with a light dabbing motion to blend the edges of the colors until you achieve a smooth, seamless ombre effect.
Tip: Use a light tapping motion to blend rather than dragging the sponge, which preserves the color placement. - 3Review gradient effect
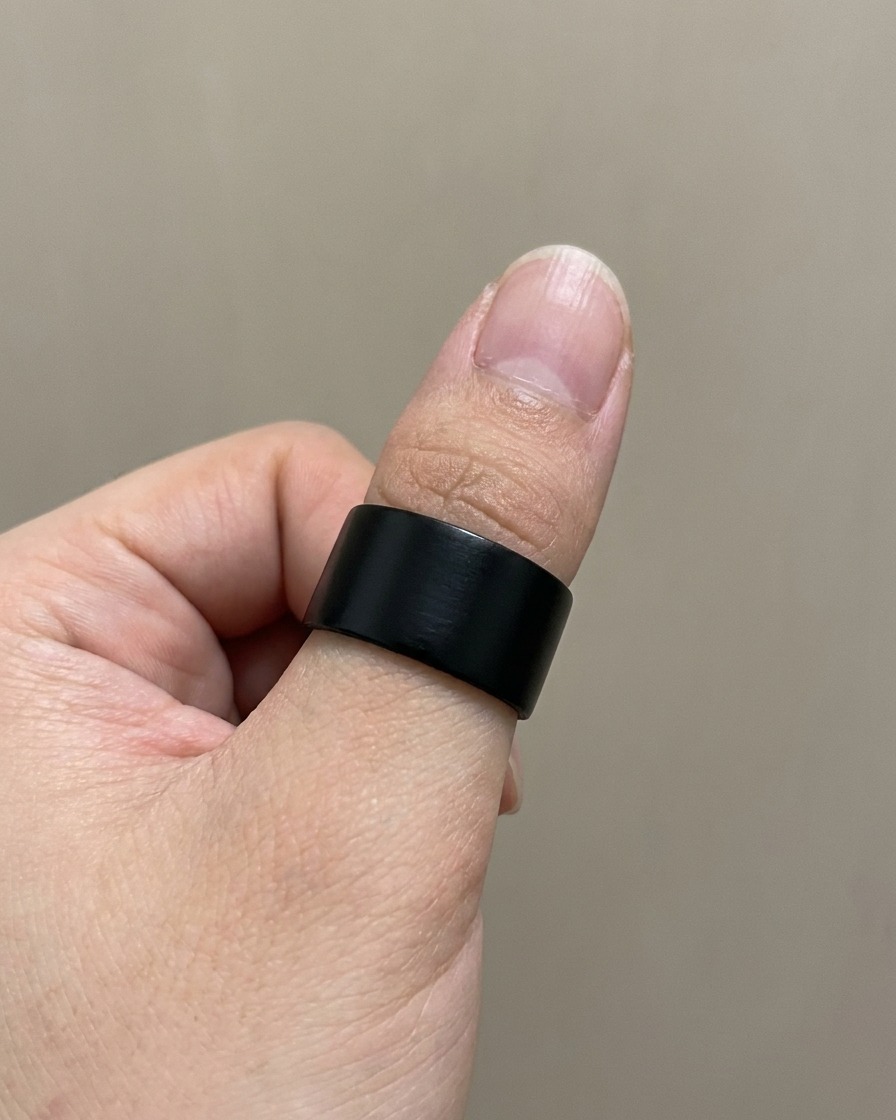
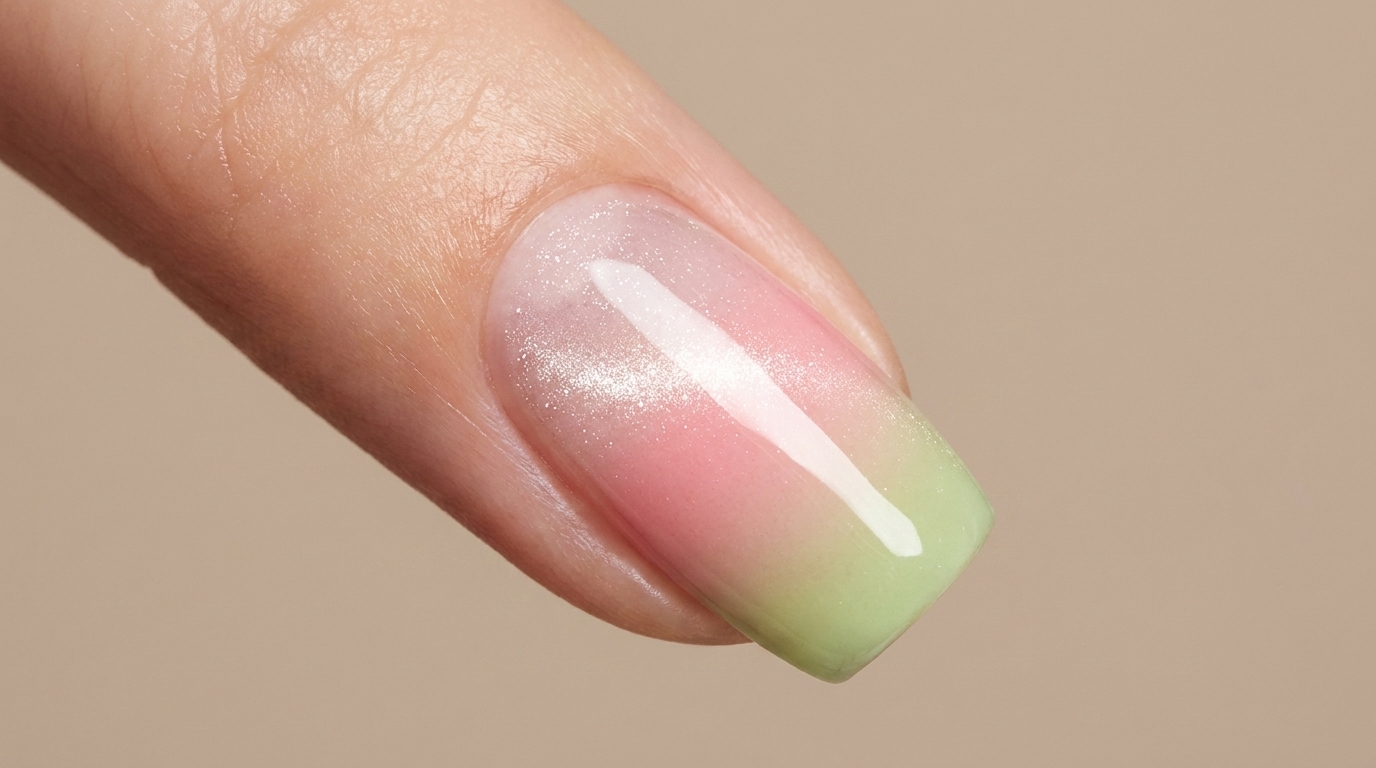
Examine the nail surface after sponge blending to ensure the colors have transitioned smoothly. The gradient should appear soft and well-blended across the tip of the nail.
Tip: If the blending isnt smooth enough, you can add a tiny bit more color and tap again with a clean side of the sponge. - 4Cure the gradient
Place the finger into your UV or LED lamp to cure the blended gradient gel. Ensure the nail is positioned directly under the light source for the full recommended duration to set the design.
Tip: Ensure the nail is flat under the lamp to prevent the gel from pooling or shifting while curing. - 5Apply cat eye gel
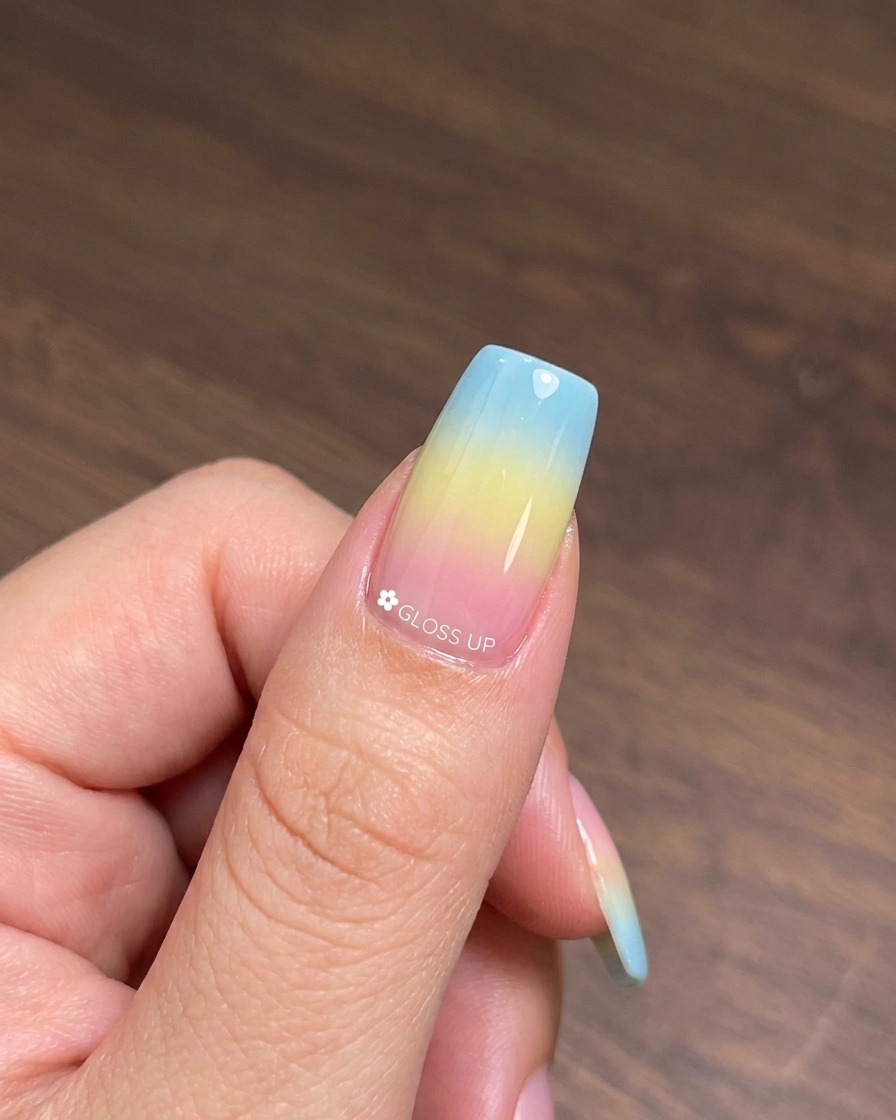
Apply a single, even layer of cat eye gel polish number 25 over your cured gradient base. This layer serves as the carrier for the magnetic particles that create the shimmering reflection.
Tip: Apply a thin, consistent layer to ensure the magnetic particles have enough room to move and create a sharp reflection. - 6Create cat eye effect
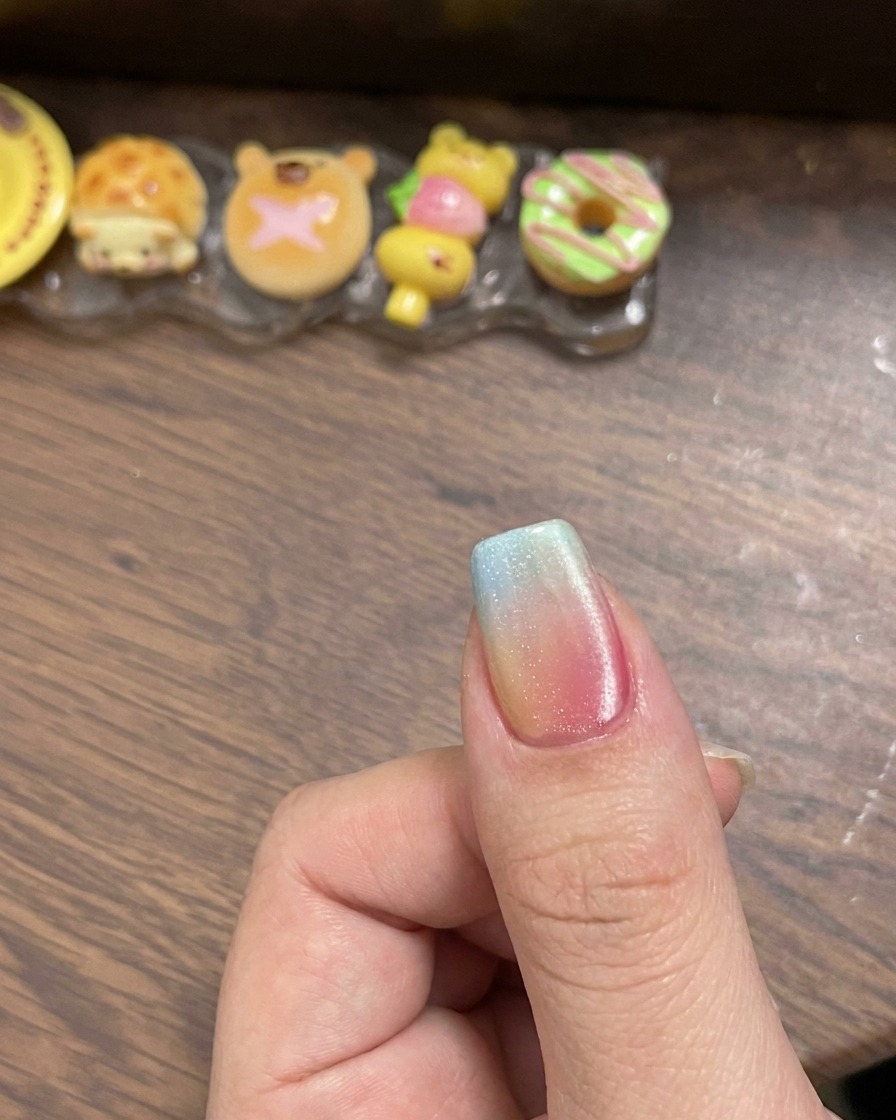
Before curing, hold your magnetic tool near the side of the nail to pull the particles. Adjust the angle and position of the magnet to draw the shimmer into a defined, glowing reflection along the side of the nail.
Tip: Hold the magnet steady for a few seconds to let the particles settle into the desired shape before curing. - 7Apply top coat
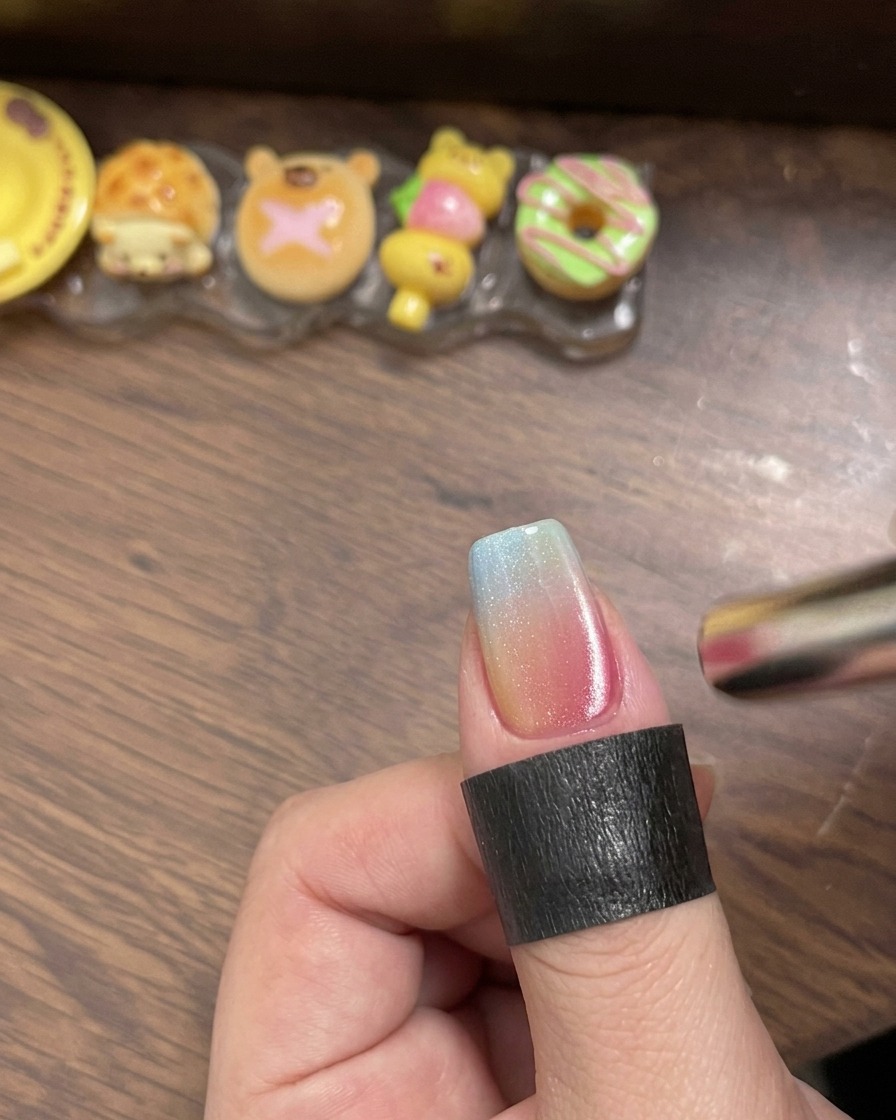
Apply a generous, even layer of clear top coat over the entire nail surface to seal the design and add shine. Ensure you cap the free edge to protect against chipping and wear.
Tip: Check for any uneven spots or bubbles in the top coat before placing your hand under the lamp.