Charming Red Polka Dot Bow Gel Manicure — Step-by-Step Tutorial
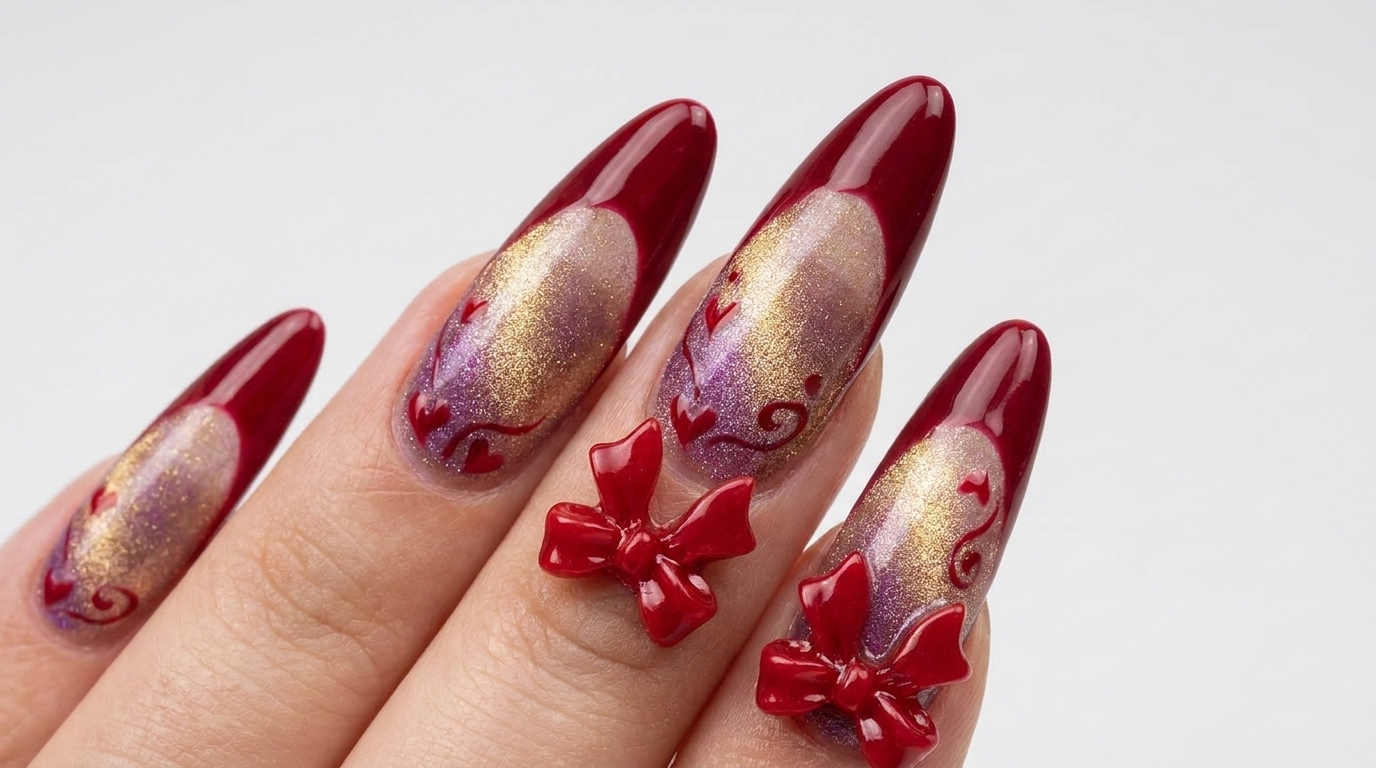
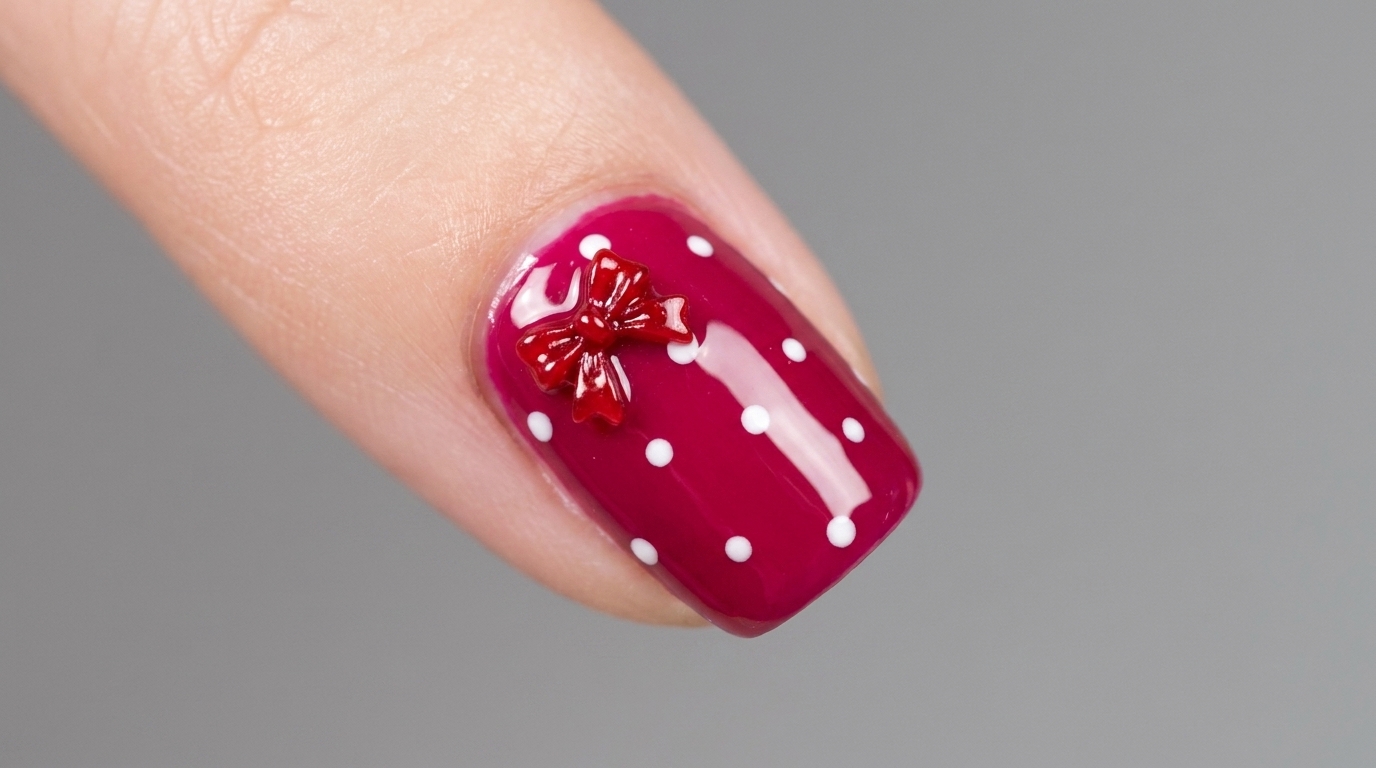
Add a touch of playful elegance to your nails with this magenta polka dot design featuring a dainty red 3D bow charm. Perfect for a sweet, statement look.
This delightful manicure combines a rich magenta base with classic white polka dots, creating a charming aesthetic that feels both retro and modern. The addition of a 3D red ribbon bow provides a sophisticated focal point, making it a standout choice for those who love whimsical nail art. With these simple techniques, you can easily achieve a professional-quality finish right at home.
Steps
- 1Apply first layer of magenta gel
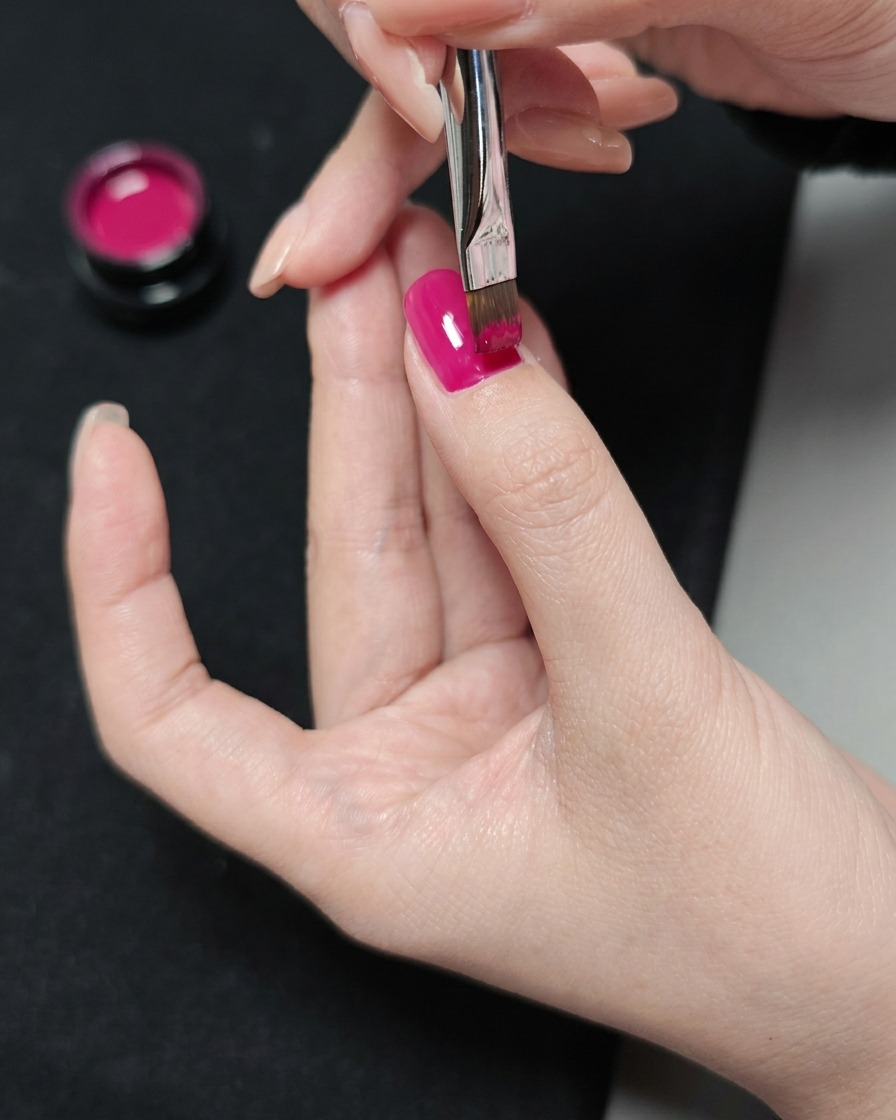
Apply a thin, even layer of magenta gel polish over the nail plate. Start from the center and move towards the edges, ensuring the polish does not touch the skin around the cuticle. This first coat provides the base color intensity for the design.
Tip: Keep the layer thin to prevent pooling at the edges and ensure an even cure. - 2Cure the first layer
Place your finger inside the UV/LED lamp to cure the first coat of magenta gel. Ensure the nail is positioned directly under the light source to guarantee uniform curing of the gel.
Tip: Follow the gel manufacturers instructions for exact curing time to ensure the product sets correctly. - 3Apply second layer of magenta gel
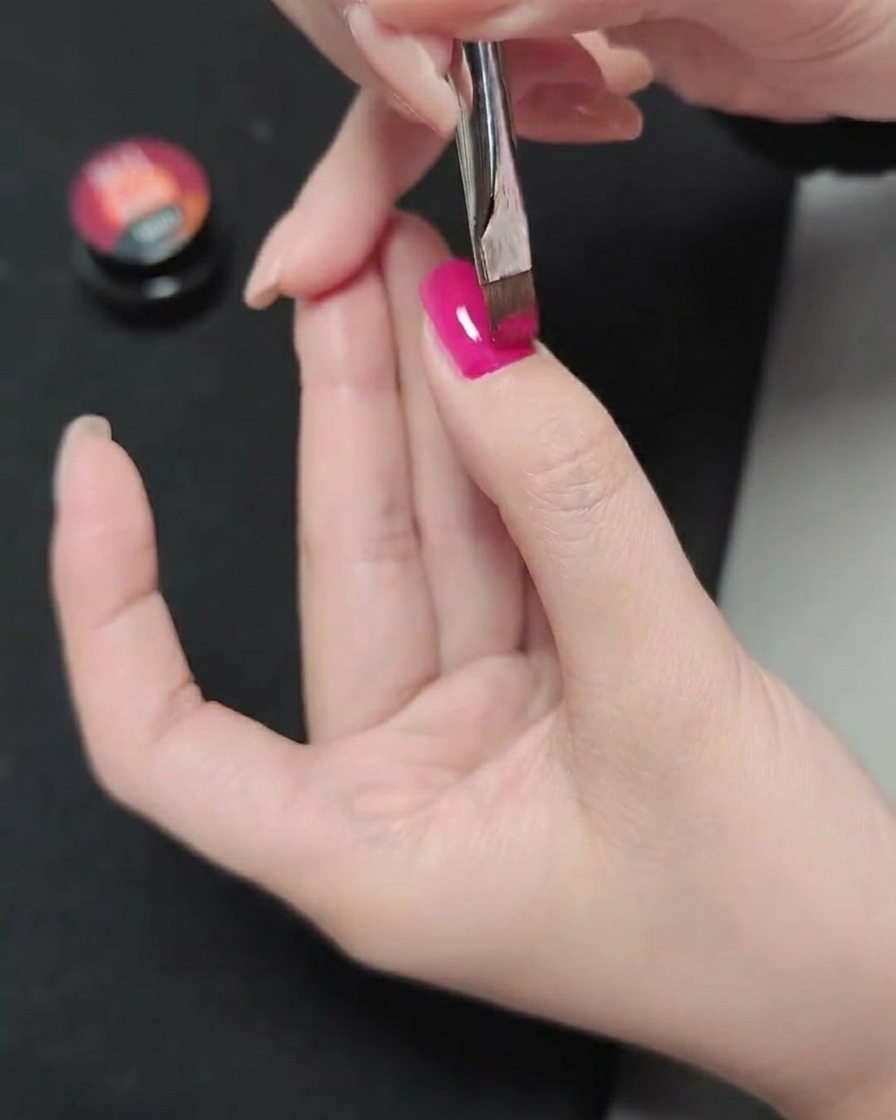
After the first coat has cured, apply a second thin layer of magenta gel polish. This helps to build up the color intensity and achieve full opacity across the nail surface.
Tip: Ensure the second layer is as even as the first to avoid streaks in the final color. - 4Apply third layer of magenta gel
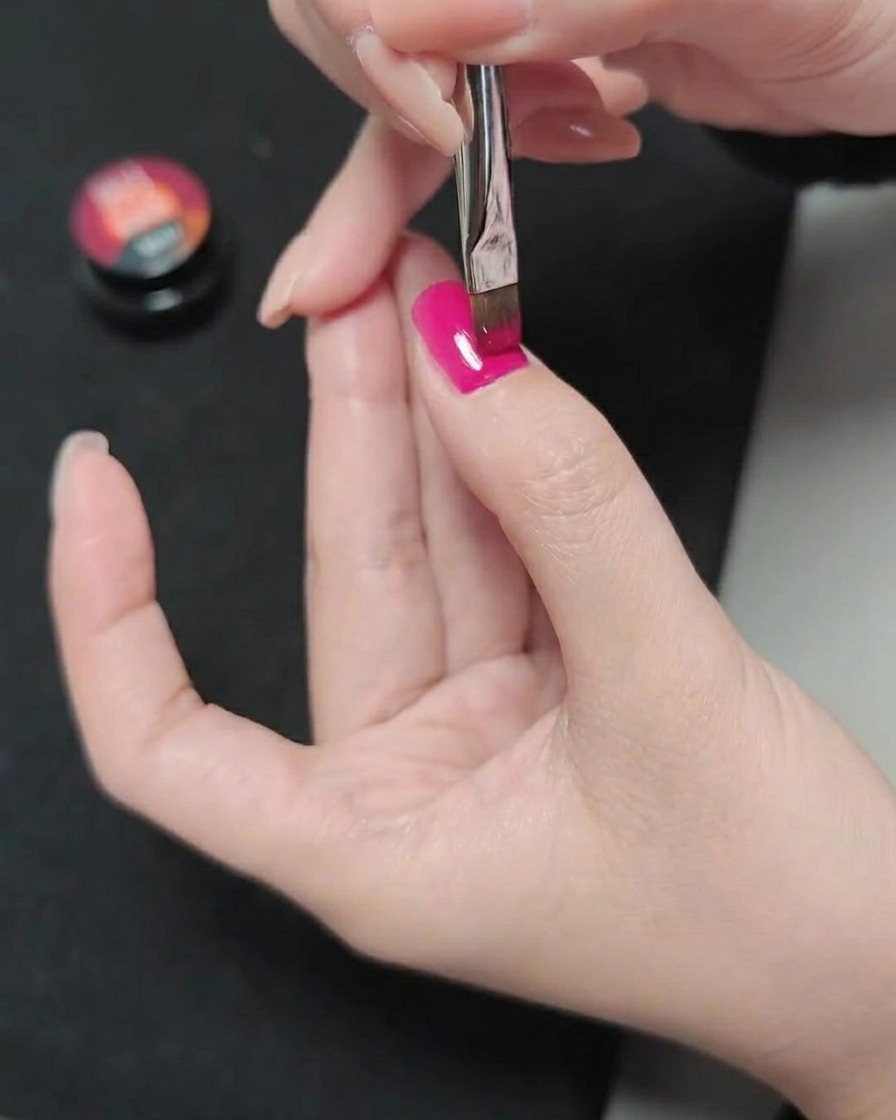
Apply a third thin layer of magenta gel polish to ensure the color reaches its maximum depth and richness. This final color coat prepares the nail surface for the polka dot nail art.
Tip: Take your time with this final color layer to ensure the surface is smooth and free of bubbles. - 5Create white polka dots
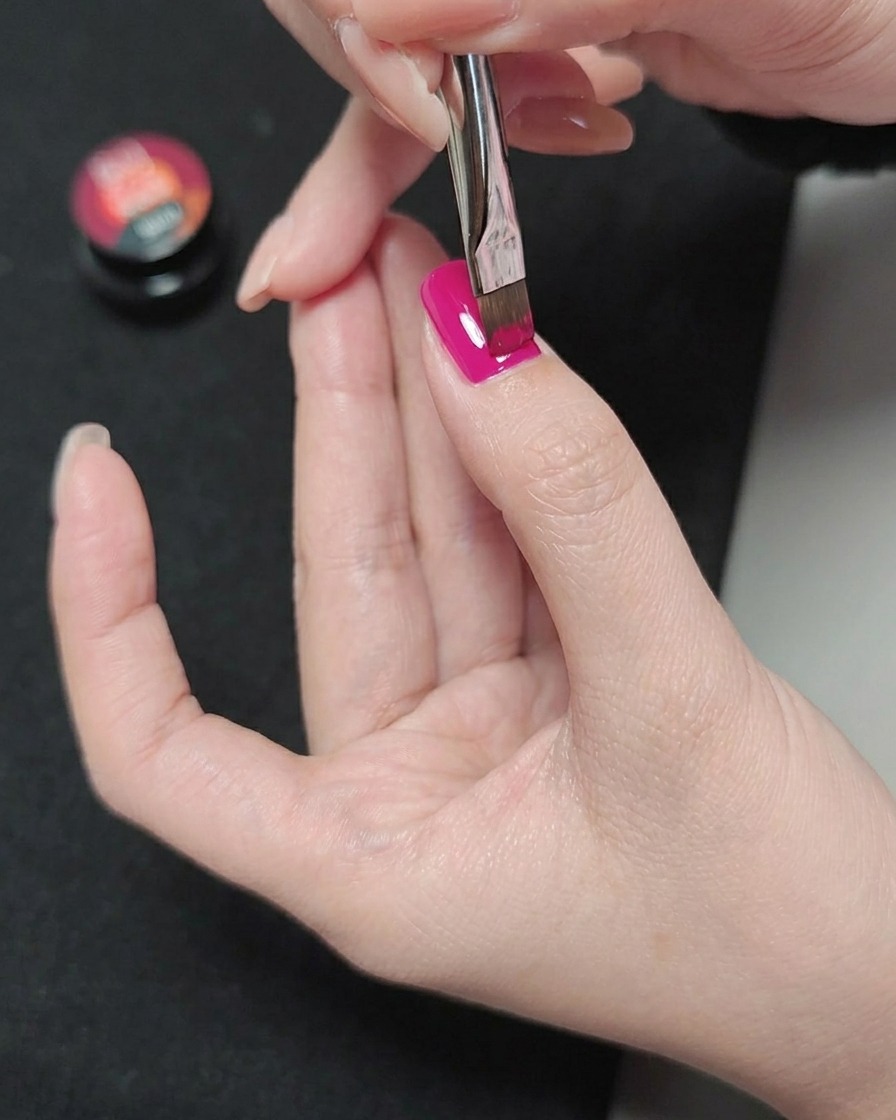
Using a dotting tool dipped in milky white gel polish, carefully place small, consistent dots across the magenta nail surface. Distribute them evenly to create the polka dot pattern.
Tip: Clean your dotting tool between applications to keep the white dots sharp and clean. - 6Cure the polka dot design
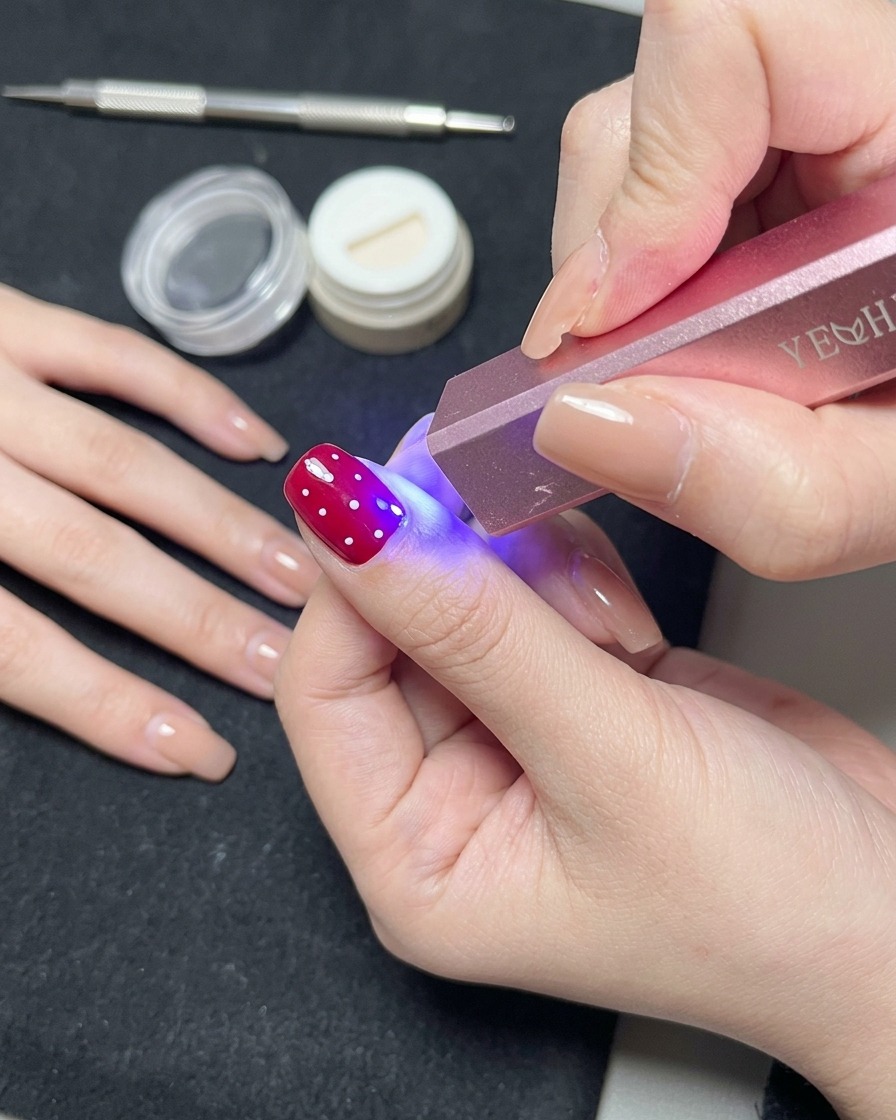
Place the nail with the freshly applied polka dot design under the UV/LED lamp. This step cures the white gel dots, setting them firmly onto the magenta base.
Tip: Ensure the hand remains steady under the lamp so the dots do not smudge before they cure. - 7Place the bow charm
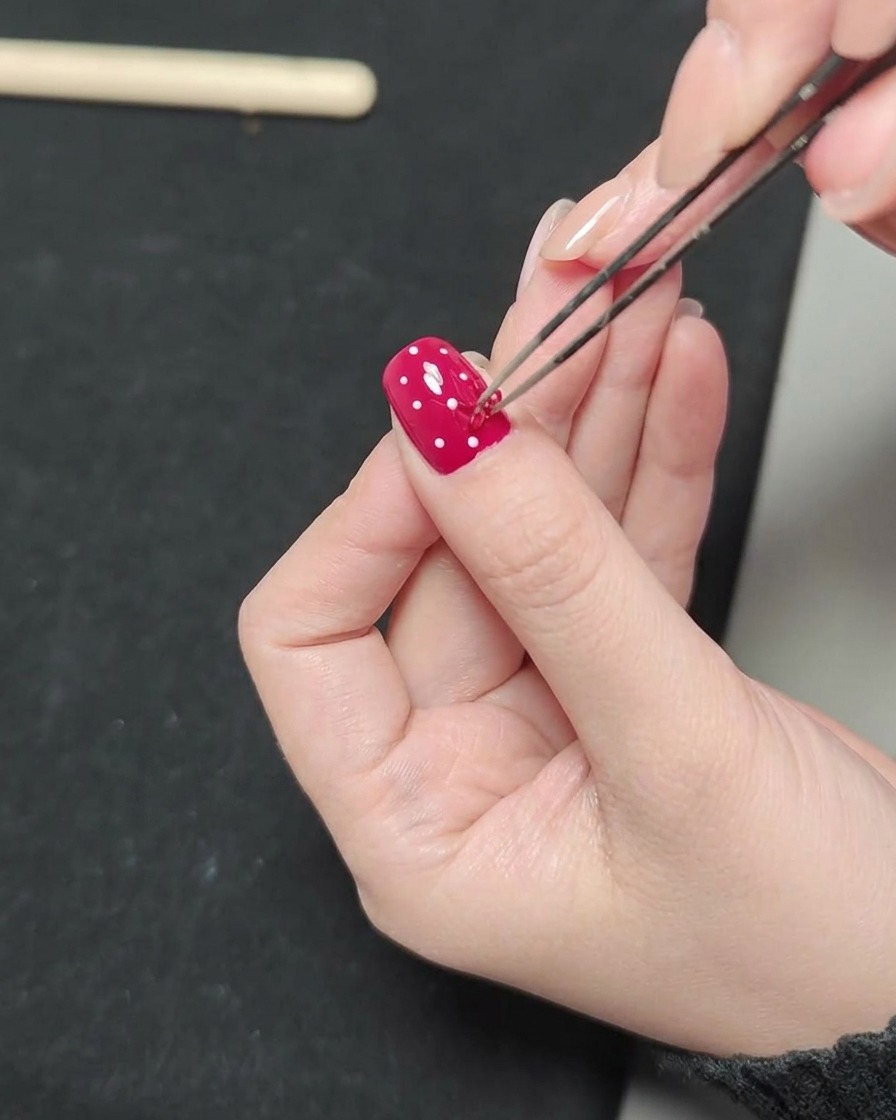
Using a pair of precision tweezers, gently lift the red ribbon bow charm and place it firmly onto the center of the nail surface. Press down lightly to ensure the charm sits flat against the gel polish layer before final curing.
Tip: Position the charm while the base layer is still slightly tacky to help it stay in place during the final top coat application. - 8Apply top coat
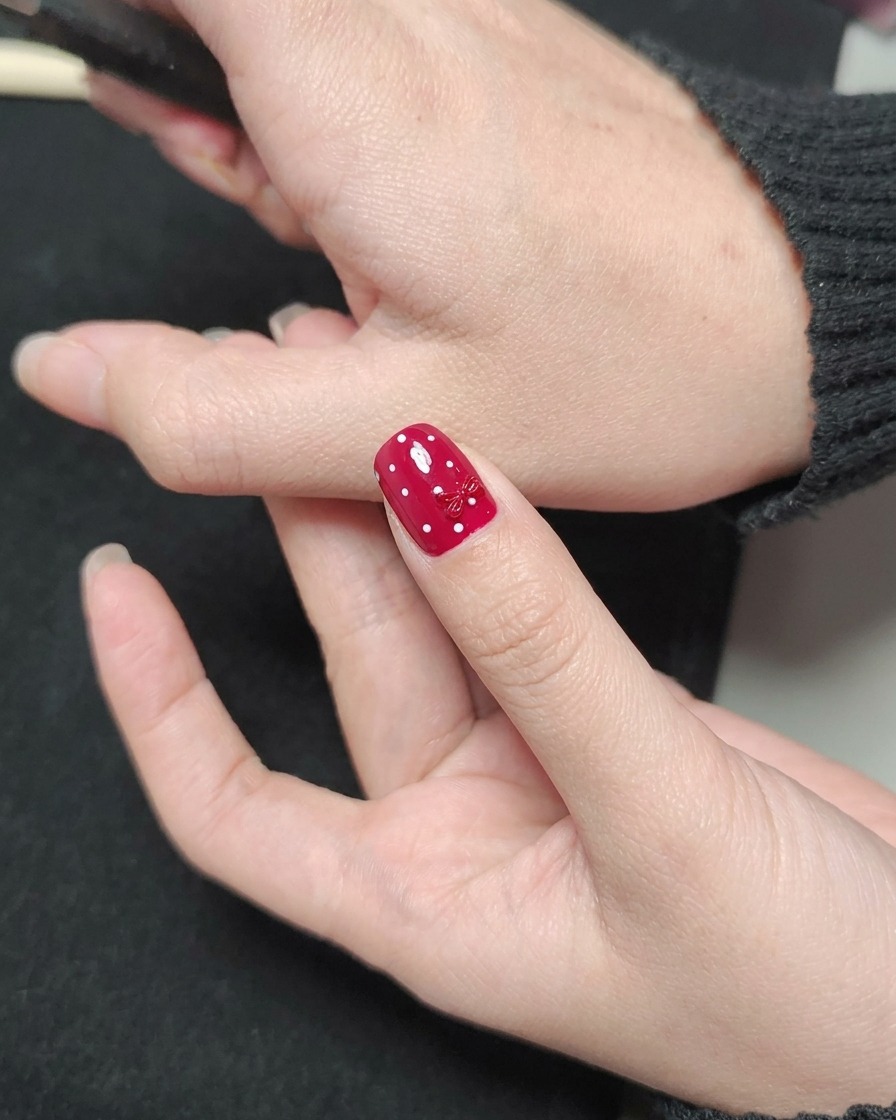
Apply a layer of clear top coat over the entire nail surface, carefully working around the bow charm to seal it securely. Ensure the edges of the nail are capped to prevent the design from chipping or snagging.
Tip: If the charm is bulky, use a small detail brush to apply top coat around the base of the charm to ensure it is fully encapsulated. - 9Cure the final coat
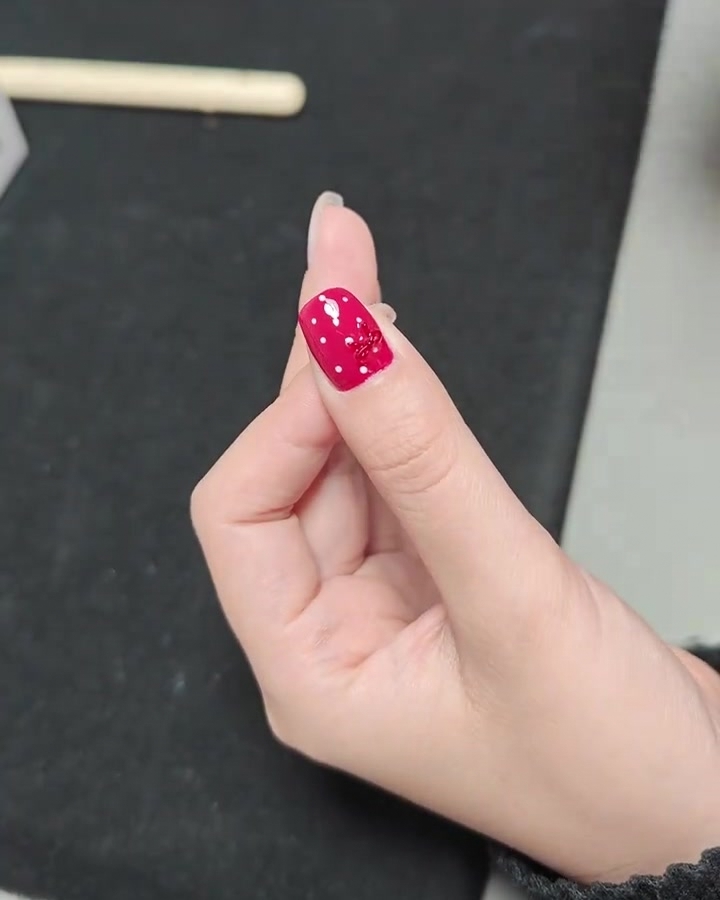
Place the finished nail under your UV or LED lamp to cure the top coat. This final step hardens the polish, secures the charm, and gives the design a smooth, high-shine, and durable finish.
Tip: Ensure your hand is placed flat and stable inside the lamp for the full duration of the curing cycle.