Elegant 3D Gel Bow Nail Art — Step-by-Step Tutorial
Elevate your manicure with sophisticated 3D gel bows. This beginner-friendly tutorial shows you how to sculpt delicate, embossed bows for a chic look.
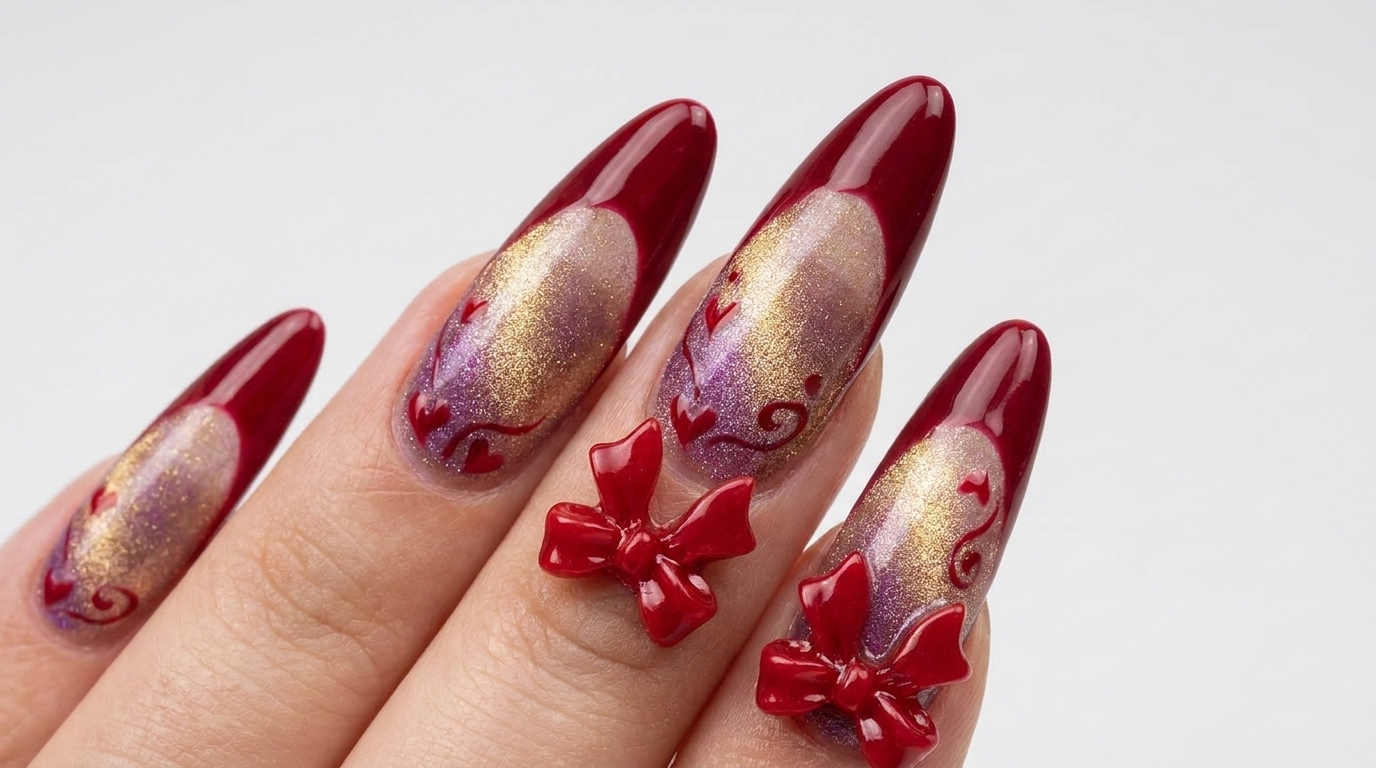
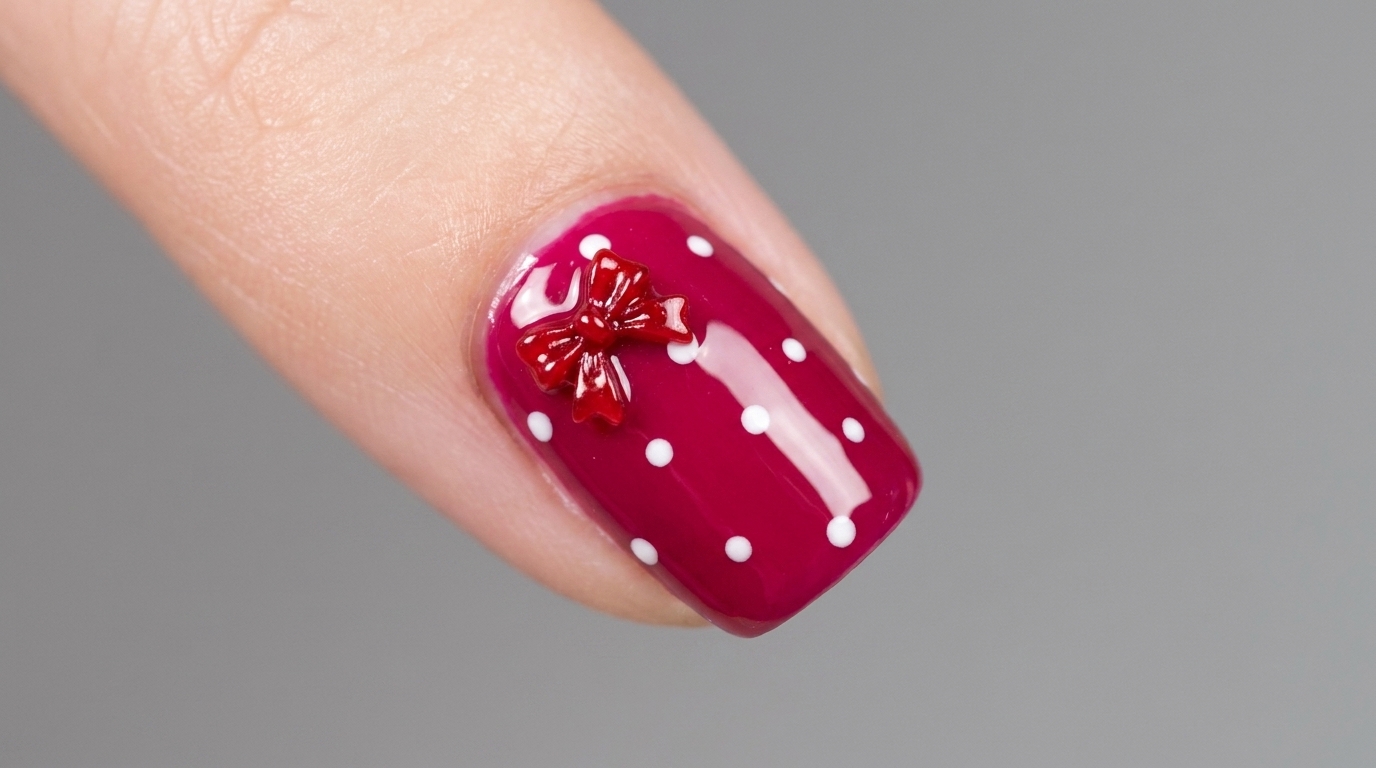
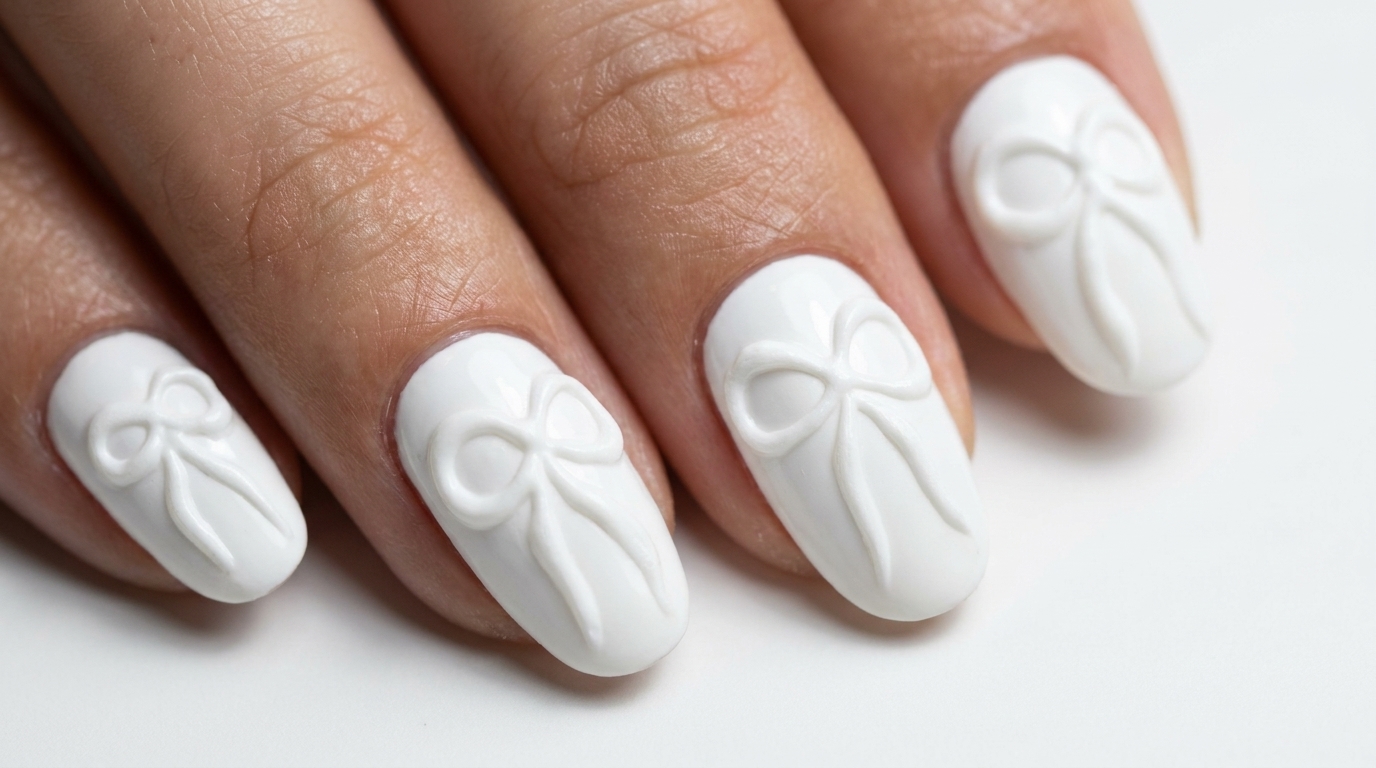
The 3D gel bow trend offers a charming and sculptural way to add dimension to your nails. By using high-viscosity sculpting gel, you can create a raised, embossed effect that mimics a delicate fabric bow. This technique is perfect for those looking to add a touch of romance and refined detail to their standard white manicure.
Steps
- 1Apply first layer of white gel polish
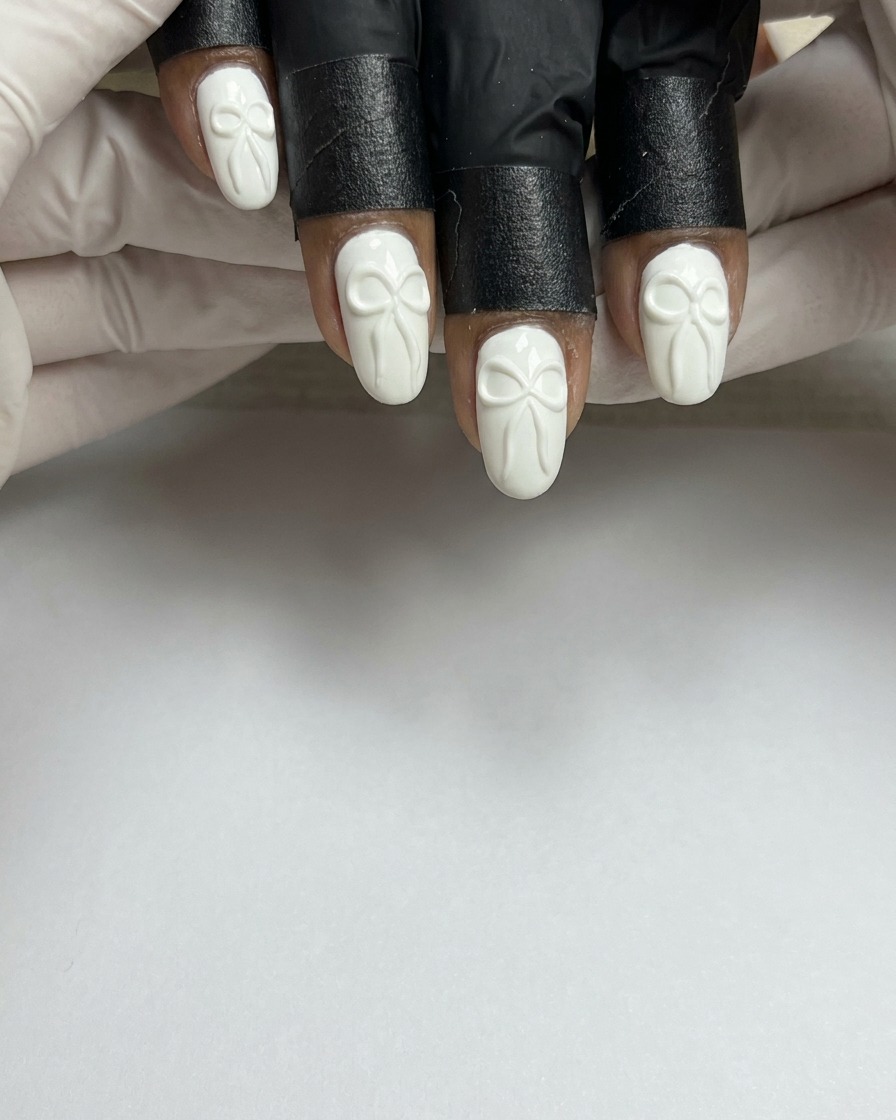
Apply a thin, even layer of white gel polish over the entire surface of the nail, ensuring you cap the free edge for better durability. Take care to keep the polish away from the surrounding skin. Cure the layer under your UV or LED lamp as specified by the product manufacturer.
Tip: Apply the polish in very thin layers to prevent wrinkling or bubbling during the curing process. - 2Apply second layer of white gel polish
Apply a second, slightly thicker layer of white gel polish to achieve full opacity and a smooth finish. Ensure the coverage is uniform across the nail. Cure this layer thoroughly in your UV or LED lamp to ensure the color is completely set.
Tip: Check for any streaks or patches before curing; the second coat is the best time to perfect the colors appearance. - 3Place the sculpting gel
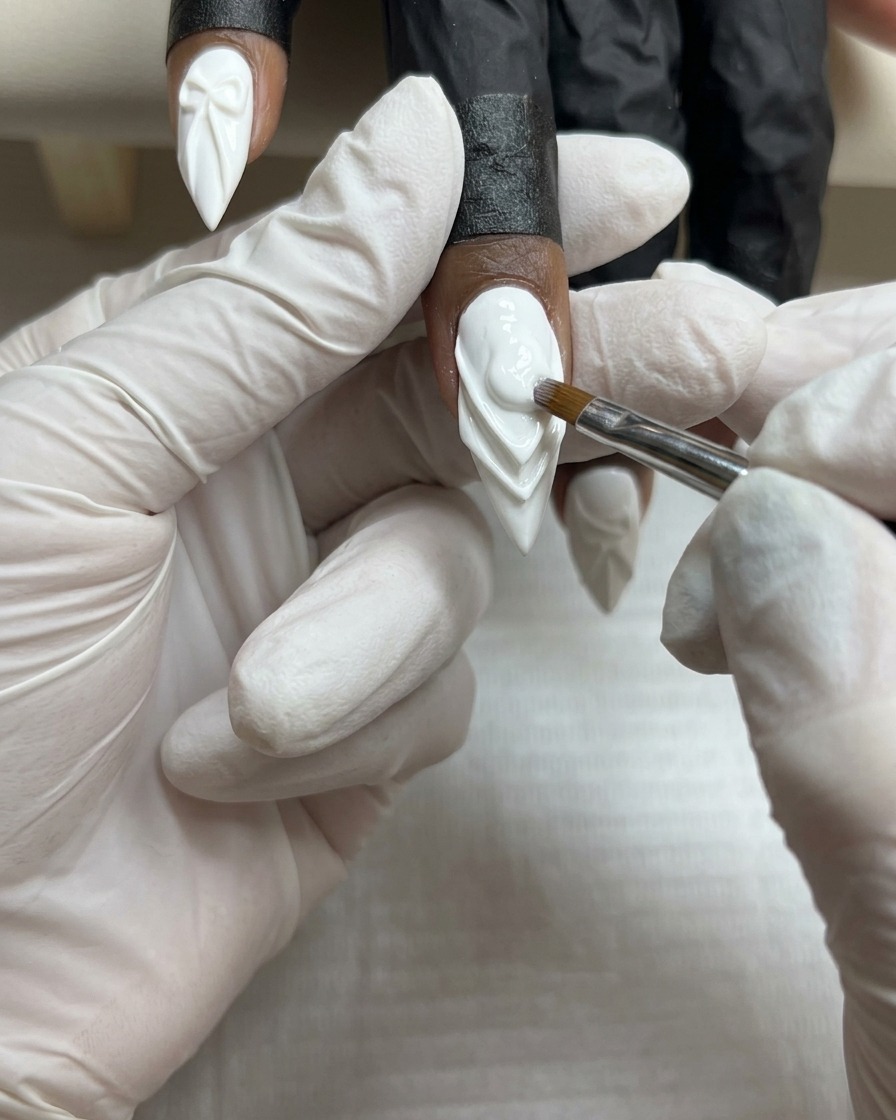
Using a detail brush or a spatula, place a small, controlled dollop of thick, white 3D sculpting gel exactly in the center of the nail where you want the bow to be positioned. The gel should be thick enough to hold its shape without self-leveling rapidly.
Tip: Use a non-self-leveling sculpting gel for better control when creating 3D shapes. - 4Form the left side of the bow
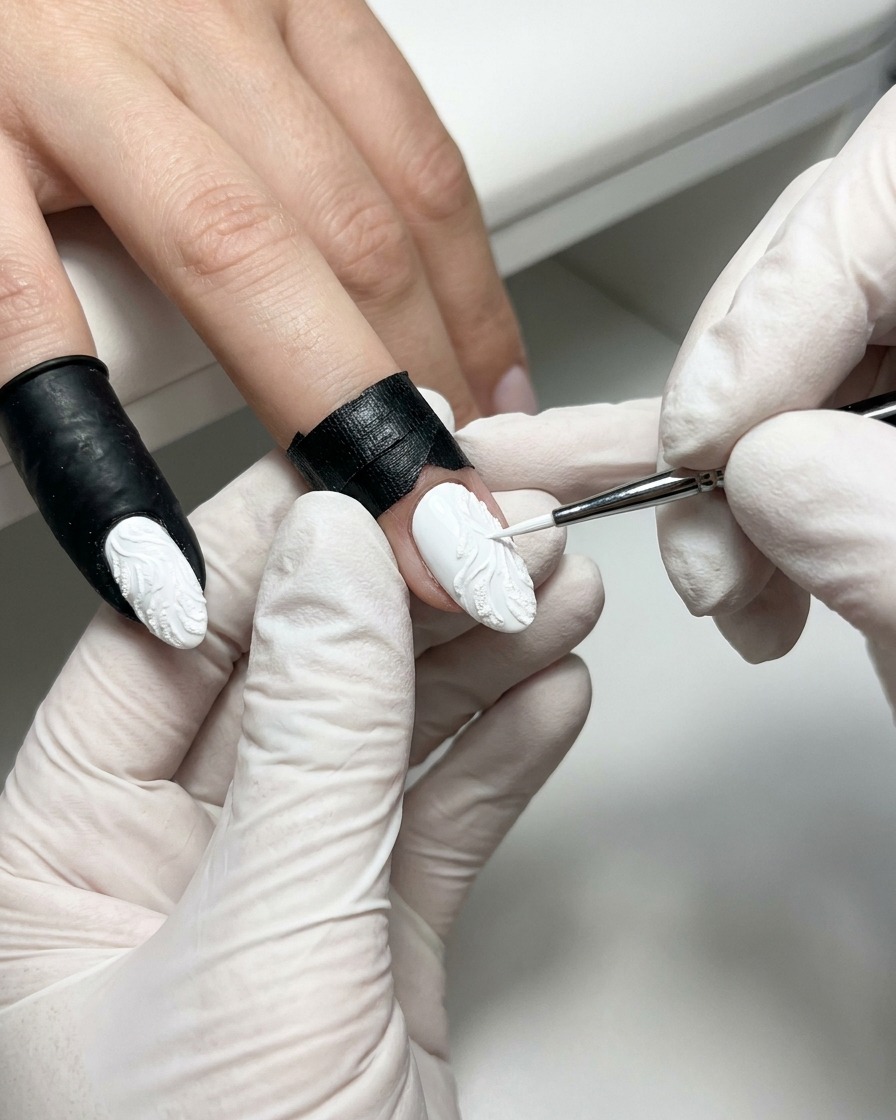
With a fine-tipped detail brush, gently pull and shape one side of the gel dollop outward and into a triangle, creating one wing of the bow. Work carefully to maintain a sharp, clean edge that mimics the look of a fabric bow.
Tip: Wipe your brush clean with a lint-free wipe dampened with cleanser frequently to ensure smooth, precise movements. - 5Form the right side of the bow
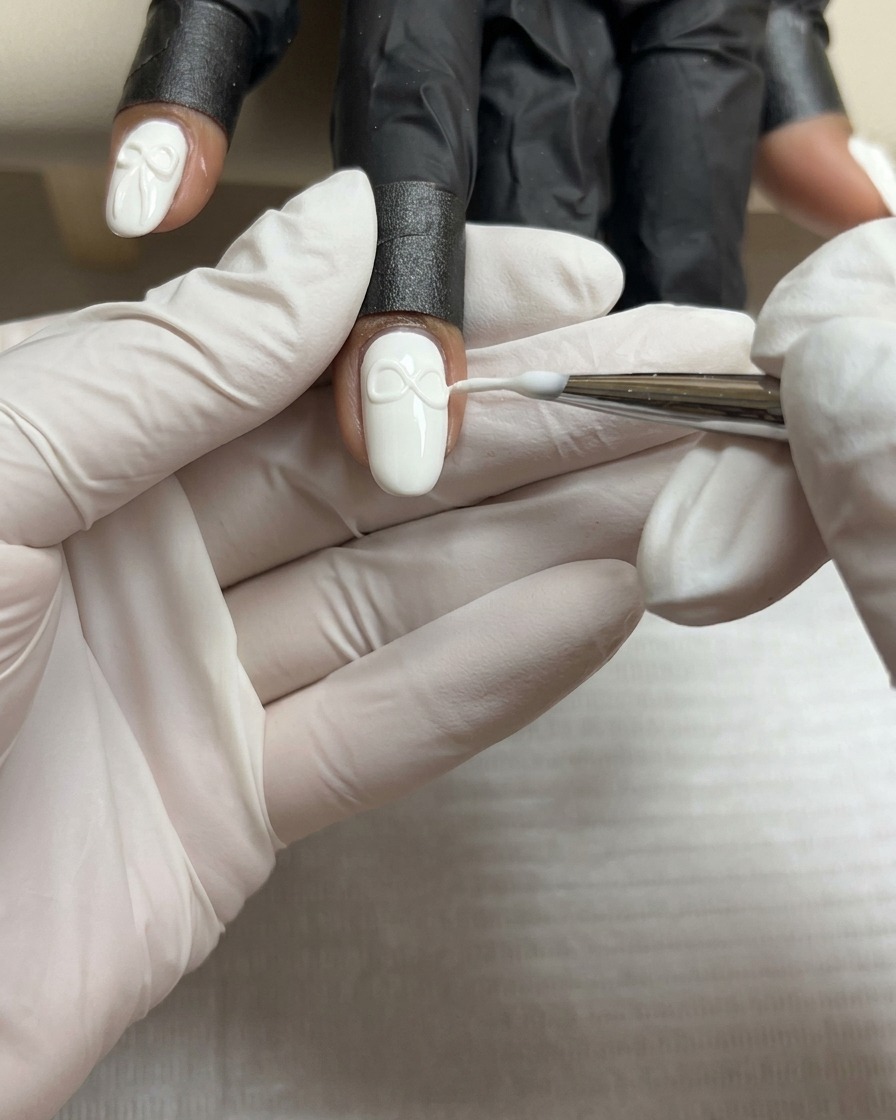
Repeat the previous action on the opposite side, pulling the remaining gel into a matching triangle shape to form the second wing of the bow. Carefully adjust the size and symmetry of both wings so they appear balanced and cohesive.
Tip: If the gel starts to move too much, you can flash-cure for 5-10 seconds to lock the shape in place before continuing. - 6Create the bows center knot
Using a small amount of additional sculpting gel, form a tiny, rounded center knot between the two wings. Gently press or push the gel into place to connect the wings seamlessly, completing the 3D bow design. Once satisfied, cure the entire design under your lamp.
Tip: A clean, rounded center knot makes the bow look more realistic and polished. - 7Detail the bow wings
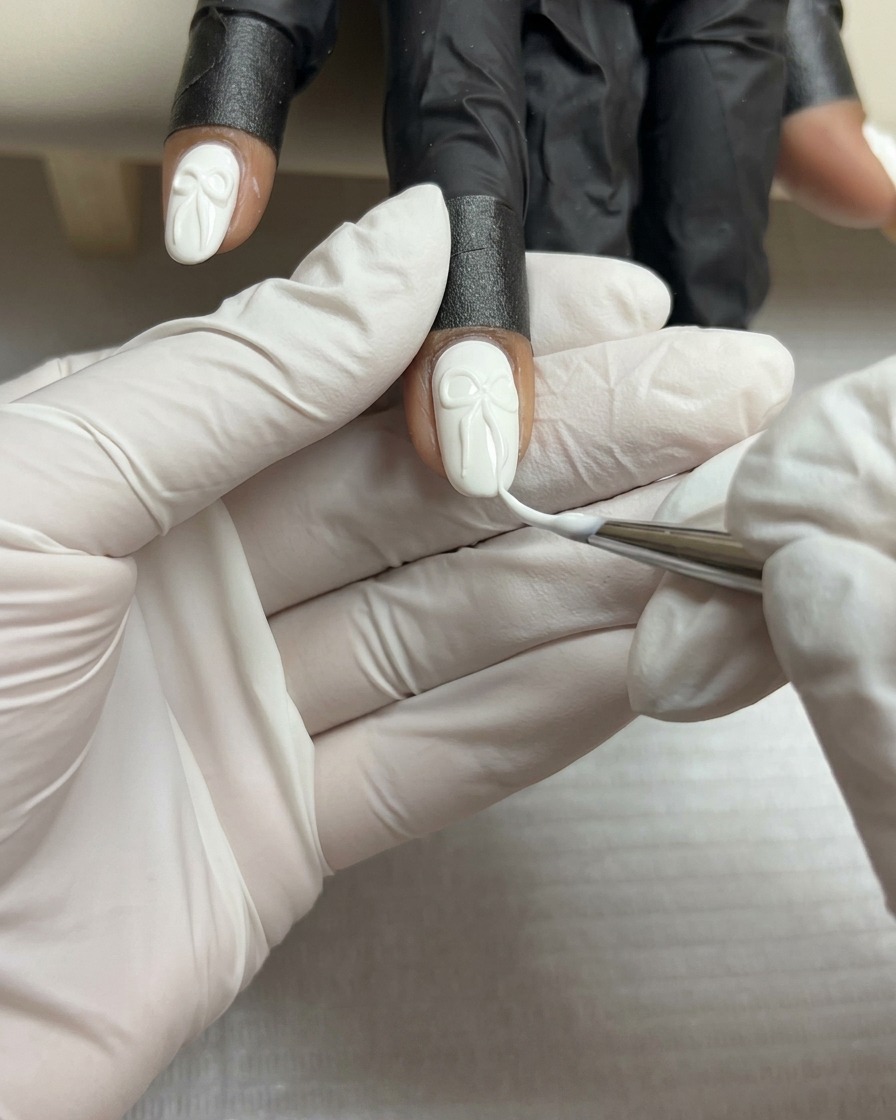
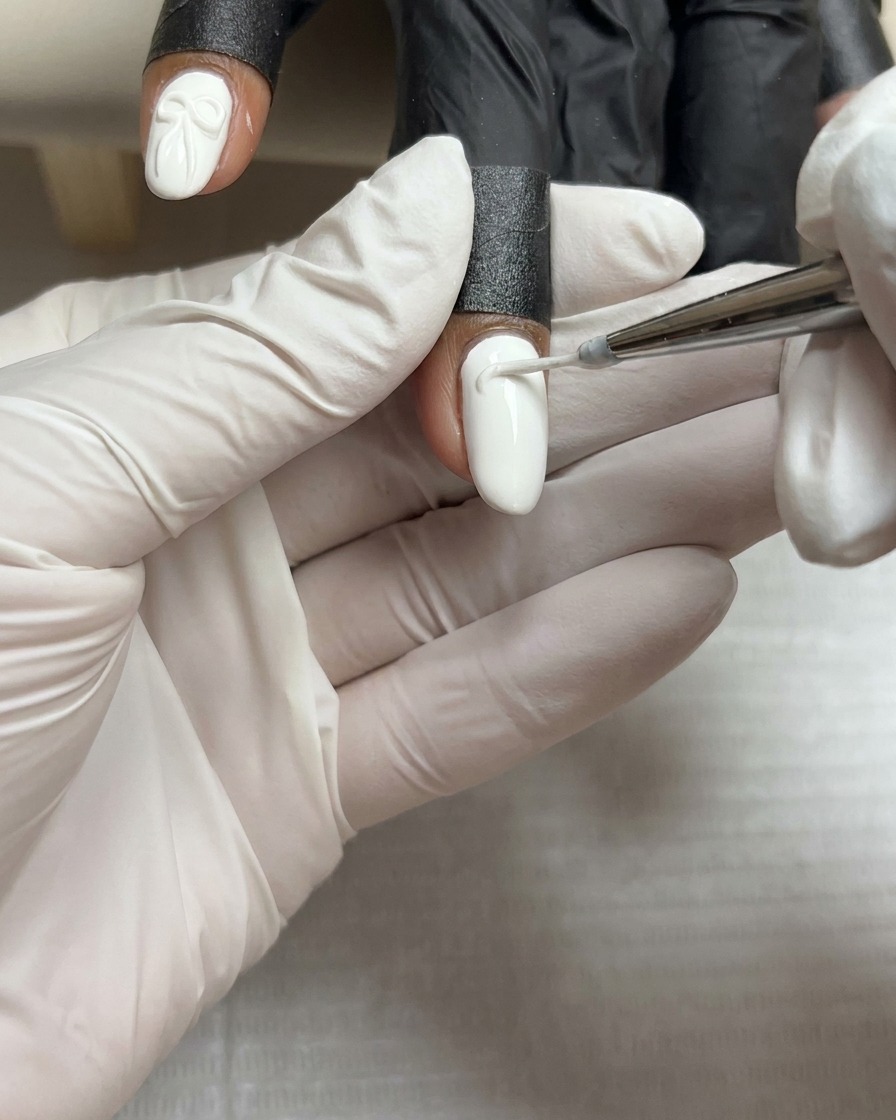
Using a fine liner brush, carefully draw thin, subtle lines onto the 3D gel bow wings to add texture and definition. Keep your strokes light to maintain the embossed effect of the bow without flattening the gel sculpture. Ensure the lines follow the natural curvature of the bow for a realistic finish.
Tip: Keep a light touch and use a very small amount of gel on the tip of your liner brush for delicate detail lines. - 8Add bow tails
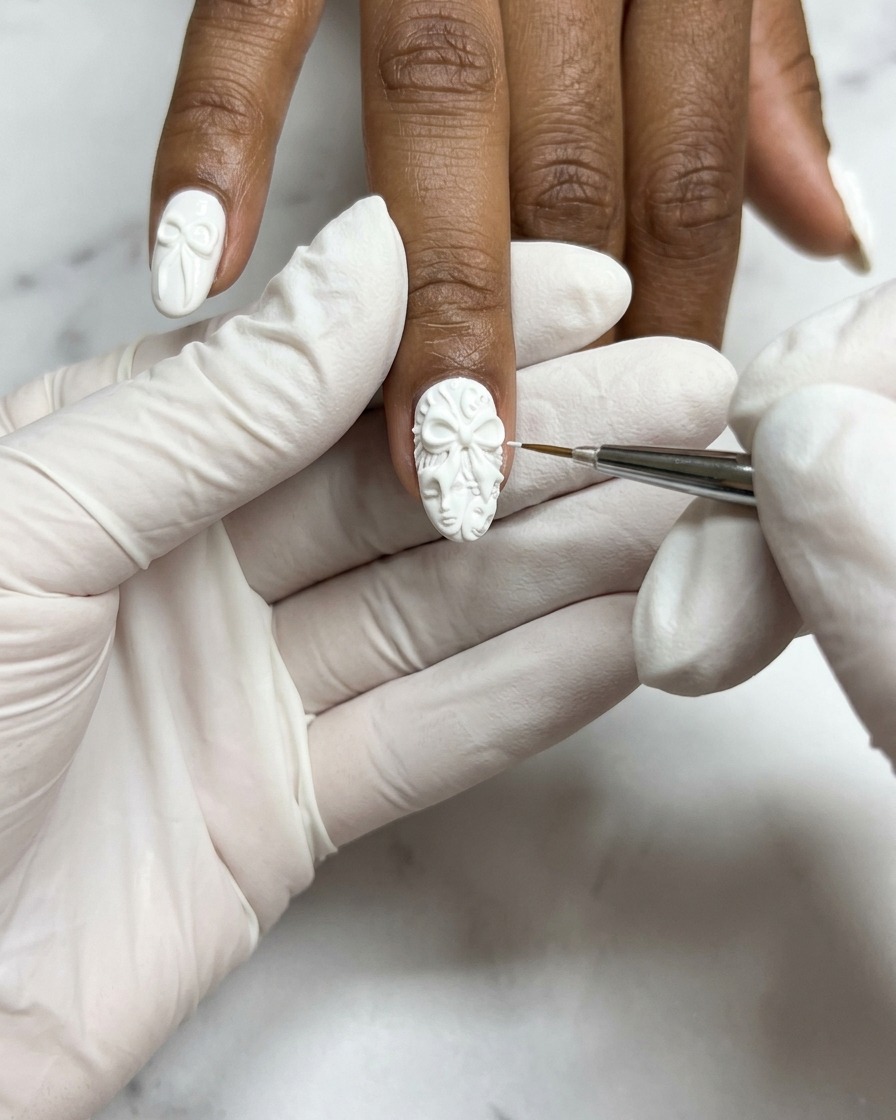
Extend the bow design by adding two small, soft curved strokes at the base of the center knot to mimic dangling bow tails. Use your liner brush to gently pull the gel downward, ensuring the tails taper slightly at the ends to appear natural. Maintain the thickness of the 3D gel to match the dimension of the bow itself.
Tip: Use the belly of the brush to create the thicker part of the tail and the tip to taper it off for a graceful, flowing look. - 9Final 3D inspection
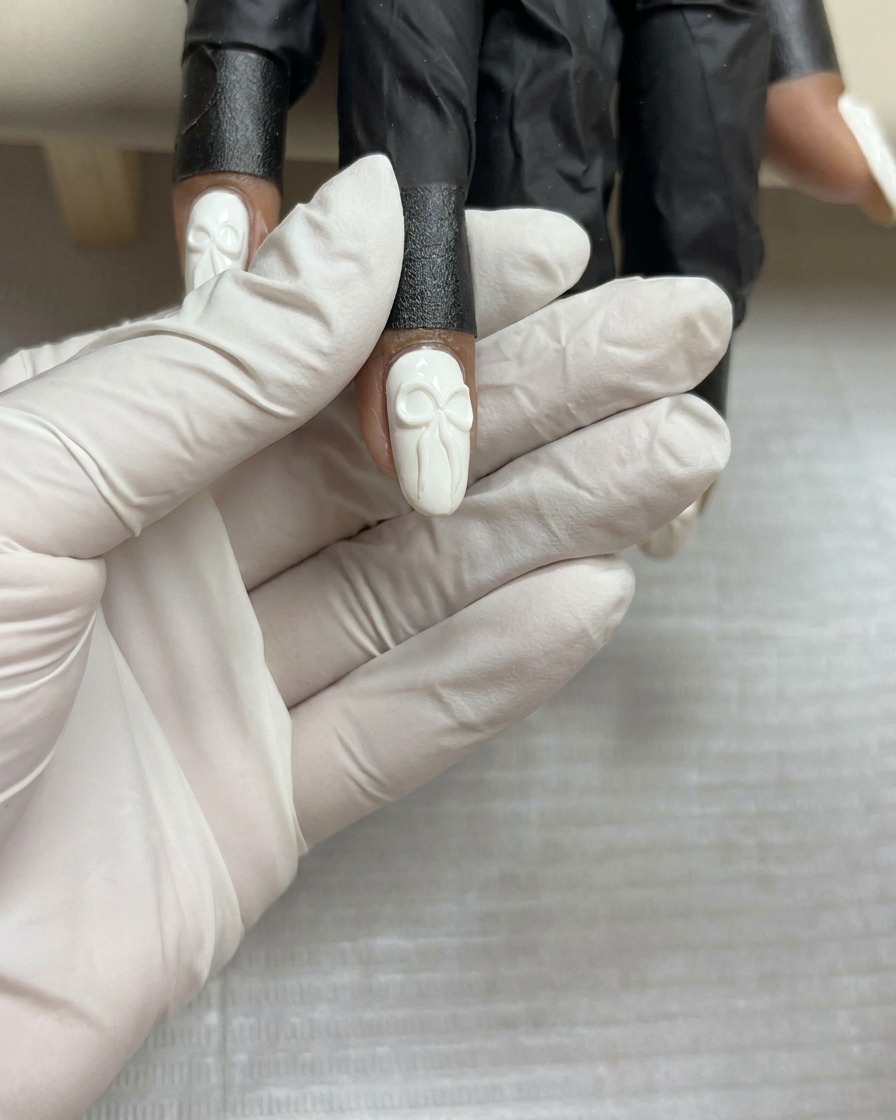
Before curing, perform a final inspection of your 3D relief to ensure all lines, curves, and the bow shape are symmetrical and well-defined. Check the profile of the nail to confirm the gel has enough volume for the desired 3D effect. Once satisfied with the placement and texture, place the nail into the UV or LED lamp to cure the sculpture completely.
Tip: Look at the nail from different angles to make sure the 3D art is balanced and that no gel has migrated while you were working.