Sweet and Spicy Rose Red French Manicure
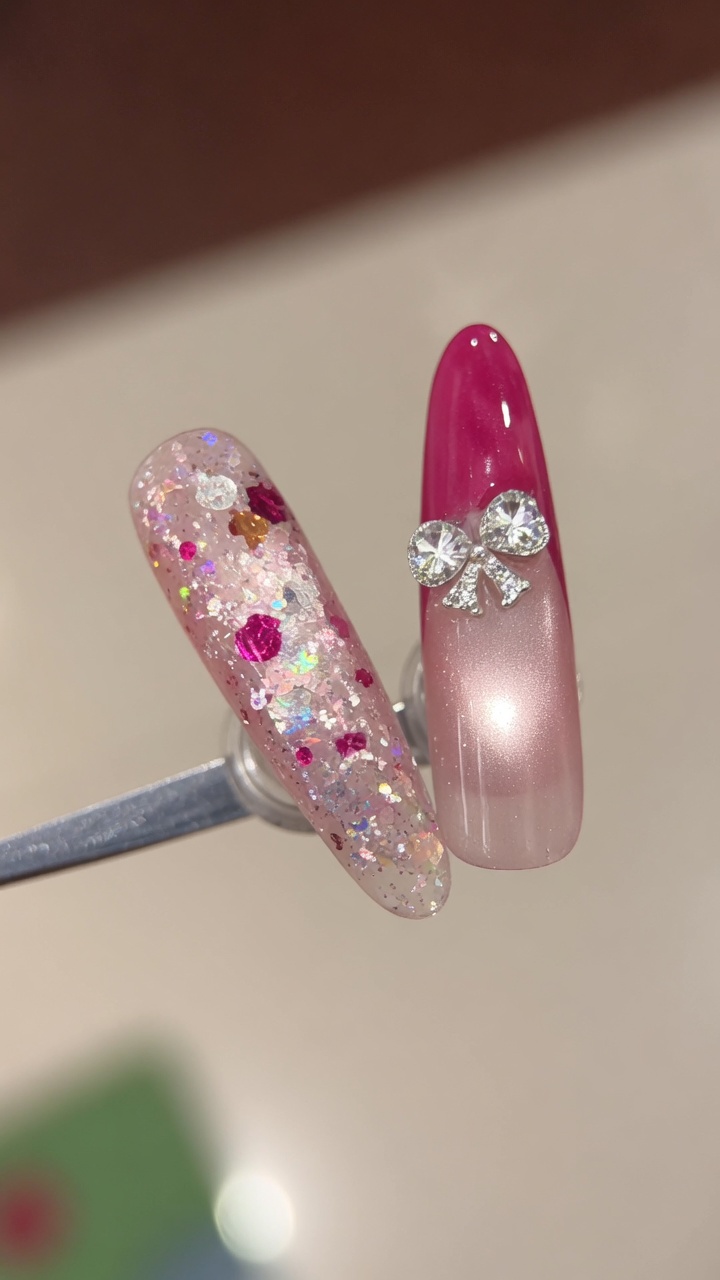
Cat Eye and Rhinestone Bow
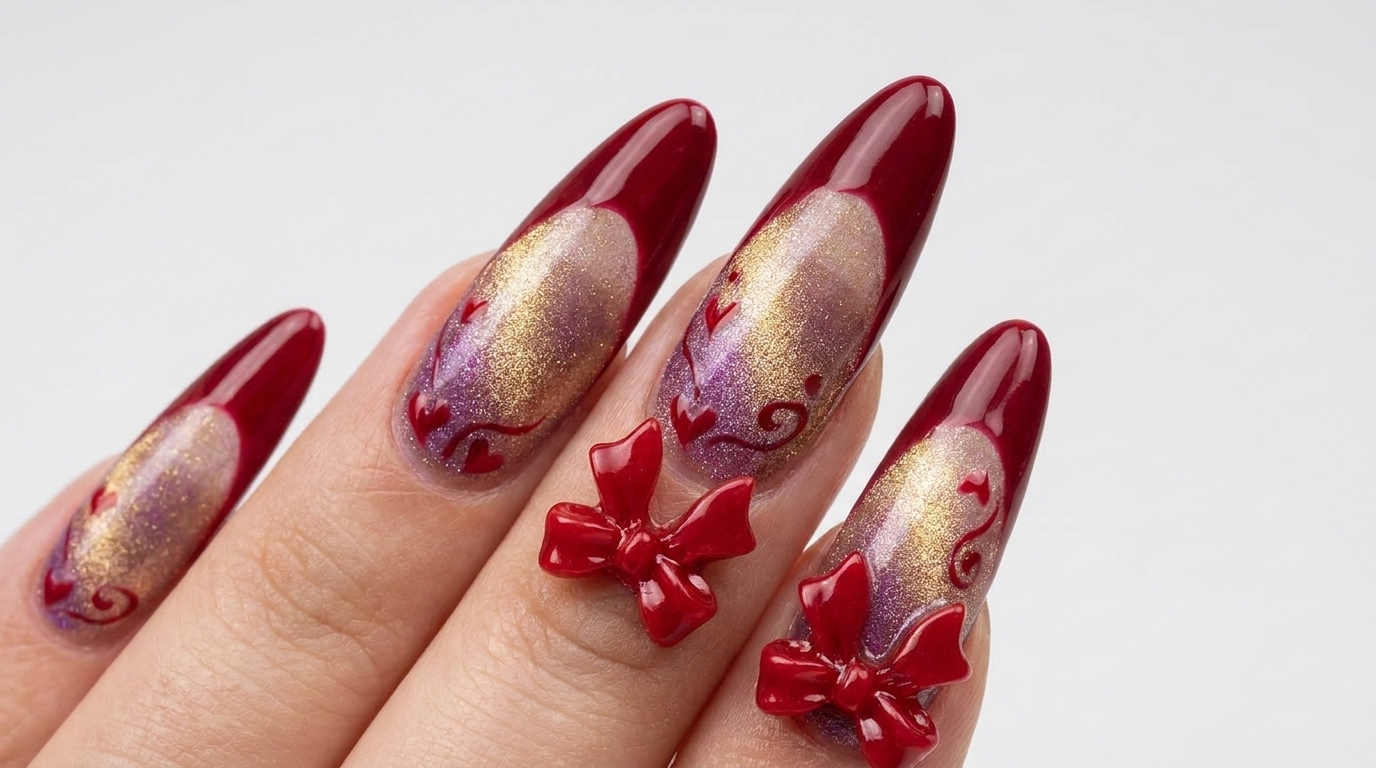
Elevate your look with a stunning rose red French tip, mesmerizing magnetic cat-eye base, and a charming rhinestone bow detail.
This sophisticated manicure perfectly balances sweetness and spice, combining a delicate rose red French tip with the deep, luminous allure of a magnetic cat-eye effect. The addition of a dainty rhinestone heart bow adds a touch of playful elegance, making this look a standout choice for any special occasion. Whether you are a fan of classic French styles or trendy magnetic art, this tutorial will help you achieve a professional, salon-quality finish at home.
Steps
- 1Apply sheer base coat
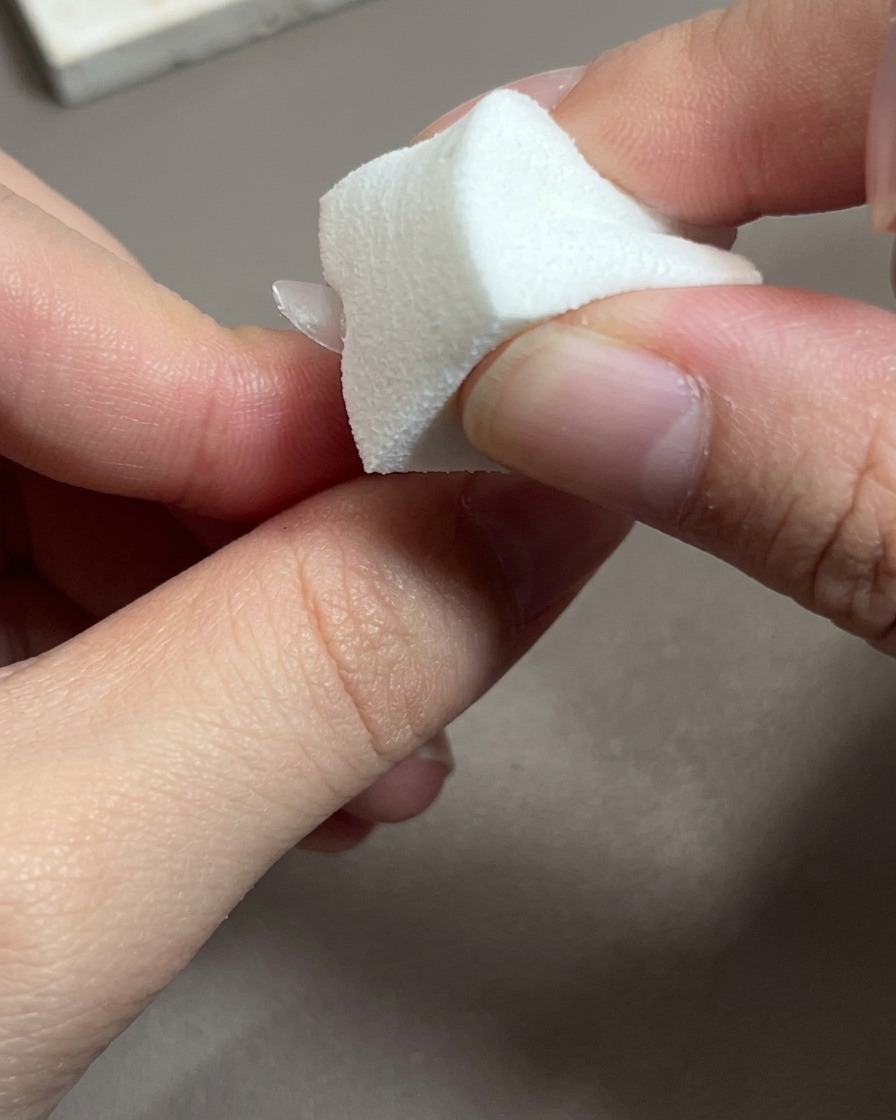
Apply a thin, even layer of sheer pink base color to the nail, ensuring smooth coverage. This provides the perfect neutral backdrop for the magnetic cat-eye effect. Cure the layer under your UV or LED lamp as required.
Tip: Keep the layer thin to avoid pooling at the edges and ensure an even cure. - 2Cure the base layer
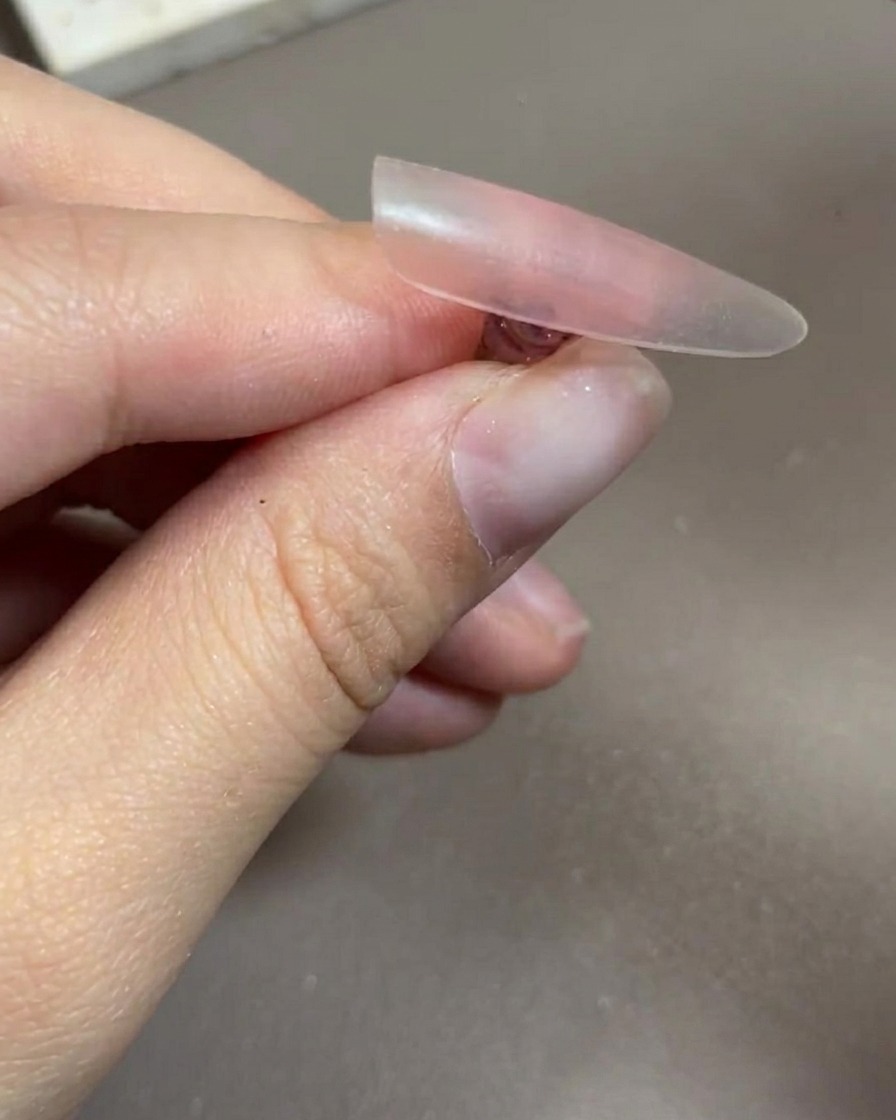
Place your nails under the UV/LED lamp and cure for the full manufacturer-recommended time. This ensures the base layer is completely set and provides a stable foundation for the magnetic gel.
Tip: Ensure your fingers are positioned flat inside the lamp to get uniform light exposure across all nails. - 3Apply sheer pink base color
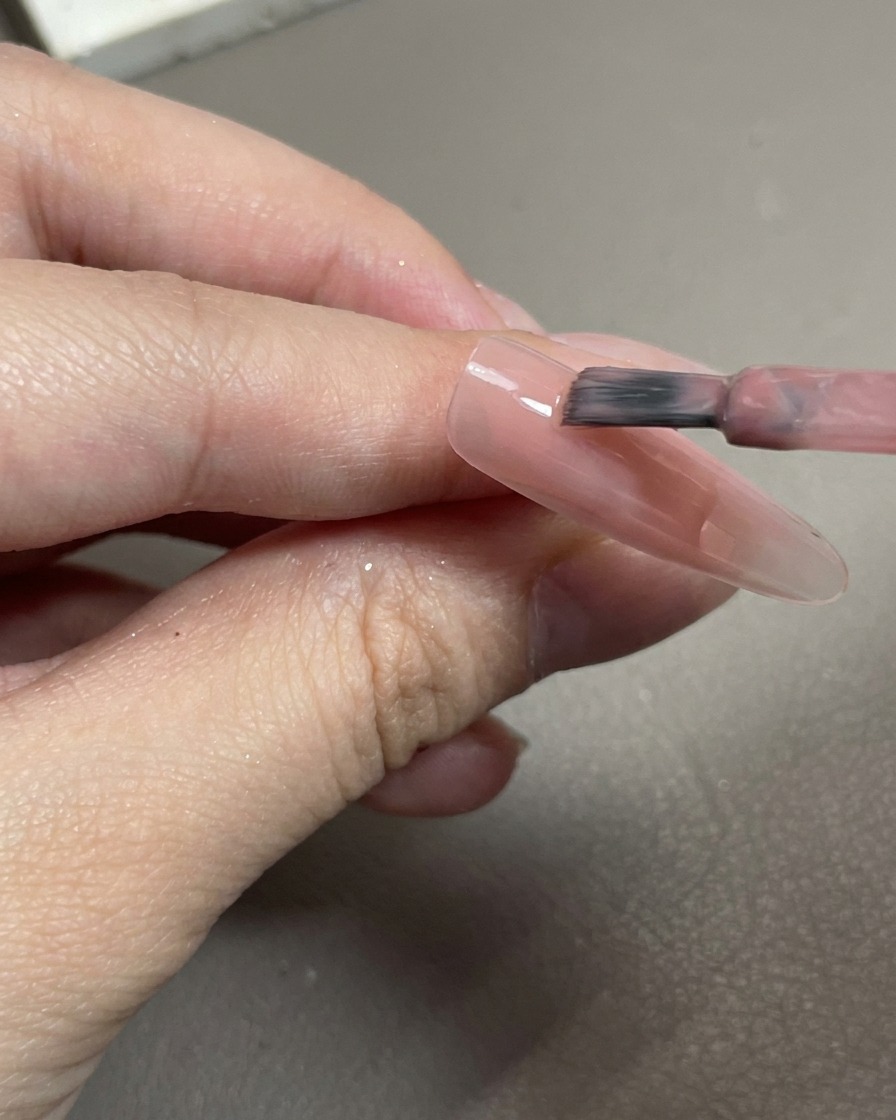
Using the gel brush, apply a thin and even layer of the sheer pink base color over the entire nail tip. Work smoothly from the cuticle area down to the free edge to ensure consistent coverage without any pooling.
Tip: Keep your layers thin to prevent the gel from wrinkling and to ensure a proper, complete cure under the lamp. - 4Cure the base color
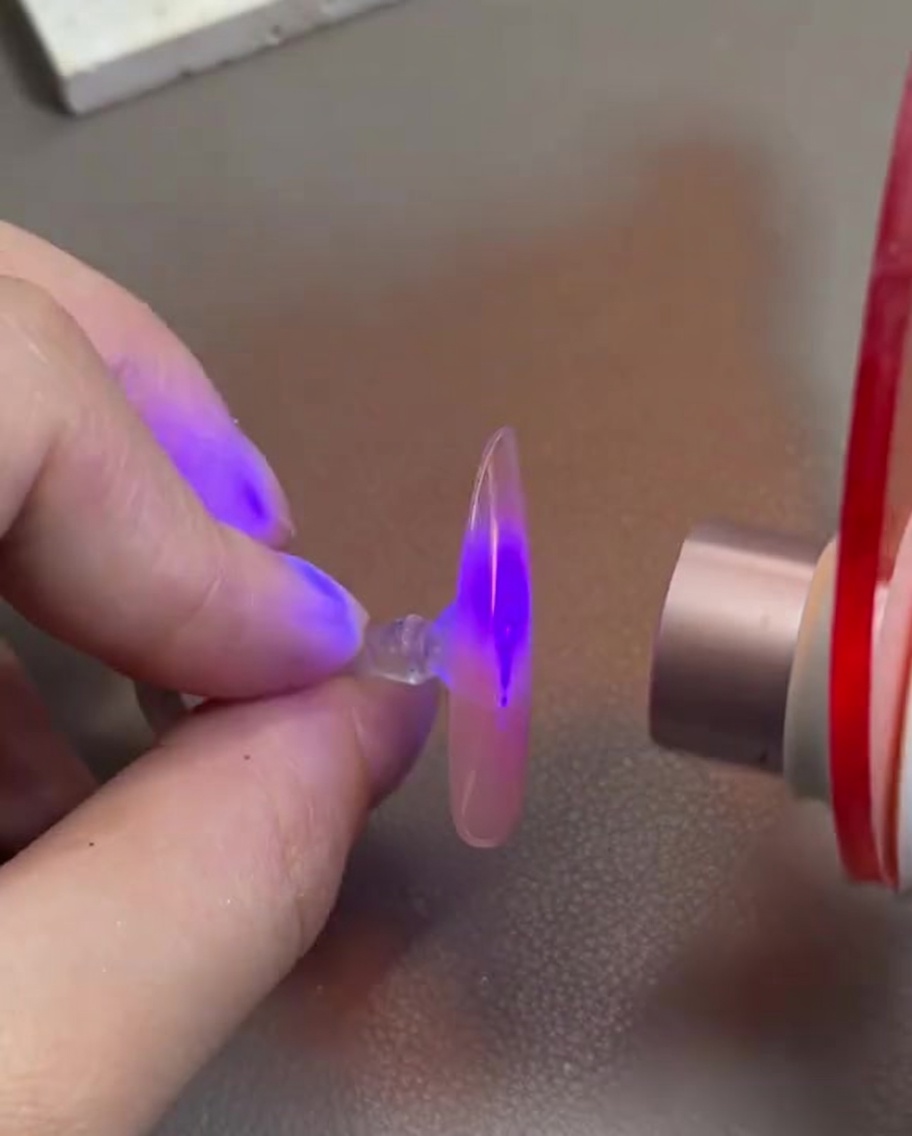
Hold the nail under a UV/LED lamp to completely cure the sheer pink base layer. Ensure the light covers the entire nail surface evenly so the gel sets properly.
Tip: Always follow the gel manufacturers recommended curing times to ensure the layer is fully set before adding subsequent coats. - 5Apply magnetic cat-eye gel
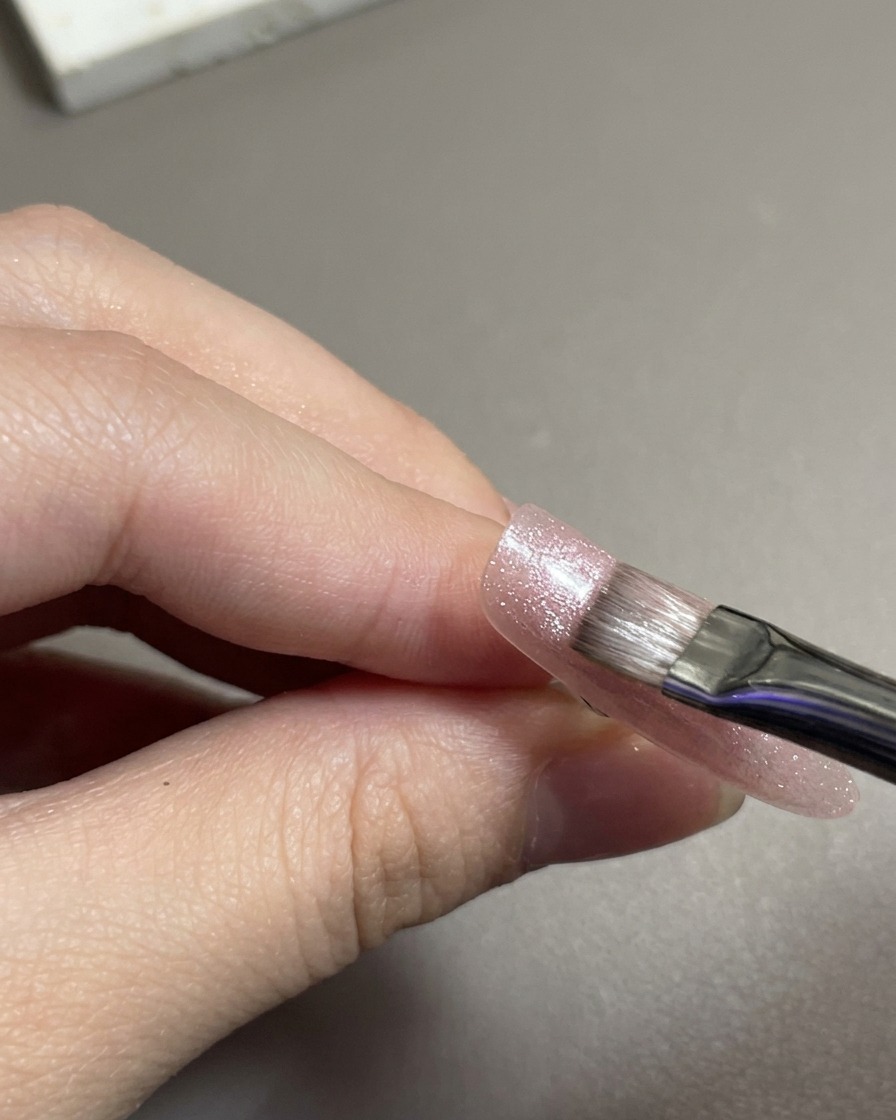
Apply an even layer of fine magnetic cat-eye gel over the cured pink base. Use a flat gel brush to distribute the shimmery particles smoothly and consistently across the entire surface of the nail.
Tip: Do not cure this layer yet! The gel must remain wet so you can manipulate the magnetic particles in the next step. - 6Create cat-eye effect
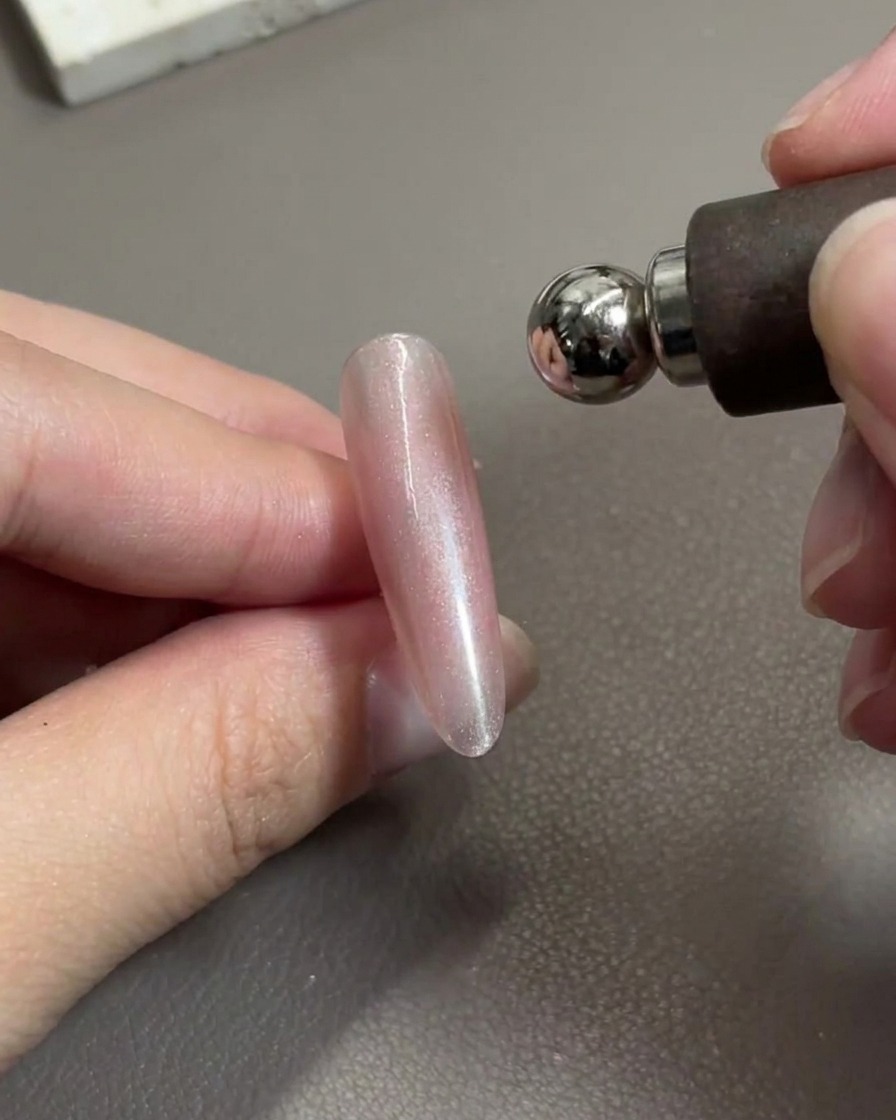
After applying the magnetic cat-eye gel, hover the magnet over the nail. Move it side to side to shift the magnetic particles into a wide, horizontal band across the center of the nail, creating a soft, luminous highlight.
Tip: Hold the magnet close to the nail for the strongest effect, but be careful not to touch the wet gel surface. - 7Create a semi-circular highlight
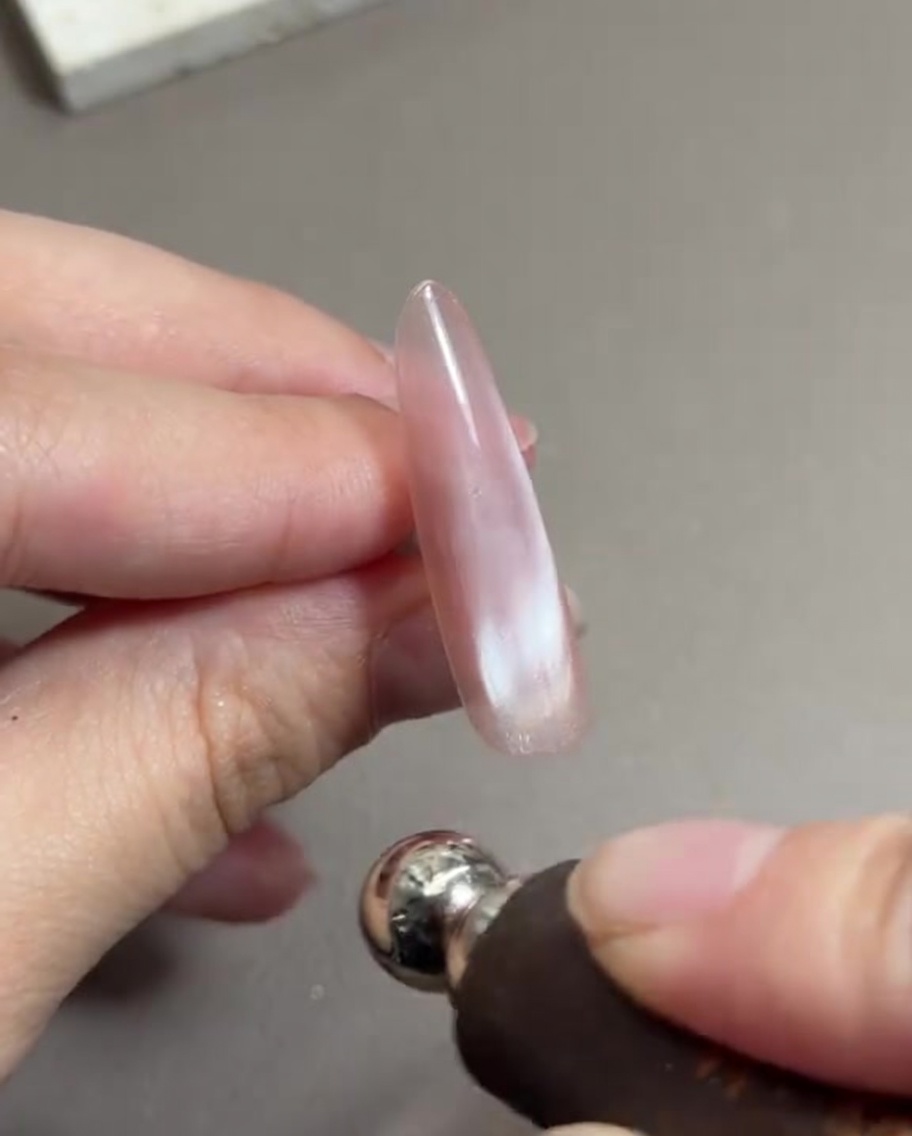
Hold a cylindrical magnetic tool close to the wet cat-eye gel and slowly sweep it in a semi-circular motion around the edges of the nail. This movement pushes the magnetic particles together to form a bright, concentrated highlight, beginning the glass bead effect.
Tip: Keep the magnet as close to the wet gel as possible without actually touching the surface to get the sharpest magnetic pull. - 8Refine the glass bead highlight
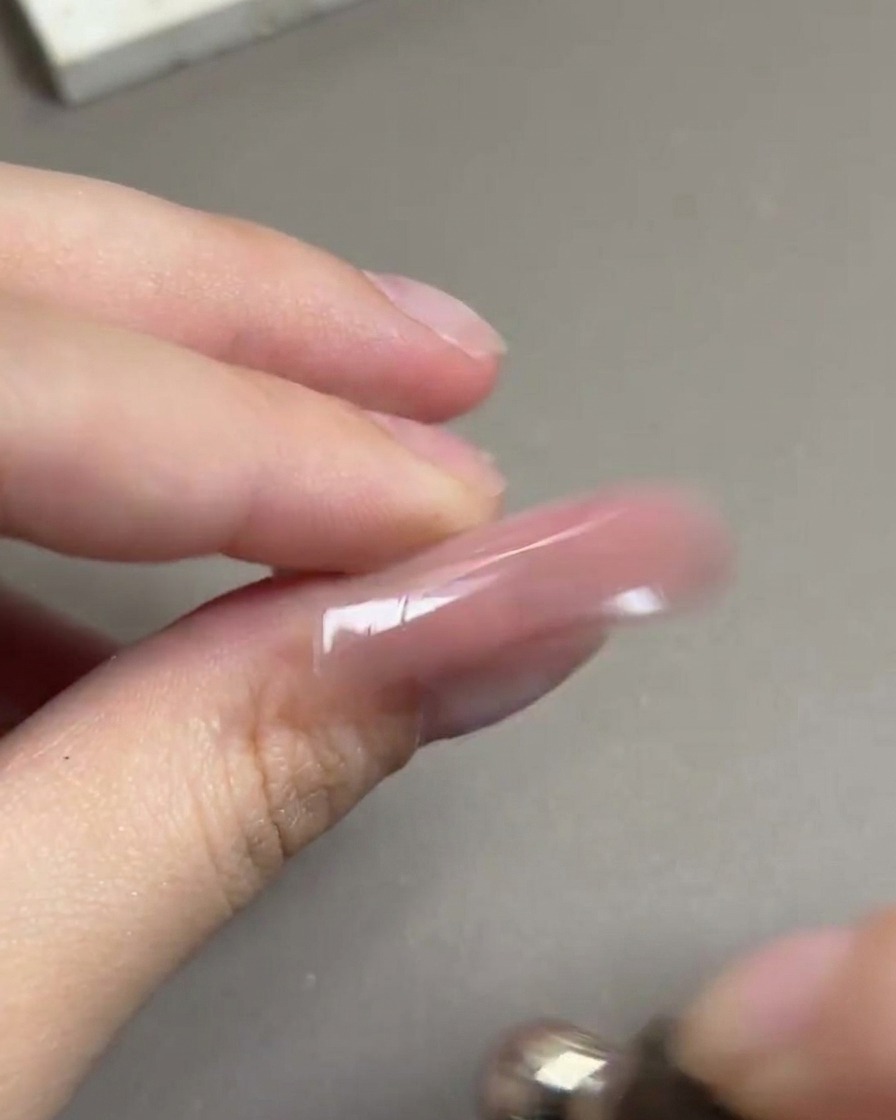
To create the glass bead effect, move the magnet in a circular motion around the nail. This manipulates the magnetic particles into a centered, rounded highlight that mimics the look of a sparkling glass bead.
Tip: Take your time with the circular motion to ensure the highlight is perfectly centered and crisp before curing. - 9Flash cure the cat-eye effect
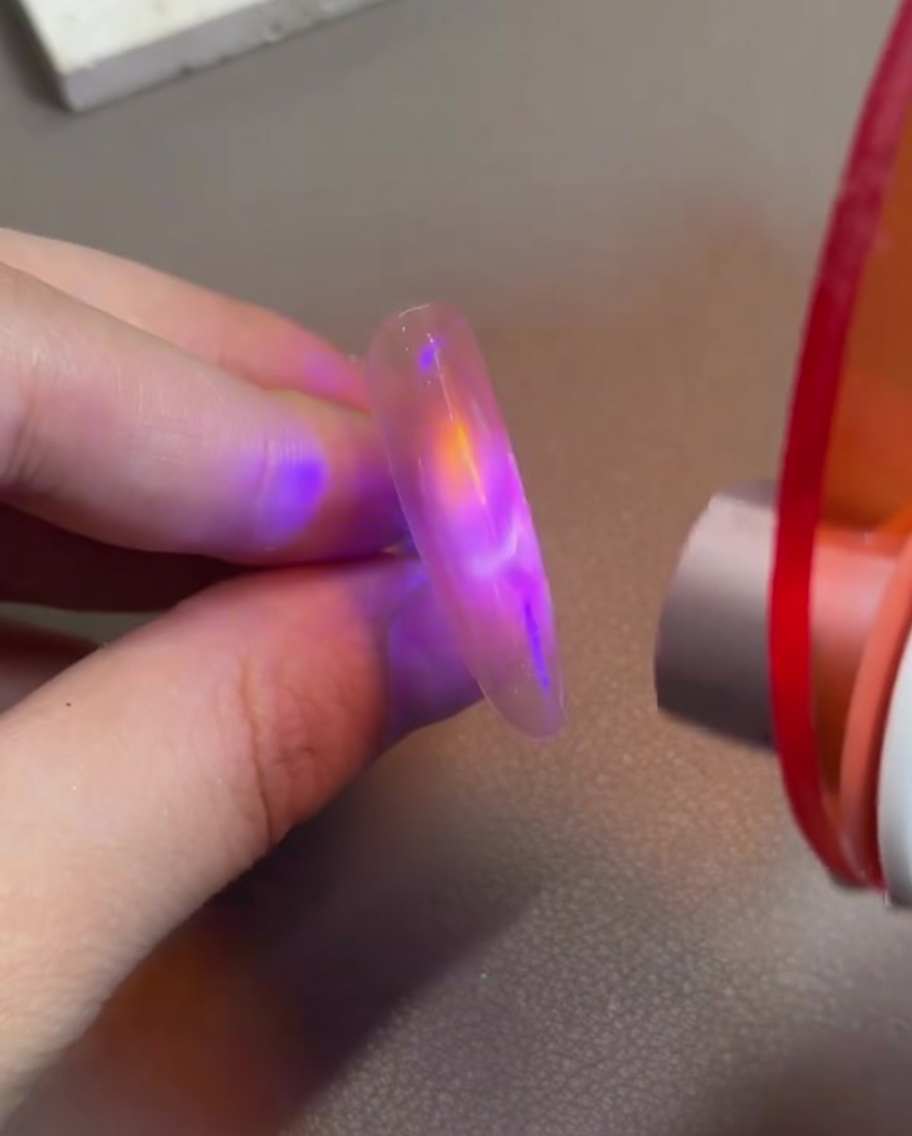
As soon as you achieve the perfect glass bead highlight with your magnet, immediately place the nail under your UV or LED lamp to cure. This crucial step locks the magnetic particles in place so the design does not disperse or fade while you work.
Tip: Flash curing for just 10 to 15 seconds is usually enough to freeze the cat-eye effect before moving on to the next nail. - 10Paint French tip outline
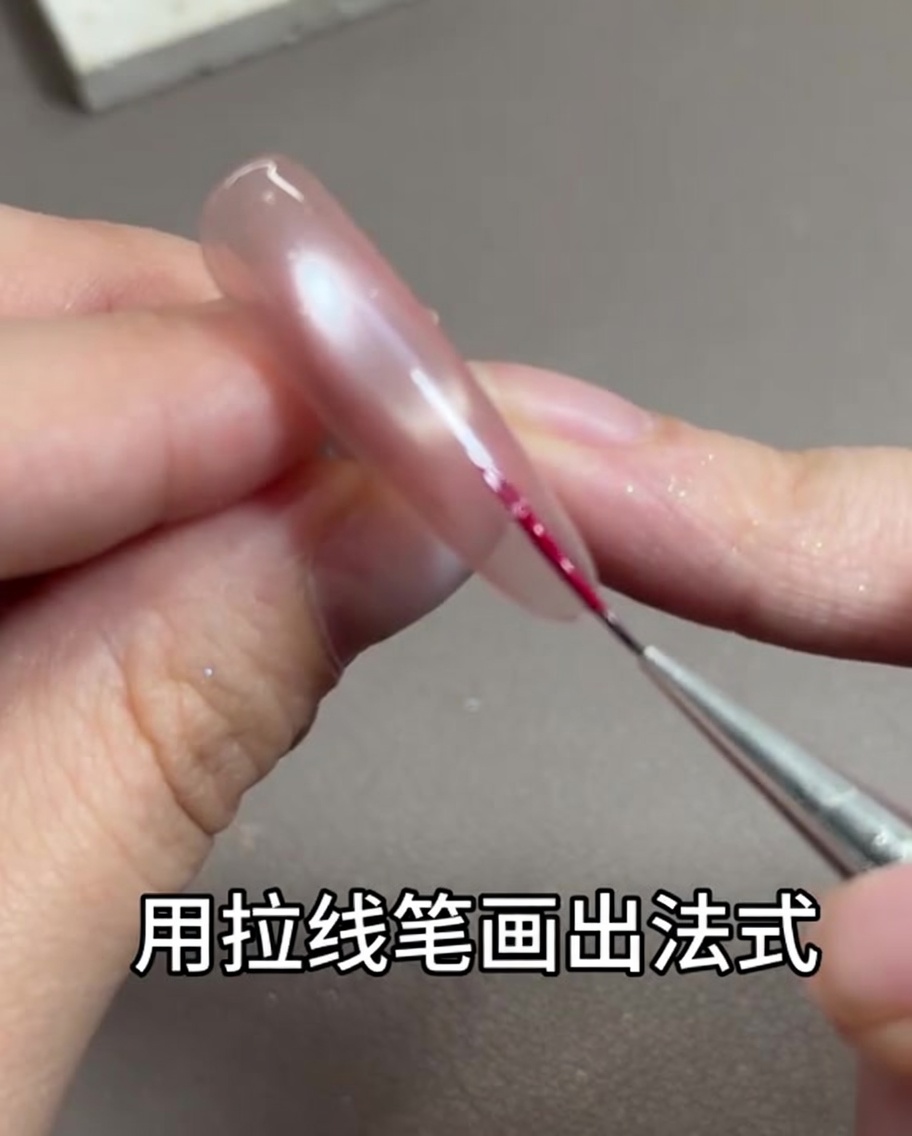
Using a fine liner brush and rose red gel, carefully outline the French tip. Start by defining the smile line to ensure symmetry and clean edges before filling in the rest of the tip.
Tip: Use a small amount of product on your liner brush for better control when creating thin, precise lines. - 11Fill in the French tip
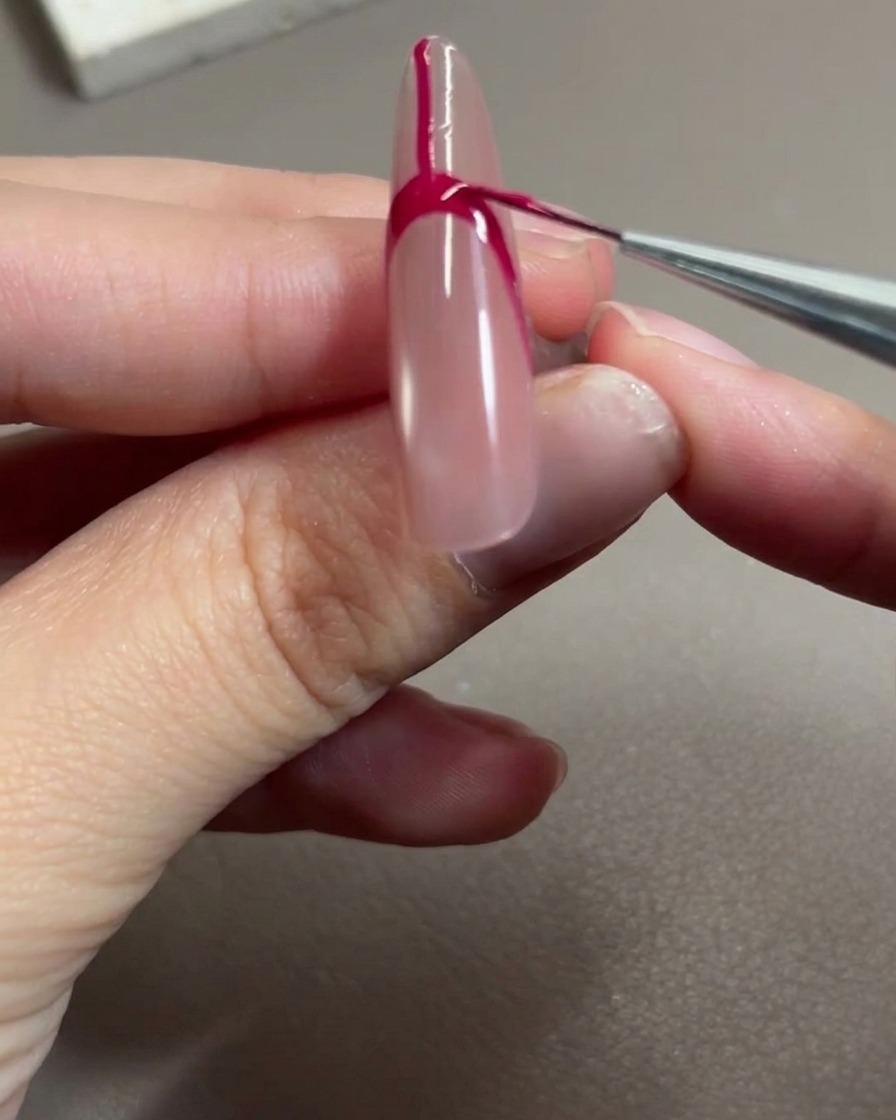
Once the outline is established, use your brush to fill in the French tip area with the rose red gel. Ensure the color is saturated and smooth, then cure under the lamp to set the design.
Tip: Check the edges of the French tip to ensure they are crisp and clean before putting your hand into the lamp. - 12Cure the French tip
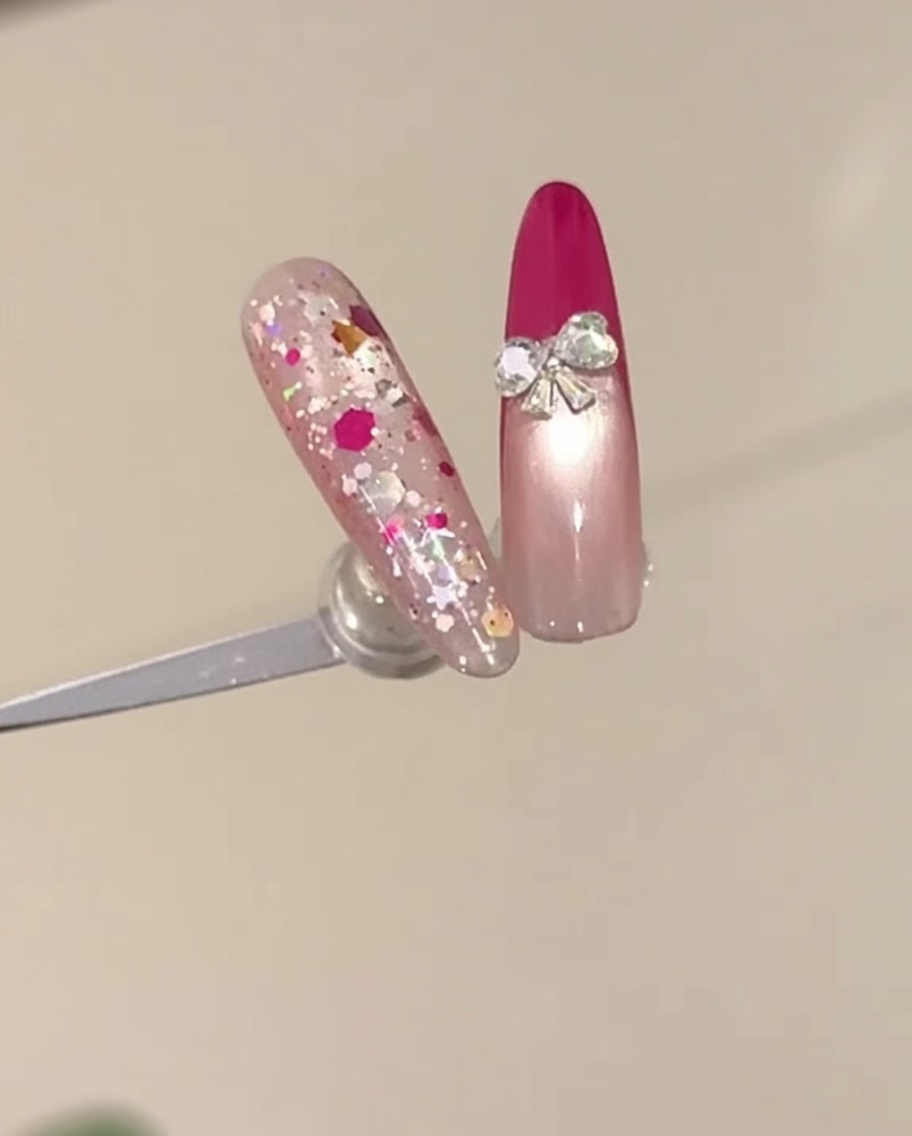
Place your hand into the UV or LED lamp to cure the rose red French tip. Ensure your fingers are positioned correctly to allow for even light exposure across the entire surface of the tip, following the manufacturers recommended curing time.
Tip: Keep your hand steady while curing to prevent the gel from shifting or running before it sets. - 13Apply top coat
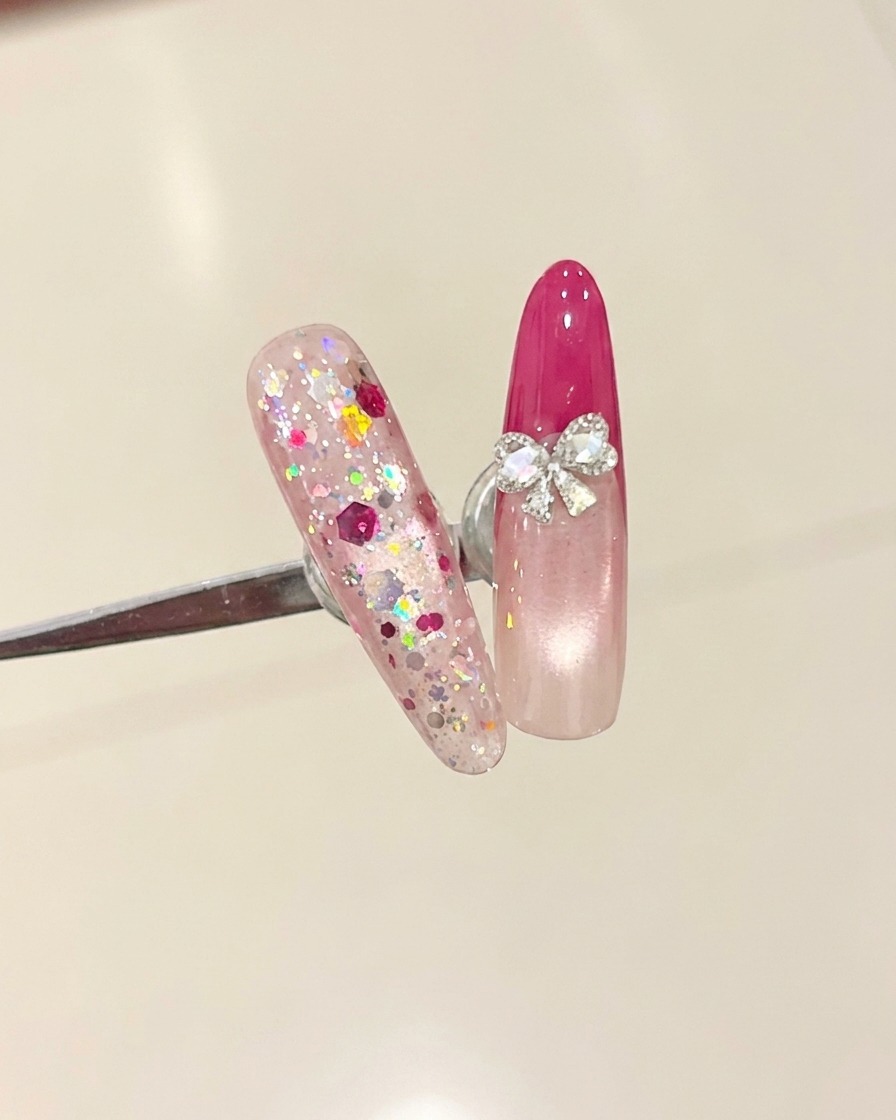
Apply a smooth, even layer of top coat over the entire nail surface, covering the rose red French tip. Be sure to cap the free edge to seal the manicure, which helps protect the color and adds a high-gloss finish.
Tip: Apply a thin layer to avoid pooling around the cuticles or sidewalls for a clean, professional finish. - 14Embellish with a bow
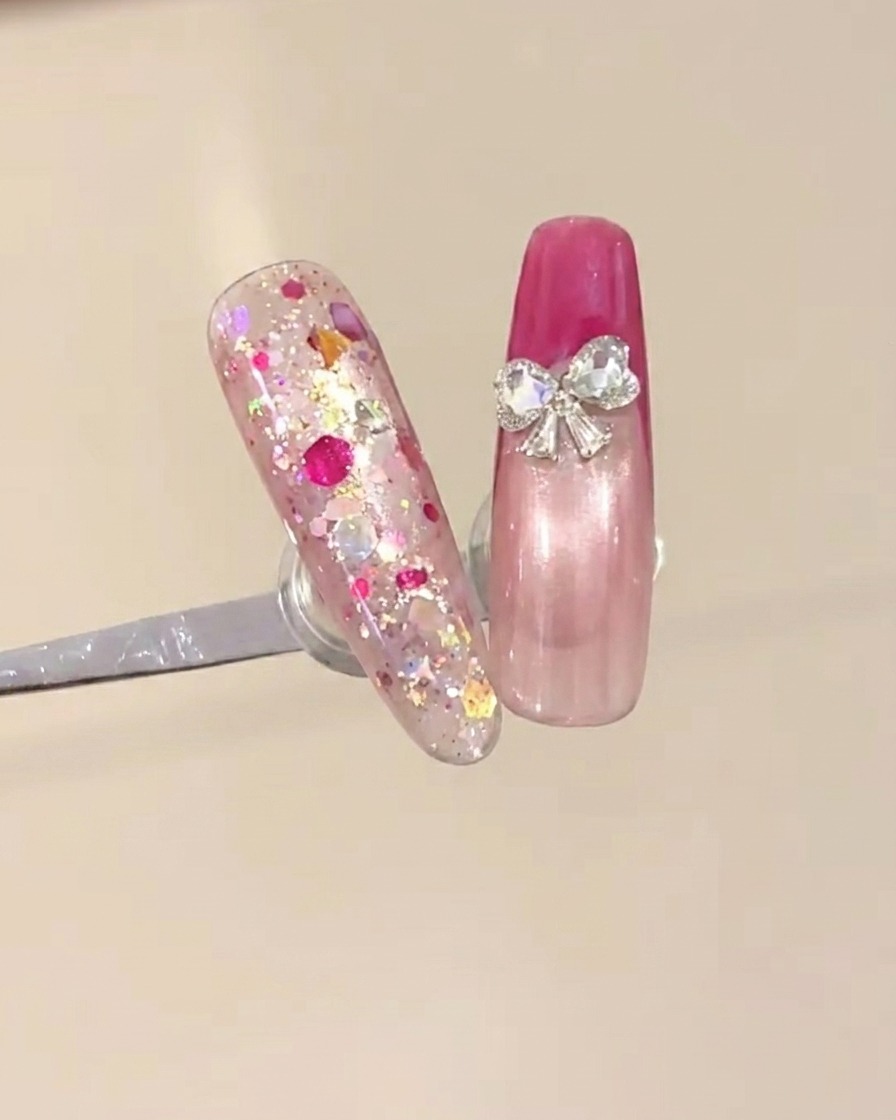
While the top coat is still wet, carefully place two heart-shaped rhinestones near the base of the French tip, orienting them to form a bow shape. Once positioned to your liking, cure the nail under the lamp to secure the embellishments.
Tip: Use a precision wax pencil or tweezers to easily pick up and place the small rhinestones. - 15Cleanup
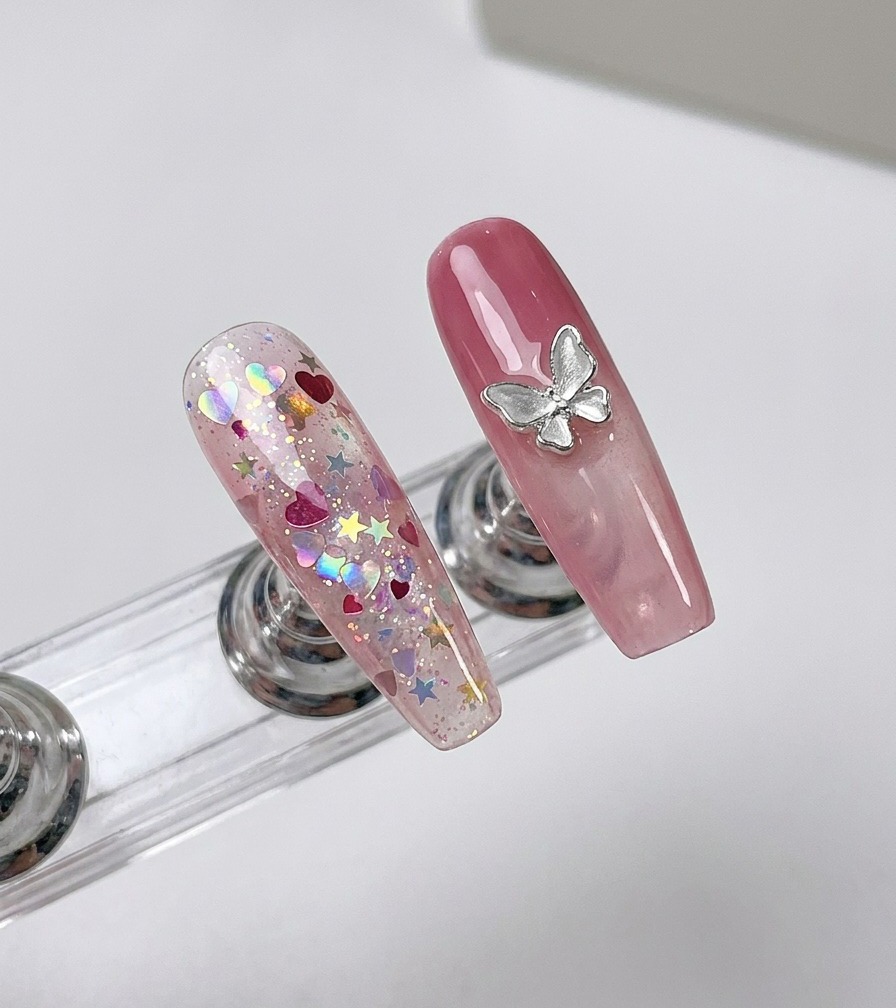
This step has been removed as it does not pertain to this specific nail tutorial process.
Tip: N/A