Pink Bow and Dot Gel Nails — Step-by-Step Tutorial
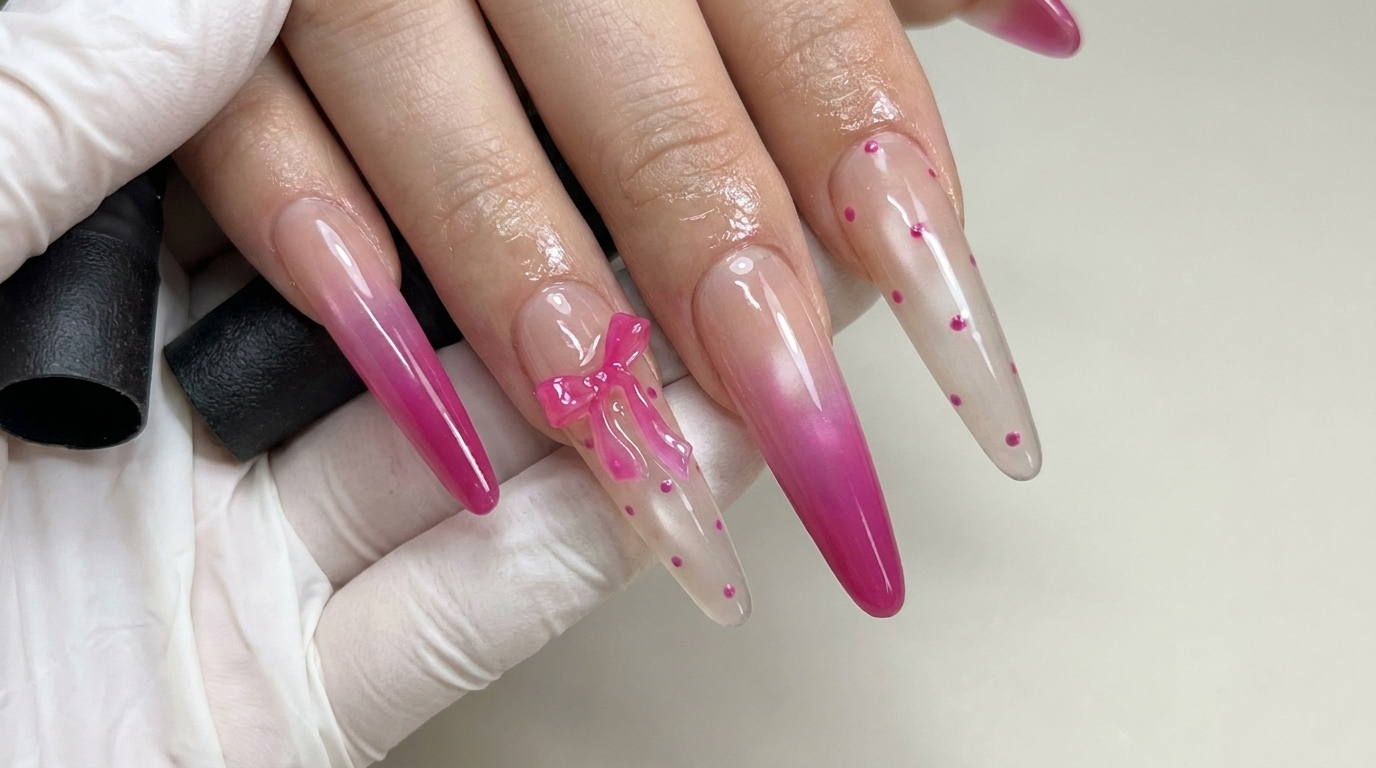
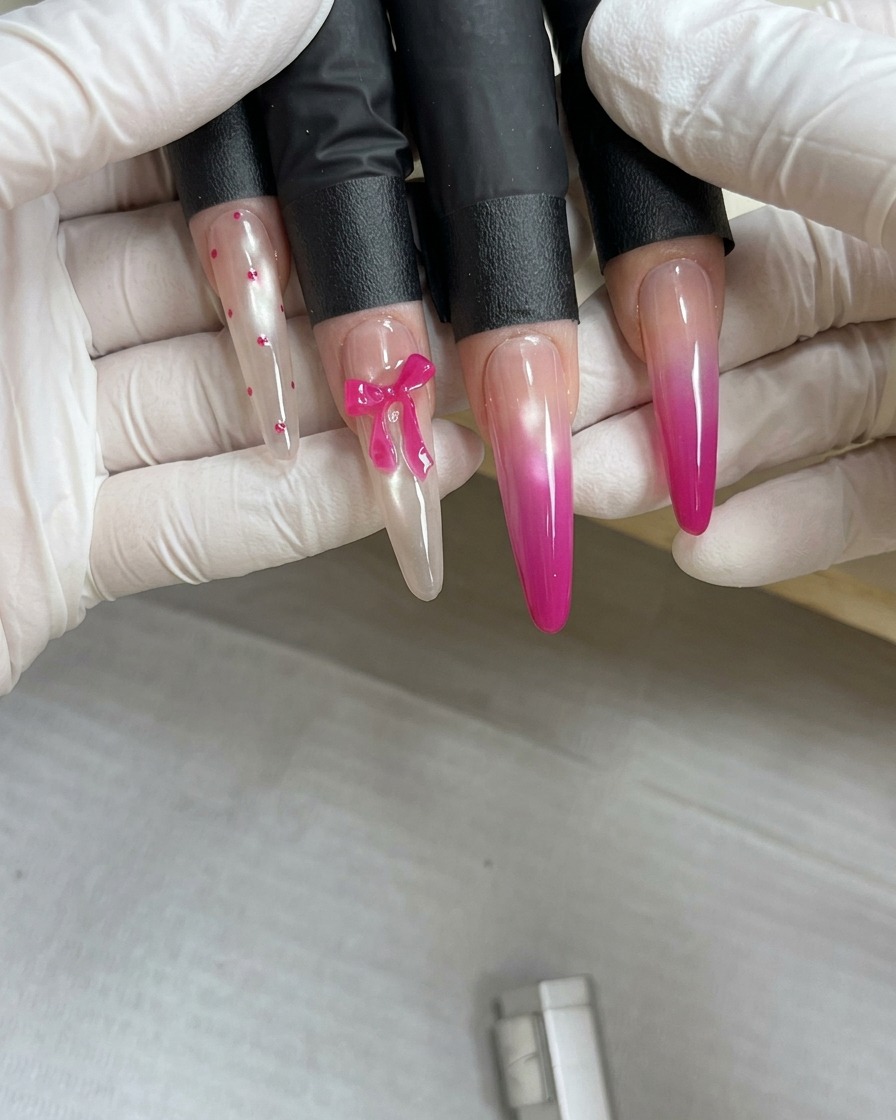
Elevate your manicure with this adorable pink bow and dot design. Learn how to combine elegant ombre gradients with playful 3D accents for a salon-quality look.
This whimsical nail look perfectly balances trendy pink gradients with charming 3D elements. By pairing soft ombre transitions with a statement bow and delicate polka dots, you can create a manicure that feels both playful and polished. Follow these steps to master the technique and bring this lovely design to life on your own nails.
Steps
- 1Apply metallic cat-eye gel
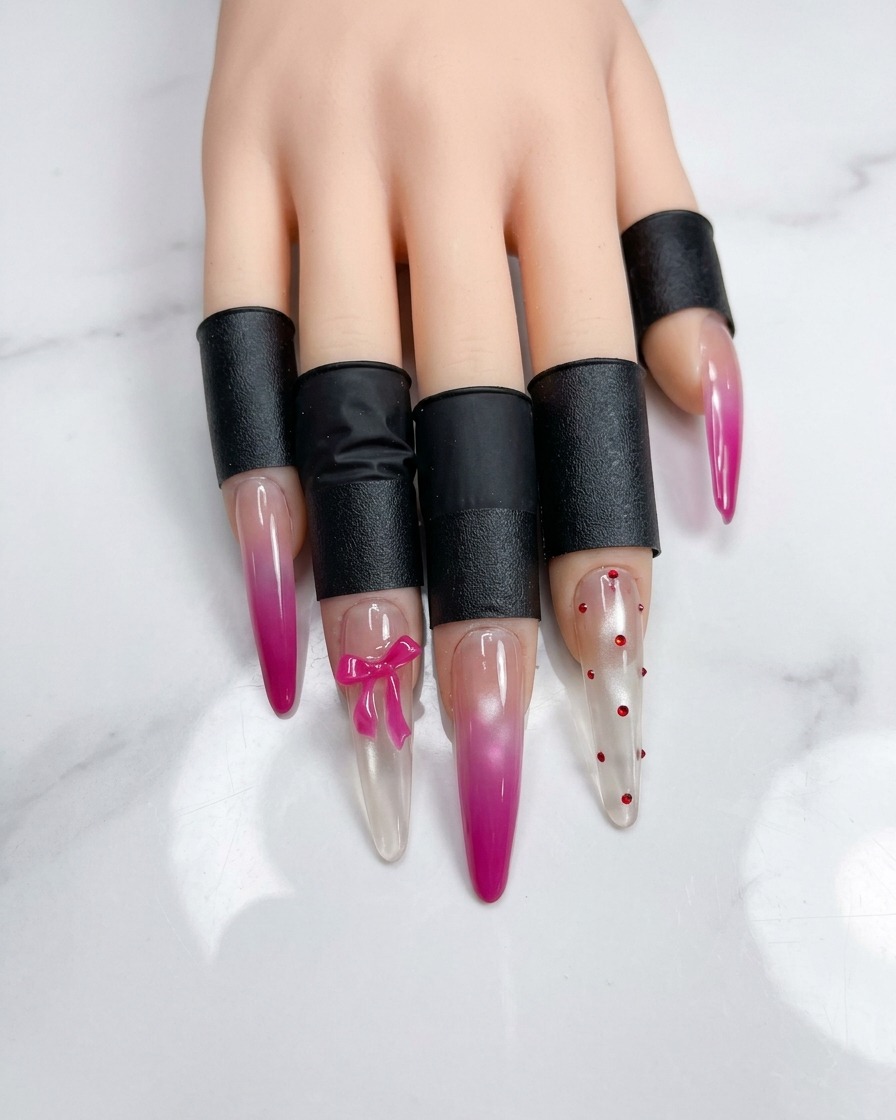
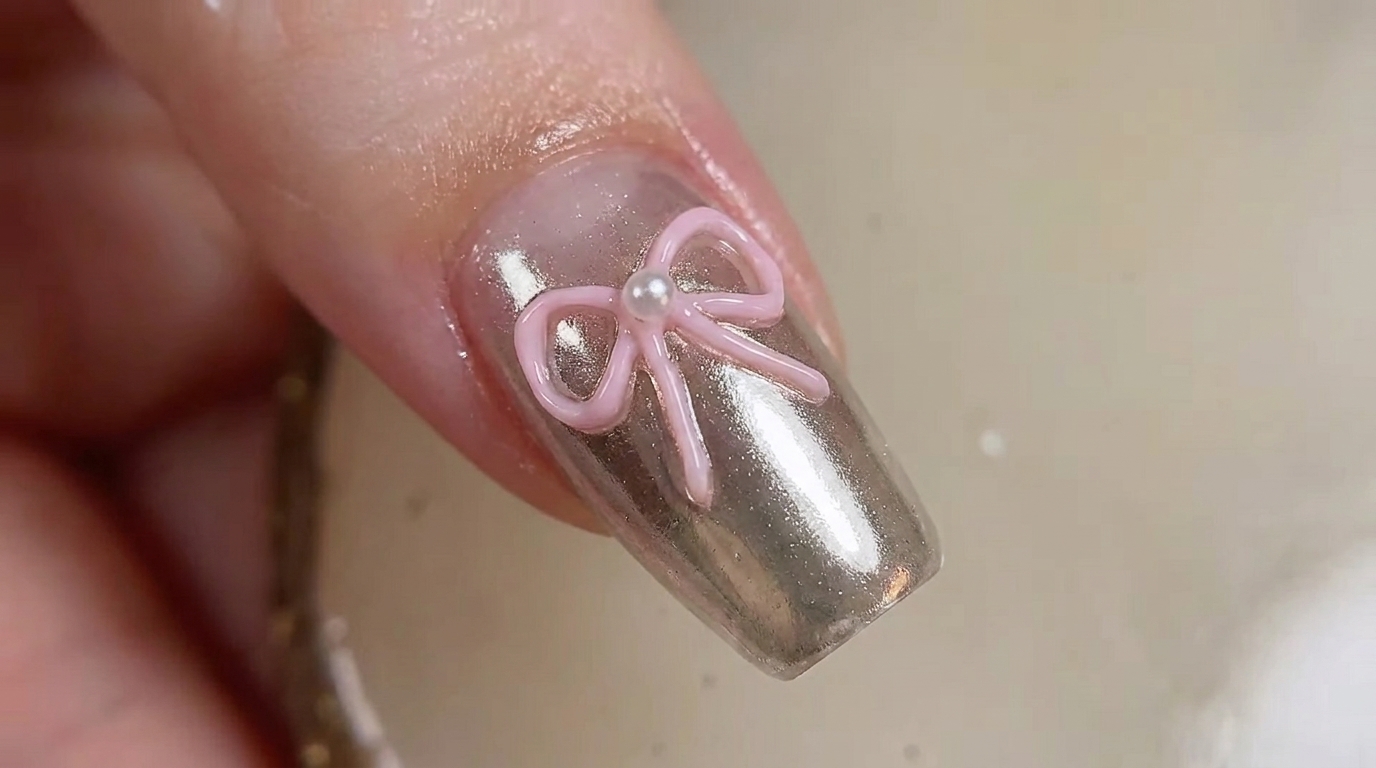
Apply a thin layer of the grey metallic gel polish to the accent nail. Ensure the coverage is even, but do not cure it yet, as you will need the gel to be wet for the next step to create the magnetic effect.
Tip: Keep your application thin to avoid the gel pooling around the cuticles. - 2Create cat-eye effect
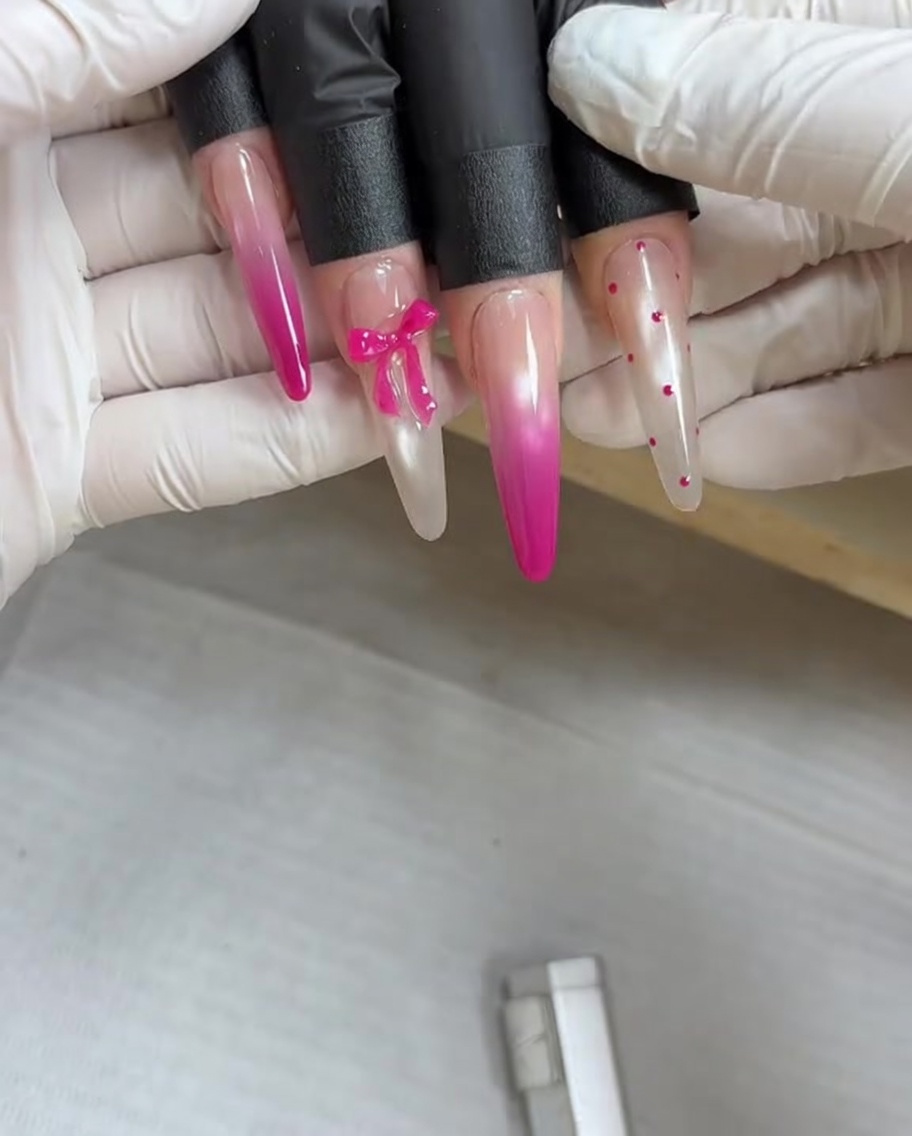
Hold your magnetic tool over the wet gel surface. Move the magnet around the nail to manipulate the metallic particles into your desired cat-eye pattern. Once you are satisfied with the design, hold the magnet steady for a few seconds to set the pattern before curing.
Tip: Do not touch the magnet to the nail surface, as this will smudge the wet gel. - 3Cure the metallic gel
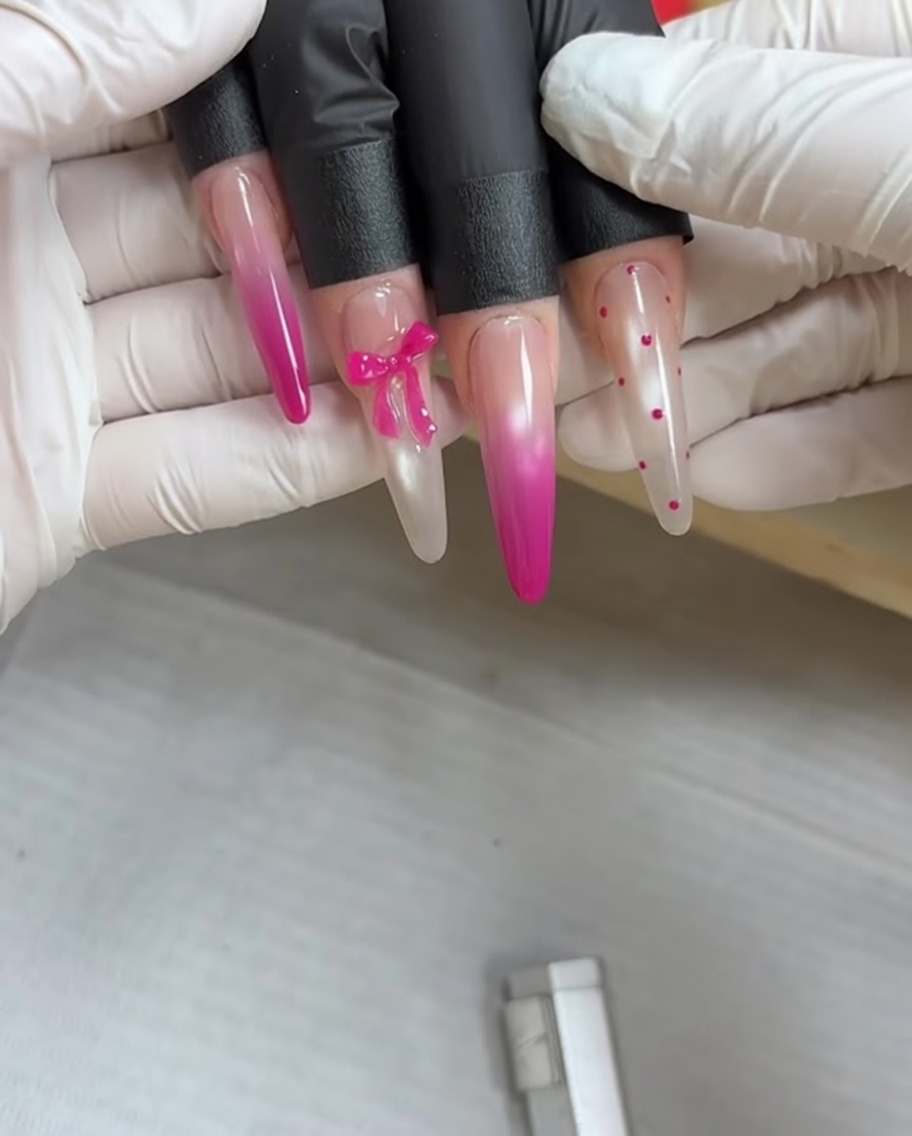
Place your hand under the UV or LED lamp and cure the metallic gel according to the manufacturers instructions. This step locks the cat-eye design in place and prepares the nail for further decoration.
Tip: Ensure your fingers are positioned flat inside the lamp to get even curing across the entire surface. - 4Add polka dot nail art
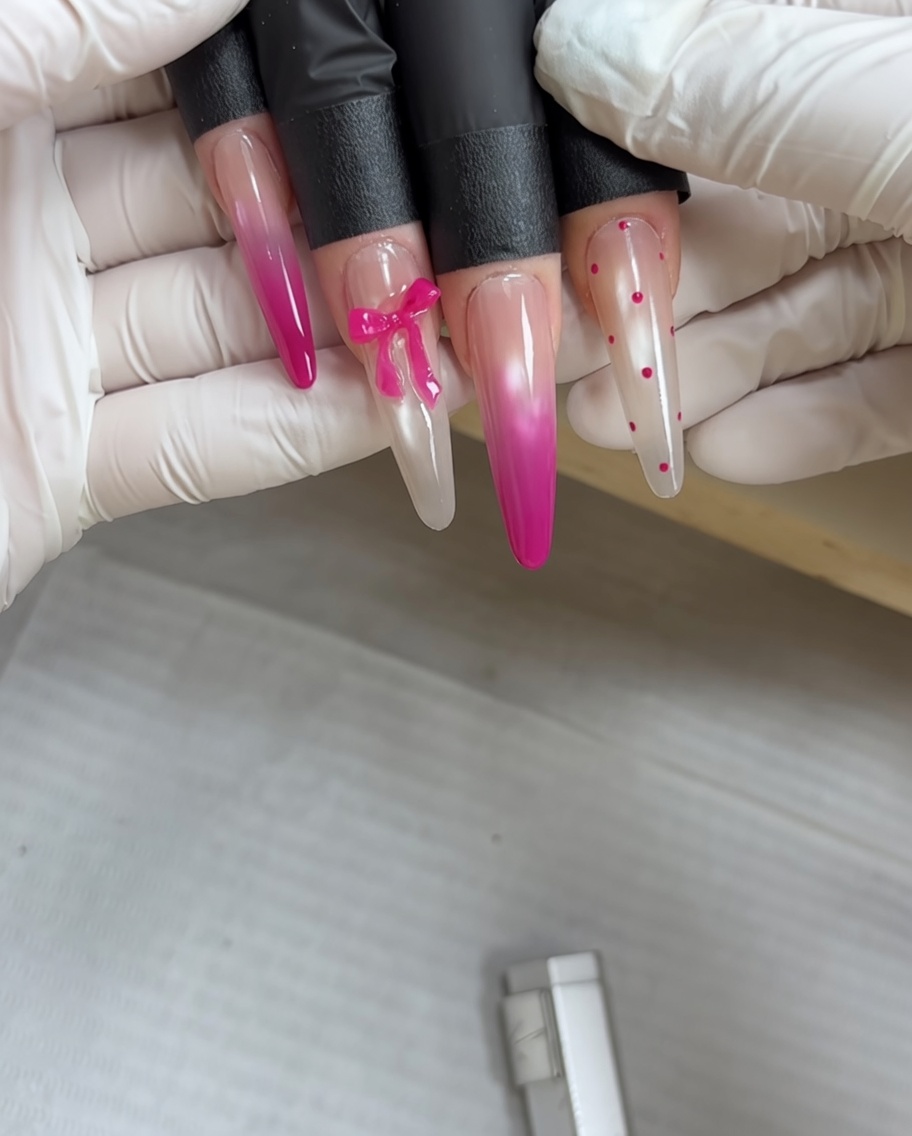
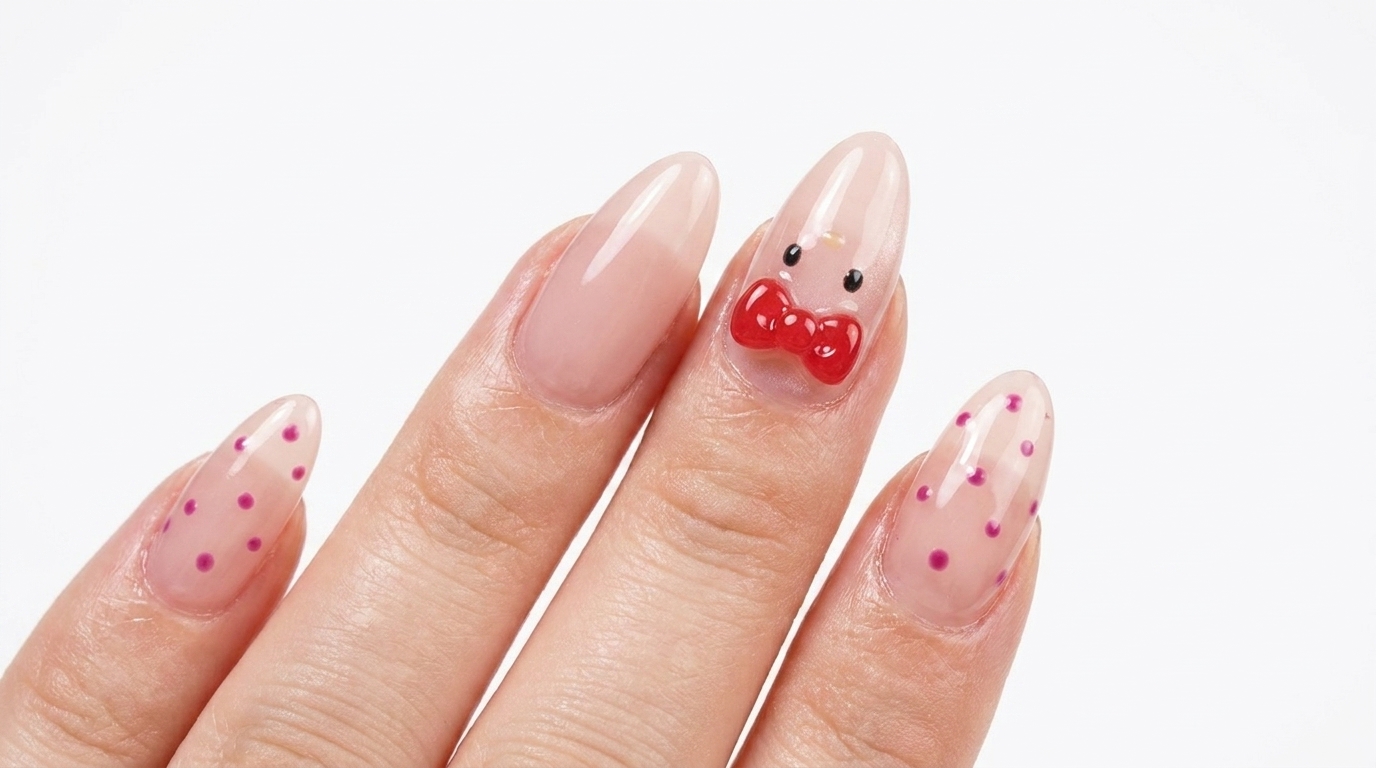
Using a dotting tool, carefully pick up a small amount of pink gel or polish. Place precise dots onto the cured metallic base to create a pattern. Work slowly to maintain consistent size and spacing for your dots.
Tip: Wipe your dotting tool clean between each dot to ensure the lines remain crisp. - 5Create pink ombre gradient
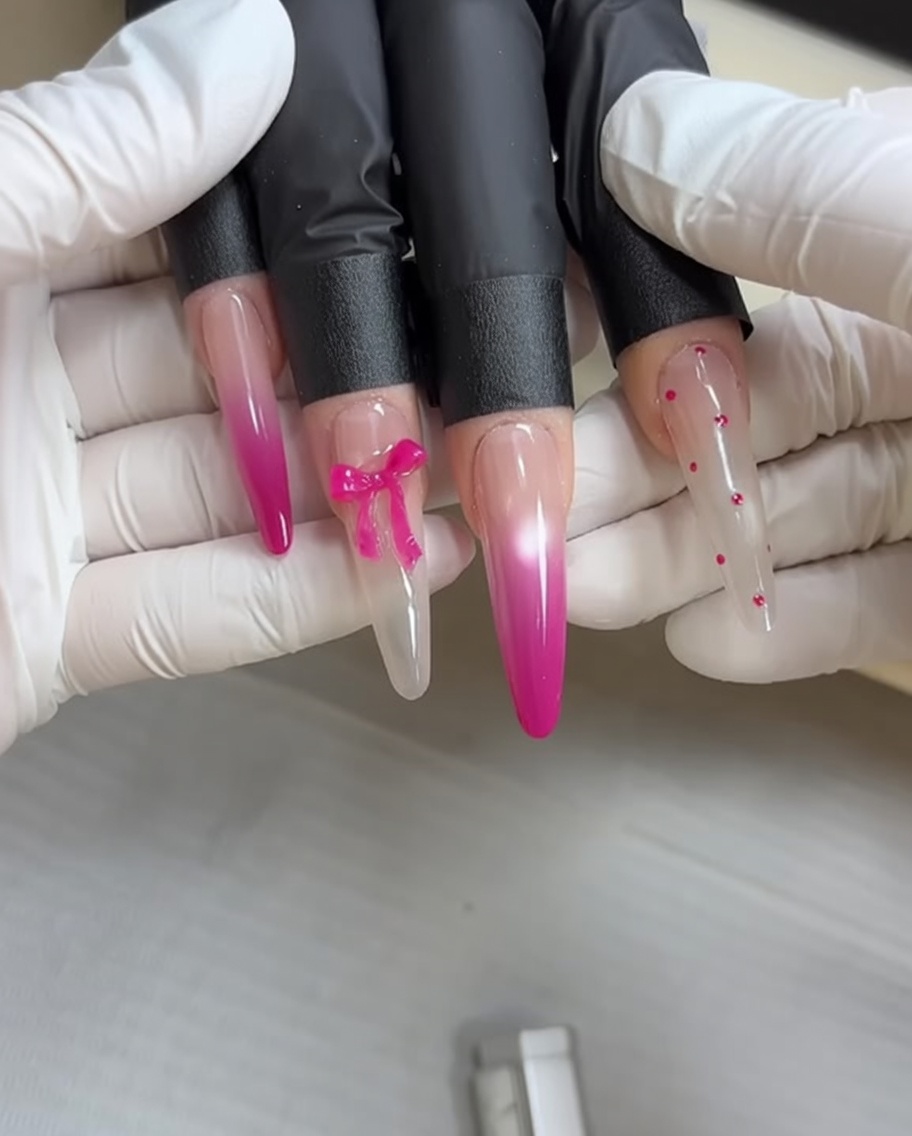
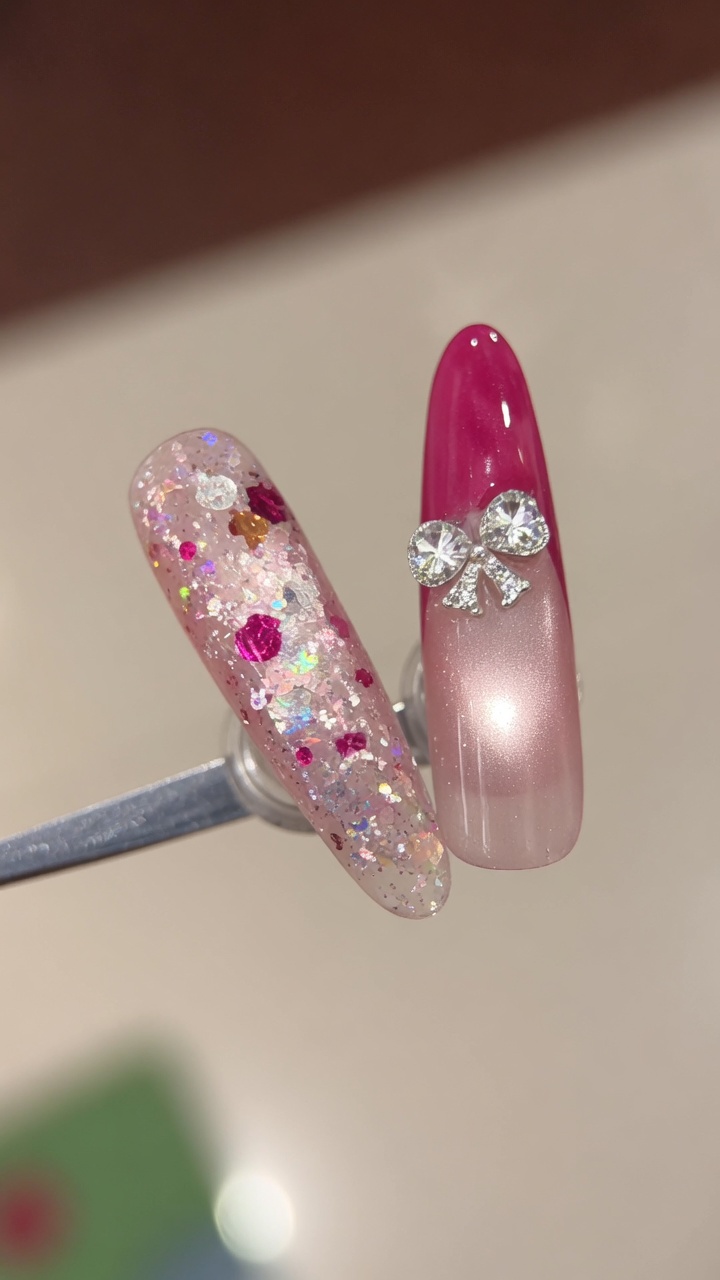
Apply a base color to your remaining nails, then use a sponge to dab a darker shade of pink at the tips, blending it upward into a lighter pink or clear base towards the cuticle. Continue dabbing until you achieve a seamless gradient transition.
Tip: Use light, tapping motions with the sponge to avoid creating harsh lines or textures. - 6Apply 3D bow charm
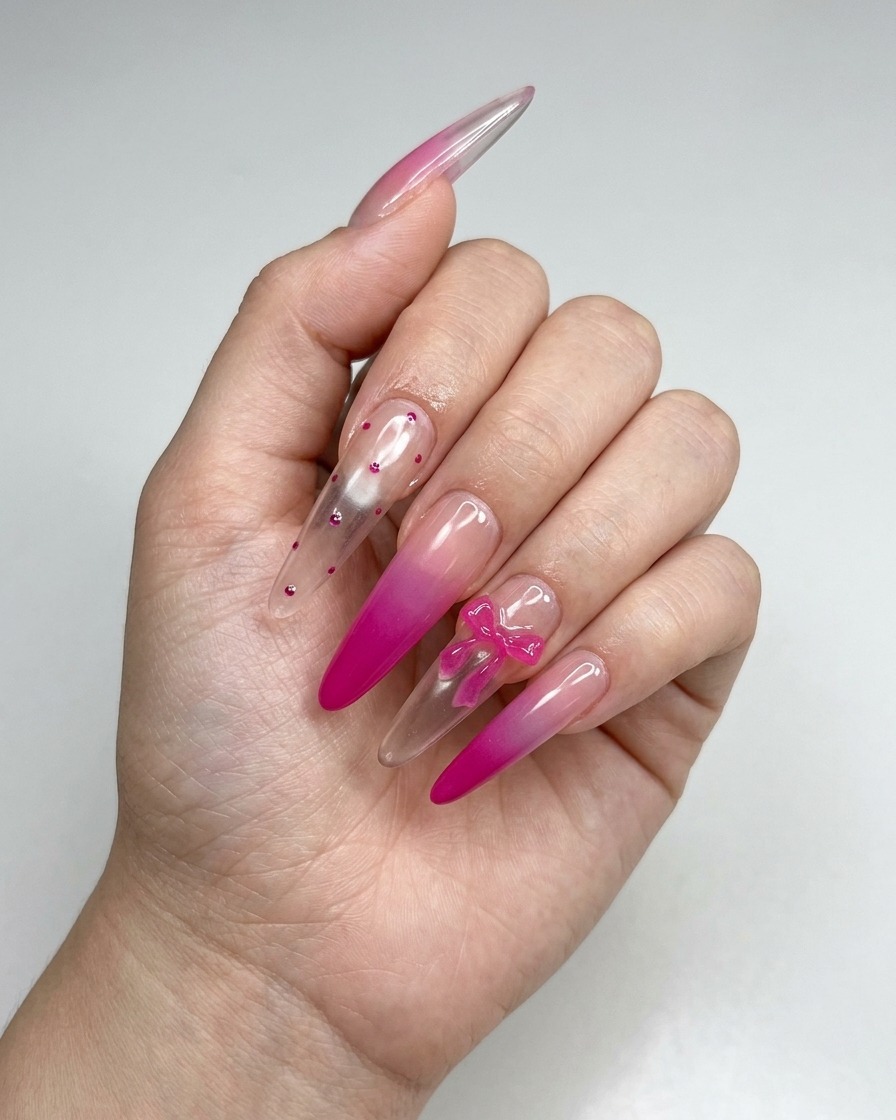
Apply a small amount of strong gel adhesive or builder gel to the center of the accent nail. Carefully place the 3D pink bow charm onto the adhesive, ensuring it is centered and secure. Flash cure the nail to hold the charm in place before performing a full cure.
Tip: Use a small dot of builder gel for the most secure hold on 3D charms. - 7Apply top coat
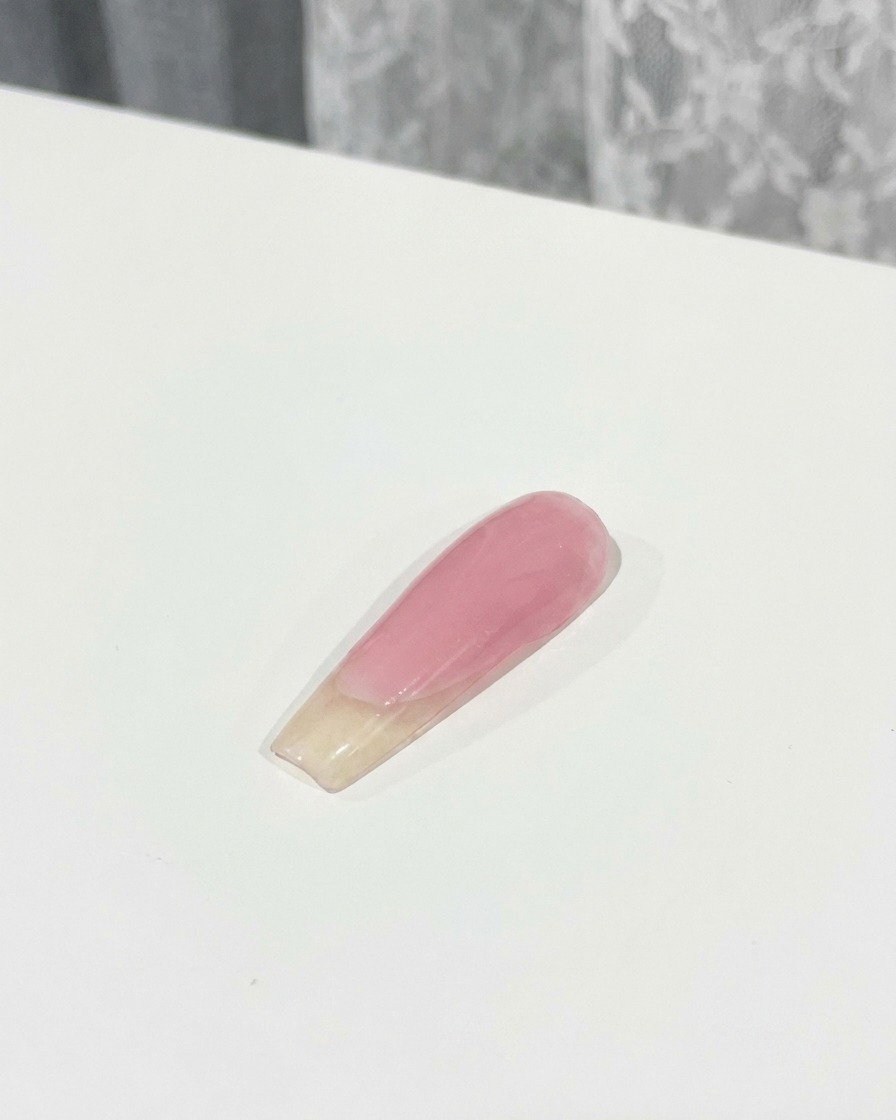
Apply a generous layer of top coat over the entire nail, ensuring you carefully coat around the 3D bow charm to secure it in place. Make sure to cap the free edge to prevent chipping and ensure longevity.
Tip: Be careful not to flood the cuticle area while applying top coat around the charm, as this can cause premature lifting. - 8Cure the nails
Place your hand inside the UV or LED lamp and cure for the full recommended time. This step is essential to fully harden the top coat, lock in the nail art, and provide a durable, high-gloss finish.
Tip: Keep your hand flat inside the lamp to ensure even exposure of the UV light across all fingers.