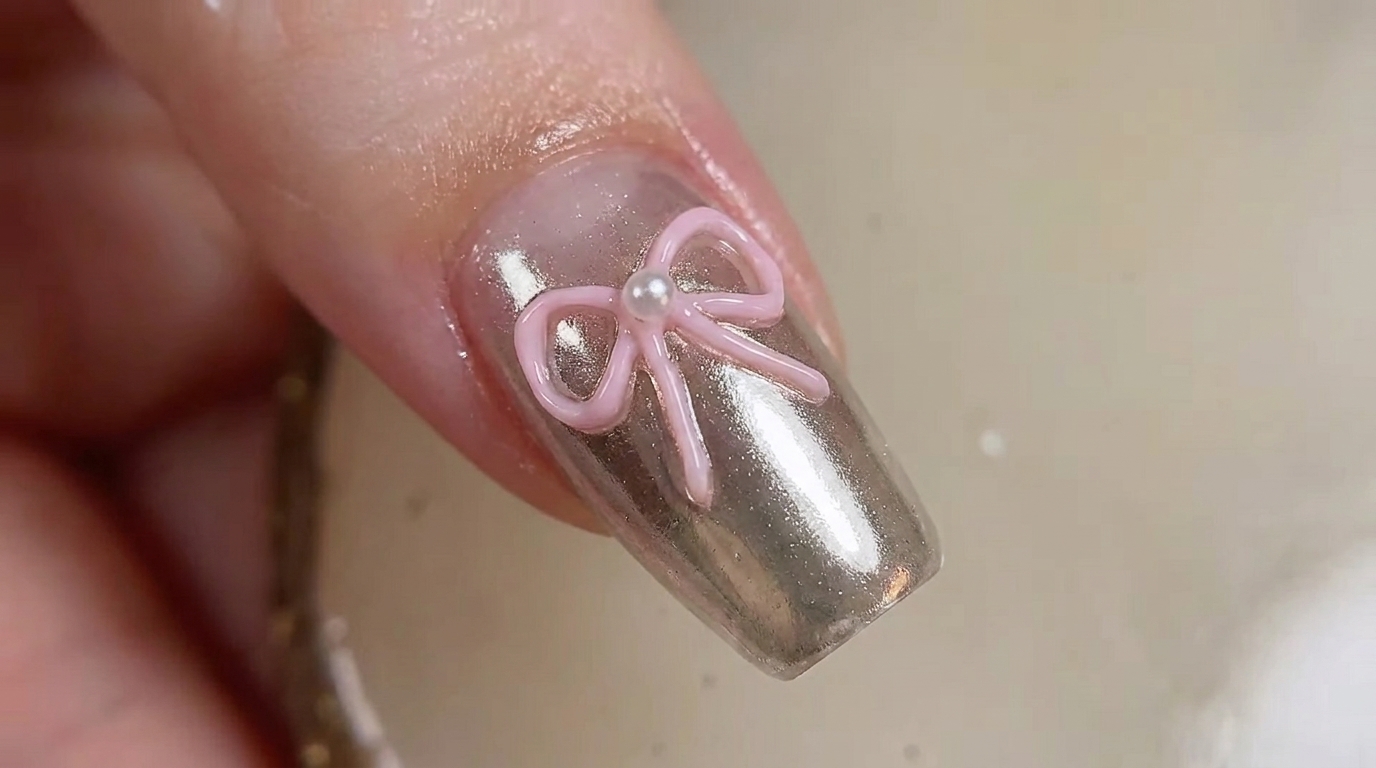
3D Bow Chrome Gel Nails — Trendy Metallic Nail Tutorial
Create stunning 3D bow chrome nails with this easy-to-follow guide. Learn the secrets to achieving a perfect metallic finish and sculpted gel details.
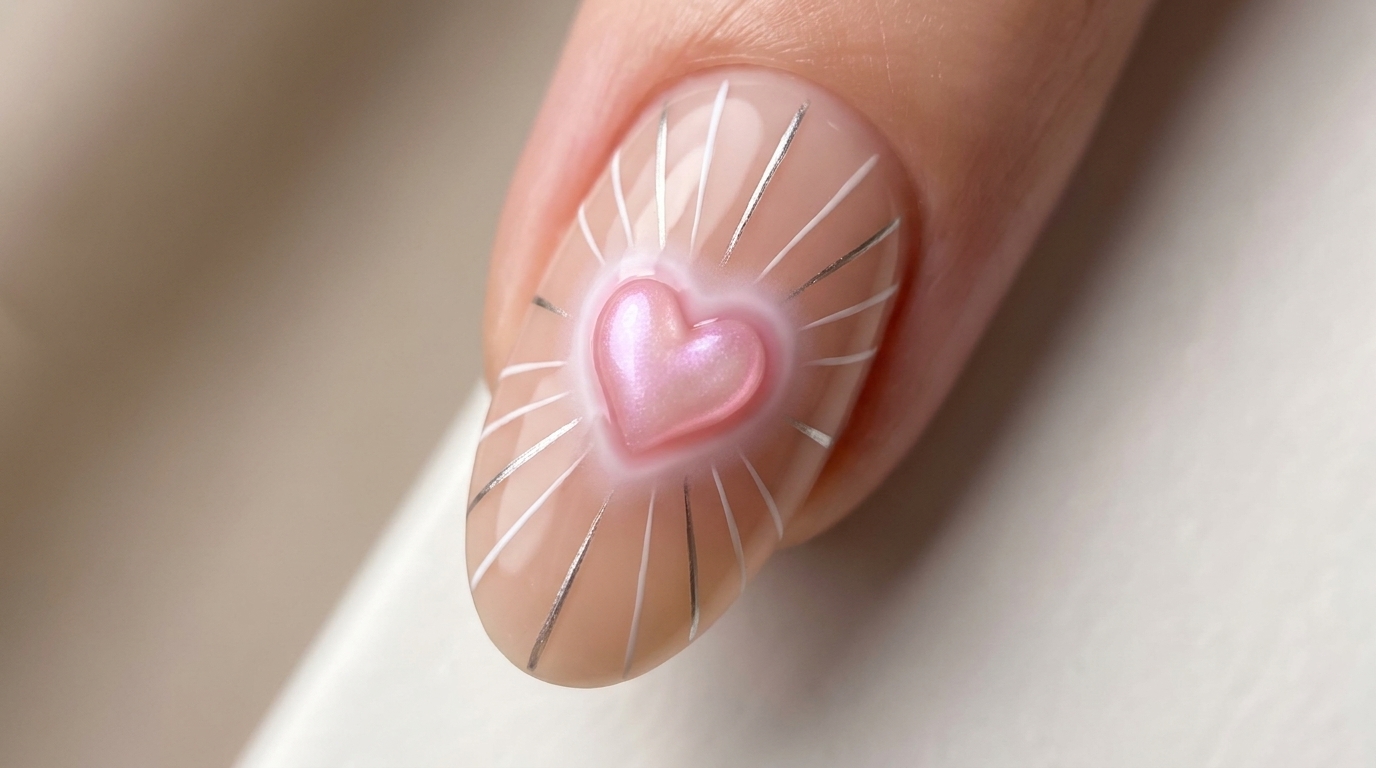
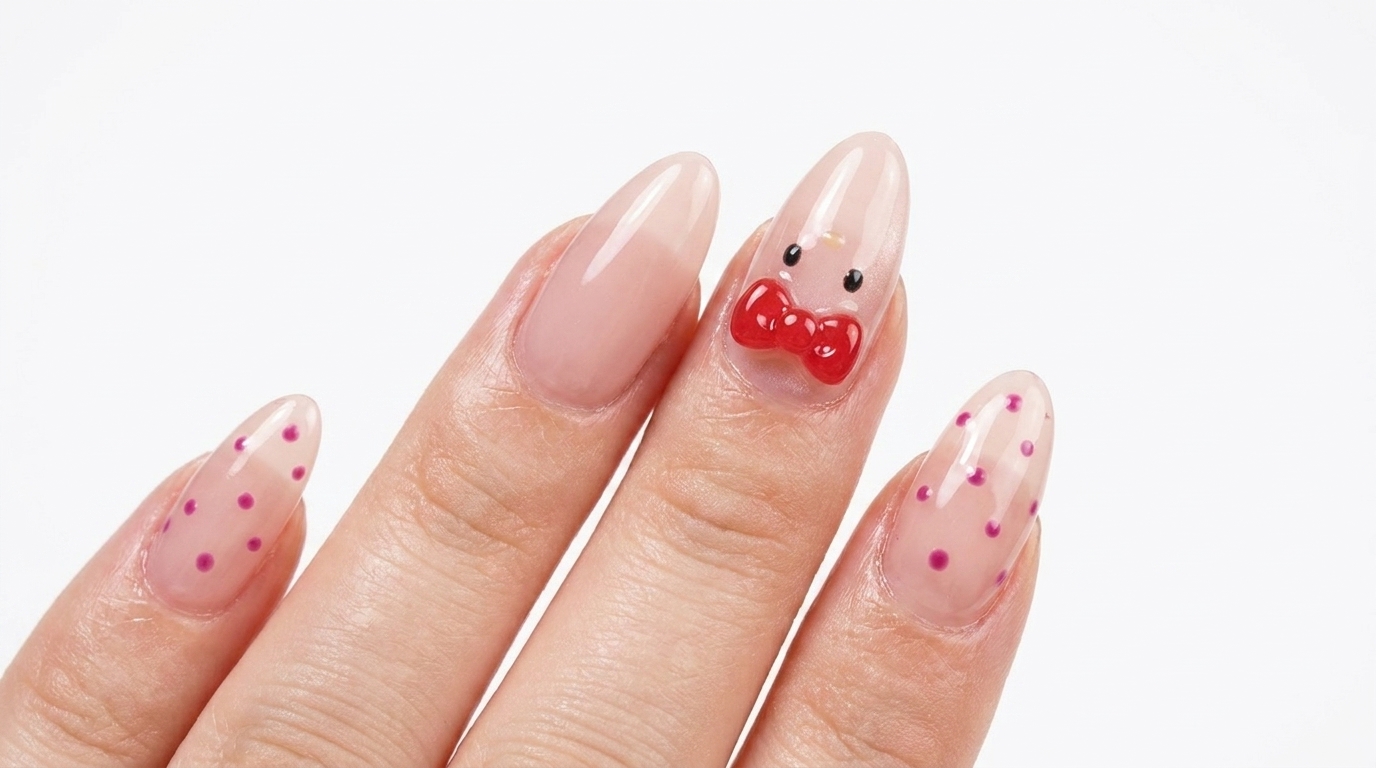
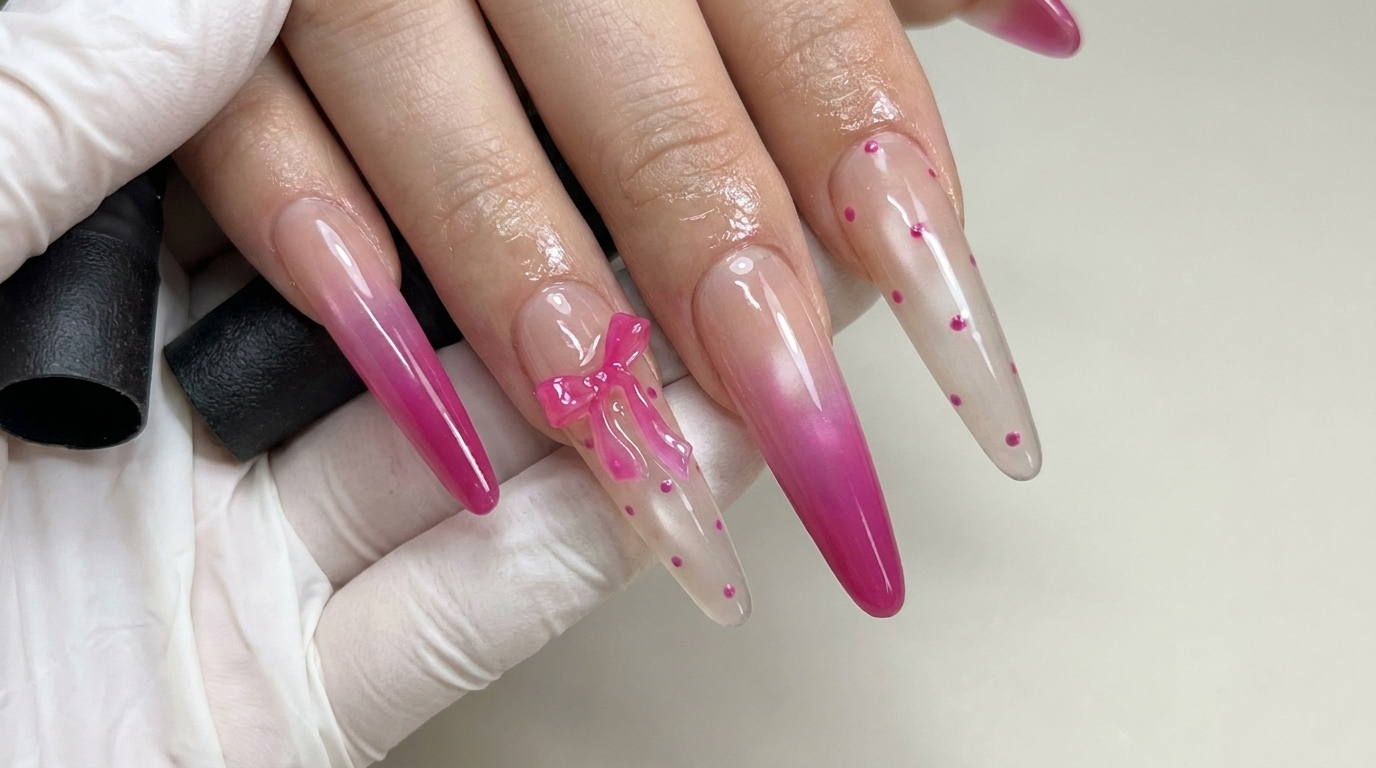
The combination of high-shine metallic chrome and delicate 3D elements is a major trend in modern nail art. This design perfectly balances an edgy, futuristic base with a touch of soft, feminine charm. Following this step-by-step technique, you can easily replicate this salon-quality look at home using your favorite sculpting gel and chrome powder.
Steps
- 1Apply nude base coat
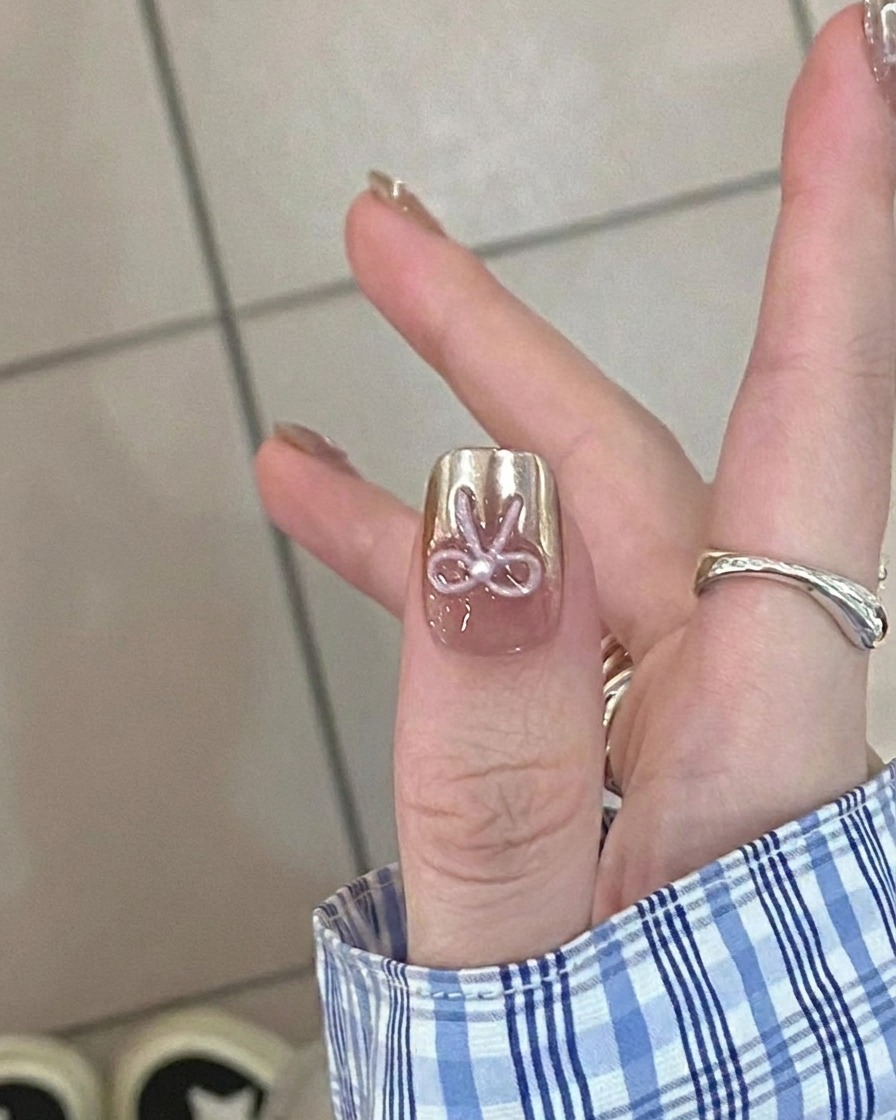
Apply a thin, even layer of nude base coat to the nail, ensuring you cover the surface without touching the cuticles. Cure the layer under your UV or LED lamp as per the product instructions to create a smooth foundation.
Tip: Thin applications prevent bubbles and ensure a smooth, long-lasting base for your nail art. - 2Apply and cure second base layer
Apply a second thin layer of nude base coat to build opacity and strengthen the foundation. Place your hand under the UV or LED lamp and cure fully according to your gel systems requirements to ensure a sturdy canvas.
Tip: Always ensure the nail is fully cured to prevent any shifting of the chrome powder in the next steps. - 3Apply no-wipe top coat
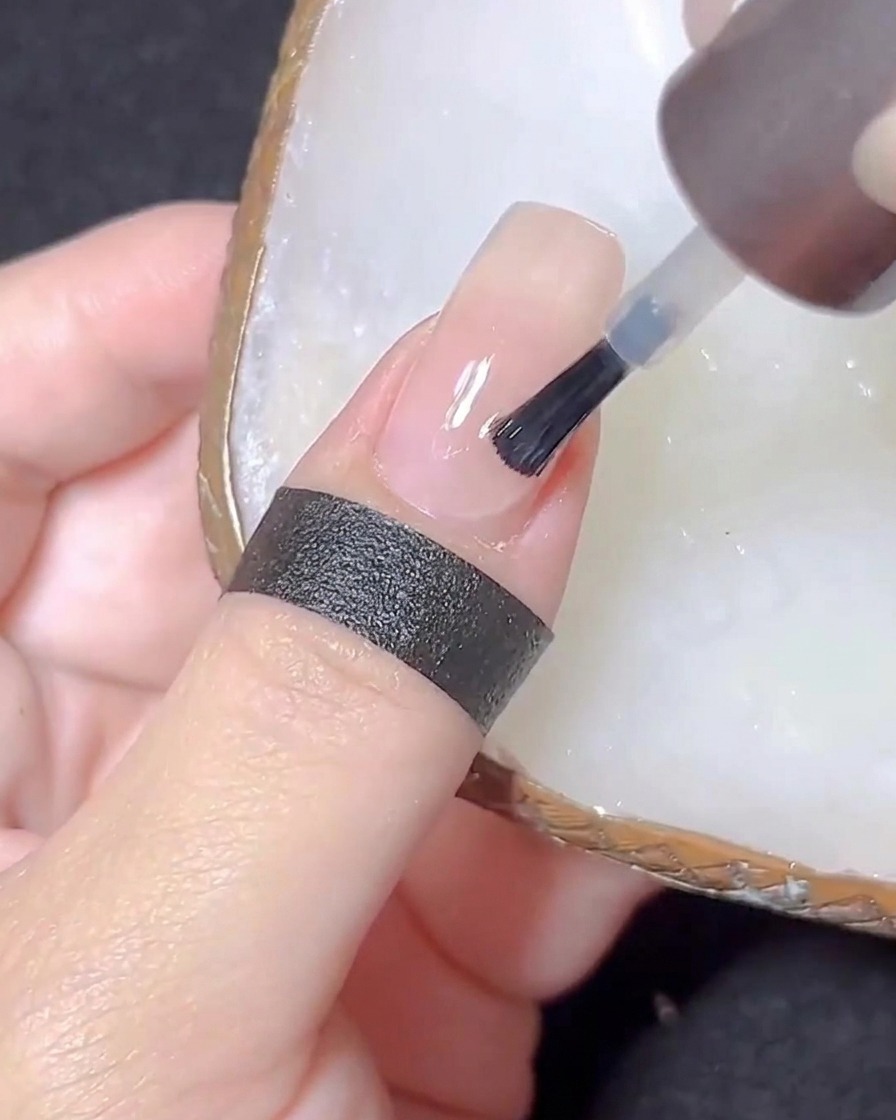
Apply a smooth, even layer of no-wipe top coat over your cured nude base color. Ensure you cap the free edge to provide a durable seal for the upcoming chrome powder application.
Tip: Applying the top coat evenly is crucial here, as any streaks or unevenness will show through the chrome powder. - 4Cure the top coat
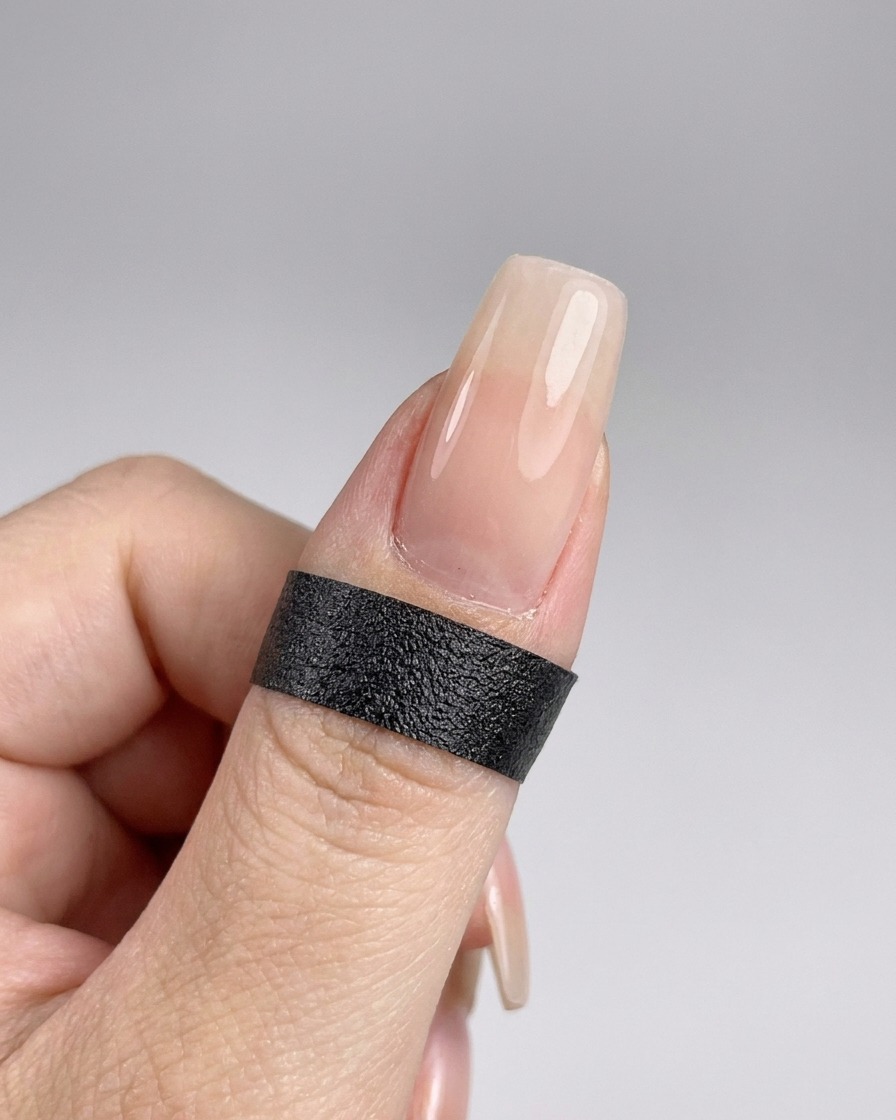
Place your hand into the UV or LED lamp and cure the top coat for 30 seconds. This step prepares the surface for the mirror chrome powder.
Tip: Ensure the nail is fully centered under the lamp to guarantee an even cure across the entire surface. - 5Apply mirror chrome powder
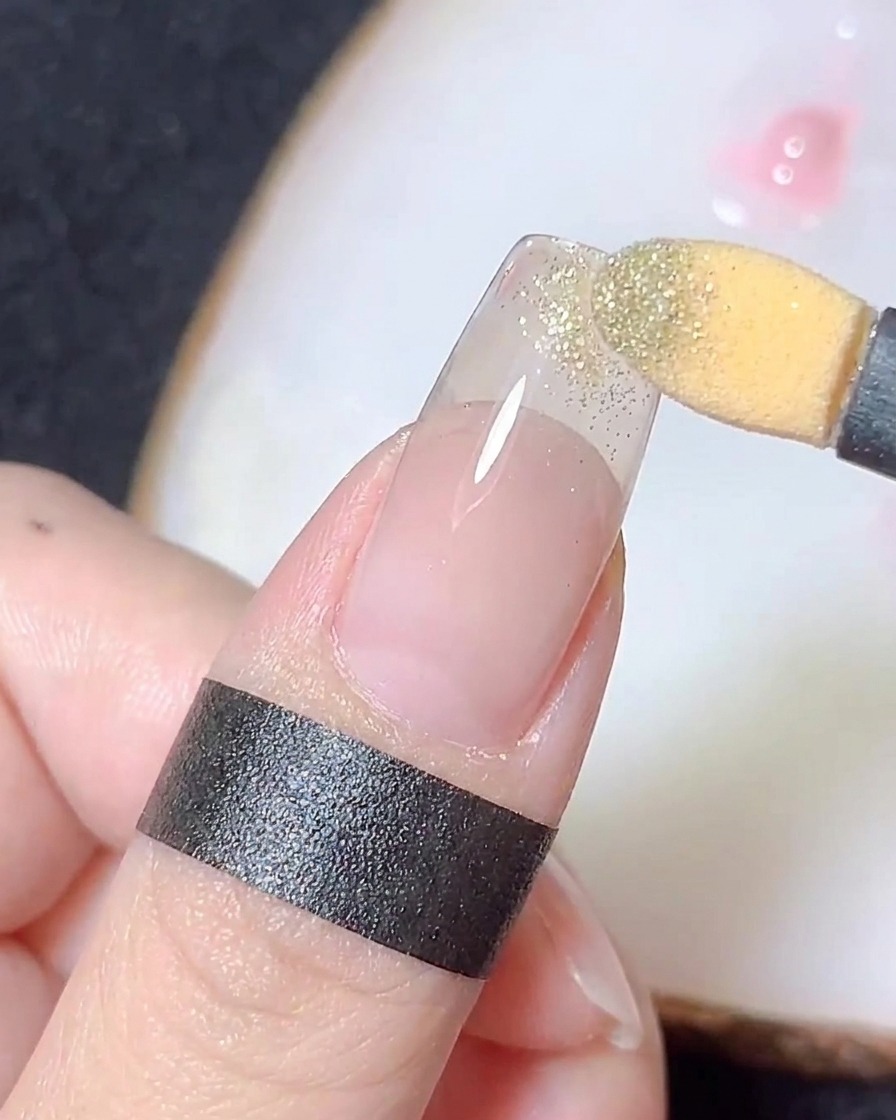
Using a sponge applicator, gently rub the mirror chrome powder onto the cured top coat. Focus on creating a gradient effect by layering more powder towards the tip of the nail.
Tip: Apply the powder with a light touch to build up the gradient smoothly without patchy spots. - 6Seal the chrome powder
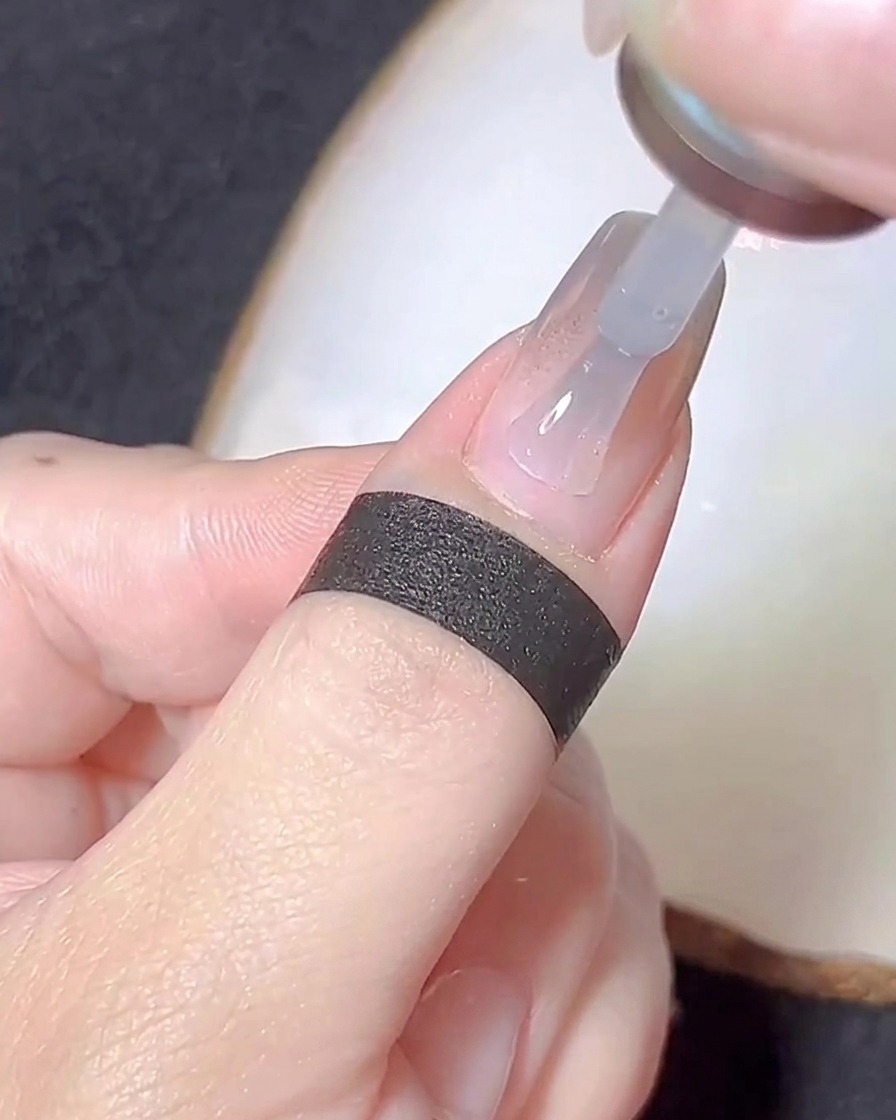
Apply a thin layer of base gel over the chrome-effect nail to seal the powder in place. This prevents the chrome from rubbing off or chipping prematurely.
Tip: Use a light hand when applying this layer to avoid dragging or smudging the delicate chrome finish. - 7Seal the chrome finish
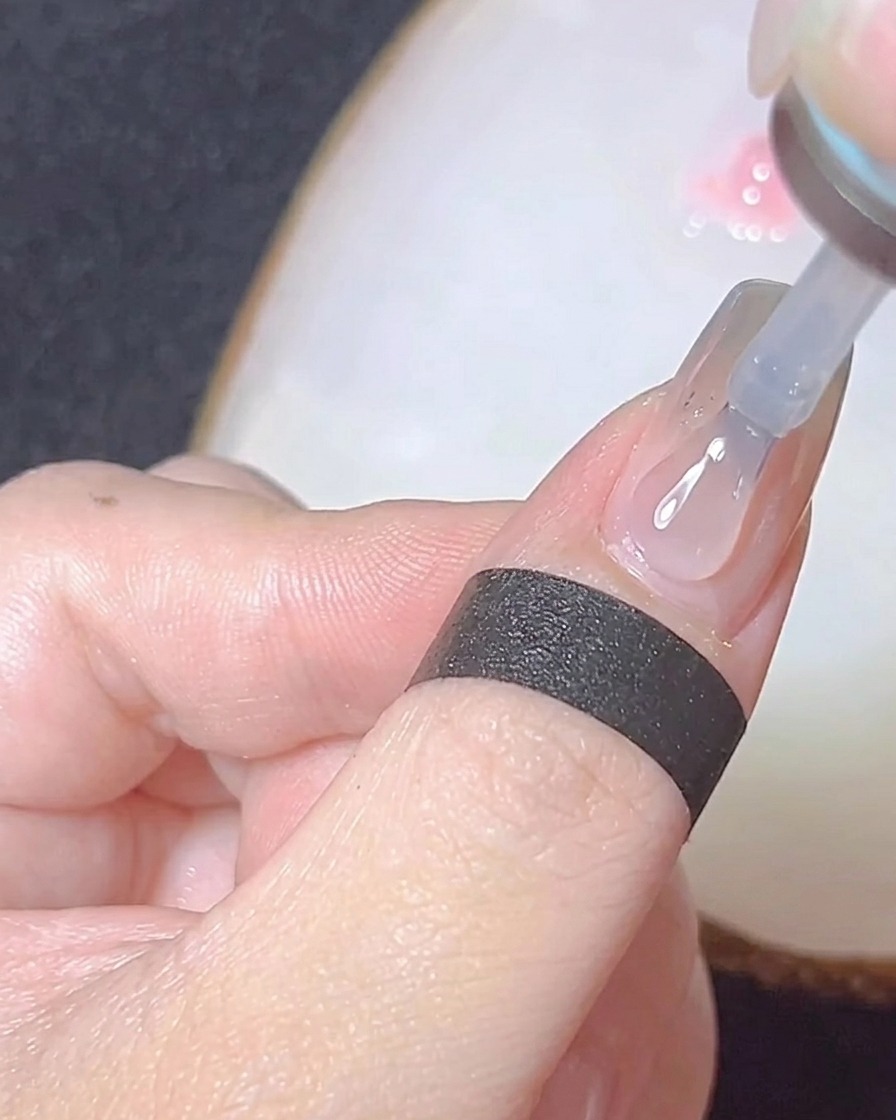
After burnishing the chrome powder, apply a thin, even layer of no-wipe top coat over the entire nail to protect the effect. Ensure you cap the free edge to prevent the chrome from rubbing off at the tips, then cure in your LED or UV lamp as directed.
Tip: Applying the top coat too thick can cause it to pool at the cuticles. Use a light hand and ensure a smooth, level surface before curing. - 8Prepare 3D sculpting gel
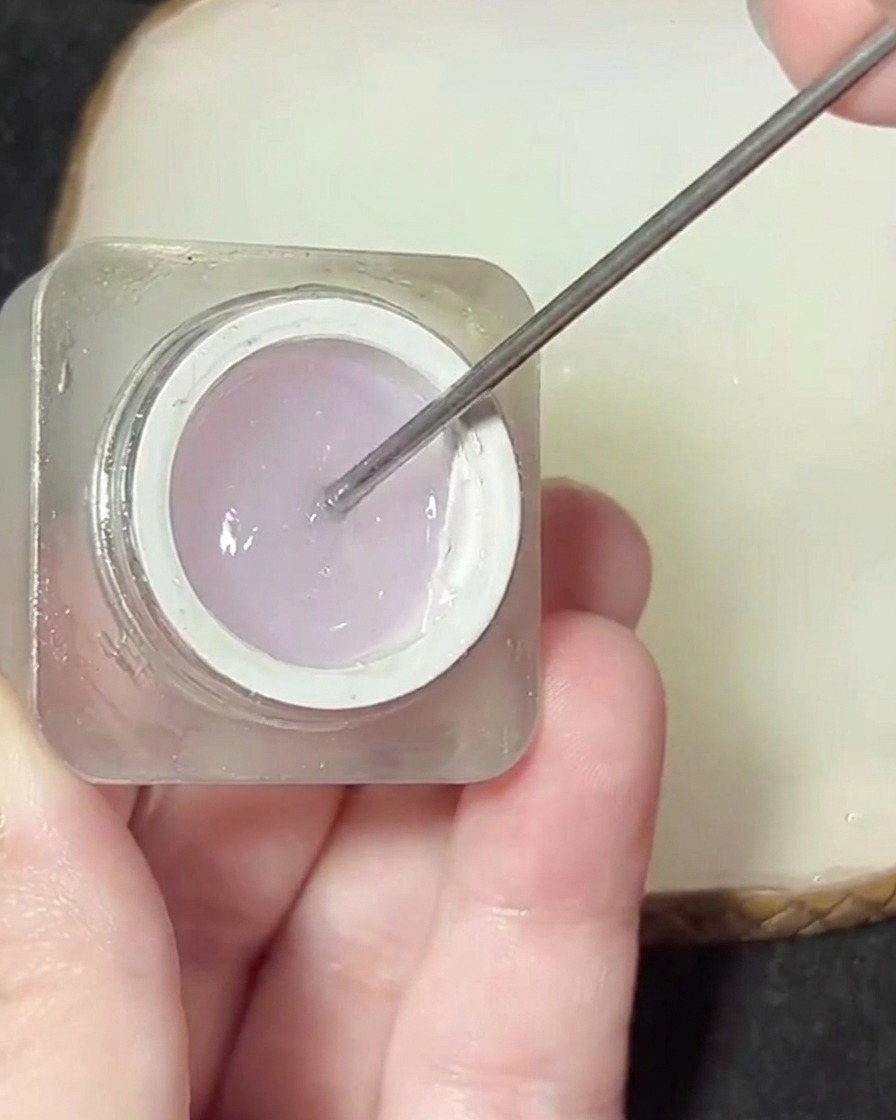
Dispense a small amount of clear 3D sculpting gel onto a clean mixing palette using a metal spatula. This keeps your main product jar clean and allows you to customize the gel with pigments.
Tip: Only take out the amount of gel you need to avoid waste, as it cannot be returned to the main container. - 9Mix custom 3D gel
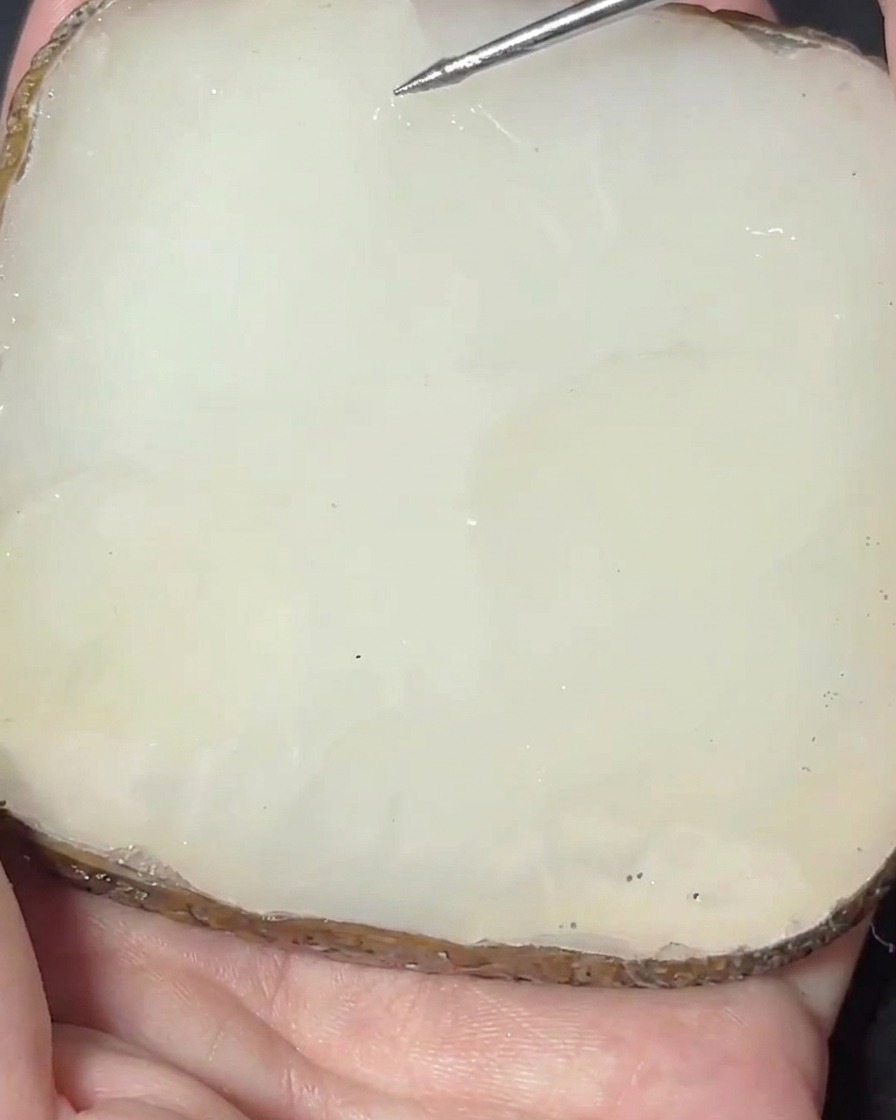
Add a small amount of pink pigment or colored gel to the clear sculpting gel on your palette. Use your spatula to blend them together thoroughly until you reach a uniform, semi-translucent pink color.
Tip: Mix slowly to avoid creating too many air bubbles in the gel, which can weaken the final 3D design. - 10Outline the butterfly bow
Using a fine liner brush, pick up a small bead of your custom pink 3D gel. Carefully draw the outline of the butterfly bow shape directly onto the cured nail surface. Work slowly to maintain clean, crisp lines to establish your guide before adding volume.
Tip: Start with a light outline to map out the placement before building up the volume with more gel. - 11Cure the 3D bow outline
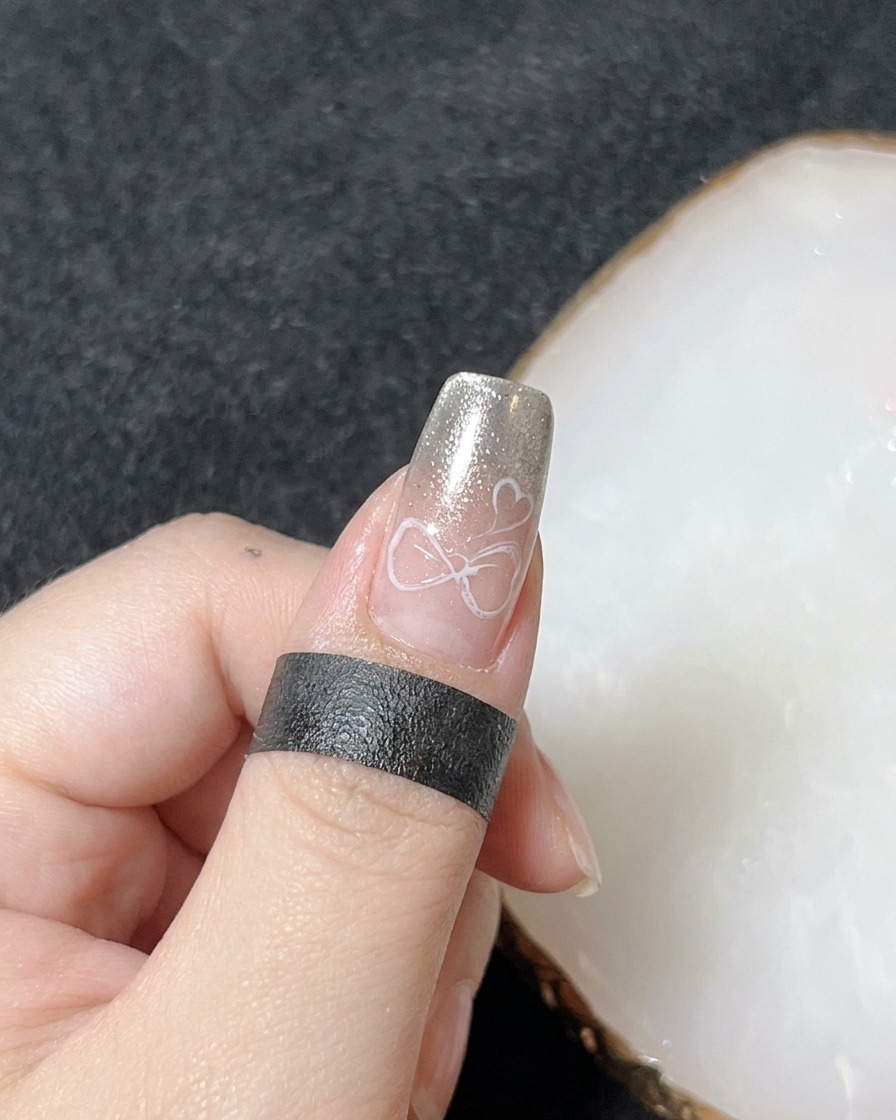
Once the bow is outlined with the 3D sculpting gel, place your hand carefully under the UV or LED lamp. Cure for the recommended time to ensure the 3D structure is set and firm before adding more volume.
Tip: Keep your hand flat inside the lamp to ensure the gel cures evenly without sagging. - 12Add volume to the 3D bow
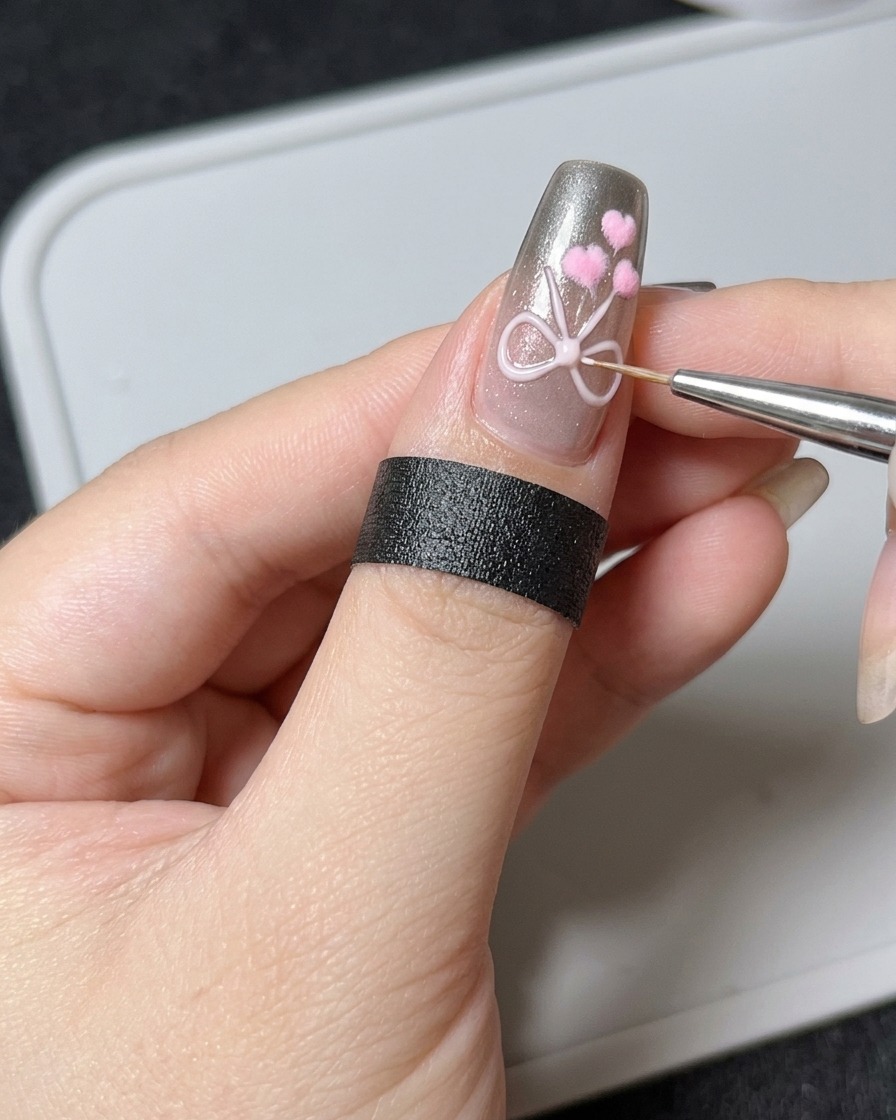
Using a fine liner brush, carefully layer additional 3D sculpting gel over your initial outline. Follow the original lines to build up the thickness and create a more defined, voluminous 3D effect.
Tip: Work in small sections to maintain control over the gel and prevent it from running off the nail. - 13Place the center pearl
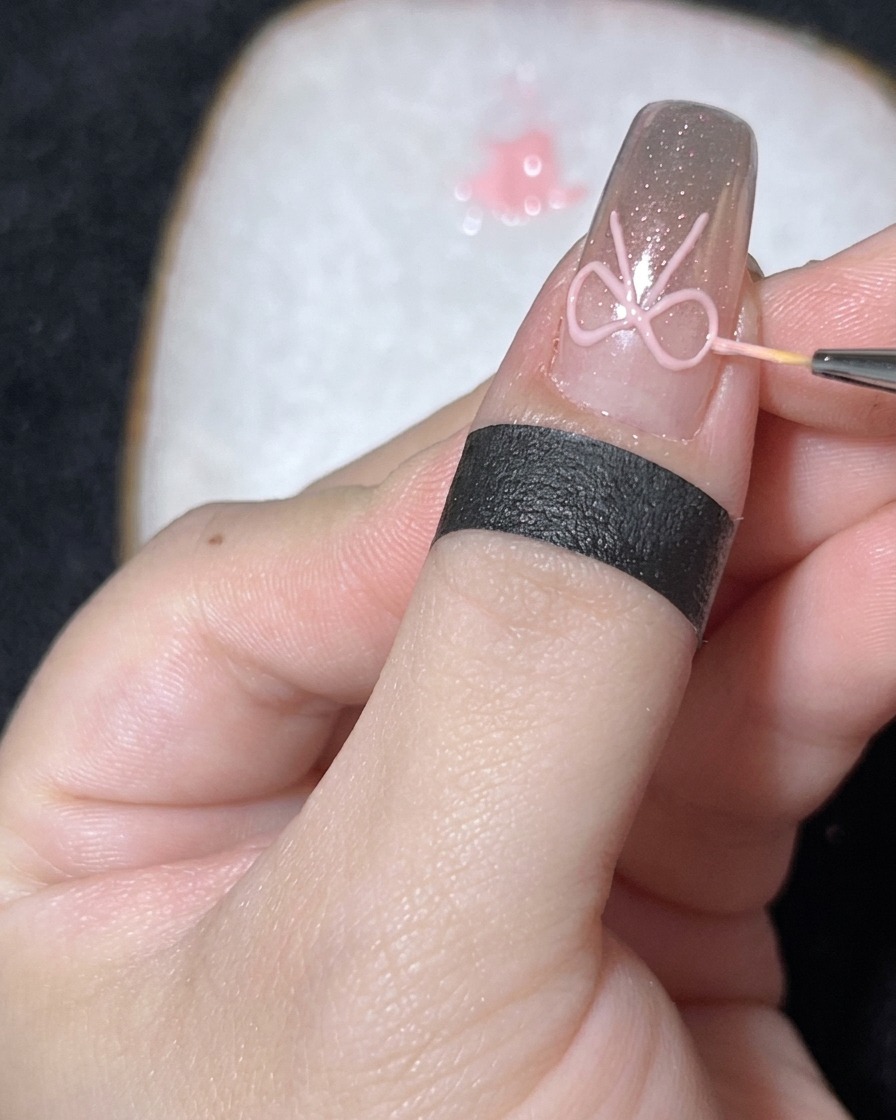
Pick up a small pearl using the damp tip of your fine liner brush. Carefully place it right into the center of your 3D gel bow while the gel is still tacky, or use a tiny dot of fresh gel as adhesive, then cure to secure it in place.
Tip: Use a dotting tool or the tip of your brush to nudge the pearl into the perfect central position before curing.