Heart Holy Light Cat Eye Nails — Fairy-Inspired Step-by-Step Tutorial
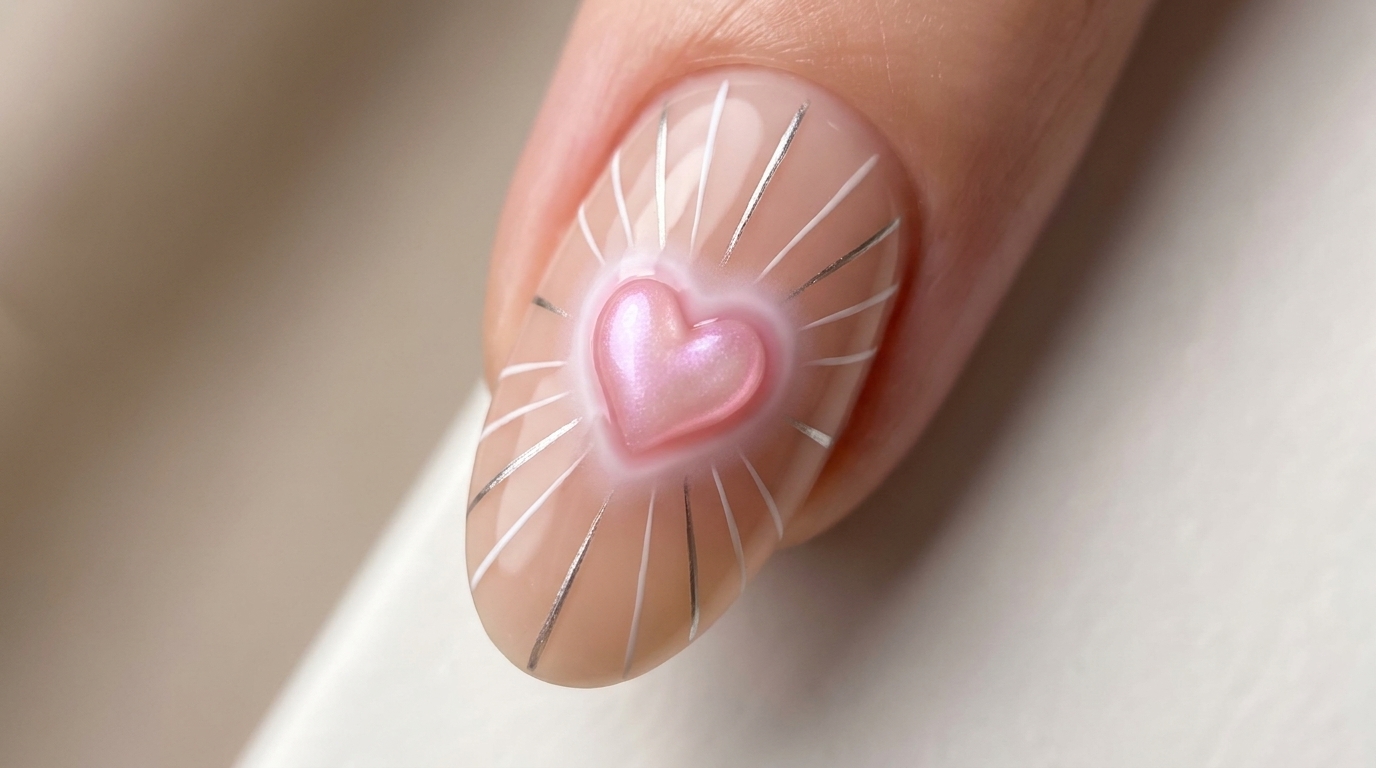
Create an enchanting fairy-inspired manicure featuring a dimensional pink heart and radiating metallic light rays using cat eye gel and opal foil.
This ethereal design combines the trendy magnetism of cat eye gel with delicate, fairy-like linework to create a breathtaking heart motif. By layering polarized effects and building a dimensional center, you can achieve a sophisticated holy light aesthetic that appears to glow from within.
Steps
- 1Apply neutral base
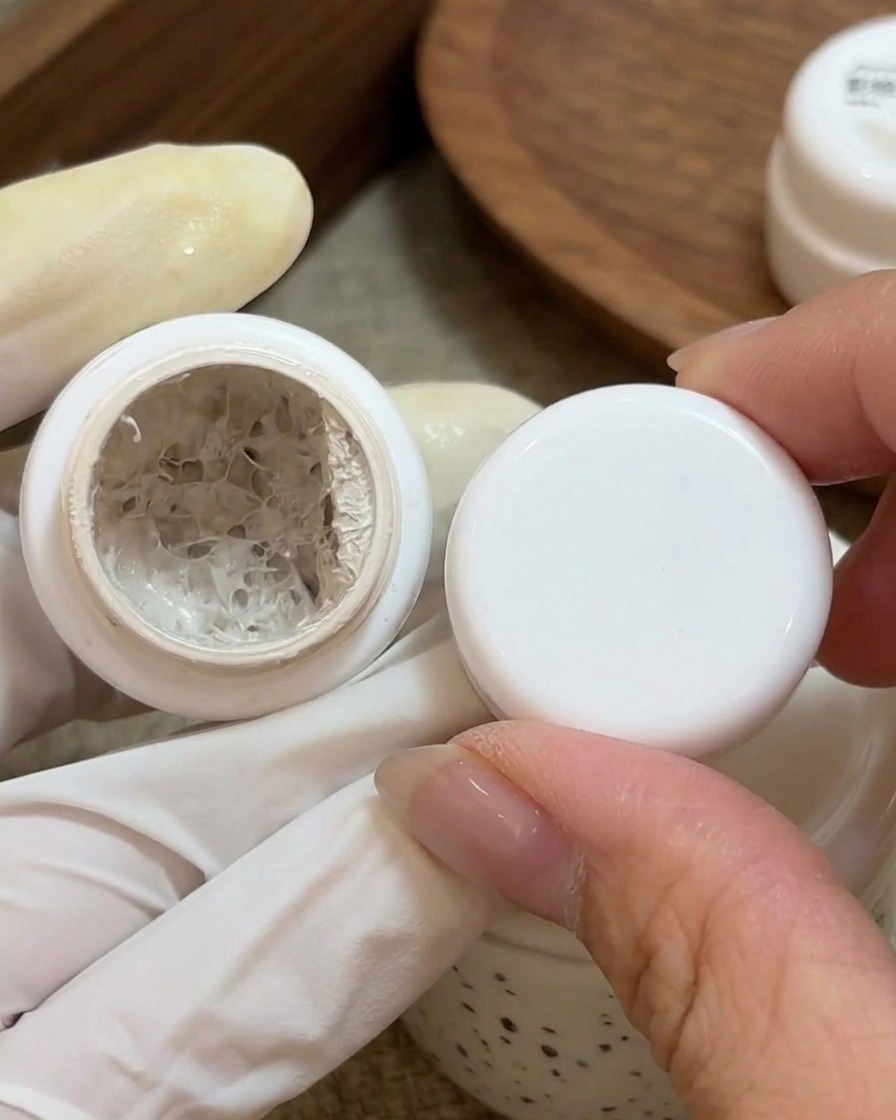
Apply a thin layer of soy milk white painting gel to the base of the nail, carefully covering the oil line. This creates a solid, neutral foundation that helps the magnetic particles in the subsequent layers pop.
Tip: Keep the layer thin to ensure it cures properly and provides a smooth base. - 2Apply cat-eye gel

Apply a full coat of Starry Cat Eye number 1 gel over the entire nail surface, covering the previously applied white base. Ensure even coverage for a consistent effect.
Tip: Apply the gel steadily to avoid streaks, keeping it even across the nail. - 3Activate the cat eye effect
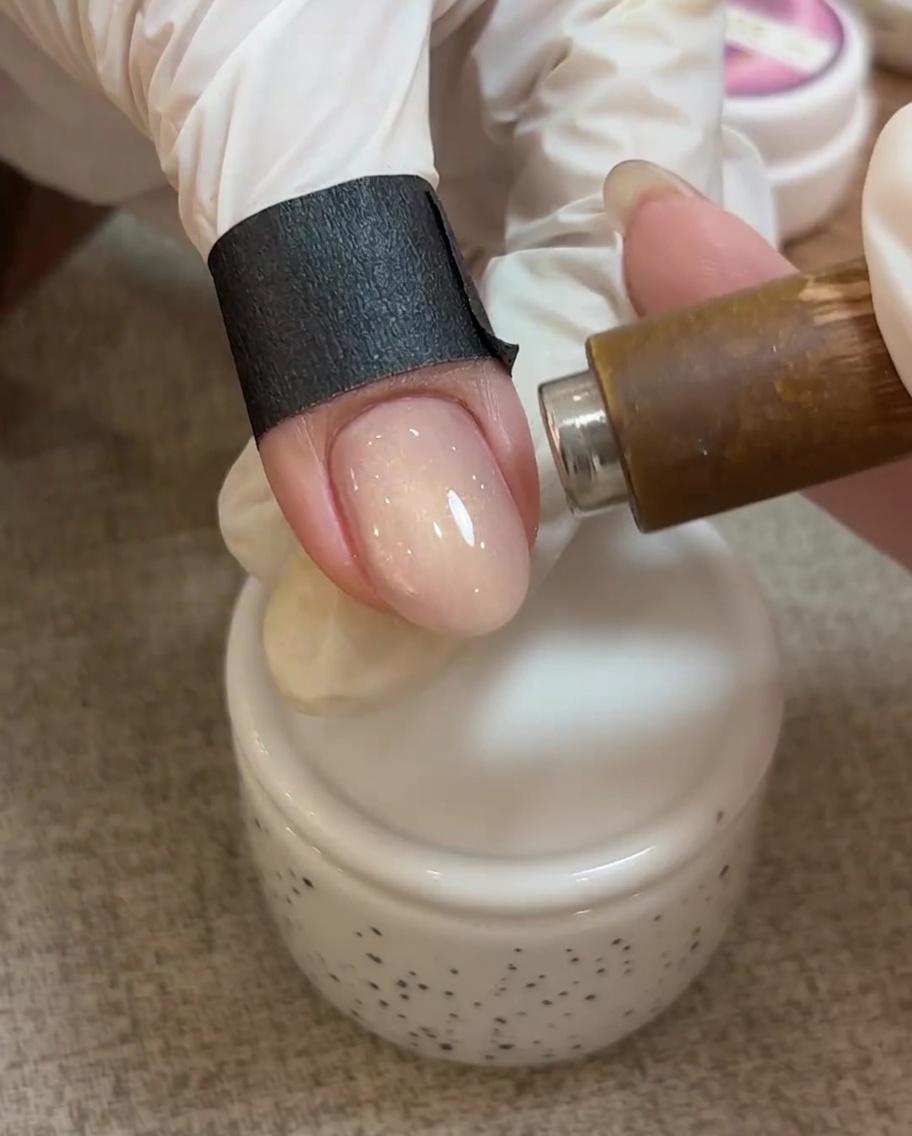
Hold the magnet over the uncured Starry Cat Eye number 1 gel. The magnetic particles will shift within the gel, creating a glowing light effect. Continue to hold the magnet steady until you achieve the desired intensity of the cat eye shimmer.
Tip: For the best result, keep the magnet close to the nail surface without touching it to avoid smudging the wet gel. - 4Position the cat eye glow
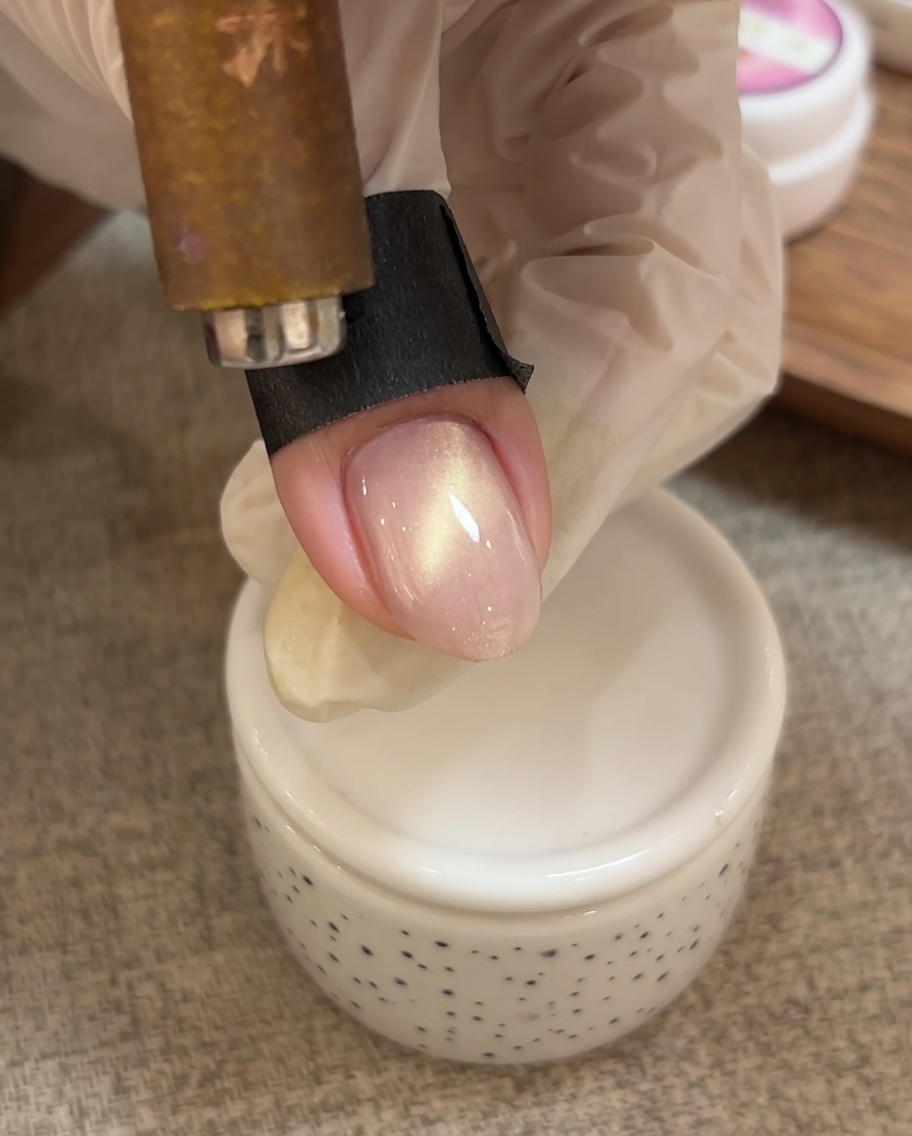
With the magnet still held near the nail, carefully guide the magnetic particles toward the tip of the nail. This creates a concentrated band of light at the free edge, which will be used to form the base of the French-style design.
Tip: Move the magnet slowly to ensure the cat eye particles are pulled smoothly rather than clumped. - 5Refine the French curve
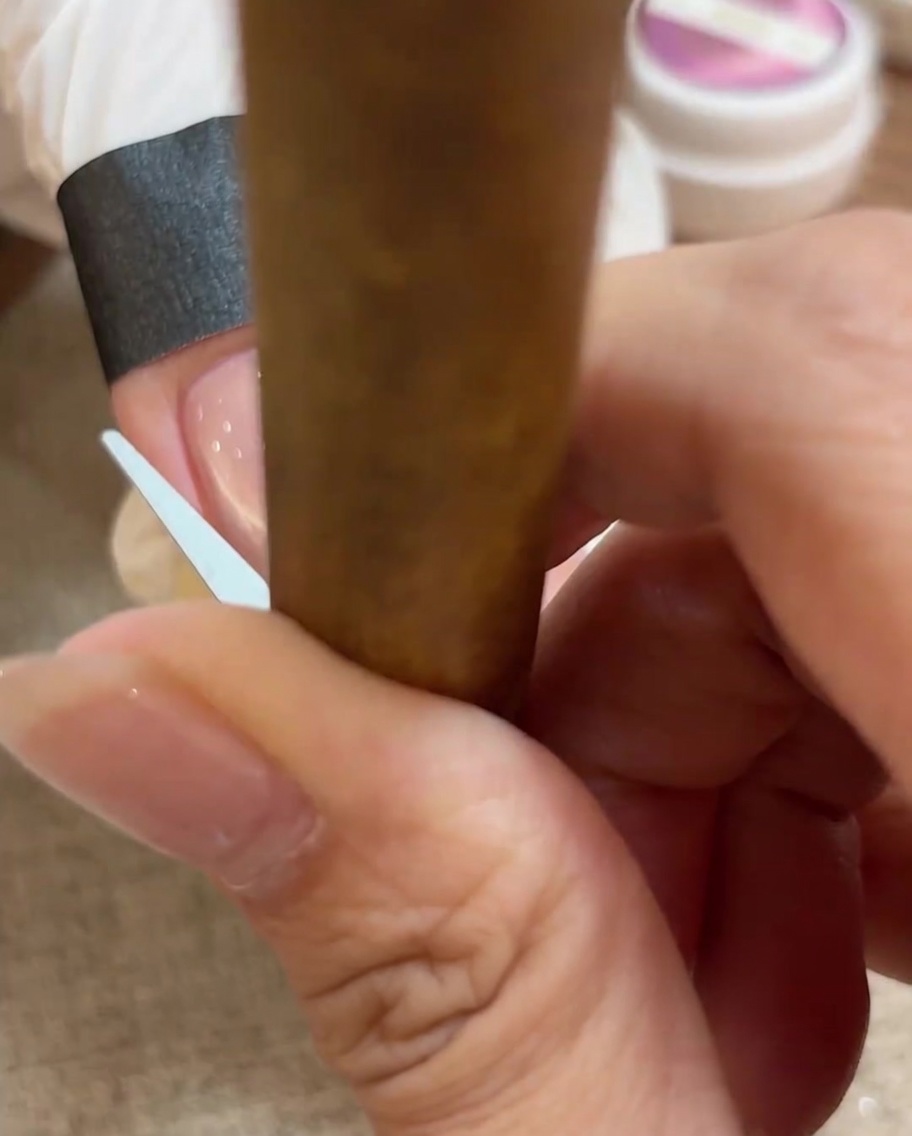
Using a fine liner brush, gently manipulate the concentrated cat eye light into a smooth, curved French tip shape. This refines the look, creating a crisp, bright arc across the tip of the nail before curing.
Tip: Keep a steady hand and use a clean brush to sharpen the curve for a professional-looking French manicure line. - 6Place the heart detail
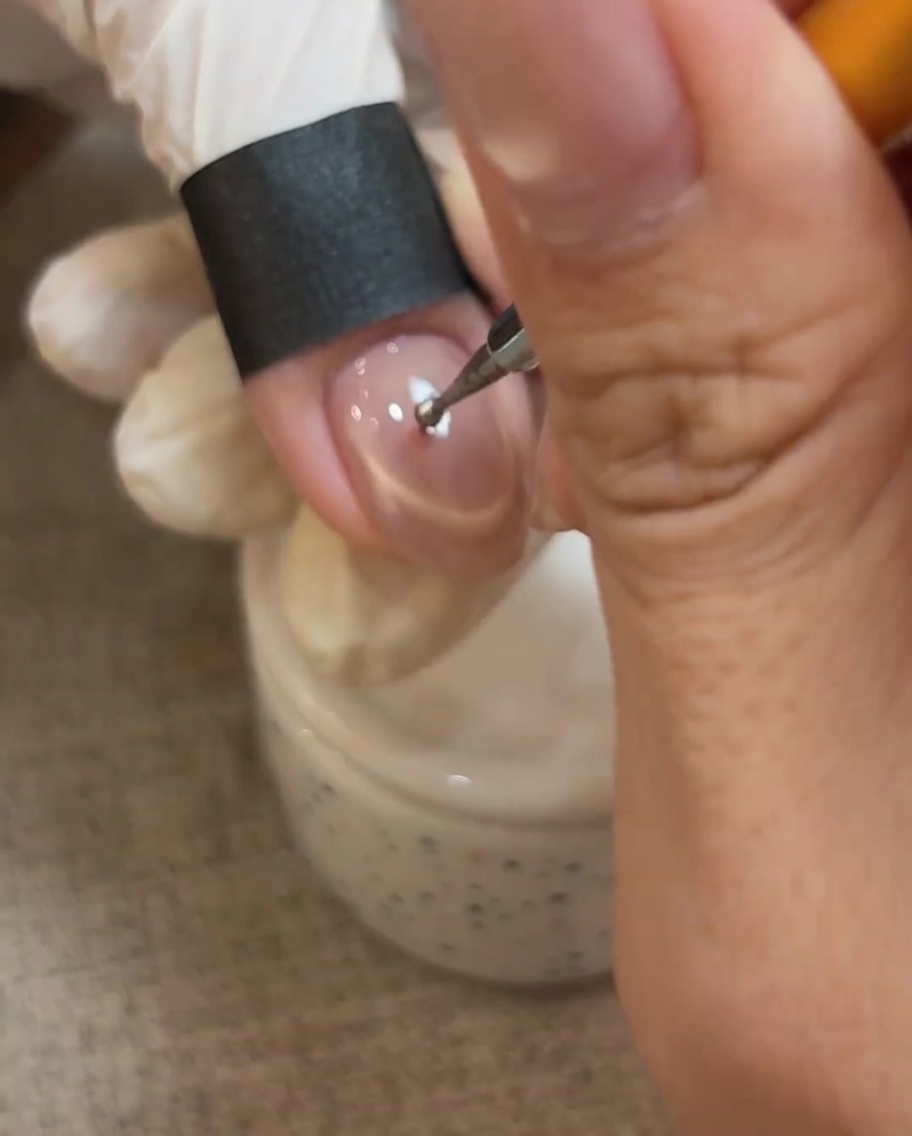
Using a dotting pen, place a small, precise drop of Starry Cat Eye number 3 gel in the center of the nail. This will serve as the starting point for drawing the heart design.
Tip: Use only a small amount of gel to prevent the heart from becoming too thick or overflowing its intended shape. - 7Draw the heart design
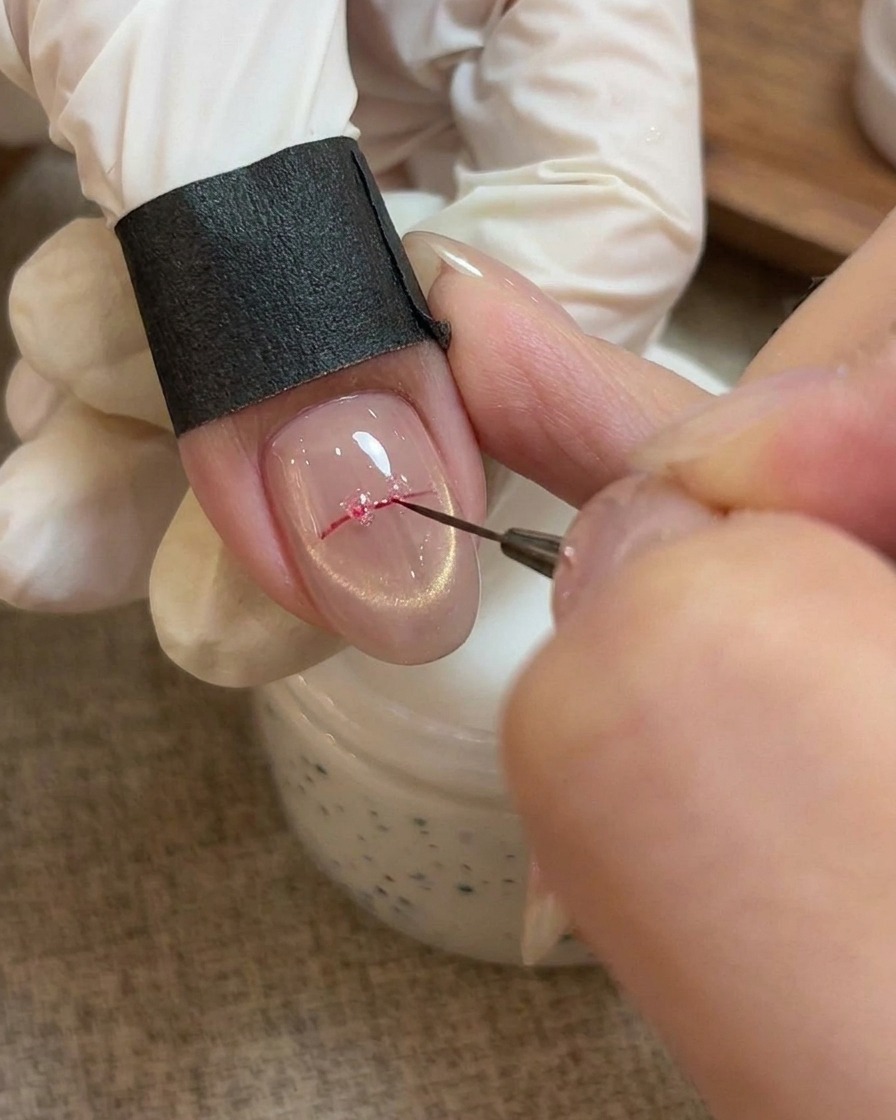
Using a fine liner brush and pink gel, carefully outline and fill in a heart shape on the center of the nail. Use a dotting tool if necessary to set the initial point before refining the shape.
Tip: Use light pressure with the liner brush to create clean, sharp edges for the heart. - 8Activate cat-eye effect
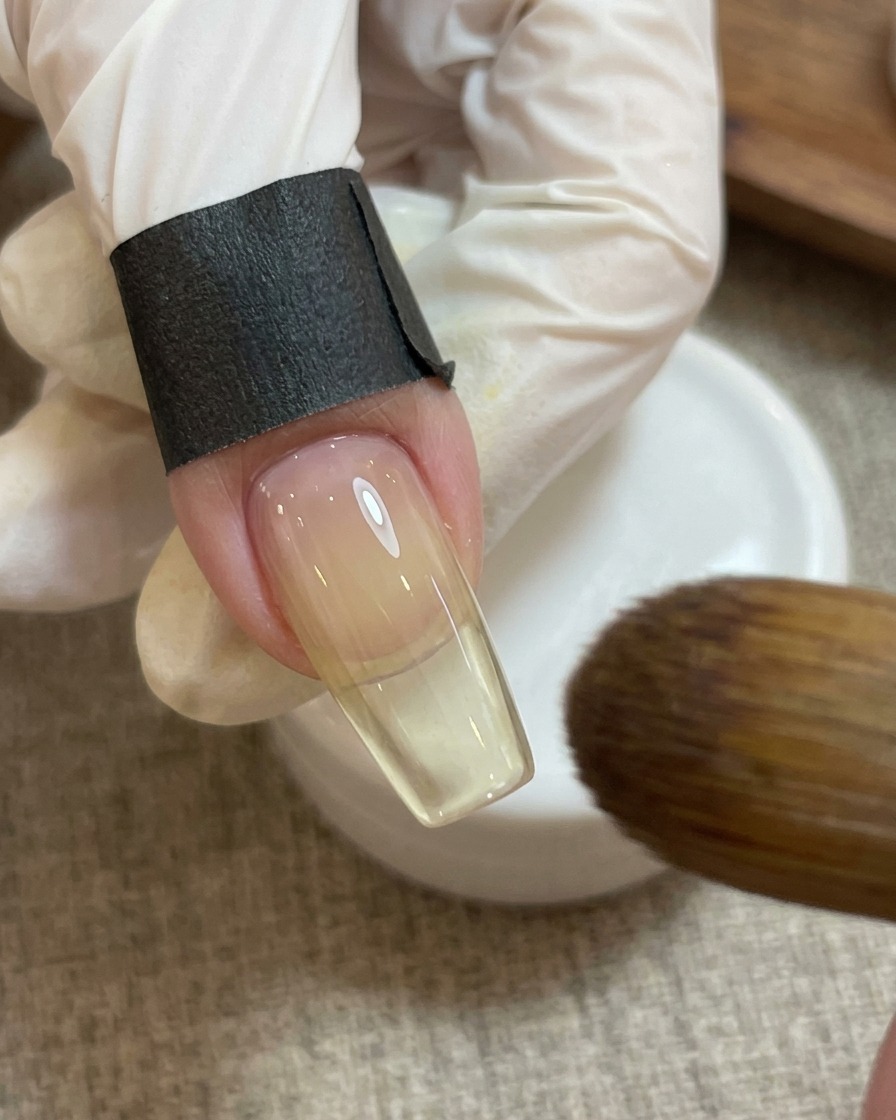
Hold a magnet near the nail to activate the magnetic particles within the pink heart shape. Move the magnet to achieve the desired intensity and positioning of the shimmer before curing.
Tip: Move the magnet slowly to control the direction and movement of the shimmer particles. - 9Apply opal foil
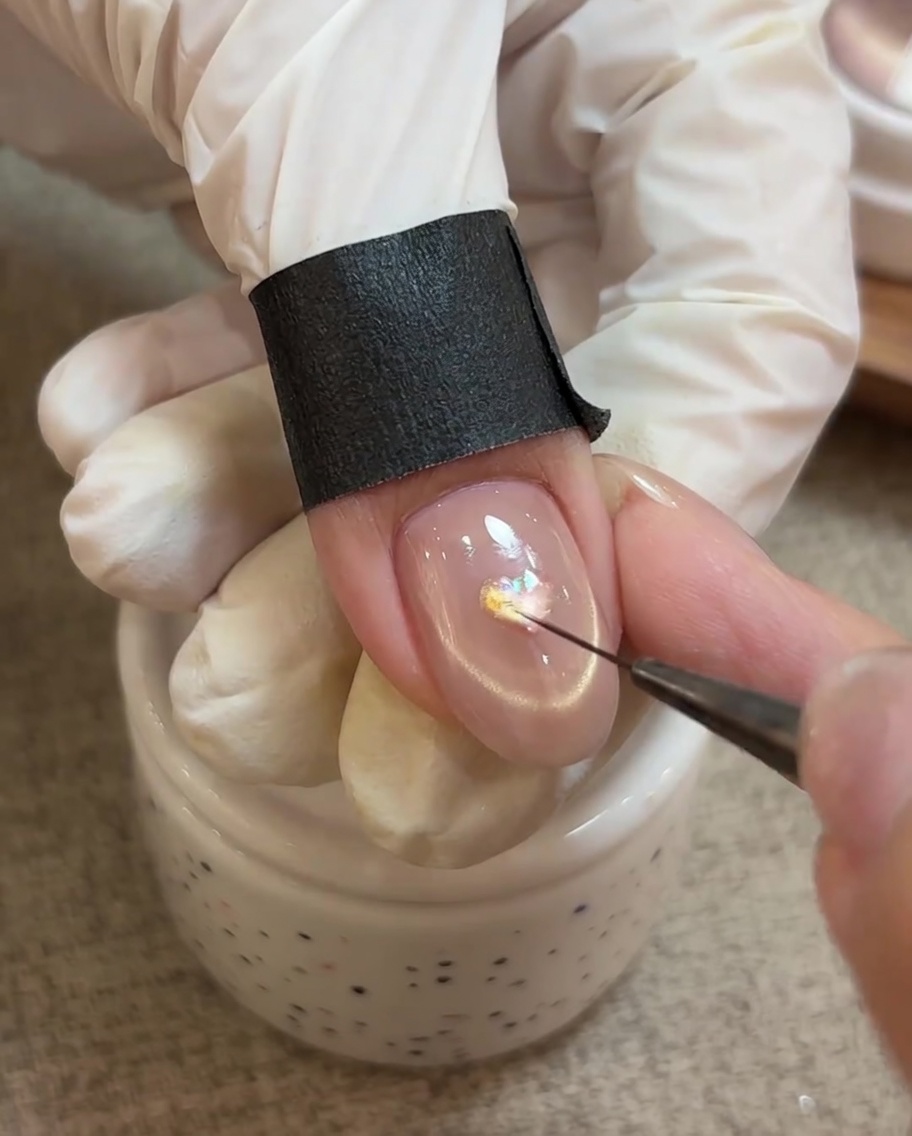
Apply a small amount of floating gel to the center of the heart, then gently press a piece of opal foil onto it. This adds a polarized, multi-dimensional light effect to the heart.
Tip: Use a pair of tweezers to place the foil precisely for a clean, professional look. - 10Add fine line details
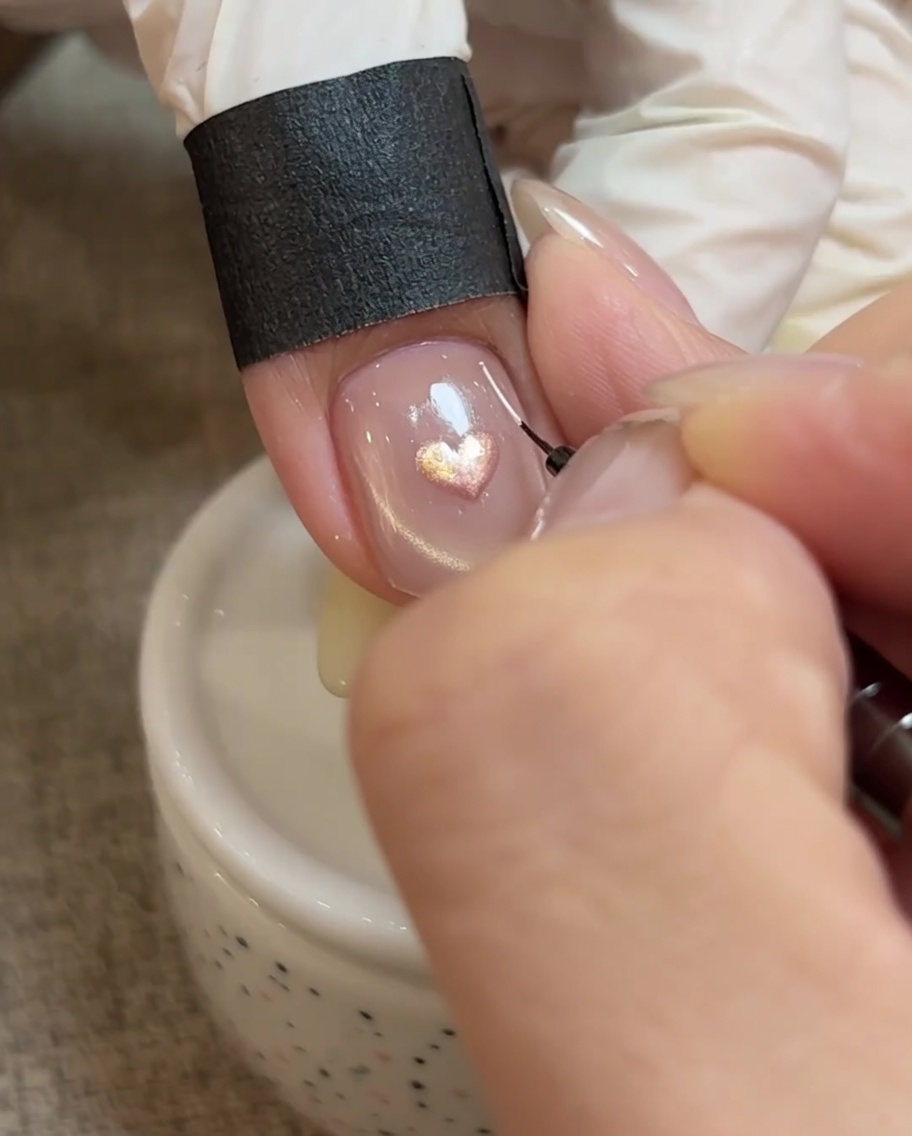
Using a thin liner brush and white gel, carefully draw delicate, radiating lines extending from the heart toward the edges of the nail. This adds detail and frames the heart design.
Tip: Keep the lines thin and varied in length for a more natural, aesthetic finish. - 11Detail with silver lines

Using a thin liner brush and silver gel polish, carefully draw thin lines within the gaps between your previously painted white lines. This adds metallic detail and depth to the heart design, enhancing the overall fairy-like aesthetic.
Tip: Keep your touch light to ensure the silver lines remain thin and precise, contrasting well with the white. - 12Smooth and seal
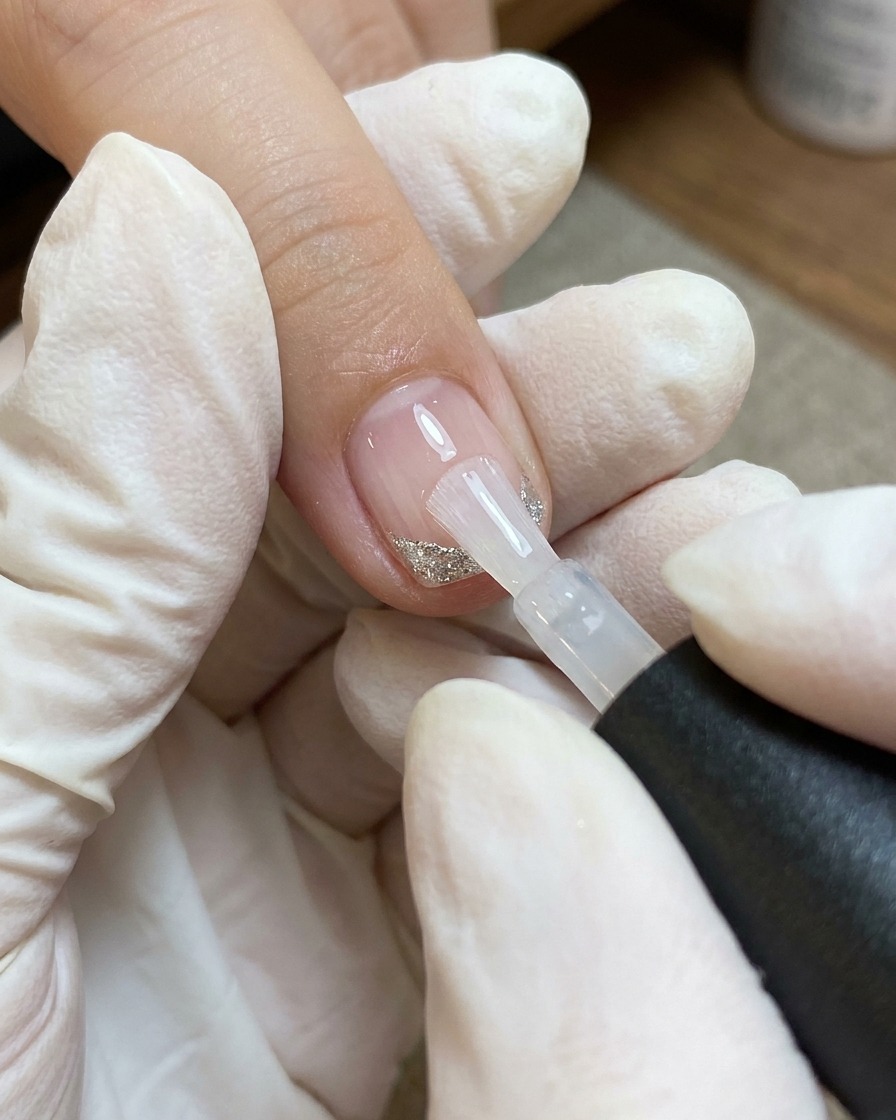
Apply a thin, even layer of top coat over the entire nail to smooth out any texture from the nail art and ensure the surface is level. This seals in the delicate linework and prepares the nail for the final dimensional heart application.
Tip: Ensure the top coat covers the edges of the nail art design to prevent any snagging. - 13Add dimensional top coat
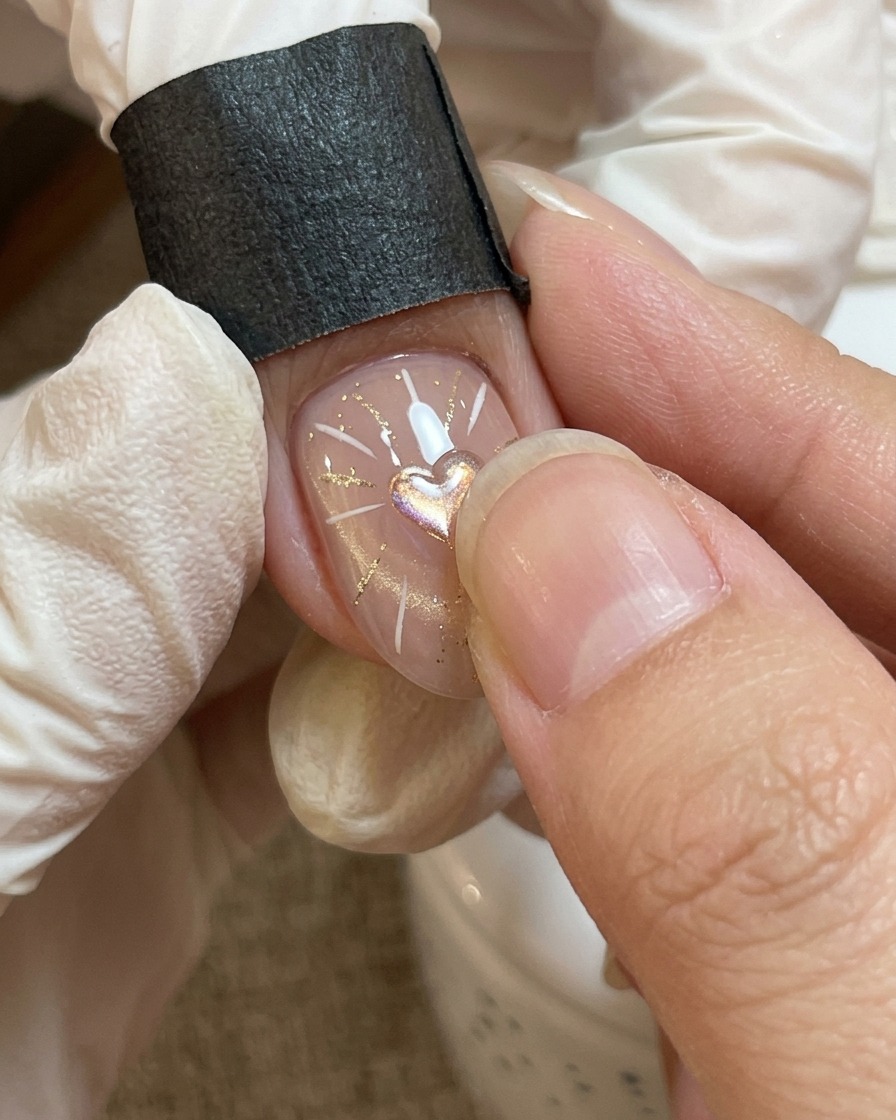
Use a thicker, hard top coat to build up volume directly over the central heart design. This creates a raised, three-dimensional effect that makes the polarized light within the heart stand out, completing the holy light look.
Tip: Apply the hard gel gently, allowing it to self-level slightly into a dome shape before curing.