Gold Chrome Flame Nail Art — Edgy Metallic Tutorial
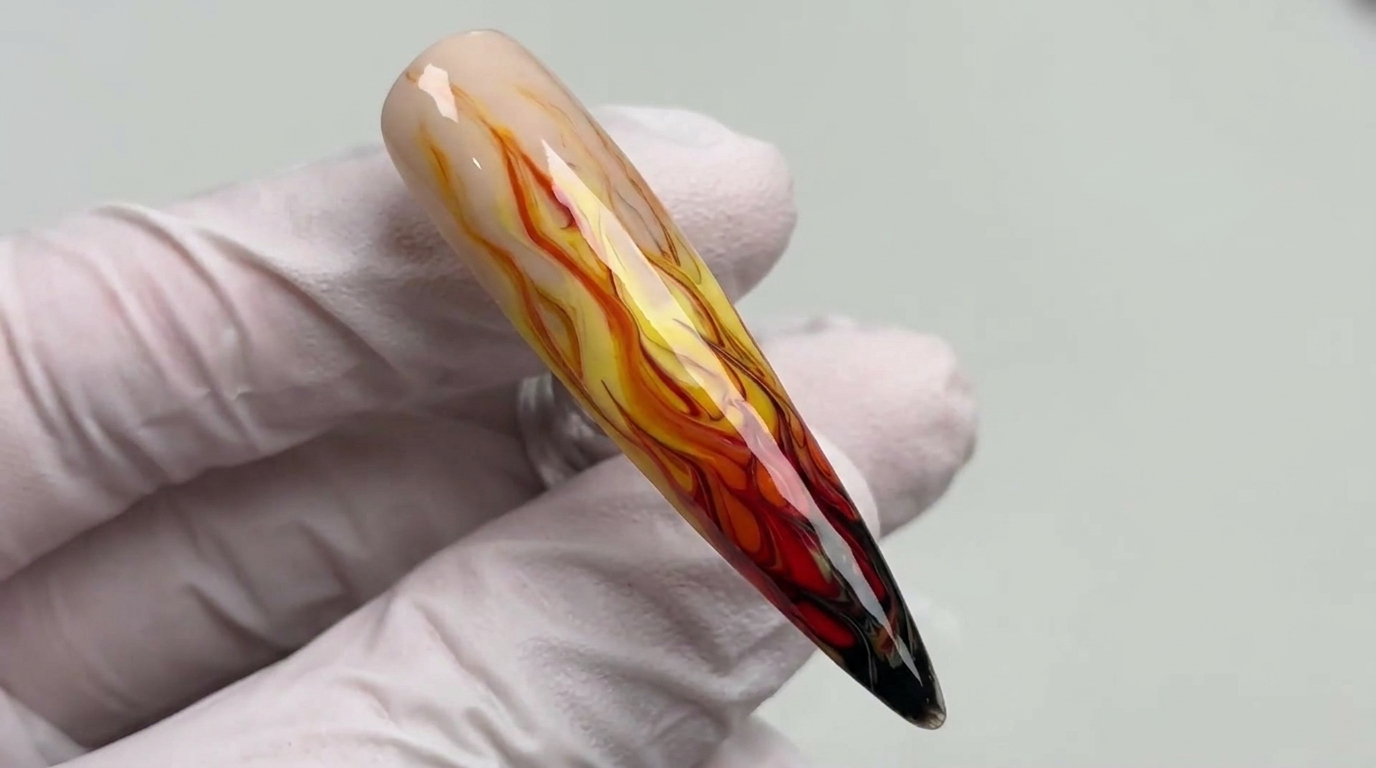
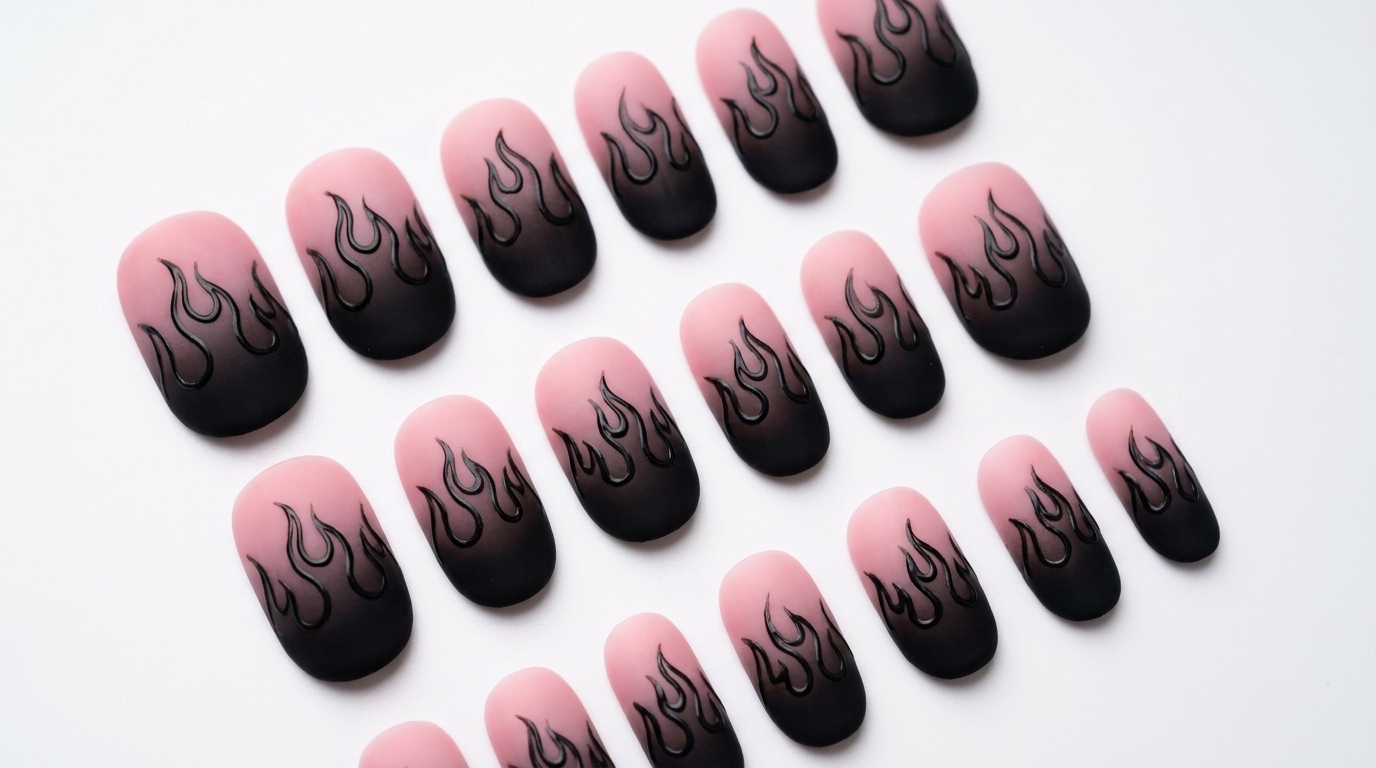
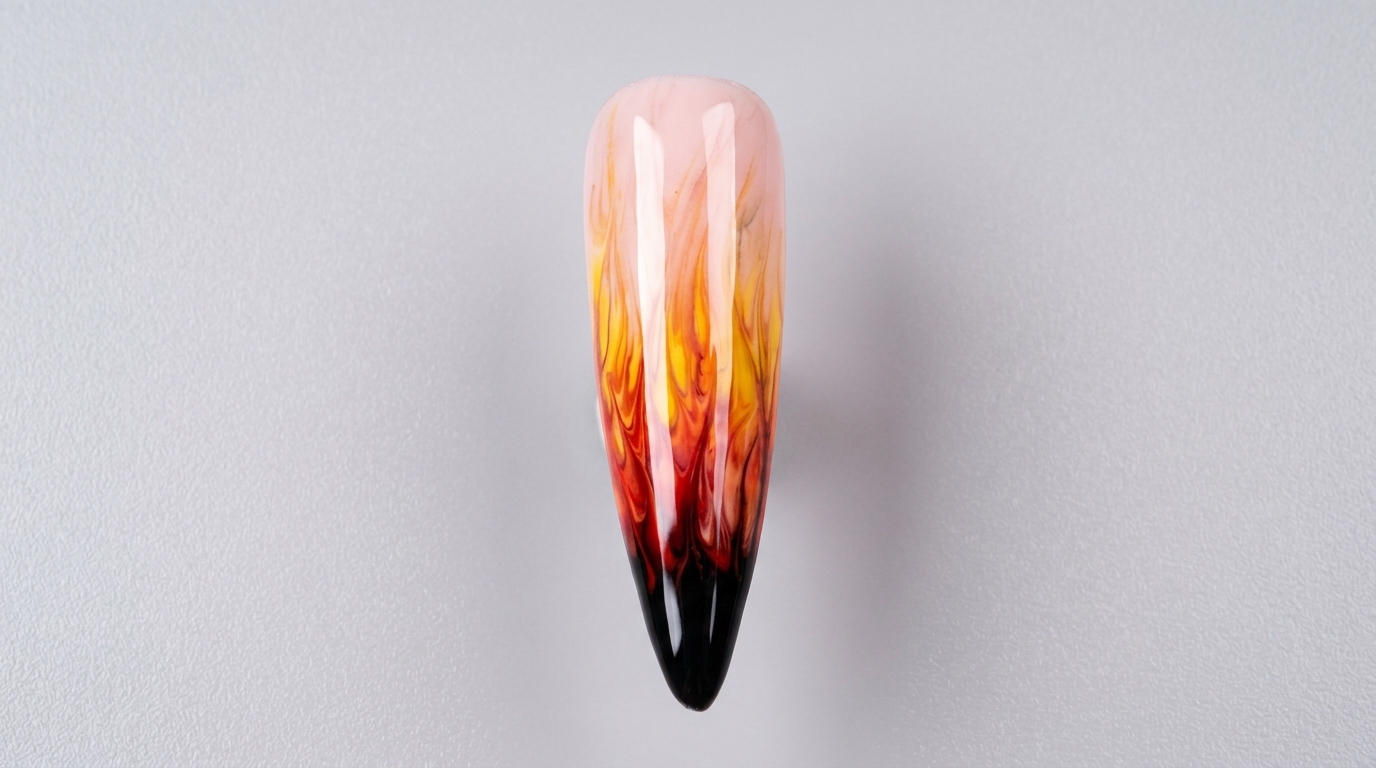
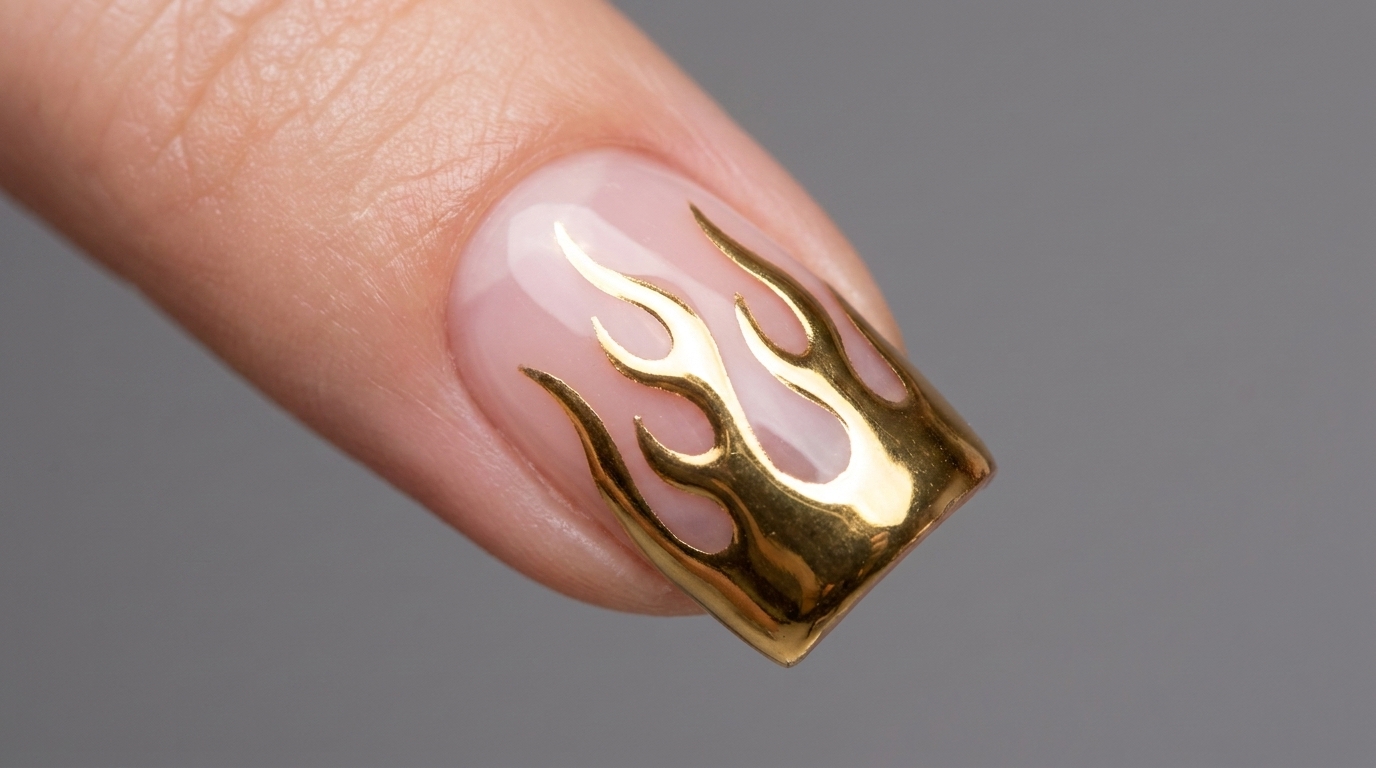
Elevate your manicure with this striking gold chrome flame design. This tutorial guides you through achieving a perfect mirror finish over a soft pink base.
Flame nail art has evolved from a nostalgic trend into a sophisticated staple for those wanting to add an edgy, metallic touch to their manicure. By pairing a sheer, minimalist base with high-impact gold chrome, you can create a look that is both modern and incredibly eye-catching. This technique focuses on precision detail work and proper layering to ensure your chrome application is flawless and long-lasting.
Steps
- 1Apply first base coat
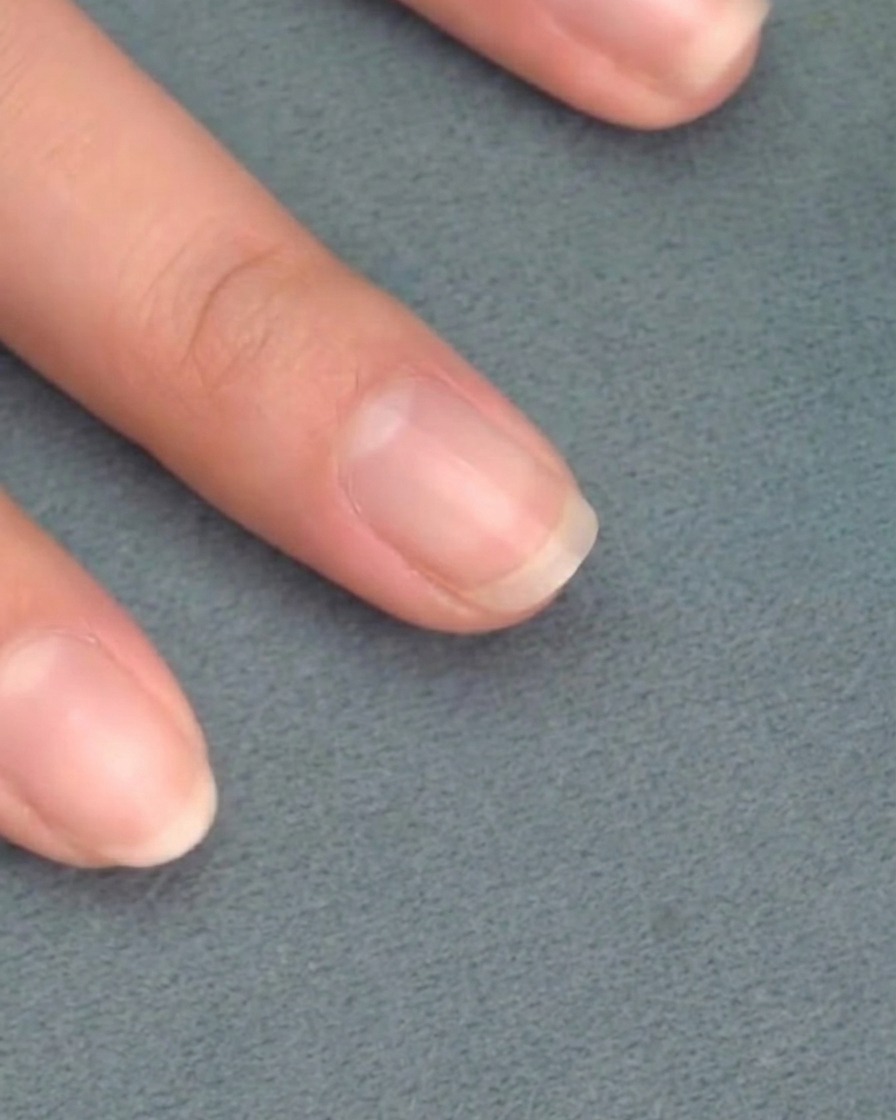
Apply a thin, even layer of sheer pink base gel to your prepped nail. Start from the cuticle area and pull the brush toward the free edge, ensuring smooth coverage. Be careful not to flood the cuticles to ensure a clean result.
Tip: Apply in thin layers to avoid pooling and ensure even curing. - 2Apply second base coat
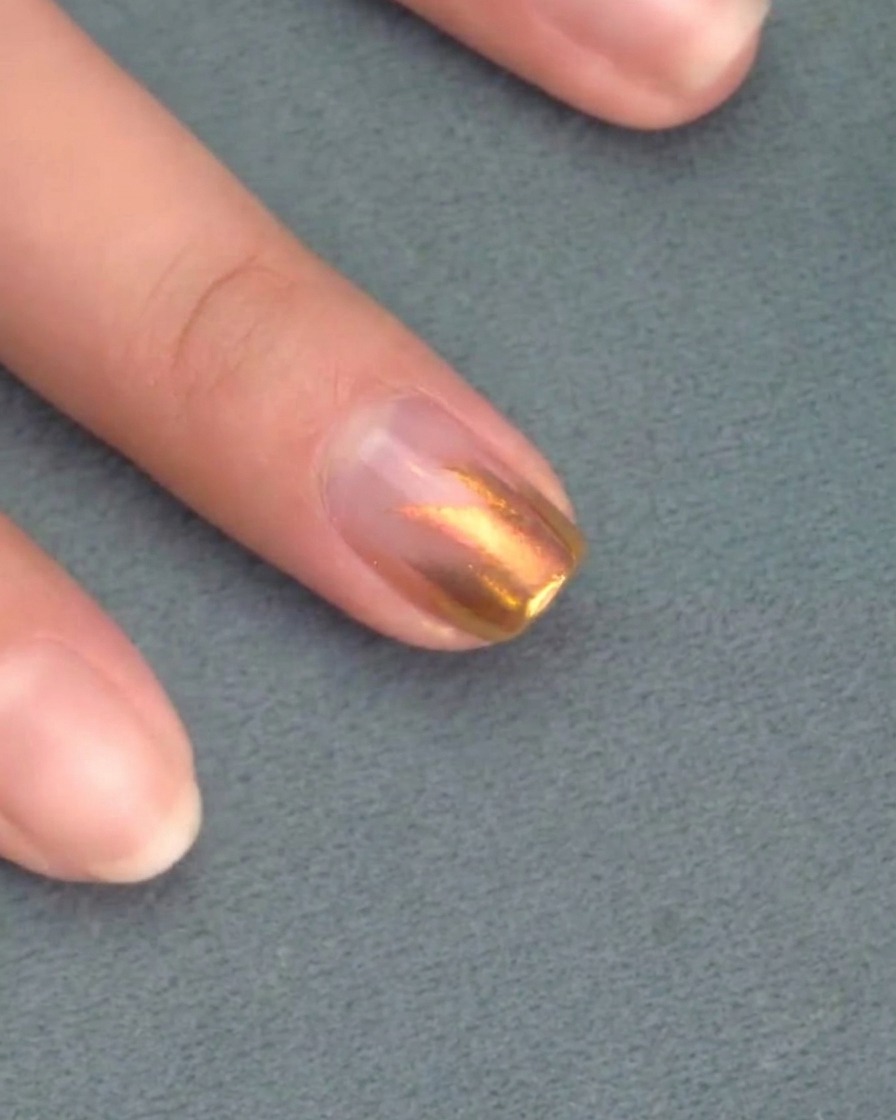
Apply a second layer of the sheer pink base gel to deepen the color and ensure full, streak-free coverage. Capping the free edge with this layer will help improve the longevity of the manicure.
Tip: Check the sides of the nail for any gaps or missed spots before curing. - 3Cure the base coat
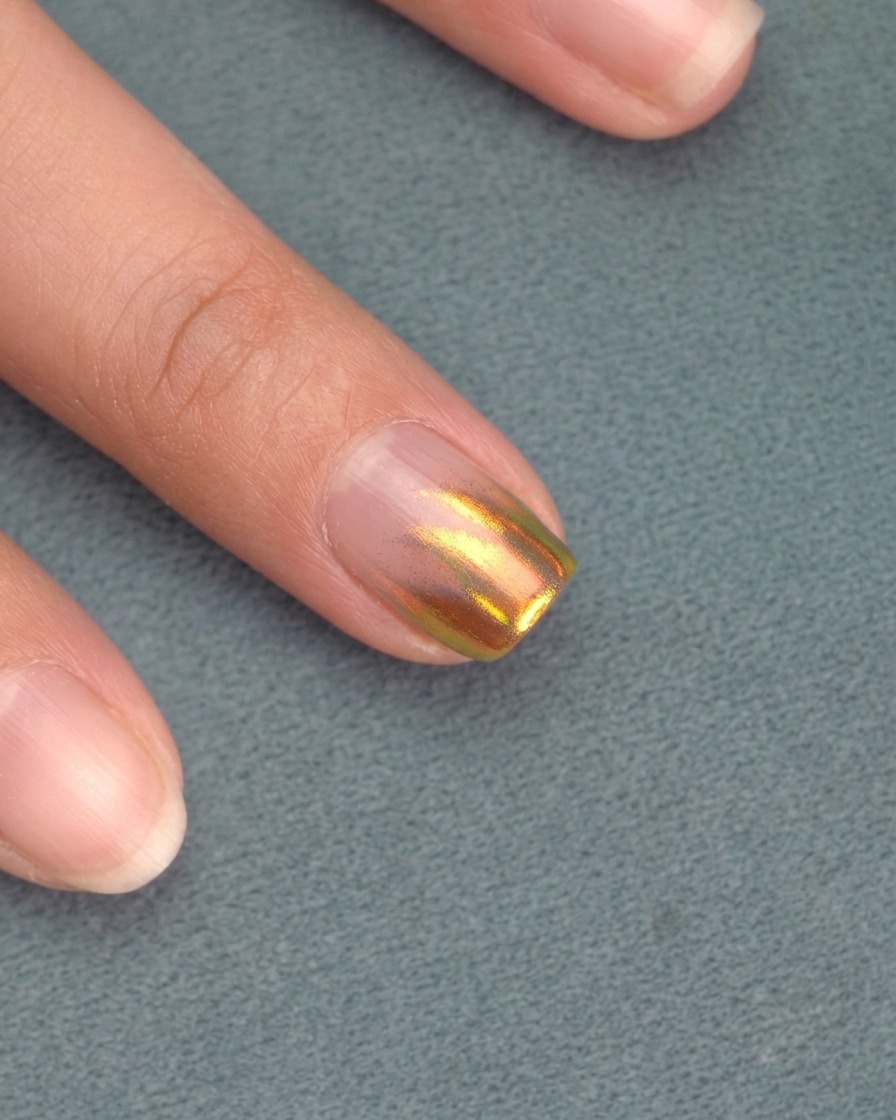
Place your nails under the UV or LED lamp to cure the base coat. Ensure all fingers are positioned directly under the light source for the manufacturers recommended duration to guarantee a complete cure.
Tip: Keep your hand flat inside the lamp to ensure all parts of the nail surface receive equal light exposure. - 4Apply matte top coat
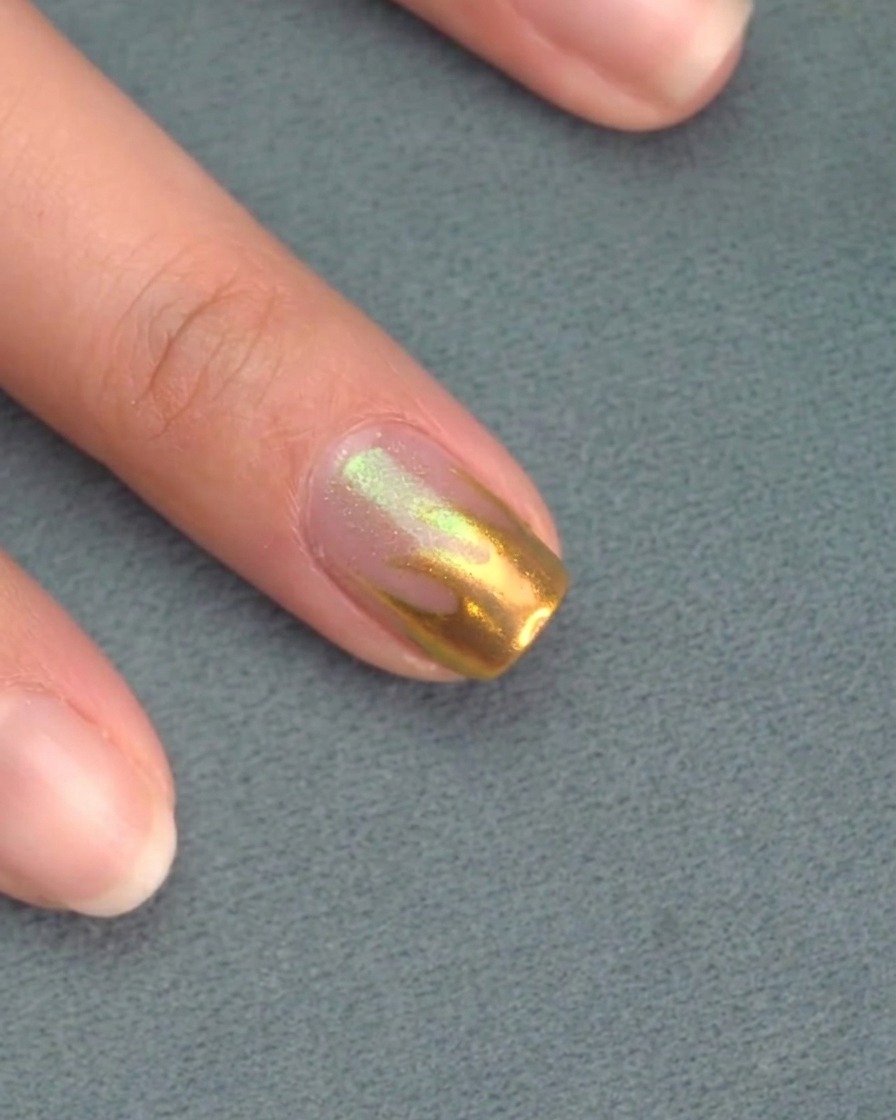
Apply an even layer of matte top coat over the cured pink base. This provides the necessary smooth, non-sticky surface for the chrome powder to adhere only to the flame design later.
Tip: Ensure the matte top coat is applied smoothly, as texture here will affect the final chrome finish. - 5Cure the matte top coat
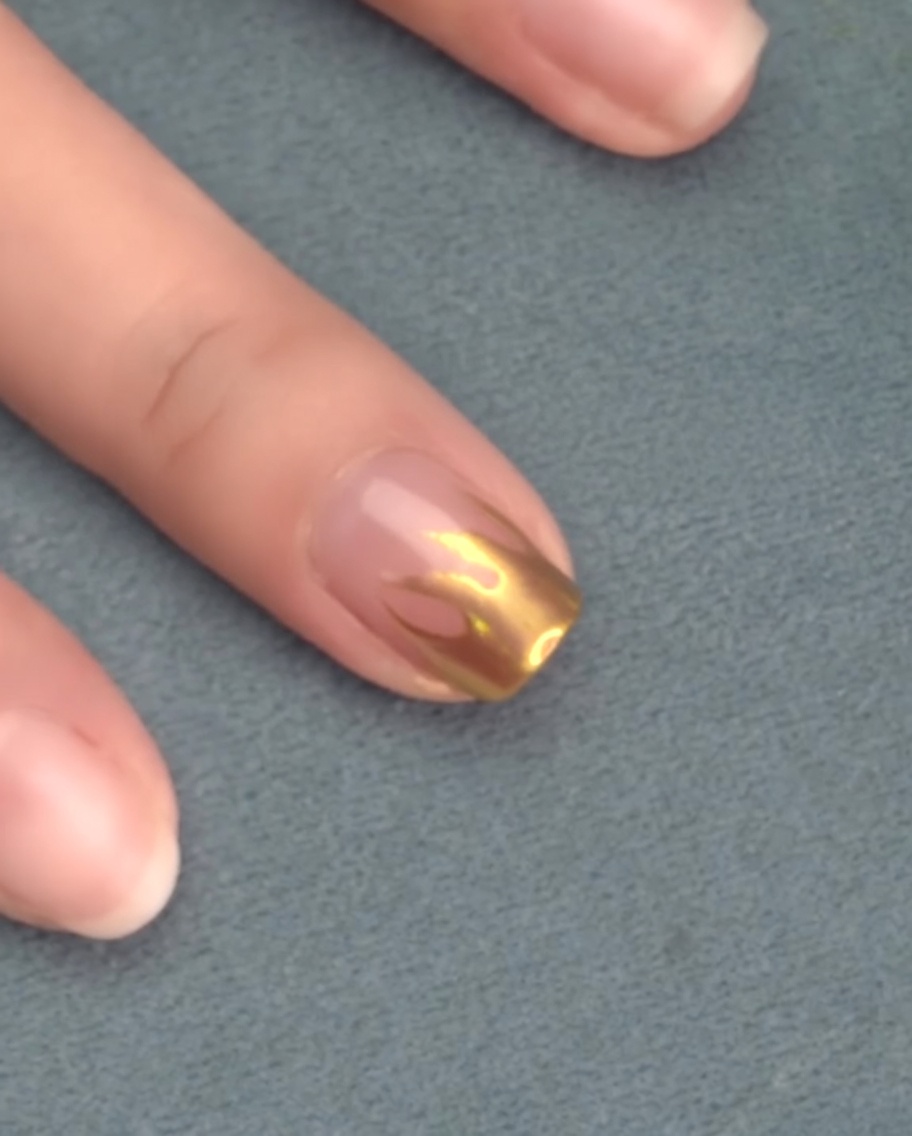
Place the nails back into the UV/LED lamp to fully cure the matte top coat. A complete cure is essential for the matte finish to set properly.
Tip: Avoid touching the nails immediately after removal to prevent oils from skin affecting the matte surface. - 6Paint the flame design

Using a thin detail brush, use clear top coat gel to paint flame patterns onto the matte nail surface. You will apply chrome powder to these sticky, clear gel areas in the next steps to create the metallic effect.
Tip: Keep the flame shapes clean and distinct; the chrome will only stick where you apply this clear gel. - 7Refine flame design
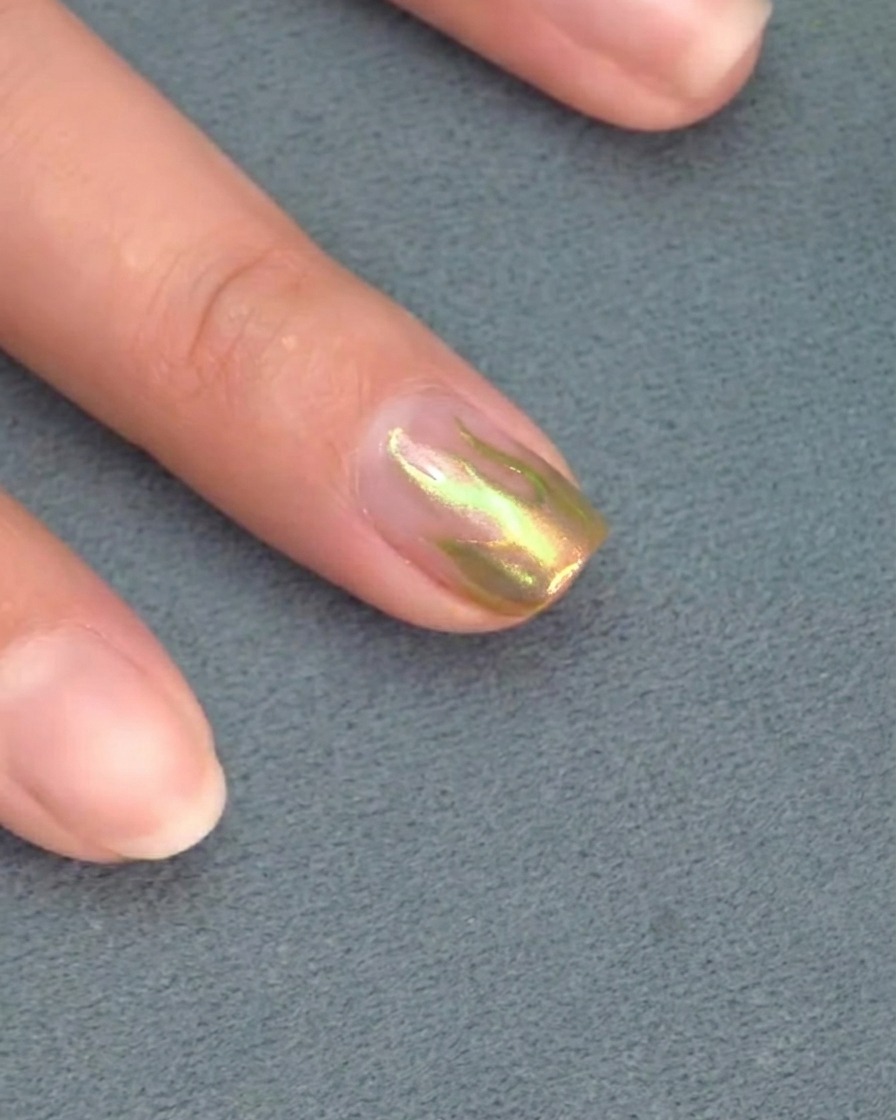
Using a fine liner brush, carefully go over the edges of your flame design to sharpen the tips and ensure the lines are clean and precise. This extra step enhances the definition of your nail art before you proceed to the curing phase.
Tip: Keep a light touch with the liner brush to maintain thin, elegant flame points. - 8Cure flame design
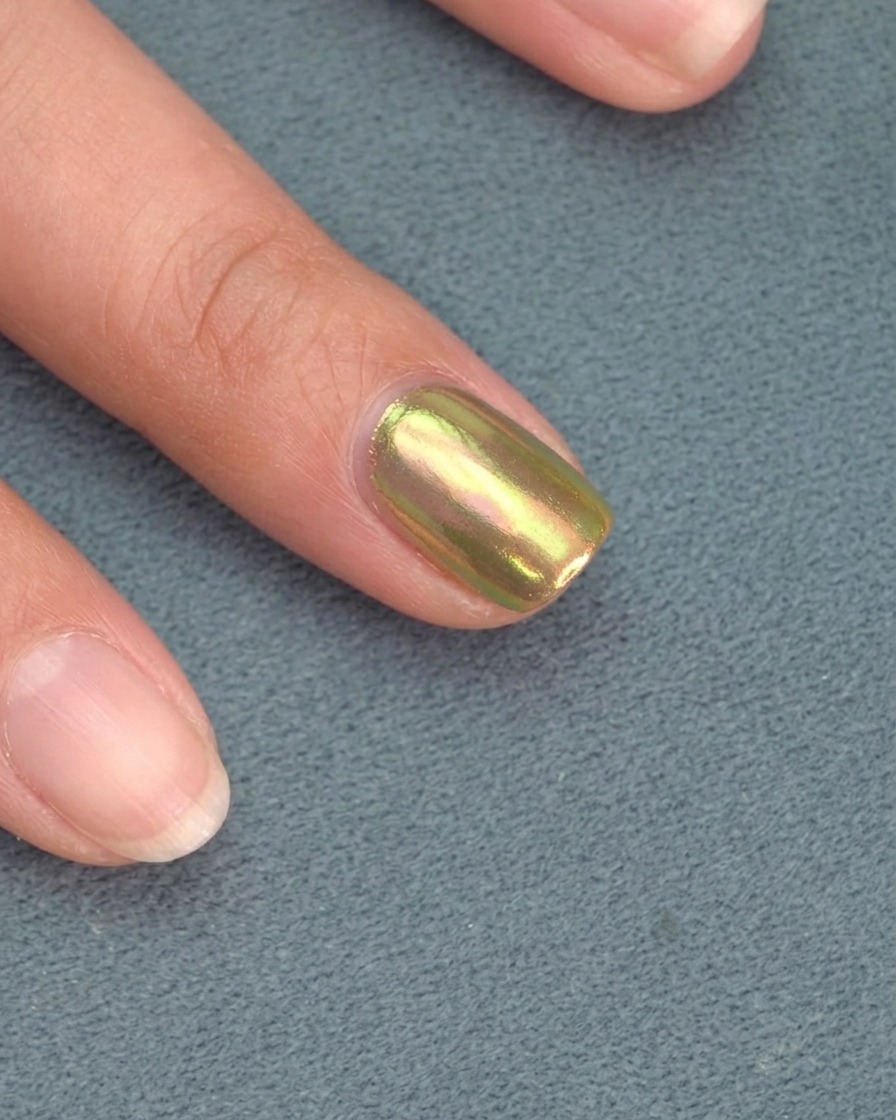
Place your nails under the UV or LED lamp to cure the flame design. Cure for exactly 20 seconds as specified to ensure the product is properly set and ready for the chrome application.
Tip: Ensure your hand is positioned directly under the light source for an even cure across all nails. - 9Apply chrome powder
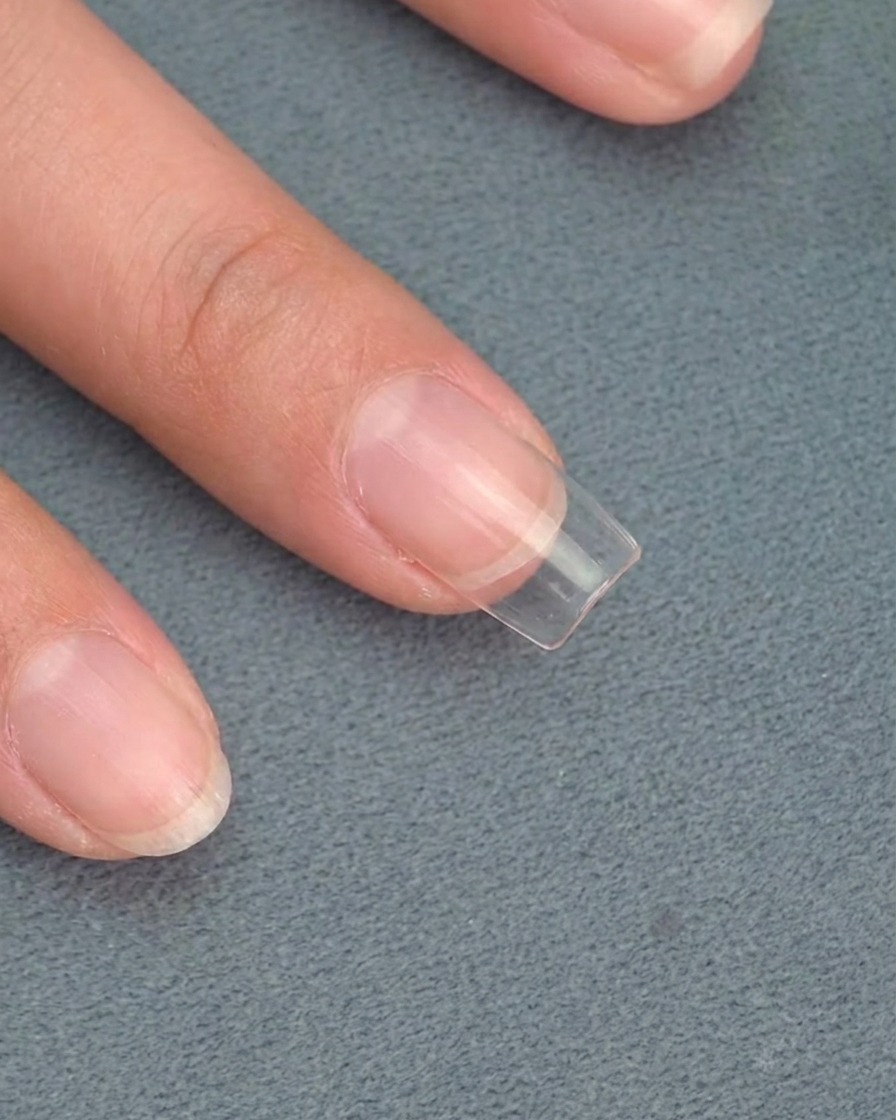
Using a sponge applicator, gently press and rub the gold chrome powder onto the cured flame patterns. The powder will adhere specifically to the tacky surface created by the top coat design.
Tip: A little powder goes a long way; start with a small amount and build coverage as needed. - 10Buff to mirror finish
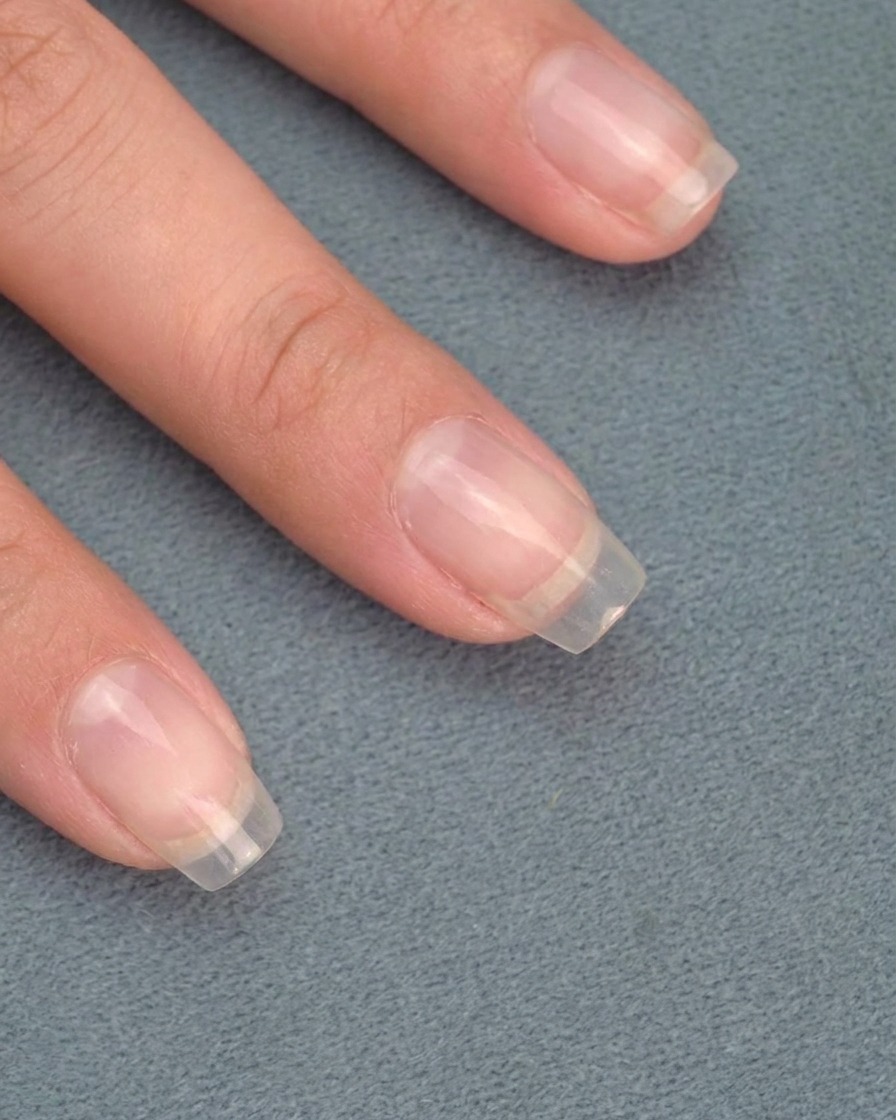
Continue buffing the powder into the design using the applicator or a soft tool until the surface transforms into a high-shine, smooth mirror finish. This step ensures the chrome effect is fully activated.
Tip: Apply firm, consistent pressure while buffing to achieve the highest possible reflective shine. - 11Remove excess powder
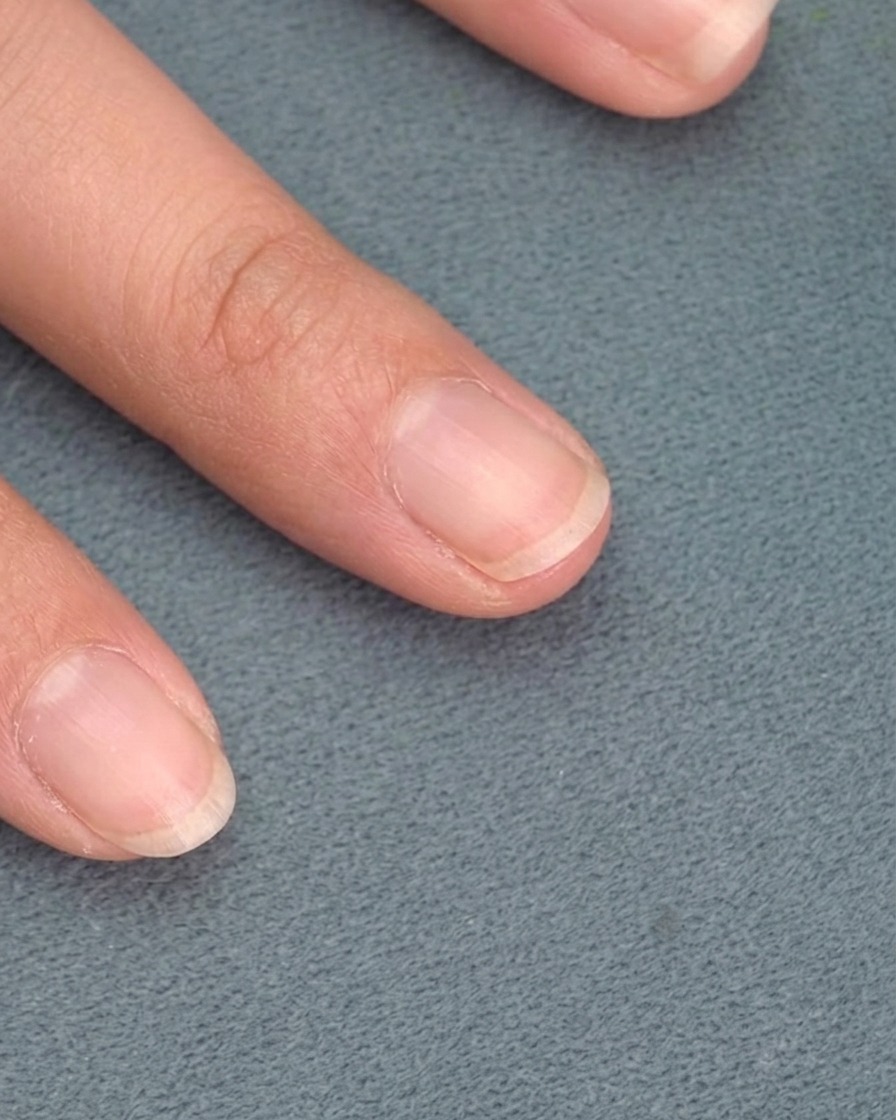
Use a soft, clean brush to gently sweep away any loose chrome powder particles from the nail surface and surrounding skin. Cleaning the nail thoroughly prevents the powder from smearing when you apply the final top coat.
Tip: Use a fluffy brush for efficient cleanup without disturbing the mirrored design. - 12Seal with top coat
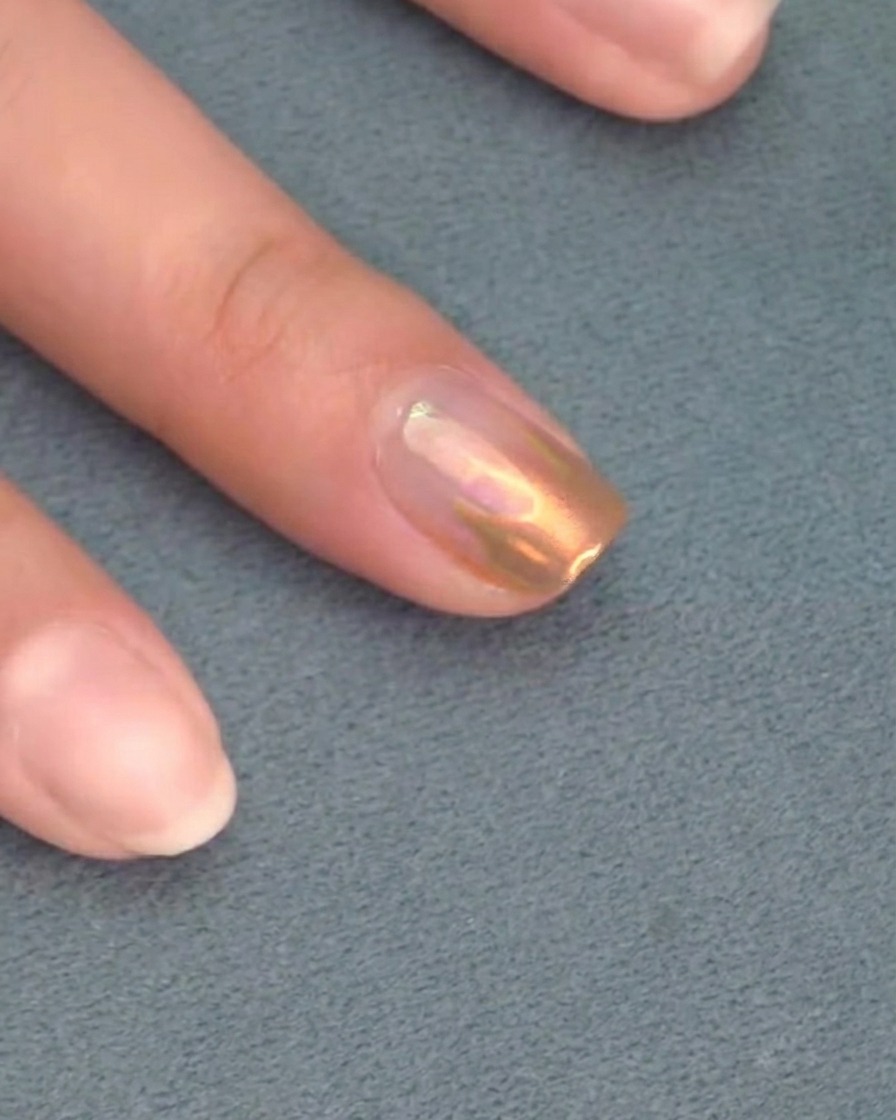
Apply a final layer of top coat over the entire nail, ensuring you cap the free edge completely to protect the chrome design and prevent chipping. This seals the metallic finish and adds a glossy protective layer.
Tip: Floating the brush slightly over the nail while applying the top coat helps prevent dragging or smudging the chrome pigment.