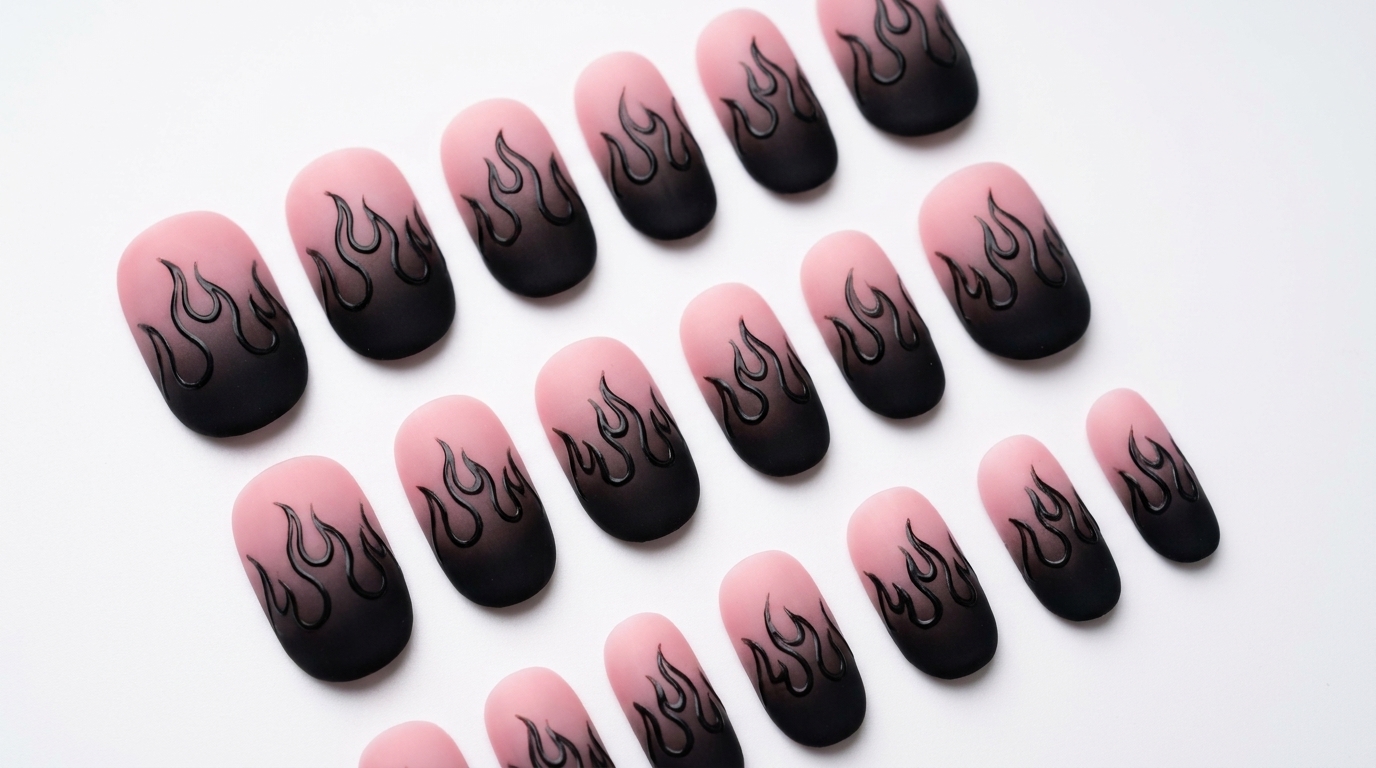
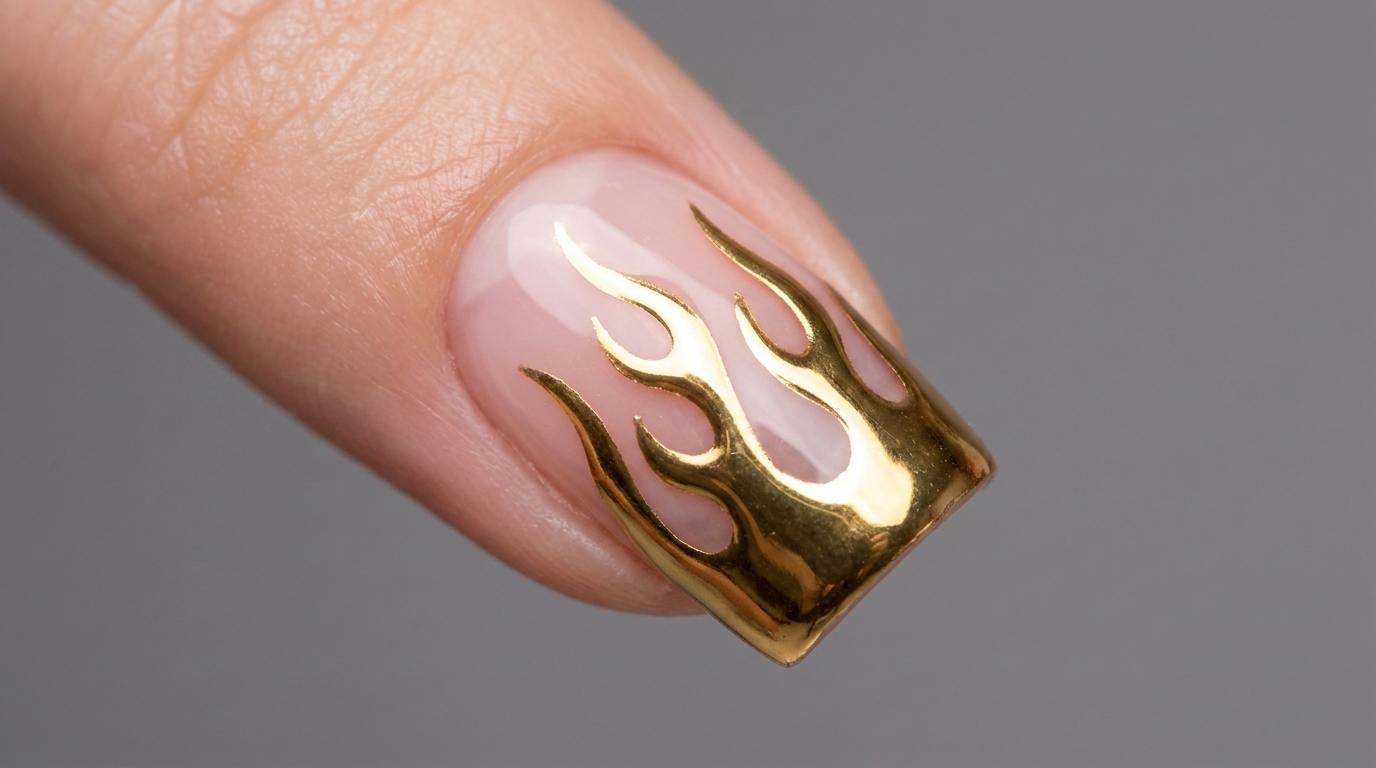
Fiery Flame Gradient Gel Nails — Artistic Step-by-Step Tutorial
Master the blooming gel technique to create stunning, salon-quality flame gradient nails. This simple drag-and-blend method delivers a bold, artistic look.
Flame nail art is a striking trend that perfectly combines bold color with artistic flair. By utilizing the unique properties of blooming gel, you can easily achieve a seamless, fiery gradient that looks like it took hours of intricate painting. This tutorial guides you through the process of layering and dragging pigment to create your own custom flame design.
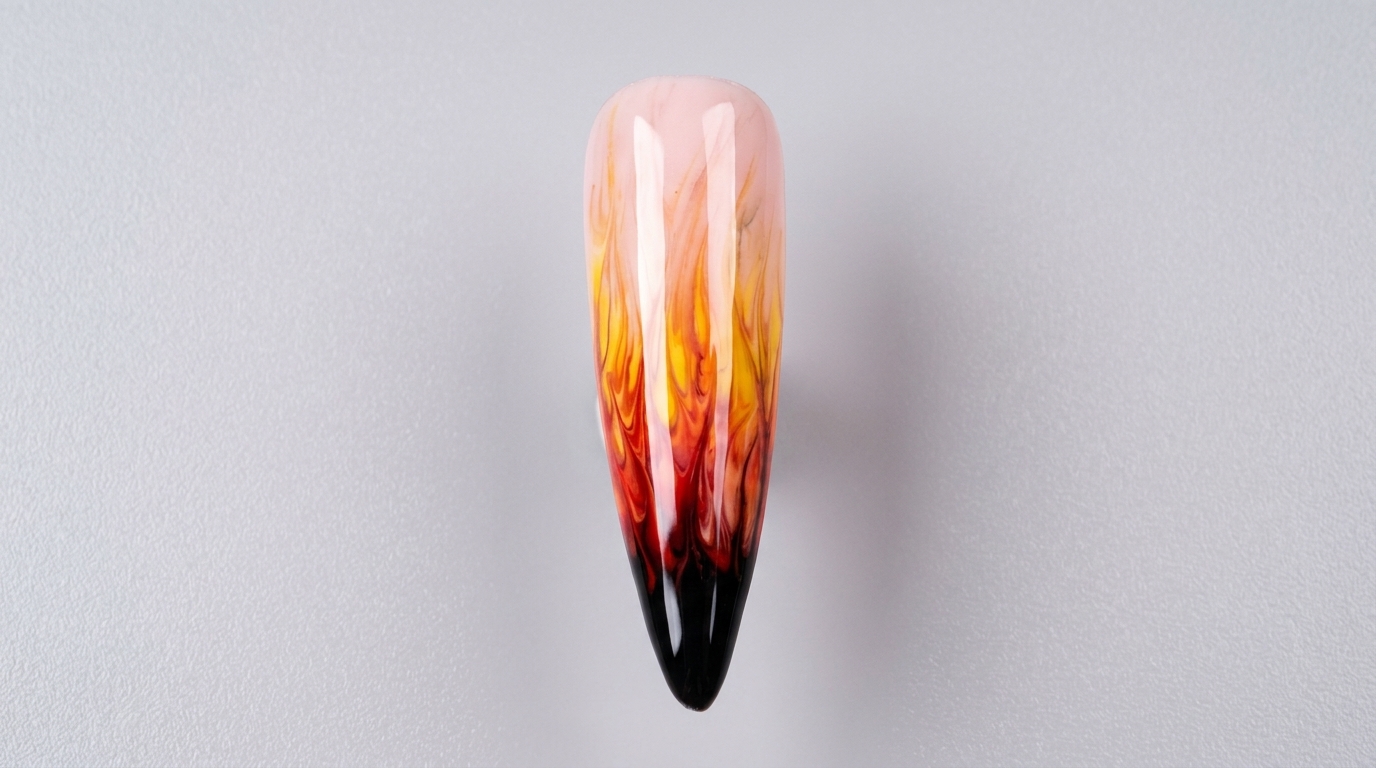
Steps
- 1Apply pink base color
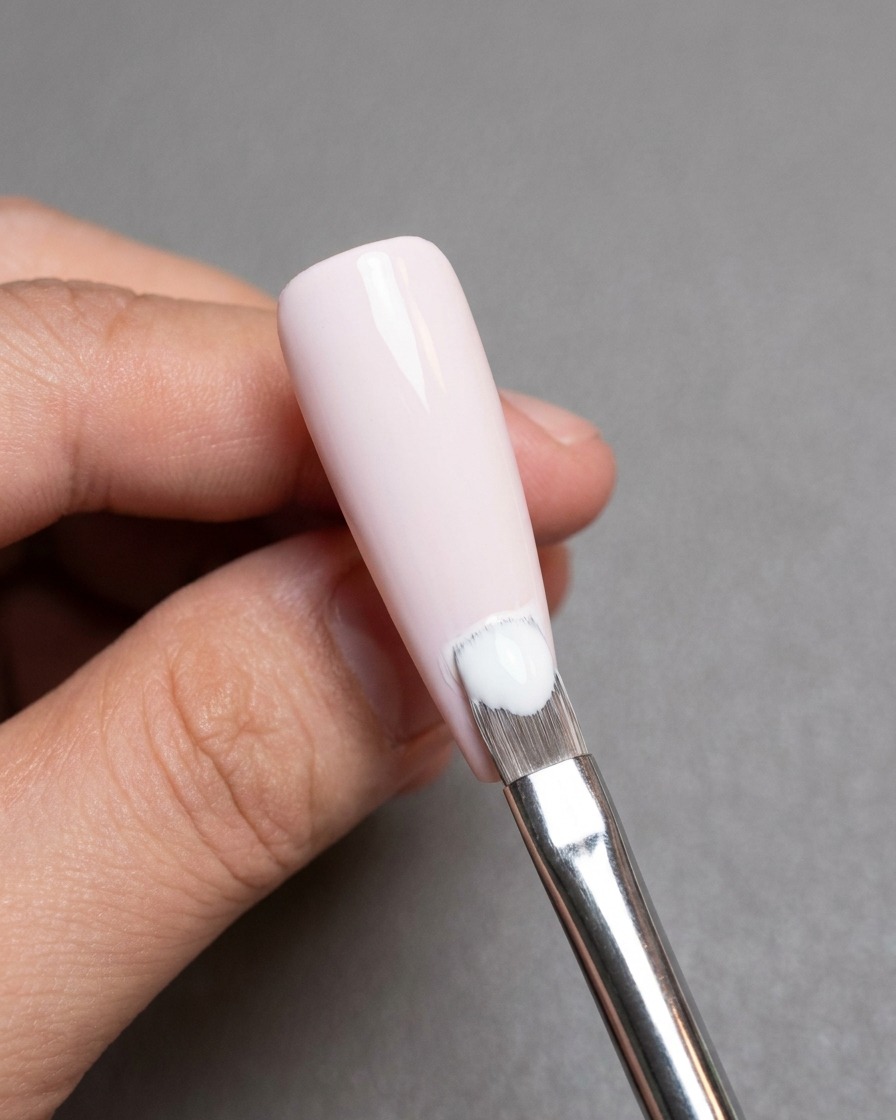
Apply an even, thin layer of light pink gel polish to the entire surface of the nail. Ensure the edges are sealed by capping the free edge, and then cure the layer under a UV or LED lamp to set it.
Tip: Apply in thin layers to ensure a smooth, professional finish that cures completely without bubbling. - 2Apply blooming gel
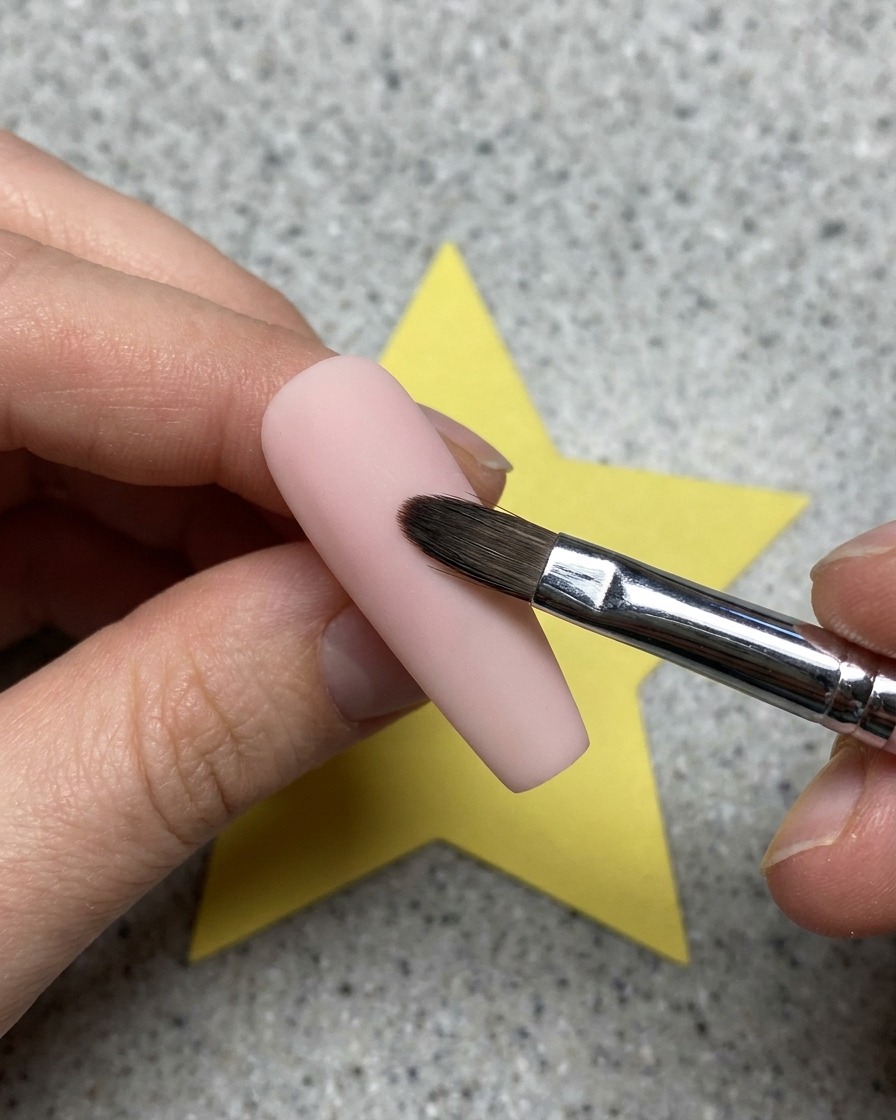
After curing your base color, apply a uniform layer of clear blooming gel over the nail. Do not cure this layer yet, as it is designed to allow subsequent colors to spread and create artistic effects.
Tip: A consistent, thin layer of blooming gel helps achieve a uniform spread of the colors you apply next. - 3Apply black gel at the tip
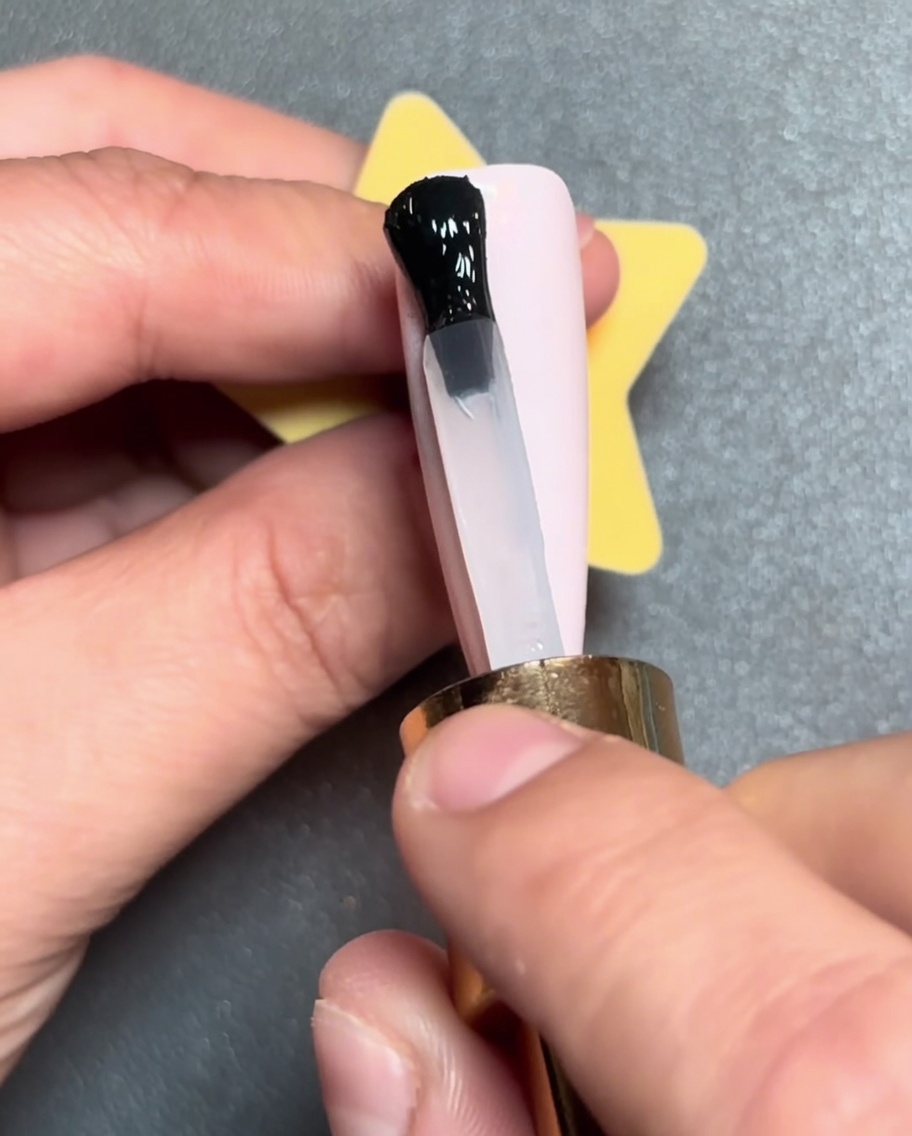
Using a small brush or the polish applicator, apply a horizontal strip of black gel polish directly onto the uncured blooming gel at the very tip of the nail.
Tip: Place the product carefully at the edge to serve as the dark foundation for your flame design. - 4Apply red gel strip
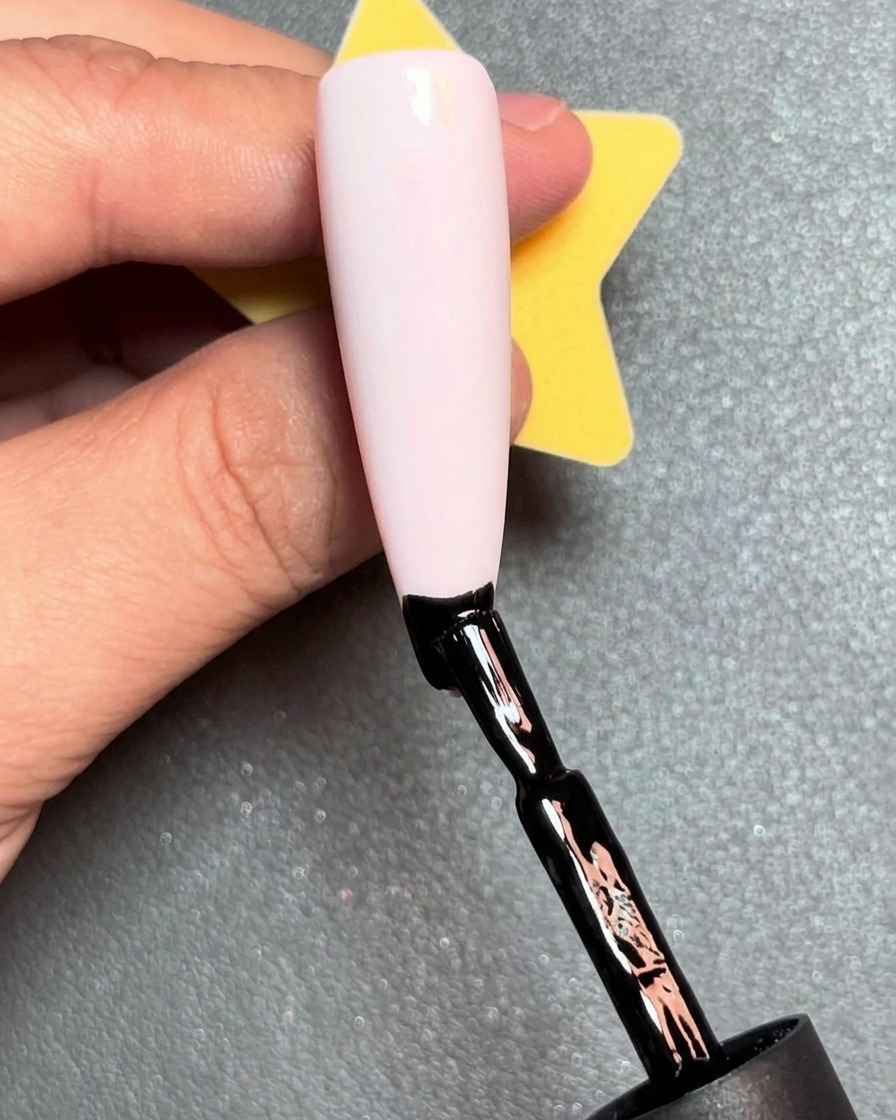
Position a horizontal strip of red gel polish just above the black gel strip you previously applied. Allow the colors to meet on the wet blooming gel surface.
Tip: Keep the strips relatively thin to maintain control when blending the flame shapes. - 5Apply orange gel strip
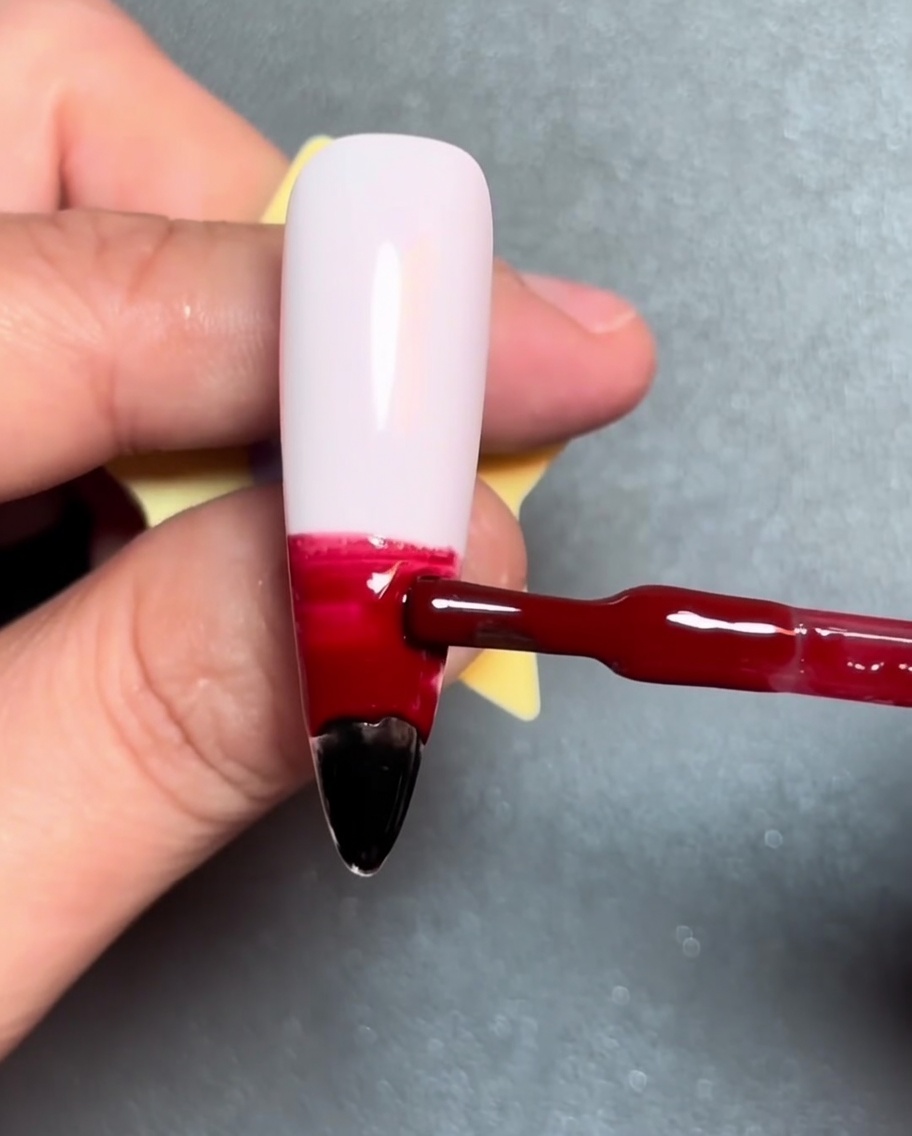
Apply a horizontal strip of orange gel polish just above the red gel layer. The colors will begin to interact naturally due to the blooming gel beneath them.
Tip: Ensure the colors are aligned closely for a smooth transition. - 6Apply yellow gel strip
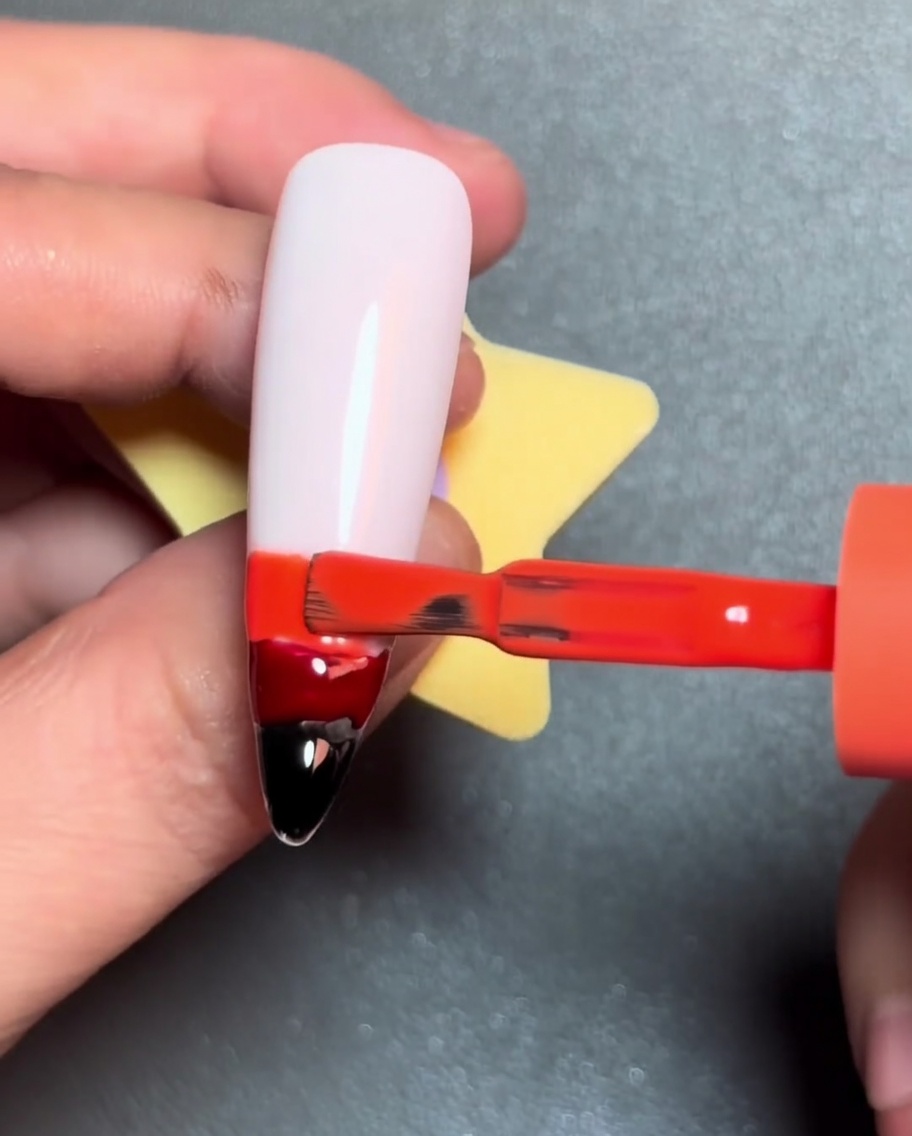
Finally, apply a horizontal strip of yellow gel polish above the orange gel. You now have a layered color palette ready to be blended into a flame effect.
Tip: The yellow will act as the brightest point of the flame design. - 7Create the flame effect
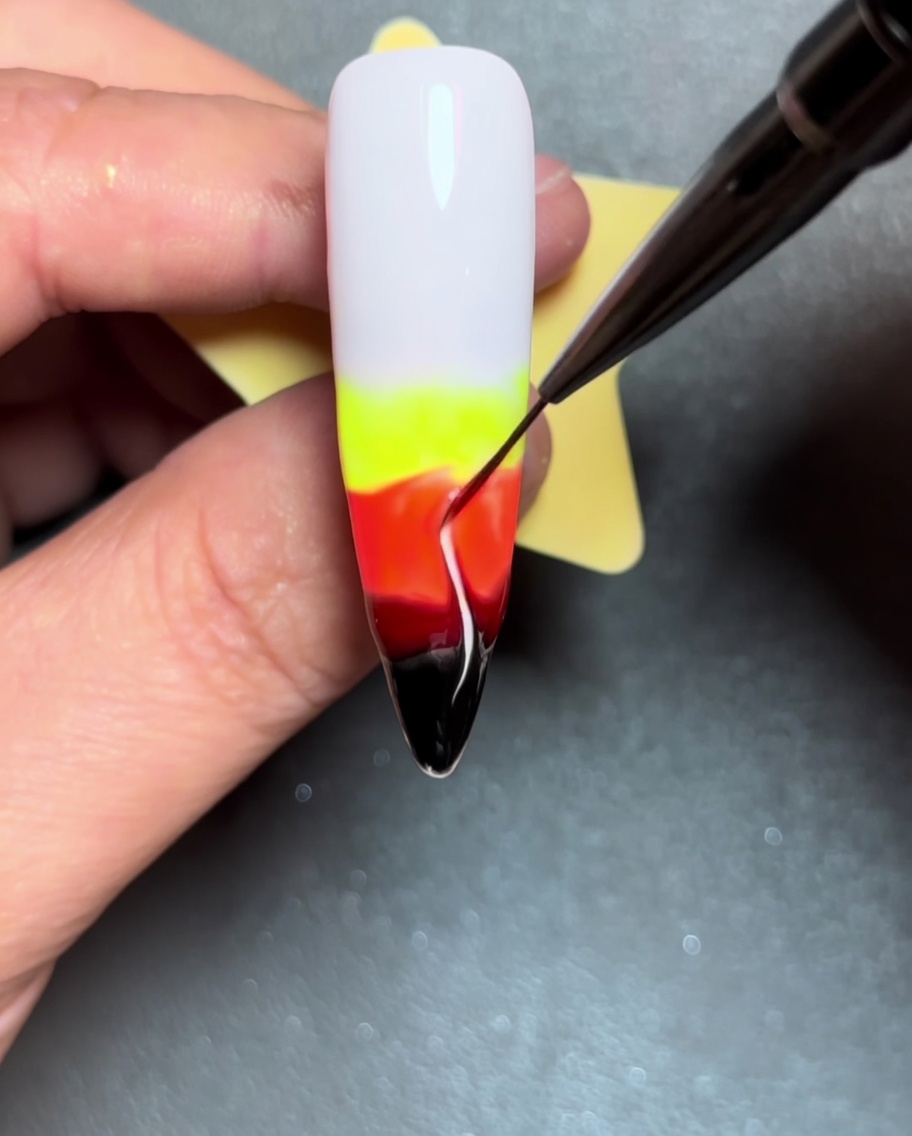
Using a fine liner brush, gently drag the wet colored gels upward from the nail tip toward the base. This motion blends the colors vertically, creating sharp, flame-like streaks against the blooming gel base.
Tip: Keep your touch light to avoid muddying the colors; let the blooming gel do the work to spread the pigment naturally. - 8Refine the flames
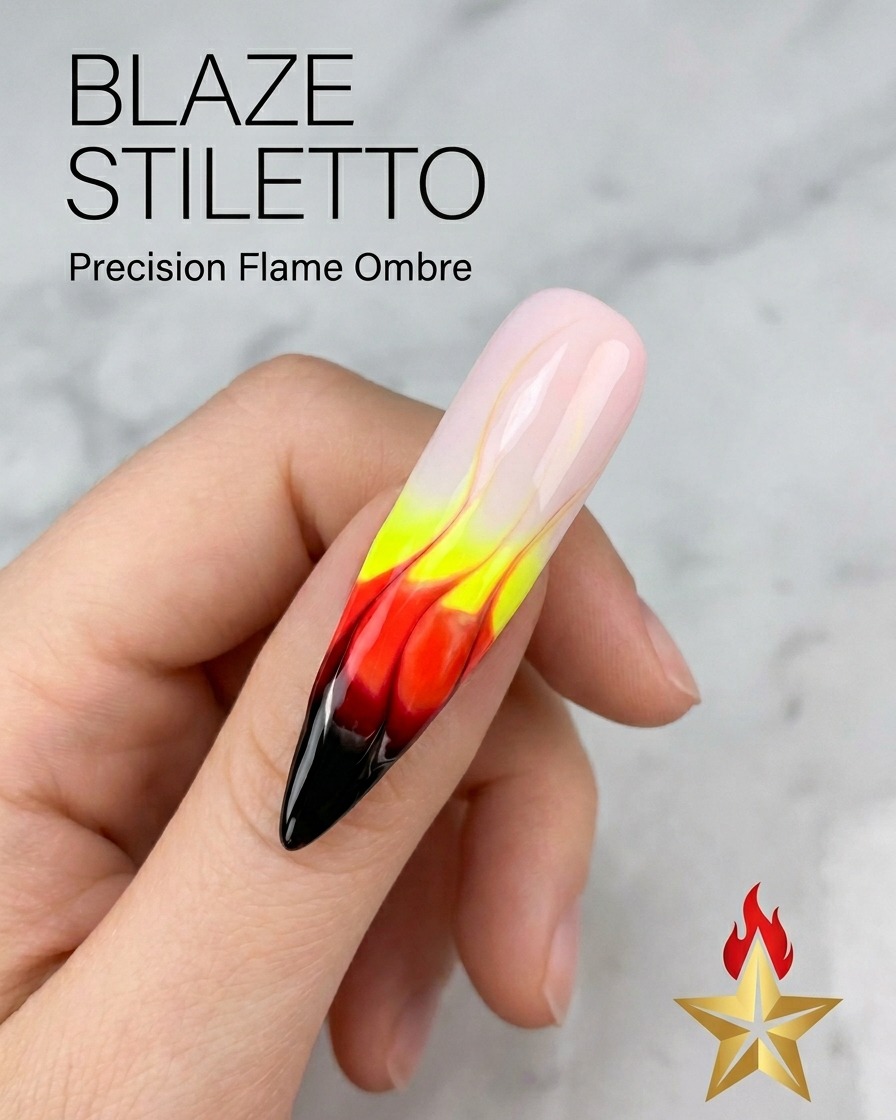
Continue using your liner brush to pull and adjust the flame shapes until you achieve the desired intensity and gradient transition. Ensure the colors are blended seamlessly from the dark tip to the lighter base.
Tip: If the flame shapes look too uniform, try pulling some lines higher than others for a more organic, realistic fire look. - 9Final design inspection
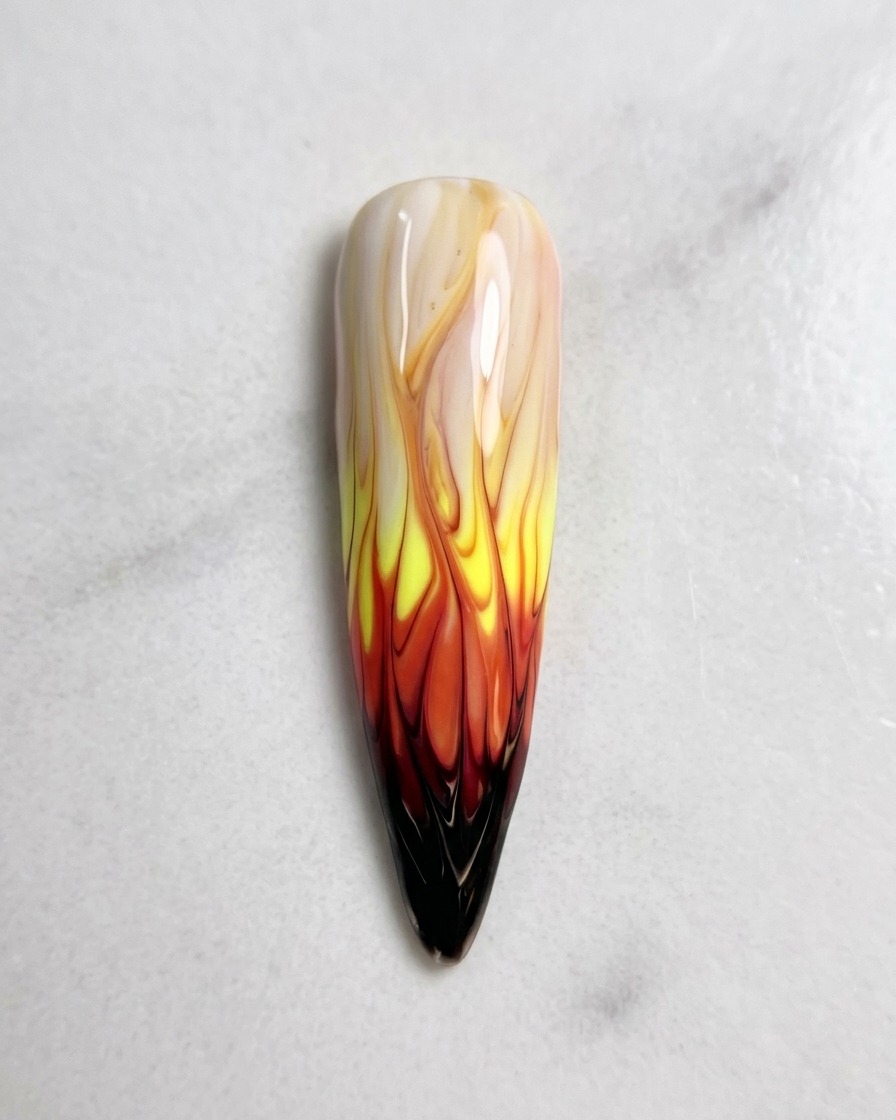
Before curing, do a final check of your flame design. Ensure the lines are crisp and the gradient looks balanced across the nail surface. Adjust any areas if necessary, then cure under your UV/LED lamp.
Tip: Rotate your finger under the light to see the design from different angles, ensuring the flame effect looks clean and symmetrical. - 10Apply glossy top coat
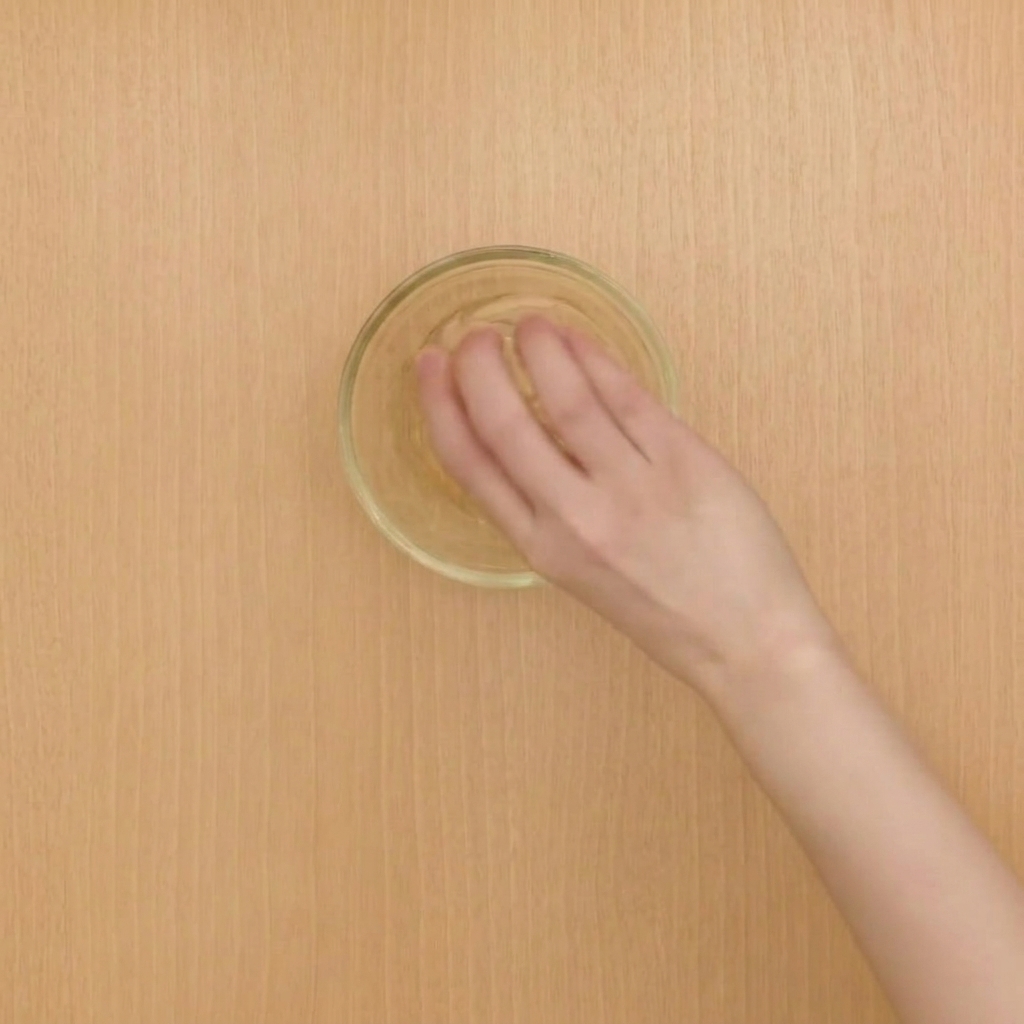
Finish the manicure by applying a thin, even layer of glossy top coat over the entire nail. This seals the design, adds depth to the flame colors, and provides a durable, high-shine finish.
Tip: Cap the free edge thoroughly to ensure the design is fully protected and to prevent premature chipping or lifting.