Matte Pink to Black Gradient
3D Black Flame Nail Art
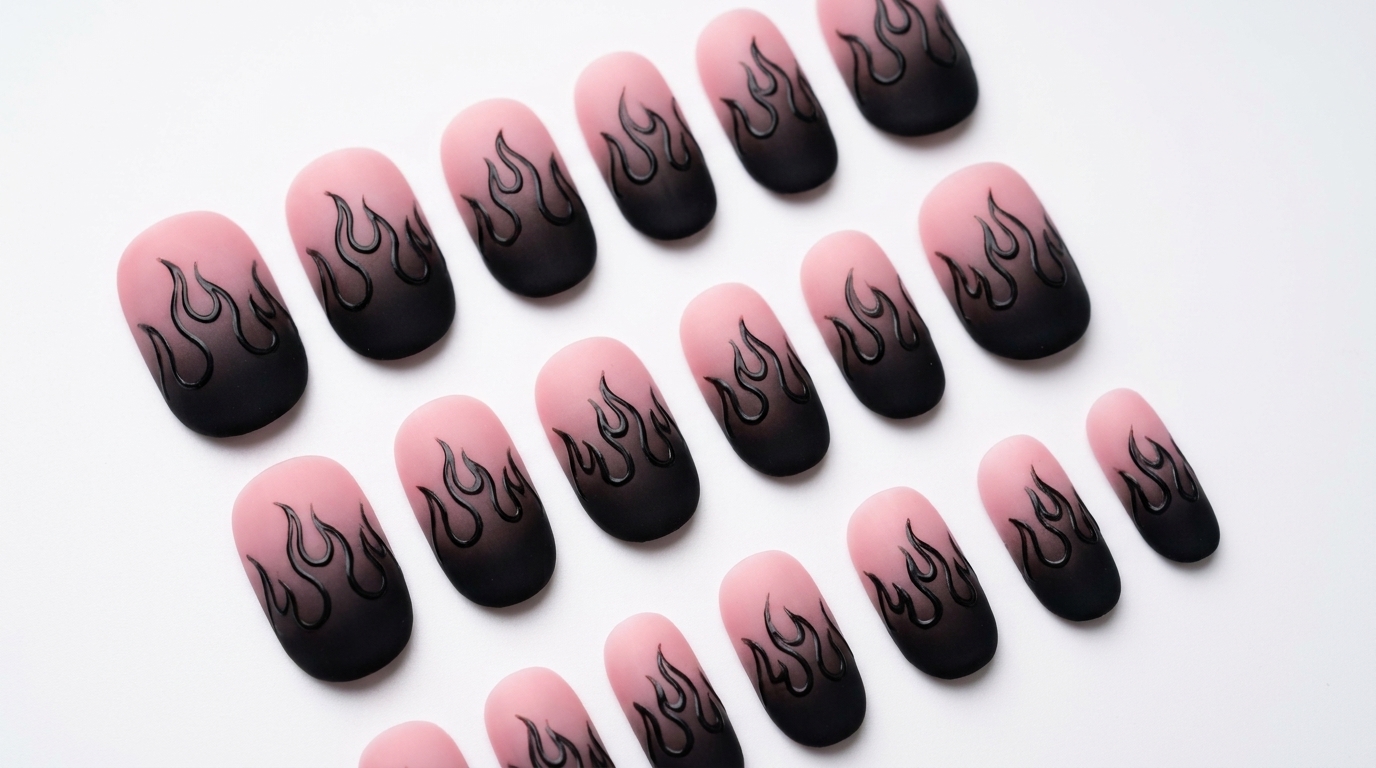
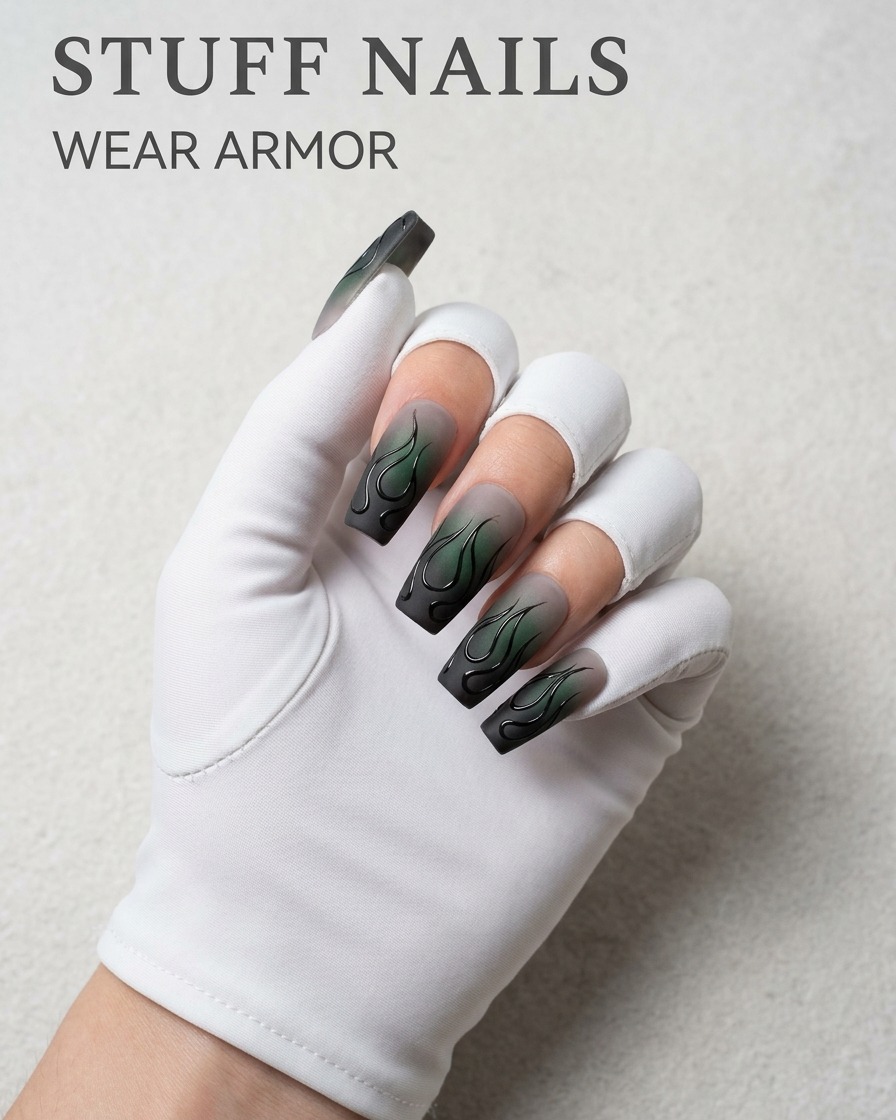
Master the edgy 3D flame trend with this step-by-step tutorial. Combine a soft matte pink-to-black gradient with detailed, raised black flame outlines.
This look combines the classic gradient aesthetic with a bold, modern edge. By layering highly pigmented black gel to create a raised, dimensional flame effect, you can achieve a sophisticated and lively nail design that feels both artistic and professional.
Steps
- 1Apply base pink jelly gel
Apply a thin layer of transparent pink jelly gel to the nail surface using a nail brush. Ensure the gel is spread evenly, covering the entire nail. Cure under the UV/LED lamp as directed by your gel polish manufacturer.
Tip: Applying thin, even layers prevents pooling at the cuticles and ensures a smooth, professional-looking gradient later. - 2Ensure even coverage of pink gel
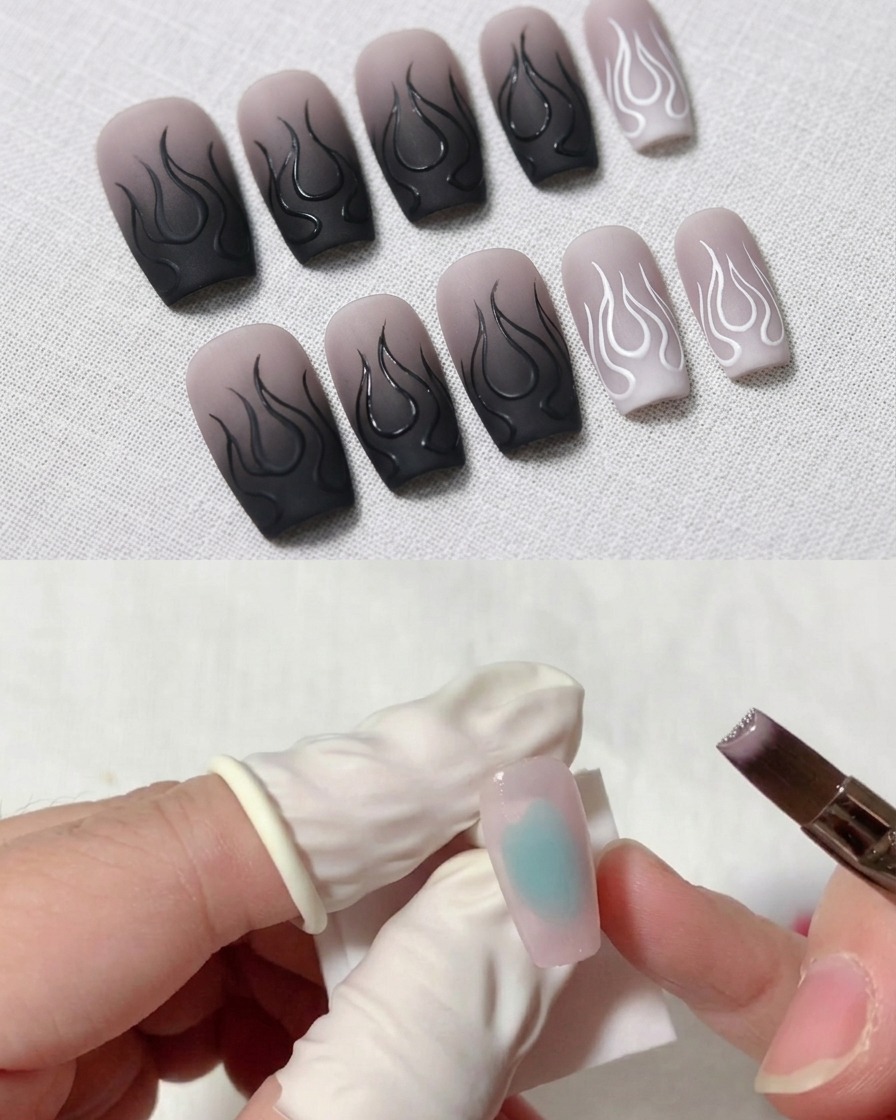
Continue brushing the pink jelly gel evenly over the entire surface of the nail, extending down to the free edge. Verify there are no streaks or gaps in the application. Once satisfied with the coverage, cure the layer completely under your lamp.
Tip: Take your time to smooth out the gel; a uniform base layer is crucial for the gradient effect to look natural. - 3Load the sponge with black gel
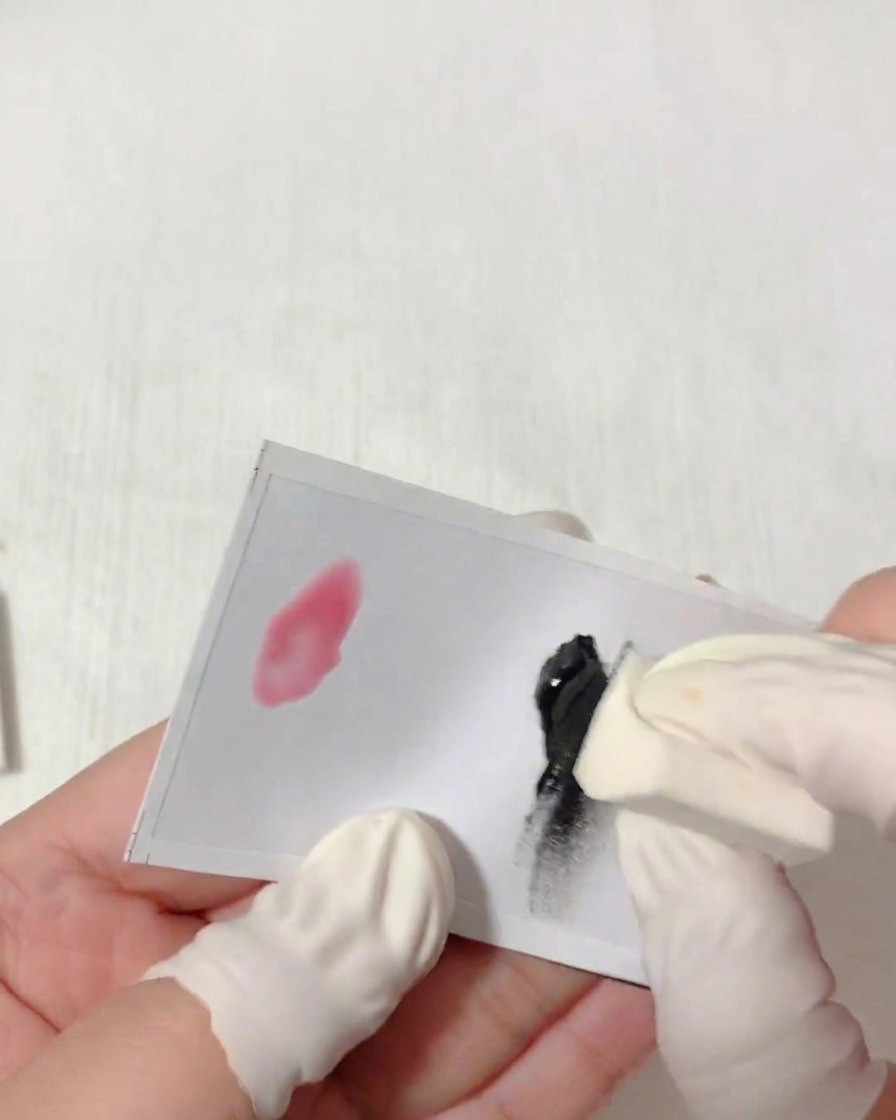
Take a clean triangular makeup sponge and dab it into the black color gel placed on your palette. Ensure you have an appropriate amount of product on the sponge to achieve a good gradient effect without overloading it.
Tip: If you pick up too much gel, dab the sponge on a clean part of the palette first to remove the excess. - 4Create the gradient base
Using the gel-loaded sponge, gently pat it onto the tip of the nail. This initial application forms the darkest part of your gradient. Focus the pigment at the very end of the nail, preparing for the blend.
Tip: Use a light tapping motion rather than pressing hard to keep the texture even and avoid air bubbles. - 5Blend the gradient
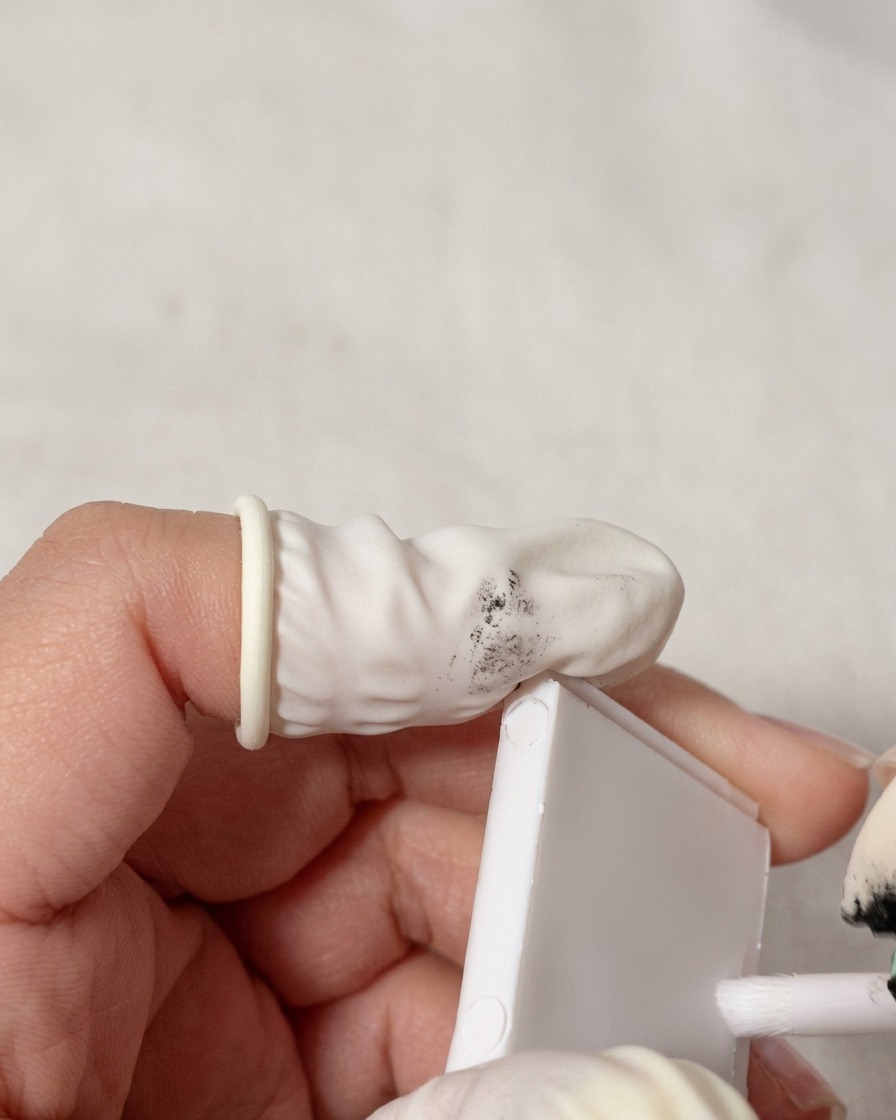
Continue tapping the sponge towards the center of the nail, gradually moving upward. This blending motion transitions the black color into the pink base, creating a seamless ombre effect. Repeat the tapping until you achieve your desired gradient density.
Tip: Work in small sections and move slowly to ensure the gradient looks smooth and not streaky. - 6Apply matte top coat
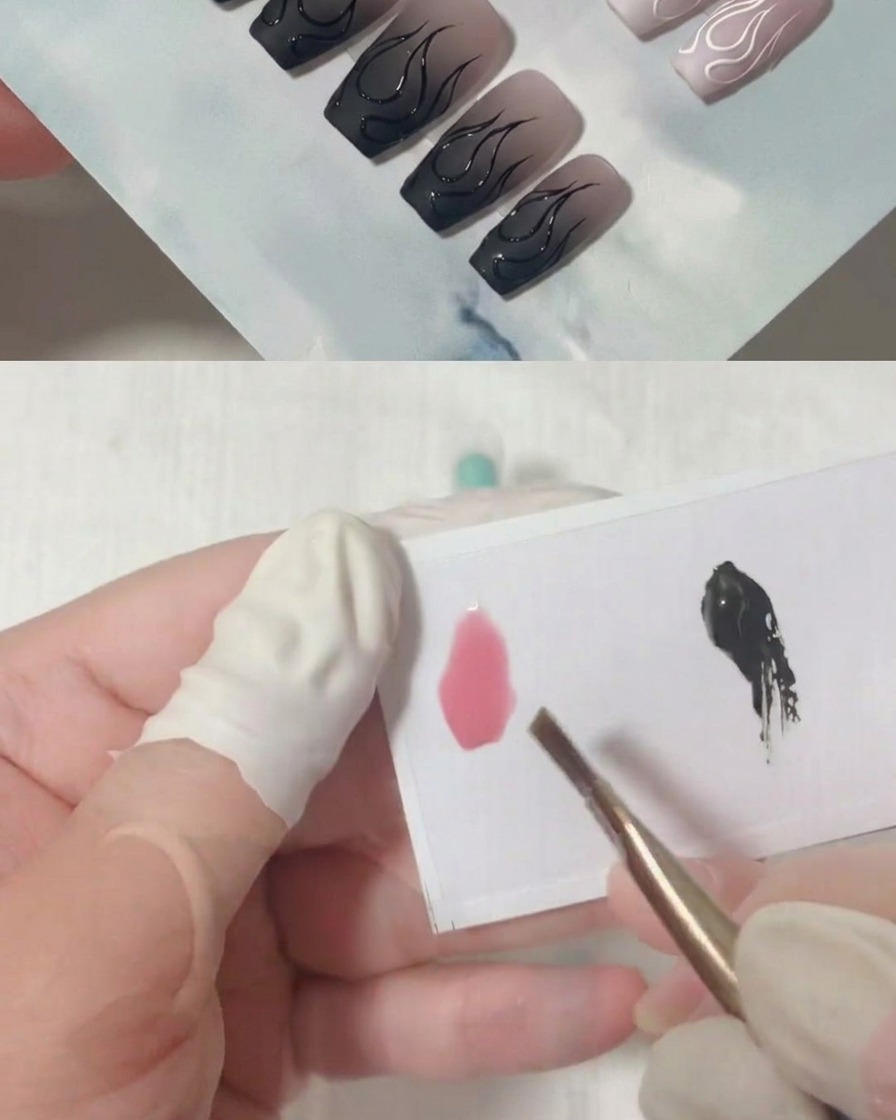
After the gradient is complete, apply a layer of matte top coat over the entire nail. Ensure the surface is completely covered, including the free edge, to seal the design. Cure under the lamp for 120 seconds to achieve a fully hardened, matte finish.
Tip: Matte top coats provide a sophisticated, velvety finish that makes nail art details stand out beautifully. - 7Draw central flame outline
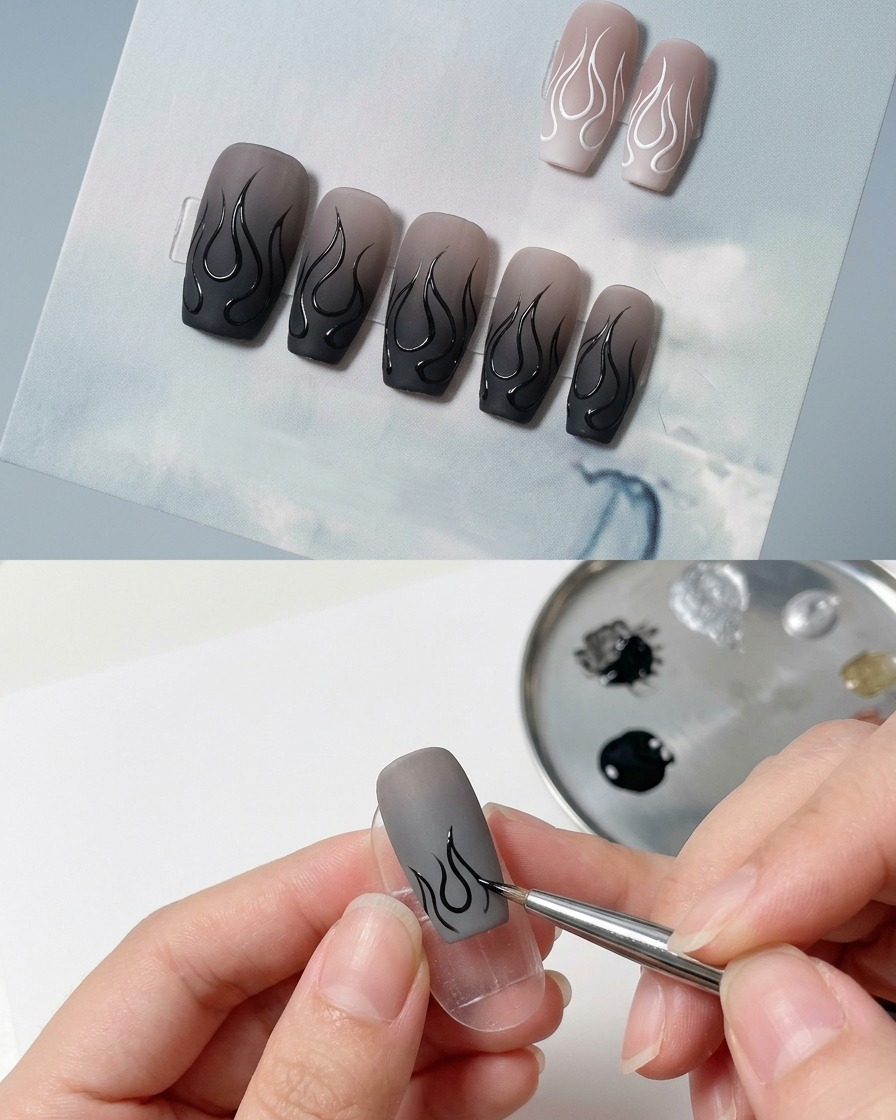
Using a fine liner brush and black color gel, draw the initial curved outline for the central flame. Focus on creating a smooth, flowing curve for the flames body, ending in a sharp tip. Dont worry about perfect precision at this stage; focus on the rough, elegant shape.
Tip: Keep a steady hand and draw slowly to maintain smooth, thin lines. The sharp tip is essential to the design. - 8Draw right flame shape
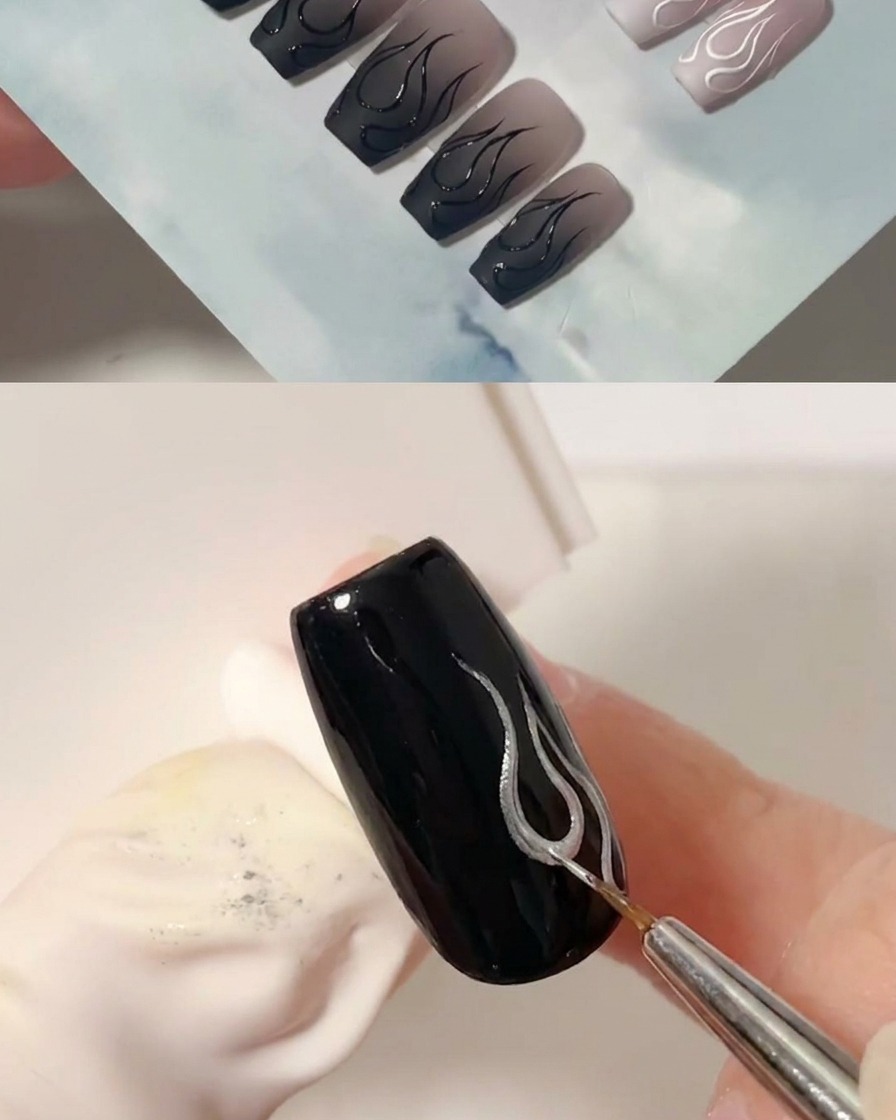
Continue using the fine liner brush to paint an additional curved line to the right of the central flame to form the right inner flame. Keep the lines consistent in thickness with the first one and ensure the tips of the flames look sharp and lively.
Tip: The middle flame should be the highest point, with the surrounding flames decreasing in height to create a balanced, dynamic look. - 9Outline outer right flame
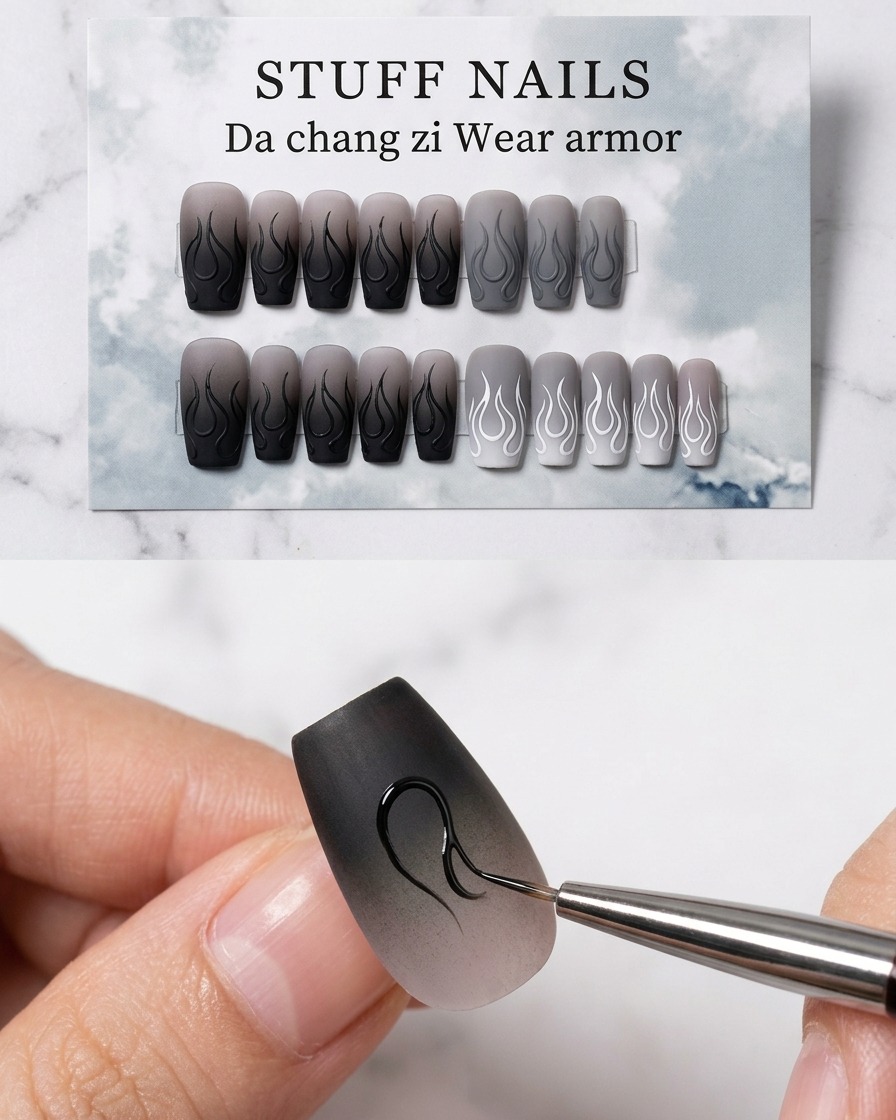
Complete the flame structure by using the fine liner brush to draw the outer right line of the pattern. Ensure all lines are smooth and that the flame tips are drawn out sharply. Repeat layering with black gel as needed to increase the three-dimensional appearance before curing.
Tip: Placing the design slightly off-center on the nail can make the final look feel more natural and artistic. - 10Outline the flame design
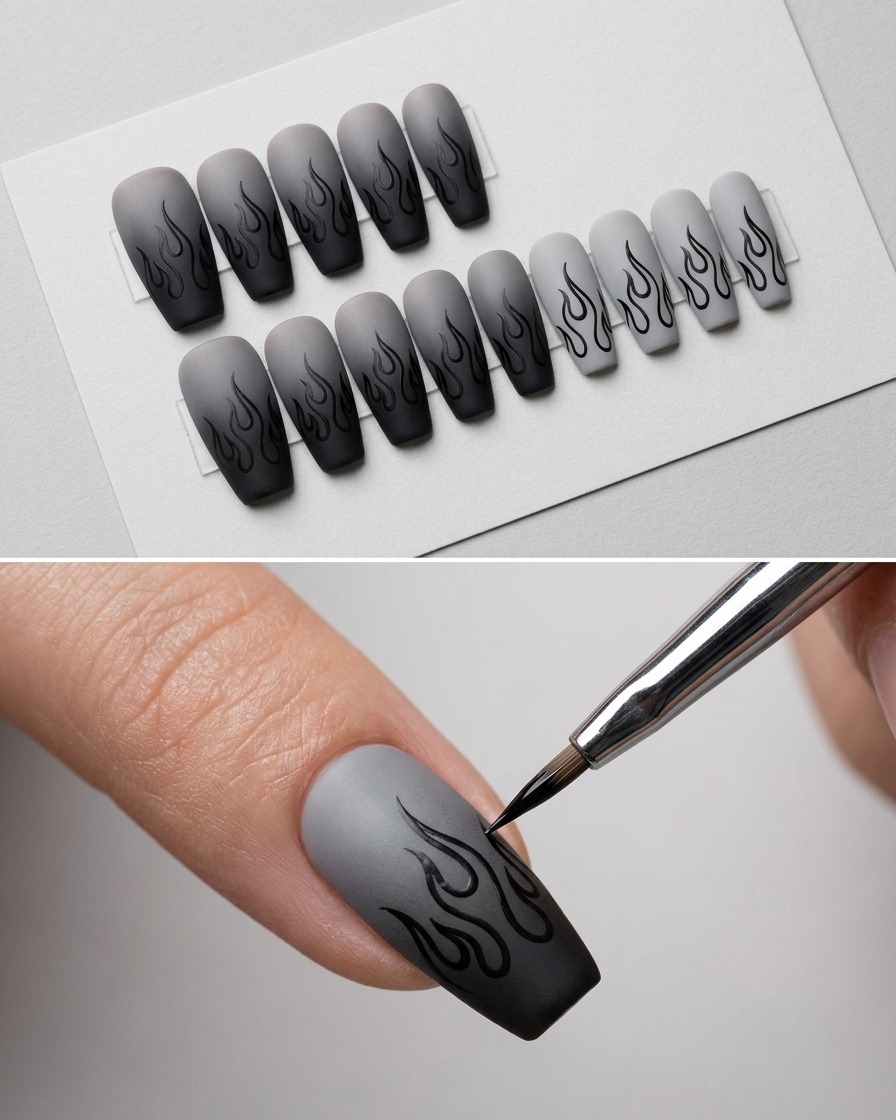
Using a fine liner brush and black gel, carefully draw the outline of the flames on the nail surface. Keep your lines relatively thin and consistent, following the desired flame shape. Dont worry about being overly precise with the initial outline; focus on establishing the rough structure of the design.
Tip: Maintain a steady hand and work slowly to ensure your lines are smooth and controlled. - 11Thicken and detail the flames
Using your fine liner brush and black gel, trace over the initial flame outlines. Apply additional gel to create depth and thickness, ensuring the lines remain smooth. Focus on drawing out the flame tips sharply to achieve an elegant, lively look.
Tip: For the best 3D effect, layer the black gel gradually rather than applying one thick blob at once. - 12Thicken flame outlines
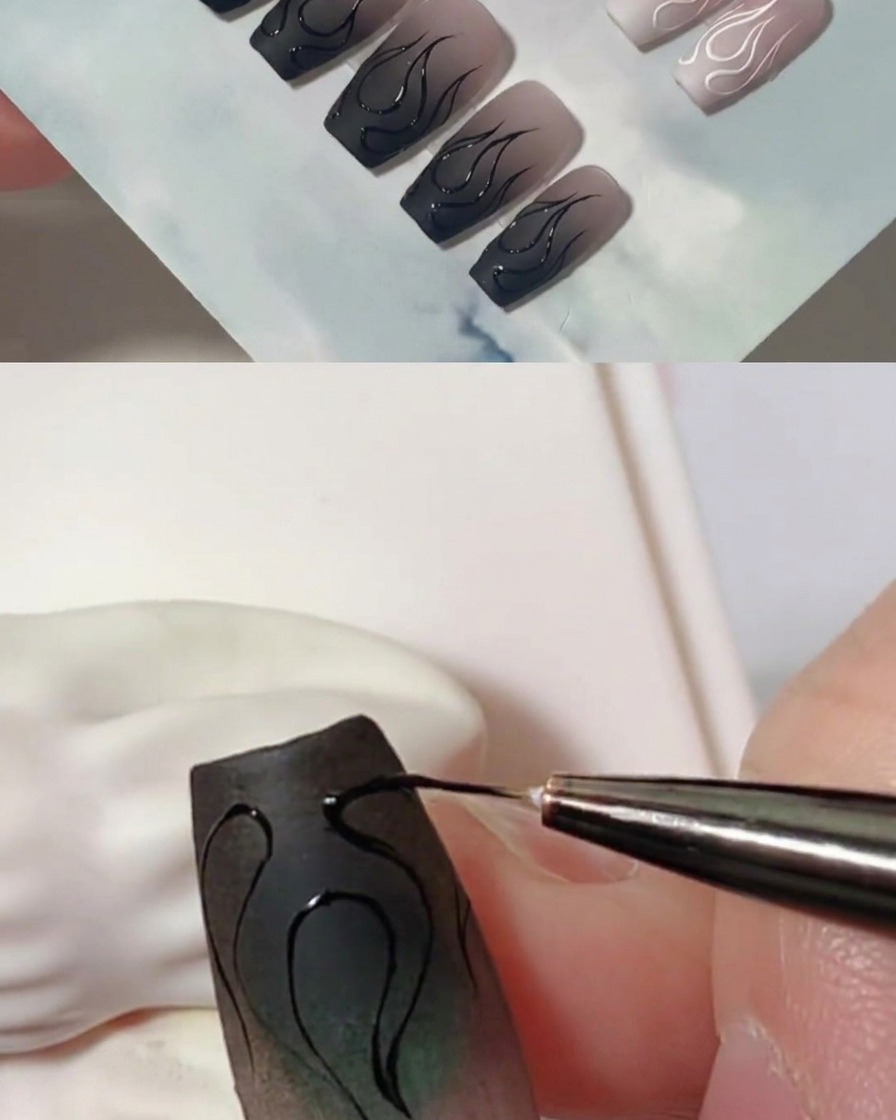
Once the initial outline is set, pick up more black gel with your liner brush. Carefully layer it over your existing lines to add thickness and create a three-dimensional, raised effect. Ensure the transitions remain smooth and the lines consistent.
Tip: Using a wipe-free black gel allows you to build thickness without needing an additional top coat layer. - 13Enhance the 3D effect
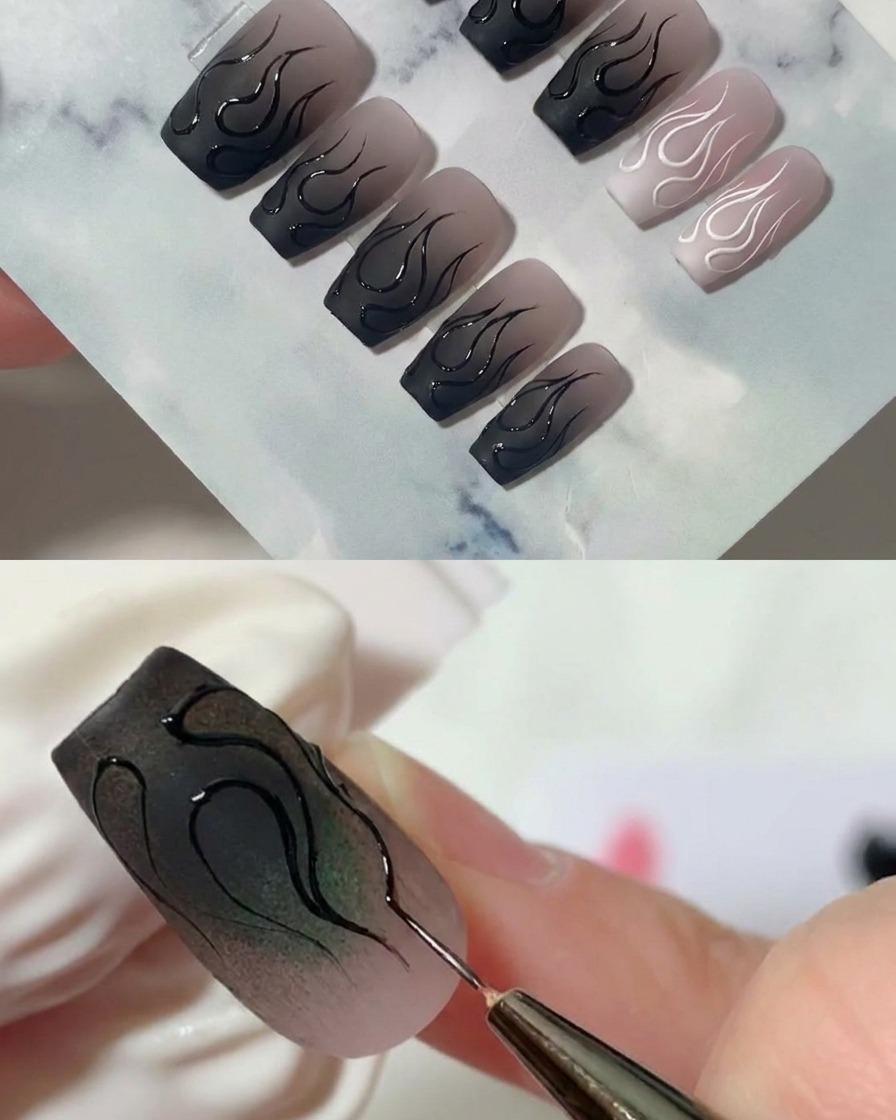
Continue layering black gel on the outer edges of the flames to enhance the raised, 3D appearance. Focus on keeping the lines smooth while building up the volume of the gel. This step adds depth and dimension to your design, making the flames stand out.
Tip: The central flame should be the highest, with side flames decreasing in height to create a balanced, elegant layout. - 14Sharpen the flame tips
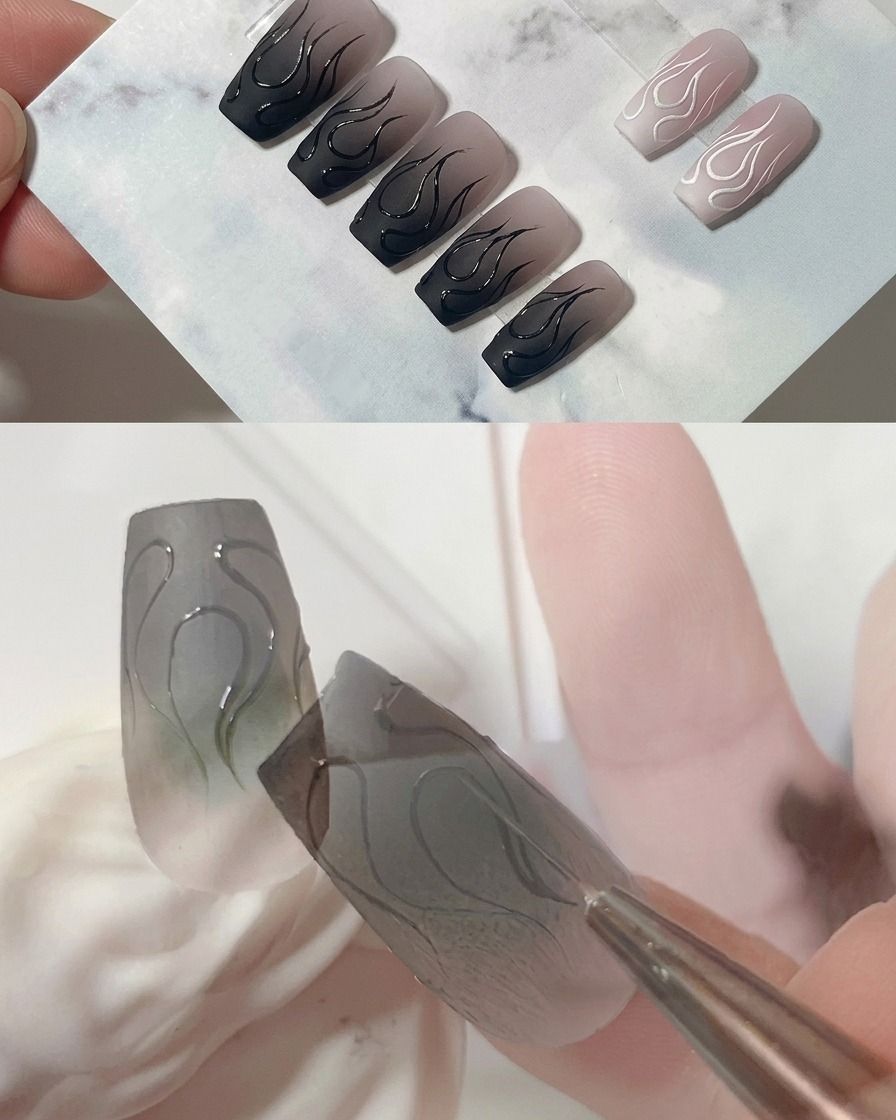
Use the very tip of your fine liner brush to drag out the edges of the flames into sharp, delicate points. These crisp tips are essential for achieving a lively, elegant finish. Take your time to ensure each flame tip is clean and pointed.
Tip: The sharpness of the tips is the soul of the flame design; dont rush this detail. - 15Refine the central flame
Focus on the central flame, which should be the highest point of your design. Carefully refine its tip using the fine liner brush to ensure it is sharp and perfectly integrated with the rest of the flame. Because highly pigmented gels take longer to dry, ensure the design is fully cured under the lamp for 120 seconds.
Tip: A slightly off-center placement for the flame design can look more natural and artistic.