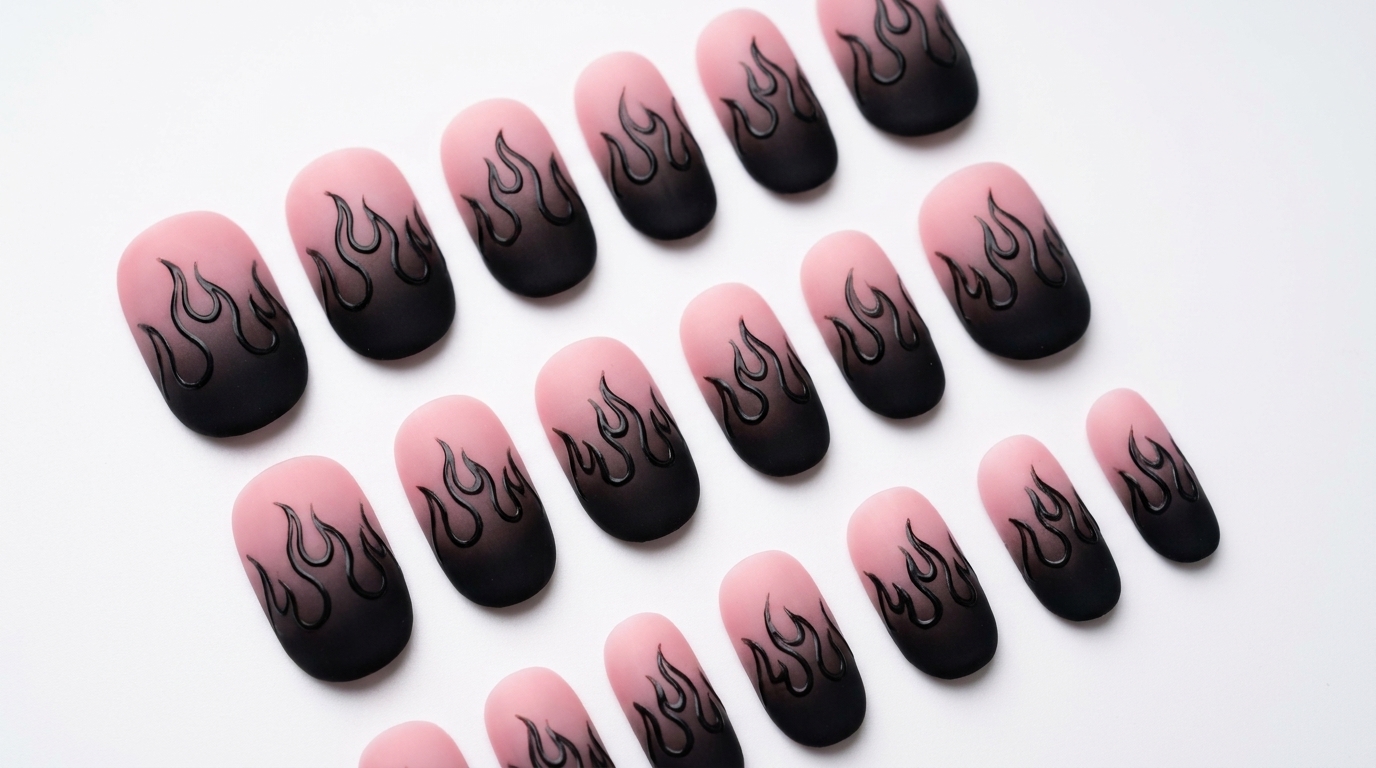
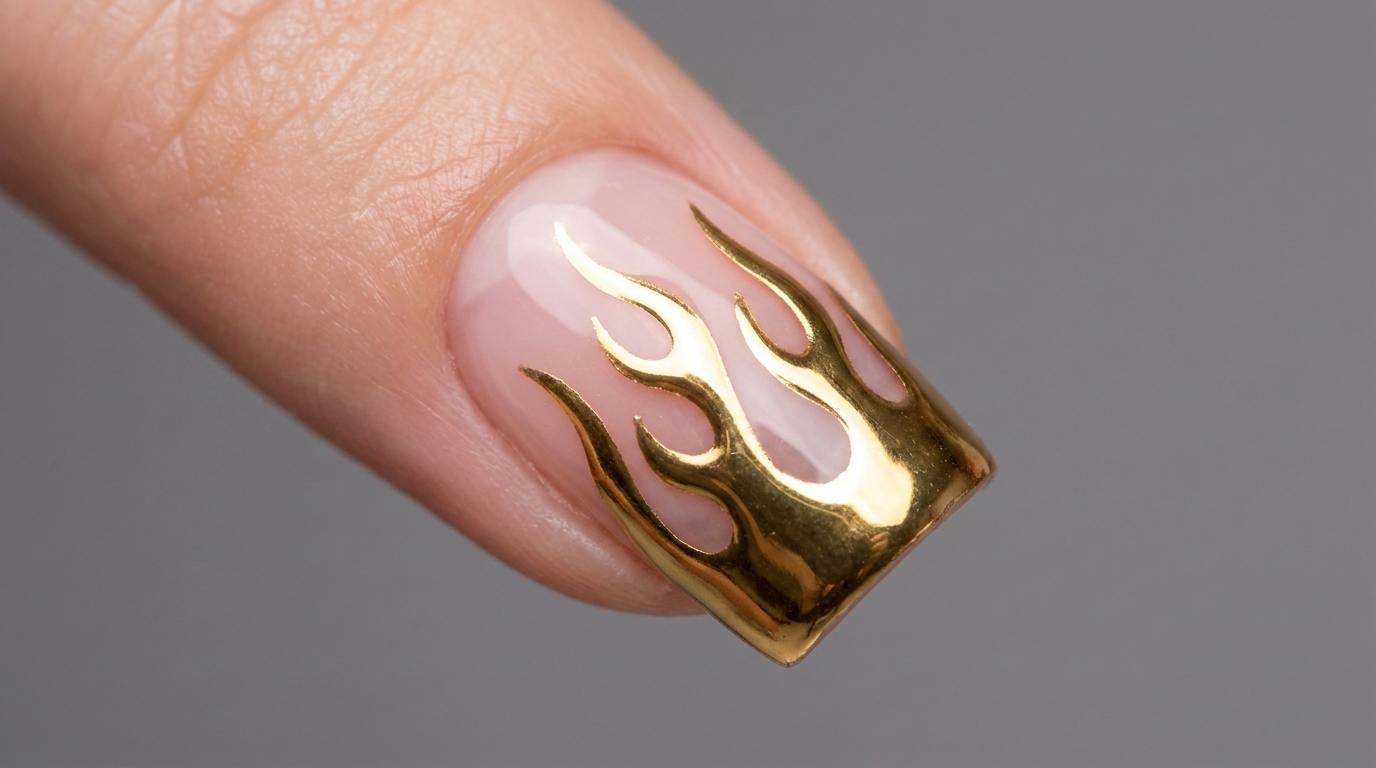
Vibrant Flame Nail Art — Beginner Step-by-Step Tutorial
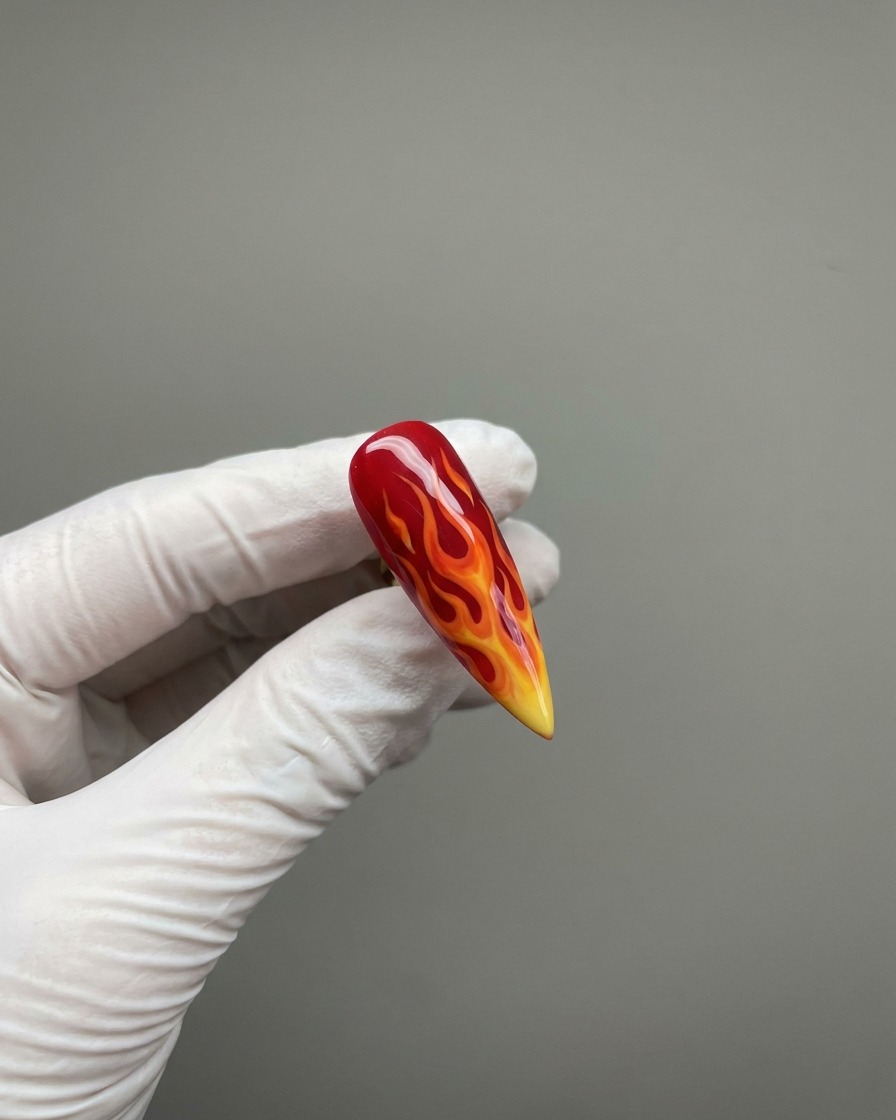
Create stunning, high-contrast flame nails with this easy-to-follow wet-on-wet gel blending technique. Perfect for an edgy and bold manicure.
Flame nail art is a timeless trend that brings instant edge to any manicure. This tutorial shows you how to master the wet-on-wet blending technique to create a smooth, gradient fire effect on a natural nude base.
Steps
- 1Apply black gel polish
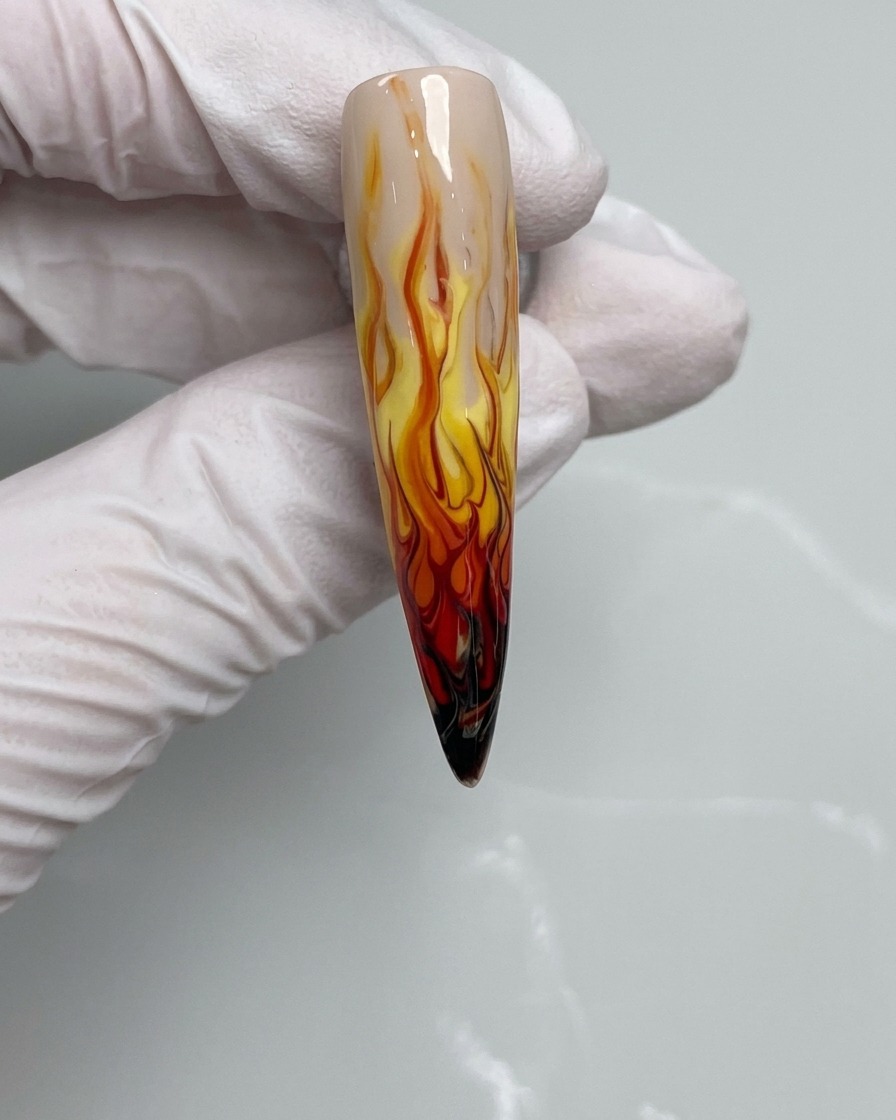
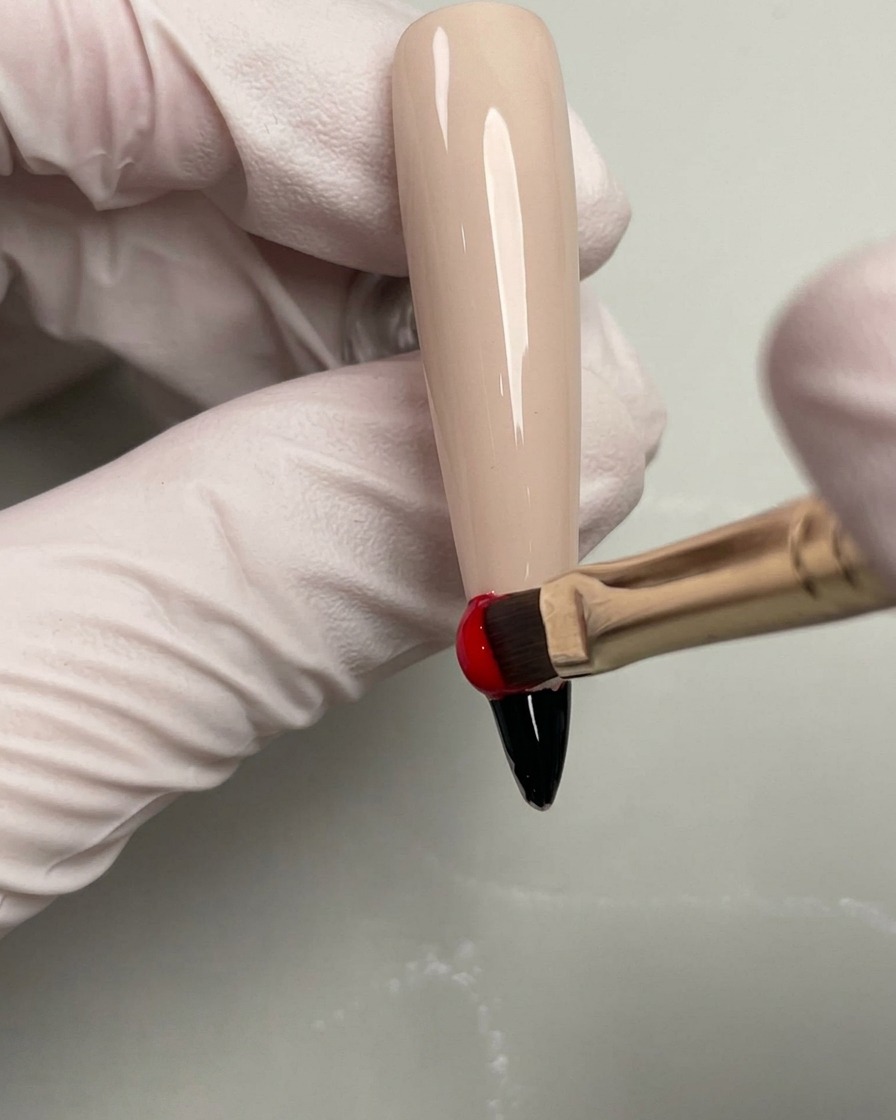
Apply black gel polish to the tip of the nail. Make sure to cover the very end of the nail plate completely to create a strong, dark contrast for the base of the design.
Tip: Keep the layer thin to avoid pooling at the free edge. - 2Apply red gel polish
Apply a section of red gel polish directly above the black area you just painted. Allow it to slightly overlap the black gel to begin building the gradient.
Tip: Do not cure between these color applications so they remain wet for blending. - 3Apply orange gel polish
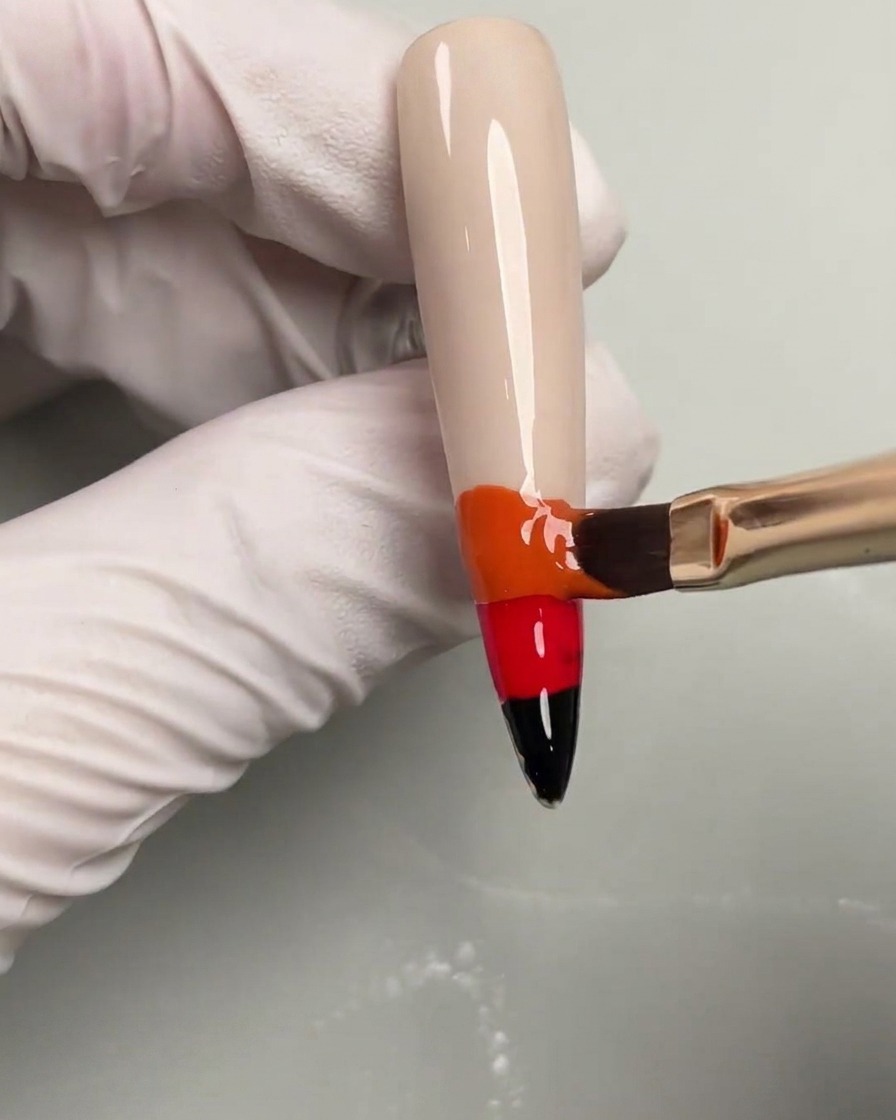
Next, apply a section of orange gel polish directly above the red section. Ensure they touch to allow for a smooth transition of colors.
Tip: Wipe the brush clean if it picks up any of the red polish to keep the orange vibrant. - 4Apply yellow gel polish
Apply a section of yellow gel polish at the top of the colored gradient near the cuticle. This finishes the color base required for the flame design.
Tip: Leave a tiny gap near the cuticle area to prevent the gel from flooding the skin. - 5Create flame shapes
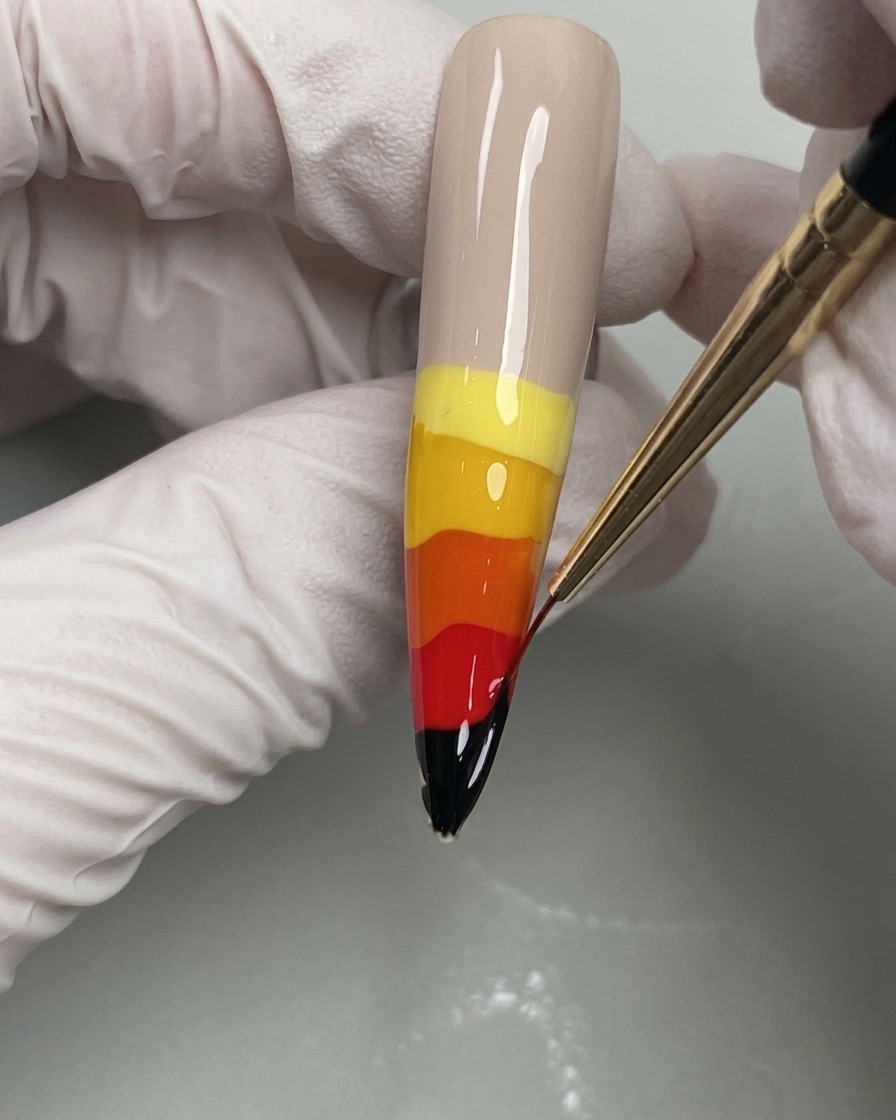
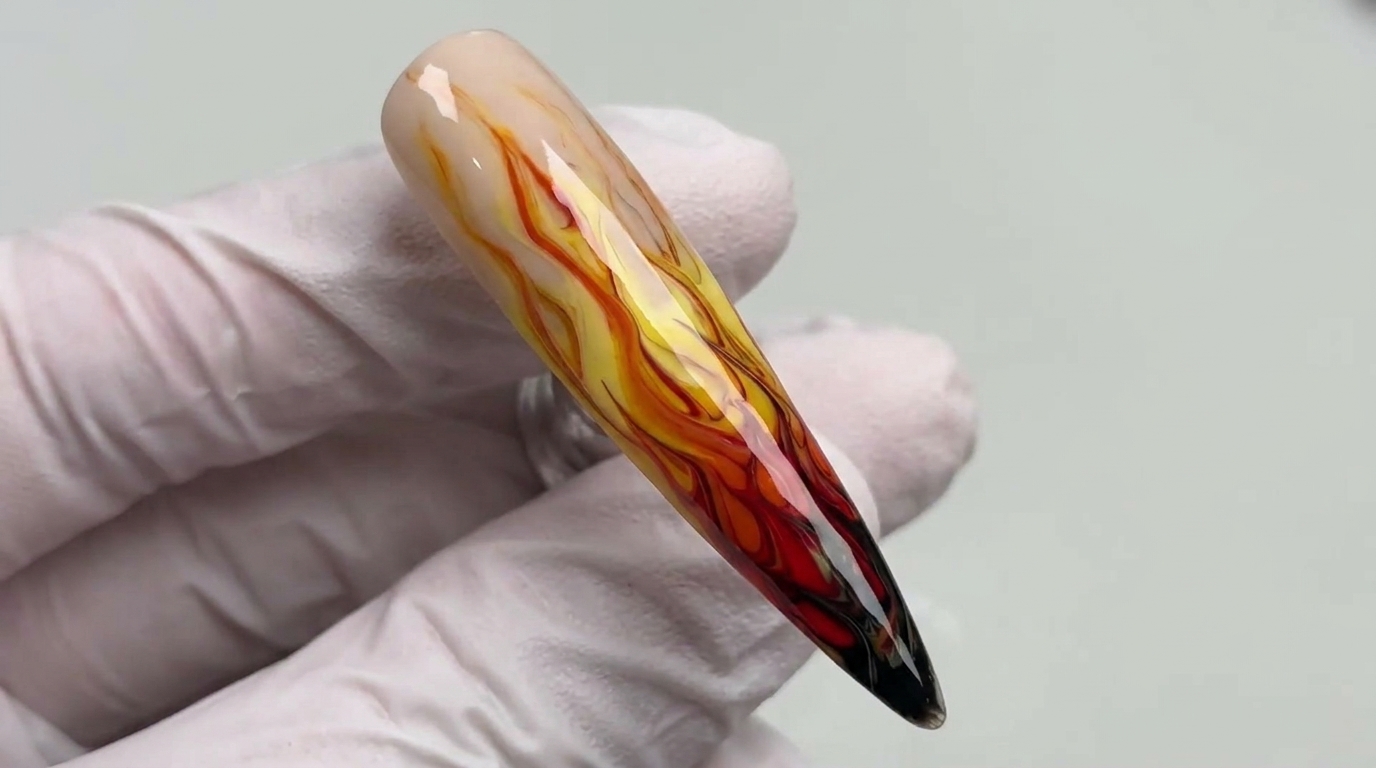
Using a fine liner brush, gently drag the wet colored gel upwards towards the cuticle. This action pulls the colors together into sharp, dynamic flame shapes.
Tip: Clean your liner brush frequently on a lint-free wipe to keep the flame lines crisp. - 6Refine flame details
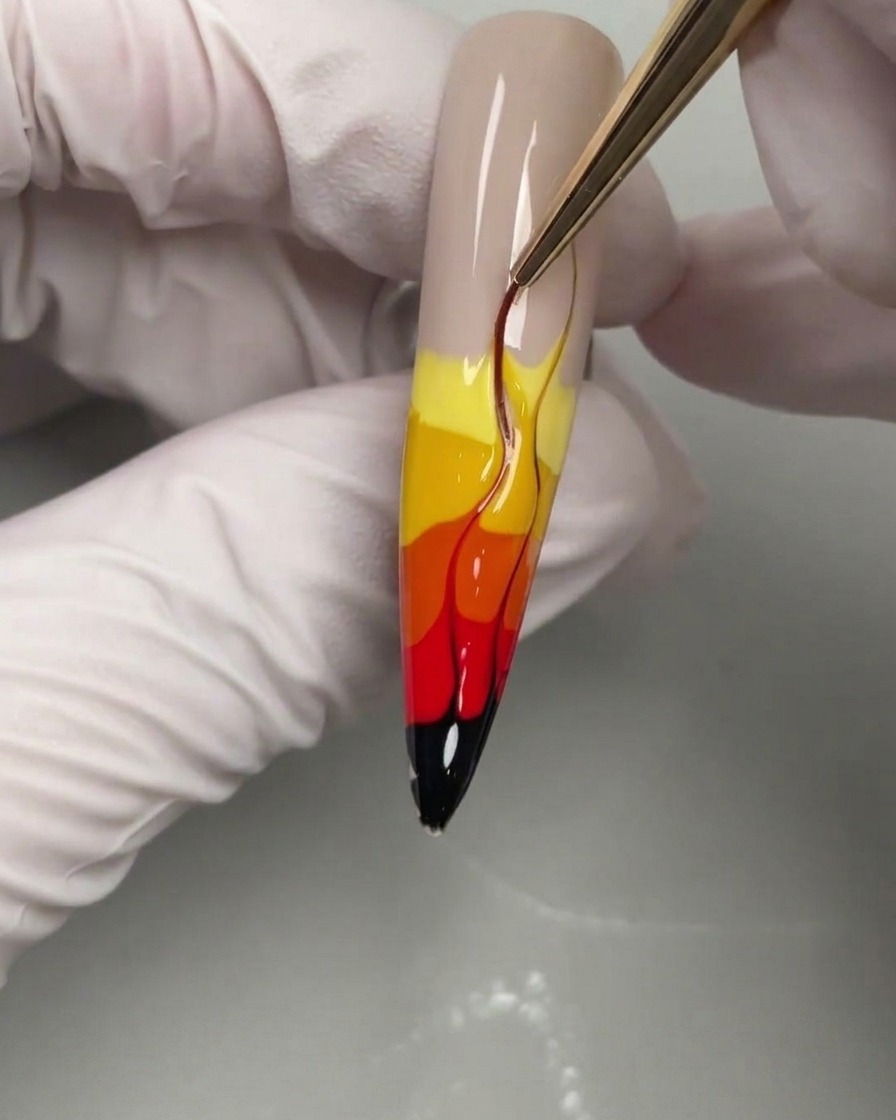
Use the liner brush to further refine the flame shapes. Carefully pull the colors at the top of each flame into extra thin, pointed tips for a realistic and intricate look.
Tip: Use a very light, feathery touch at the very tips of the flames for the best result. (Reference: c3abb98b8ac4.jpg) - 7Outline and add depth to flames
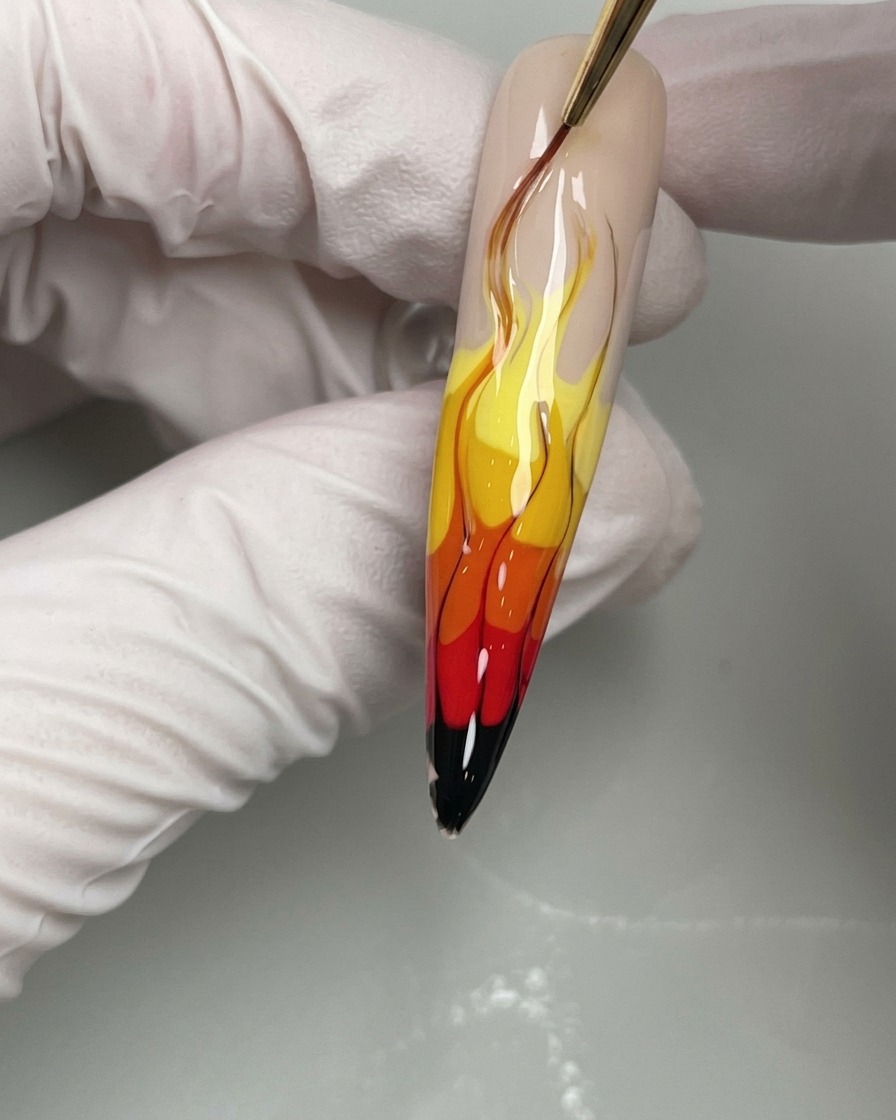
Using a fine liner brush and black gel polish, carefully outline the edges of the flame shapes you previously created. Add subtle flicking motions to the tips and base of the flames to enhance the look of movement and depth. Ensure your lines are crisp and thin for a professional finish before curing.
Tip: Keep a light hand when outlining to maintain delicate, realistic flame details.