Sweet Pink Gradient
Butterfly Cat-Eye Nails — Step-by-Step Tutorial
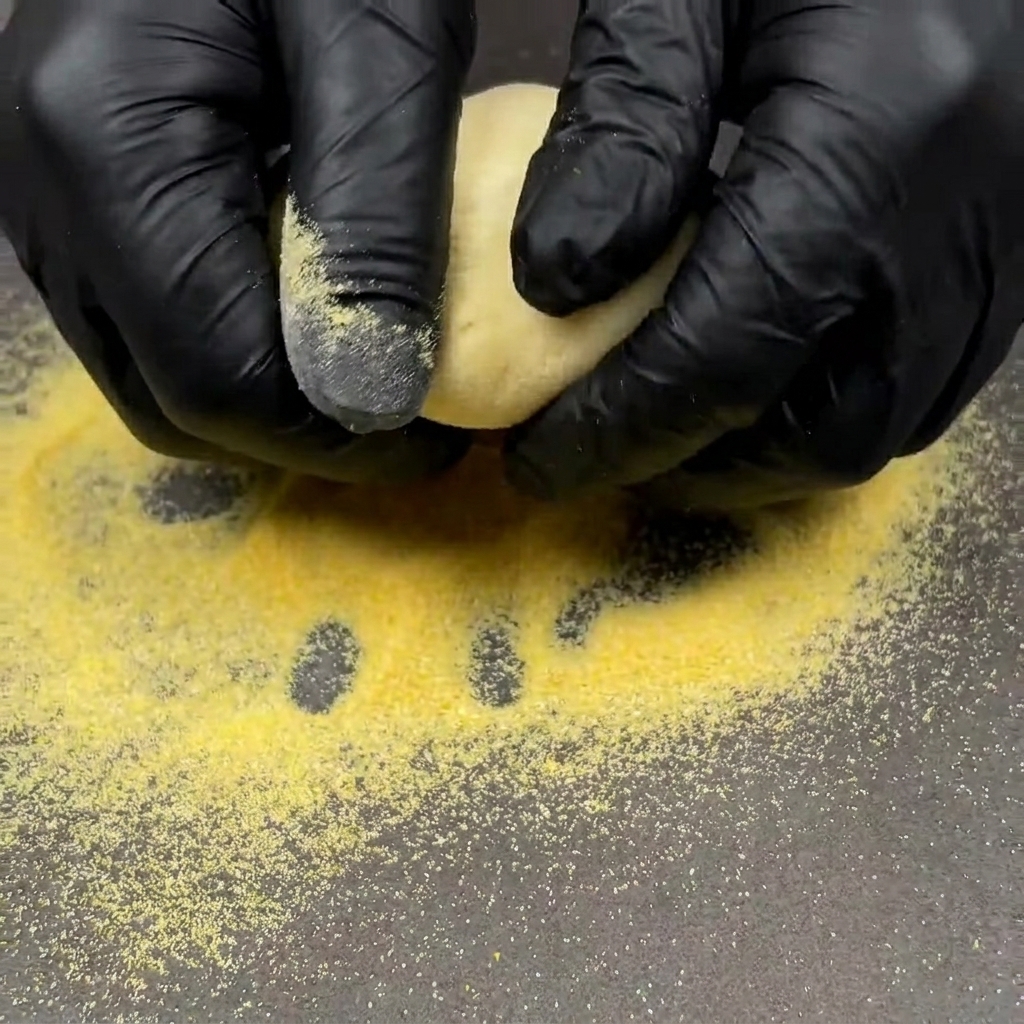
Master this dreamy, summer-inspired nail look featuring white cat-eye shimmer, soft rose-red gradients, and adorable 3D butterfly bow accents.
This super sweet, summer-inspired nail look combines multiple trendy techniques for a truly unique manicure. From the mesmerizing depth of magnetic cat-eye gel to the soft, hand-blended gradient and playful 3D accents, this style is perfect for those who love a whimsical and feminine aesthetic.
Steps
- 1Apply base coat
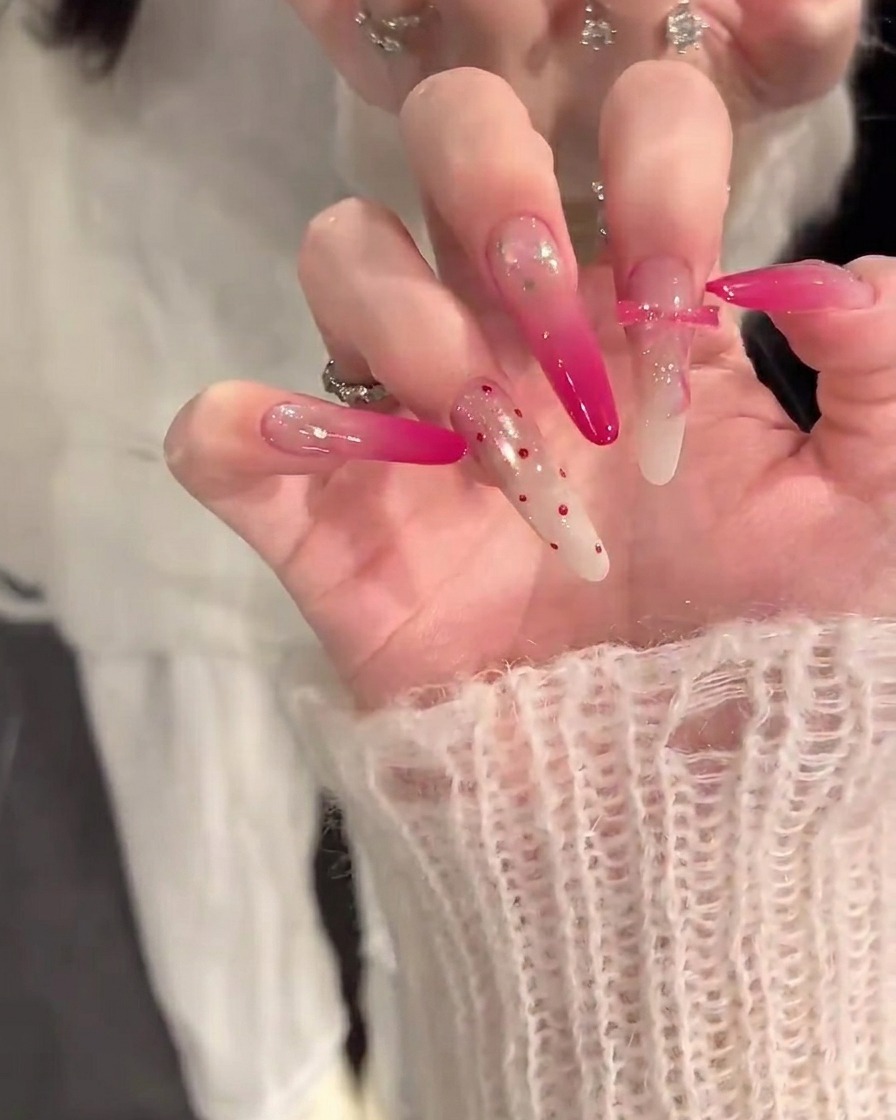
Begin the manicure by applying a thin, even layer of nude base coat to all fingernails. This provides a clean, neutral foundation for the nail art and helps the subsequent gel layers adhere properly. Ensure you cap the free edge of each nail for long-lasting wear.
Tip: Applying a thin layer is key to avoiding thick, uneven nails; always check for any pooling around the cuticles before curing. - 2Apply cat-eye gel
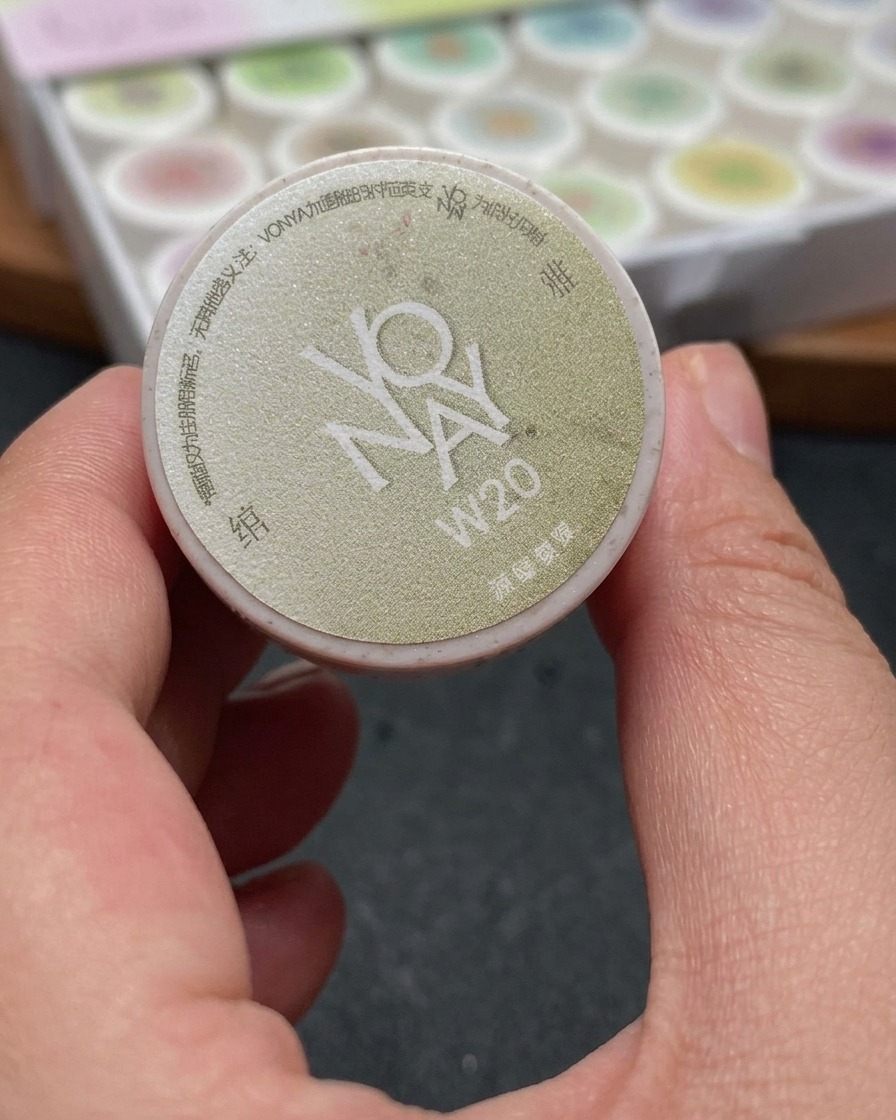
Apply a coat of the white cat-eye gel (#20) over the base layer. Ensure full and even coverage across the nail surface. This specialized gel contains magnetic particles that will allow you to create the signature tracking light effect in the next step.
Tip: For the best effect, use a steady hand to get an even layer before introducing the magnet. - 3Create cat-eye effect
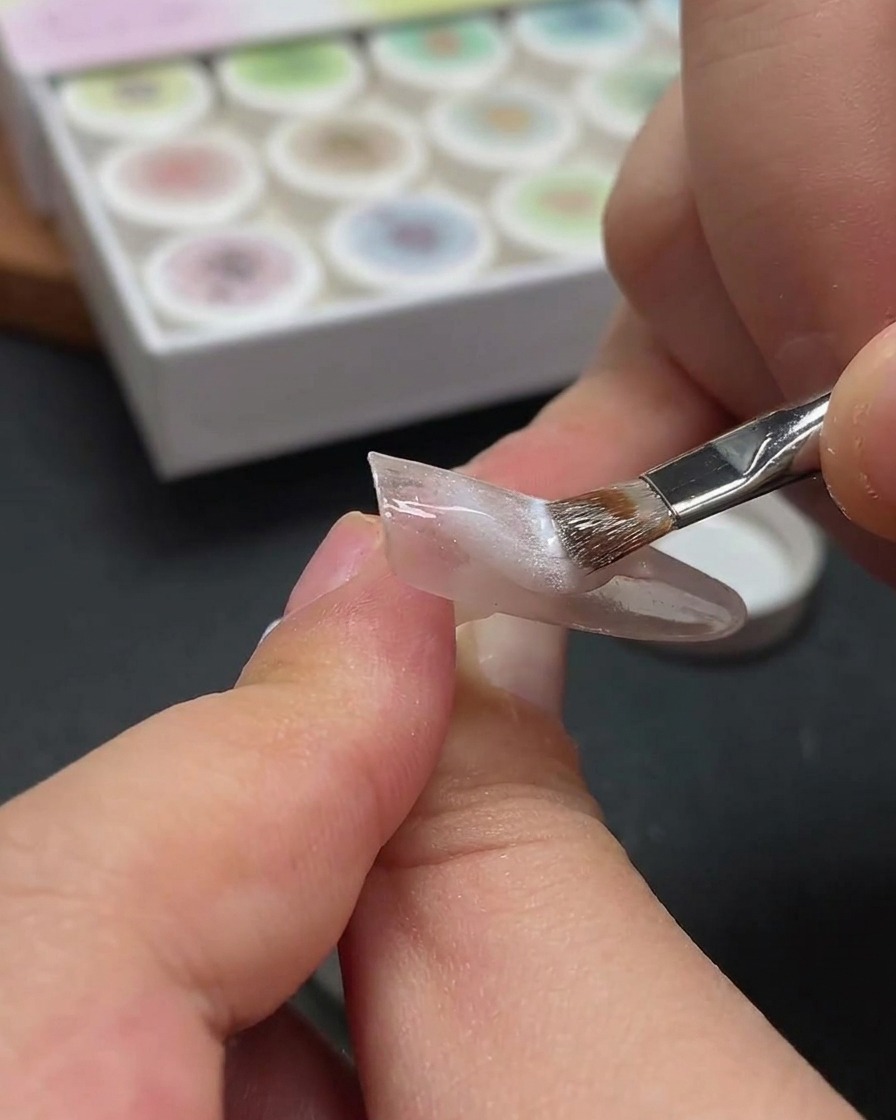
While the cat-eye gel is still wet, hover a magnetic tool over the nail surface. Move the magnet gently to manipulate the metallic particles within the gel, creating a distinct, glowing tracking light line. Once you are satisfied with the design, prepare to cure the nail to lock the effect in place.
Tip: Dont touch the nail with the magnet; keep it very close to the surface to get the strongest, sharpest line effect. - 4Cure the cat-eye gel
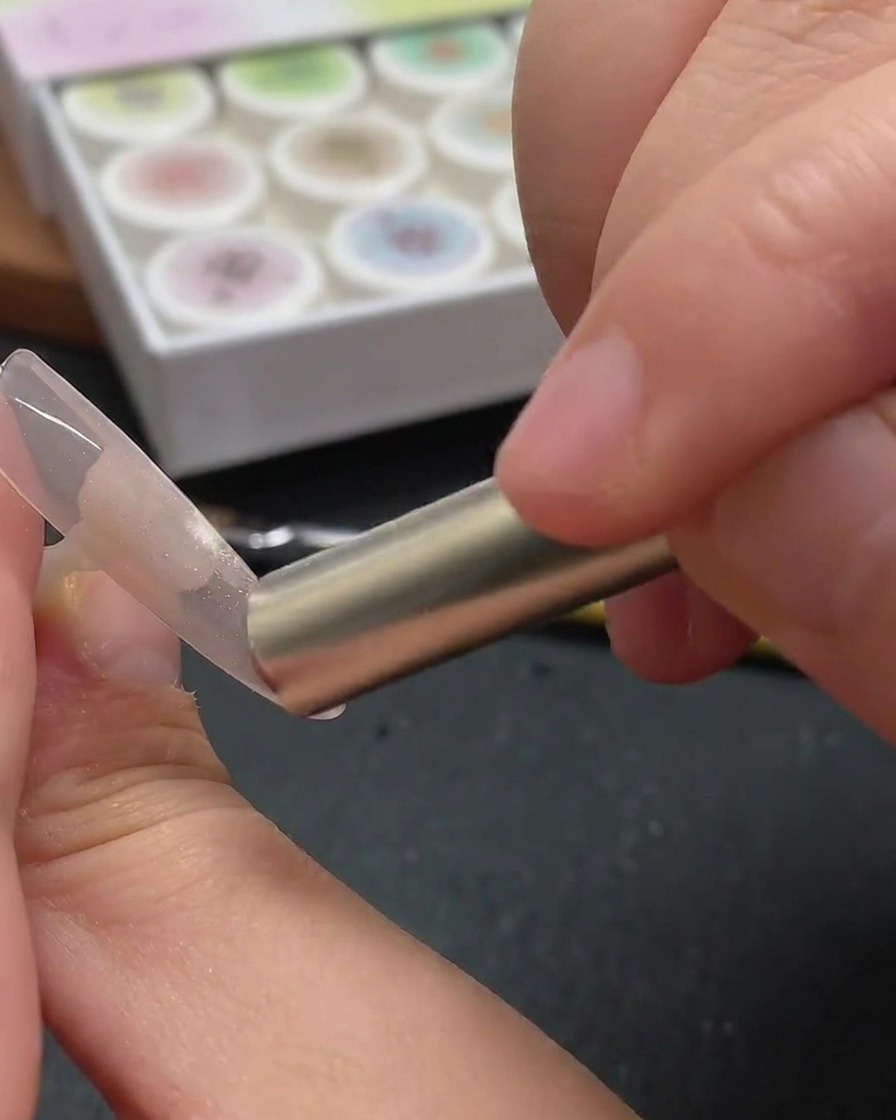
Place the nails under your UV/LED lamp and cure for the full recommended time. Curing is essential to harden the cat-eye gel and ensure that the magnetic particle design remains fixed and does not spread or lose its definition.
Tip: Make sure your fingers are positioned correctly in the lamp to ensure even light exposure across the cat-eye effect. - 5Add glitter accents
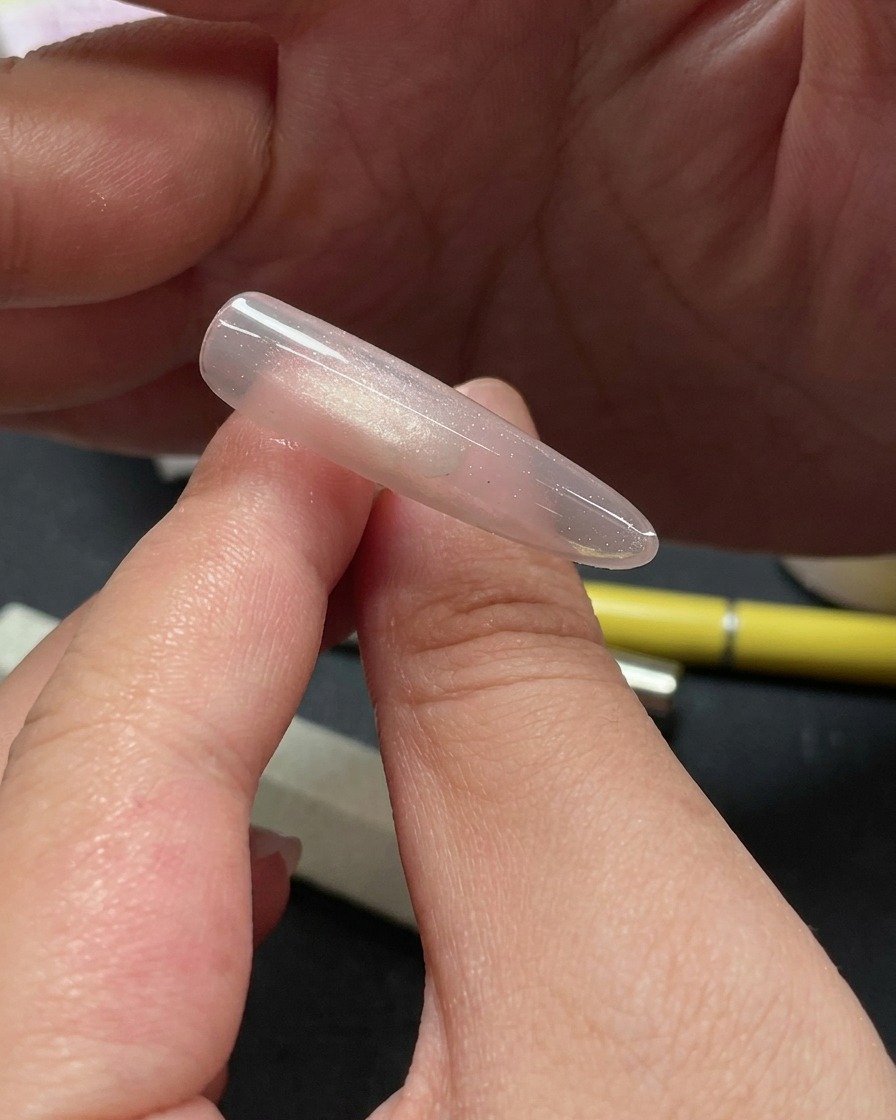
Apply small, delicate glitter pieces onto the upper half of the nail. This adds texture and a subtle sparkle to the design. Place them strategically to enhance the cat-eye look without completely obscuring it.
Tip: Use a dotting tool or tweezers to place individual glitter pieces for precision and a balanced, aesthetic arrangement. - 6Cure glitter layer

Once the glitter is positioned to your liking, place the nails back into the UV/LED lamp for a final cure. This step secures the glitter pieces into the nail design, ensuring they remain firmly in place for the duration of your manicure.
Tip: Ensure the glitter is pressed flat into the gel before curing to avoid any sharp or uneven texture. - 7Prepare sponge for gradient
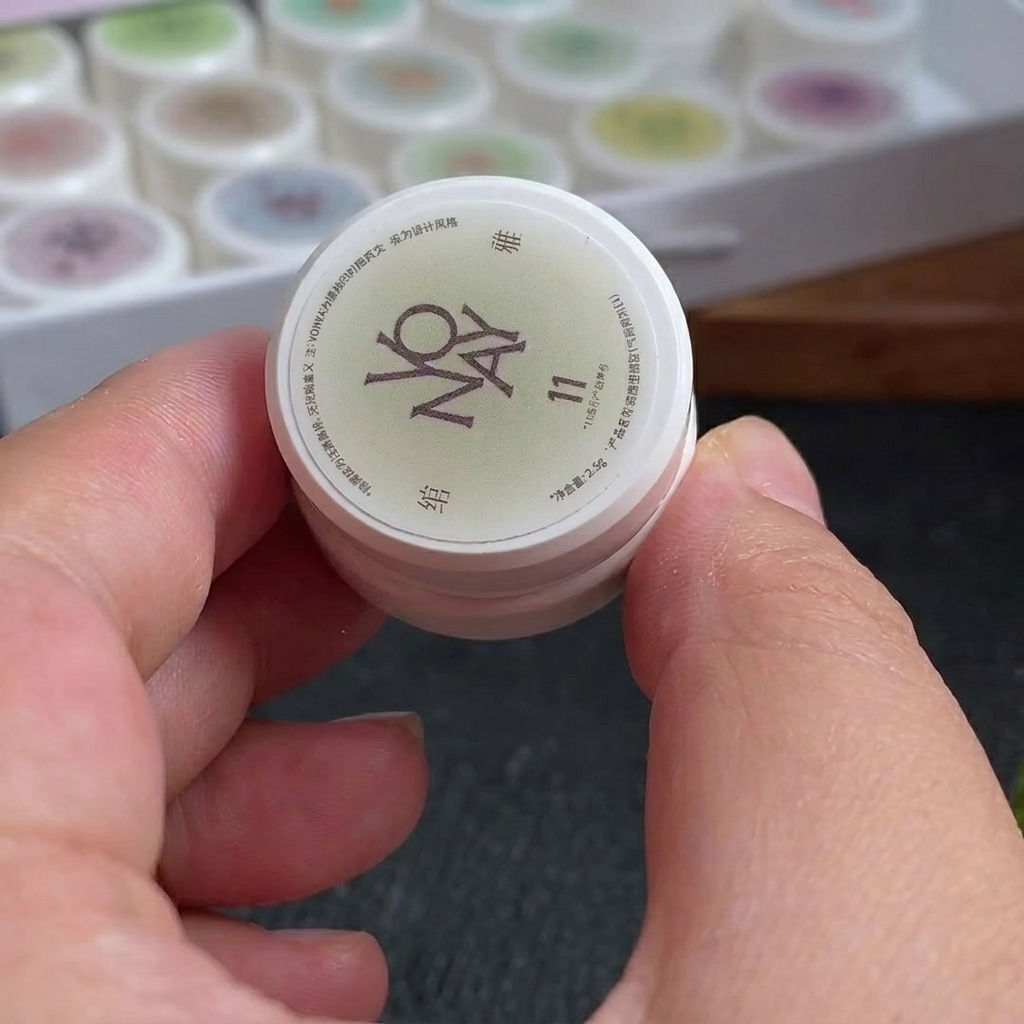
Apply small amounts of warm-toned white and rose-red gel polish onto a makeup sponge. Ensure the colors are placed side-by-side to allow for a smooth transition during application.
Tip: Do not overload the sponge with too much product, as this can make the gradient messy and difficult to blend on the nail. - 8Stamp the gradient onto nail tips
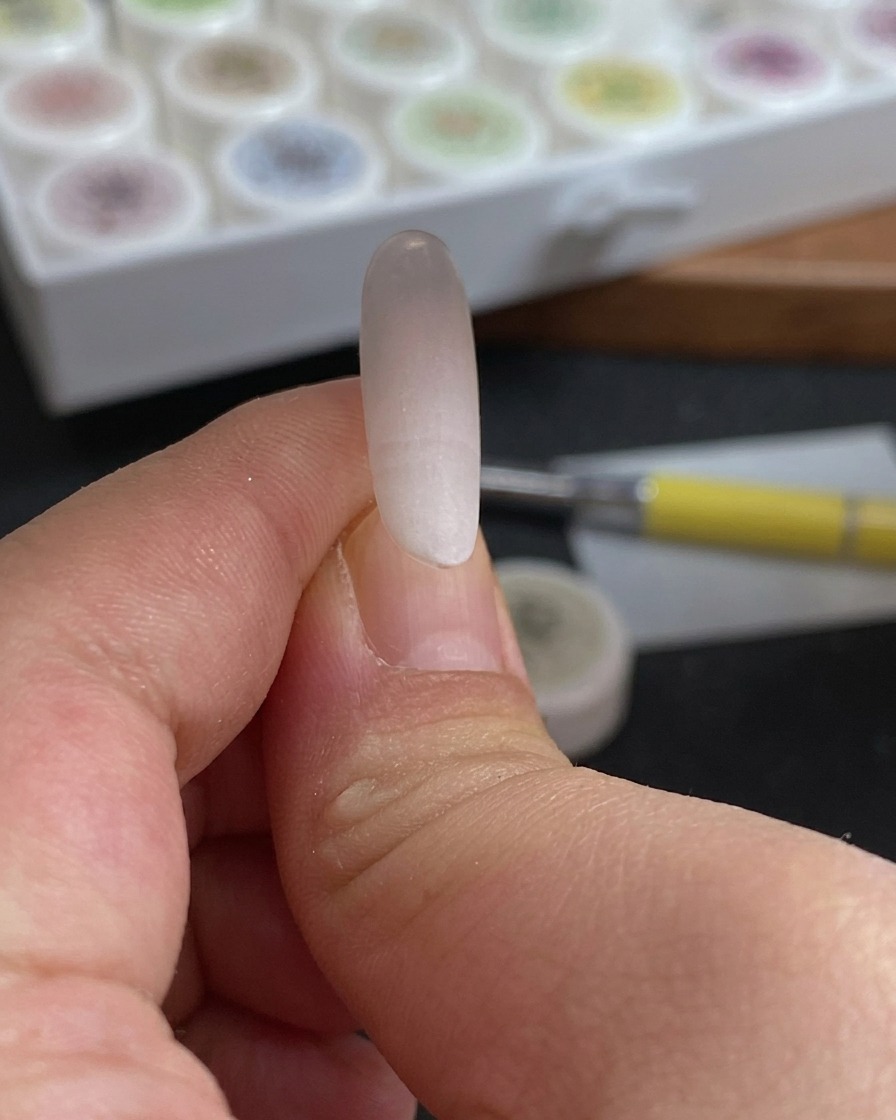
Gently press the prepared sponge onto the tips of your nails to transfer the colors. Use a light dabbing motion to build up the gradient effect until you achieve the desired intensity.
Tip: Use a dabbing motion rather than a dragging motion to prevent the colors from muddling and to keep the gradient crisp. - 9Cure the gradient
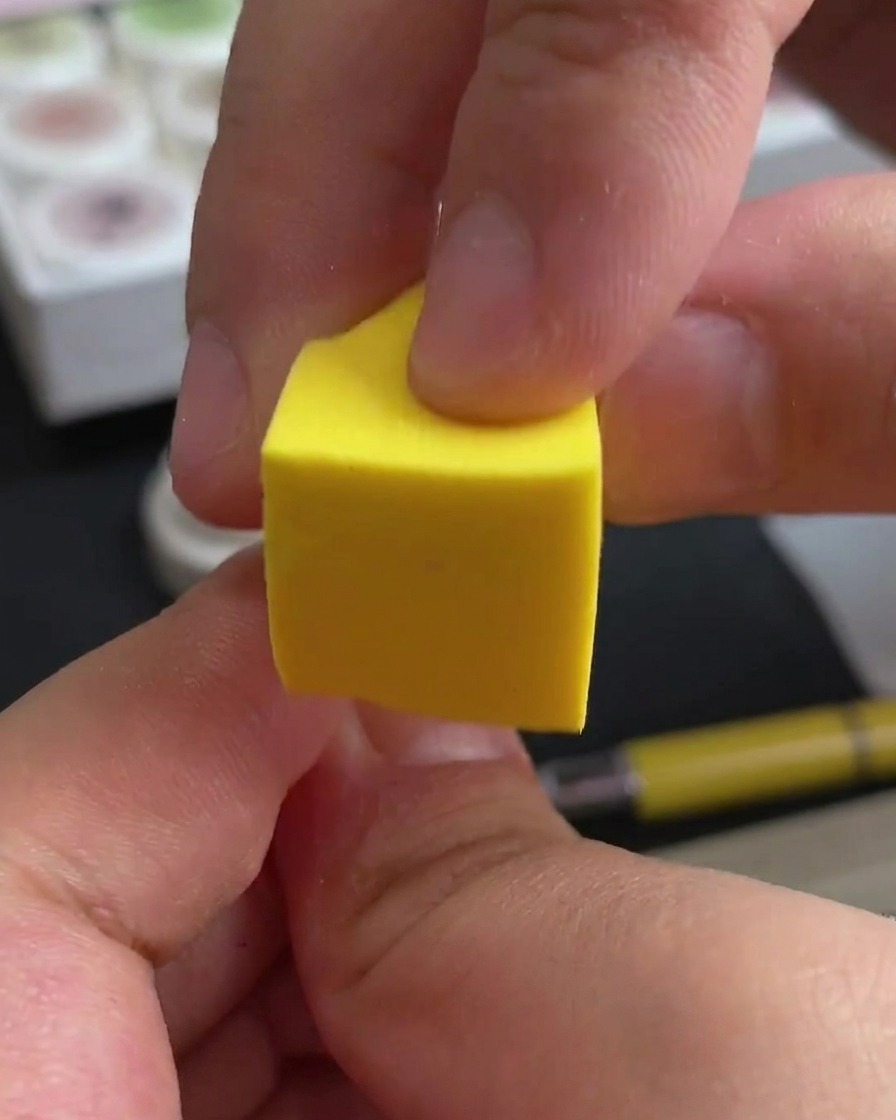
Place your nails under an LED or UV lamp to cure the gradient. Follow the manufacturers instructions for the specific curing time required for your gel polish to ensure it is fully set.
Tip: If the gradient looks too sheer, you can repeat the sponge-dabbing and curing process for a second layer before moving on. - 10Apply adhesive hard gel

Apply a layer of clear hard gel to the index and ring finger nails where you plan to place the charms. This will act as a strong adhesive to keep the decorations secure.
Tip: Use a small brush to control the placement of the hard gel, keeping it contained within the area where the charm will sit. - 11Attach bow charm
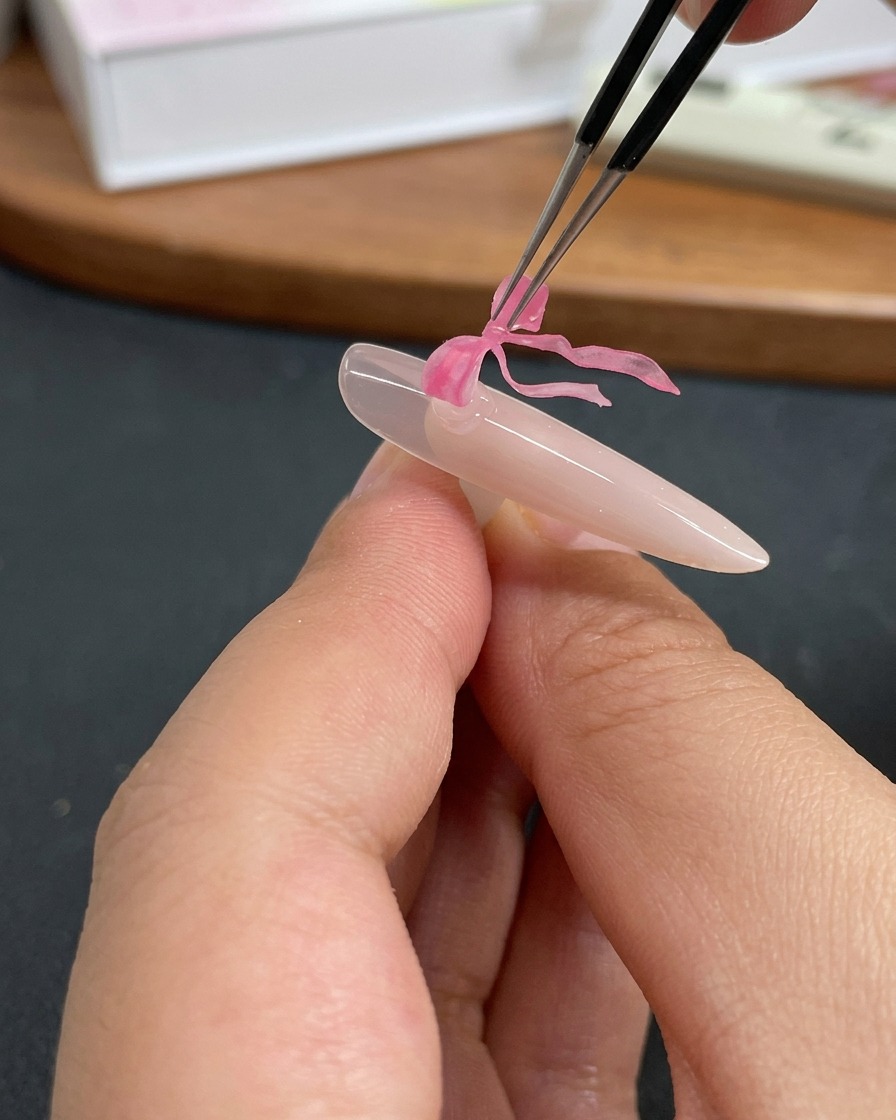
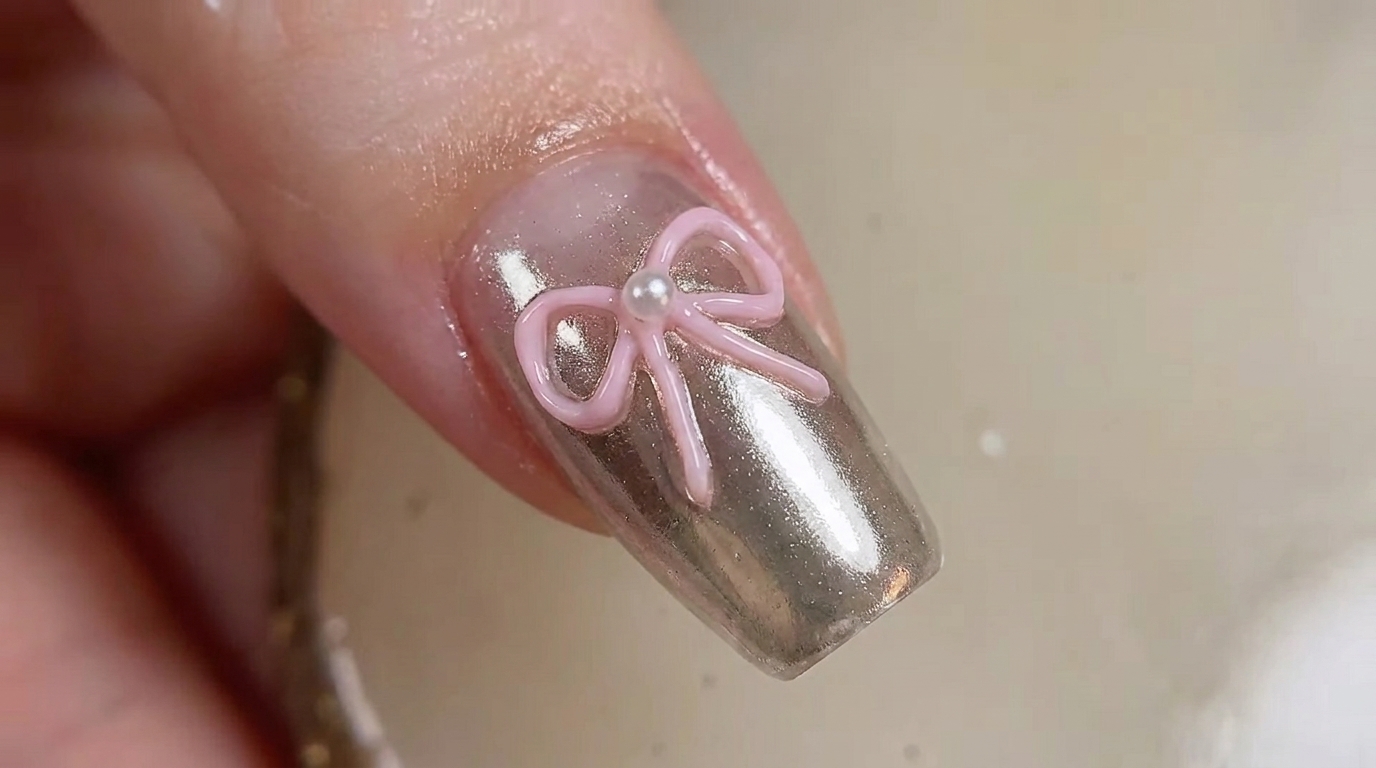
Using tweezers, carefully pick up the pink butterfly bow charm and place it onto the wet hard gel on the nail. Gently press down to ensure it adheres properly.
Tip: Adjust the charms position while the gel is still wet to get the perfect placement before curing. - 12Seal and cure the charm
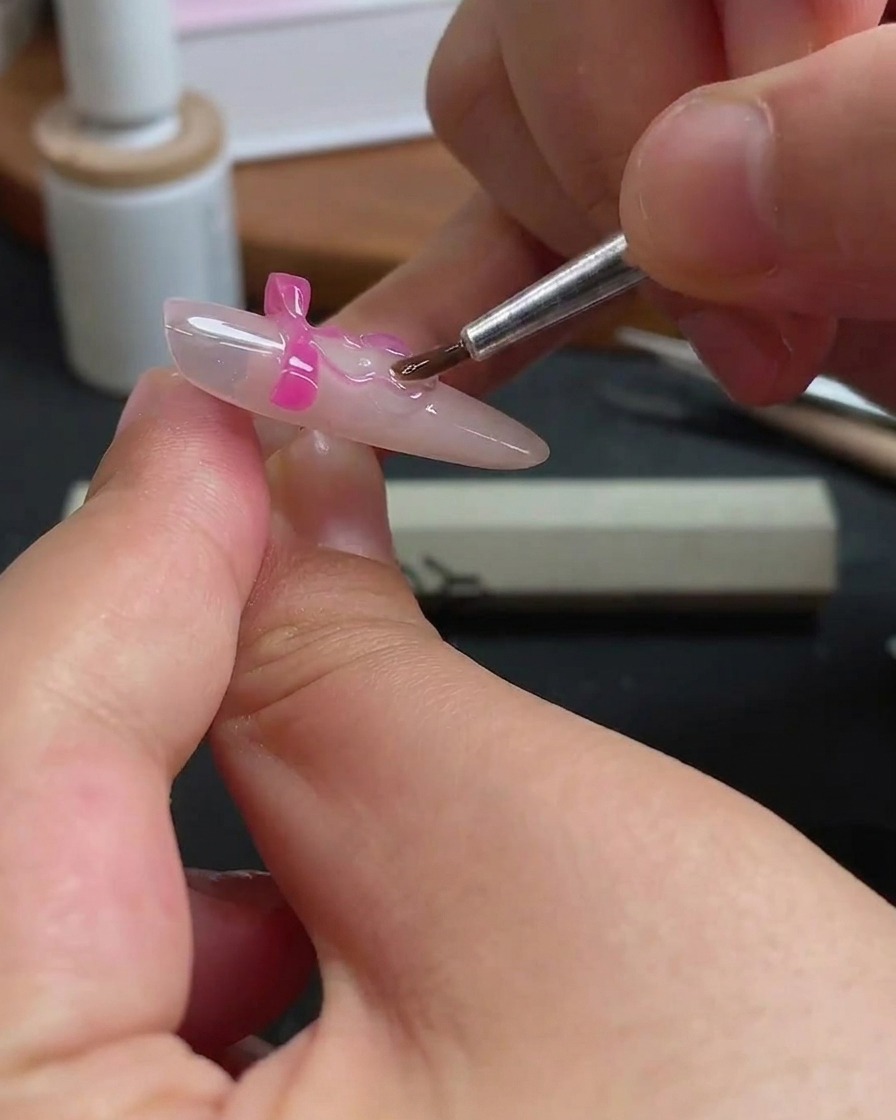
Apply a small amount of gel around the base and edges of the bow charm to seal it in place. Ensure no gel covers the top of the charm if you want to maintain its texture, then cure under the lamp.
Tip: Careful sealing prevents the charm from snagging on clothing and ensures it stays put for the duration of your manicure. - 13Create polka dot pattern
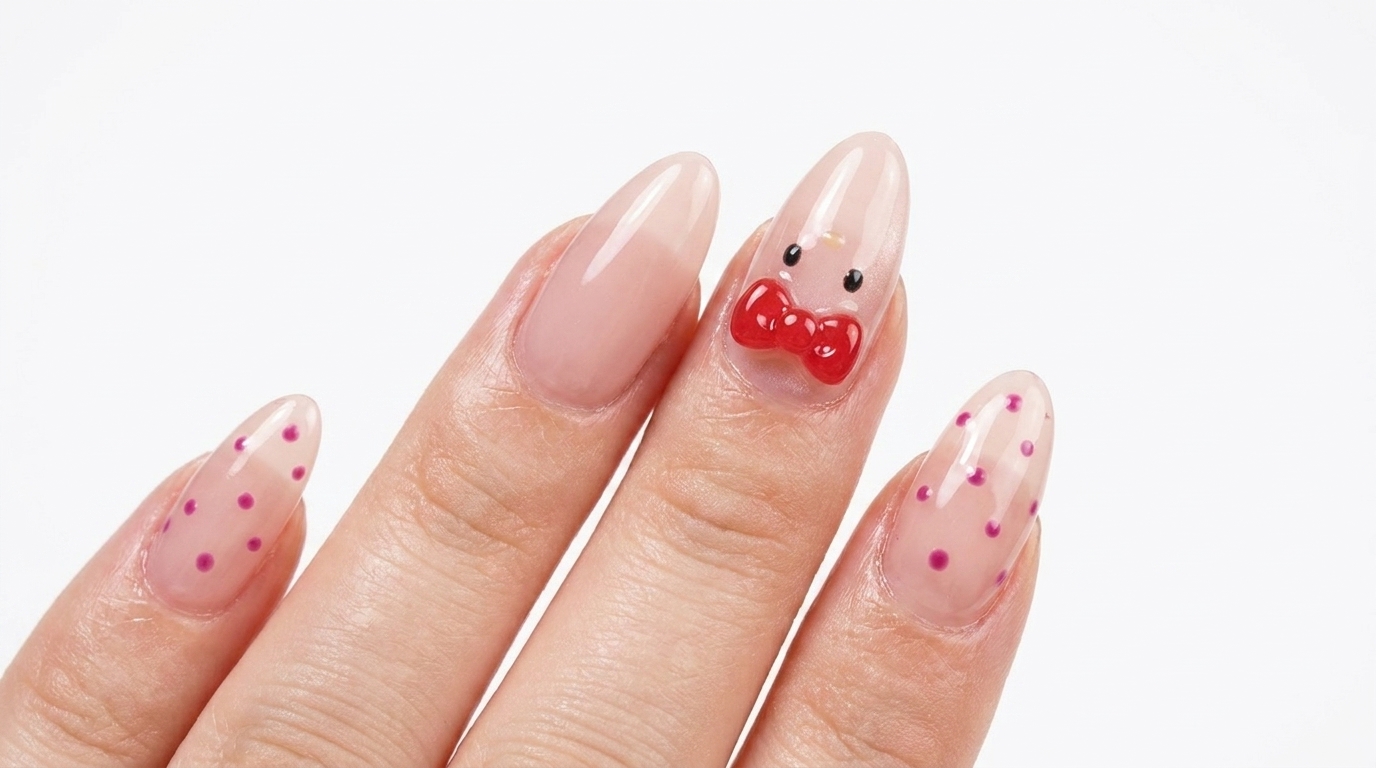
Using a fine dotting tool, carefully pick up a small amount of rose-red gel polish. Place distinct, evenly spaced dots across the nail surface to create a cute polka dot design. Ensure each dot is uniform in size for a professional look.
Tip: Wipe your dotting tool clean between applications to keep the dots crisp and prevent gel buildup. - 14Cure the polka dots
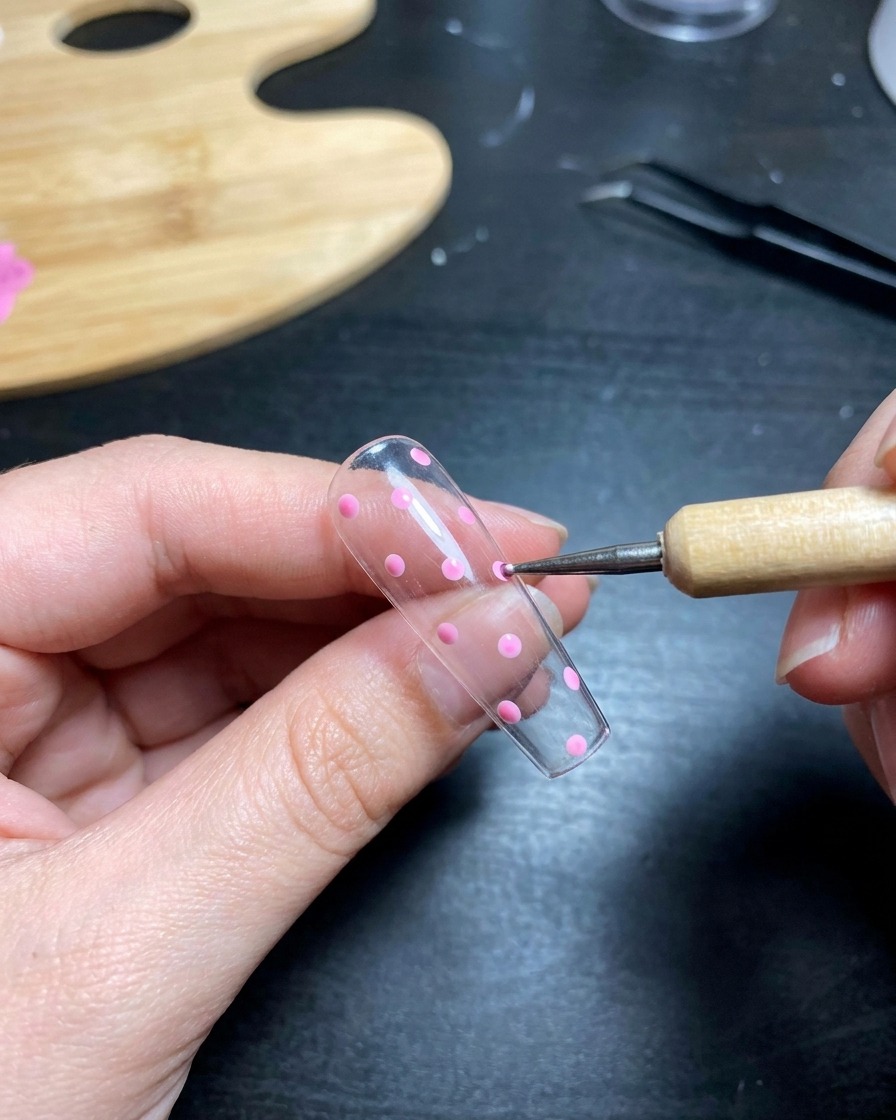
Place your nails under the UV/LED lamp to cure the polka dot design. Follow the gel polish manufacturers recommended curing time to ensure the gel is fully set and durable.
Tip: Ensure your hand is placed flat inside the lamp to get even light coverage across all fingers. - 15Add 3D gel dimension
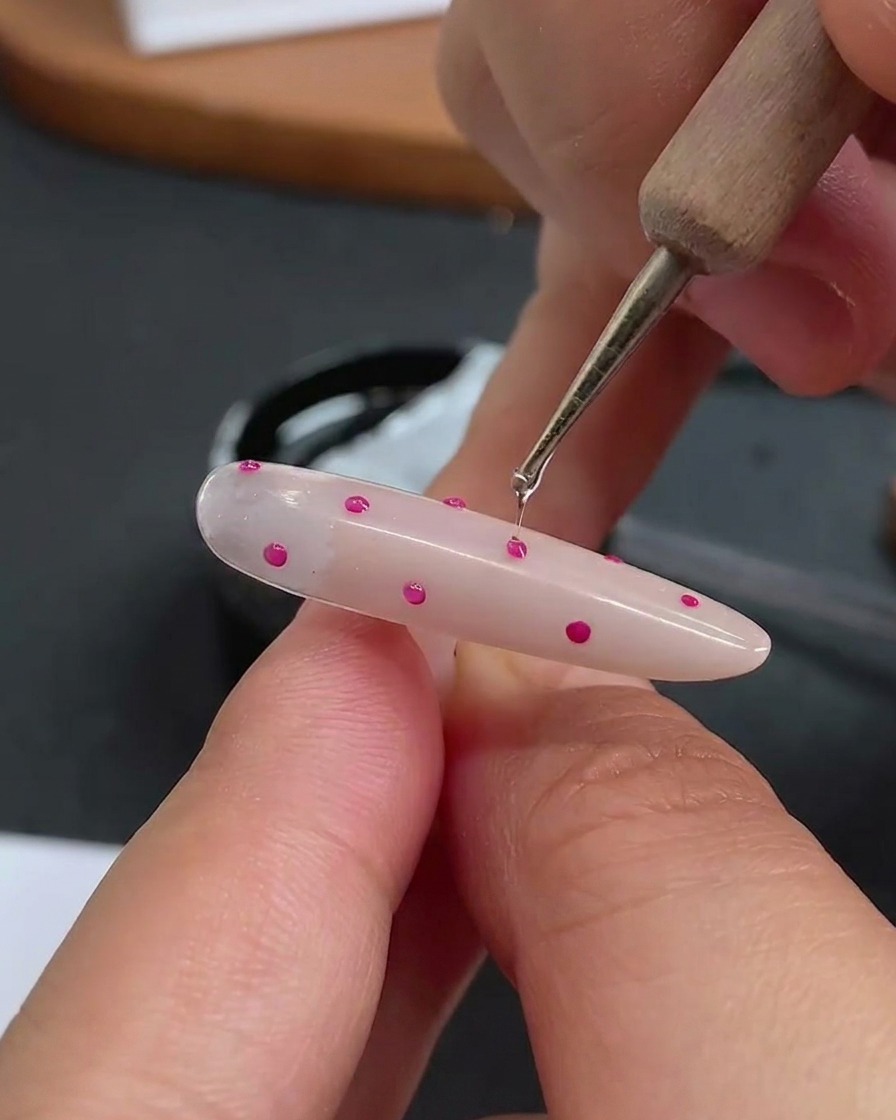
Carefully apply a small bead of clear hard gel over each rose-red polka dot. This technique adds a 3D, raised effect to your nail art, giving it extra texture and depth.
Tip: Use a very small, controlled amount of hard gel for each dot to avoid making them look too bulky. - 16Apply top coat and cure
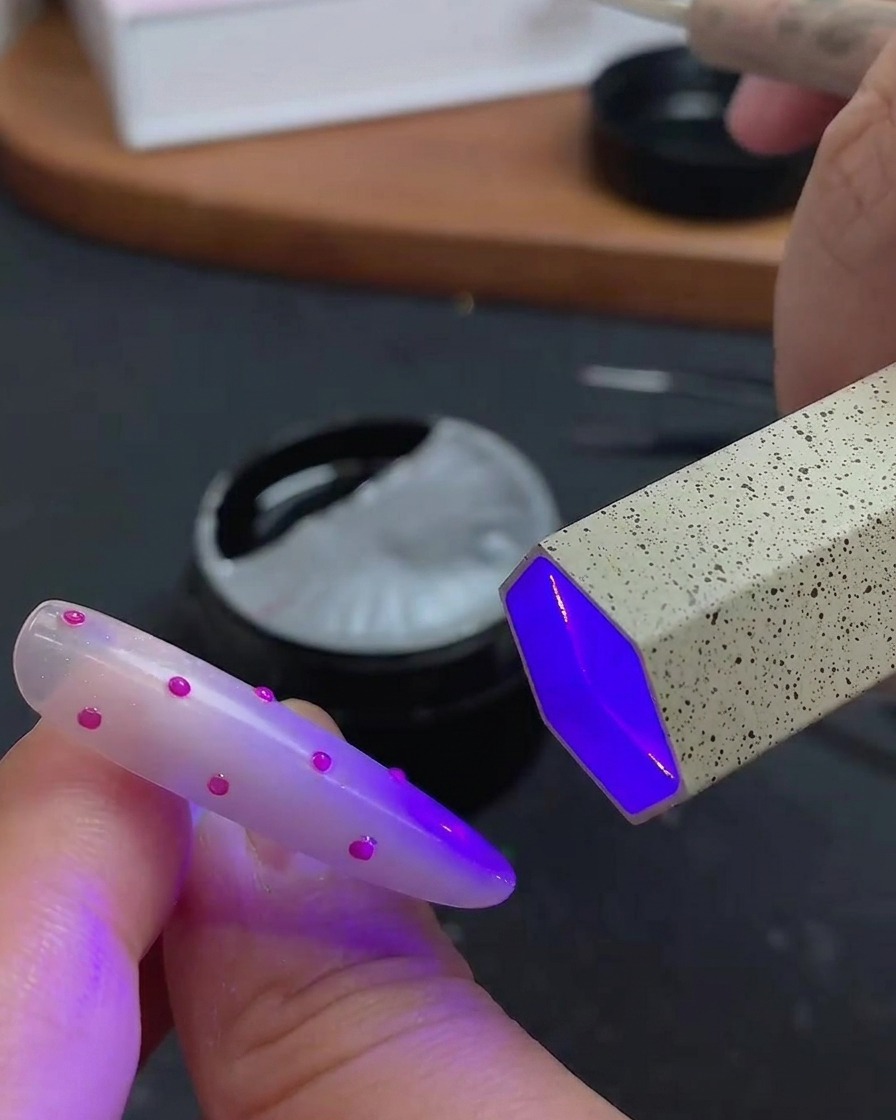
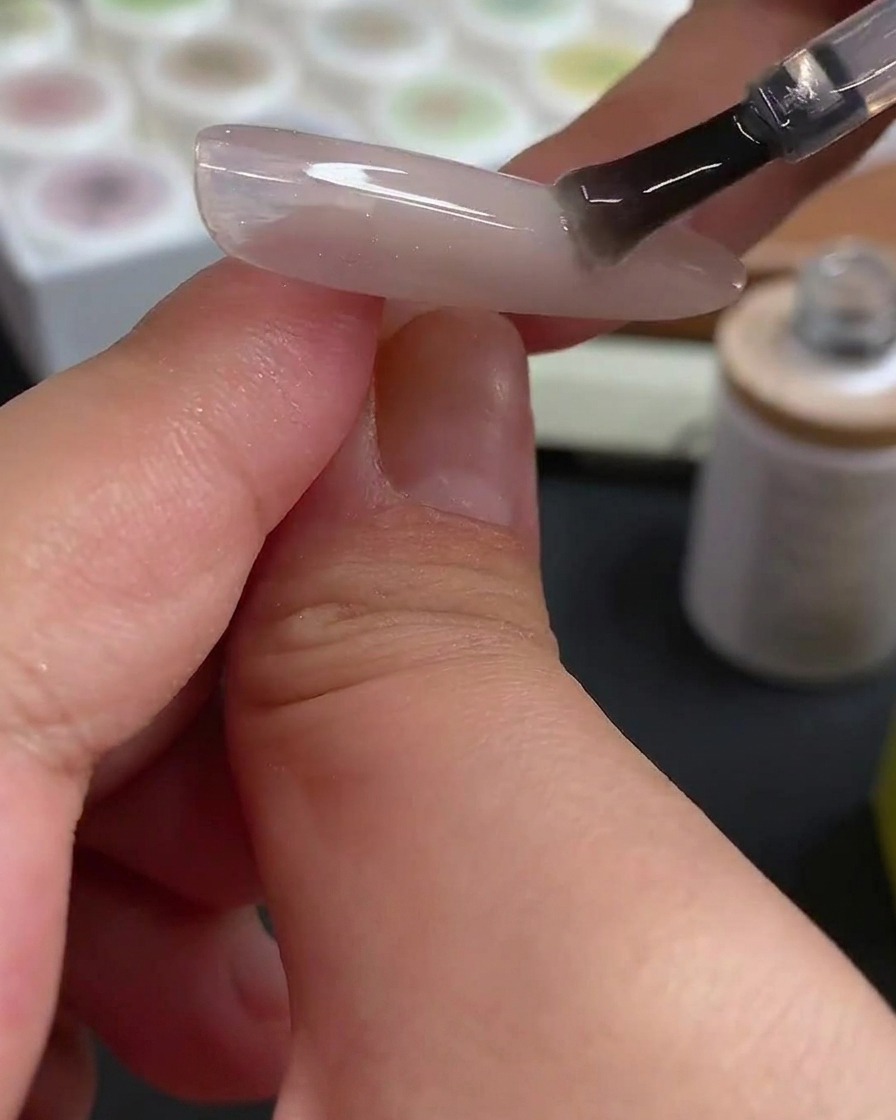
Apply a final layer of gel top coat over the entire nail surface, ensuring you cap the free edge for maximum longevity. Place under the UV/LED lamp for a full cure to seal the design and provide a high-gloss, protective finish.
Tip: Avoid getting any top coat on the skin or cuticles to prevent lifting and ensure a clean finish.