Cute Hello Kitty Inspired Bow Nails — Easy Step-by-Step Tutorial
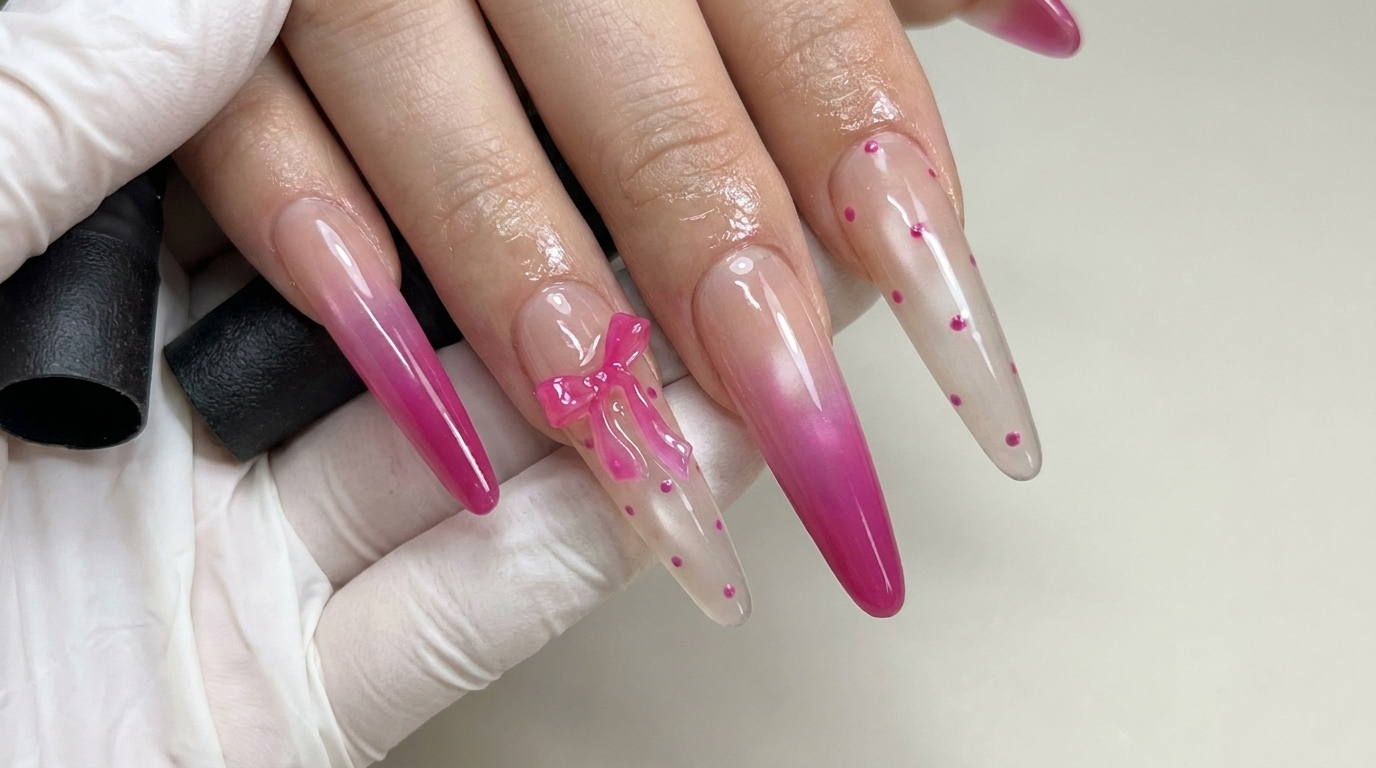
Learn how to create this adorable Hello Kitty-inspired look featuring 3D red bows, playful magenta polka dots, and a chic sheer base.
Bring a touch of nostalgic charm to your manicure with these delightful character-inspired nails. Combining a clean, sheer base with vibrant magenta accents and a statement 3D red bow, this look is both playful and polished. It is the perfect design for anyone looking to add a bit of whimsy to their everyday style.
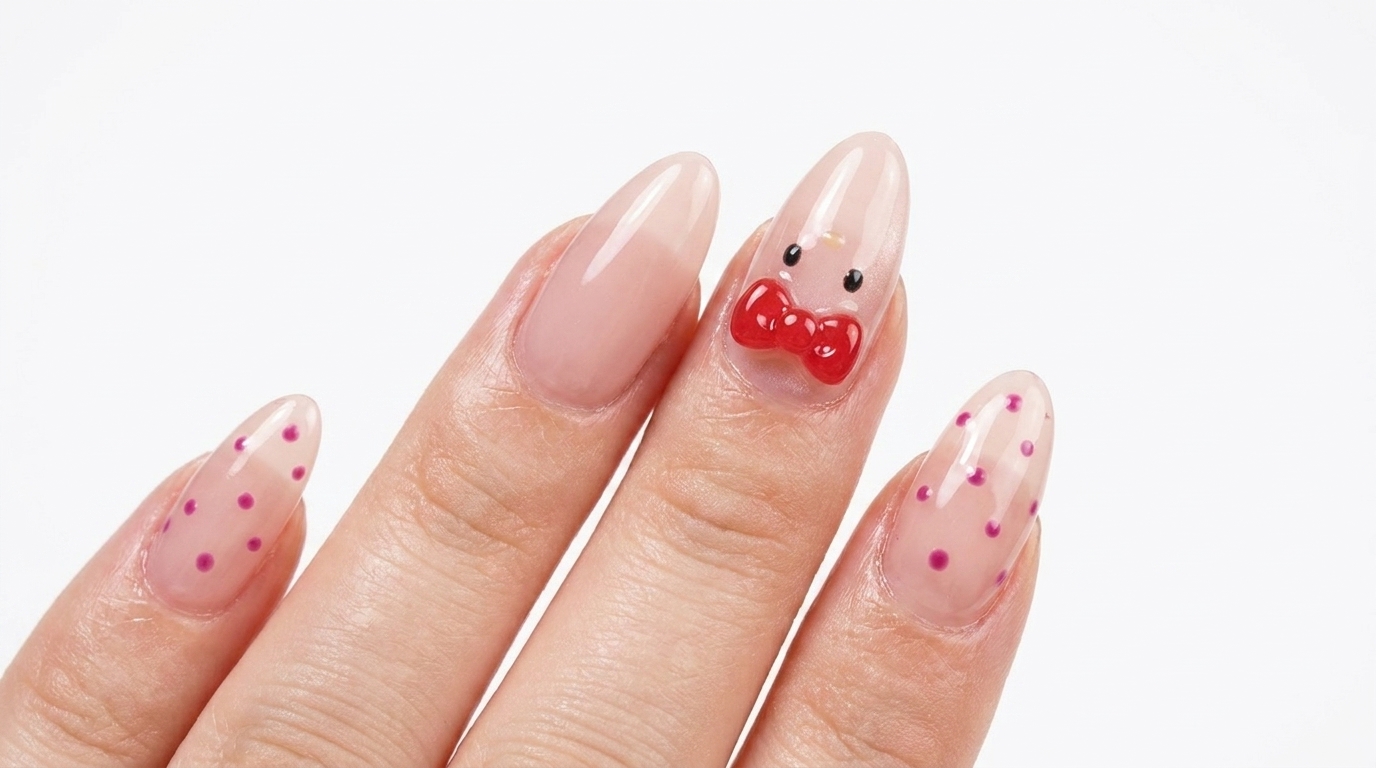
Steps
- 1Apply nail extension tip
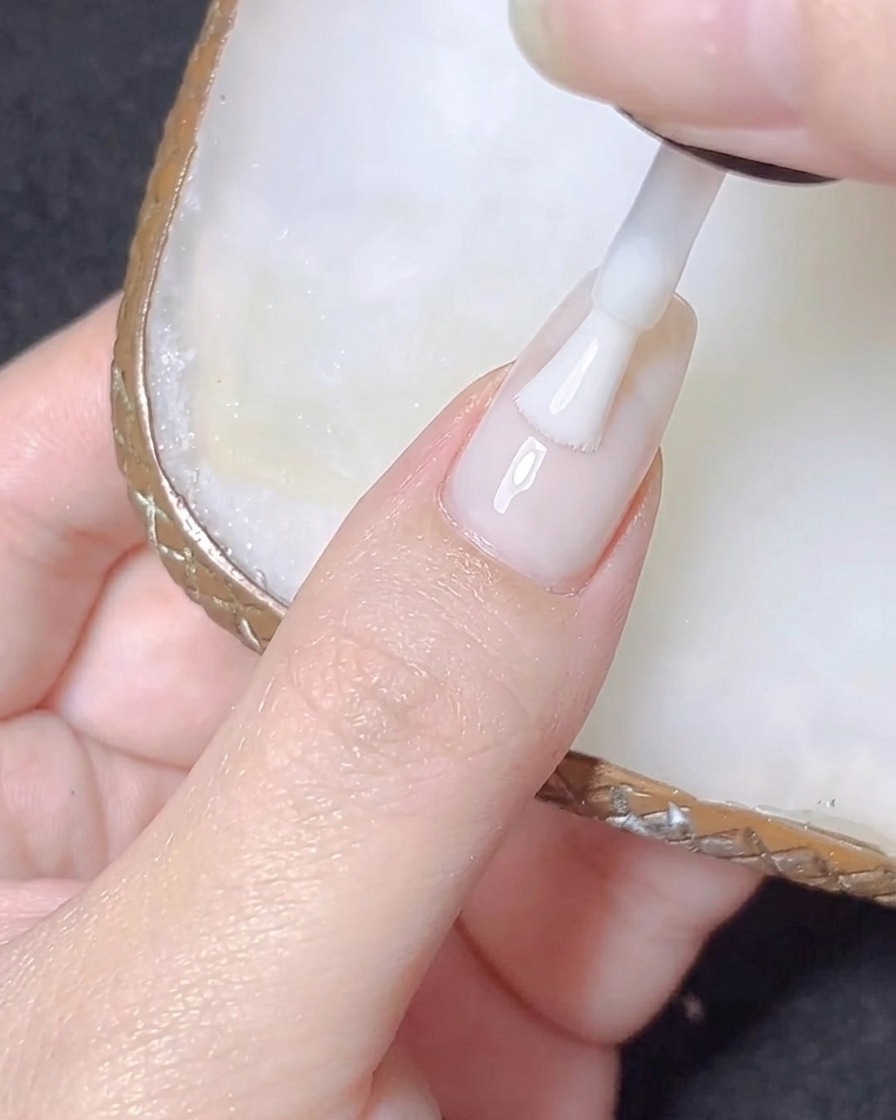
Apply a small amount of adhesive to the well of the nail tip and press it firmly onto your natural nail plate. Ensure it is centered and free of air bubbles, holding it in place until the adhesive sets securely.
Tip: Hold the tip at a slight angle when pressing down to force the glue outward and prevent trapped air pockets. - 2Trim excess nail tip
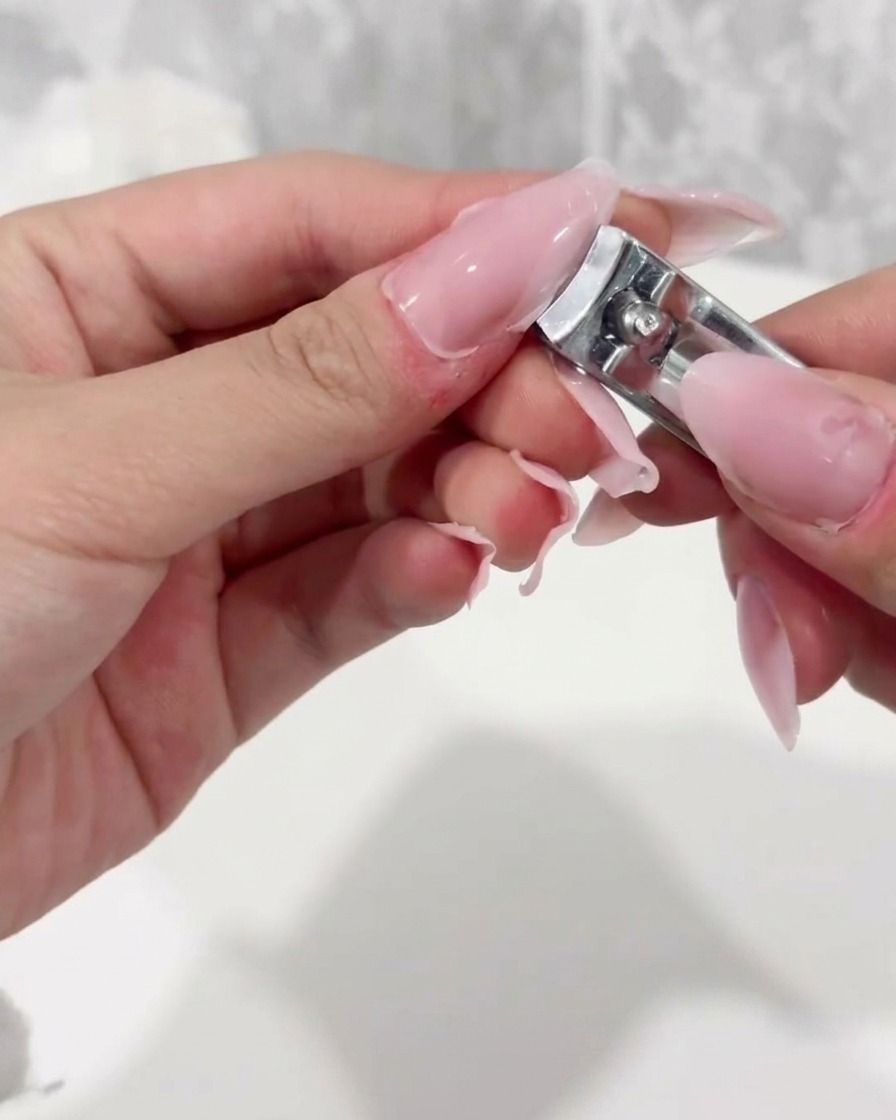
Use professional nail clippers to carefully trim away any excess plastic or length from the applied extension tip. Cut straight across or to your desired shape to prepare the nail for further refining.
Tip: Clip small sections at a time to maintain control and avoid cracking the plastic extension. - 3Buff and smooth the surface
Use a medium-grit nail file to gently buff the surface of the extension and blend the transition area where the tip meets the natural nail. This ensures a smooth, seamless surface for even gel polish application.
Tip: Keep the file parallel to the nail surface to avoid creating grooves or thinning the natural nail near the cuticle. - 4Apply cat-eye gel polish
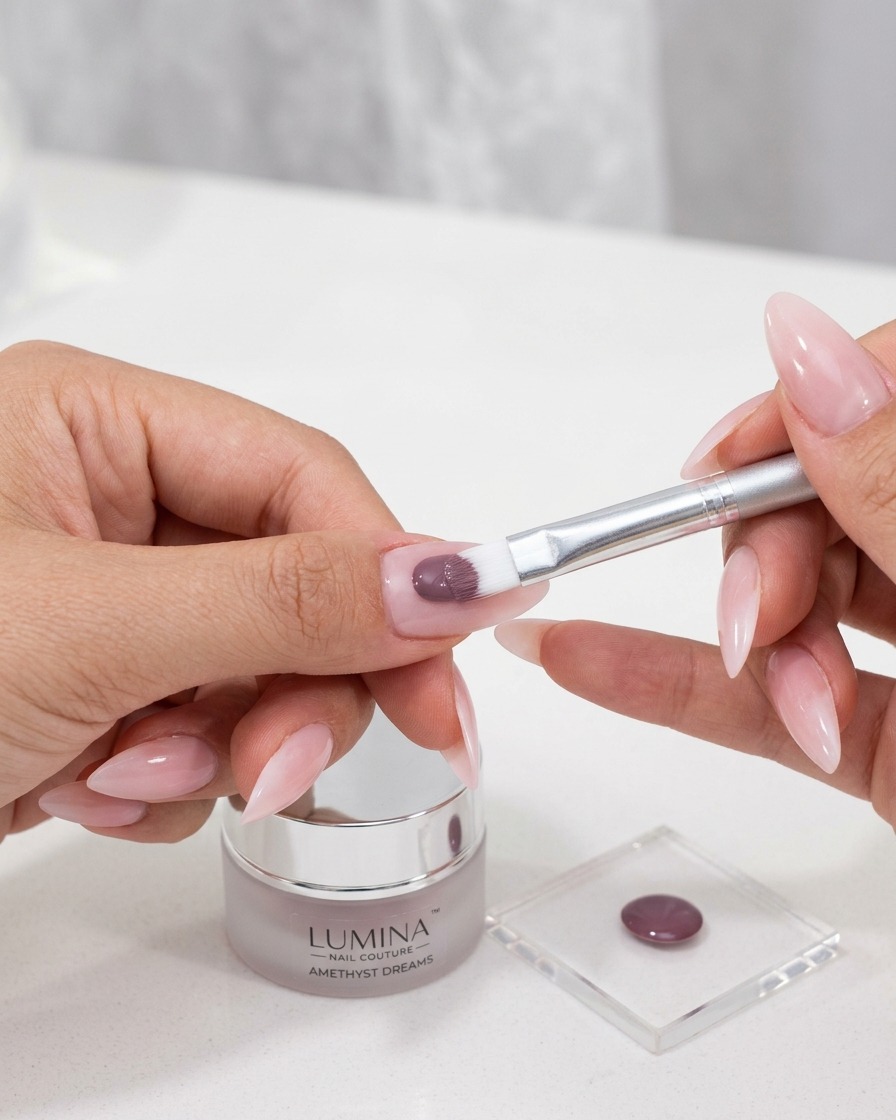
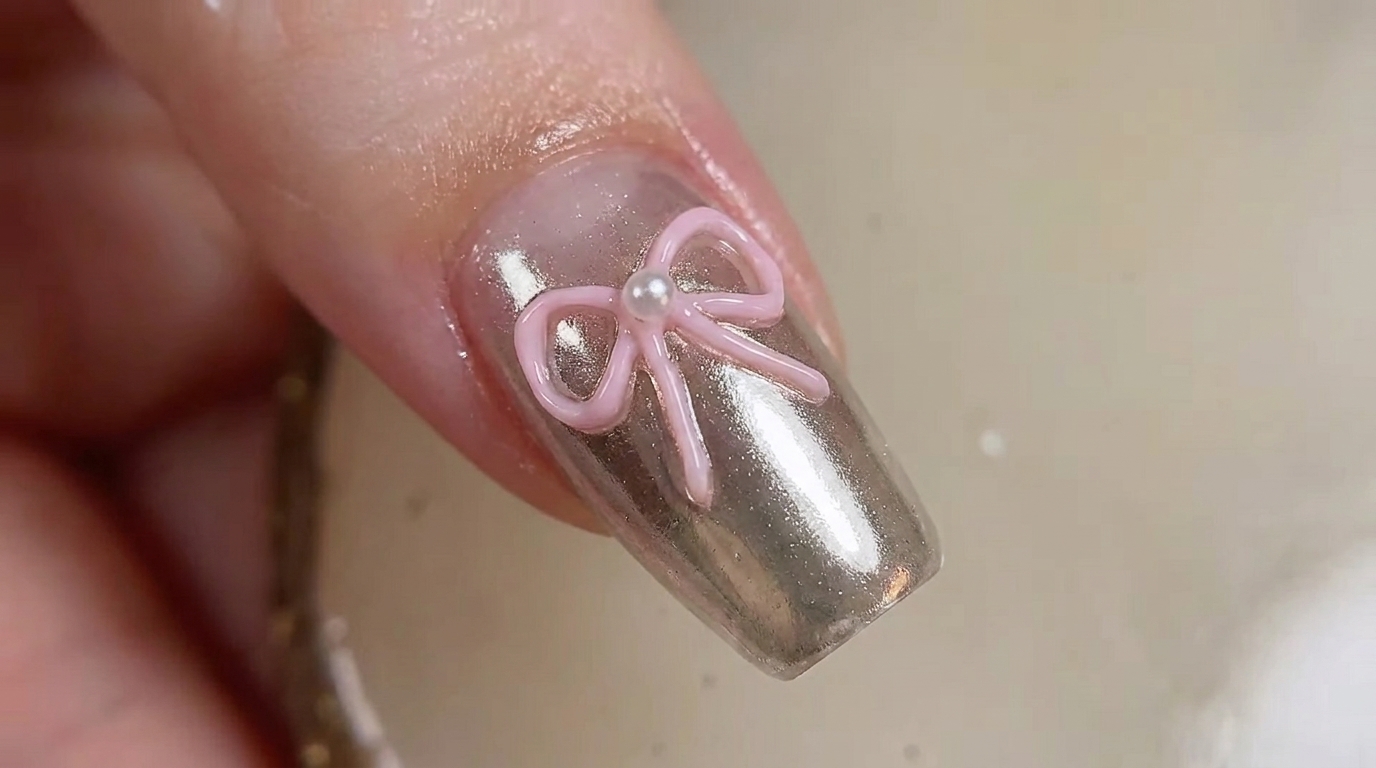
Apply a base layer of cat-eye gel polish to the entire nail surface. Use a small brush for precision, ensuring the product is applied evenly across the nail plate.
Tip: Apply thin, even coats to ensure the cat-eye magnetic effect develops properly and cures thoroughly without wrinkling. - 5Cure the gel polish
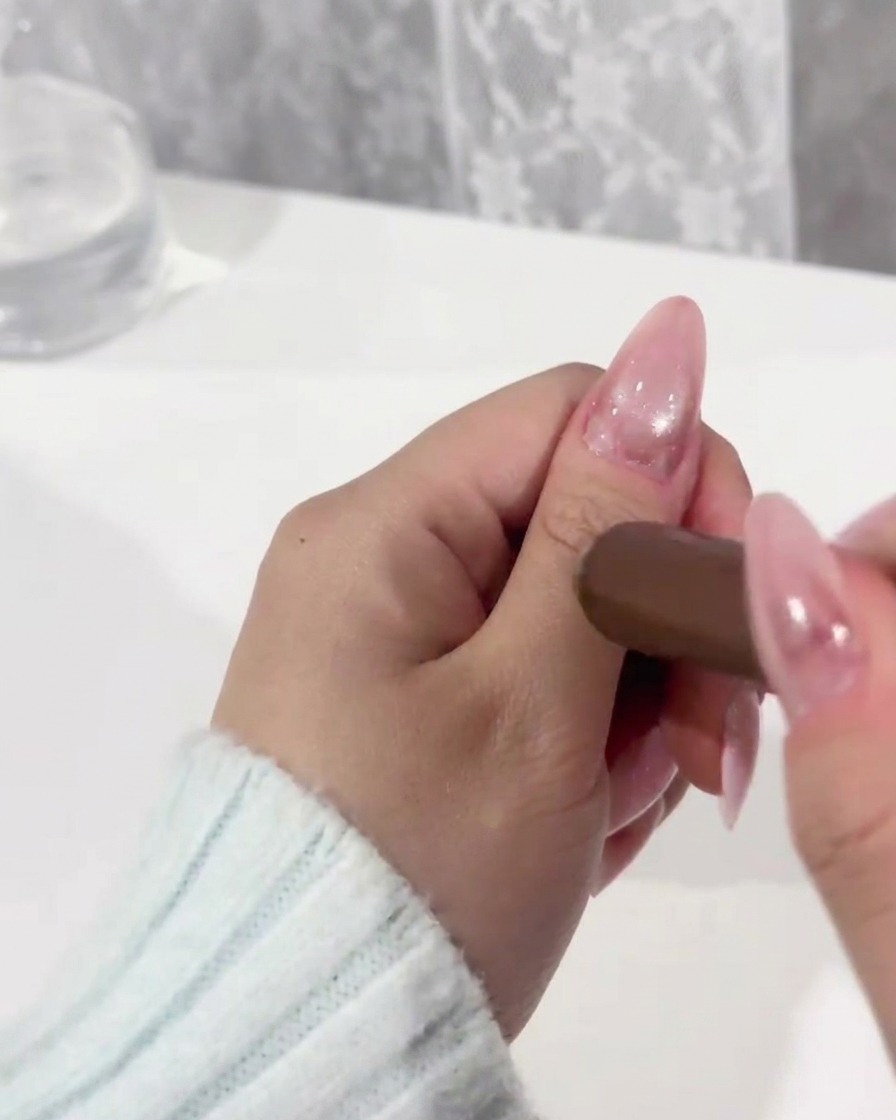
Place your nails under the UV/LED lamp and cure for the manufacturers recommended time to set the gel. Ensure the nails are positioned directly under the light source for an even cure.
Tip: Do not move your hand during the curing process to prevent the gel from smudging or bubbling before it sets. - 6Apply polka dot design
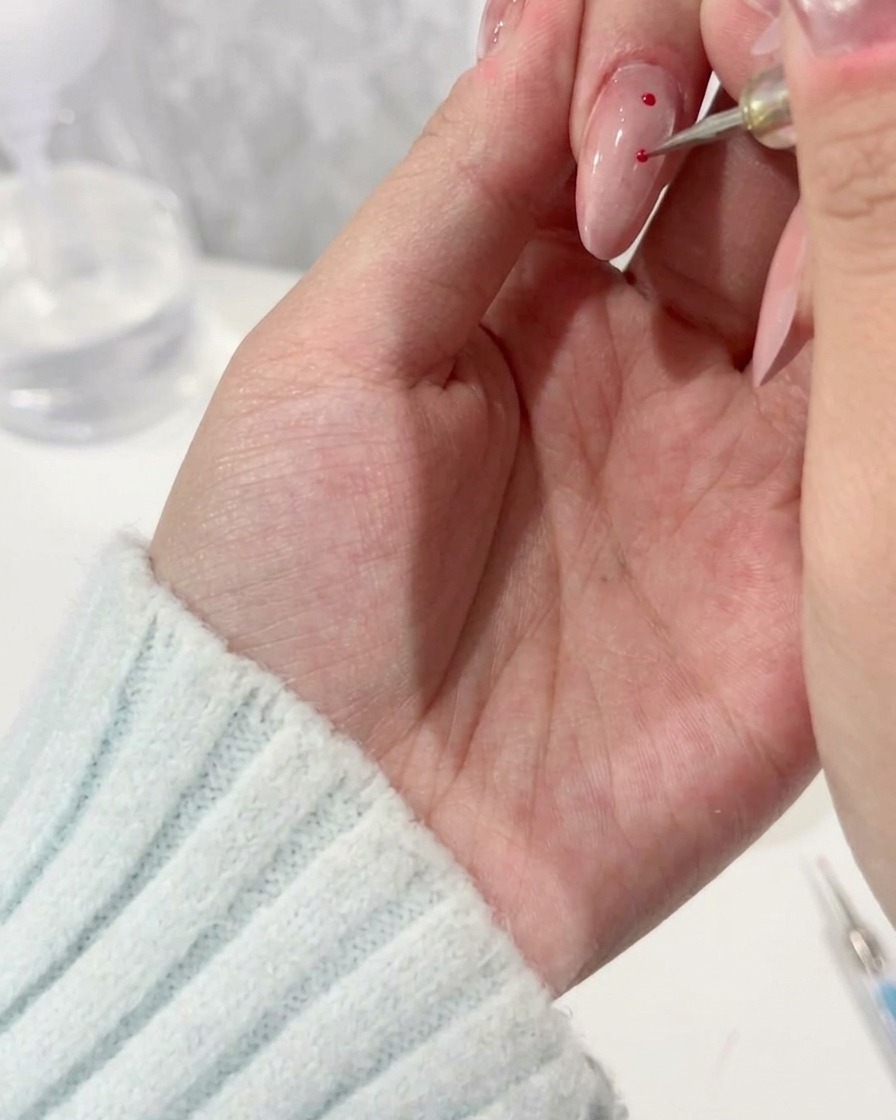
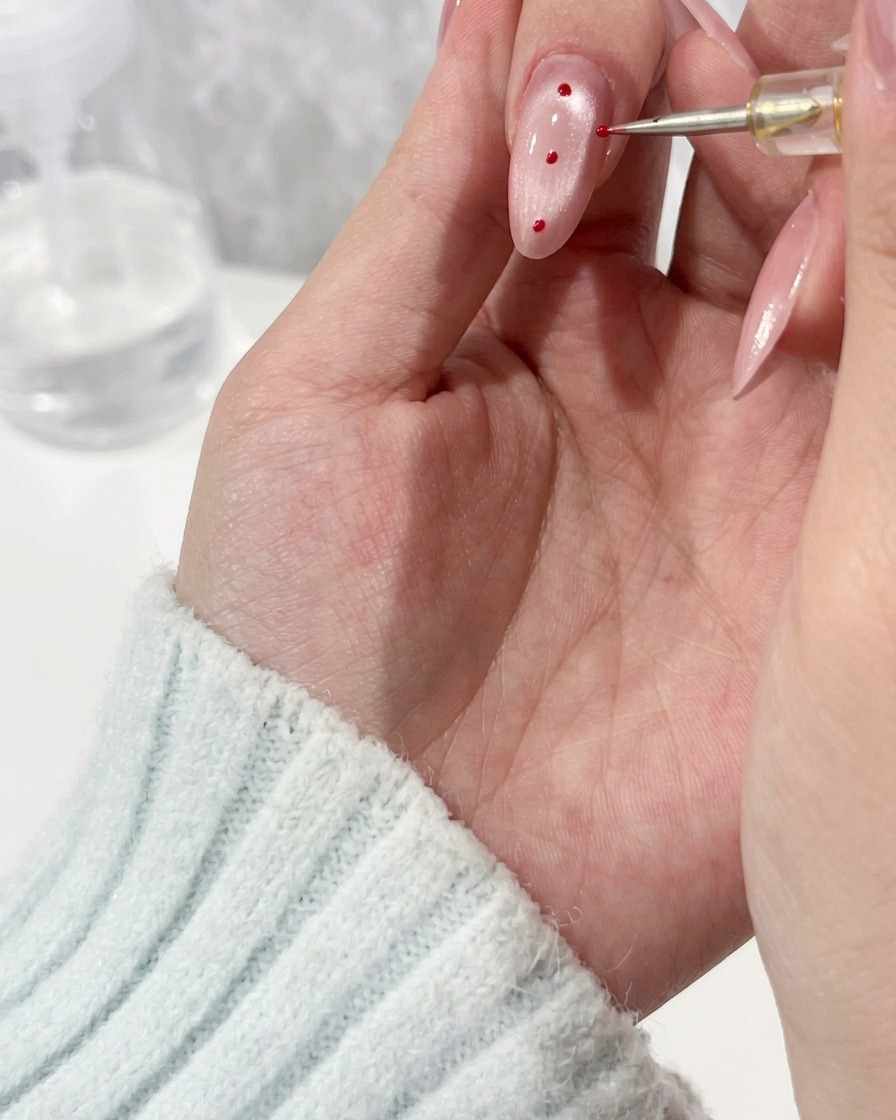
Using a dotting tool, pick up a small amount of magenta gel polish and create consistent, evenly spaced dots across the index and pinky fingers. This creates a clean, uniform playful pattern against your sheer base.
Tip: Clean your dotting tool with a lint-free wipe and cleanser between colors to keep the design crisp. - 7Secure the 3D bow charm
Apply a small bead of clear builder gel to the center of the middle finger nail. Carefully press your red 3D bow charm into the gel, ensuring it is centered before curing.
Tip: Check that the charm is level before placing the hand under the lamp. - 8Attach the 3D bow
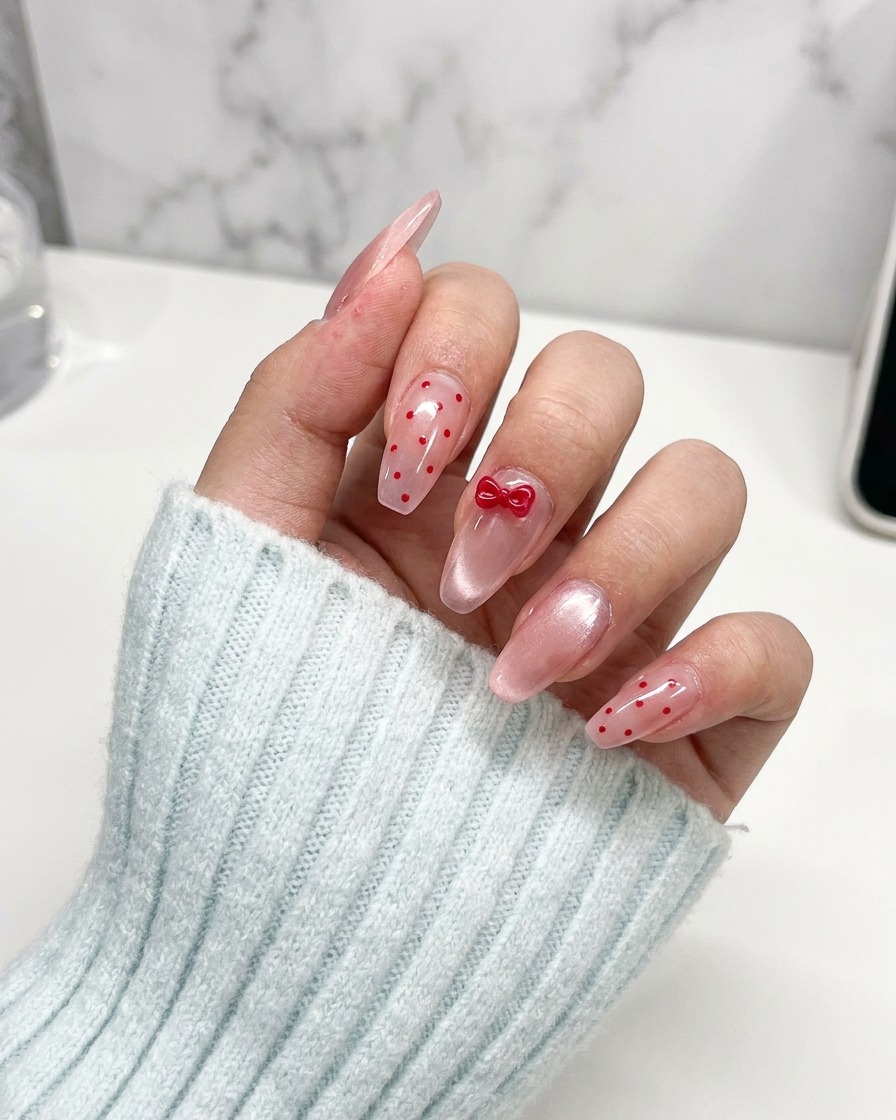
Apply a small bead of clear builder gel or a strong nail adhesive to the center of the middle finger nail. Gently press a red 3D bow charm into the gel, ensuring it is centered and secure.
Tip: Hold the bow charm in place for a few seconds to let the gel set slightly before putting it under the lamp. - 9Paint character eyes
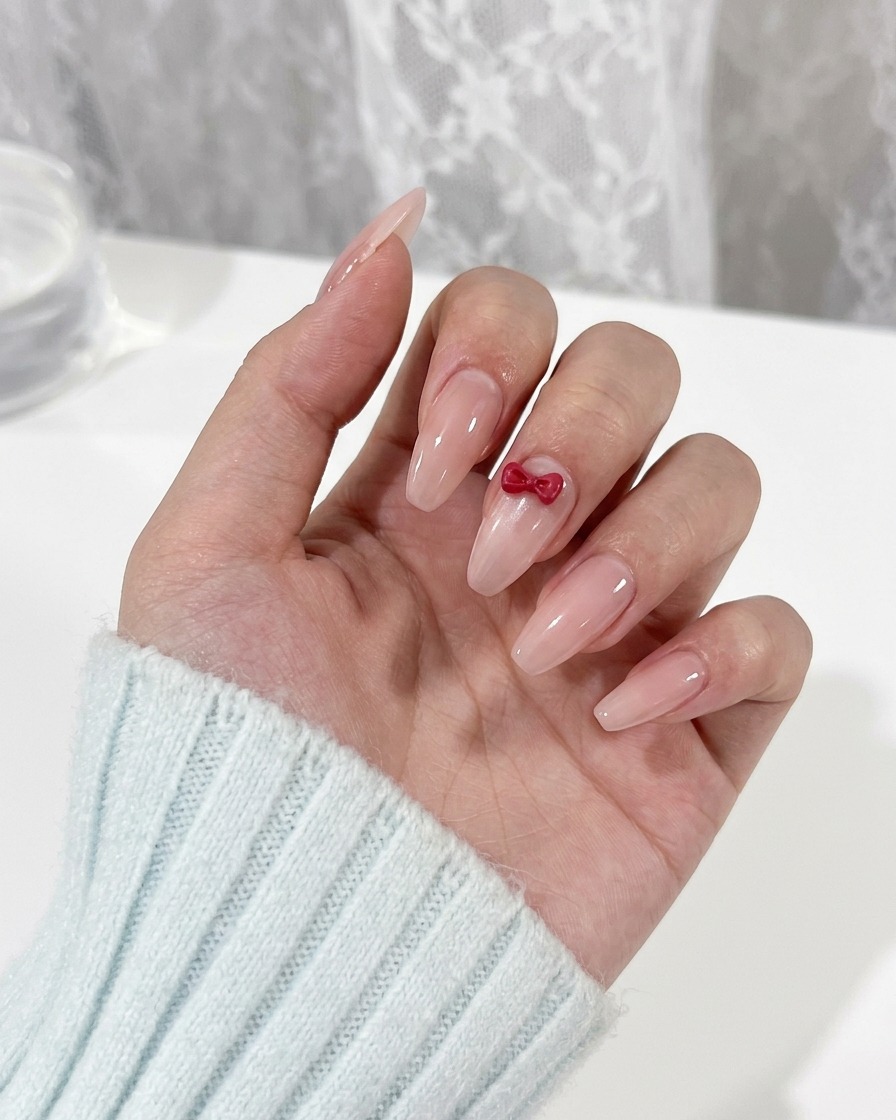
Using a fine liner brush and red polish paint two small simple dots or oval shapes directly below the red bow to represent eyes. Keep your hand steady by resting it on a flat surface for the most precise lines.
Tip: Wipe excess polish off your brush to keep the lines crisp and prevent thick globs of color. - 10Complete character details
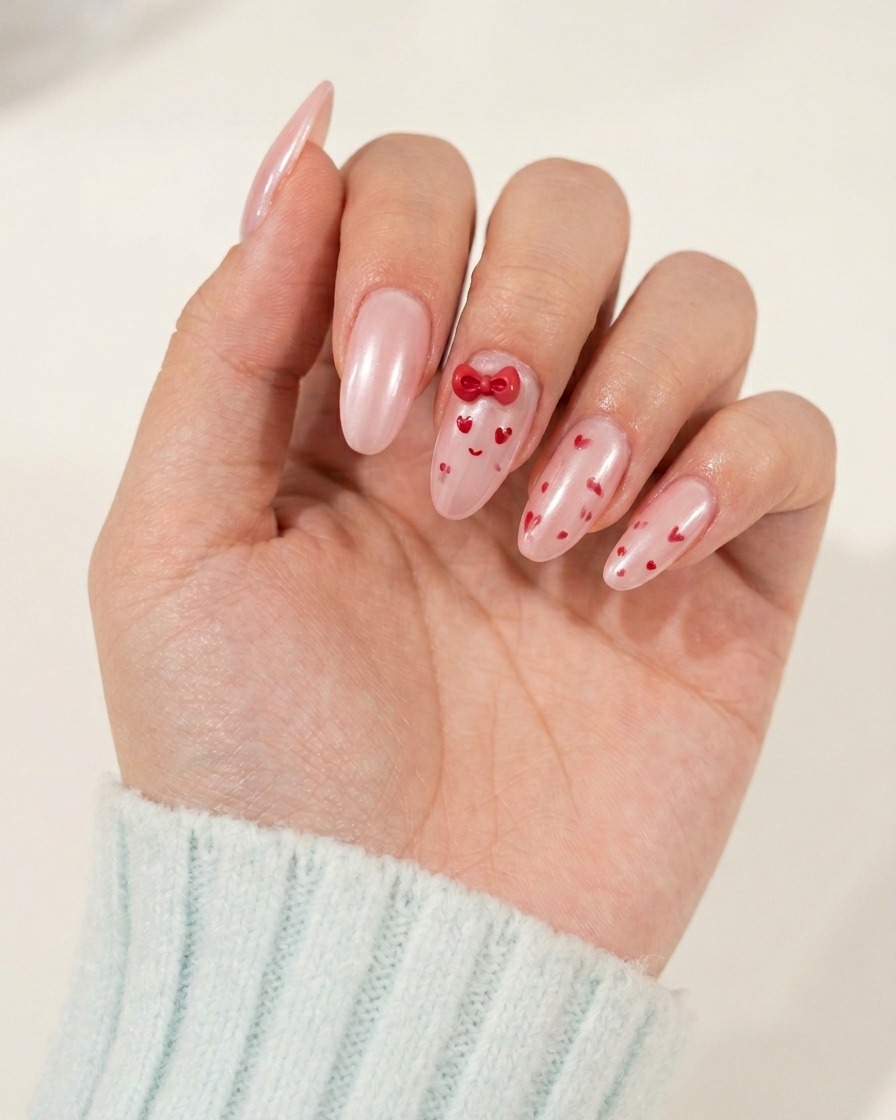
With a fine liner brush and red polish paint two small simple eye shapes directly below the red bow on your middle finger. Add a tiny curve to represent a smile if desired to complete the character design.
Tip: Rest your hand on a stable surface to keep your brush strokes steady while painting fine details. - 11Cure the nail design
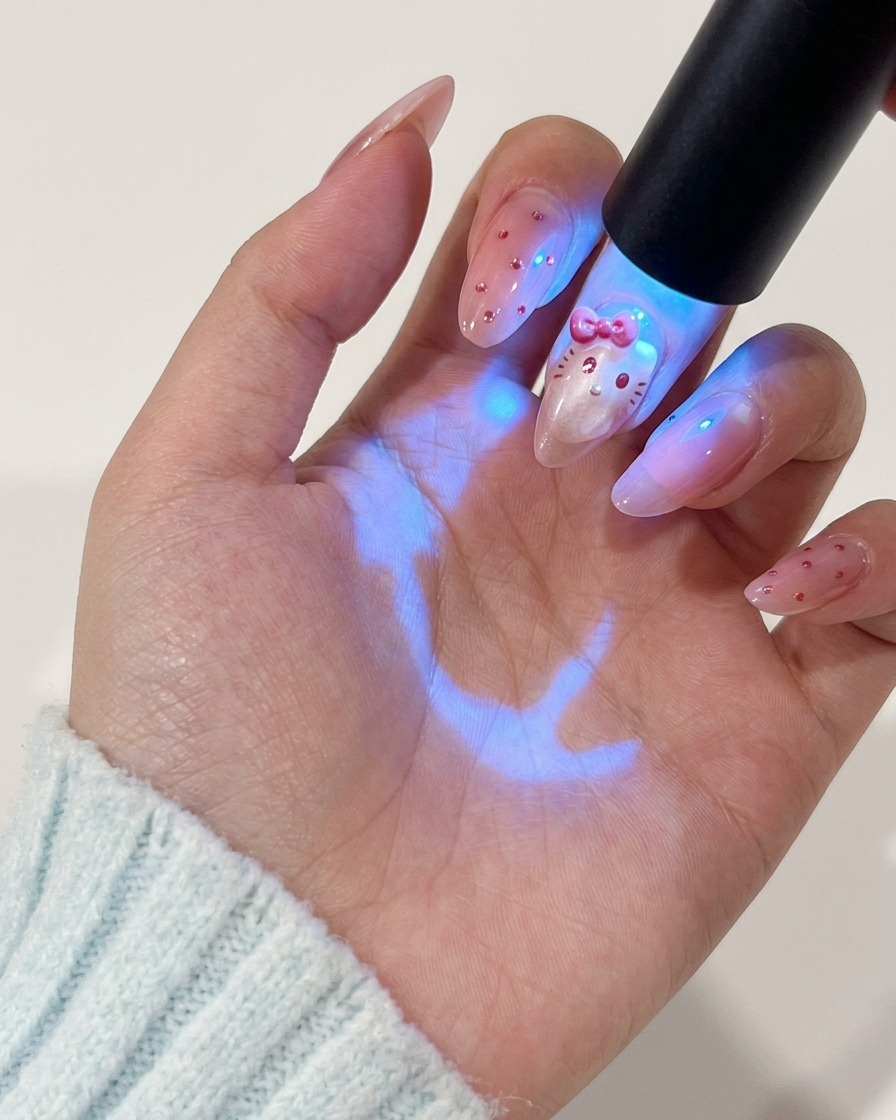
Place the middle finger back under the UV or LED lamp to cure the newly painted eye design. This ensures the fine lines are fully set and will not smudge during the final top coat application.
Tip: Ensure the entire nail surface is exposed to the UV light for an even cure. - 12Apply final top coat
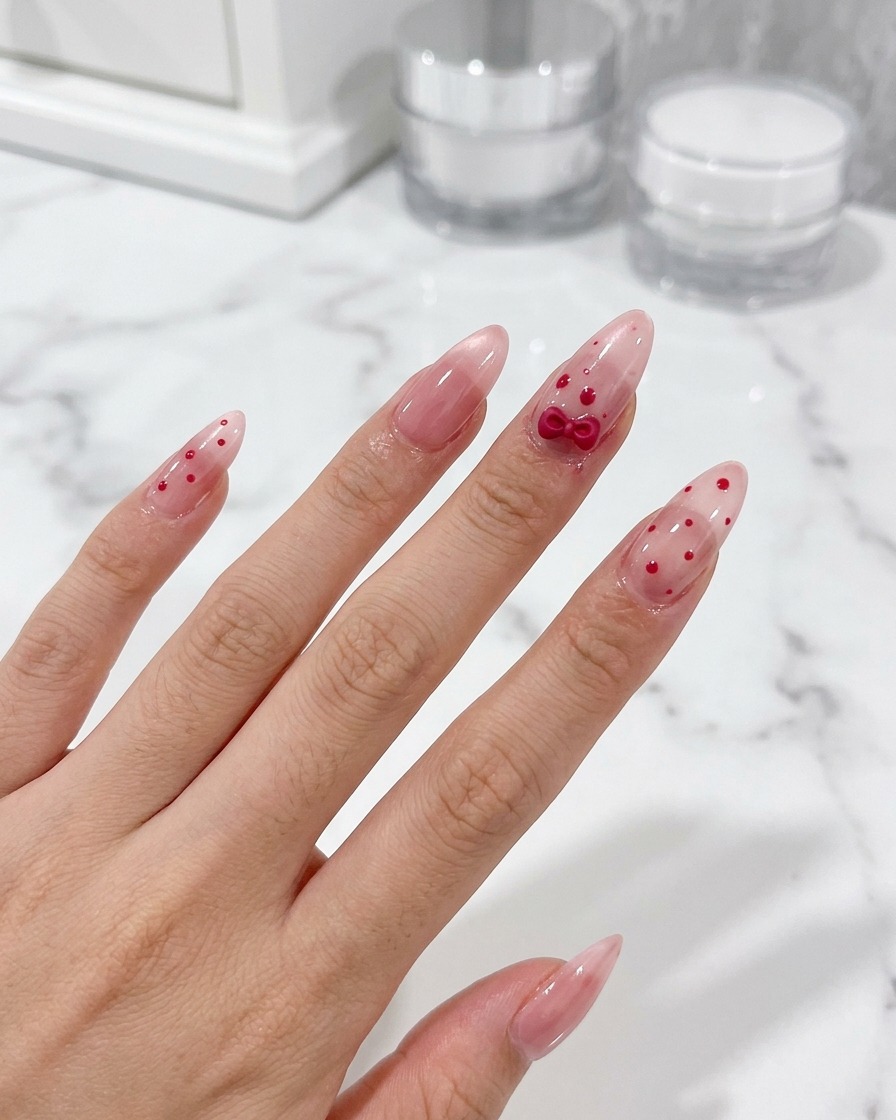
Finish the manicure by applying a thin layer of clear top coat to all ten nails. Be sure to cap the free edge, which helps seal your nail art and provides a glossy, protective finish.
Tip: Apply the top coat smoothly to avoid streaks, and ensure you do not miss the areas around the 3D bow charm.