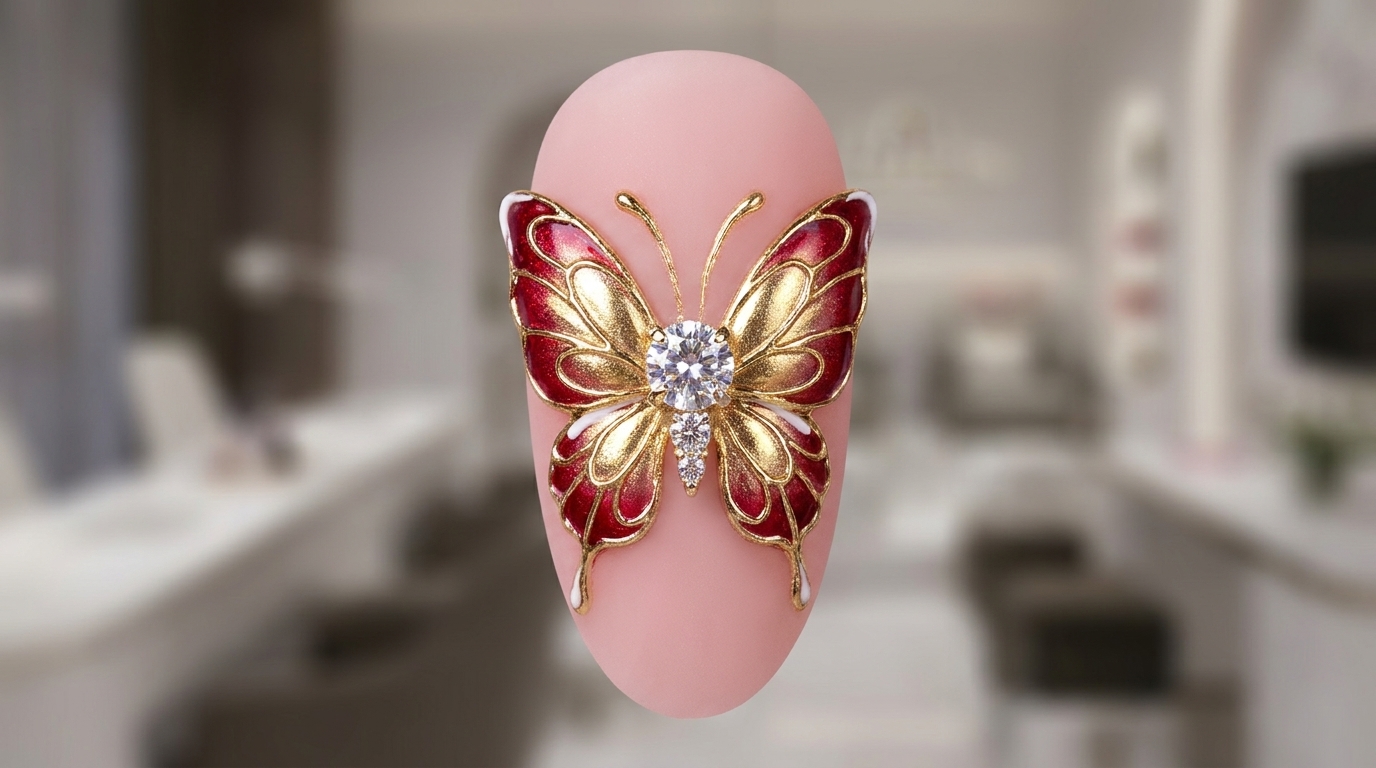
3D Red Butterfly Nail Art — Elegant New Year Tutorial
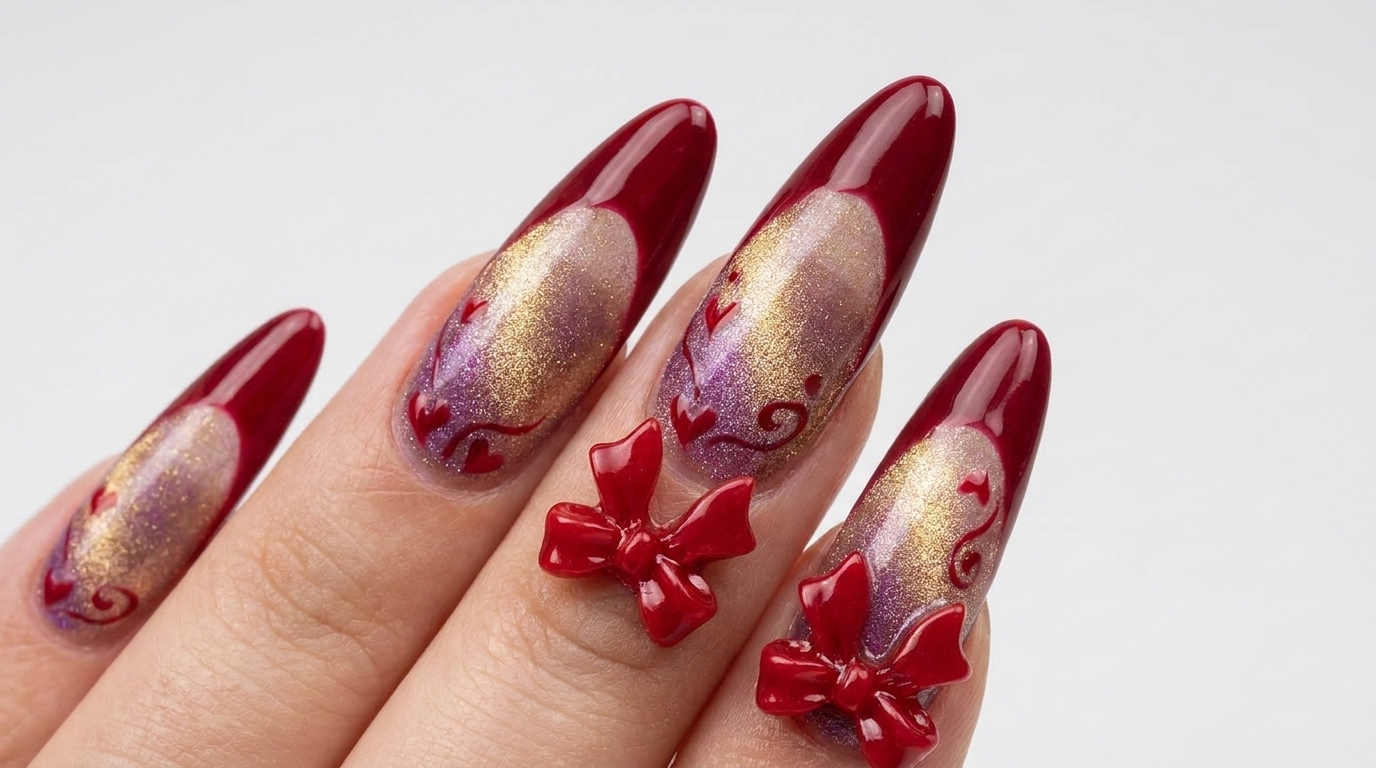
Create stunning 3D butterfly nails with this festive red and gold design. Learn the secret to achieving dimensional wings using sculpting gel and chrome.
Elevate your nail art collection with this sophisticated 3D butterfly design, perfect for New Year celebrations or special occasions. Combining rich red tones, metallic gold chrome, and delicate sculpting techniques, this look brings texture and luxury to your fingertips. Follow along to master the art of building dimensional butterfly wings with a polished, professional finish.
Steps
- 1Apply Matte Top Coat
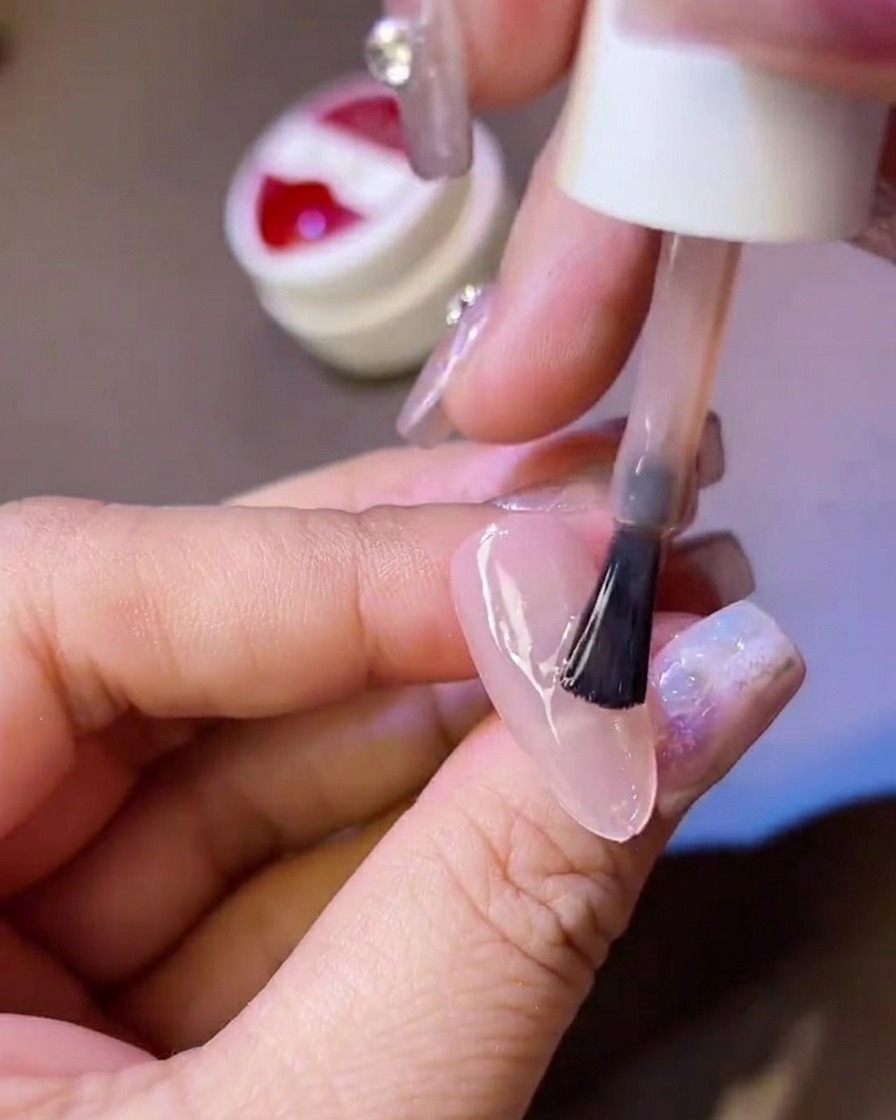
Begin by applying an even layer of matte top coat over your cured base gel. Ensure the entire nail surface is fully covered, then cure it in your lamp. A matte surface creates the perfect foundation for your nail art, as it prevents the gel polish from spreading and keeps the chrome powder from adhering to unwanted areas.
Tip: Make sure the matte top coat is fully cured before starting your design to provide a smooth, tack-free canvas. - 2Draw the Wing Outline
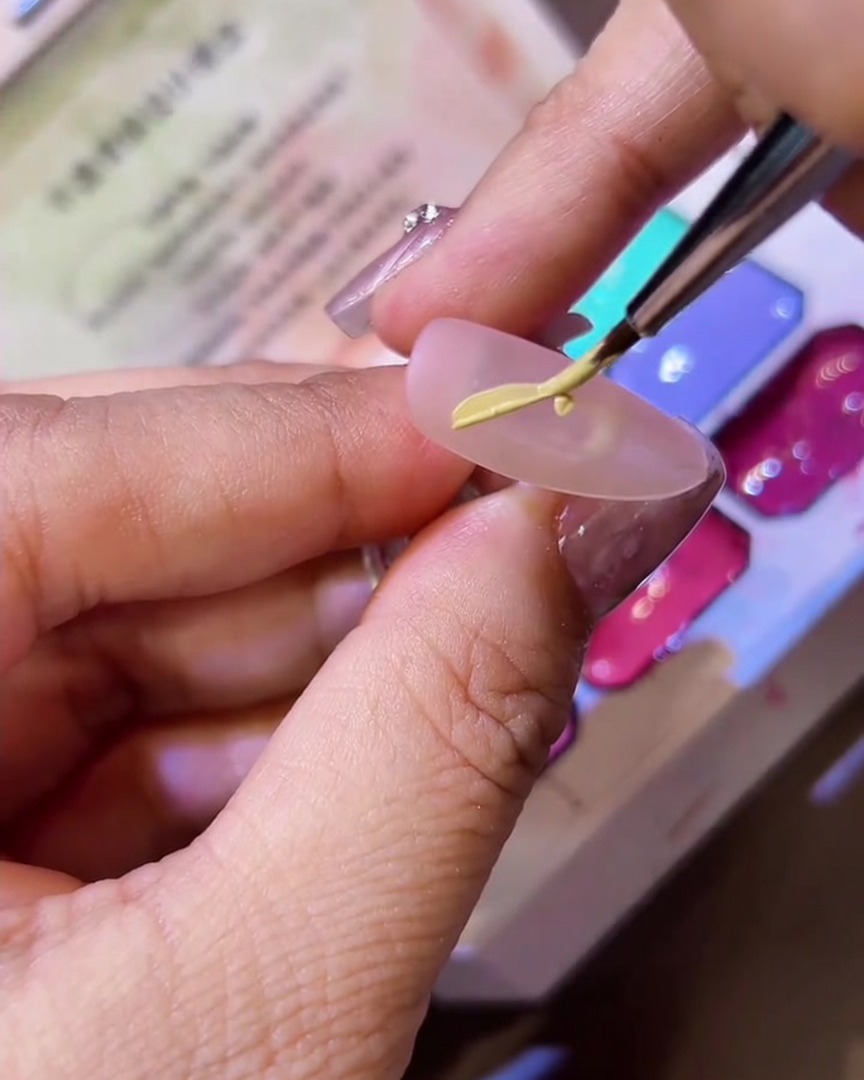
Using a fine liner brush and yellow gel polish, carefully paint the shape of half a butterfly wing onto the nail. Fill in the shape evenly, taking your time to refine the curves and edges. This yellow layer will serve as the base for your metallic finish, so cure it fully once you are happy with the design.
Tip: Use a highly pigmented art gel for the wing shape so the chrome powder has a solid, opaque base to stick to. - 3Apply Chrome Powder
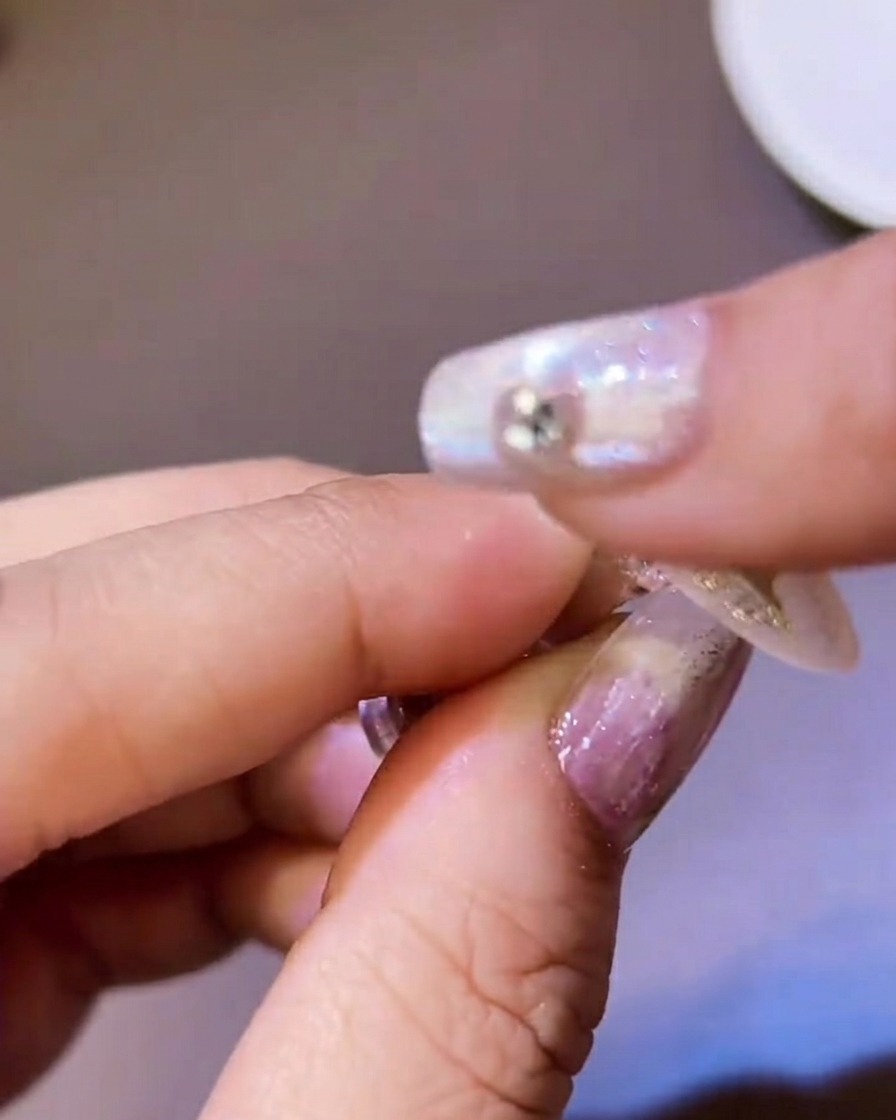
Take a small amount of gold chrome powder on your fingertip or a silicone applicator and firmly rub it over the cured yellow gel design. The powder will adhere seamlessly to the smooth gel, transforming the yellow base into a striking, highly reflective metallic finish. Dust off any excess powder with a fluffy brush.
Tip: Rubbing the chrome powder with your bare fingertip or a gloved finger often provides the smoothest, most mirror-like finish. - 4Outline with Red Gel
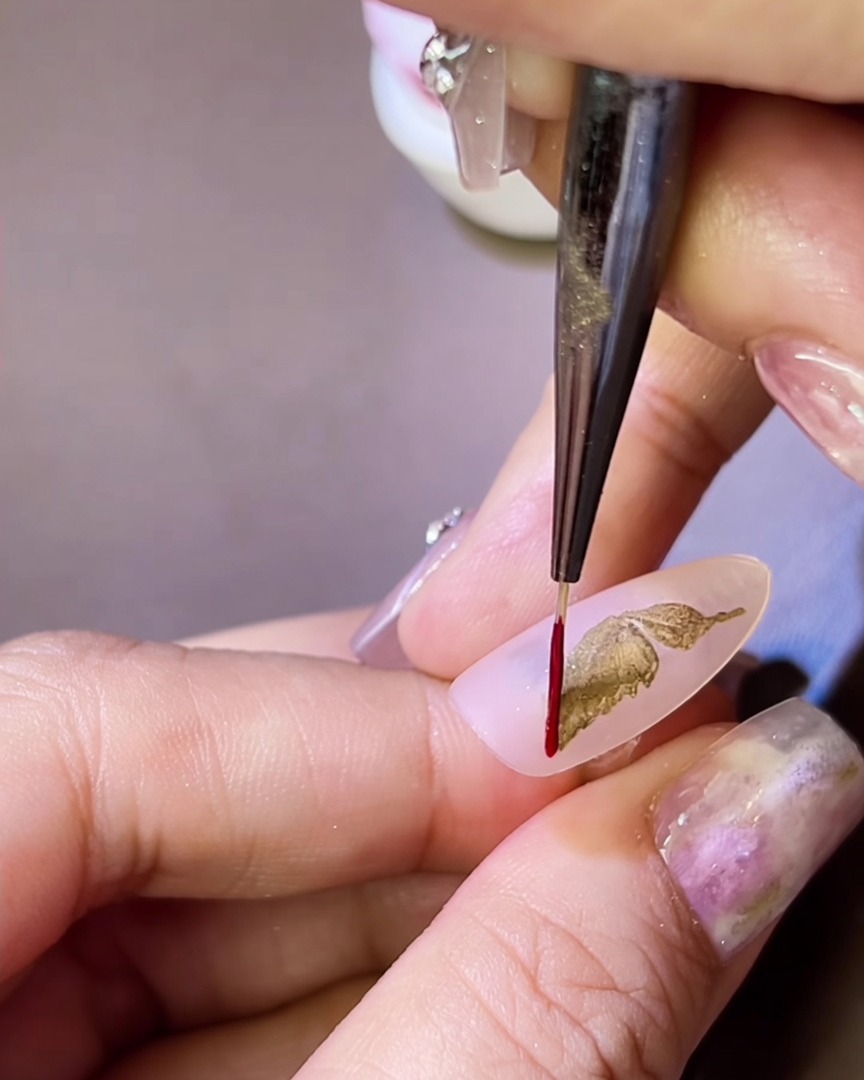
Dip your fine liner brush into a vibrant red gel polish and carefully trace the outer edges of your gold butterfly wing. This bold red border adds striking contrast and dimension to the design, making the metallic wing pop against the matte background. Cure the red outline fully.
Tip: Use a long, thin liner brush and keep your hand steady to achieve the crispest, thinnest outline possible. - 5Place sculpting gel beads
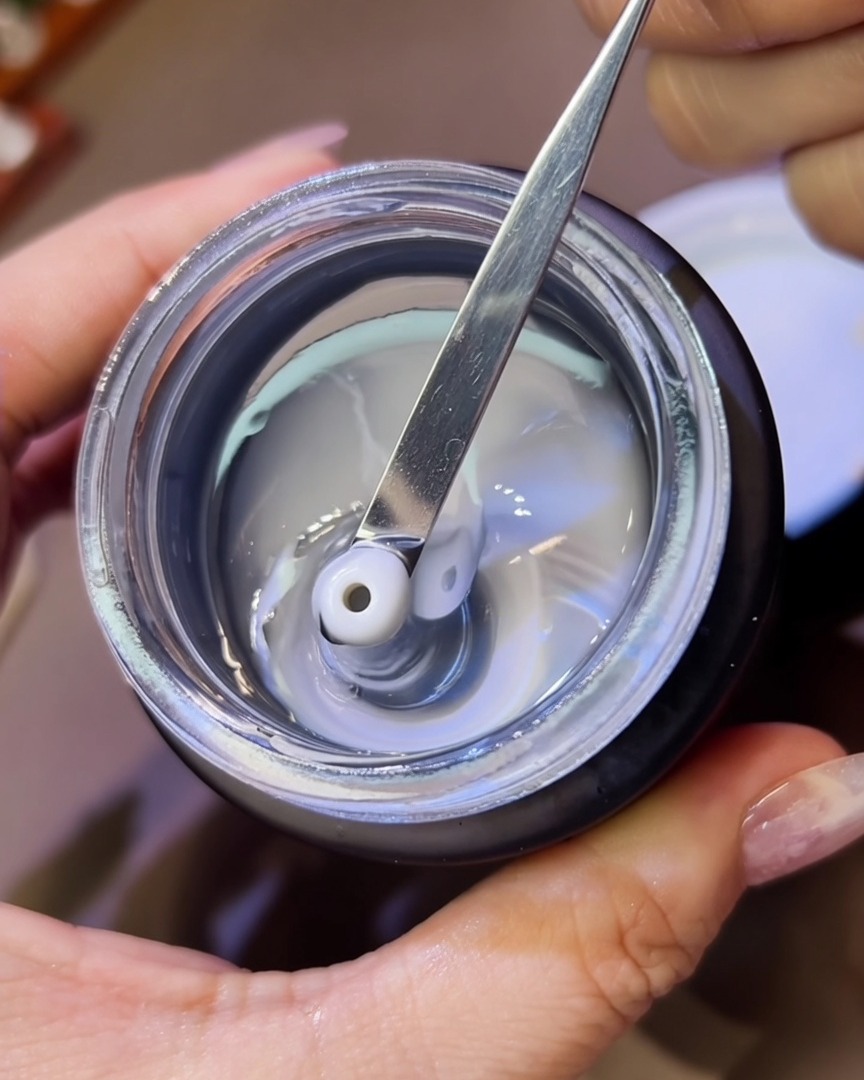
Using a metal spatula, take a small amount of thick sculpting gel and place two small, rounded beads onto the desired area of the nail surface. These beads will serve as the foundation for building the 3D butterfly wings.
Tip: Ensure the gel is high-viscosity sculpting gel so it holds its shape on the nail without spreading. - 6Shape the 3D Wings
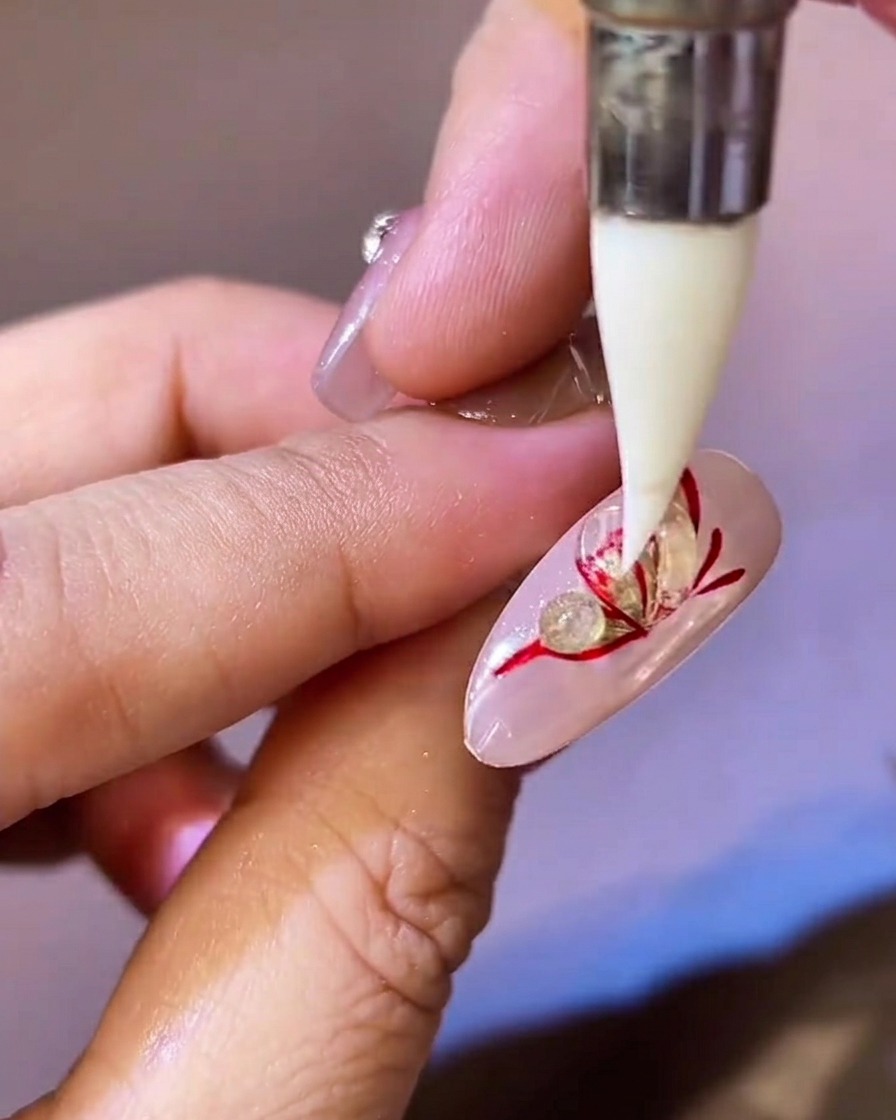
Using a pointed silicone tool, gently press down on the clear sculpting gel beads to flatten and spread them over your painted wing design. Mold the gel carefully to match the contours of the butterfly, creating a raised, textured 3D effect that mimics a delicate glass wing. Cure the sculpted gel once shaped.
Tip: If the sculpting gel feels too sticky to work with, lightly dampen your silicone tool with a little slip solution or rubbing alcohol. - 7Refine the 3D Wing Silhouette
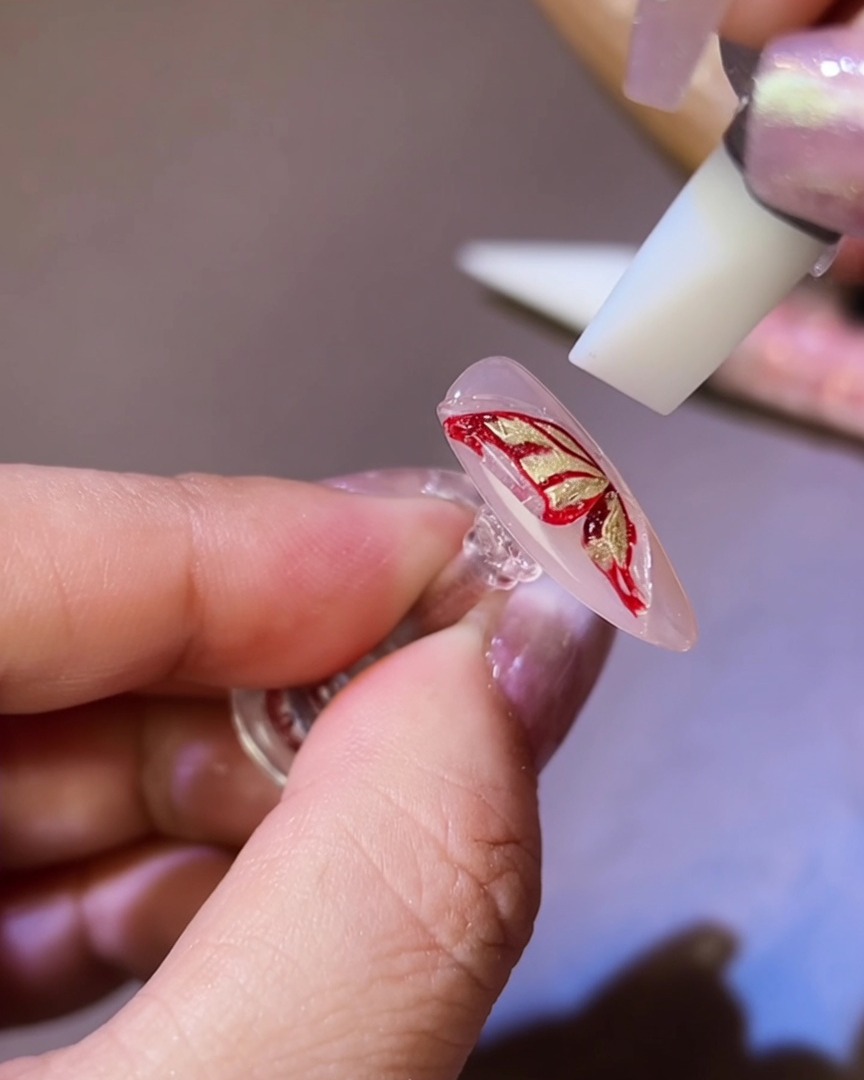
Using a silicone-tipped tool, gently manipulate the sculpting gel beads to finalize the symmetry. Use the flat edge of the tool to push the gel into precise wing shapes, ensuring both sides of the butterfly are balanced and clean before curing.
Tip: Lightly coat your silicone tool with a tiny bit of base coat to prevent the sculpting gel from sticking to the tool while shaping. - 8Add Realistic Texture
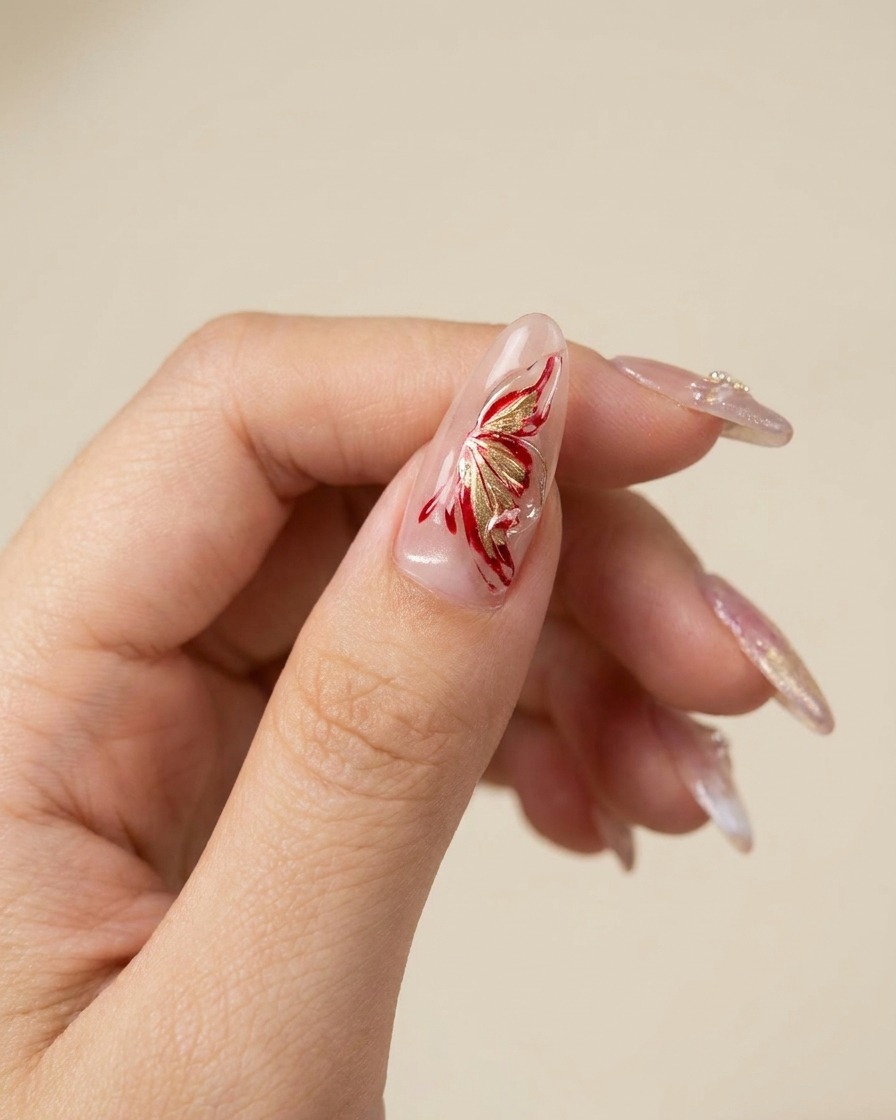
Before curing, use the tip of your silicone tool to gently press delicate folds or creases into the gel wings. These small indentations create a realistic, dimensional look that mimics natural butterfly wings.
Tip: Work delicately to create subtle, organic-looking creases rather than deep cuts. - 9Highlight with white liner gel
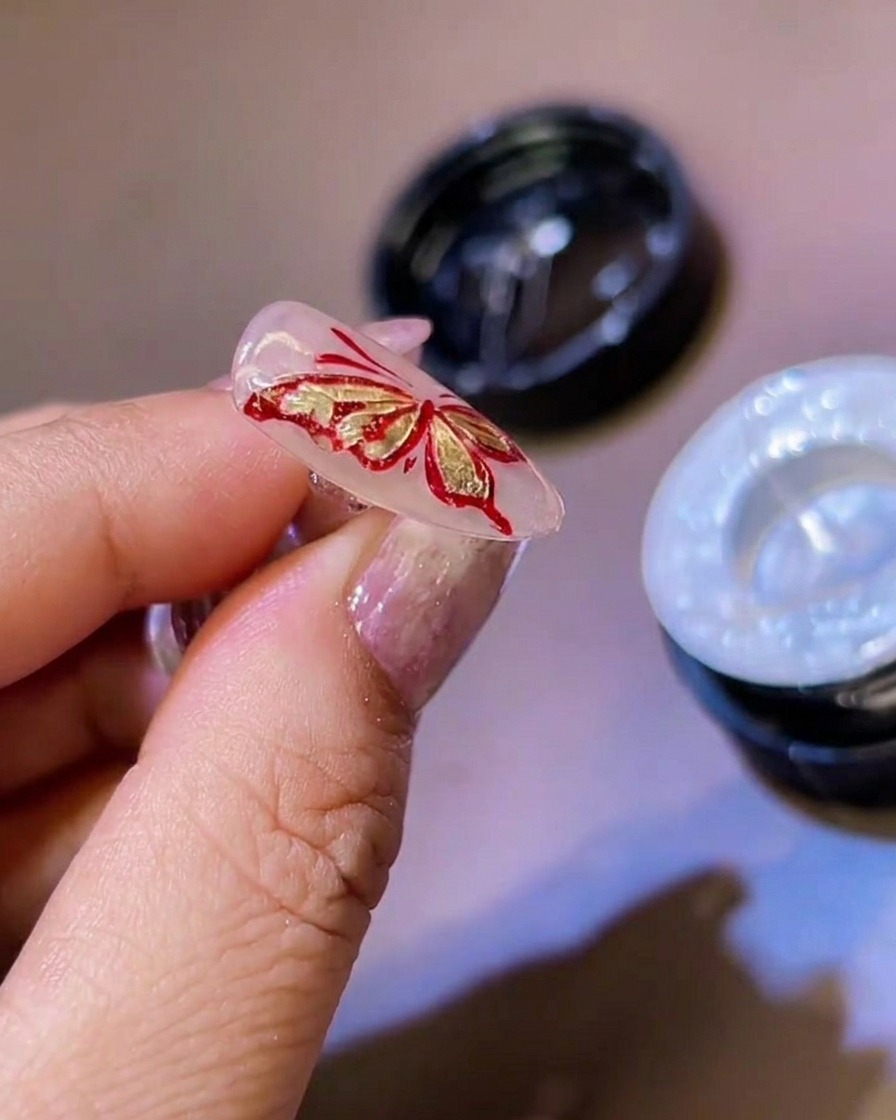
Using a fine-tip liner brush and white gel, carefully trace the edges of your 3D butterfly wings and add small detail lines toward the center. This highlighting step adds depth and makes the wing details stand out.
Tip: Keep your liner lines very thin for a refined, professional look. - 10Add rhinestone embellishment
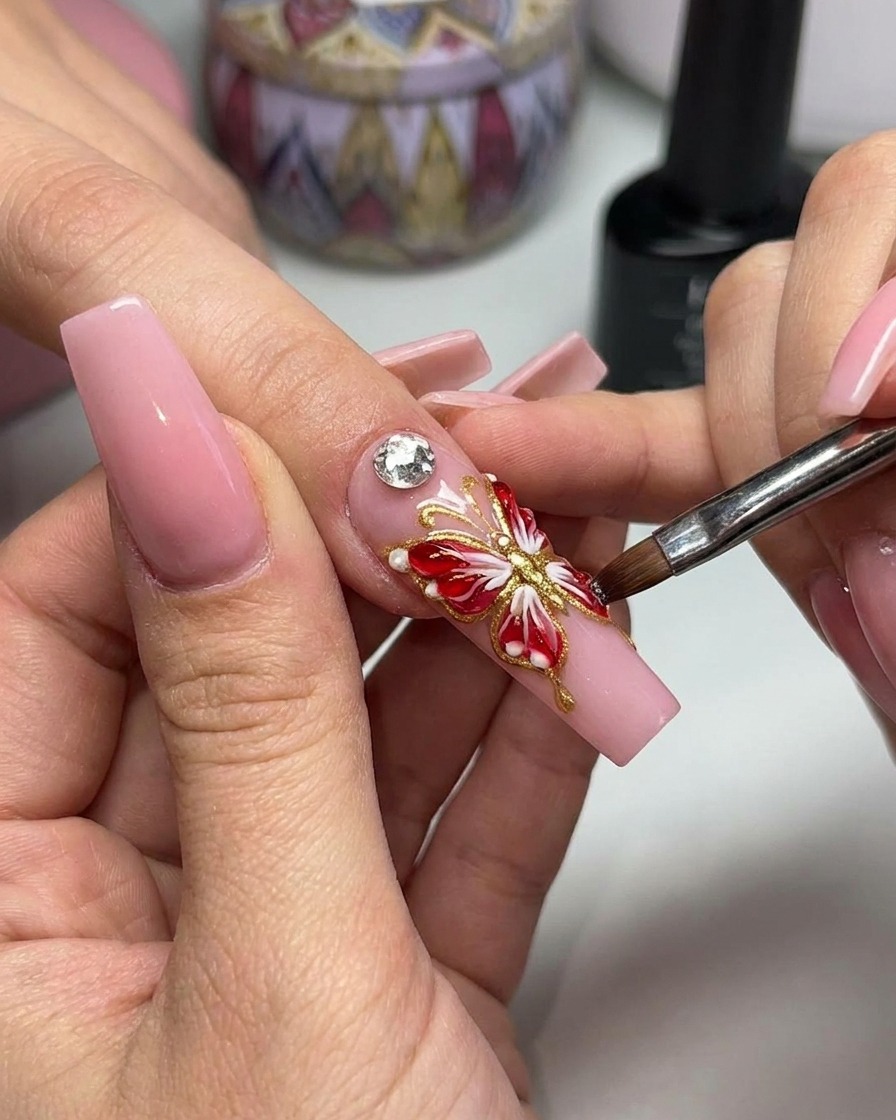
Apply a tiny dot of rhinestone glue or thick gel to the center of the butterfly base. Use tweezers or a wax-tipped dotting tool to pick up a clear crystal and place it precisely into the center to complete the design.
Tip: Ensure the crystal is pressed firmly into the adhesive so it stays secure.