Red Bow French Gel Manicure — Elegant Heart Accent Tutorial
Create a sophisticated, romantic manicure featuring red French tips, delicate heart accents, and 3D bow charms. Follow our step-by-step gel art guide.
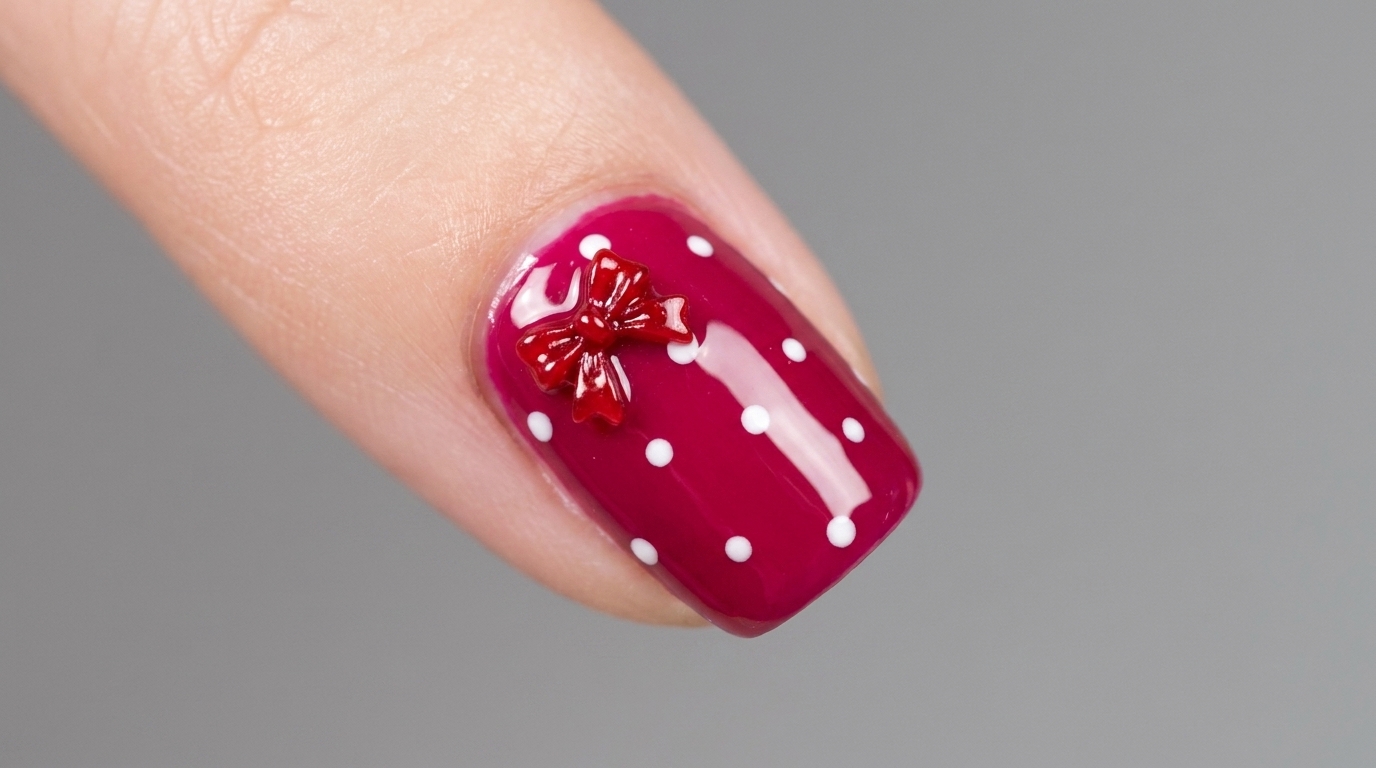
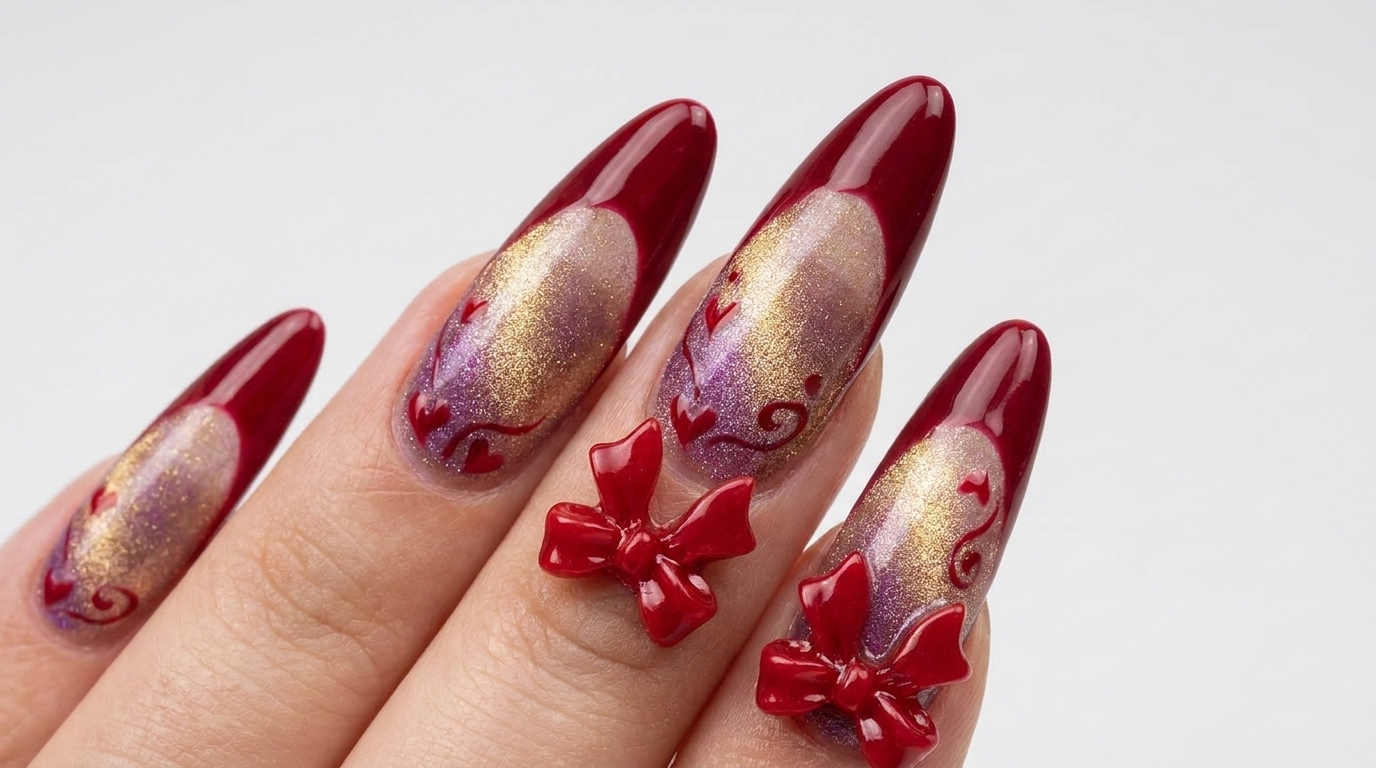
This red bow French manicure perfectly blends classic elegance with playful, trendy accents. By combining sophisticated gold and purple cat-eye gradients with hand-painted hearts and charming 3D bows, this design offers a versatile look suitable for romantic dates or festive occasions. It is a stunning example of detailed, high-impact nail artistry that you can achieve with precision and the right technique.
Steps
- 1Apply Pink Base
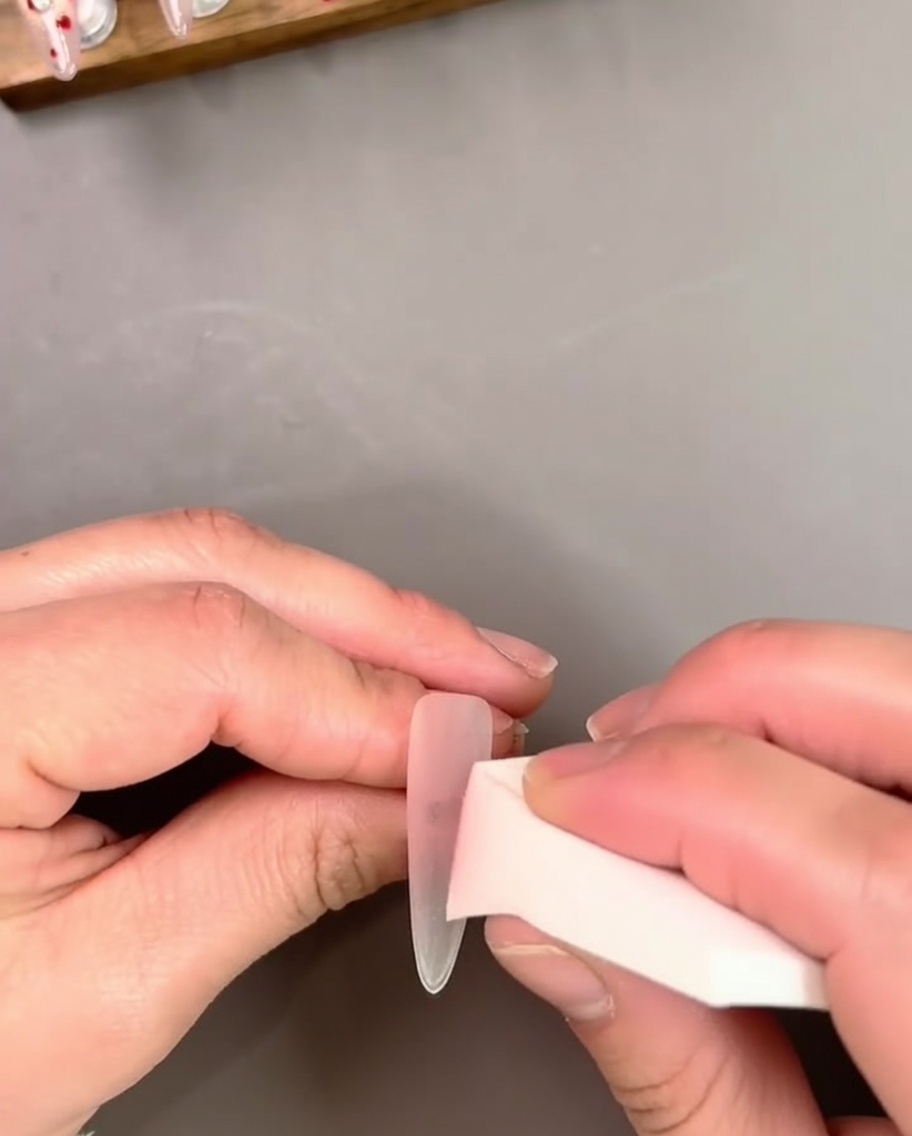
Apply two thin, even layers of pink base color to the nail extension, ensuring each layer is applied smoothly to the surface. Cure each layer completely under your UV/LED lamp as per the product instructions to create a solid, professional foundation for your design.
Tip: Applying thin layers prevents bubbling and ensures the polish cures evenly, providing a long-lasting base. - 2Apply nude gel overlay
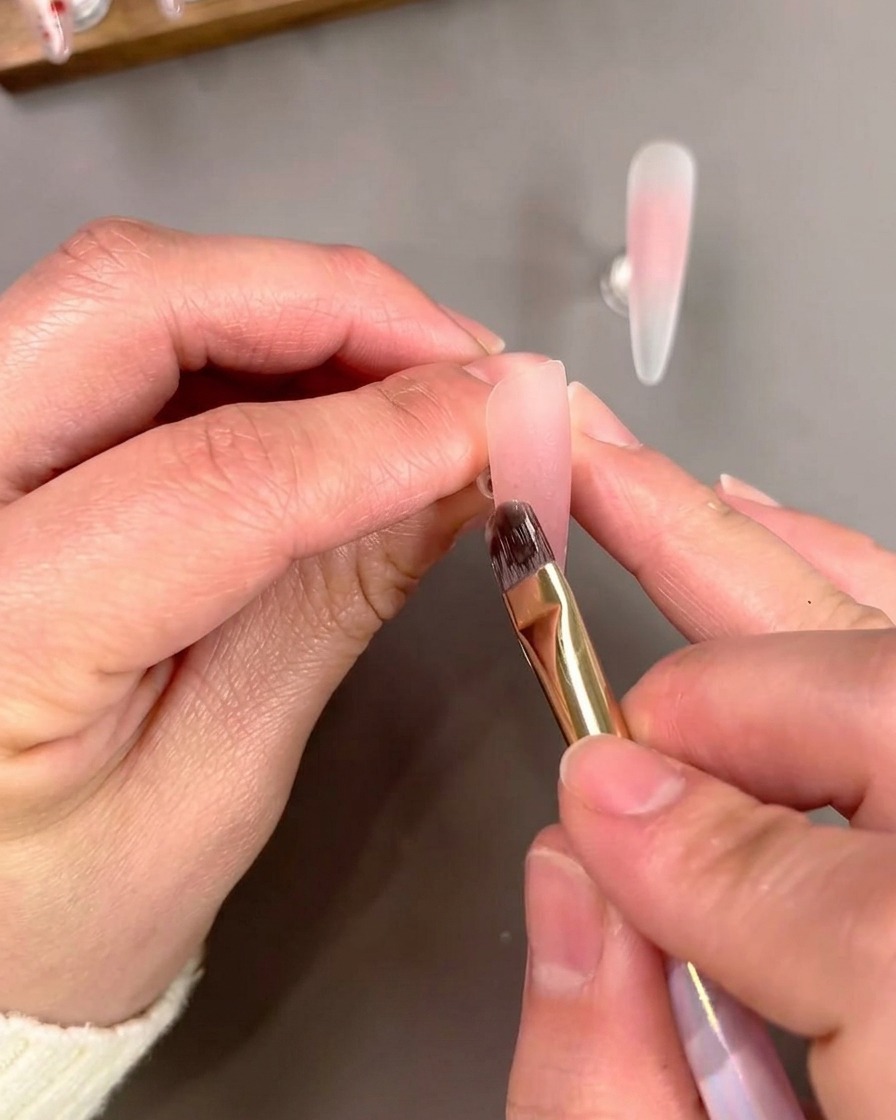
Apply a single, thin layer of nude gel polish over your cured pink base. This provides a natural, soft transition shade for the upcoming nail art. Ensure the application is smooth and consistent across the nail surface, then cure under the lamp.
Tip: Keep the layer thin to maintain a natural look and ensure it does not become too bulky when adding later design elements. - 3Paint Gold French Tip
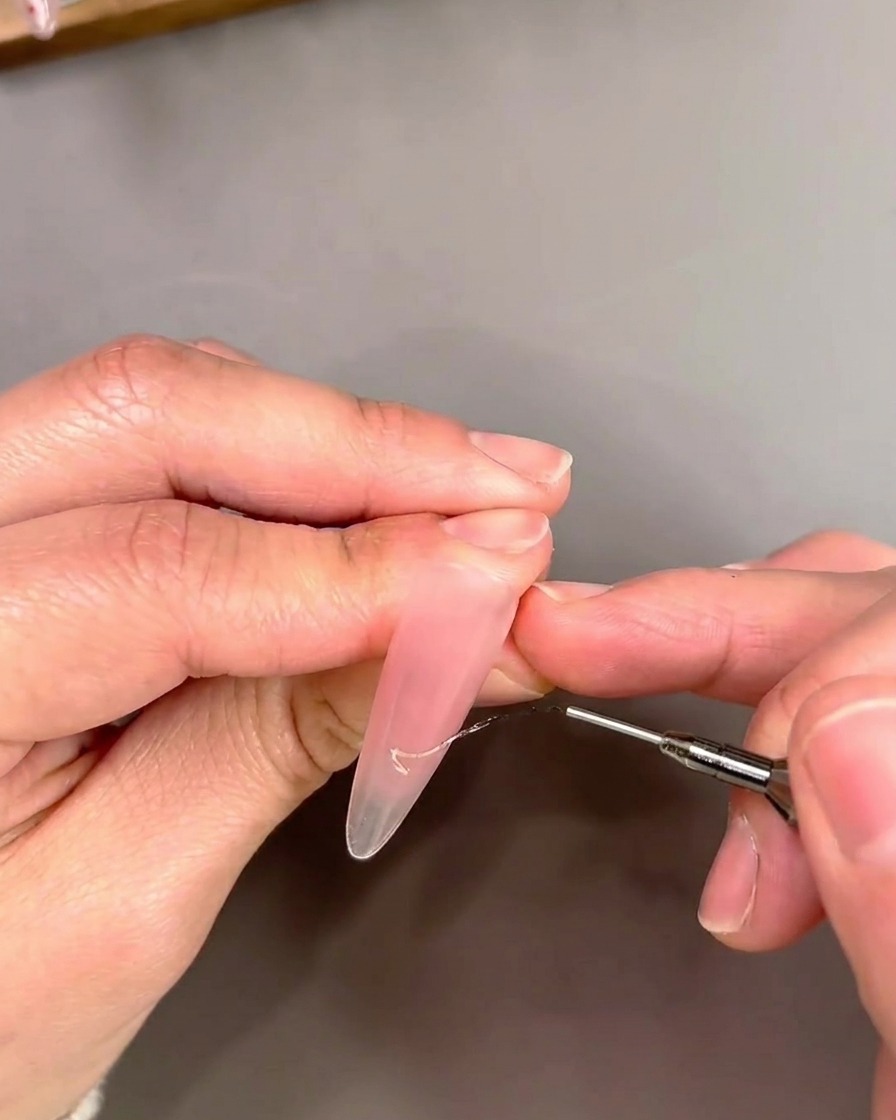
Using a thin liner brush and gold cat-eye gel, carefully paint a French tip along the free edge of the nail. Follow the natural curve of the nail tip to create a precise, elegant line. Keep the gel wet to prepare for the magnetic effect.
Tip: Use a steady hand and a fine-tipped brush to get a crisp, clean smile line. - 4Create Cat-Eye Glass Bead
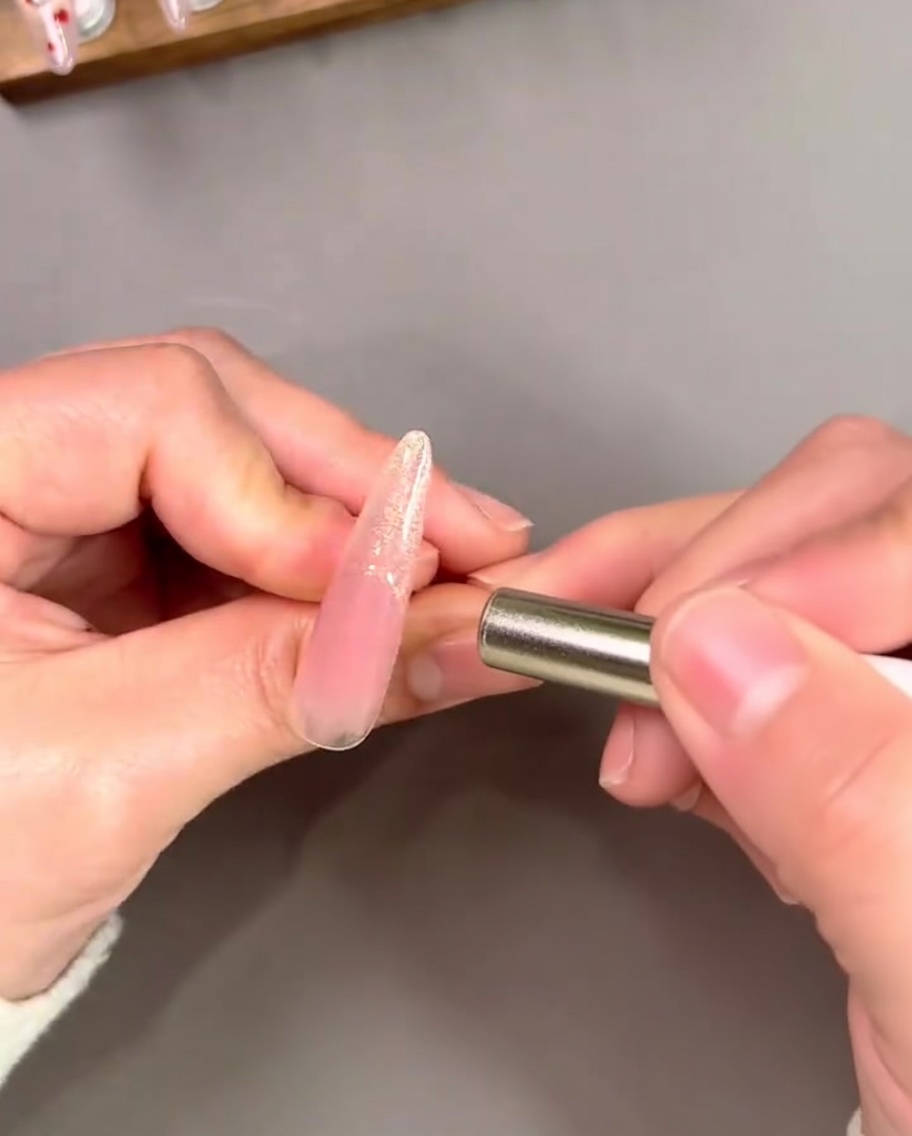
While the gold cat-eye gel is still wet, hold a nail magnet close to the French tip to pull the metallic particles into a concentrated glass bead reflective effect. Adjust the magnets angle to achieve the desired brightness at the tip, then cure immediately to lock in the shimmer.
Tip: Hold the magnet steady for a few seconds to allow the magnetic particles to settle into the desired shape before curing. - 5Outline with red gel
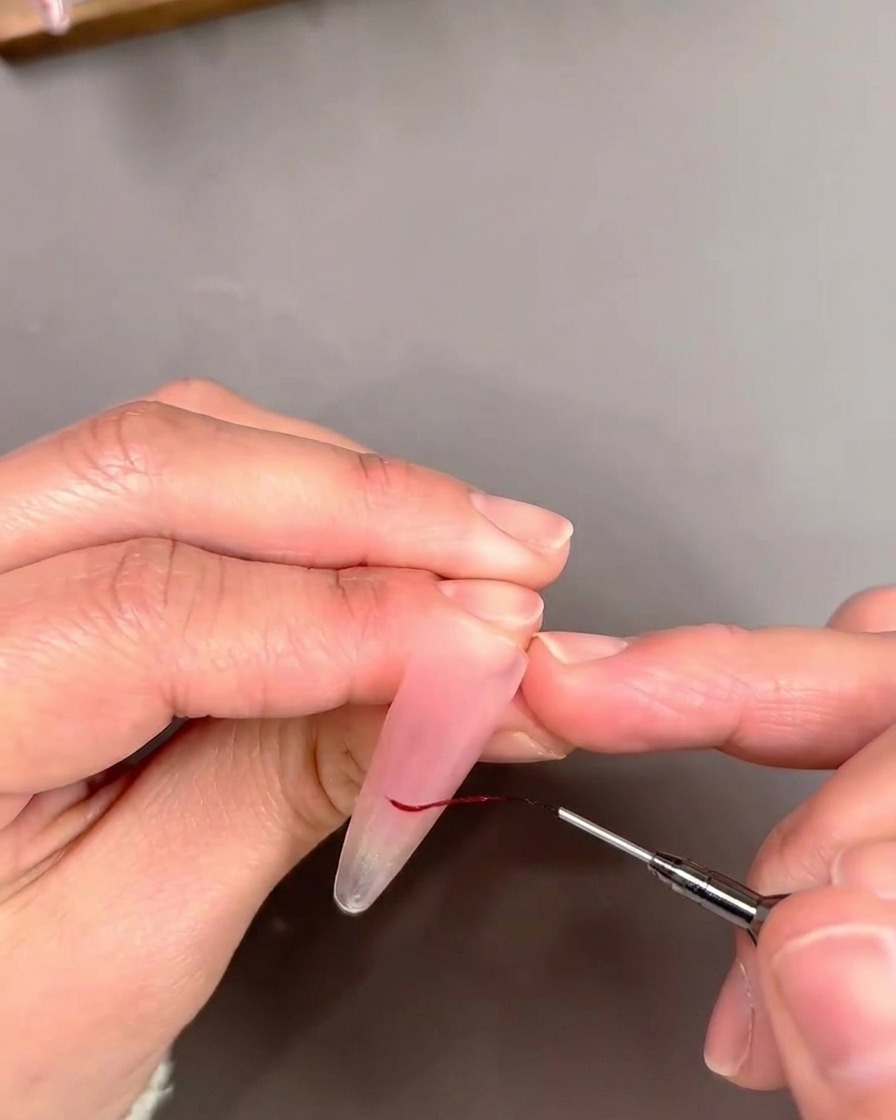
Using a thin liner brush and red gel polish, carefully outline the French tip you created. This adds a bold pop of color and defines the smile line of the gold French tip. Work slowly to maintain a smooth, clean line, then cure.
Tip: Keep the outline very thin for a refined, professional finish. - 6Paint Red Hearts
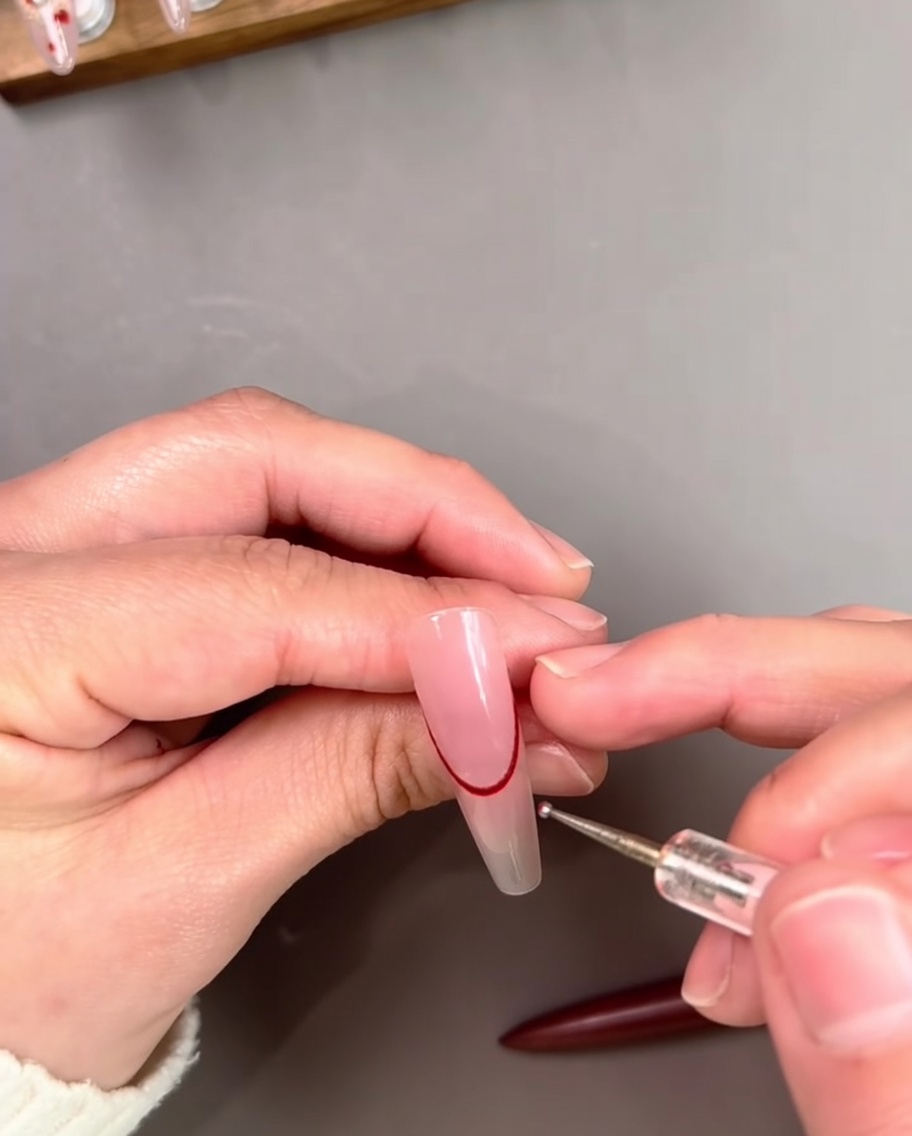
Using a dotting tool and red gel, place two small dots side-by-side on the nail surface. Then, use the tip of the tool or a fine liner brush to gently pull the gel downward and connect the dots into a crisp heart shape. Repeat as desired and cure.
Tip: Ensure the dots are sized appropriately for the nail area so the heart looks balanced and clean. - 7Create Heart Accents
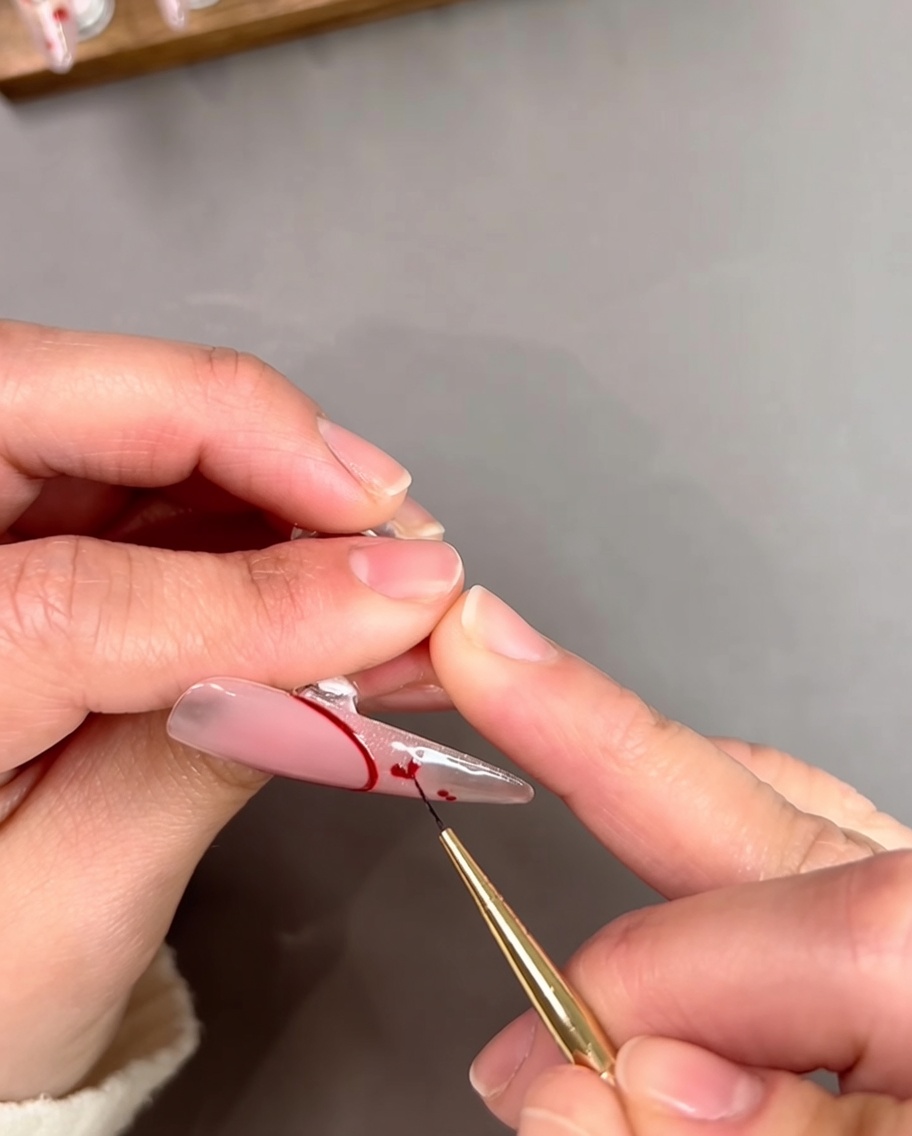
Place two small adjacent dots of red gel polish on the nail surface. Using a liner brush or the dotting tool tip, gently drag the gel downward to connect the dots into a heart shape. Repeat this process as desired to create multiple heart accents across the nail.
Tip: Keep your dots small to ensure the heart shape looks delicate and well proportioned. - 8Add Polka Dots
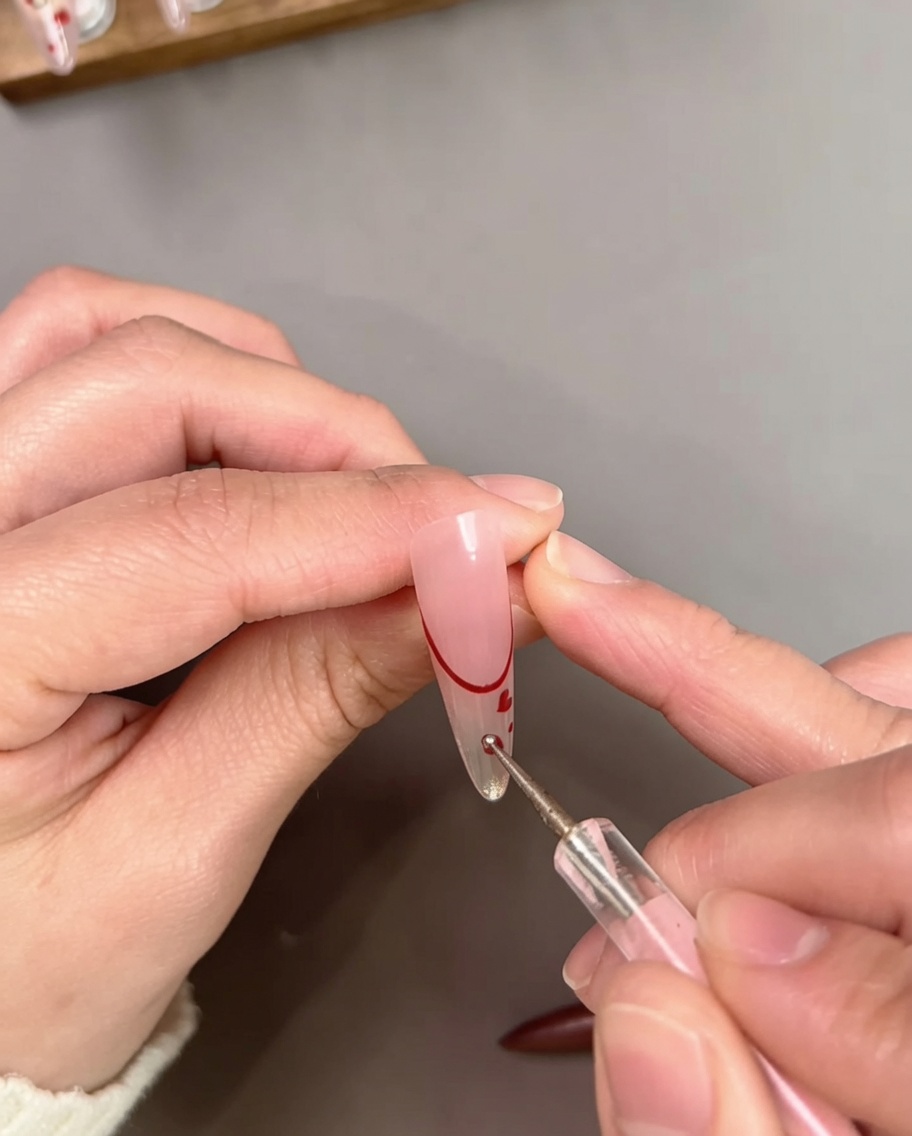
Take a dotting tool and gently place small red polka dots across the remaining negative space of the nail. This fills the empty areas and adds an extra layer of playful detail to the design.
Tip: Vary the spacing of the polka dots slightly for a more organic and balanced look. - 9Apply Purple Cat-Eye Base
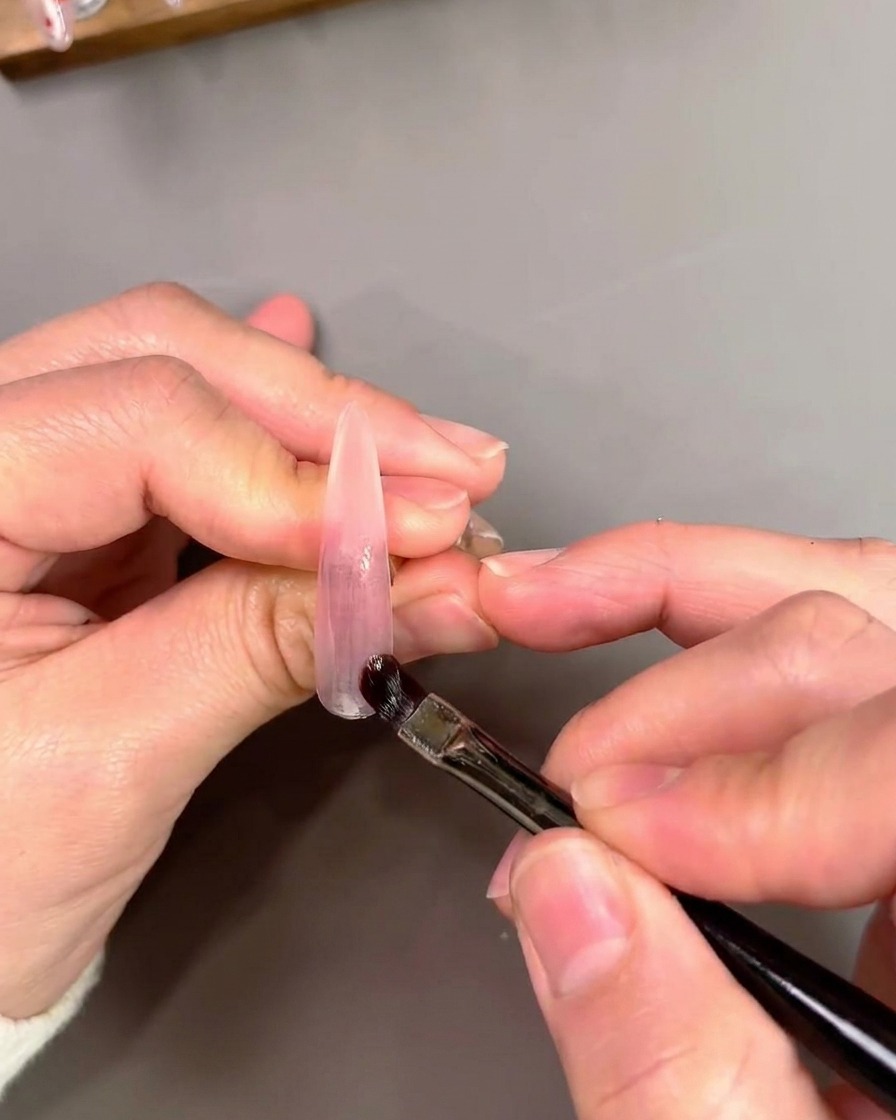
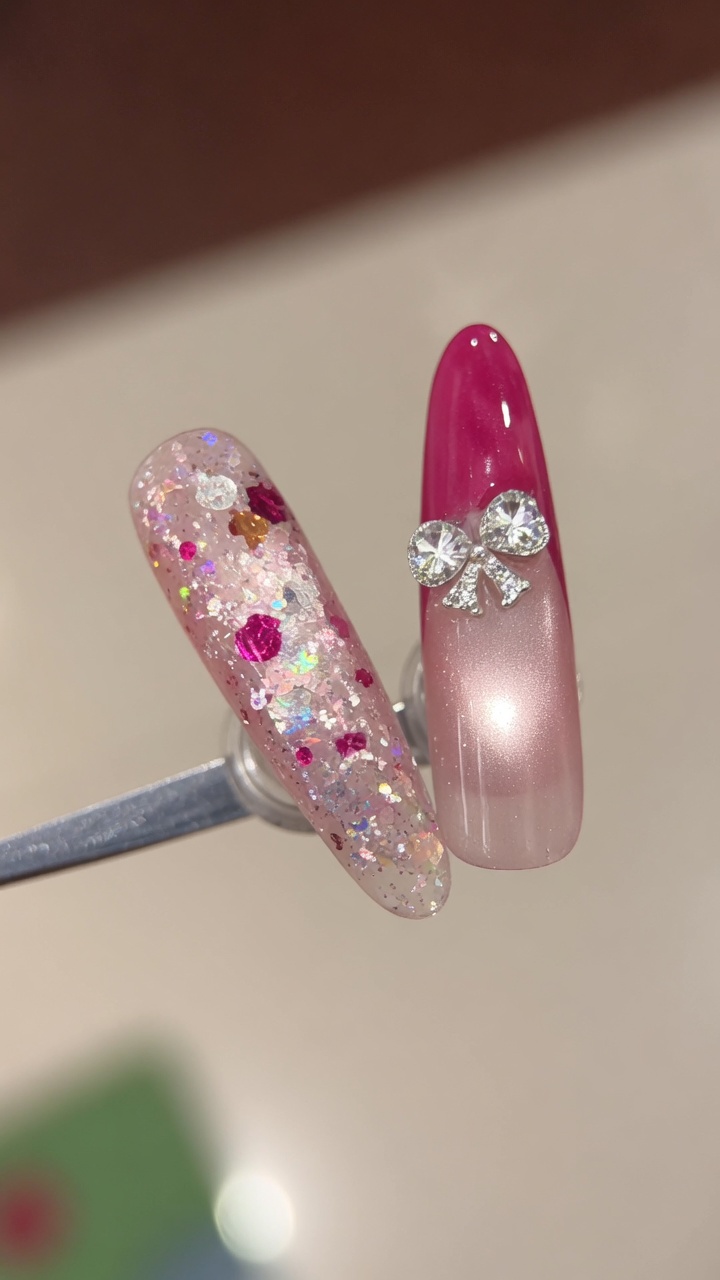
Moving on to the next nail, use a flat brush to apply a layer of purple cat-eye gel. Blend the color carefully to establish a smooth, seamless gradient effect across the nail surface before activating the magnetic particles.
Tip: Ensure your brush strokes are light to maintain a clean gradient fade without streaking. - 10Activate Purple Cat-Eye
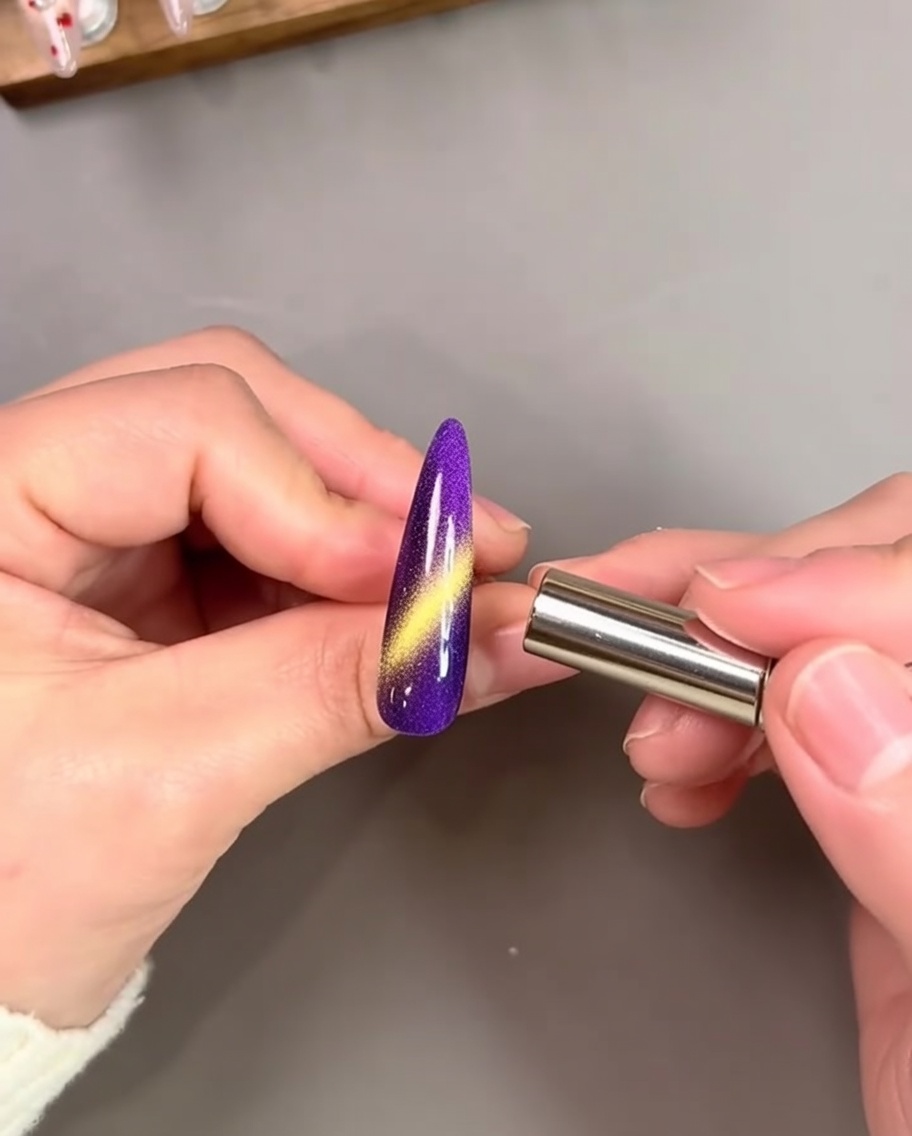
While the purple gel base is still wet, hold a strong magnet near the root of the nail. The magnetic force will pull the particles together to create a striking, luminous glass bead effect at the base. Hold the magnet steady for 5 to 10 seconds for a sharp, defined look.
Tip: Hold the magnet steady for about 5 to 10 seconds to ensure a sharp, clearly defined cat-eye line. - 11Outline the French Tip
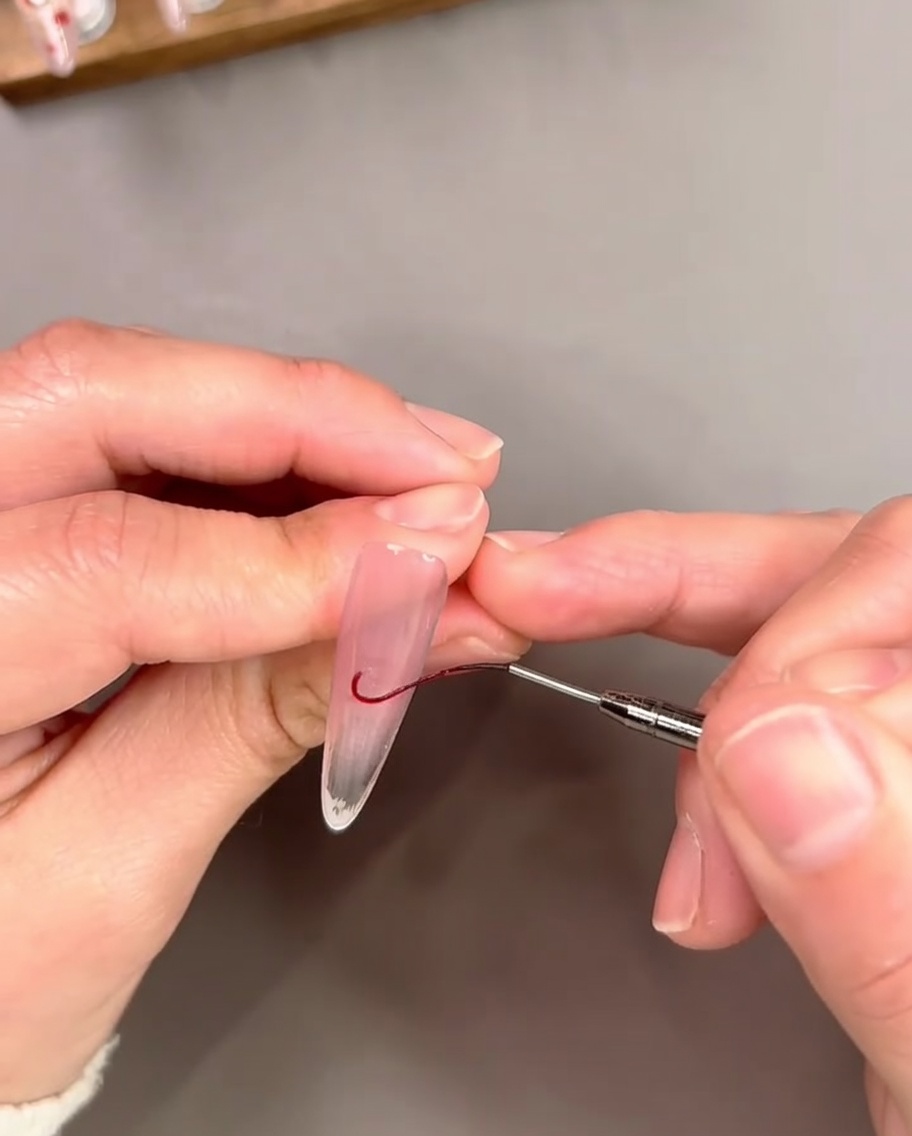
Using a fine liner brush loaded with vibrant red gel polish, carefully map out the smile line for a French tip over the previously prepared nail. Establish the basic shape before filling it in completely.
Tip: Rest your pinky finger against your other hand for stability when drawing curved, precise lines. - 12Refine the French Tip
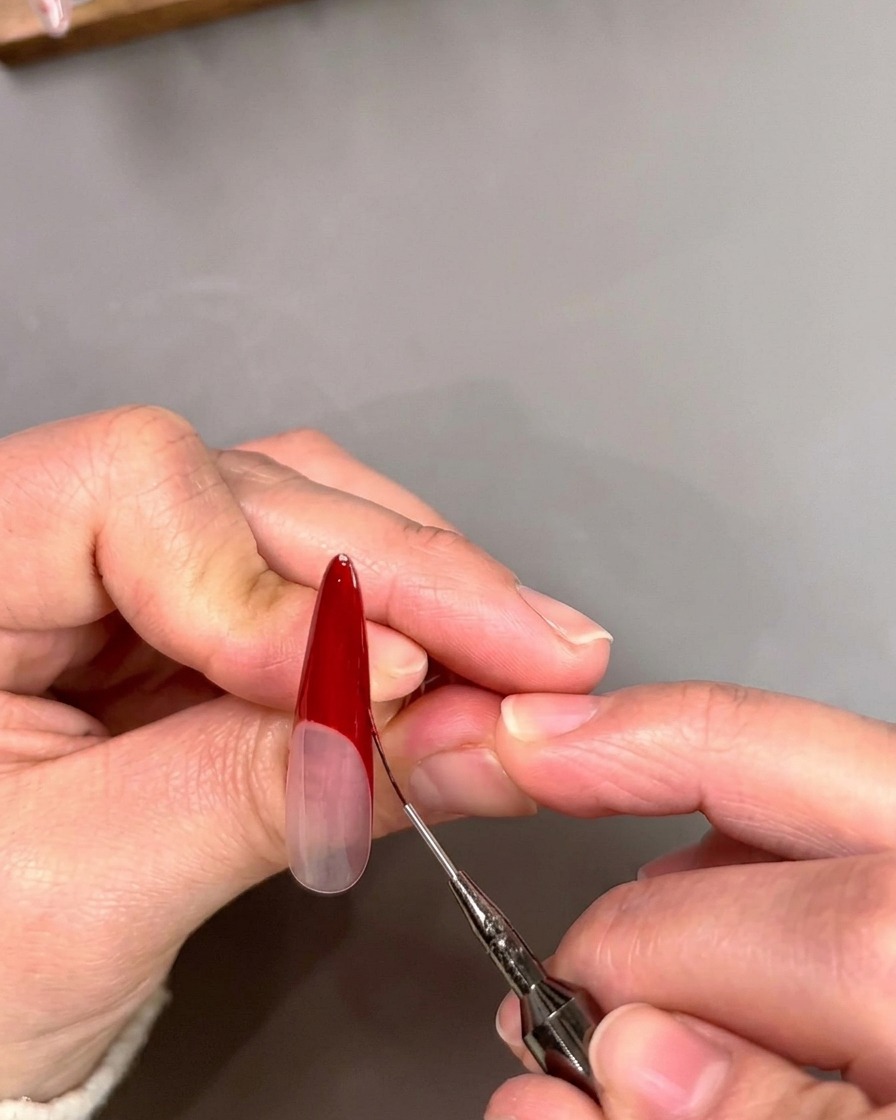
Once the red French tip is filled in, go back over the edges with your liner brush to smooth and refine the smile line. Make sure the curves are symmetrical and the color is applied evenly without any patchiness.
Tip: If the line isnt perfectly sharp, use a clean brush lightly dampened with alcohol or cleanser to gently wipe away mistakes before curing. - 13Add Spider Gel Accents
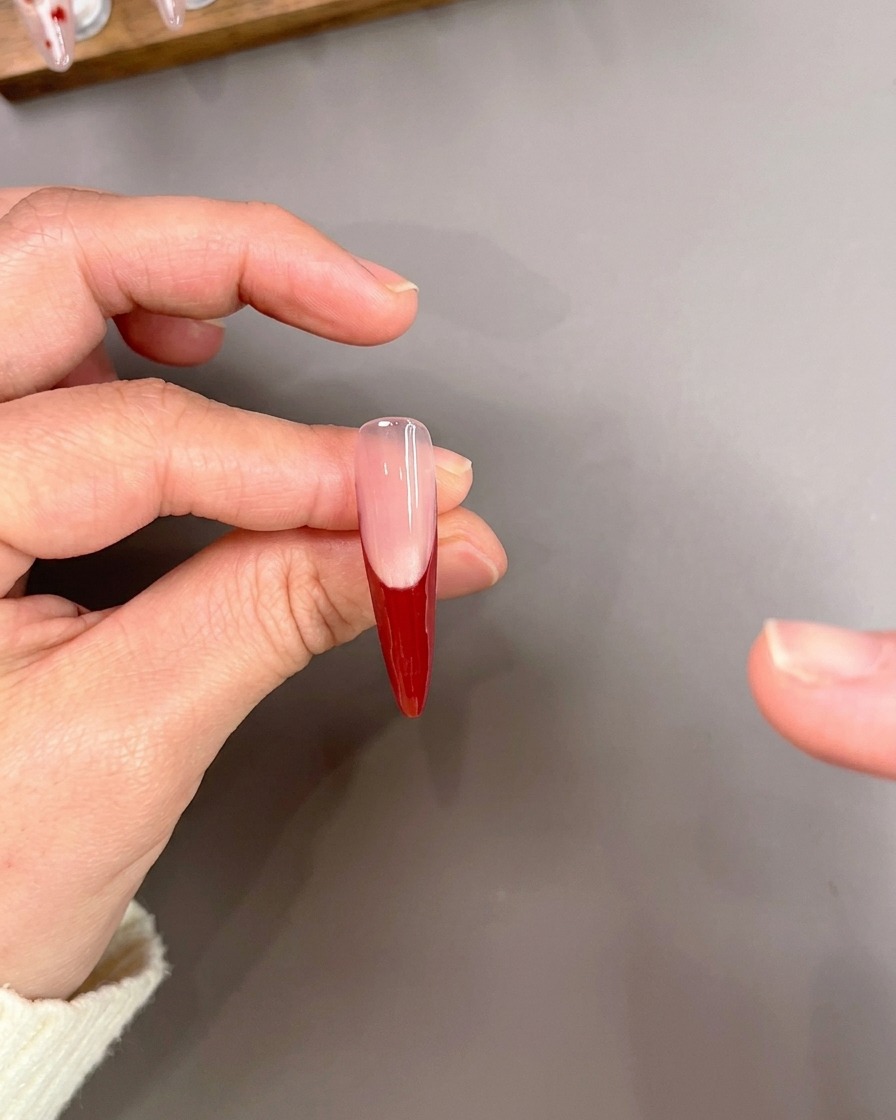
Apply fine accent lines using red spider gel or a high-pigment lining gel to add dimension and ambiance to the French tip design. Use a thin liner brush to sharpen the lines for a clean, professional finish.
Tip: Apply the gel with a light touch to keep the lines crisp and prevent them from looking too thick. - 14Seal with top coat
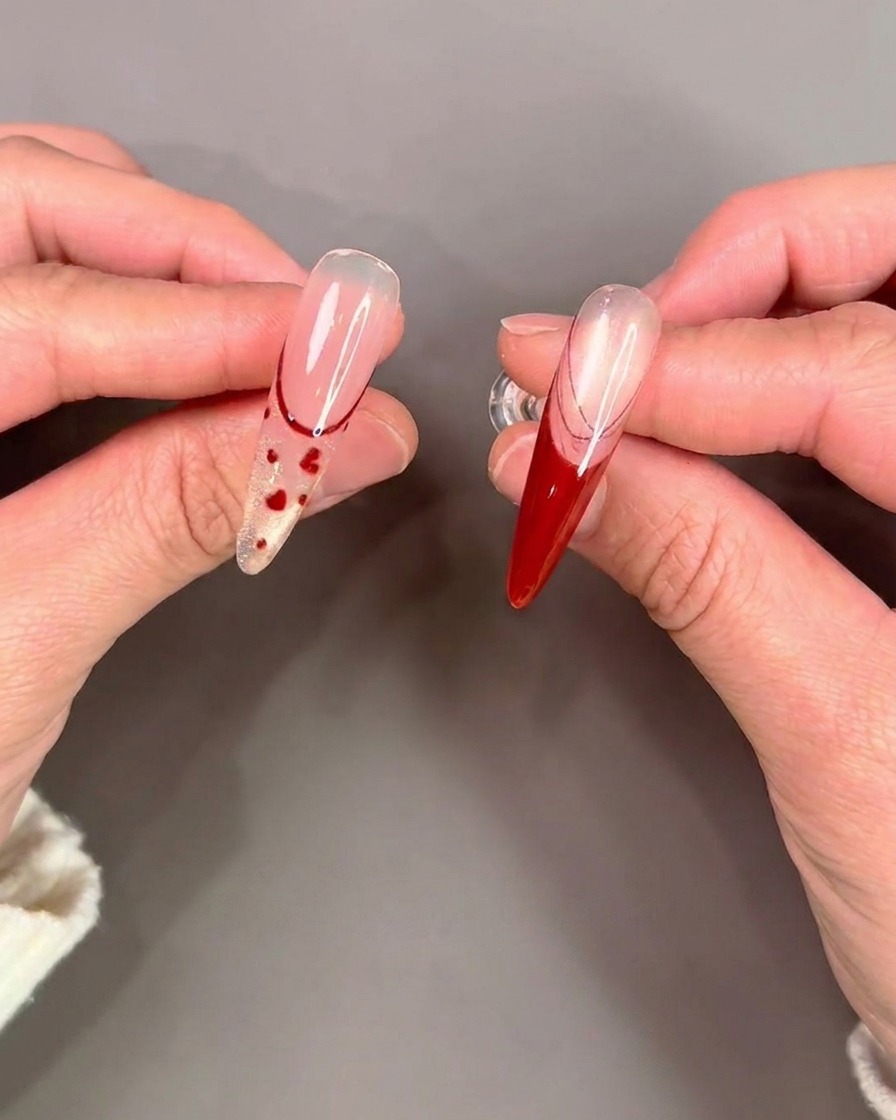
Apply a final, generous layer of top coat over the entire nail to seal and protect your artwork. Ensure you cover all details, including the painted lines and heart designs, to provide a smooth, glossy finish that prevents chipping.
Tip: Cap the free edge with the top coat to maximize the longevity of your nail art. - 15Cure the nails
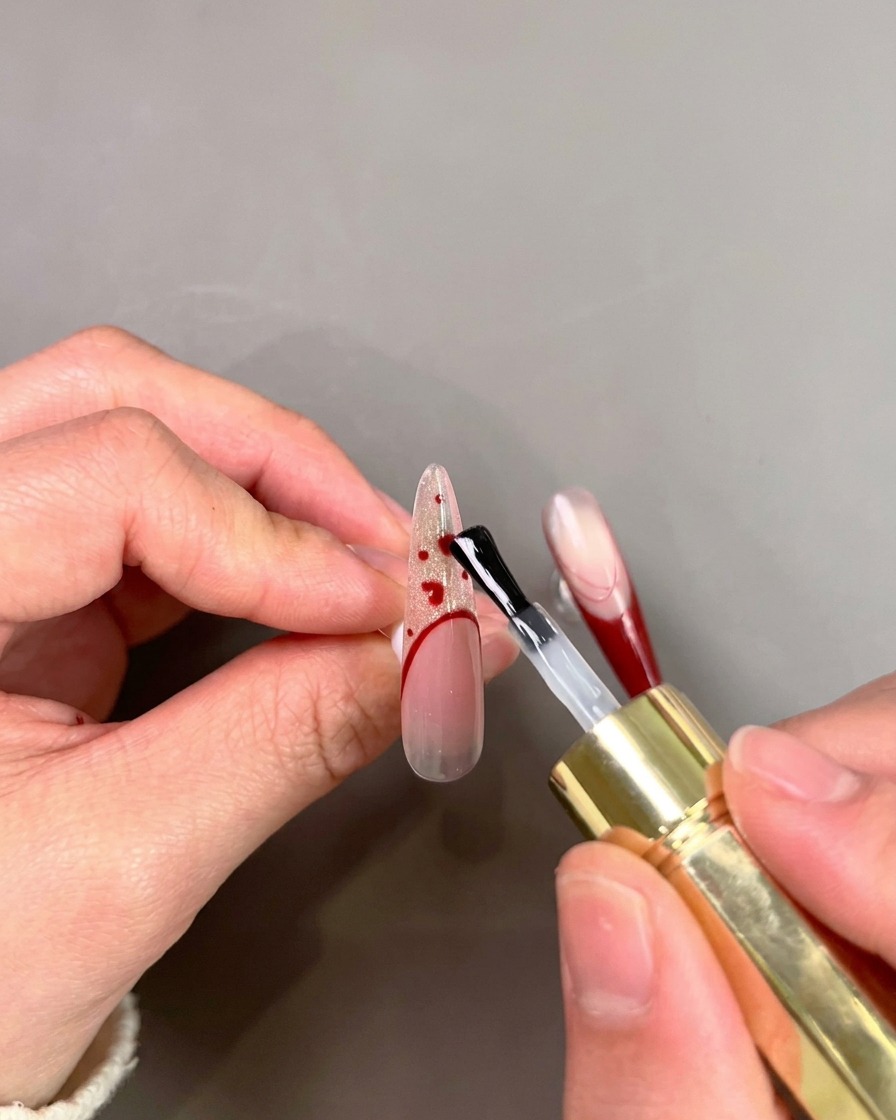
Place your hand under a UV or LED lamp to fully cure the top coat. Follow the manufacturers instructions for the specific curing time required for your top coat product to ensure a durable, hard finish.
Tip: Ensure your fingers are positioned flat inside the lamp to guarantee even light distribution. - 16Secure 3D Bow Charms
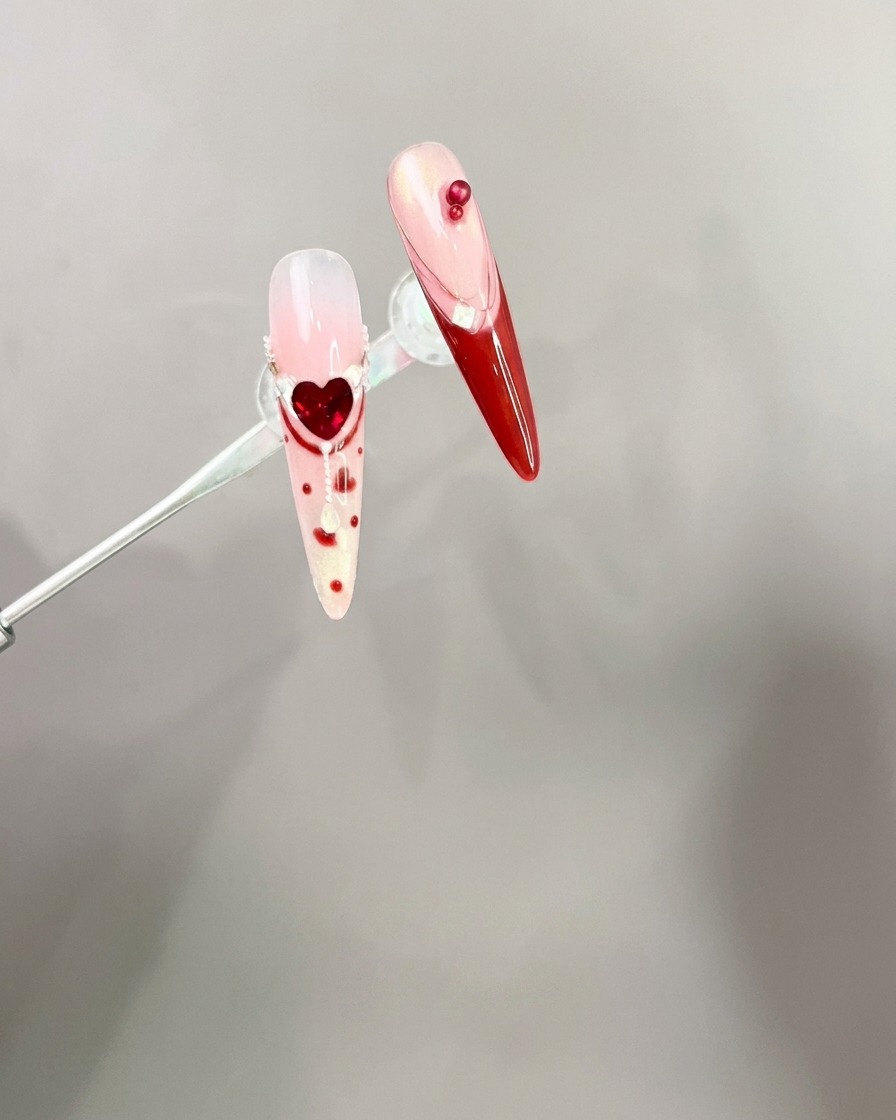
Apply a small bead of strong nail adhesive or thick builder gel to the area where you want the charm. Carefully place your 3D bow charm onto the adhesive using tweezers, pressing down gently to ensure it is secure. Cure one final time to lock the charm permanently in place.
Tip: Use a pair of tweezers for precise placement of delicate 3D charms.