Gel Ombre Gradient
Blush Nail Art Tutorial
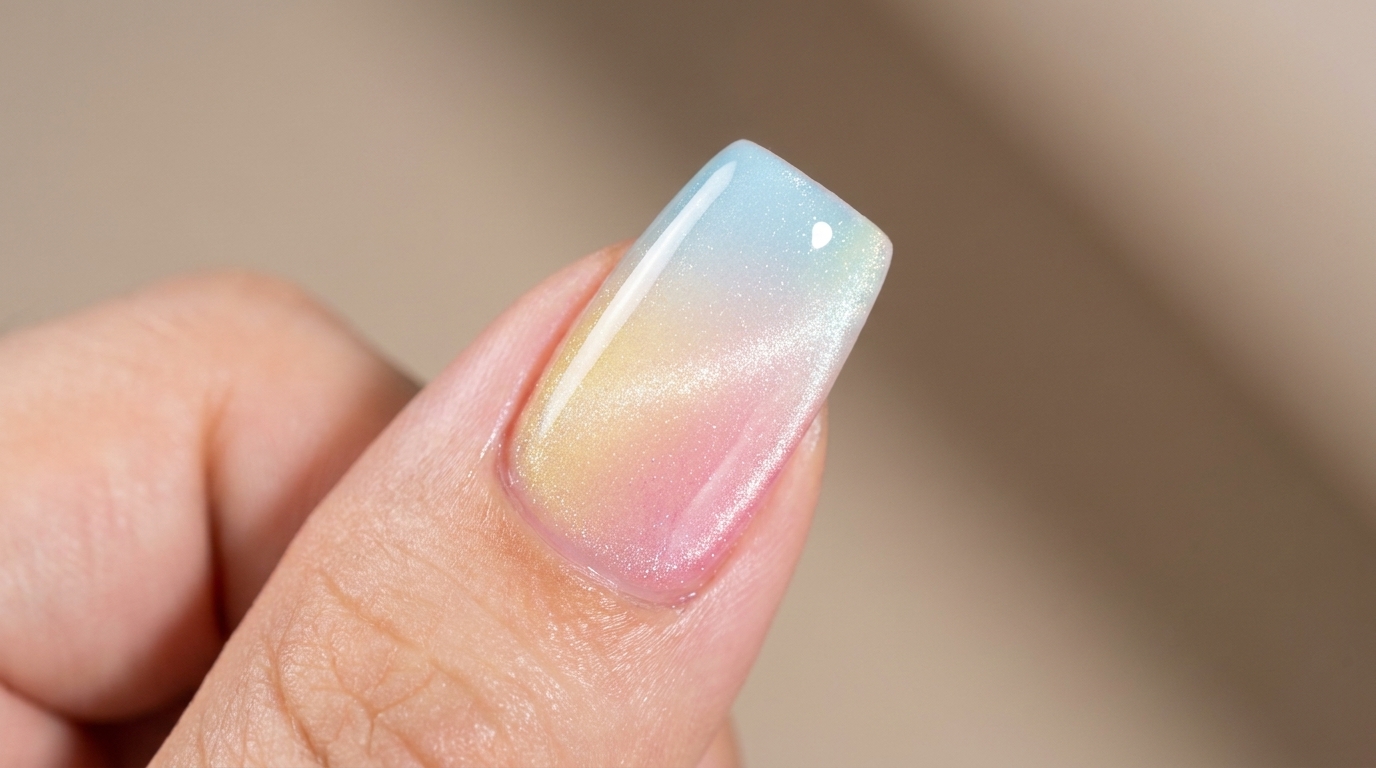
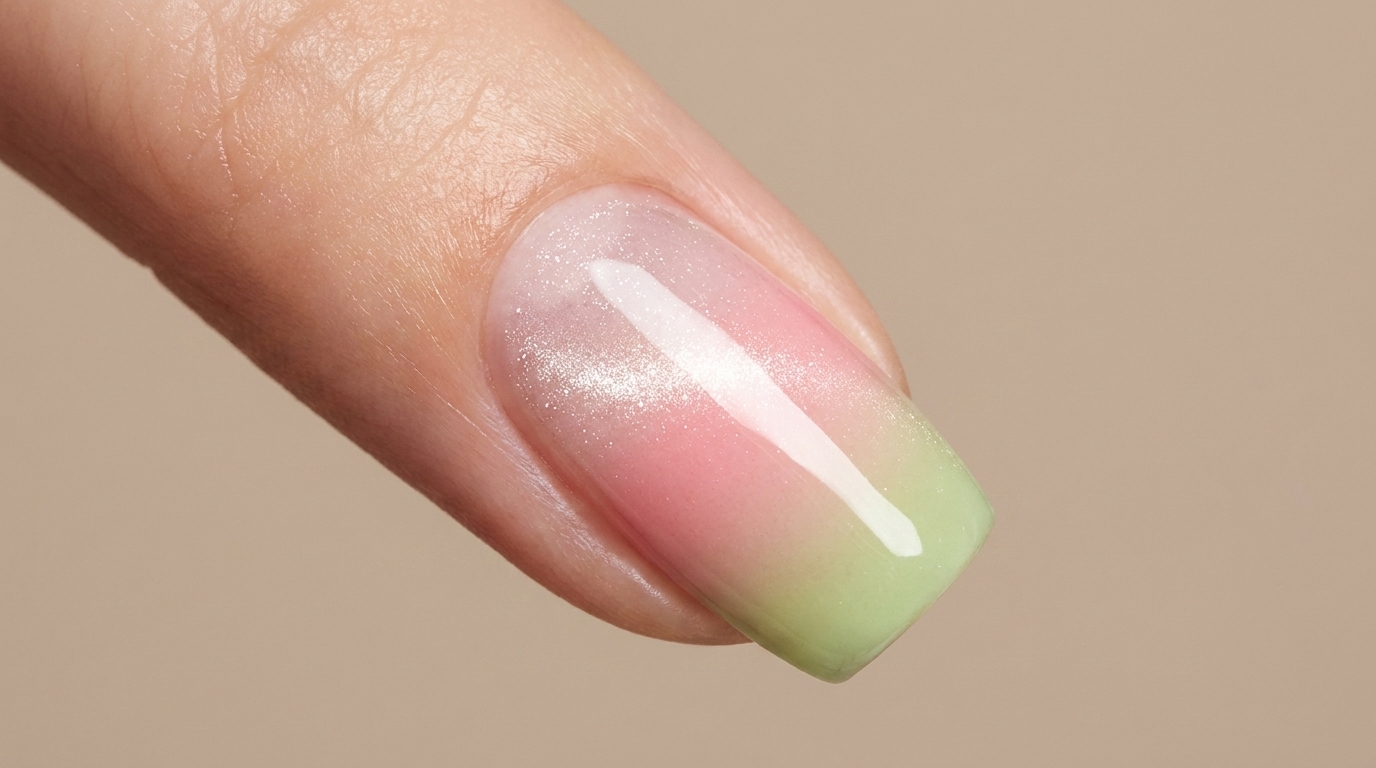
Create effortless, dreamy nails with our easy-to-follow guide on achieving a seamless gel ombre gradient and a soft, centered blush effect.
The ombre and blush nail trend offers a beautifully soft, diffused aesthetic that works perfectly for any occasion. By mastering simple sponge-blending techniques, you can achieve a professional-looking gradient at home. This tutorial breaks down the process, from prepping your base to creating the perfect sheer, airy color transitions.
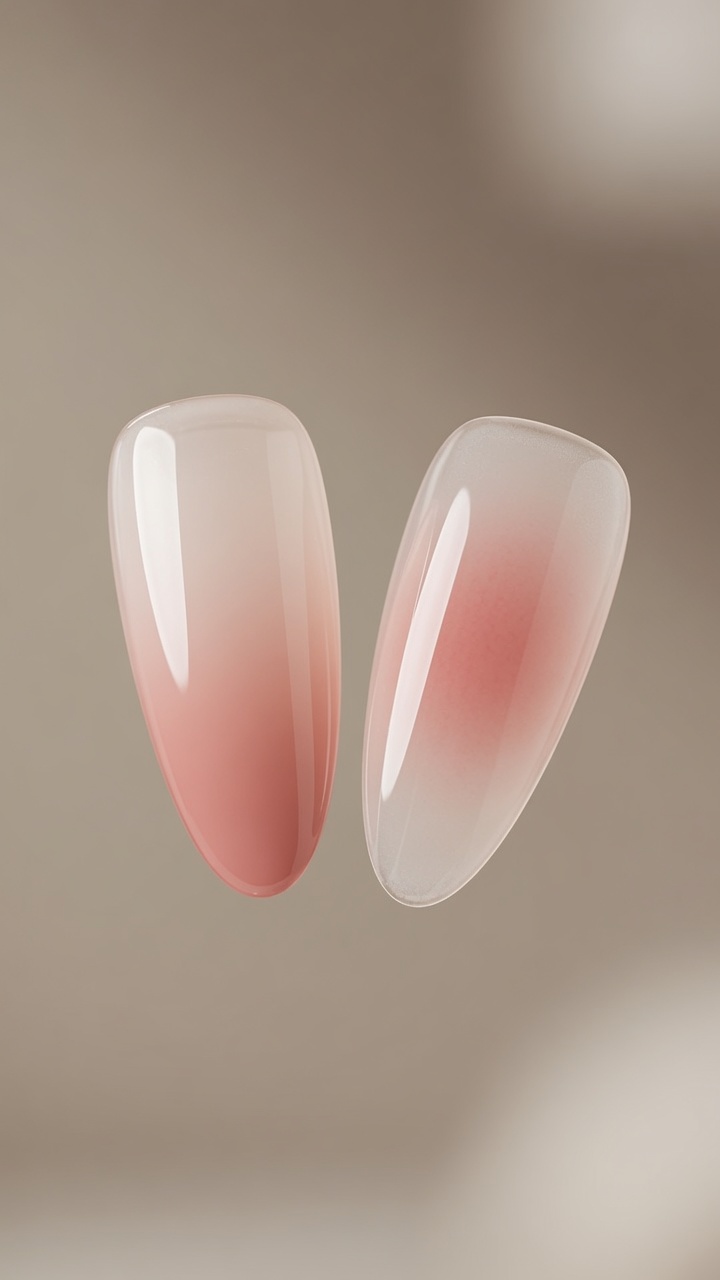
Steps
- 1Remove the tacky inhibition layer
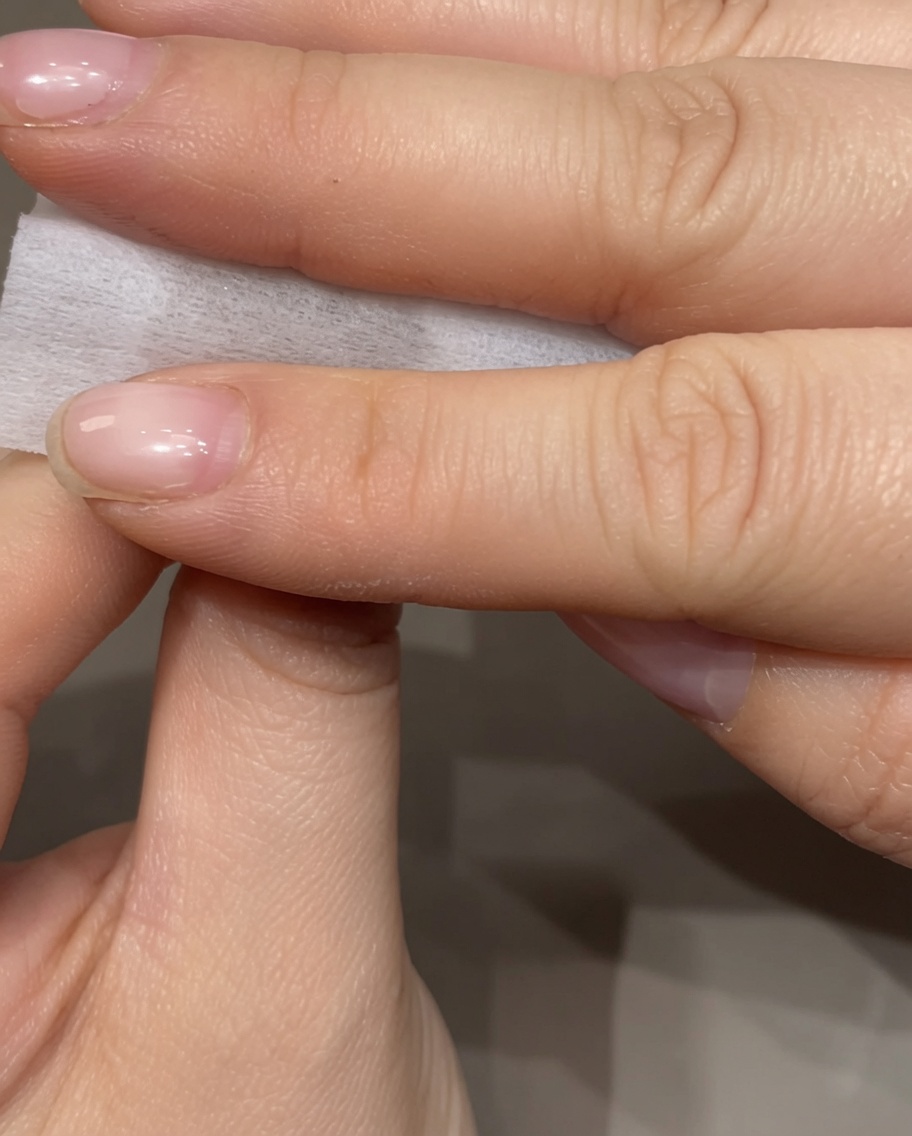
After fully curing your nude base coat, dampen a lint-free wipe with nail cleanser or isopropyl alcohol. Firmly wipe the entire surface of the nail to remove the sticky inhibition layer left behind by the gel, creating a clean, dry surface for the ombre technique.
Tip: Always use a fresh lint-free wipe rather than cotton balls or pads to avoid leaving unwanted fibers on the prepped nail. - 2Apply an optional top coat
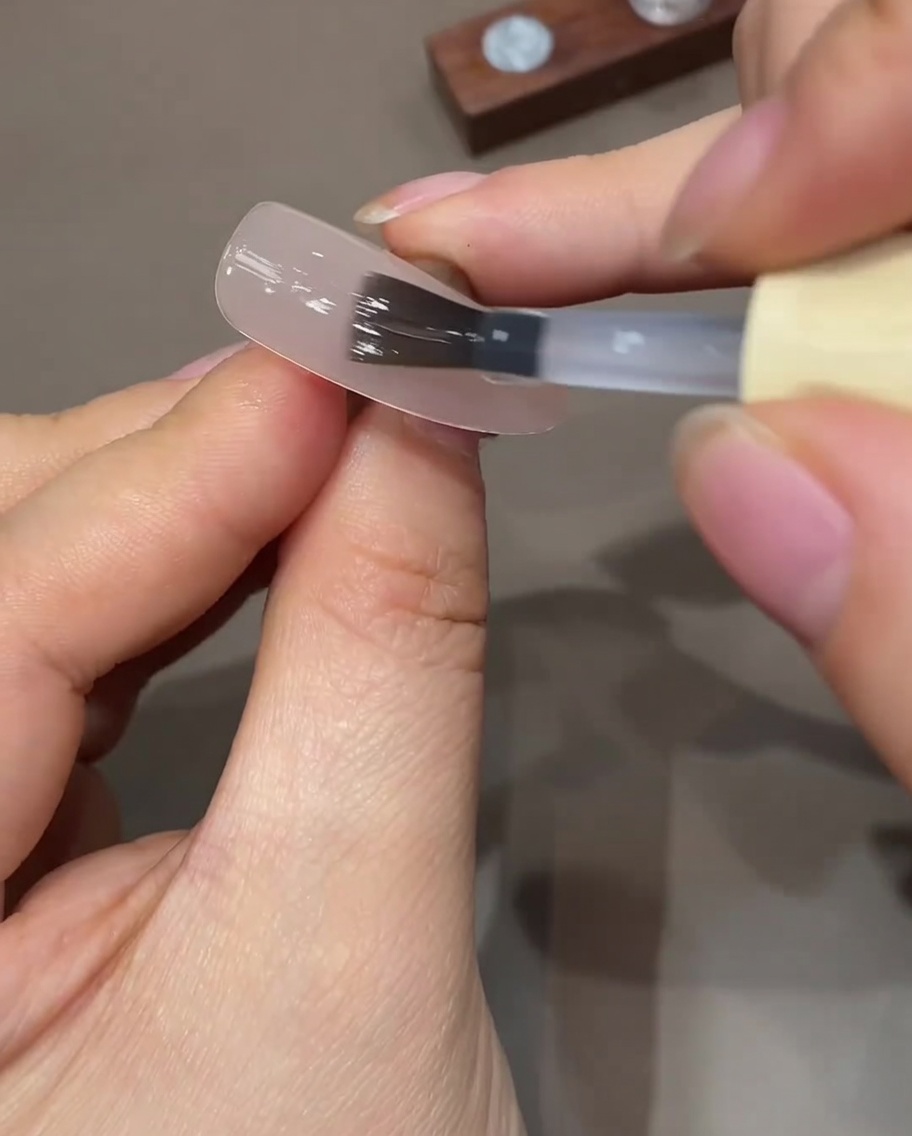
Using a flat gel brush, carefully apply a very thin, even layer of top coat over the entire nail plate. While optional, applying a matte top coat creates a slightly textured surface that gives excellent grip for the sponge ombre technique, preventing the colors from sliding around or pooling.
Tip: Keep this layer as thin as possible to avoid adding unnecessary bulk or thickness to the nail structure before the ombre colors are applied. - 3Prepare the cosmetic sponge
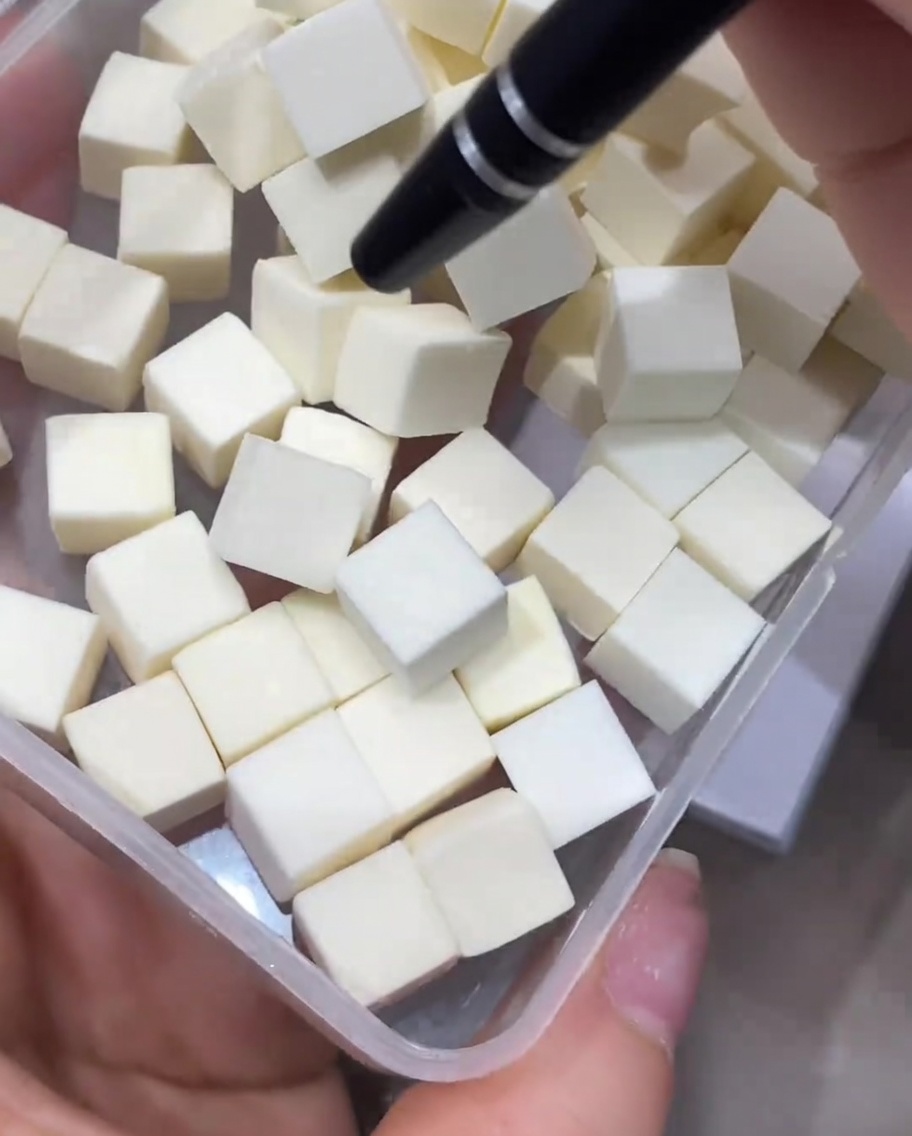
For this technique, use a small, dense cosmetic sponge cube. Ensure the surface is perfectly flat and smooth, as this will be the primary tool for stamping and diffusing the gel color seamlessly onto the nail.
Tip: Using a smaller sponge cube gives you much more control and precision than a standard full-size sponge, especially when creating the concentrated blush effect in the center of the nail. - 4Clean the sponge
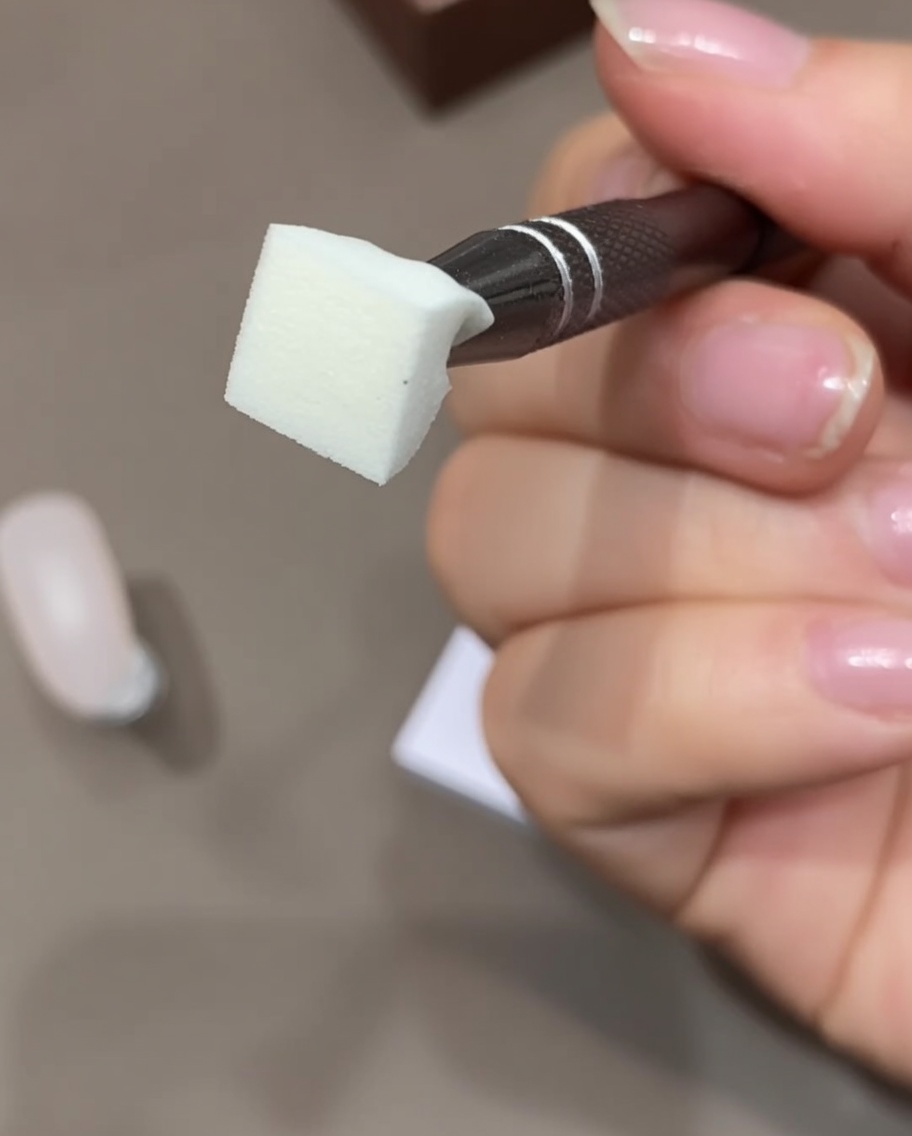
Before starting the ombre application, ensure your makeup sponge is perfectly clean. Use adhesive tape to gently pick up and remove any dust or debris from the surface of the sponge, ensuring a smooth application without imperfections.
Tip: A clean sponge is essential for a smooth, streak-free ombre gradient. - 5Prepare gel color
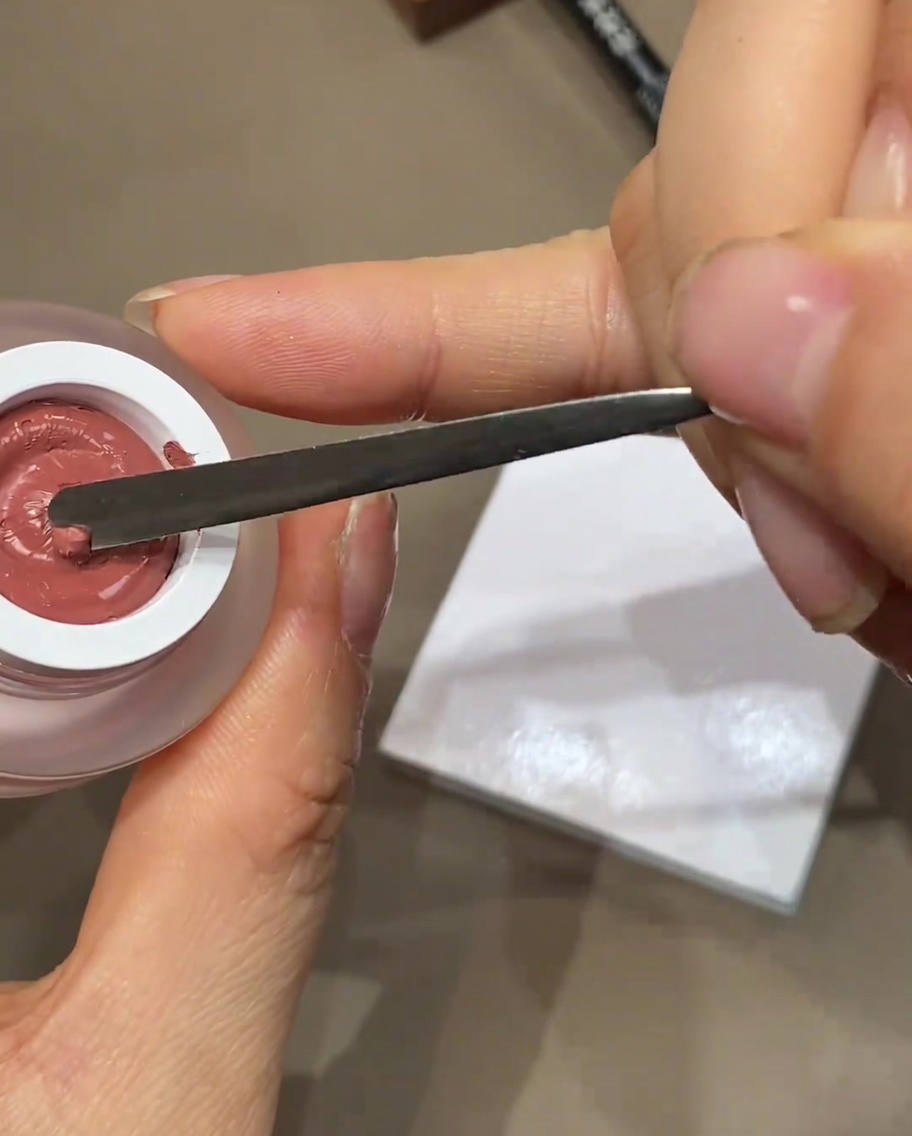
Place a small amount of your chosen color gel onto a palette. Using a small amount at a time helps maintain control over the product and prevents waste.
Tip: Work with a small amount of product to keep your workspace tidy. - 6Spread the gel color
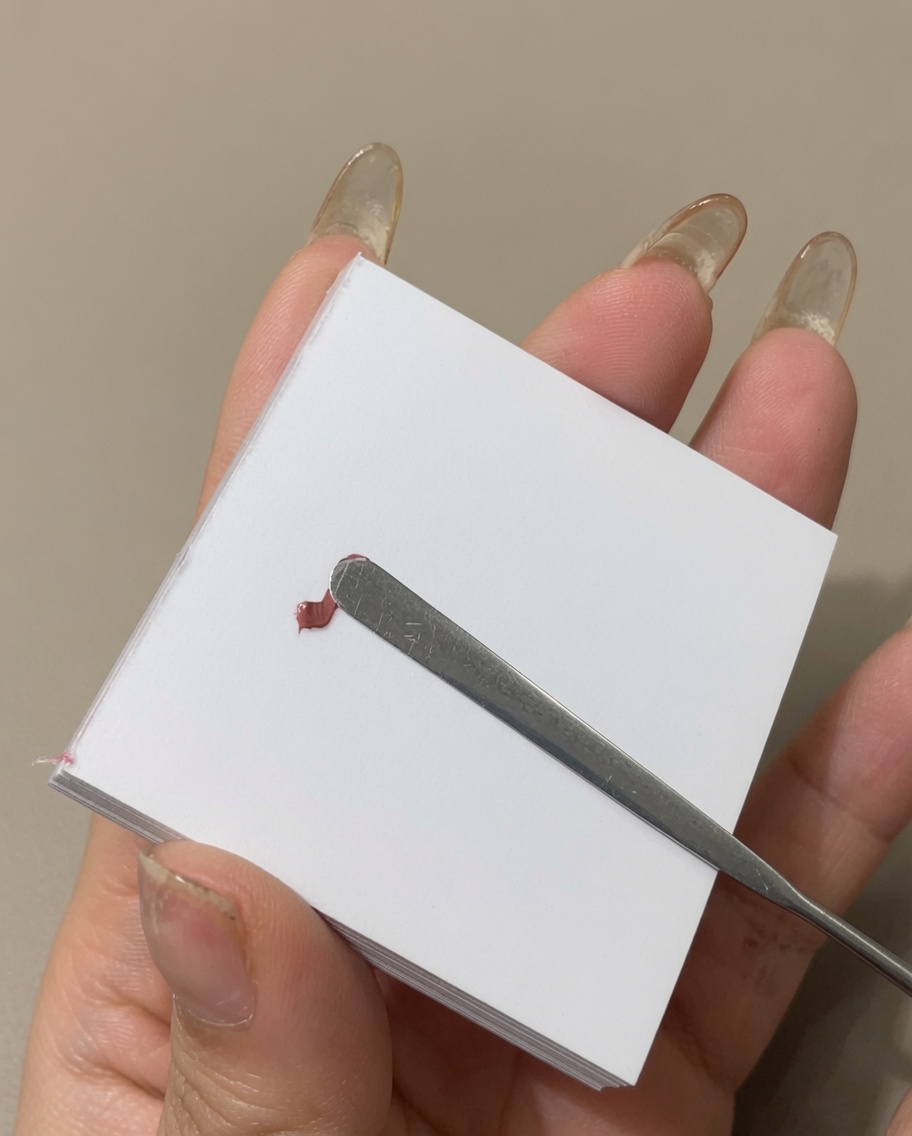
Use a metal spatula to spread the color gel horizontally across the palette. This creates a thin, even layer that is easier to pick up with the sponge for a consistent ombre effect.
Tip: Spreading the gel thin makes it easier to pick up an even amount on the sponge. - 7Load the sponge
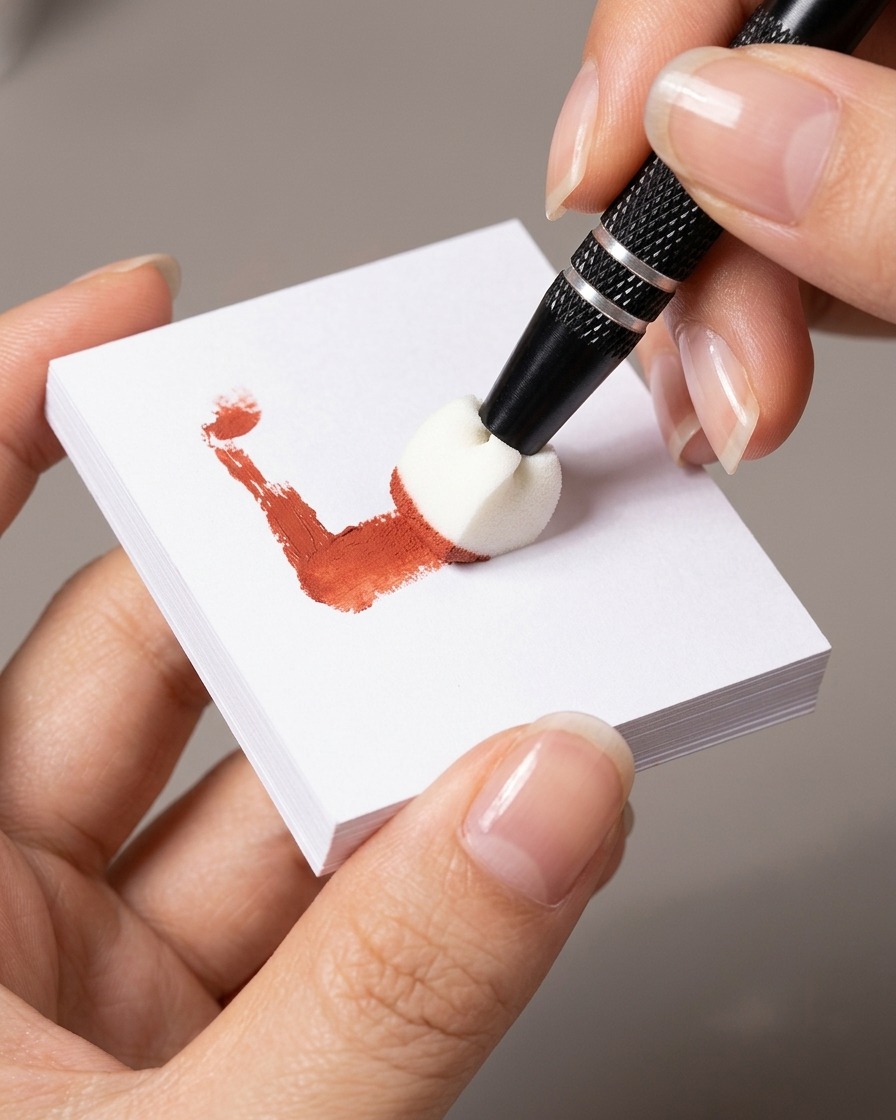
Gently press the flat side of your clean makeup sponge onto the spread-out gel color on the palette. Ensure you get an even coating on the sponge surface.
Tip: Use light pressure to avoid saturating the sponge too deeply. - 8Stamp the ombre gradient
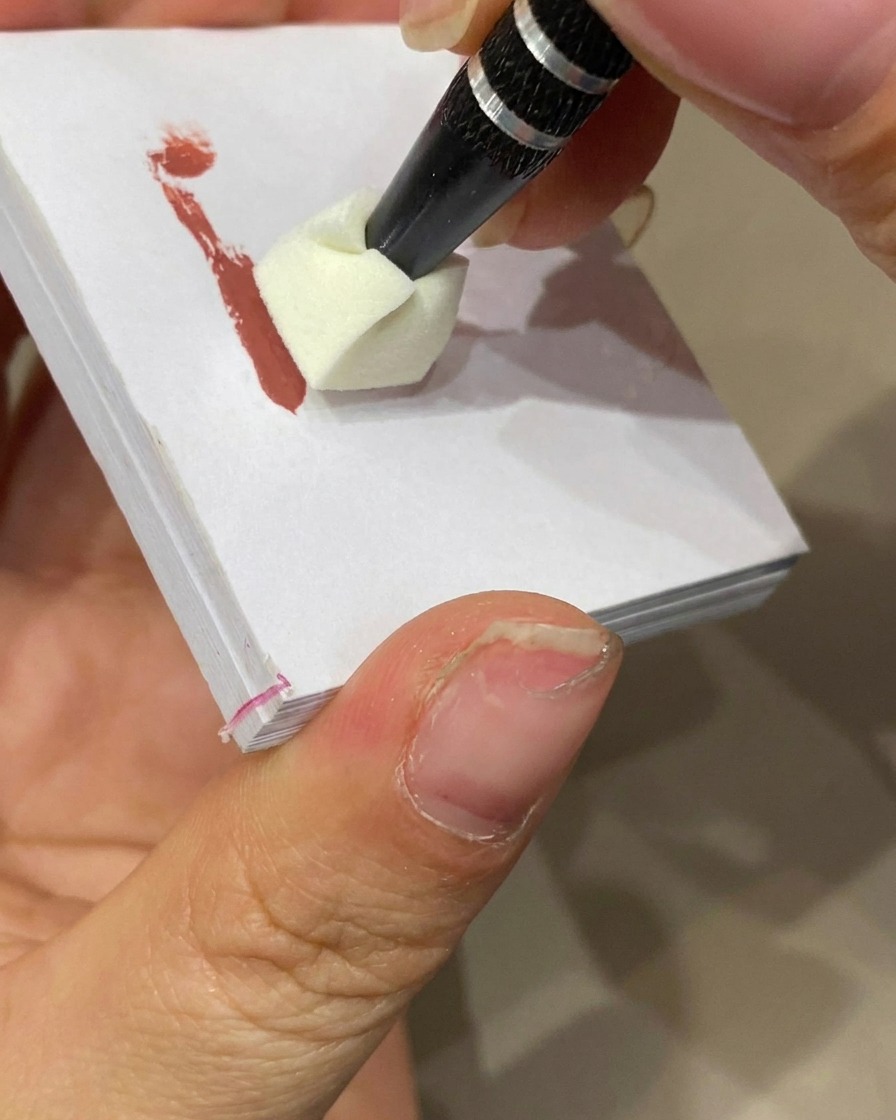
Take your color-loaded sponge and gently stamp it onto the tip of the nail. Use light, repeated tapping motions to blend the color upwards toward the center of the nail, creating a soft, natural gradient transition.
Tip: Use light, quick tapping motions for the best gradient blend. - 9Cure the ombre layer
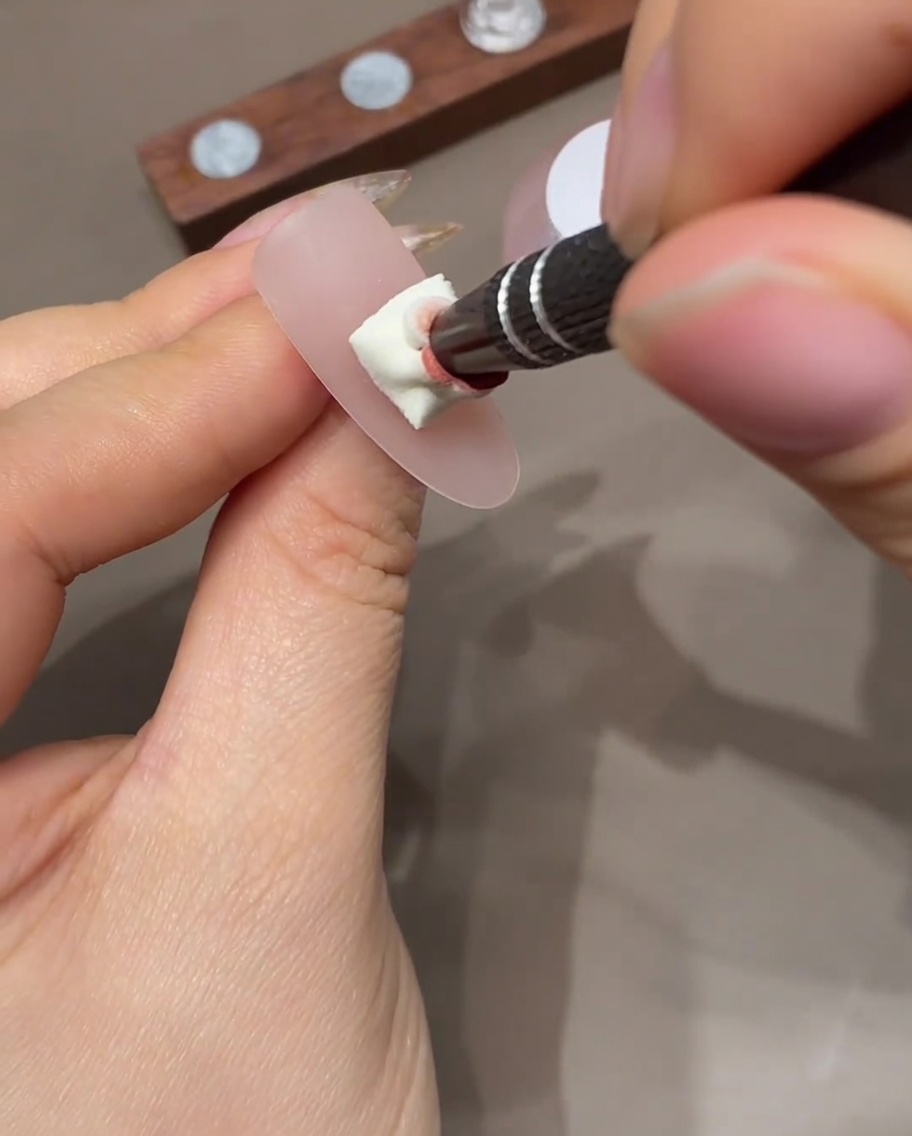
Once you are satisfied with the initial gradient, place the nail under your UV or LED lamp to cure. This sets the color and prepares the nail for the next coat or final sealing.
Tip: Follow your gel brands instructions for the correct curing time. - 10Stamp color for gradient
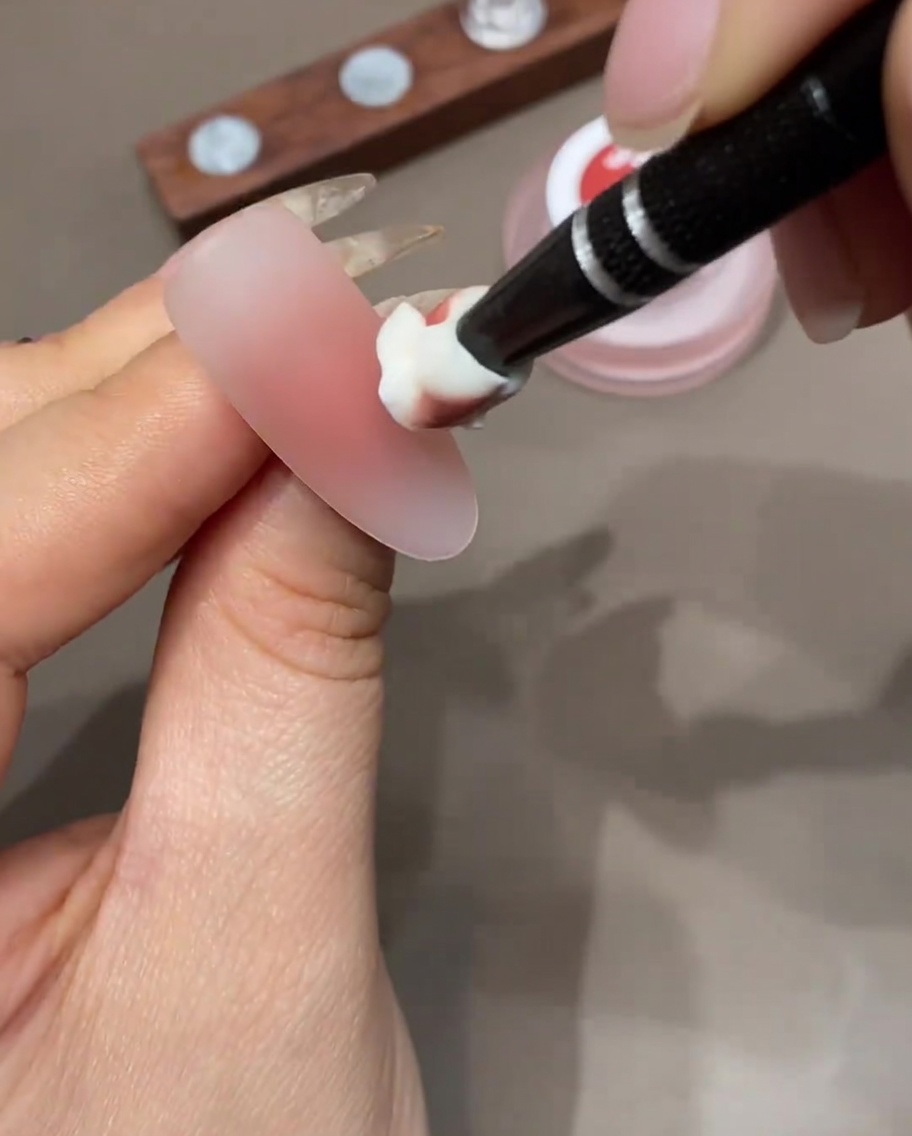
Apply a small amount of gel polish to your palette and pick it up with the flat side of a makeup sponge. Gently press the sponge onto the nail tip, repeating with light stamping motions to build the color intensity and create a seamless ombre gradient.
Tip: Keep the pressure light to avoid creating harsh lines; let the sponge do the work of diffusing the color. - 11Cure the ombre layer
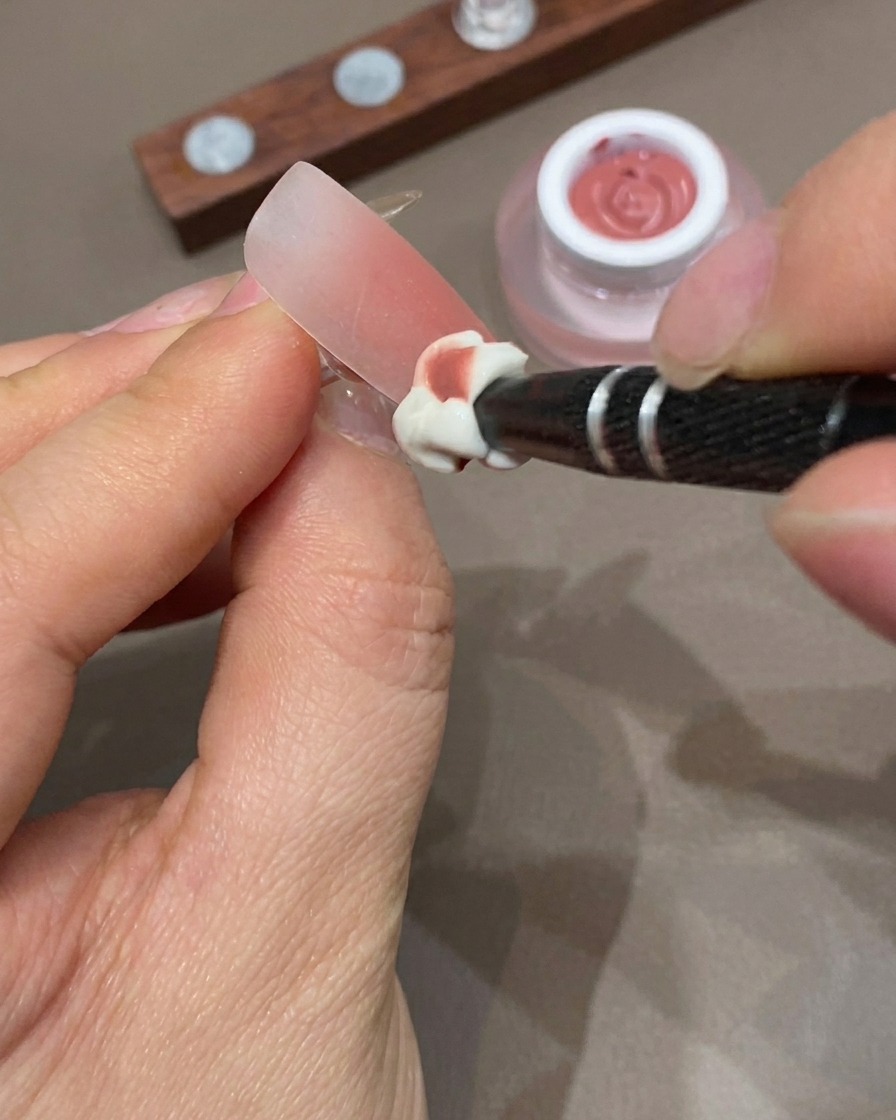
Place your hand inside the UV or LED lamp to cure the freshly stamped ombre layer. Ensure your hand is positioned flat to allow even light distribution across all nails for a complete cure.
Tip: Check the manufacturers instructions for the specific cure time of your gel product. - 12Apply top coat
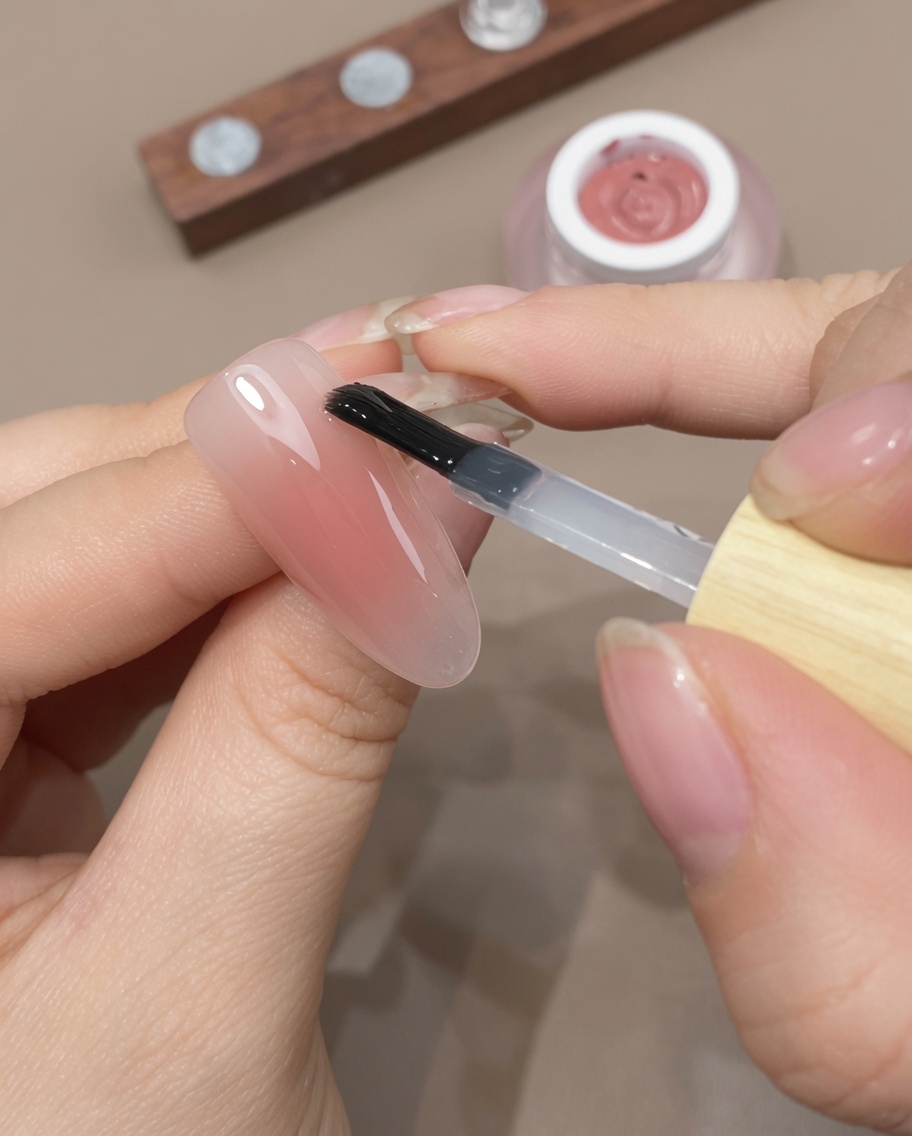
Finish the design by applying a generous, smooth layer of top coat over the entire nail. Be sure to cap the free edge to protect the design from chipping and to provide a high-shine, professional finish.
Tip: If using a matte top coat, ensure it is applied evenly to maintain the desired finish texture.