Spring Guava Gradient Nails
Cat Eye Effect — Step-by-Step Tutorial
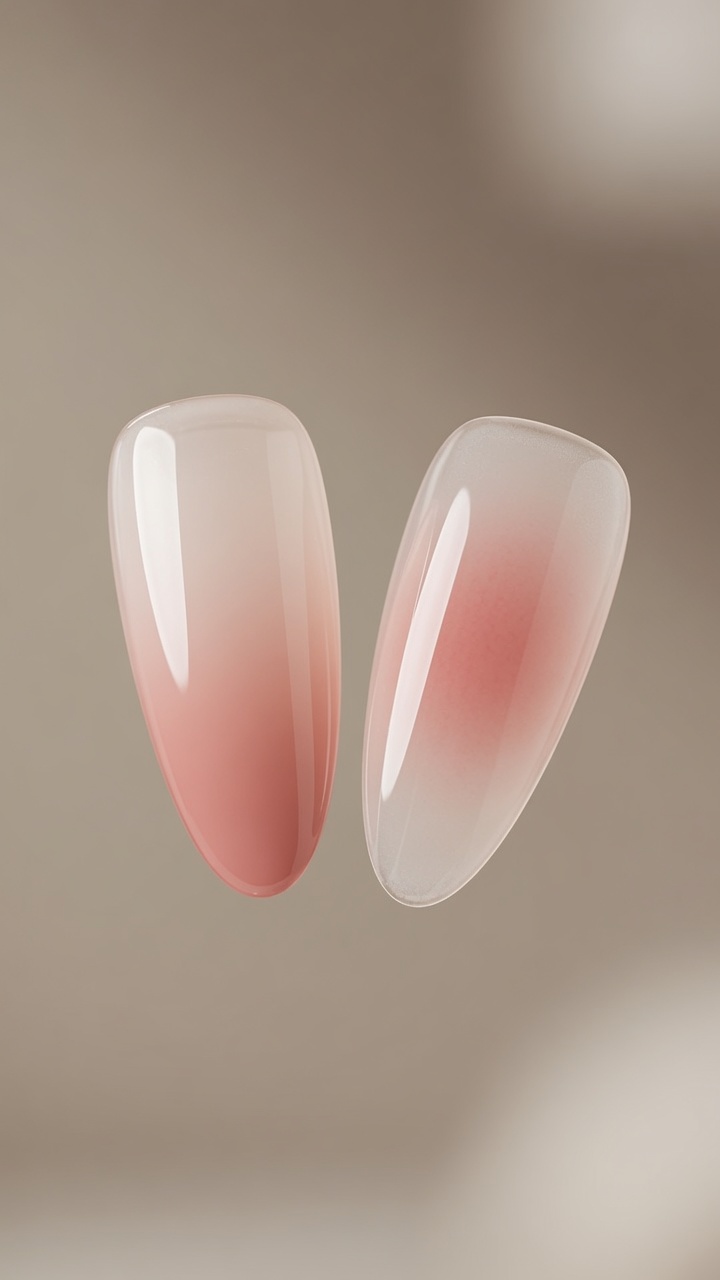
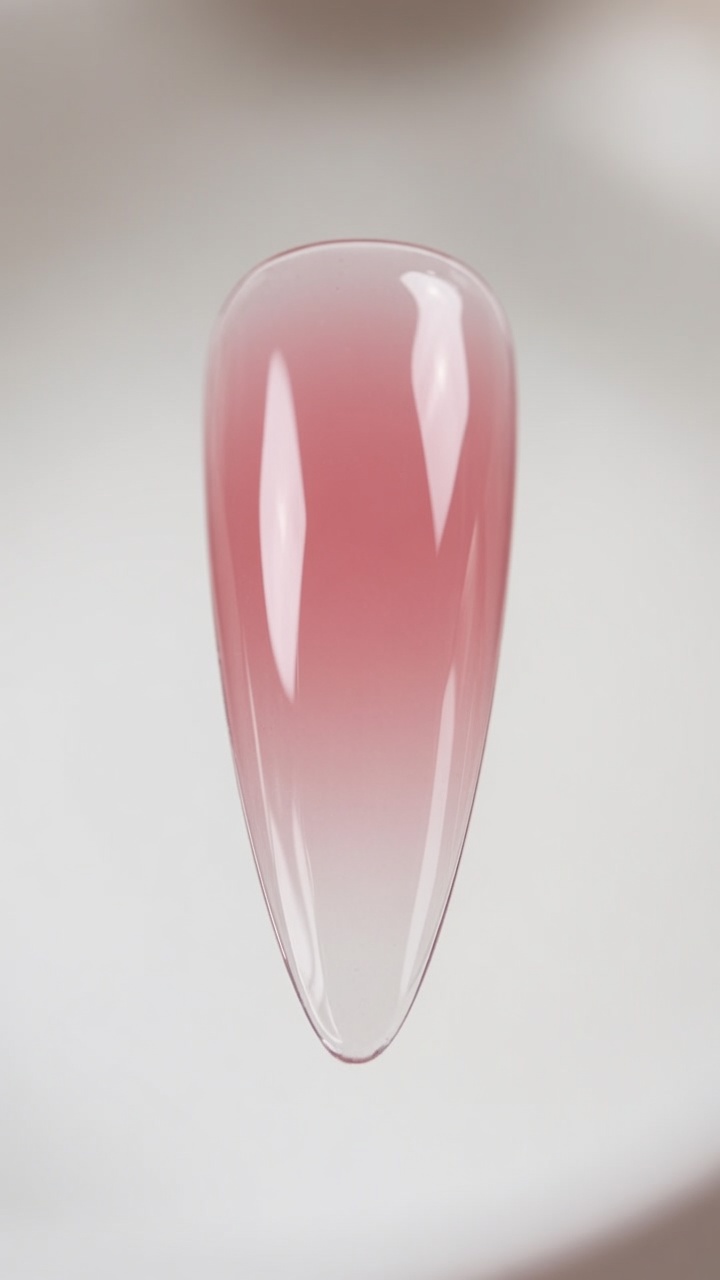
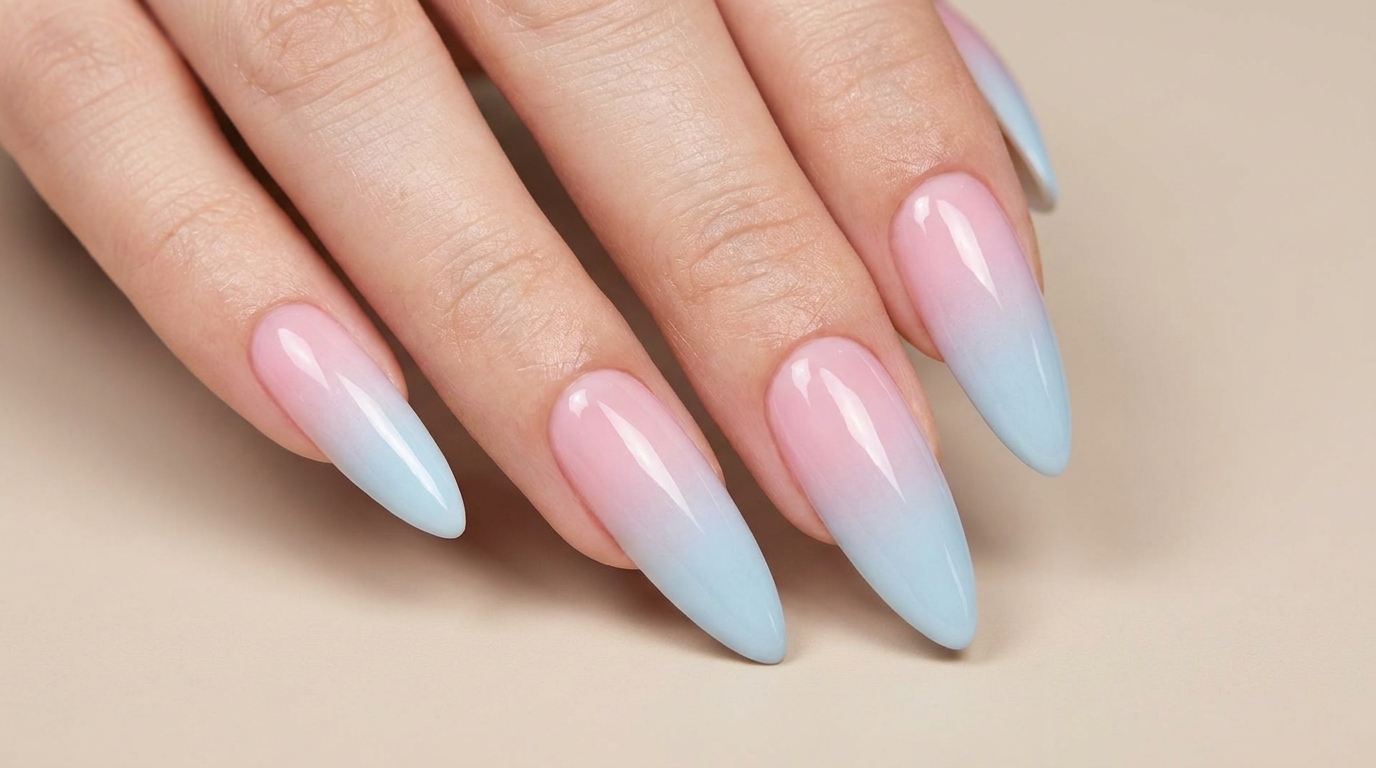
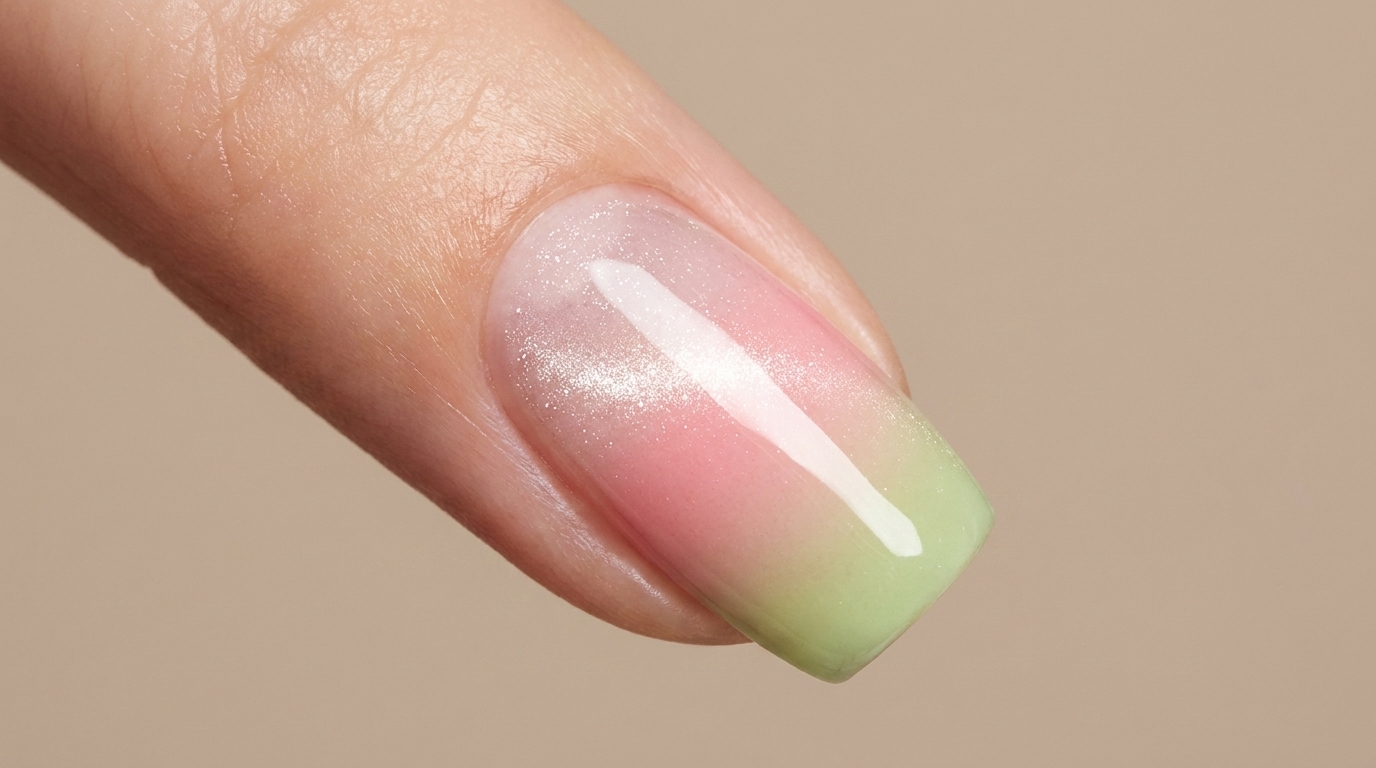
Create a fresh, spring-inspired guava gradient nail look. This tutorial uses simple sponge blending and magnetic cat eye gel for a juicy, shimmering finish.
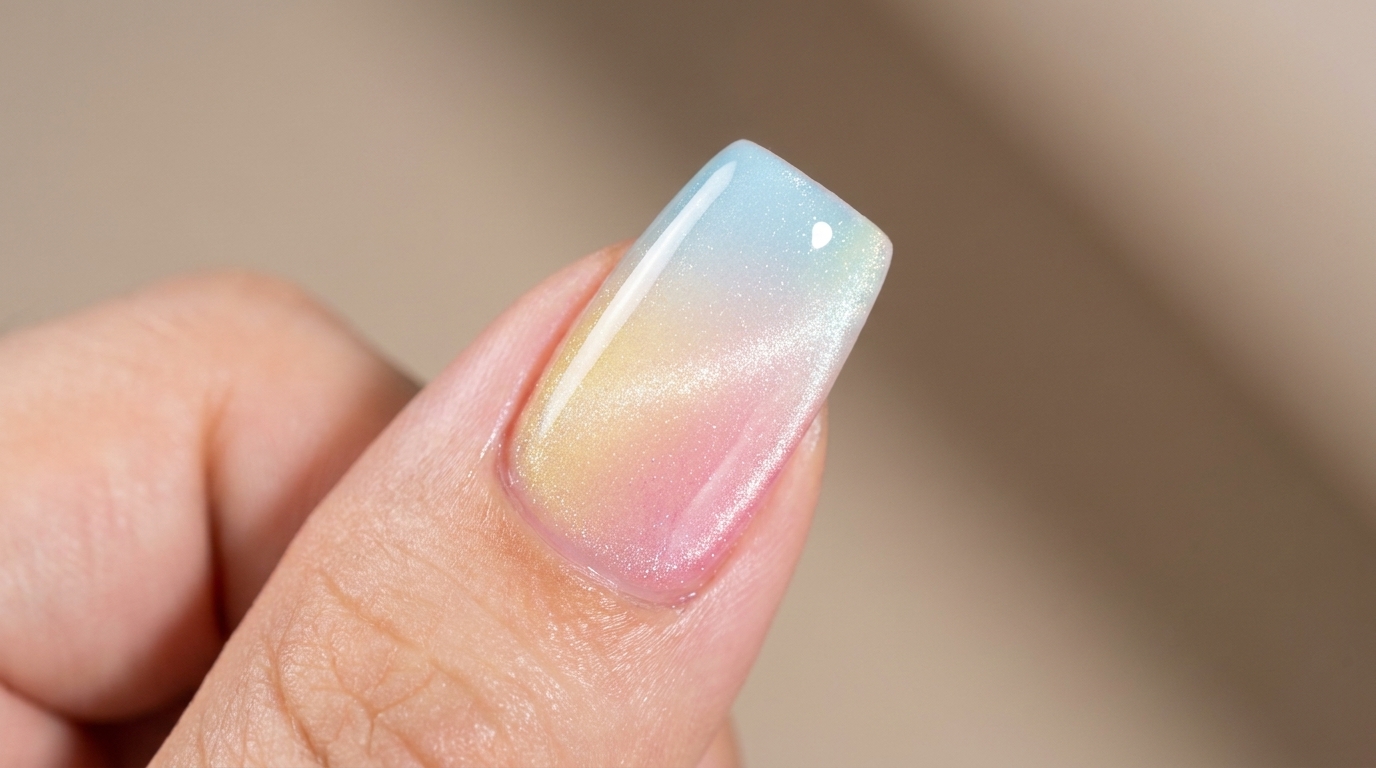
Gradient nails take on a juicy, fruit-inspired twist with this spring guava look. By blending light green and strawberry pink stamping gels, you can achieve a soft, refreshing color palette. The addition of a clear magnetic cat eye layer over the gradient adds a dynamic, aurora-like shimmer that makes the design truly pop.
Steps
- 1Apply light green stamping gel
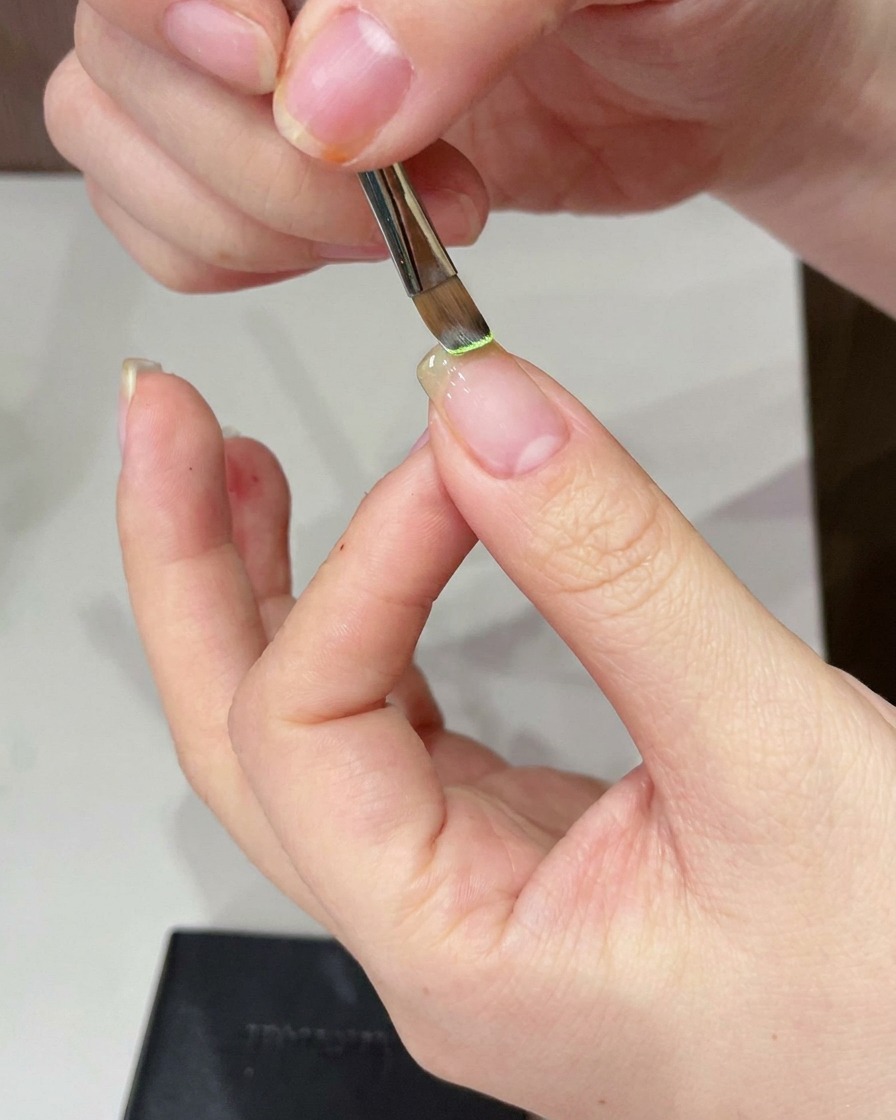
Using a detail brush, carefully apply a thin, even layer of light green stamping gel to the very tip of the nail. This will serve as the base for the guava-inspired gradient look.
Tip: Keep the application thin to ensure the gel cures properly and to maintain a smooth transition for the gradient effect. - 2Create a green gradient
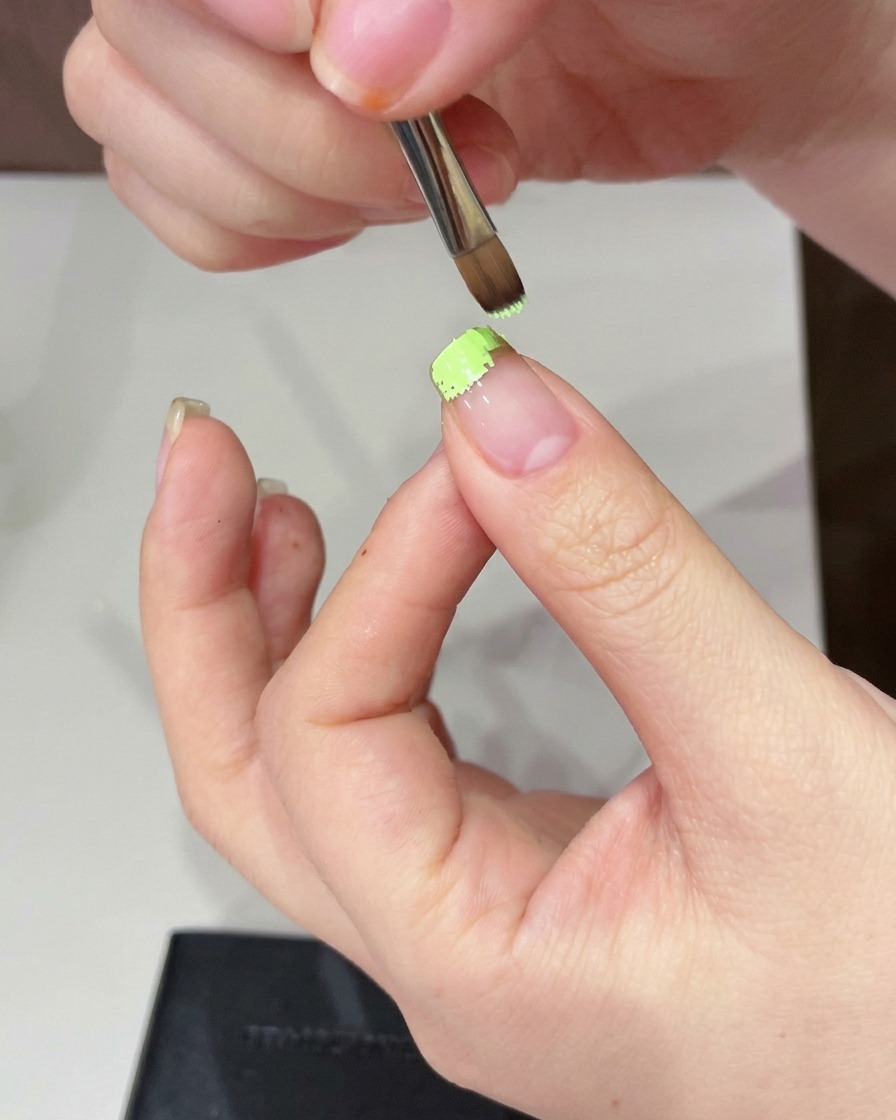
Take a clean makeup sponge and gently dab over the light green gel at the nail tip. This action blends the gel and creates a soft, diffused gradient effect rather than a harsh line.
Tip: Dab lightly and quickly to avoid pulling too much product off the nail. - 3Cure the gradient layer
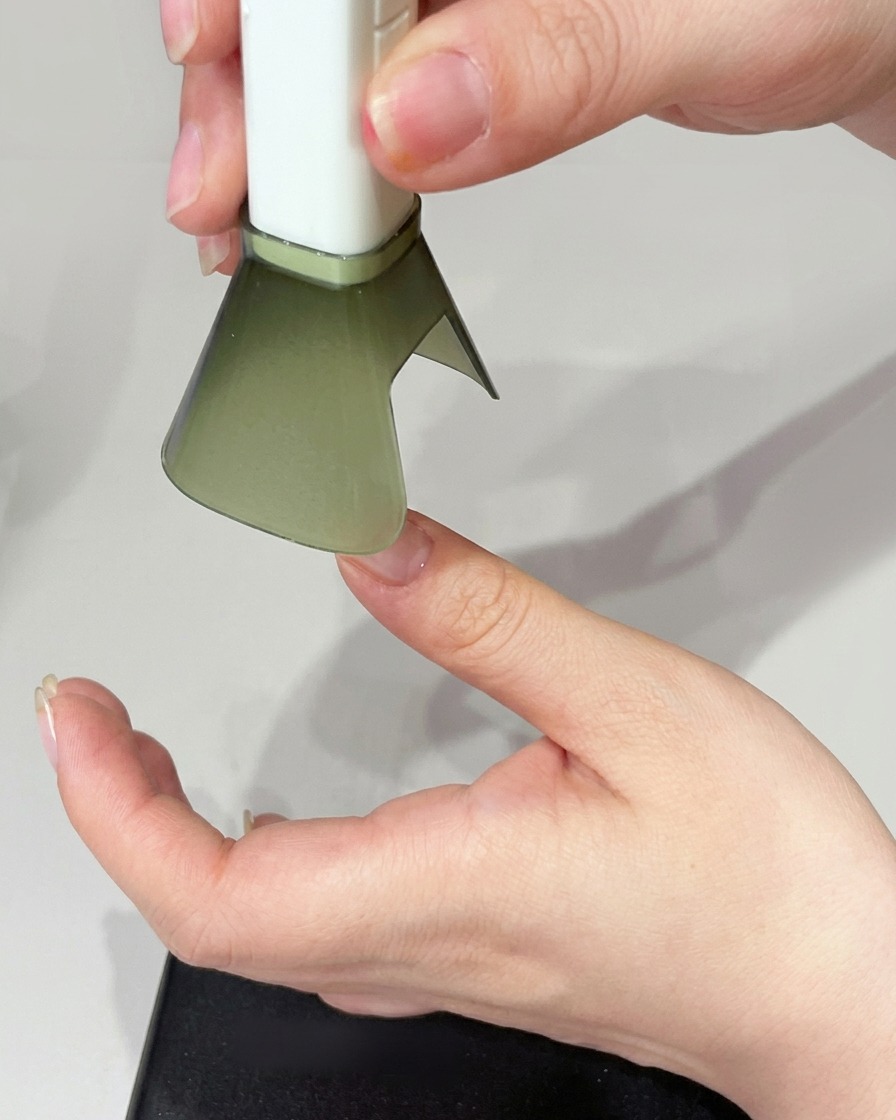
Place your finger under a UV/LED lamp and cure the light green gradient layer for the manufacturer-recommended time to set the gel.
Tip: Ensure your finger is positioned directly under the light source for an even cure. - 4Apply strawberry pink gel
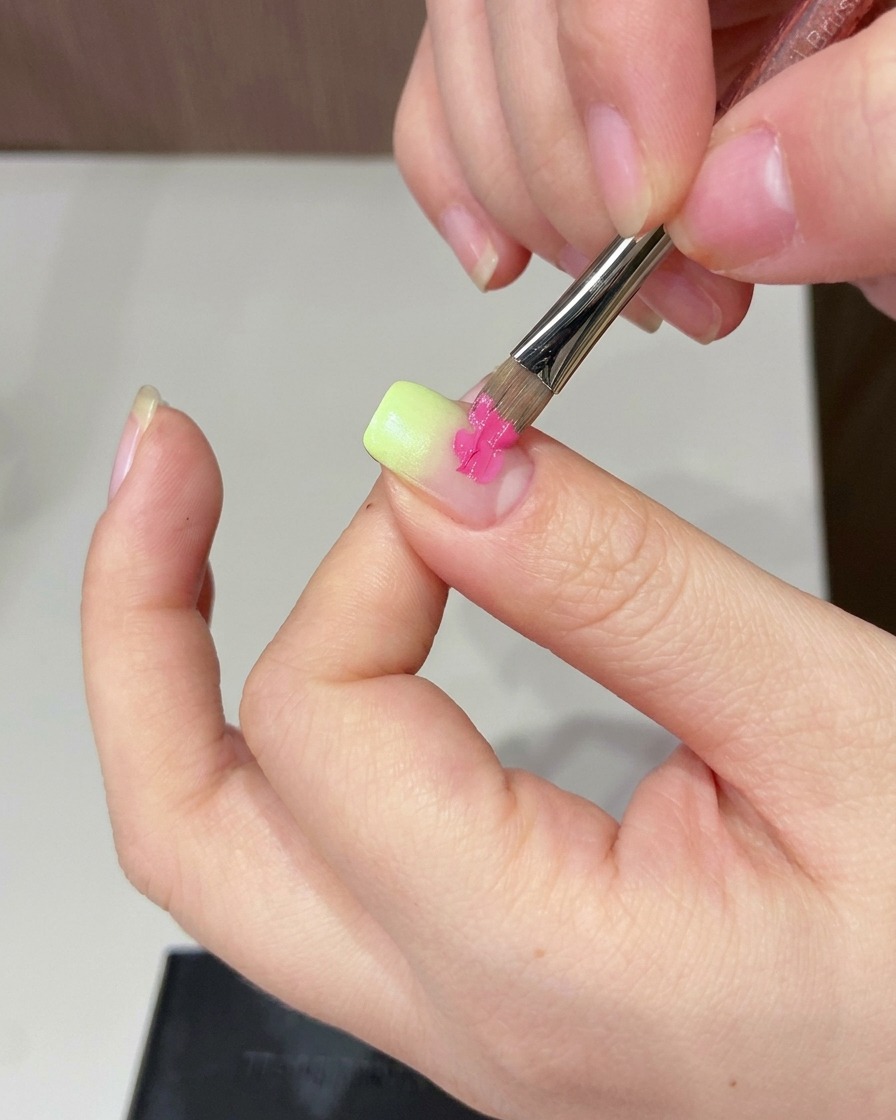
Apply a small, concentrated dot of strawberry pink stamping gel onto the center of the nail, slightly overlapping the green gradient at the tip.
Tip: A small amount goes a long way; you can always add more if needed to achieve the desired intensity. - 5Blend the pink gradient
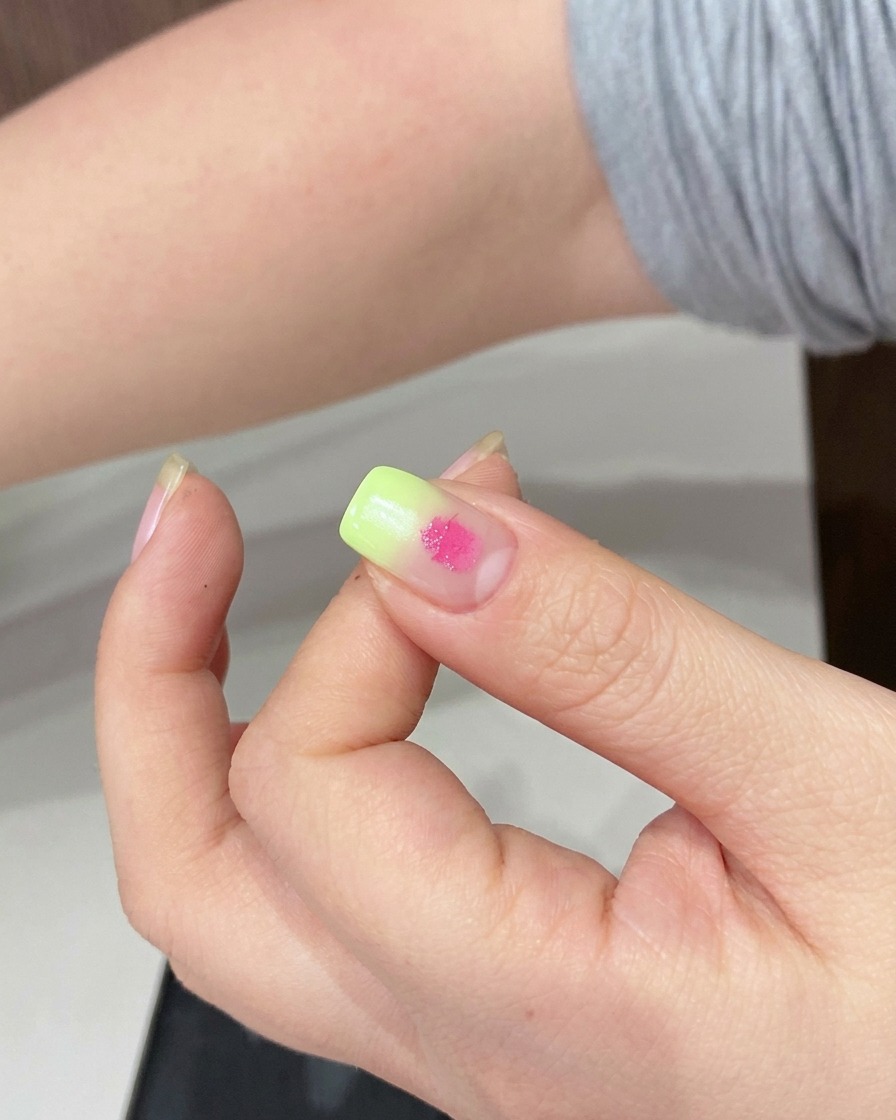
Using the clean sponge again, dab over the pink dot to blend it outward, creating a smooth transition that merges with the green tip to form the guava color effect.
Tip: Focus the blending on the edges of the dot to avoid a spotty appearance. - 6Cure the pink gradient
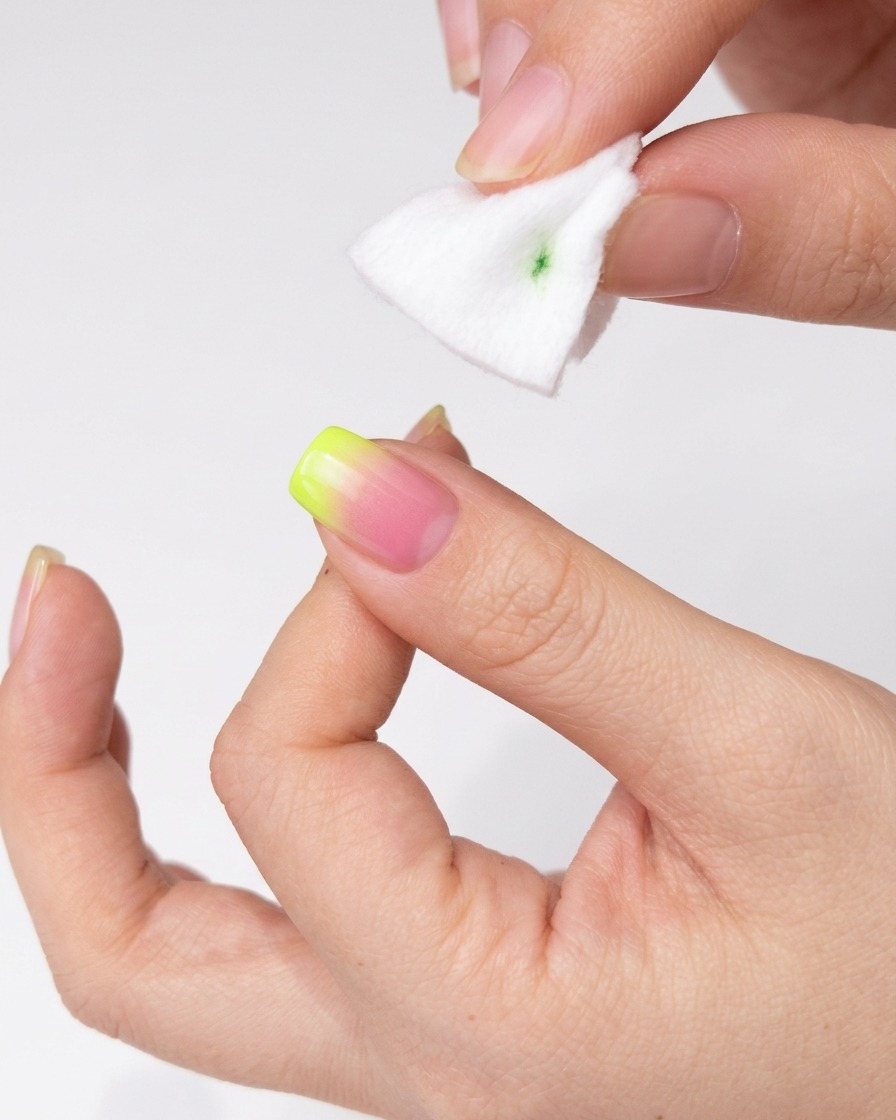
Place the nail under the UV/LED lamp again to cure the strawberry pink layer, finalizing the gradient effect.
Tip: Always ensure the full curing time is met to prevent the gel from remaining tacky. - 7Apply clear cat eye gel
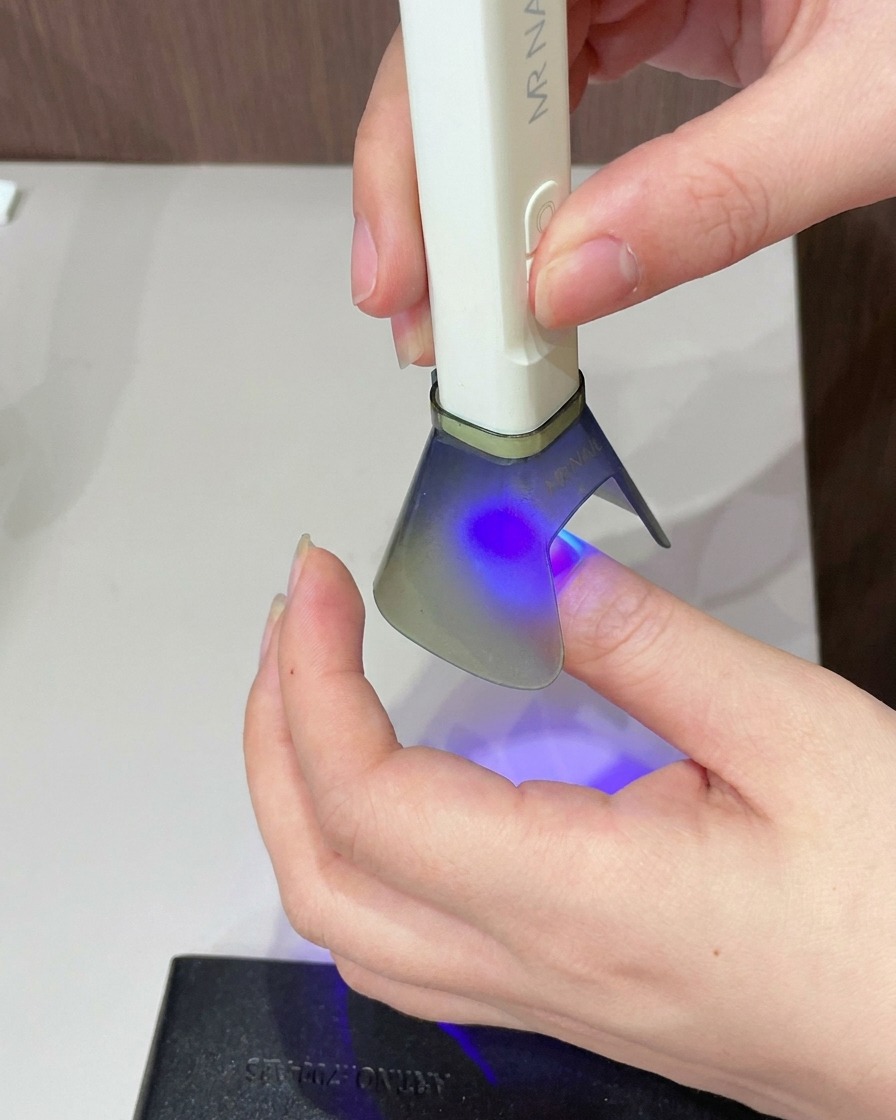
Apply a layer of clear base cat eye gel over the entire nail. This gel will provide the necessary base for the magnetic effect, allowing you to create the desired patterns.
Tip: Ensure an even layer to help the cat eye effect appear consistent across the nail surface. - 8Create cat eye effect
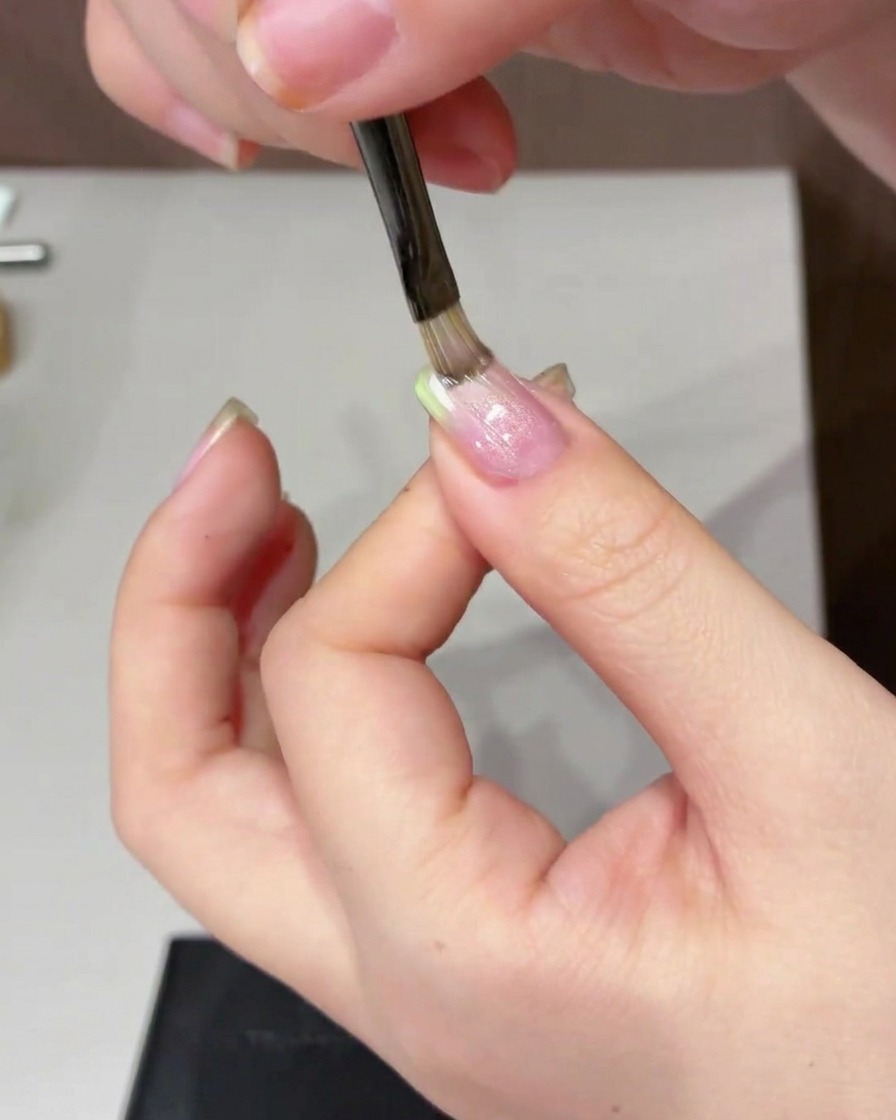
Using a cylindrical magnet, sweep back and forth on one side of the nail. This motion manipulates the magnetic particles in the gel to create a fresh, shiny cat eye look.
Tip: Keep the magnet close to the nail surface without touching the wet gel to get the sharpest effect. - 9Cure the cat eye gel
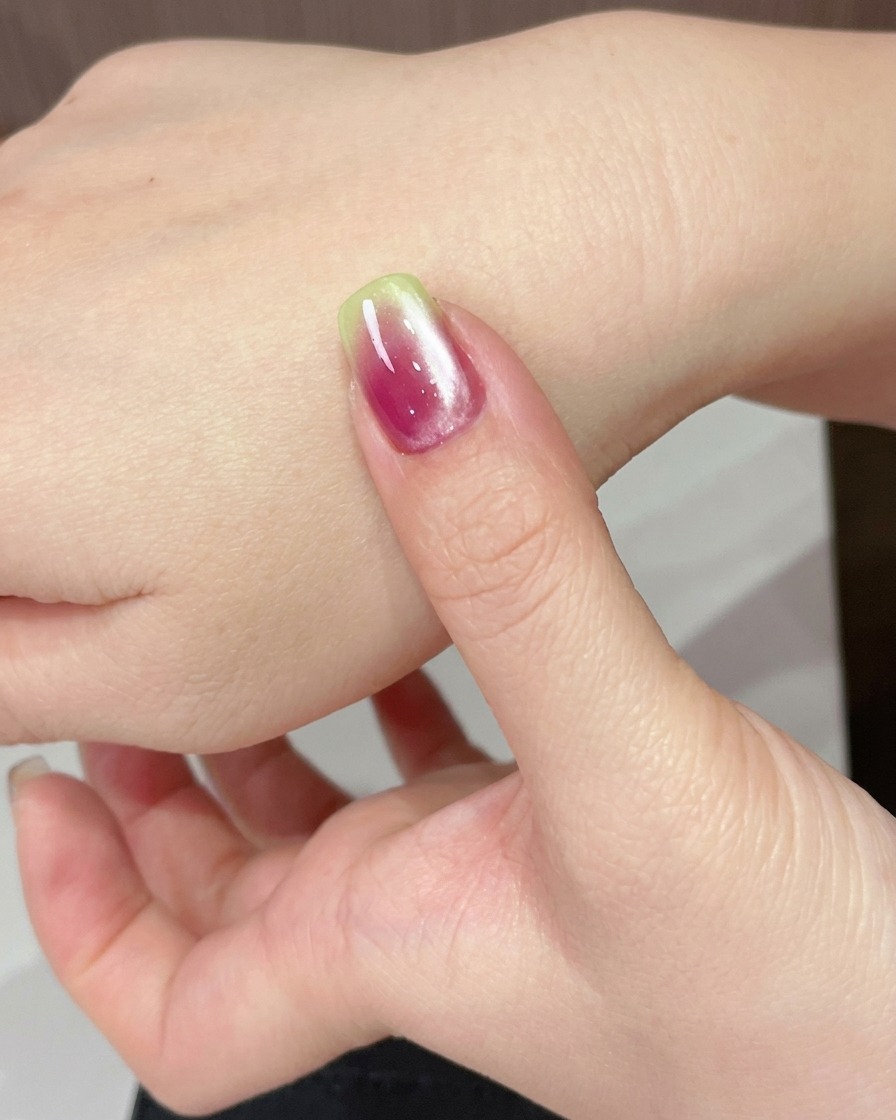
Place your nails under the UV or LED lamp and cure for the time specified by the gel manufacturer. This will set the cat eye effect in place.
Tip: Ensure your hand is fully under the lamp so all parts of the nail cure evenly. - 10Deepen the green tip
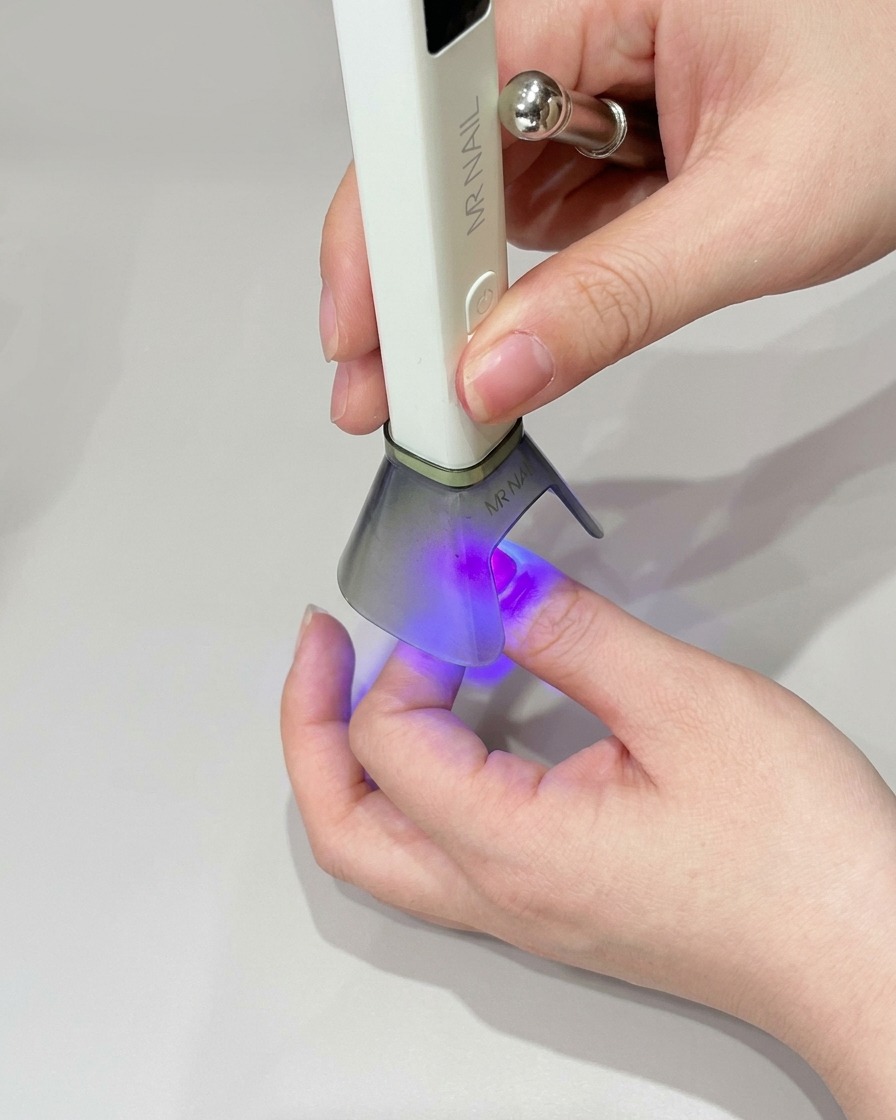
Use the same green color to deepen the appearance of the nail tip. Apply it with a sponge for a soft, blended look and cure under the lamp again.
Tip: Dab lightly with the sponge to avoid creating thick or uneven patches of color. - 11Cure the green tip
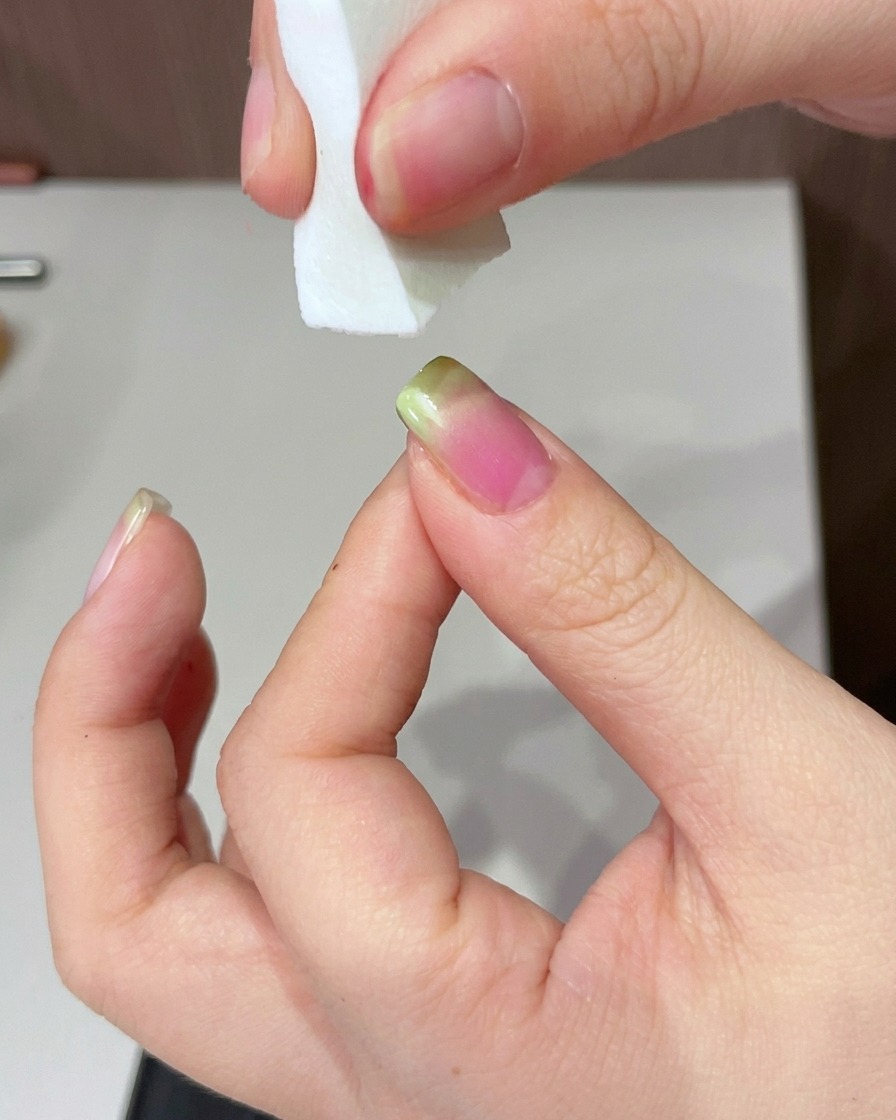
After deepening the green tip, place the nail under the UV or LED lamp to cure the polish, ensuring the color is set.
Tip: Always follow the curing time recommended for the specific gel polish used. - 12Apply top coat
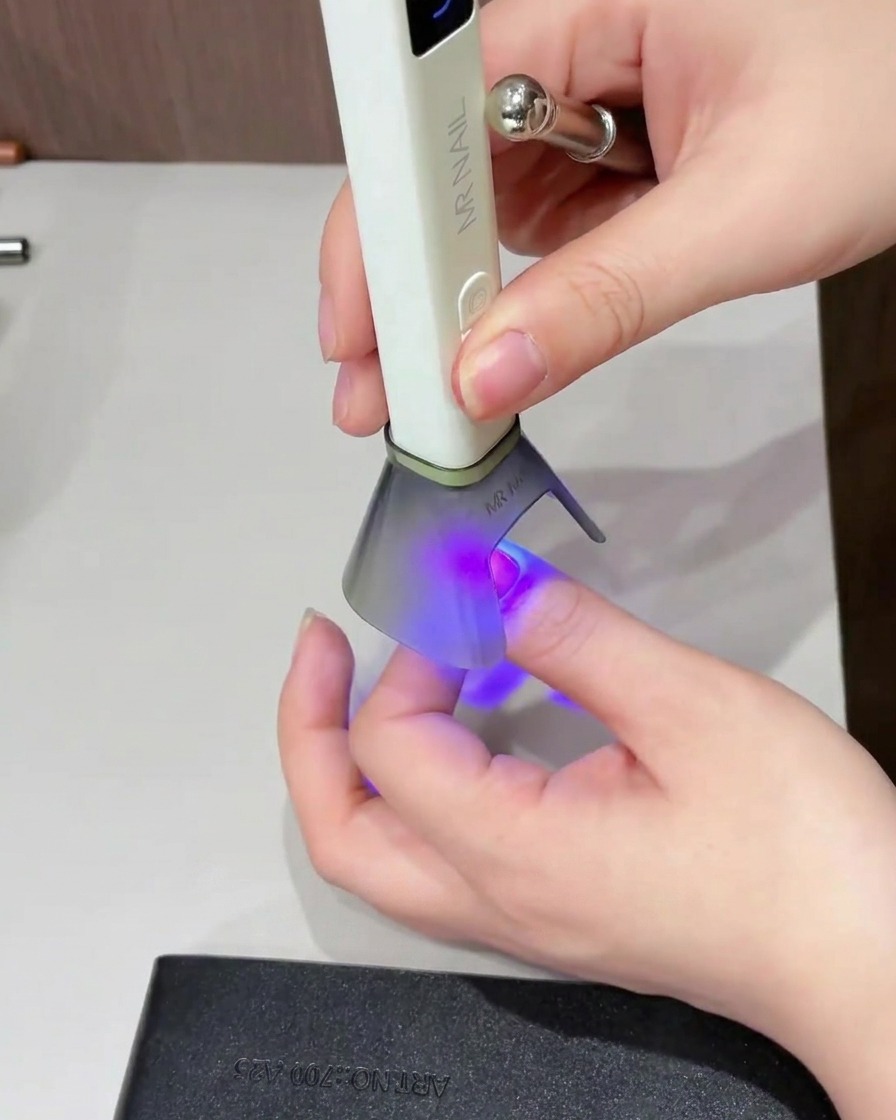
Apply a final layer of high-shine top coat to the entire nail. This protects your design and gives it a glossy, professional finish.
Tip: Cap the free edge with the top coat to prevent chipping and ensure long-lasting wear. - 13Cure the final top coat
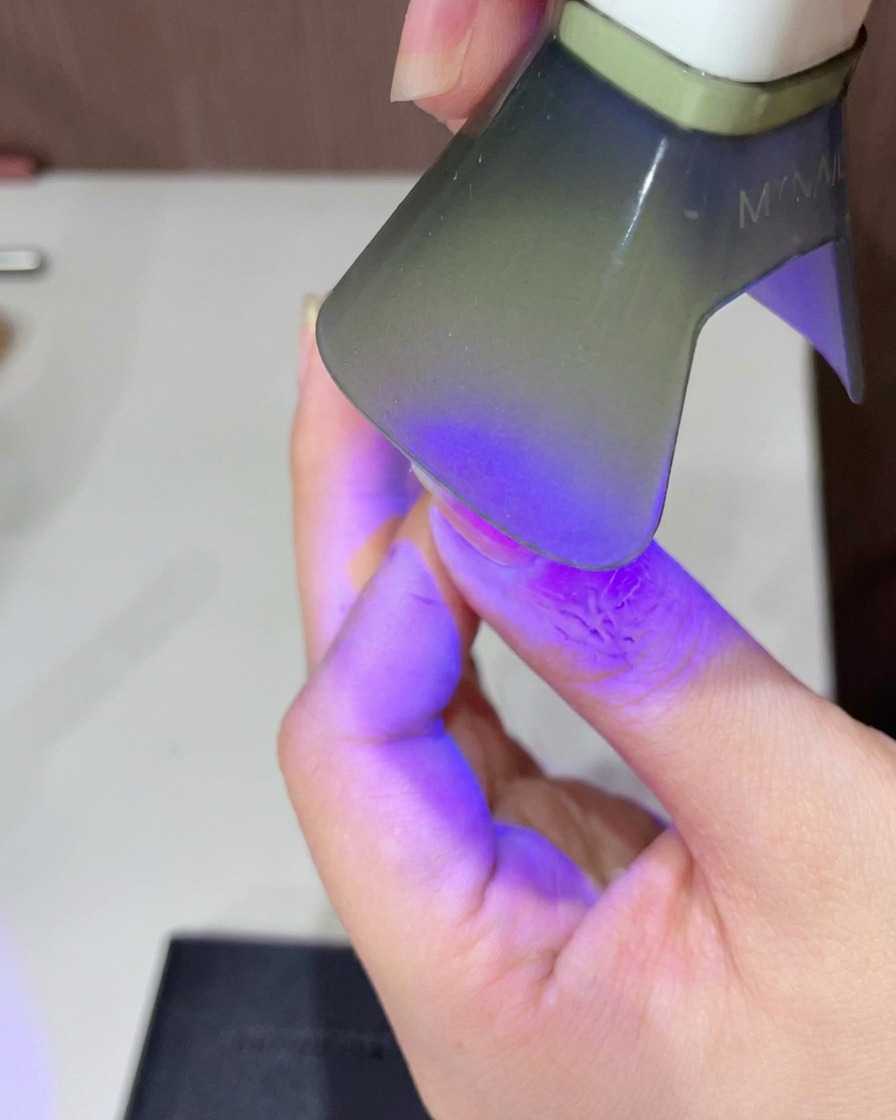
Place the nail under a UV or LED lamp for a final, thorough cure. This completely sets the shiny top coat, sealing in the fresh guava cat eye design and ensuring your manicure stays durable and glossy.
Tip: Ensure the nail is positioned centrally under the light bulbs so the top coat cures evenly without any soft spots.