Kitty Gradient Chrome Nails — Step-by-Step Tutorial
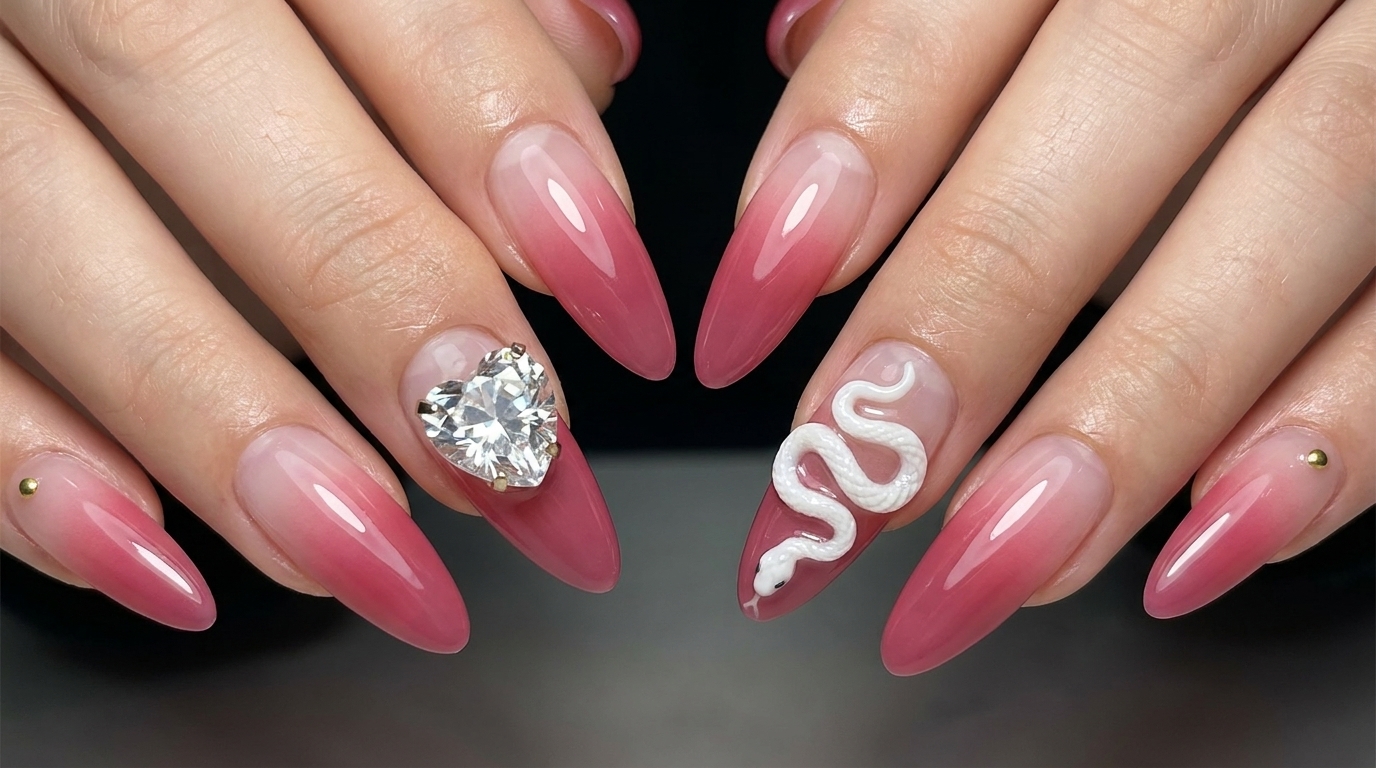
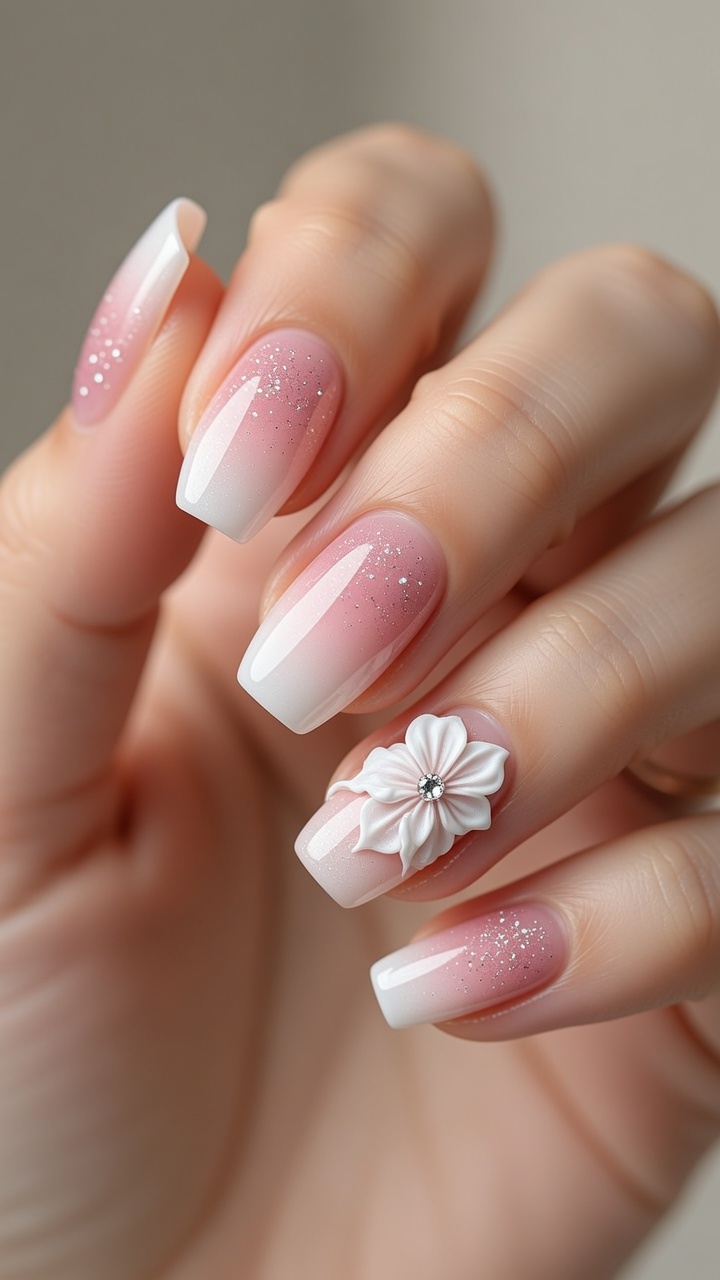
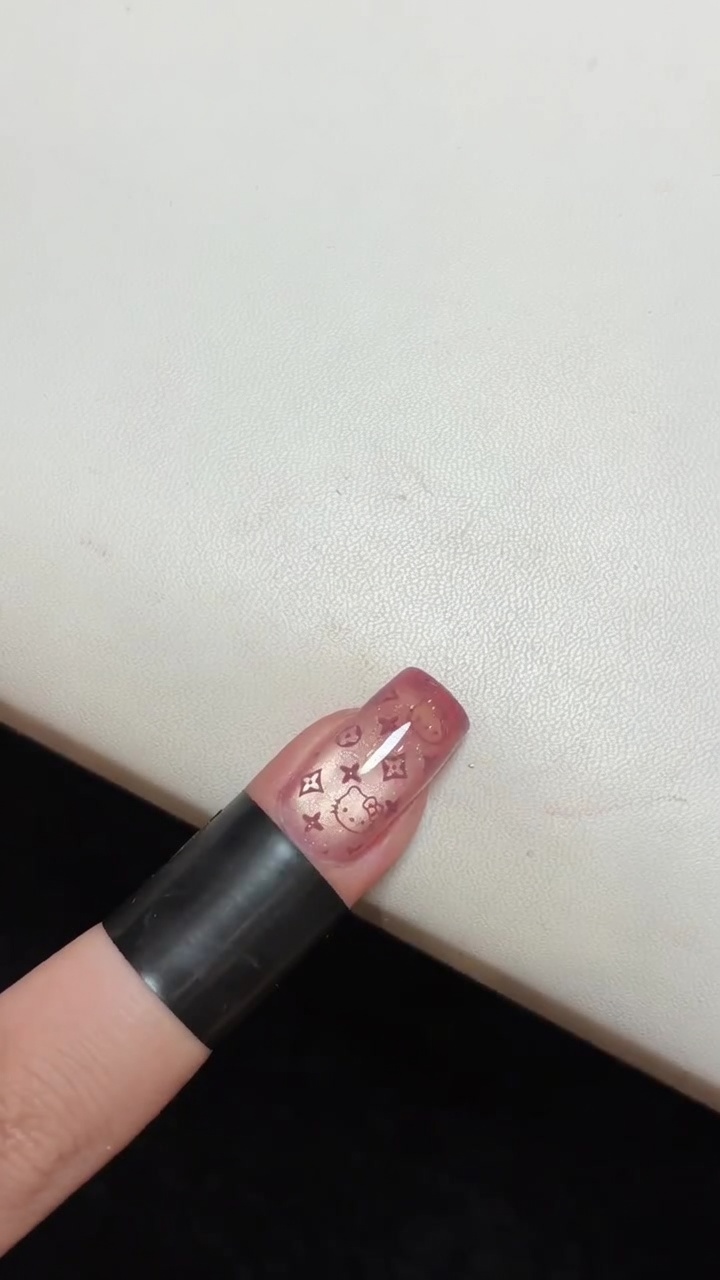
Create a trendy, sophisticated look with this Kitty gradient chrome nail tutorial. Combine sheer pink bases, delicate gold magnetic effects, and stamping.
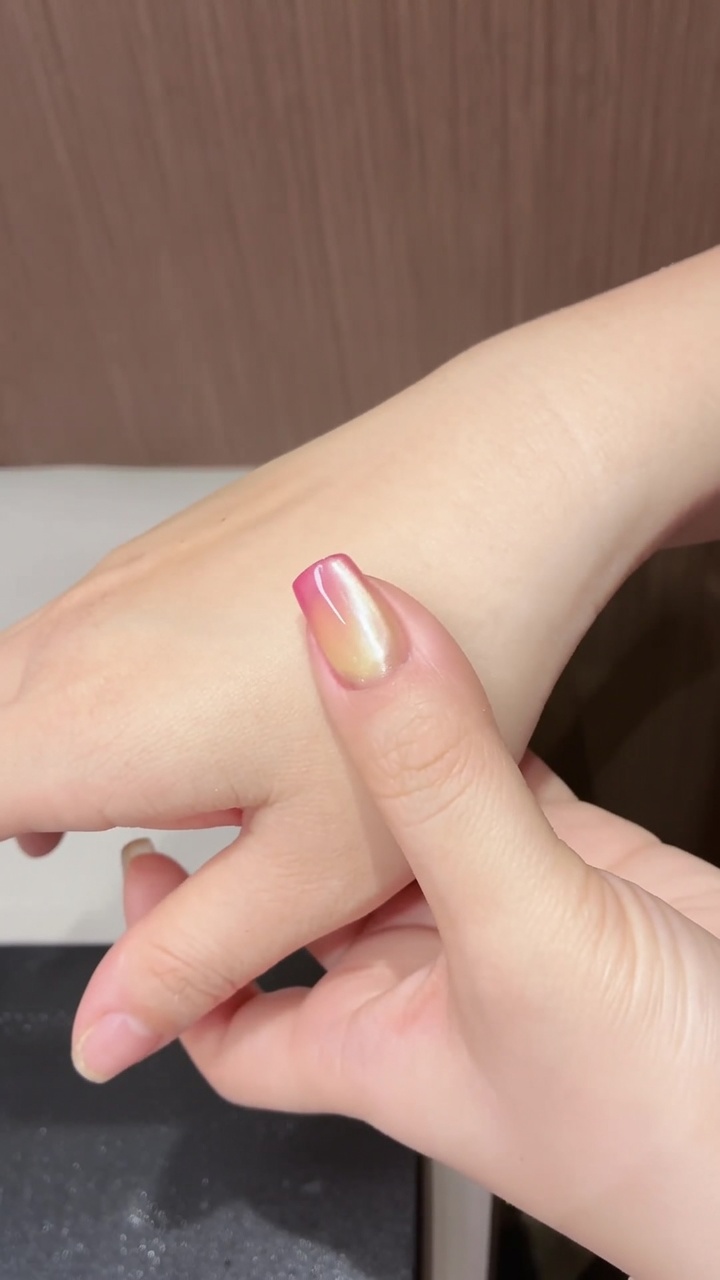
This unique nail design brings together the playful charm of Hello Kitty icons with the elegance of a refined gold magnetic gradient. By layering fine gold magnetic powder over a sheer pink base, you create a luminous, multi-dimensional effect that catches the light beautifully from every angle. It is the perfect blend of trendy character nail art and high-end metallic polish techniques.
Steps
- 1Apply pink gel base
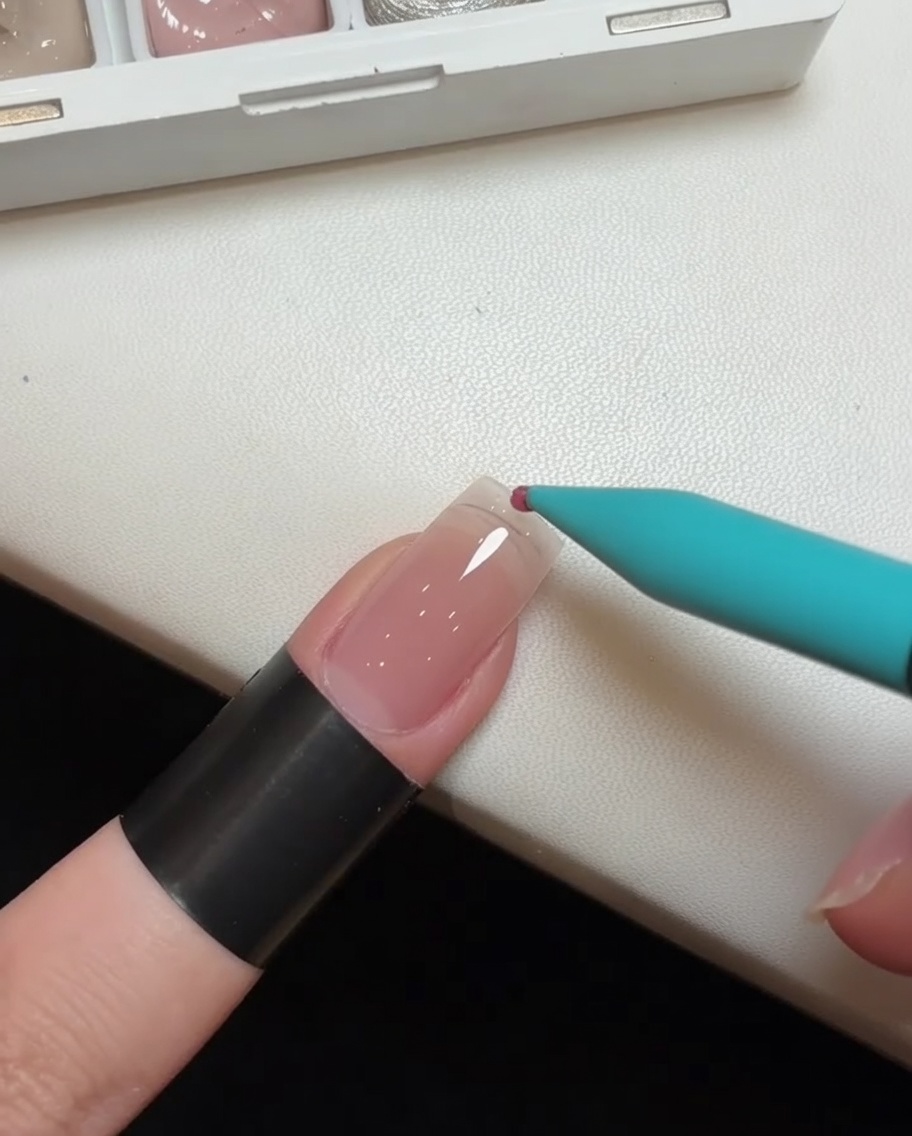
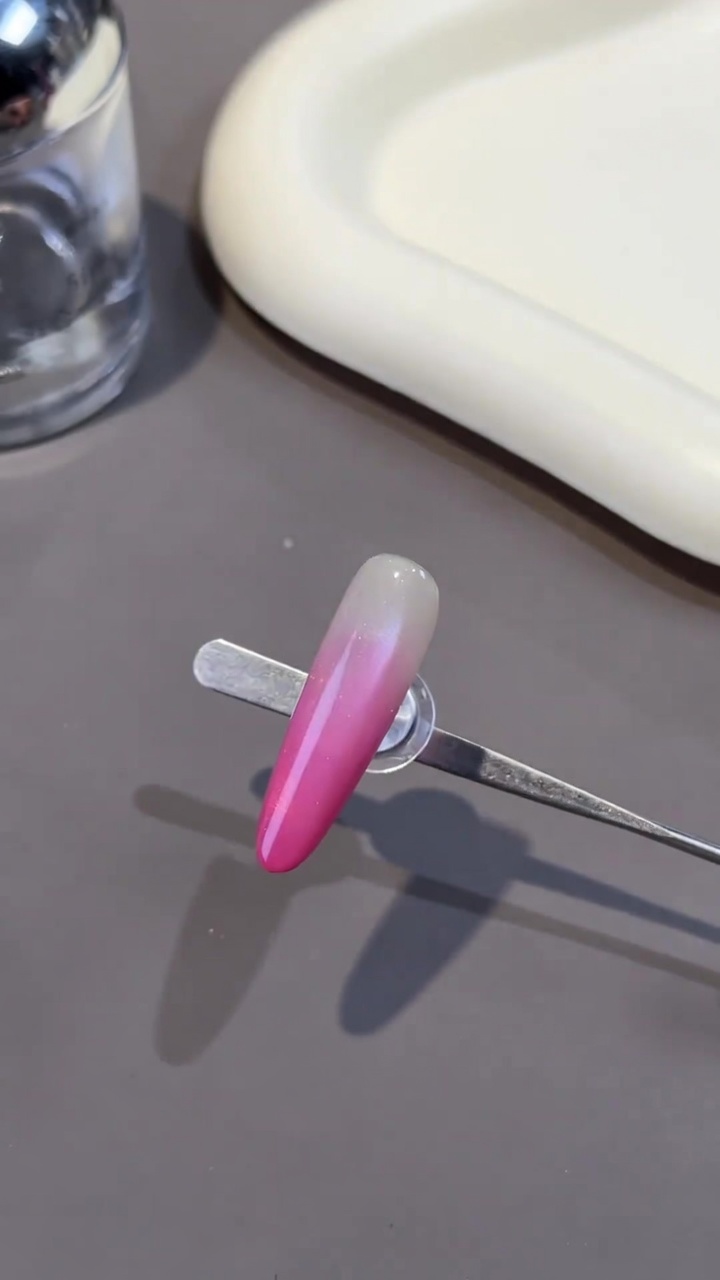
Using a detail brush, apply a small amount of pink gel to the tip of the nail. This will form the foundation of your gradient look. Focus on getting an even, thin application on the very end of the nail, preparing it for the blending process.
Tip: Work in thin layers to ensure better control and a smoother final gradient. - 2Blend the gradient
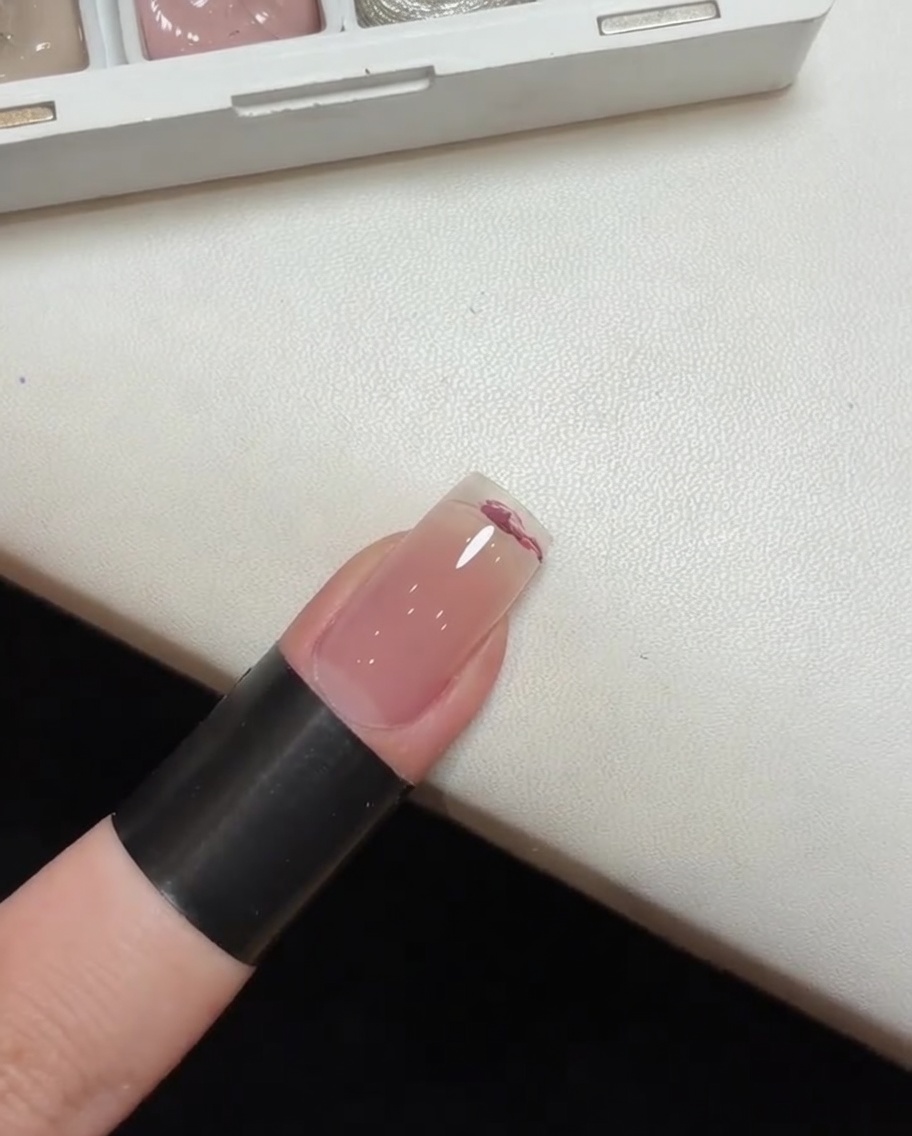
Take a sponge tool and gently pat the pink gel from the tip towards the center of the nail. This blending action creates a soft, diffused transition from the pigmented tip to the clear nail bed. Continue dabbing until you achieve a smooth, seamless gradient effect.
Tip: Use a light, dabbing motion with the sponge to avoid streaking the gel. - 3Cure the gradient
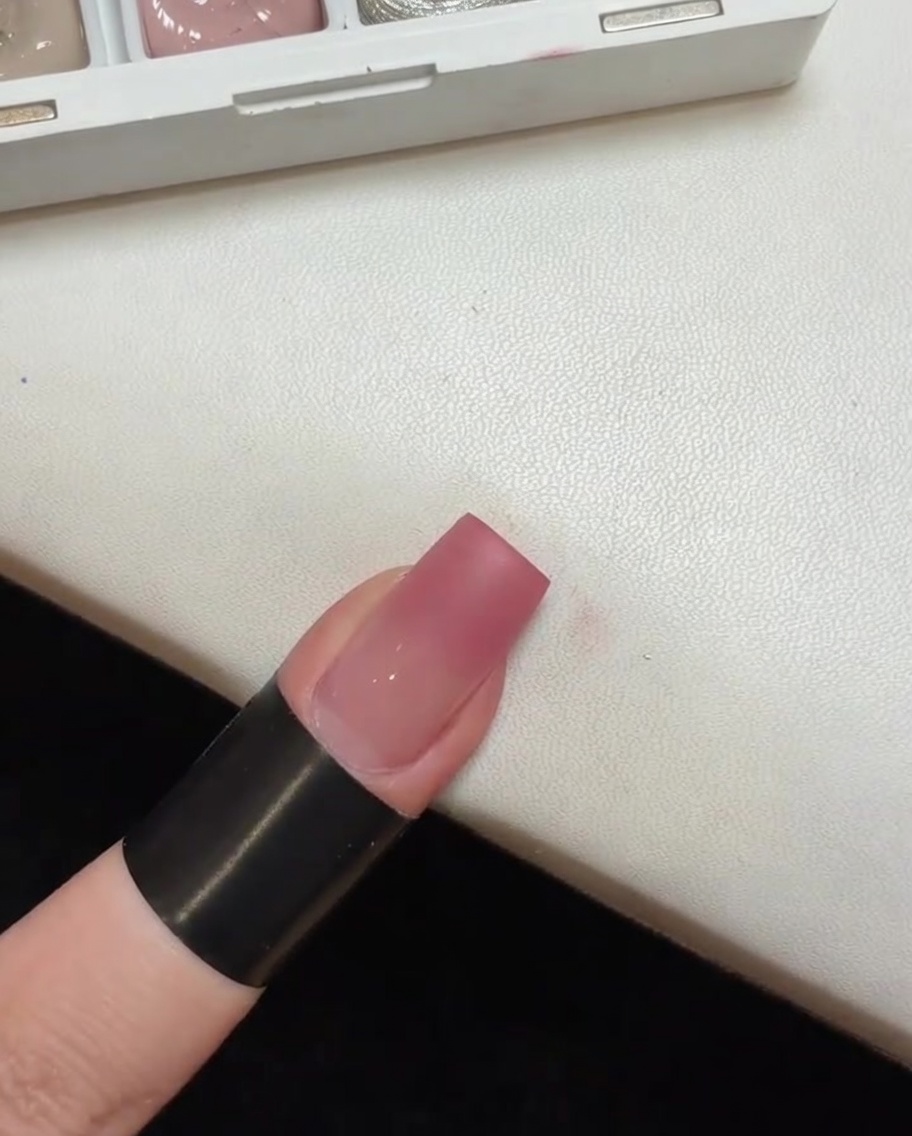
Once you are satisfied with the gradient blend, place the nail under a portable UV lamp to cure. This sets the color and ensures the gradient stays in place for the next steps of your design. Ensure the entire nail surface is exposed to the light for a thorough cure.
Tip: Keep the nail flat under the lamp to ensure even curing of the gel. - 4Apply magnetic gold gel
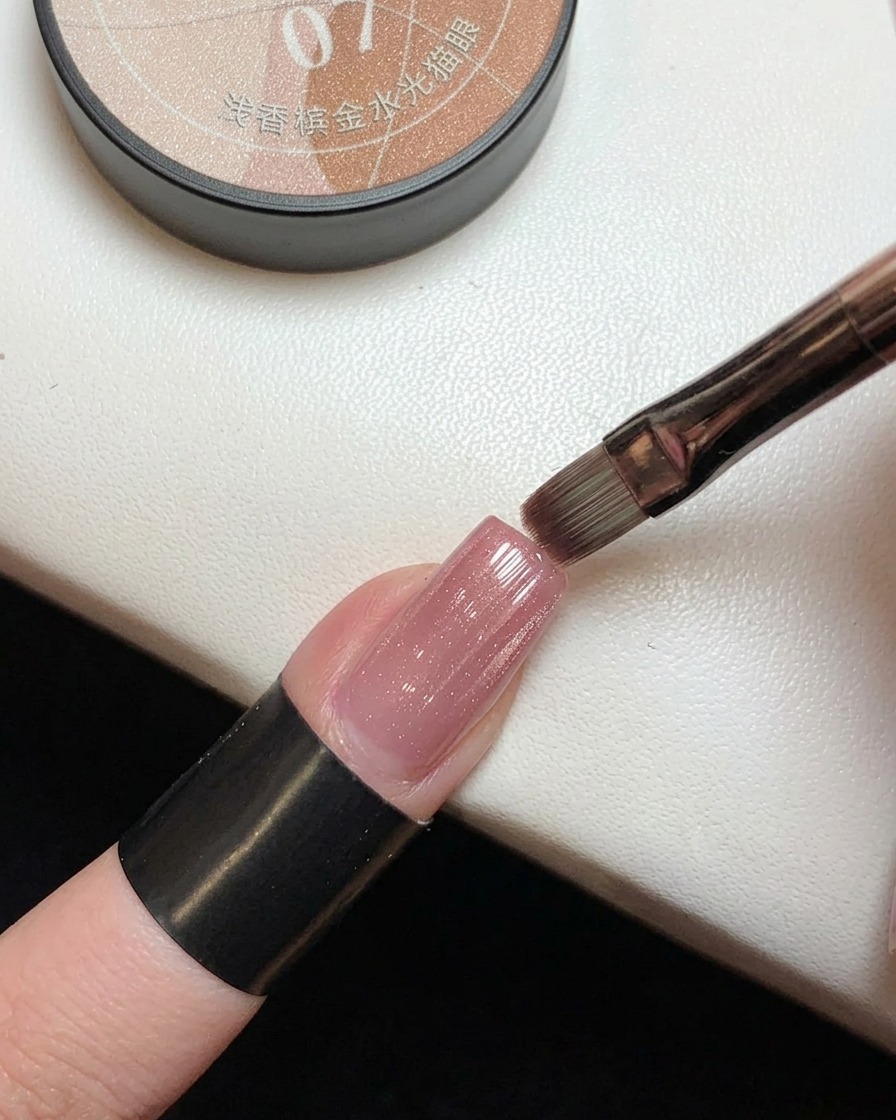
Apply the number 7 shade from the Headmaster collection over the cured pink gradient. This gel features a fine delicate gold magnetic powder suspended in a sheer pink base. Brush it evenly across the nail to provide the foundation for the magnetic effect.
Tip: Apply a light even layer to allow the magnetic particles to move easily. - 5Cure the magnetic effect
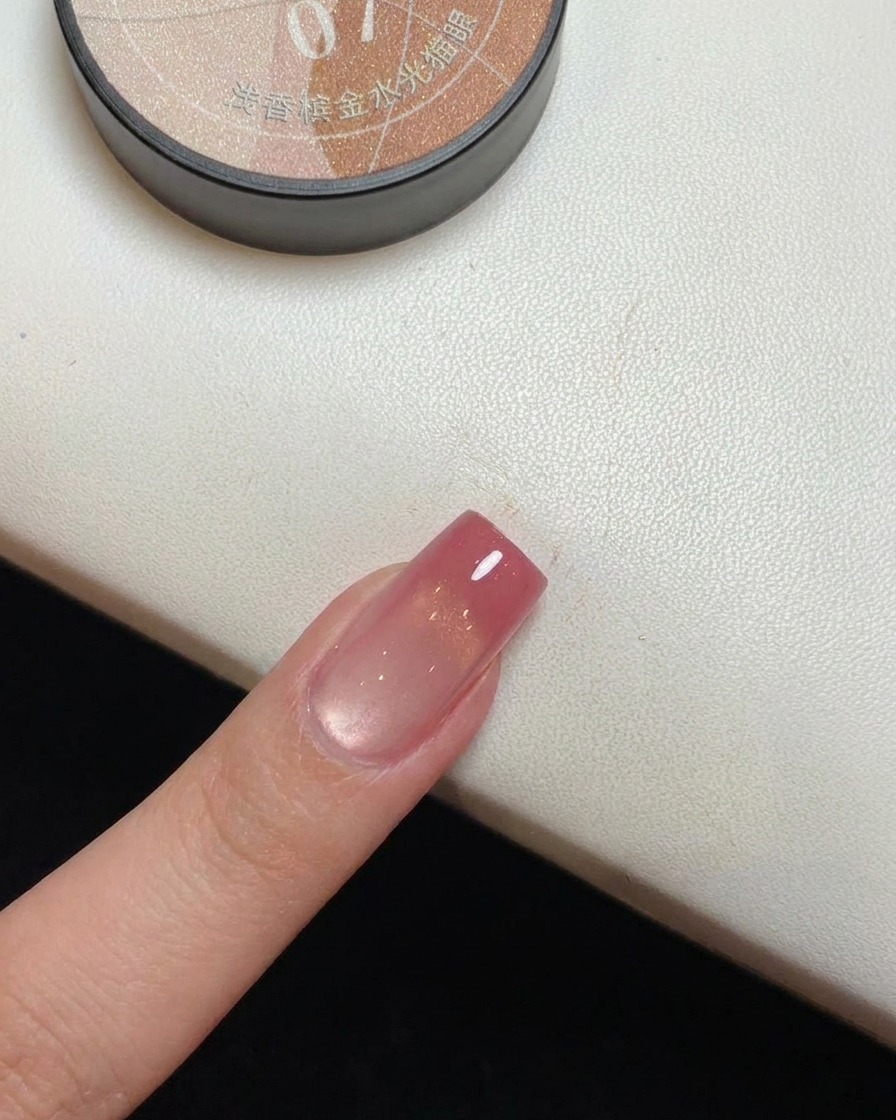
After shaping the wide light effect with a magnet, place the nail back under the UV lamp to cure. This locks the magnetic particles in their desired position, creating a professional-looking finish that catches the light from every angle.
Tip: Ensure the nail stays perfectly still while moving into the lamp to keep the magnetic design crisp. - 6Apply polish to stamping plate
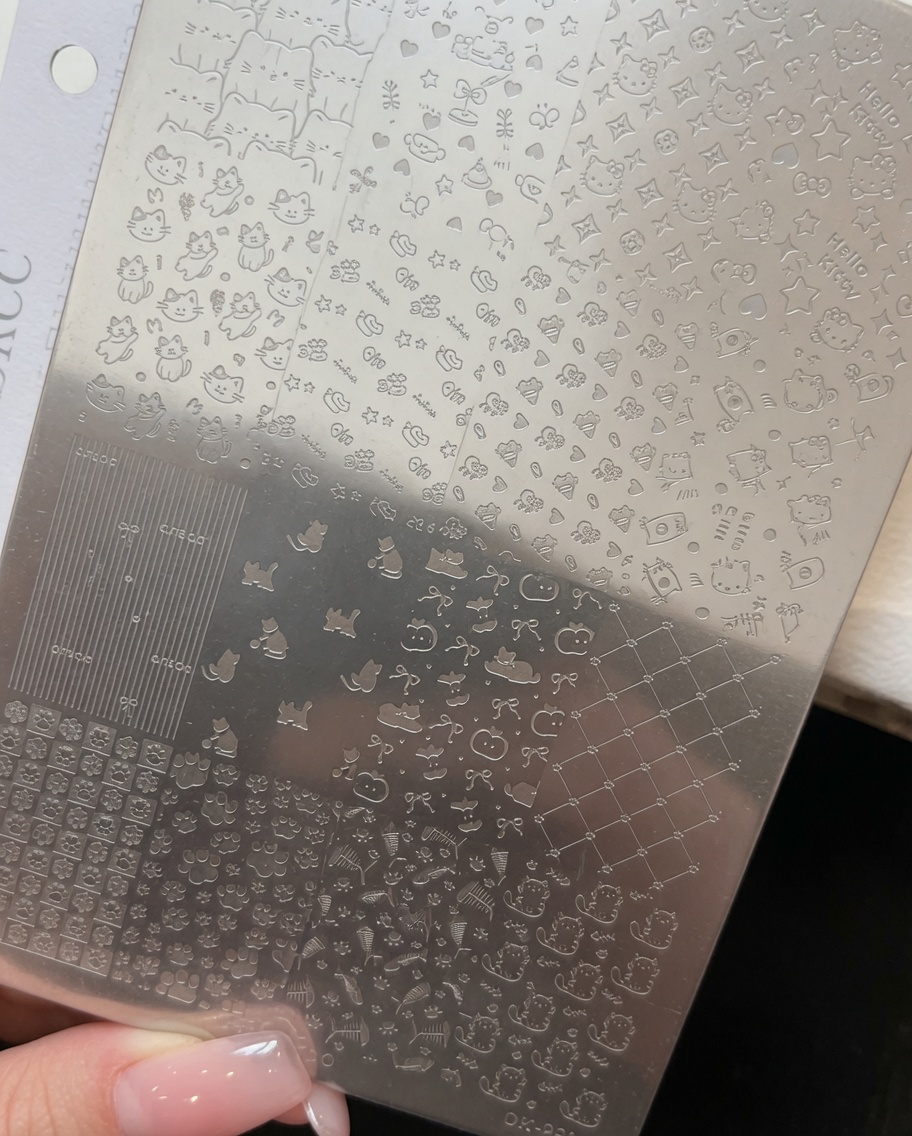
Select the desired Kitty pattern on your stamping plate and apply a generous amount of the 149 dusty rose color over the design. Use your scraper to evenly distribute the polish into the etched details ensuring all fine lines are filled before picking up the design.
Tip: Work quickly once you apply the polish so it does not dry on the plate before you pick it up. - 7Level gel on stamping plate
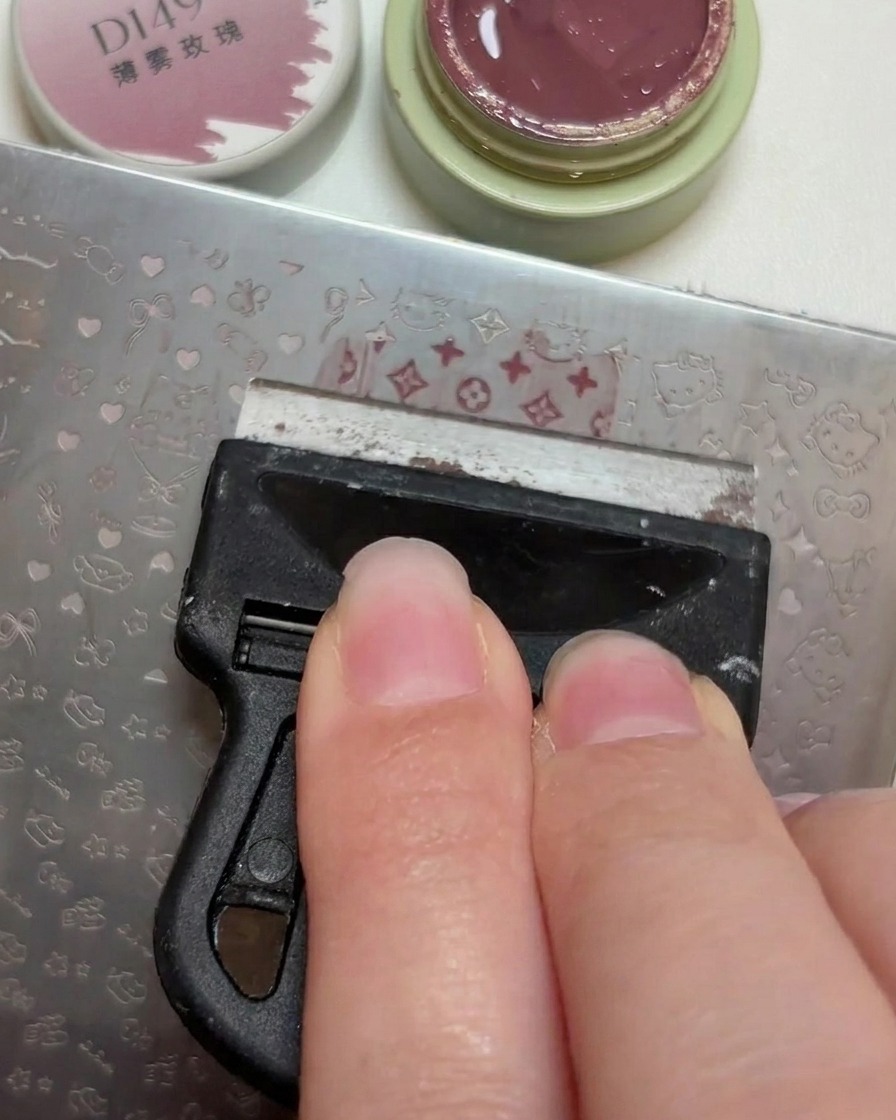
Apply a small amount of the 149 dusty rose color to your chosen design on the stamping plate. Use a scraper to spread the gel across the pattern ensuring all etched areas are fully filled with the color.
Tip: Work quickly once the gel is applied to the plate as it can start to settle or dry slightly before you pick it up. - 8Pick up the design
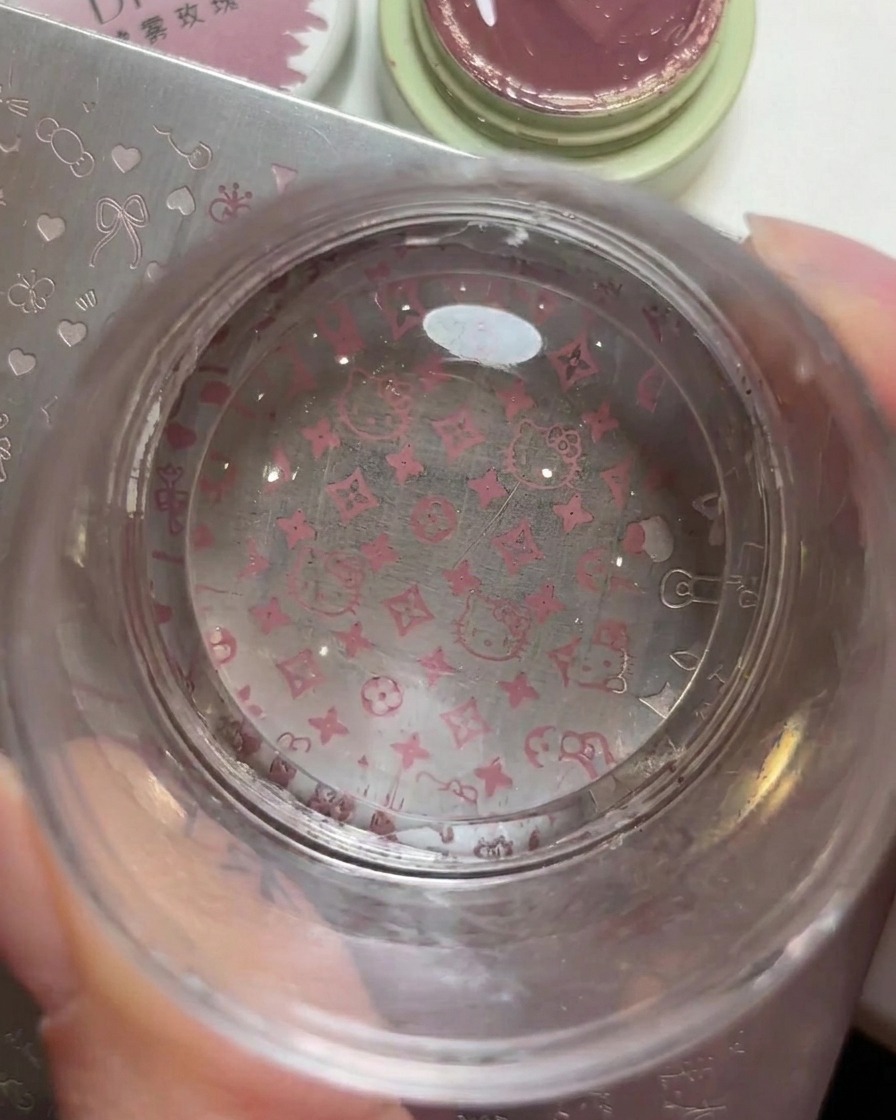
Press a clear jelly stamper firmly onto the filled design on the stamping plate to pick up the pattern. Ensure you use a light, even rolling motion or a straight press to capture the full design without distortion.
Tip: A clean, clear jelly stamper is essential for seeing exactly where your pattern is being picked up and ensuring proper placement later. - 9Transfer pattern to nail
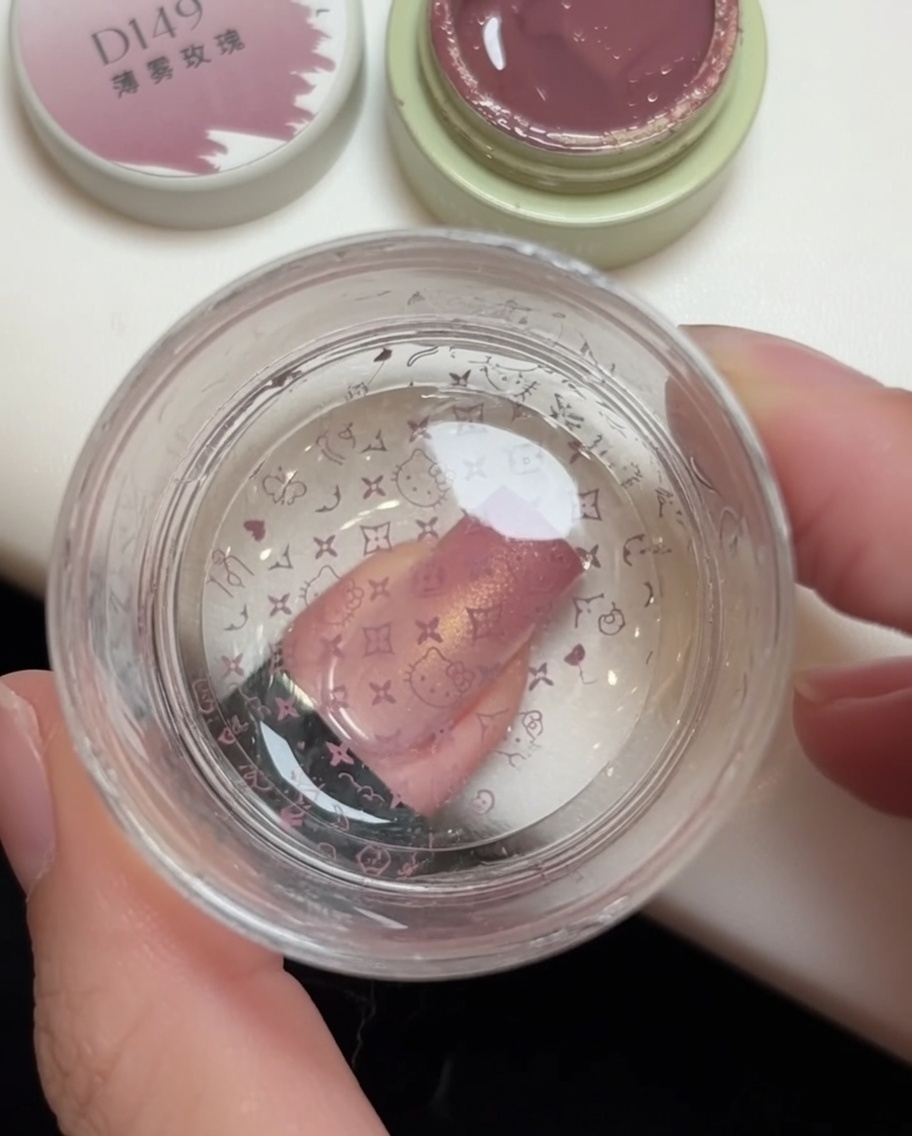
Carefully align the clear jelly stamper with your nail and press the design onto the nail surface. Transfer the pattern by gently rolling or pressing the stamper over the nail to ensure the Hello Kitty and logo design adheres smoothly.
Tip: Since the stamper is transparent, you can precisely position the design exactly where you want it on the nail. - 10Cure the design
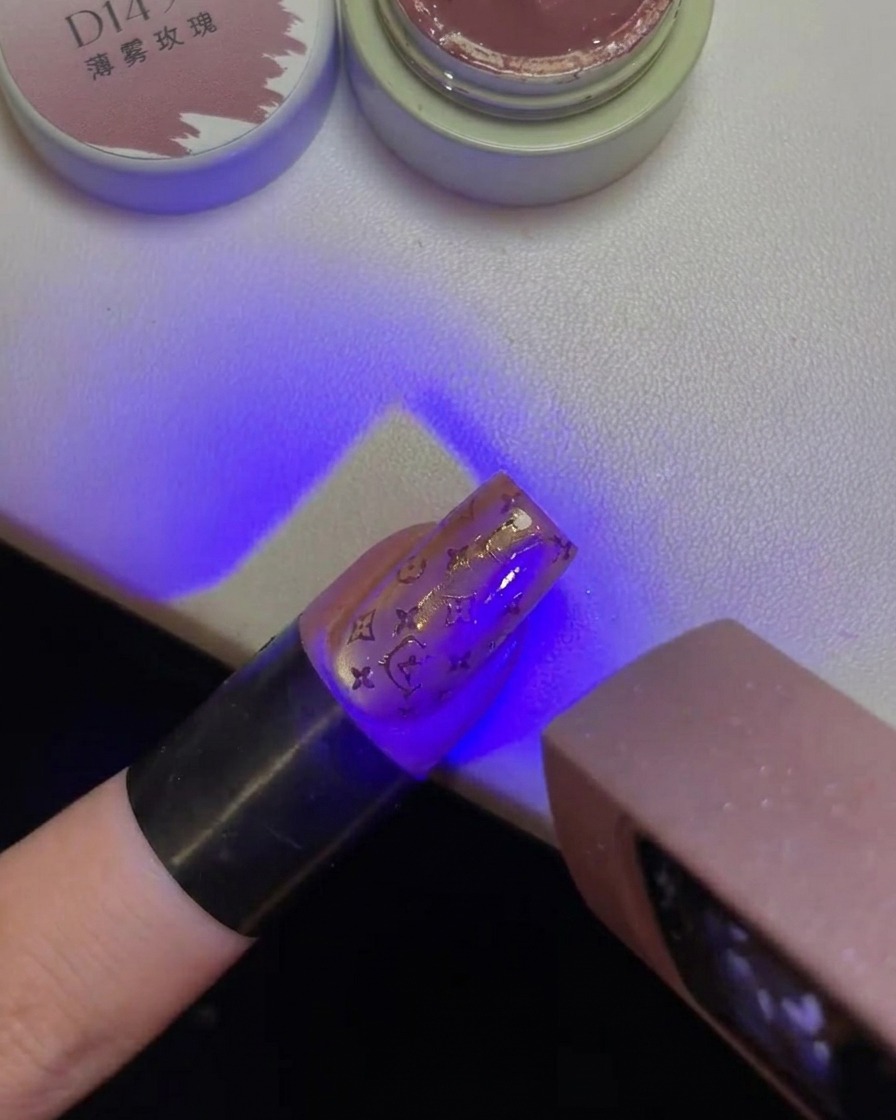
Place the nail under your UV or LED lamp to cure the stamped gel pattern. Curing locks the design into place and ensures it is fully set before applying the final top coat.
Tip: Make sure the hand is placed directly under the light source to ensure even curing of the gel design. - 11Apply top coat
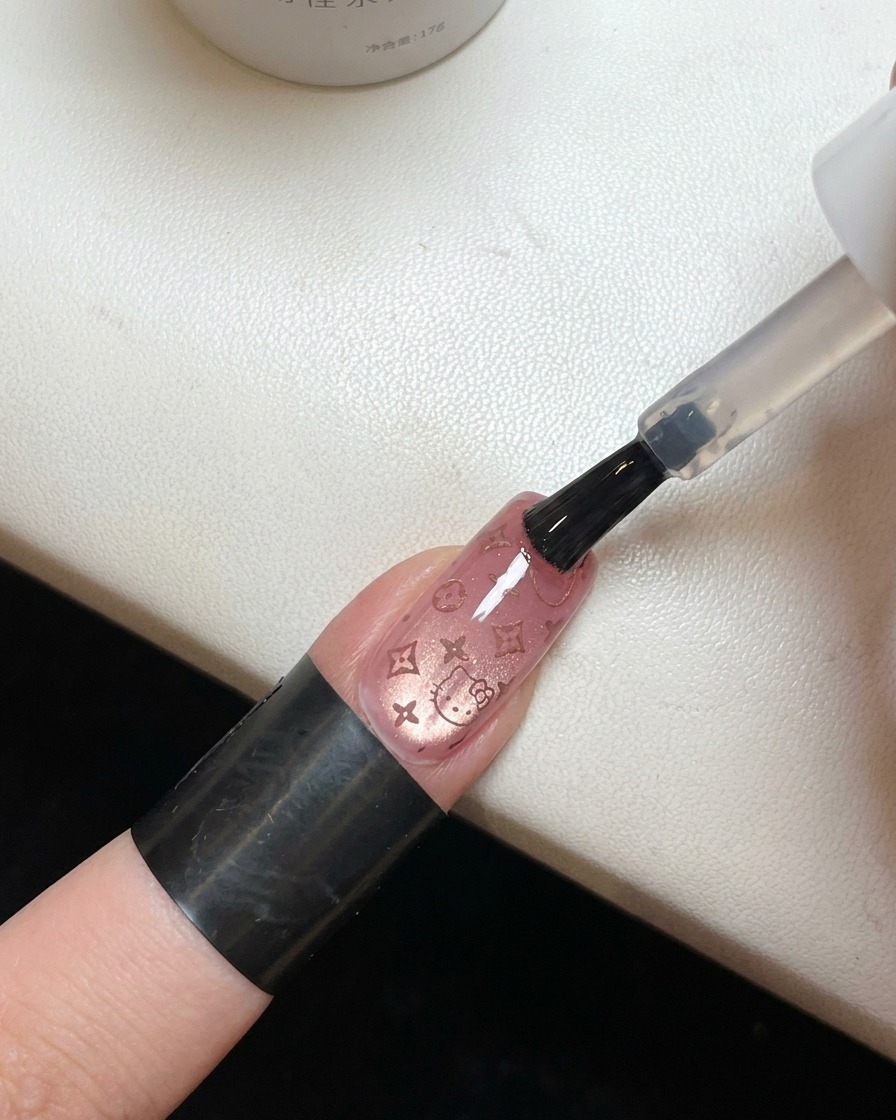
Apply a final layer of C09 top coat over the entire nail to seal the design and provide a glossy finish. Start near the cuticle and drag the brush toward the free edge, ensuring smooth coverage without flooding the cuticles.
Tip: Cap the free edge with your top coat to help prevent chipping and ensure the design lasts longer. - 12Final cure
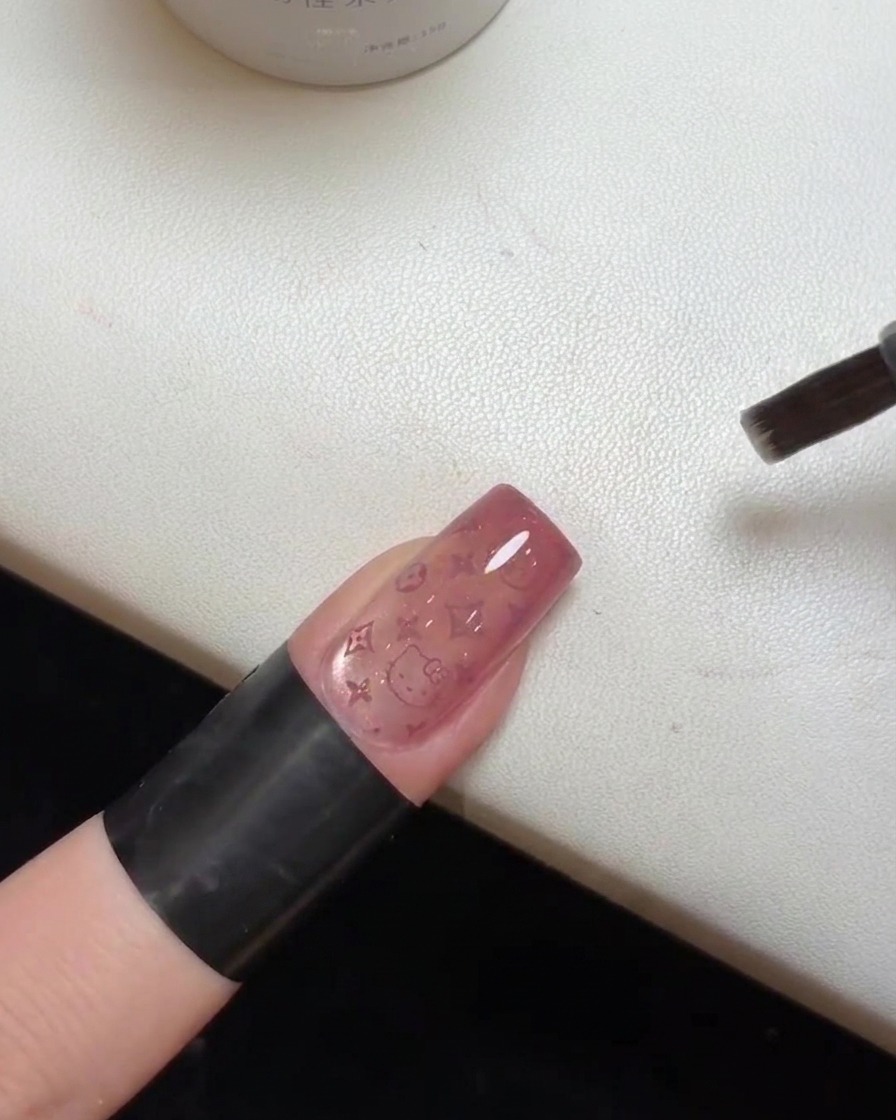
Cure the top coat under the UV or LED lamp to finalize the manicure. This step provides a durable, high-shine finish and ensures the entire nail is properly set.
Tip: Ensure the final cure time is sufficient according to the top coat manufacturers instructions for a long-lasting, hard finish. - 13Shape the magnetic light effect
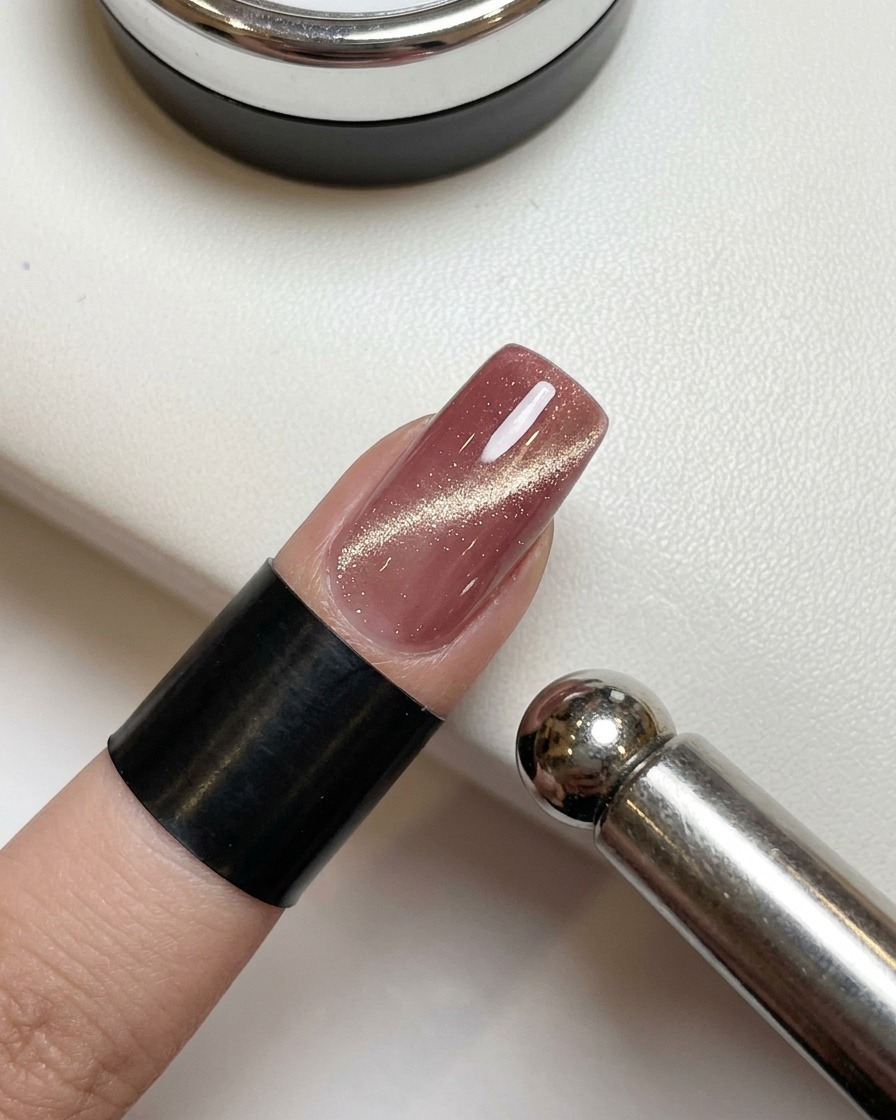
Hover the cylindrical magnet closely around the nail to manipulate the gold magnetic powder into a wide, luminous shimmer. Adjust the angle of the magnet until the light reflects perfectly from all sides, then immediately cure the nail under the lamp to set the particles in place.
Tip: Keep the magnet steady and close to the nail without touching the wet gel to achieve the sharpest magnetic pull.