Mixed Media 3D Bow French Tip Nails — Step-by-Step Tutorial
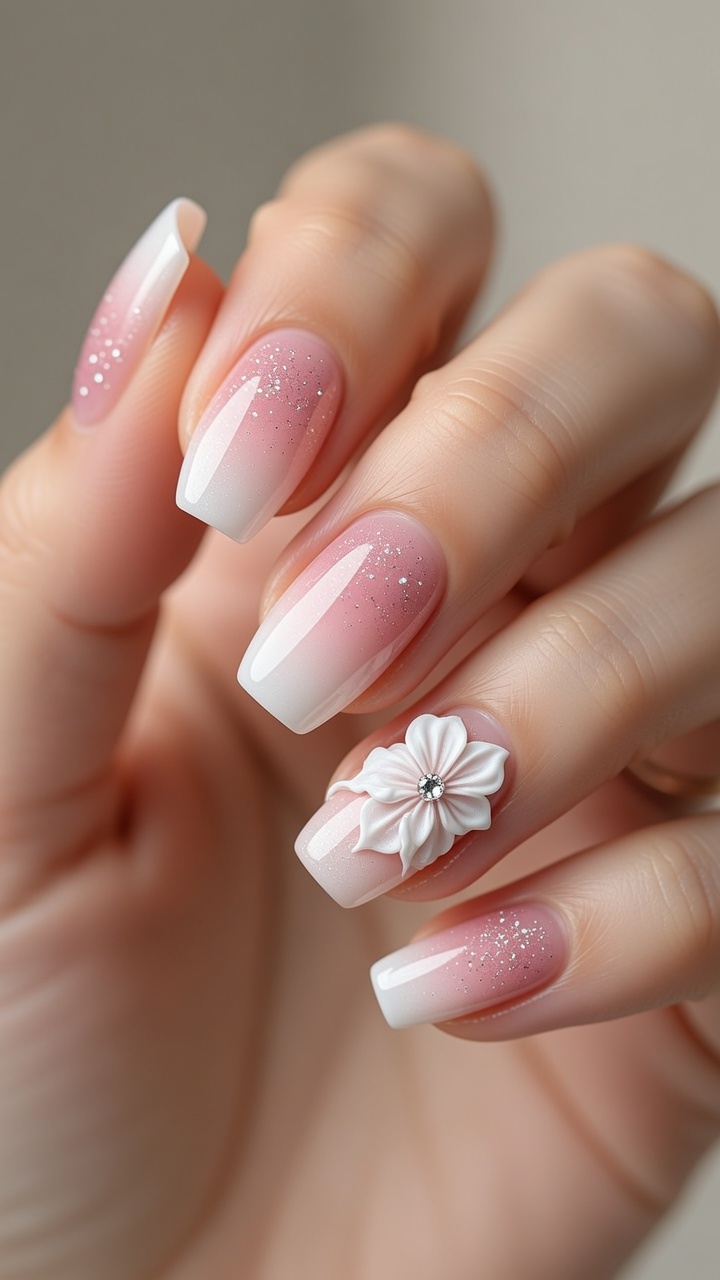
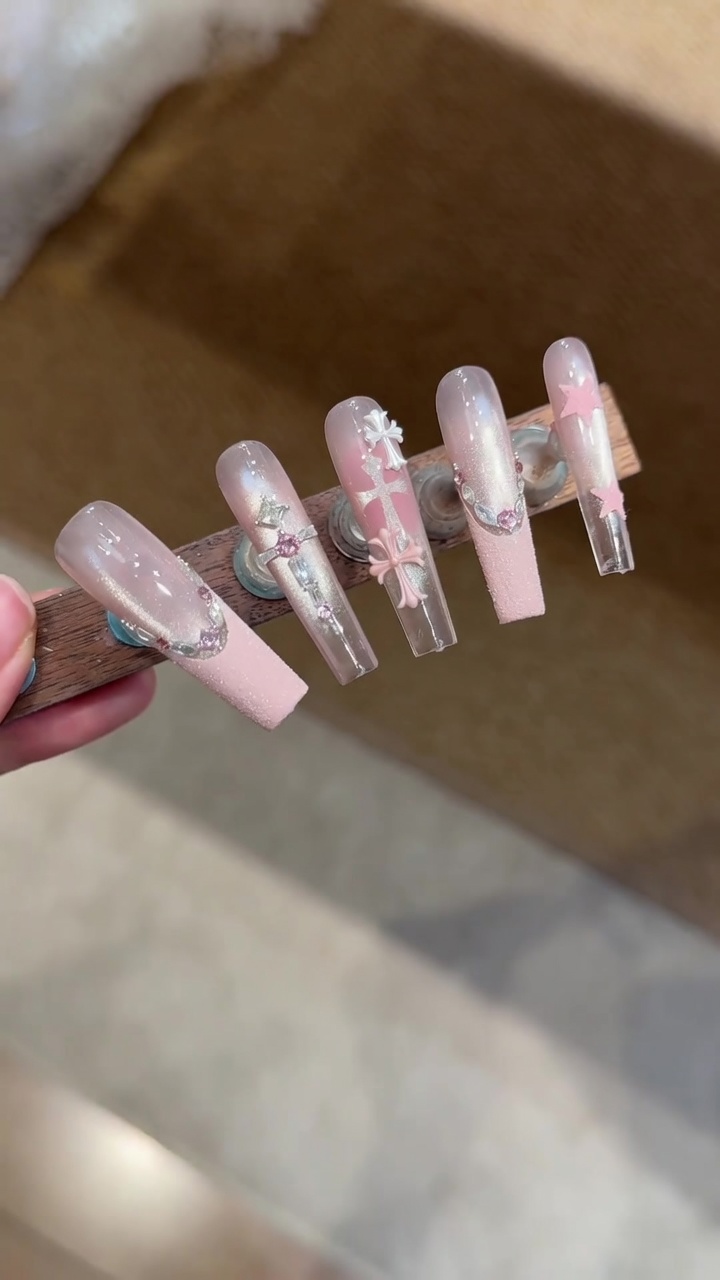
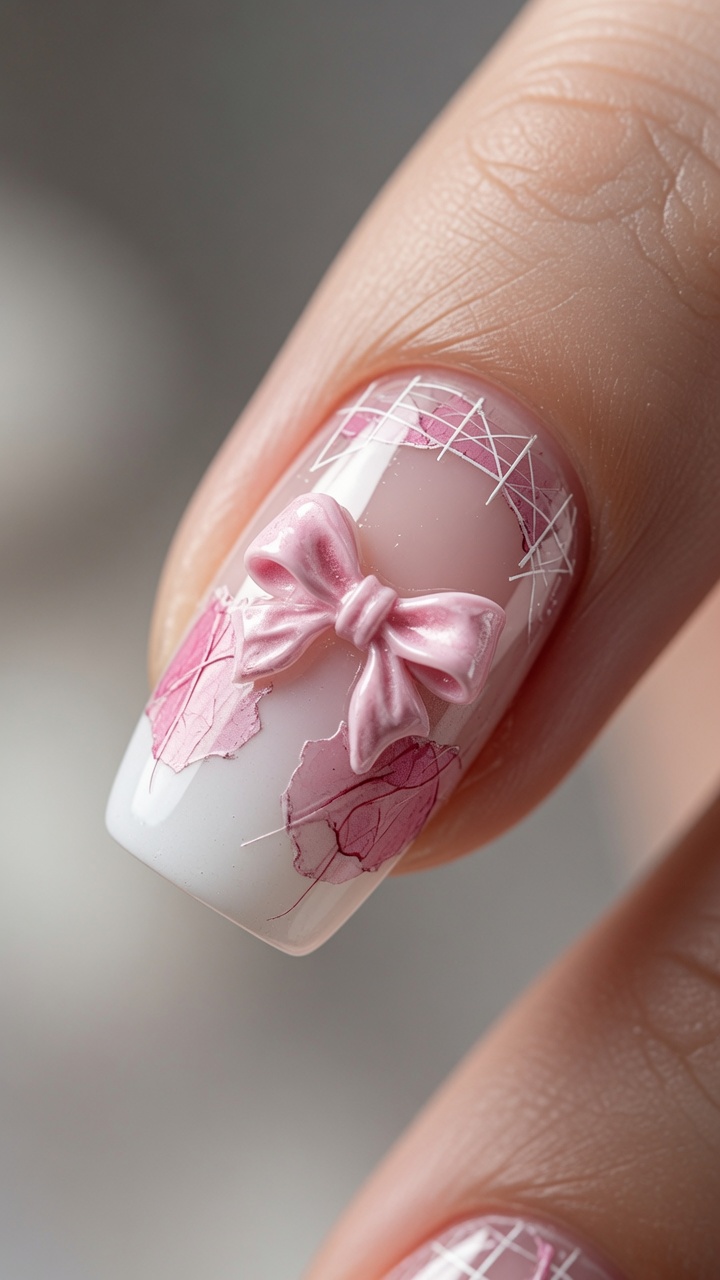
Elevate your manicure with this stunning mixed media look featuring a delicate pink gradient, grid-patterned French tips, and an elegant 3D gel bow.
This unique design blends classic elegance with modern 3D nail art techniques. By combining a soft gradient base with geometric grid accents and a sculpted gel bow, you create a dimensional look that stands out. Perfect for those looking to expand their skill set with sculpting gel and detailed line work.
Steps
- 1Create the gradient base
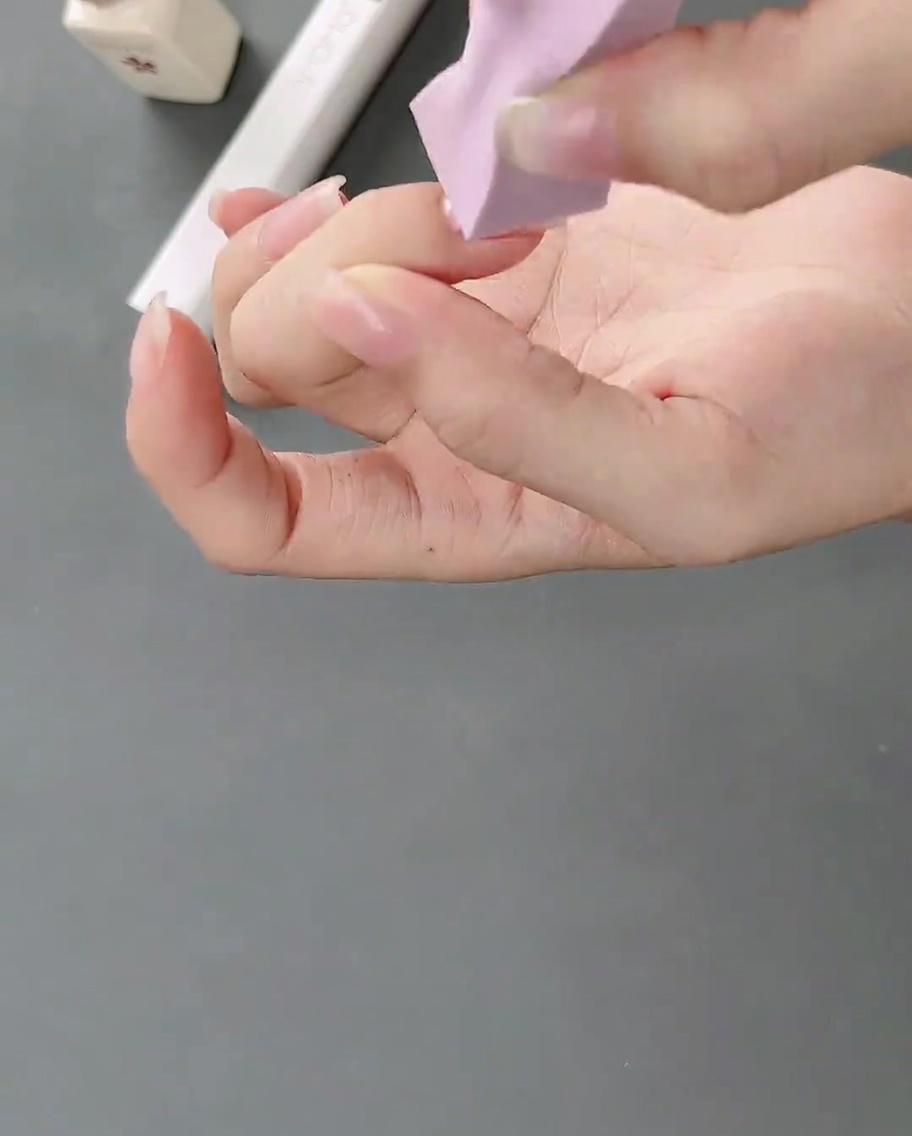
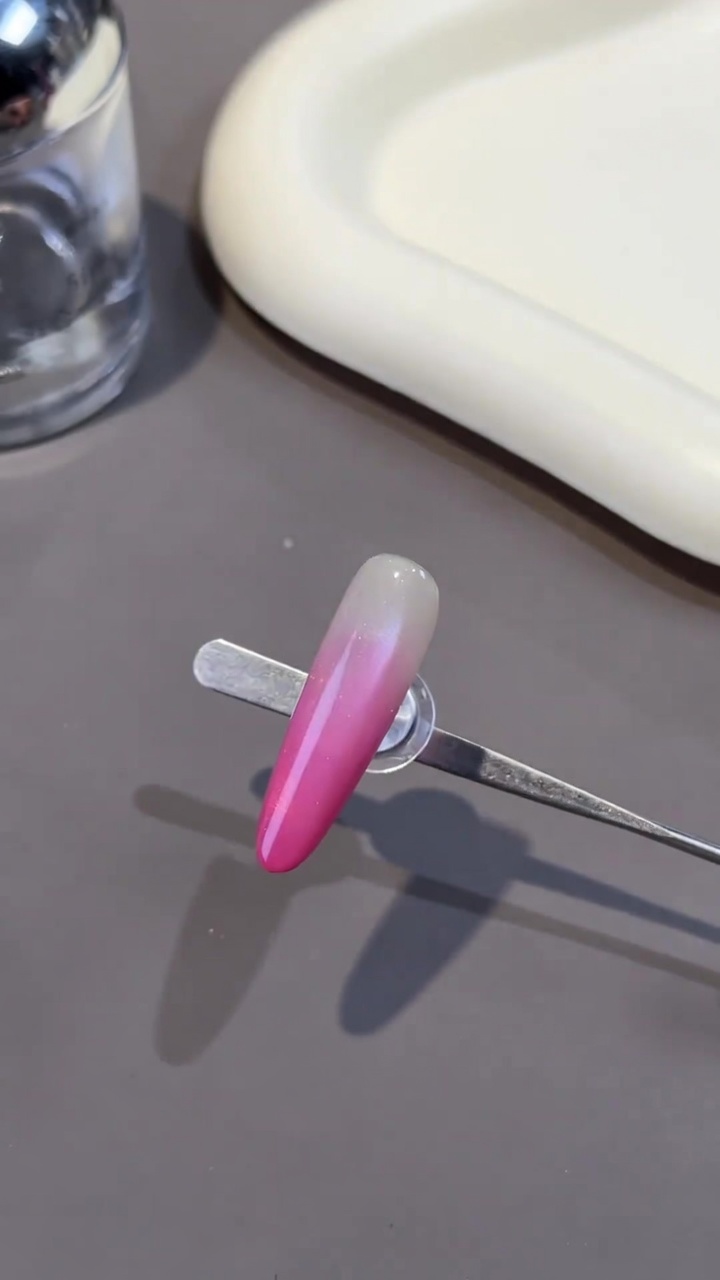
Apply a white gradient base using a makeup sponge to pat the gel onto the nail, building opacity toward the tip for a smooth, faded transition. Cure as required.
Tip: Use a light, dabbing motion with the sponge to avoid leaving streaks or heavy texture on the nail. - 2Cure the gradient base
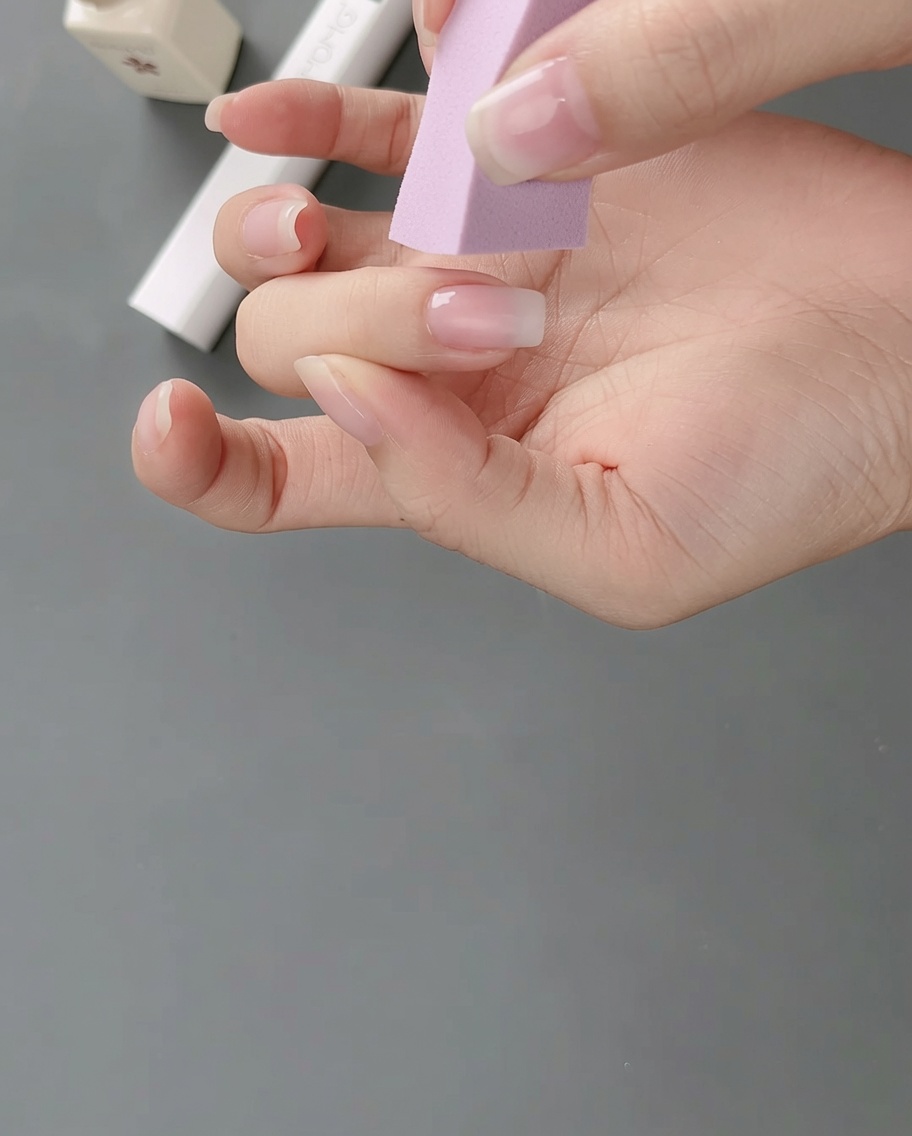
Place the nail under a UV/LED lamp to cure the white gradient gel layer. Follow the product manufacturers instructions for the appropriate curing time to ensure the gel is fully hardened.
Tip: Ensure the entire nail surface is positioned directly under the light source for an even cure. - 3Paint pink color blocks
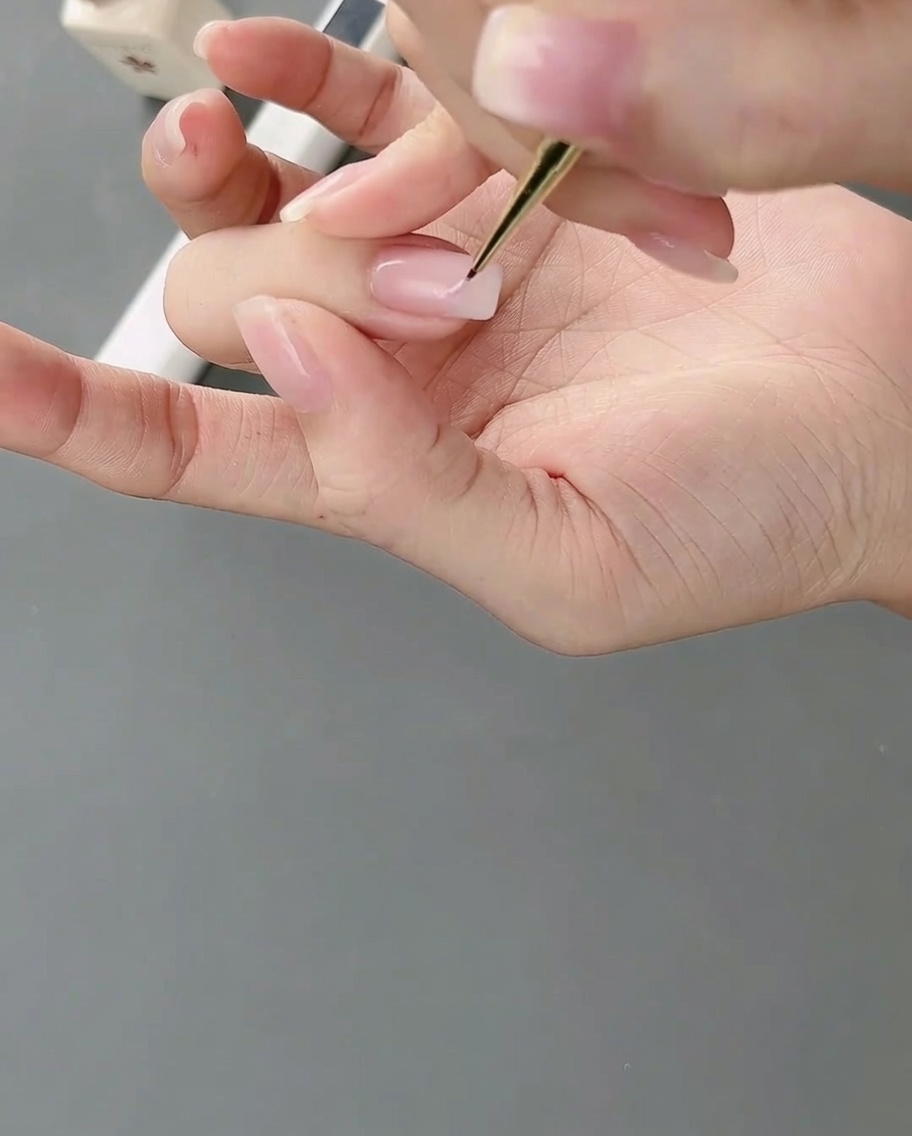
Using a fine detail brush, carefully paint irregular blocks of light pink gel onto the nail. You can vary the size and placement of these shapes to create a creative, abstract design over the gradient base.
Tip: Keep your brush strokes light and precise to maintain clean edges for the color blocks. - 4Detail the color blocks
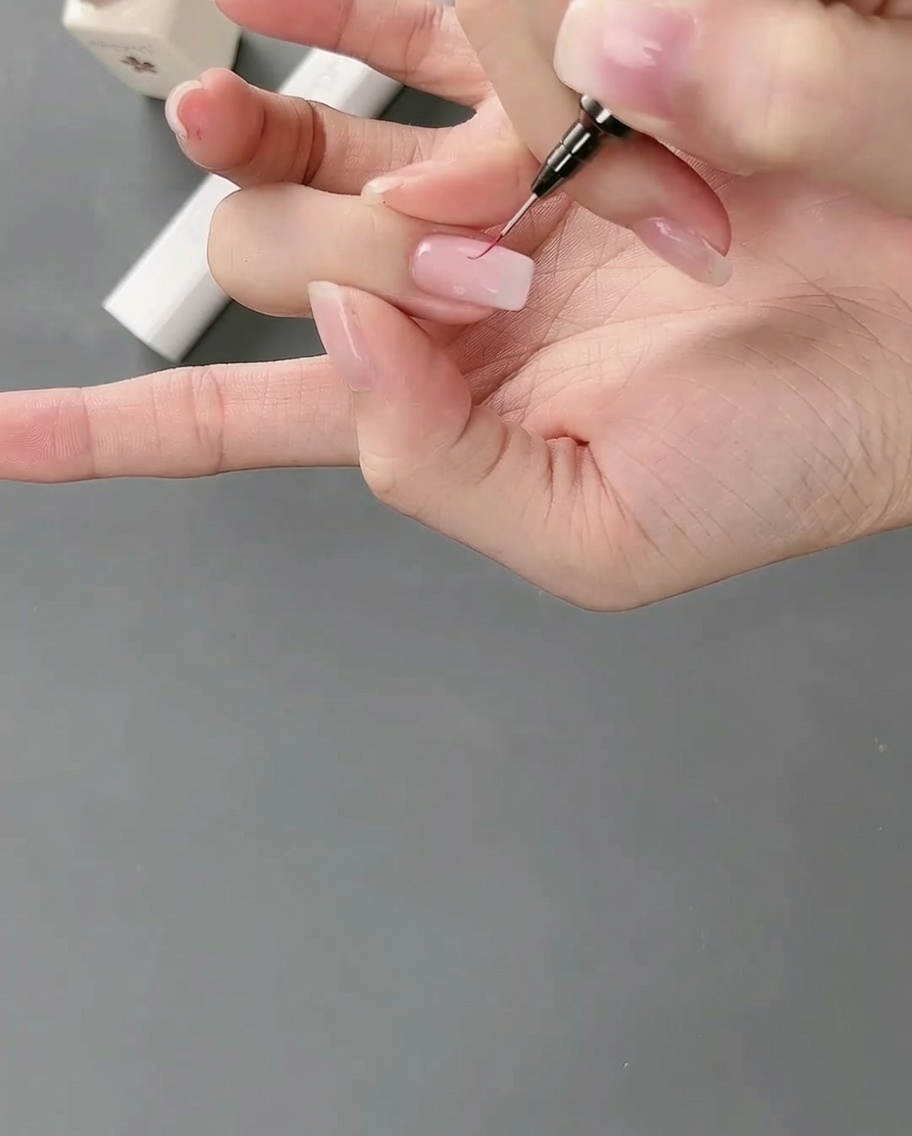
Using a thin liner brush, draw delicate, fine lines along the edges of the pink color blocks to add definition and clean structural interest to the abstract design.
Tip: Use minimal pressure on the liner brush to achieve the finest, most consistent lines. - 5Cure line details
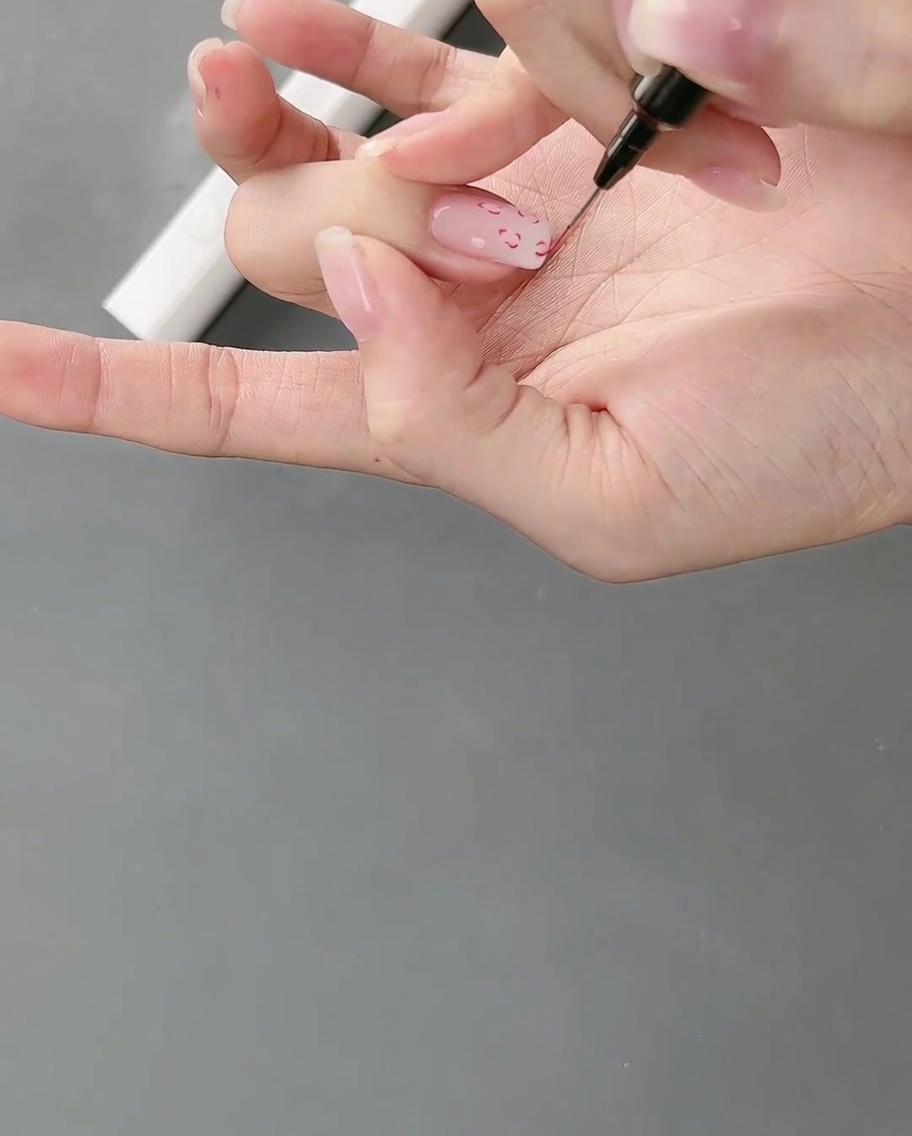
Once you have finished drawing the line details, place your hand under the UV/LED lamp. Cure the design to set the painted elements before proceeding to the next step.
Tip: Ensure your hand remains steady during curing to prevent any smudging of the wet gel art. - 6Paint the high French tip
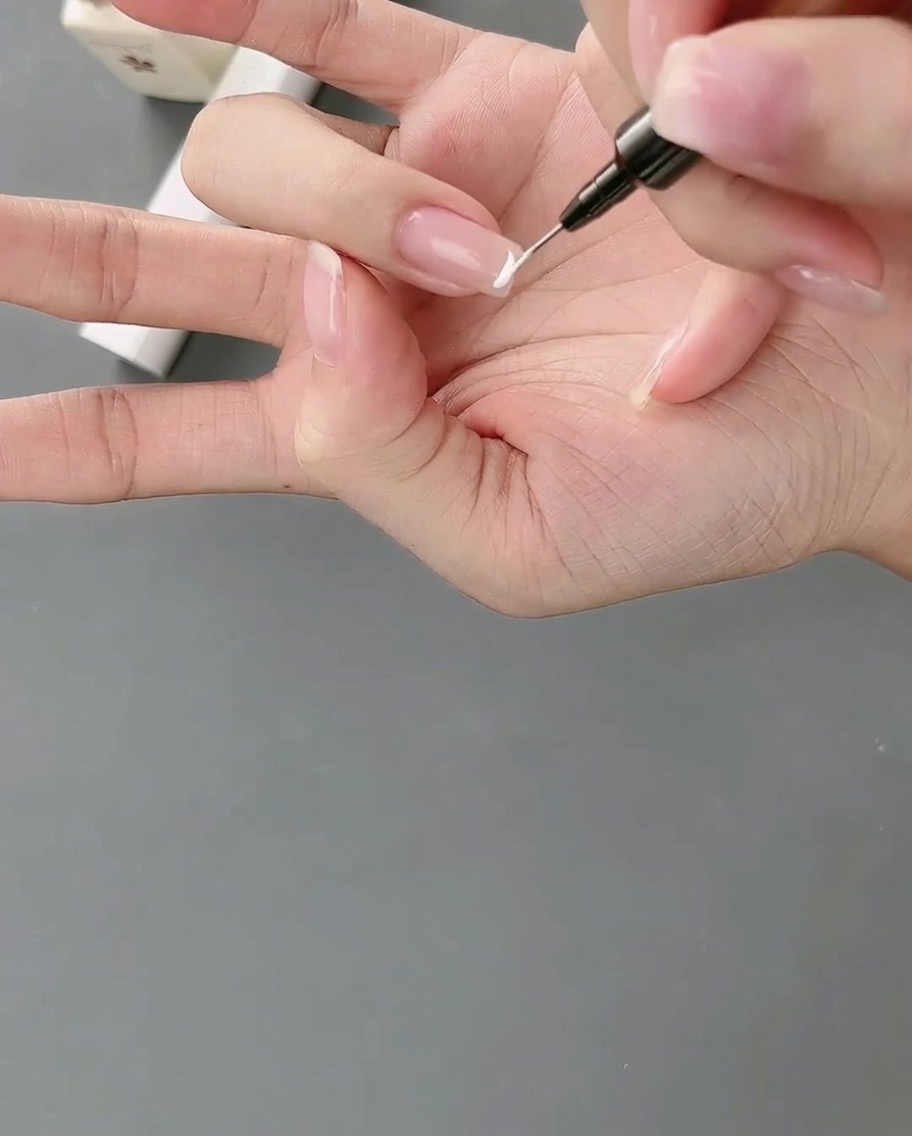
Using a fine liner brush and white gel, paint a crisp high-position French tip. This creates the structural foundation for your grid pattern.
Tip: Use a steady hand to trace the curve of the nail; if you make a mistake, wipe it clean with a bit of cleanser before curing. - 7Position the French grid guide
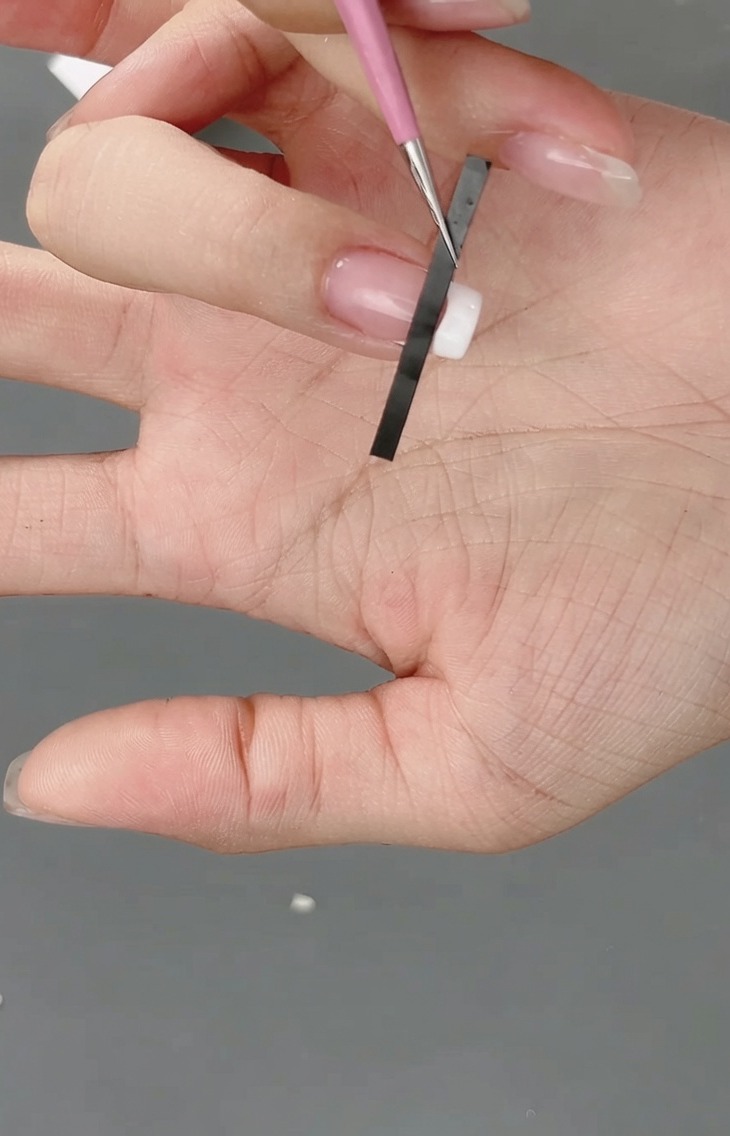
Carefully place a French nail sticker over the tip area to create a guide for your grid pattern. Press the edges down firmly to prevent the gel from bleeding, ensuring crisp lines.
Tip: Make sure the sticker is perfectly aligned with the shape of the nail tip for a symmetrical French design. - 8Pat pink gel on grid
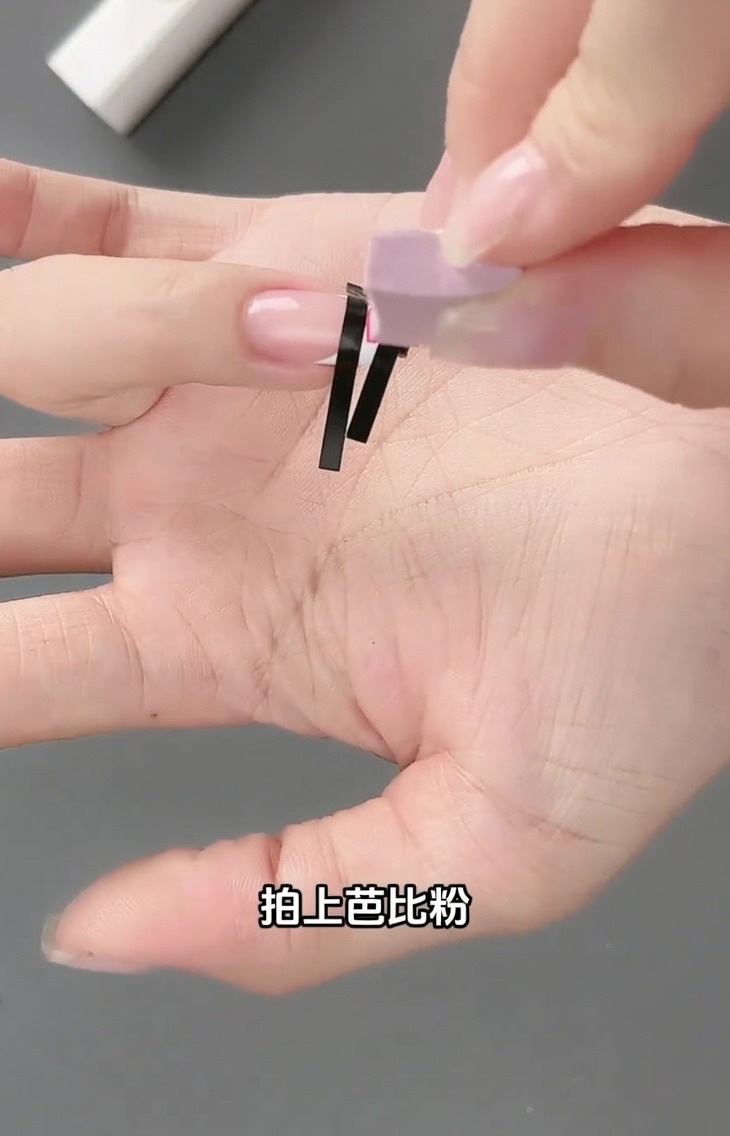
Using a small sponge or patting tool, gently apply a layer of light pink gel over the area covered by the French nail stickers. Patting helps to distribute the color evenly across the grid pattern and ensures a textured, soft finish.
Tip: Use a light, patting motion to avoid thick, clumpy layers of gel. - 9Reveal the grid design
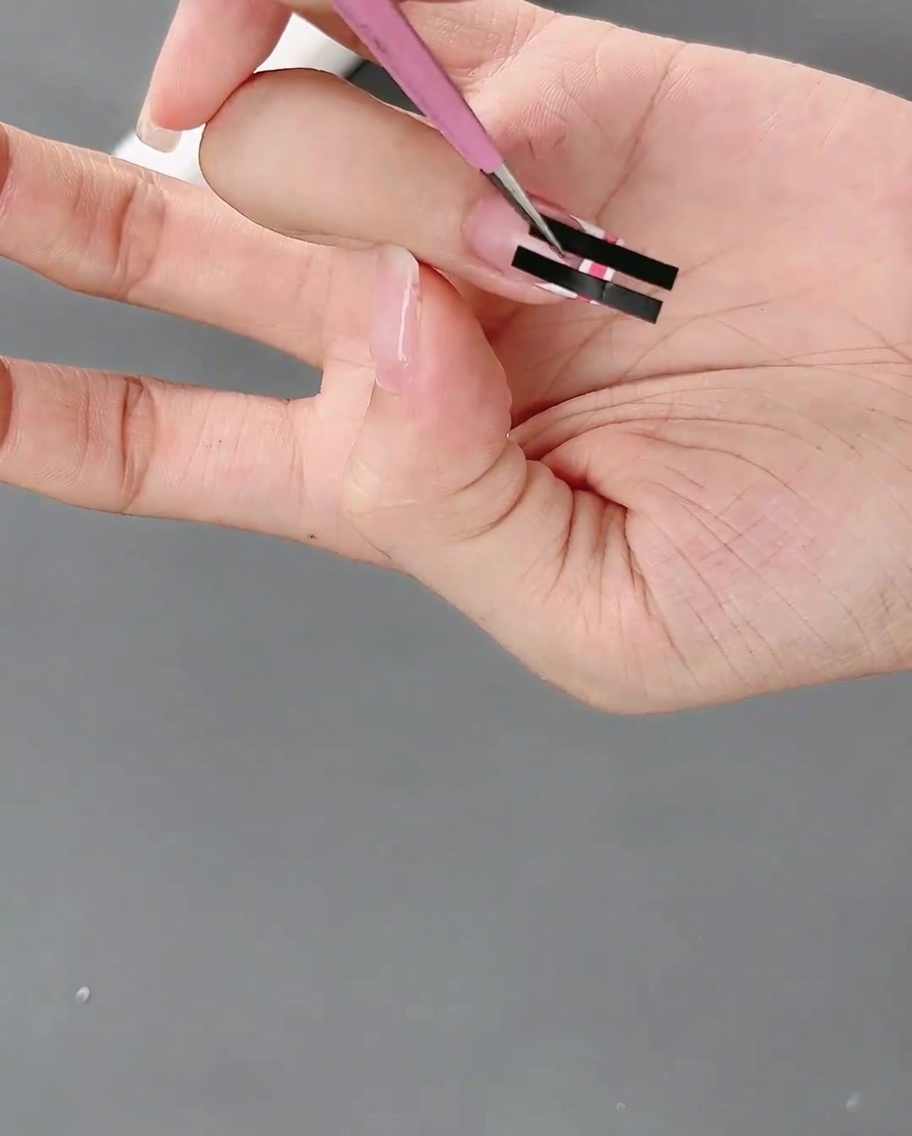
Use precision tweezers to slowly peel away the French nail stickers. Removing the stickers before curing is essential to maintain the clean, sharp lines of your checkered grid.
Tip: Pull the tape back slowly at a low angle to prevent the wet gel from smudging or lifting. - 10Prepare the 3D gel bead
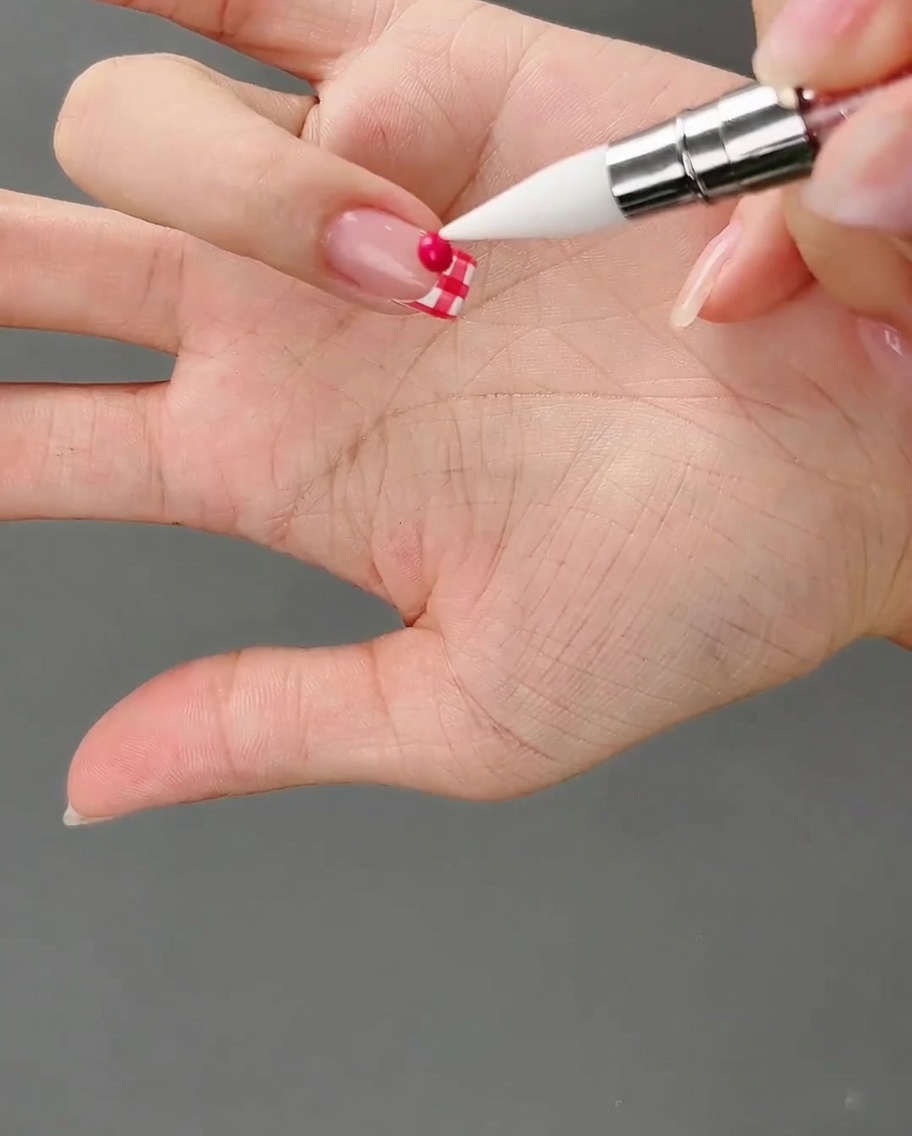
Mix pink gel with clear sculpting gel to achieve a moldable, non-runny consistency. Pick up a small bead to begin your 3D bow.
Tip: If the gel is too sticky, dip your tool in a tiny bit of slip solution or rubbing alcohol. - 11Sculpt the 3D bow
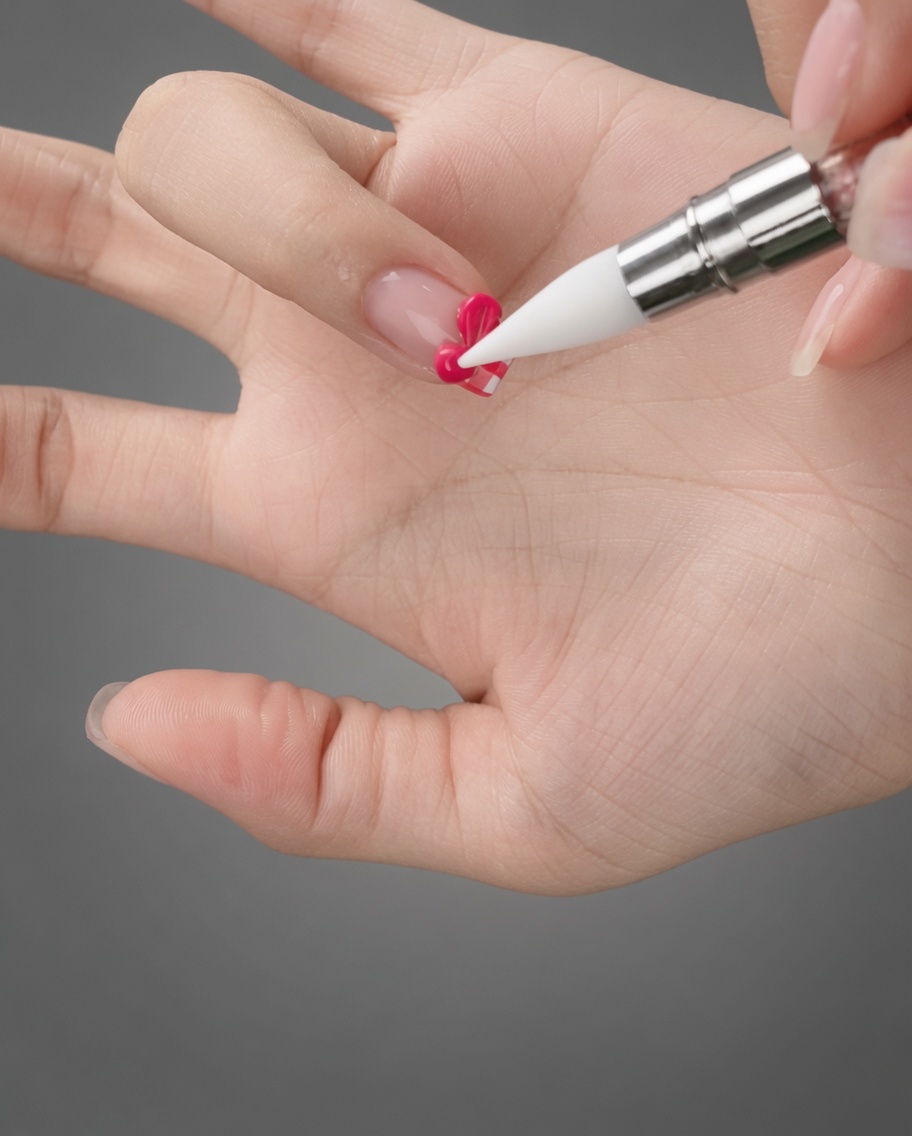
Using a silicone brush, gently press and manipulate the gel bead into the shape of a bow. The silicone tool allows you to refine the loops and center without the gel sticking to your brush.
Tip: Take your time pushing the gel into place. A silicone tool is perfect for this as the gel wont stick to it as easily as a standard brush. - 12Cure the 3D bow
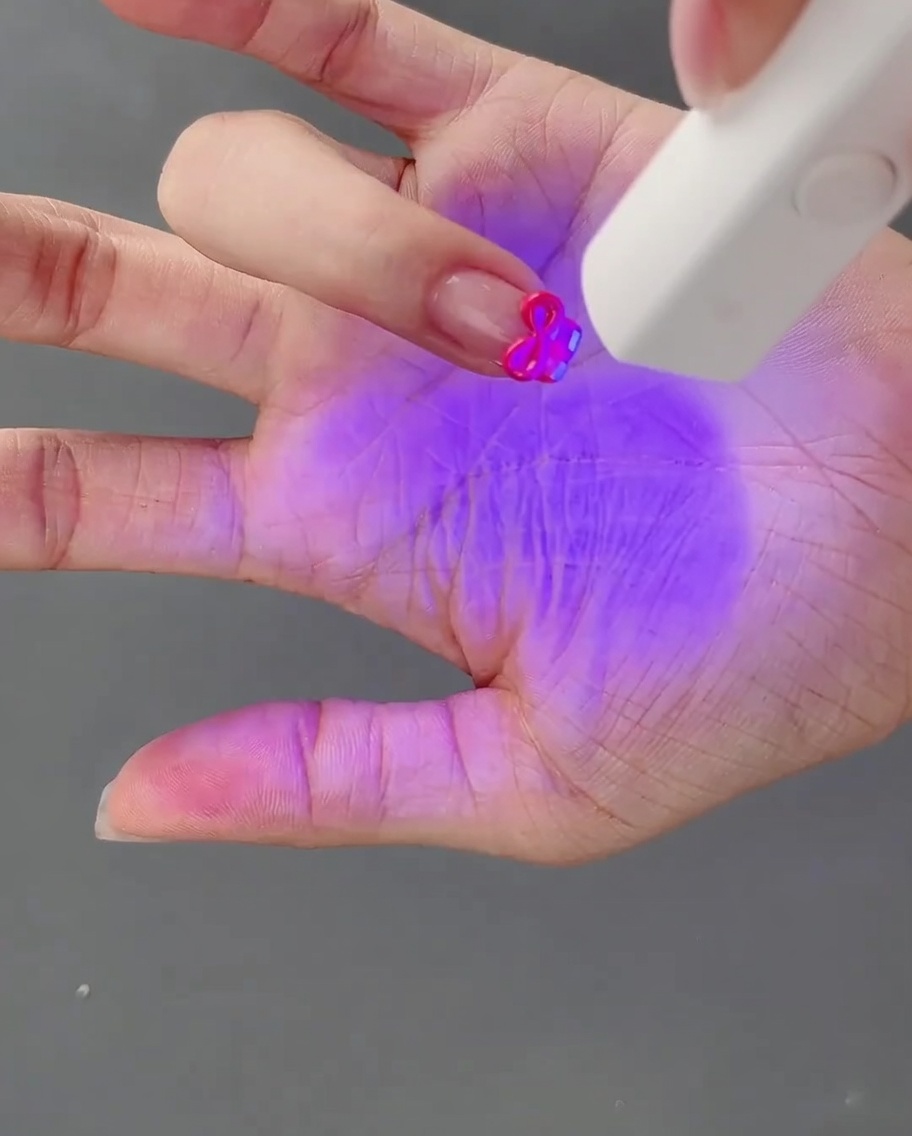
Place your finger under the UV or LED lamp to fully cure the 3D bow embellishment you just shaped. Ensure the nail is positioned correctly in the lamp for the duration of the curing cycle so that the gel hardens completely.
Tip: Do not touch the bow until it is fully cured to avoid smudging the shape. - 13Add center accent
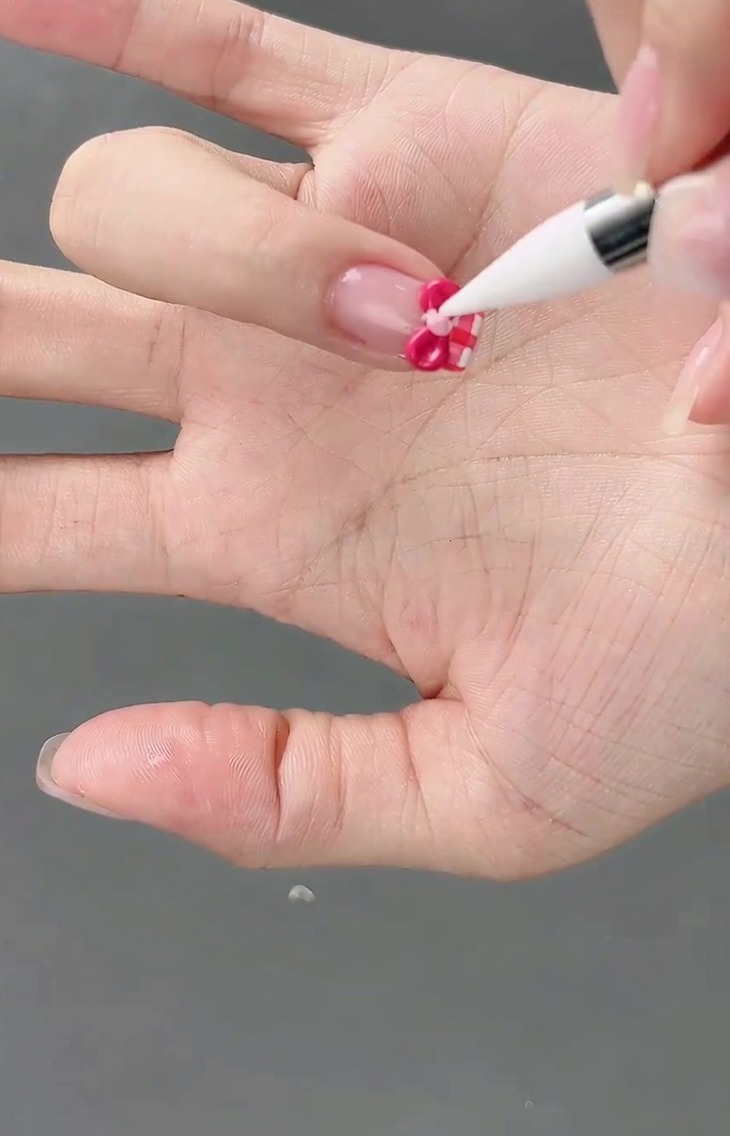
Pick up a tiny bead of light pink gel and carefully place it in the exact center of the bow you created. This adds a nice focal point to your 3D design before the final top coat application.
Tip: Use a dotting tool or detail brush for precise placement of the gel bead. - 14Apply top coat
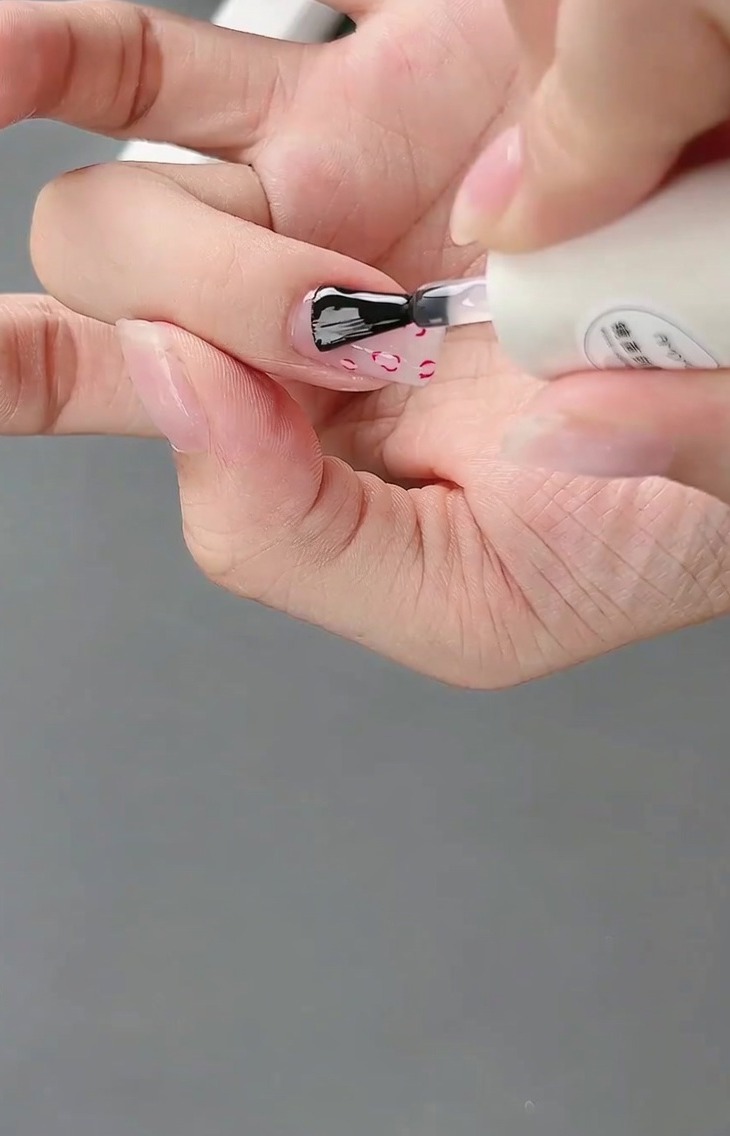
Apply a final layer of top coat over the entire nail, making sure to seal the 3D bow embellishment and the edges of the French design. Cure under the lamp for the recommended time to lock in your design with a glossy, durable finish.
Tip: Ensure the top coat covers the sides and edges of the 3D bow to prevent it from snagging.