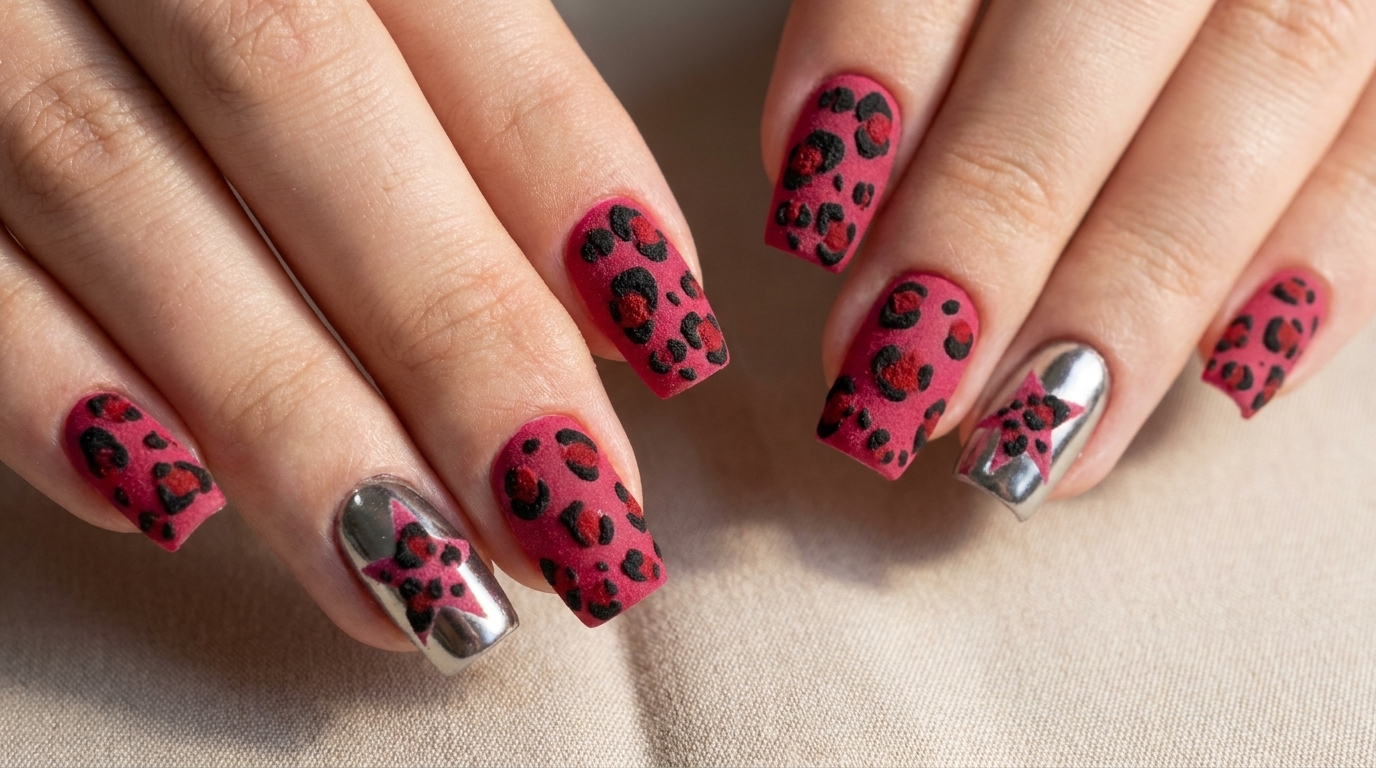
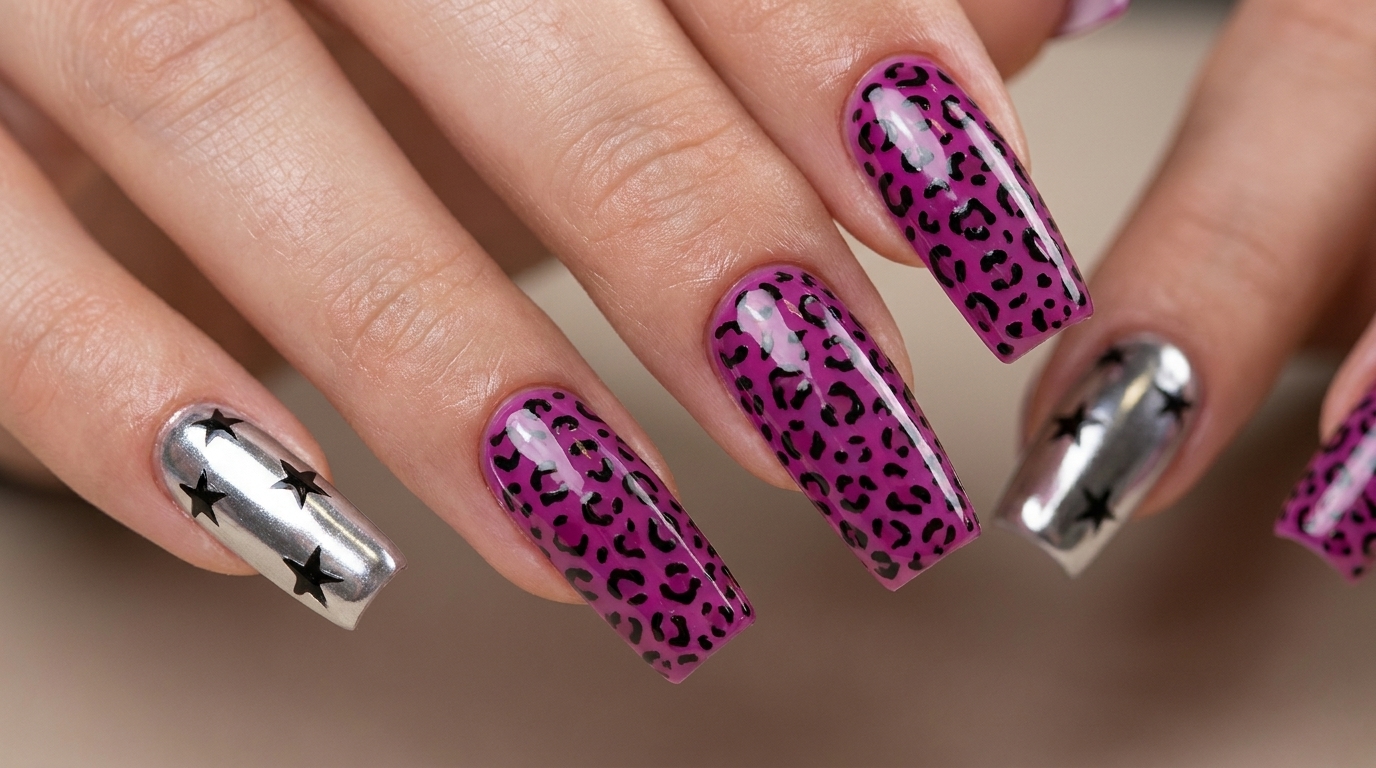
Magenta and Leopard Print Gel Nails — Step-by-Step Tutorial
Combine bold magenta gel polish with trendy leopard print for a chic, high-contrast look. This step-by-step tutorial shows you how to paint easy leopard spots.
Animal print is a timeless nail art trend that pairs beautifully with bold, solid colors. This manicure strikes the perfect balance by combining a vivid magenta polish with delicate leopard print accent nails. Using a sheer nude base for the leopard spots creates a sophisticated contrast that makes the hand-painted details truly stand out.
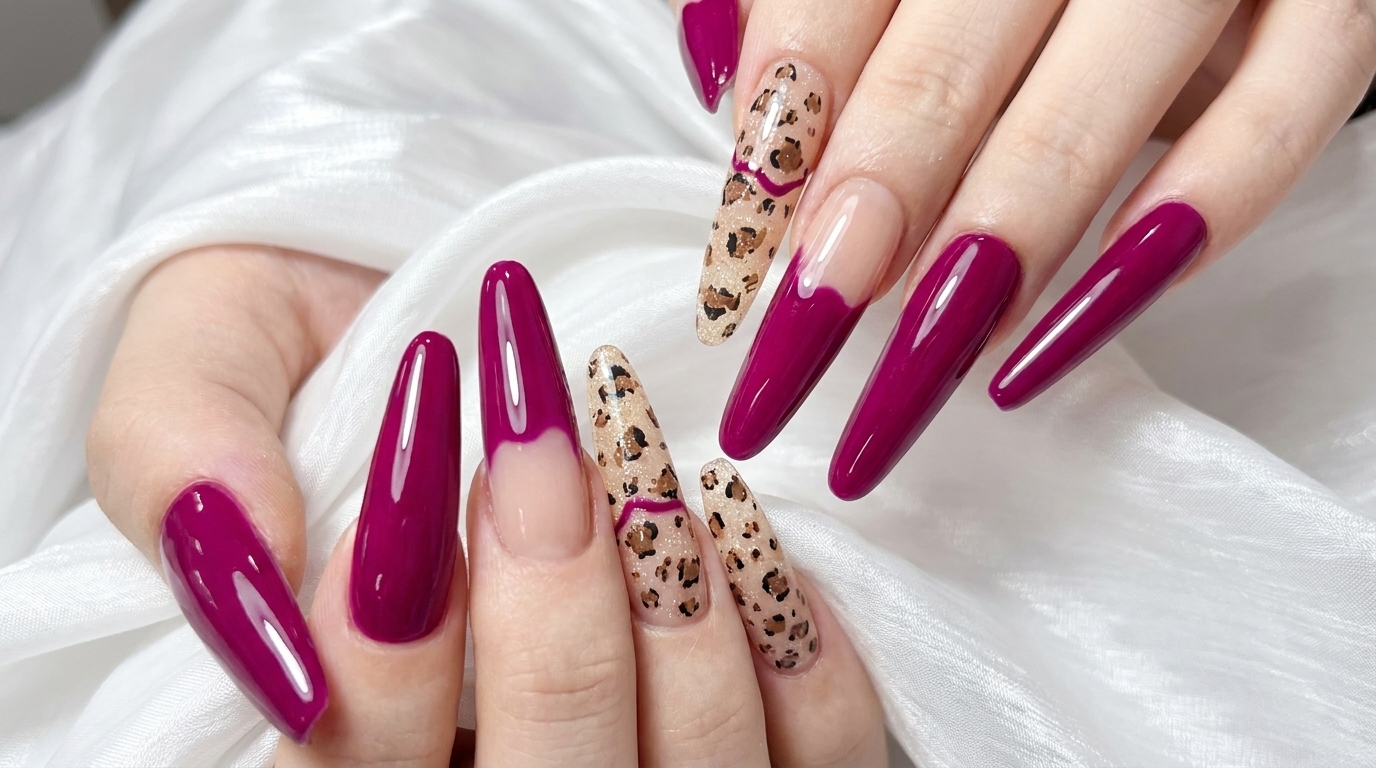
Steps
- 1Apply second coat of magenta gel
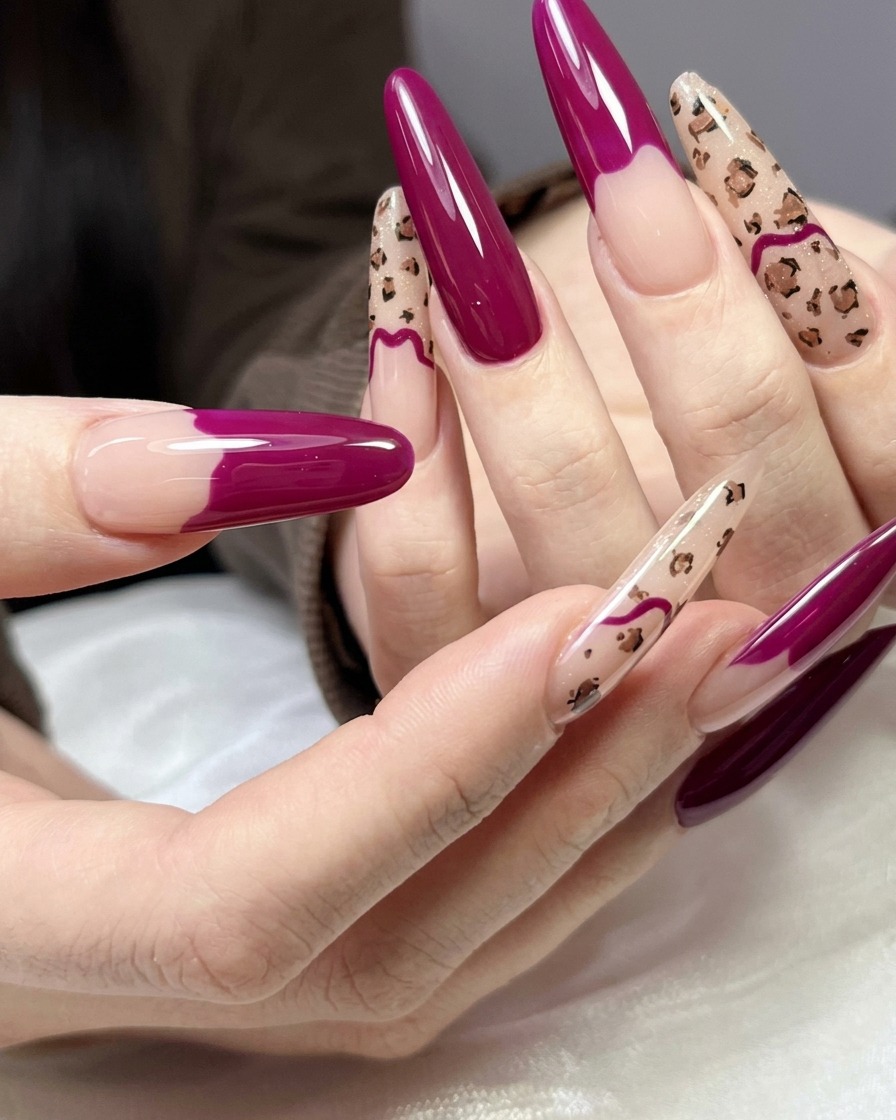
Apply a second, slightly more saturated layer of the magenta gel polish to ensure complete opacity and a rich, uniform color. Carefully stroke the brush from the base of the nail toward the free edge, ensuring even coverage without touching the skin. Cure under the UV or LED lamp as specified by your gel product instructions.
Tip: If you notice any streaking from the first coat, ensure your second layer is smooth and not too thick to prevent bubbling during the cure. - 2Apply nude base for nail art
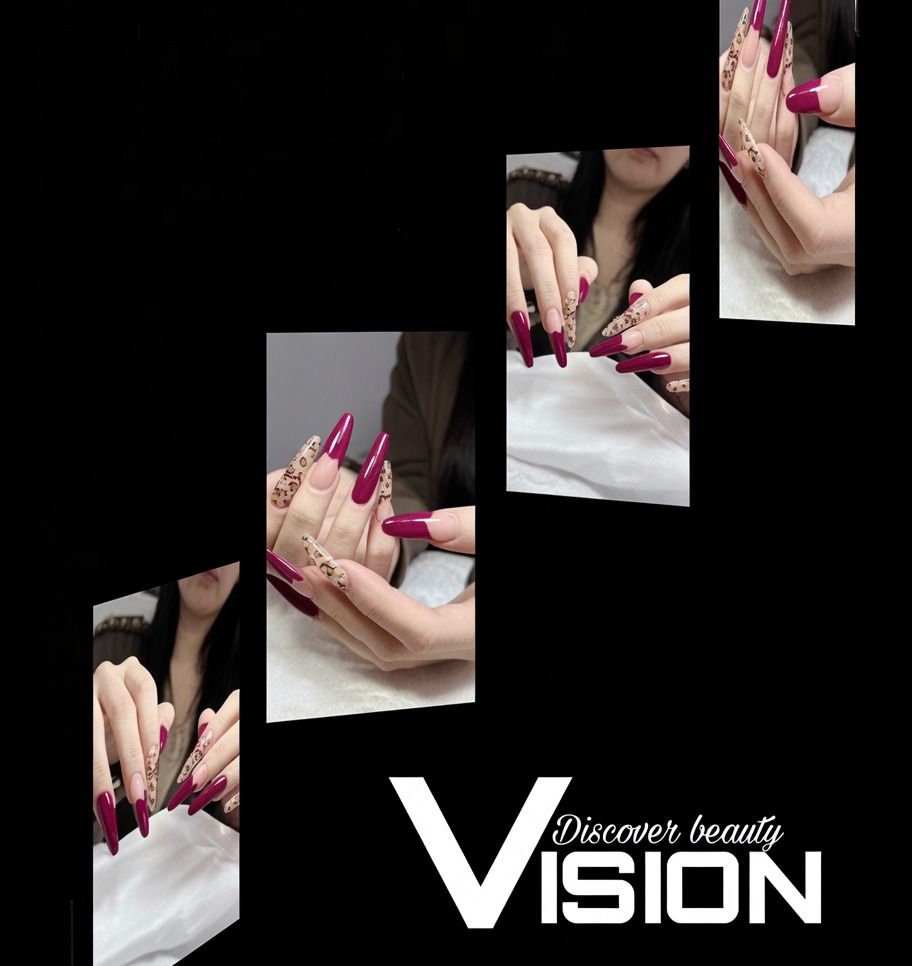
Apply a clean nude or sheer base coat to the nails intended for leopard print art. This provides a neutral, high-contrast backdrop that makes the brown and black spots stand out. Ensure the layer is smooth and fully cured before proceeding to the detailed hand-painting.
Tip: A sheer nude base keeps the overall look sophisticated and prevents the leopard print from appearing too cluttered. - 3Paint brown leopard spots
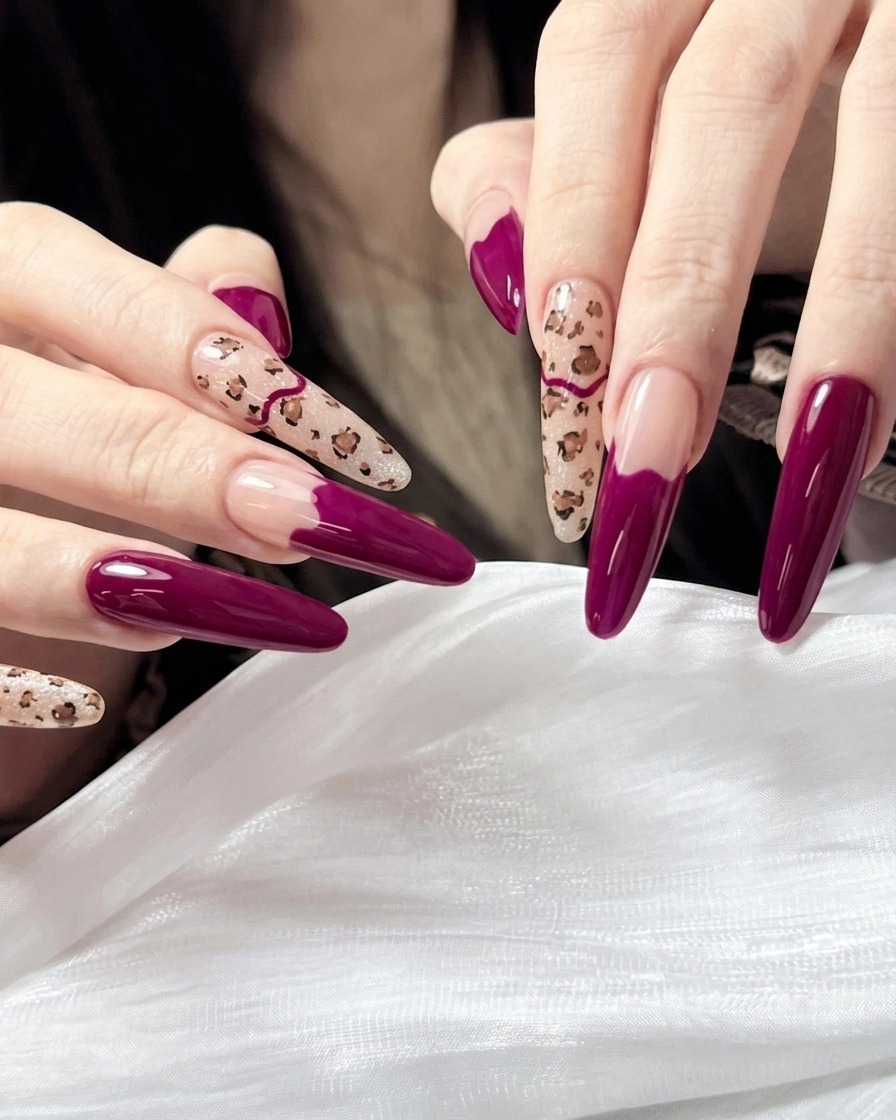
Using a fine liner brush and brown gel, draw small, irregular, and slightly open-ended circular shapes across the nude base. These shapes do not need to be perfect; a variety of sizes and slight asymmetry mimics the natural look of a leopard pattern.
Tip: Keep your brush strokes light and sporadic for a more organic and realistic leopard spot pattern. - 4Outline the leopard spots
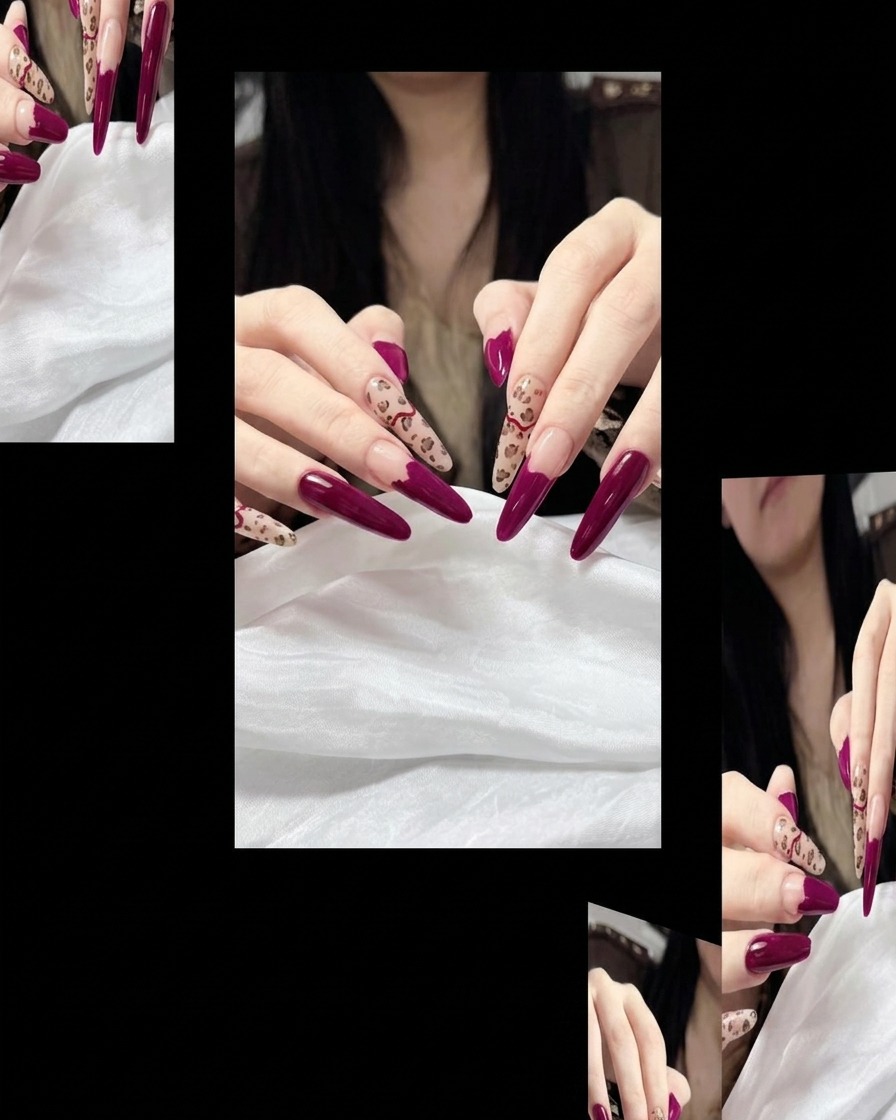
With a fine liner brush and black gel, trace partial outlines around the brown spots you previously created. Do not close the circles completely; adding C-shaped or L-shaped black lines around the brown patches adds depth and texture to the print.
Tip: Use a very light touch with the black gel to maintain delicate, precise lines that define the print without overwhelming the brown base. - 5Add final leopard details
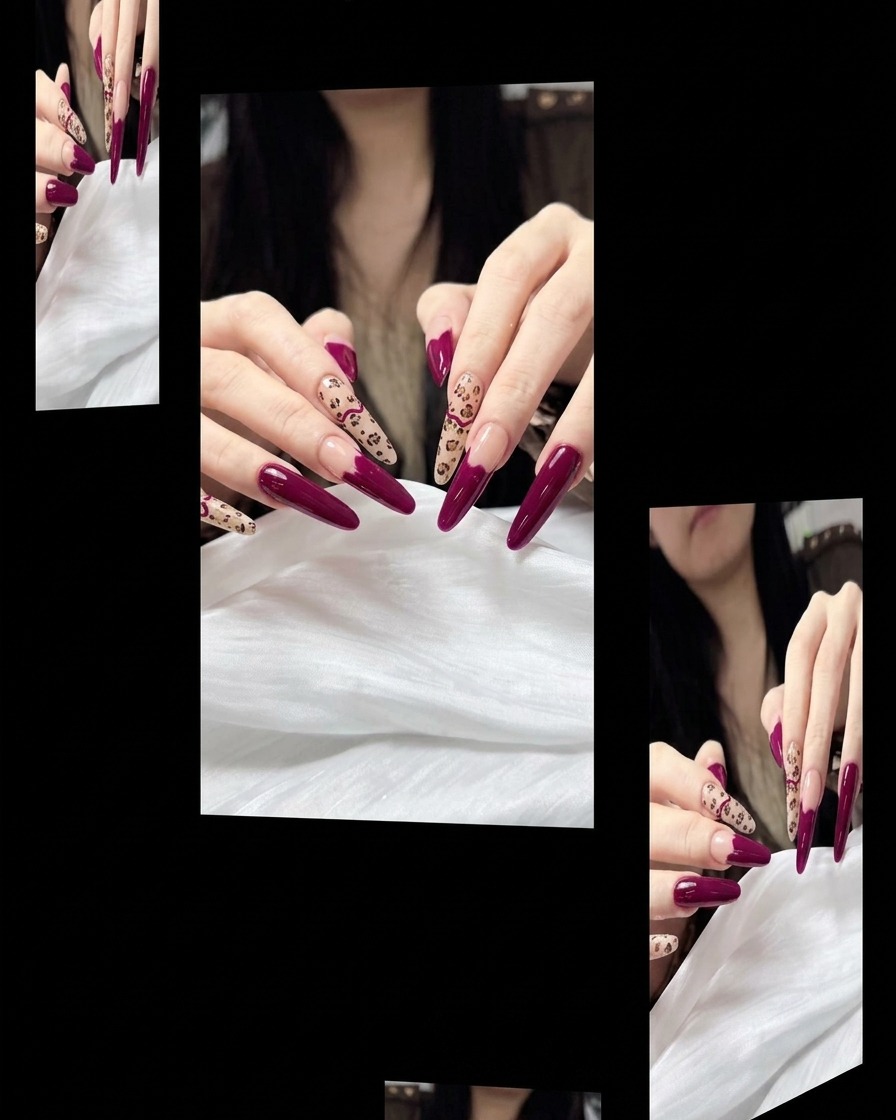
Fill in the empty spaces between the leopard spots with tiny, scattered black dots. These micro-details complete the leopard pattern, providing a dense and professional-looking design.
Tip: Vary the size and spacing of your dots to create a dynamic, natural-looking texture across the nail. - 6Seal with glossy top coat
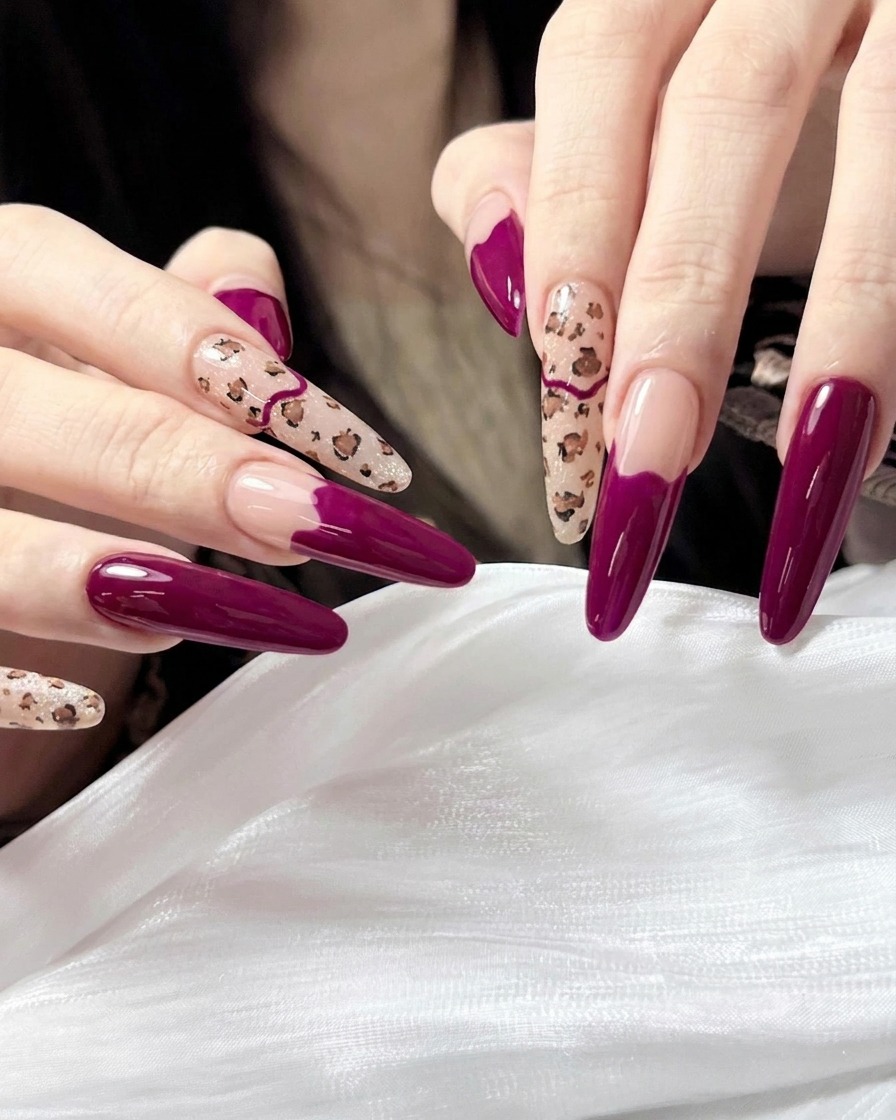
Apply a generous, even layer of high-gloss top coat over every nail. This seals in the leopard art and magenta color, providing protection against chipping and creating a mirror-like finish. Cap the free edges to ensure the manicure lasts as long as possible, then cure fully.
Tip: Dont forget to cap the free edge with the top coat; this prevents the manicure from lifting at the tips.