Rose Red and Sequin Accent Nail Art — Step-by-Step Tutorial
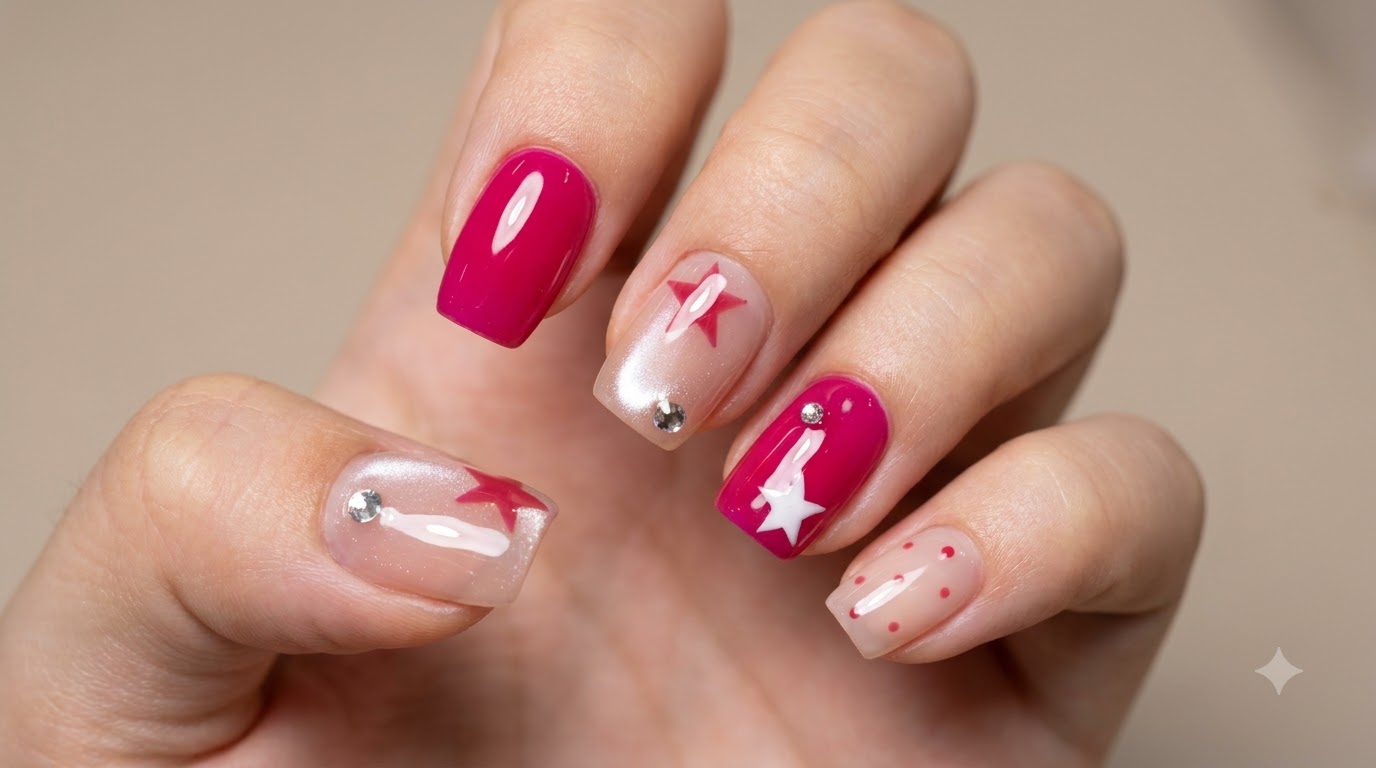
Create a stunning party look with vibrant rose red matte nails, encapsulated metallic dot sequins, and a chic milky white accent nail.
Combining rich matte textures with dazzling encapsulated multi-sized sequins, this standout nail design offers a perfect balance of playful color and sophisticated modern style. It serves as an eye-catching choice for special outings, photography sessions, or whenever you want your manicure to make a memorable statement.
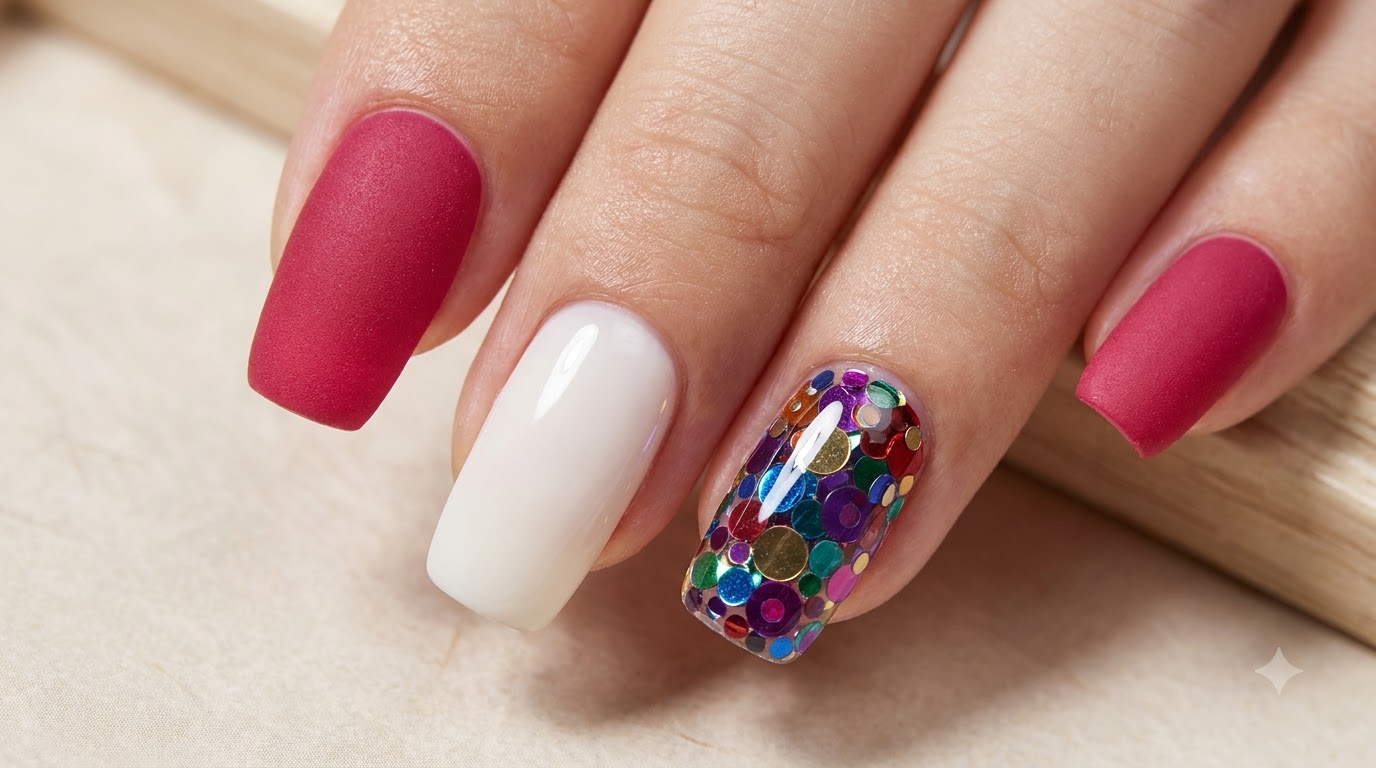
Steps
- 1Apply clear base coat
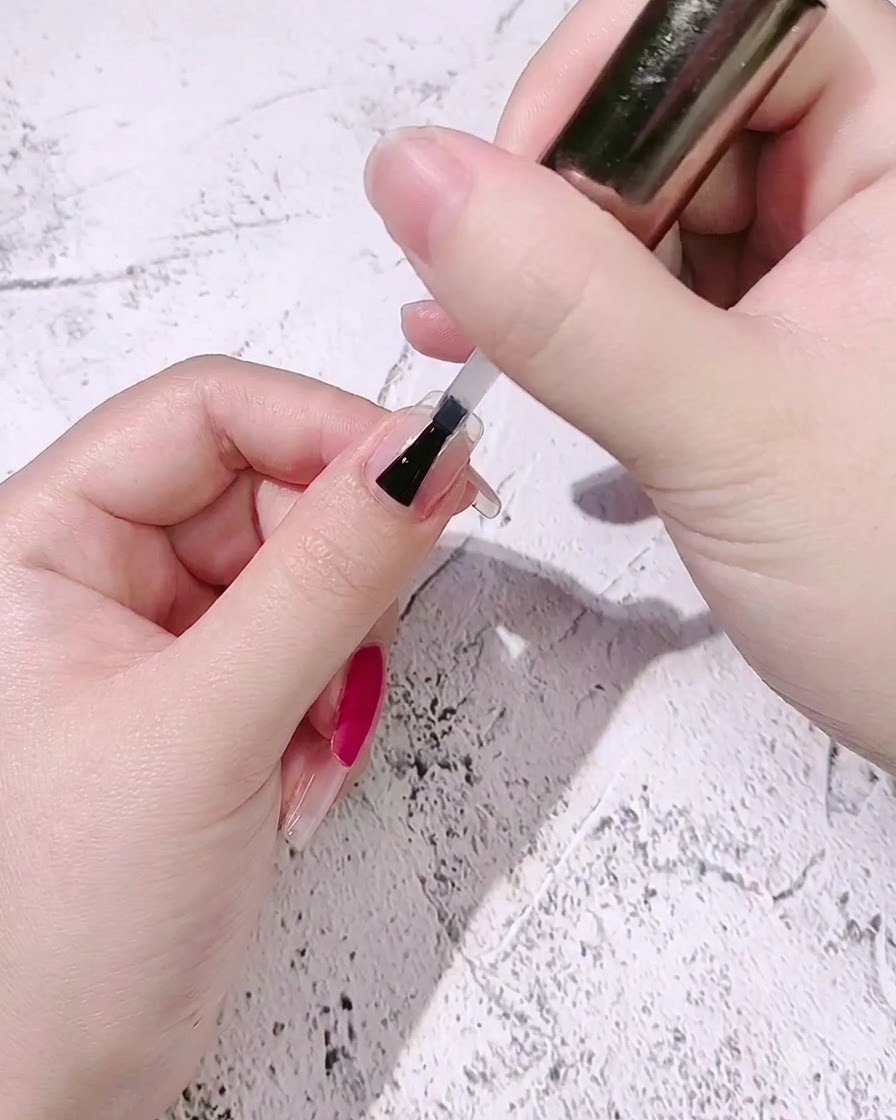
Using the applicator brush, apply an even layer of clear base coat directly onto the prepped natural nail plate, ensuring complete coverage from the cuticle to the free edge. This essential foundation layer creates a strong adhesive bond between the natural nail and the subsequent gel polish layers.
Tip: Cap the free edge of the nail with the base coat brush to prevent chipping and lifting. - 2Apply first coat of rose red gel polish
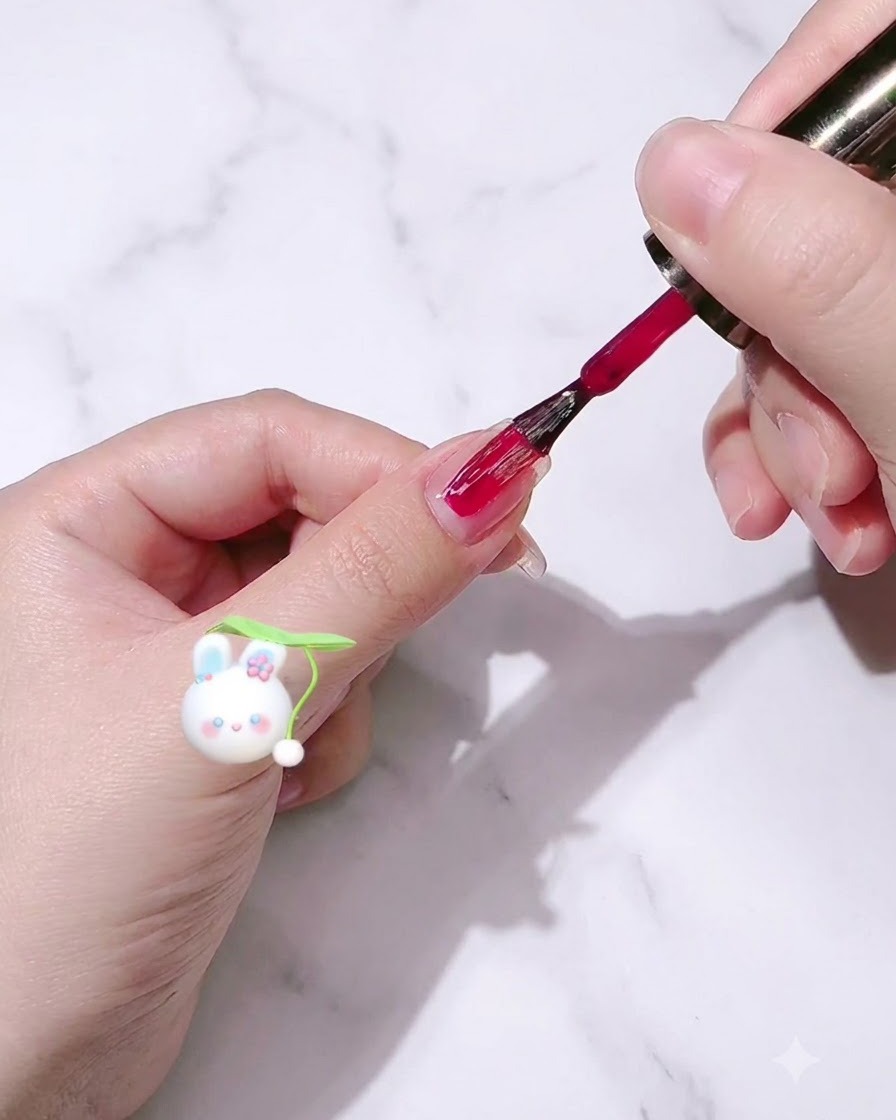
Take the rose red gel polish, labeled color number three, and apply a smooth, even first coat onto the nail surface. Work carefully from the cuticle down toward the free edge while keeping the application thin to ensure proper curing.
Tip: Apply thin coats to avoid wrinkling or uneven curing under the lamp. - 3Cure the rose red gel polish
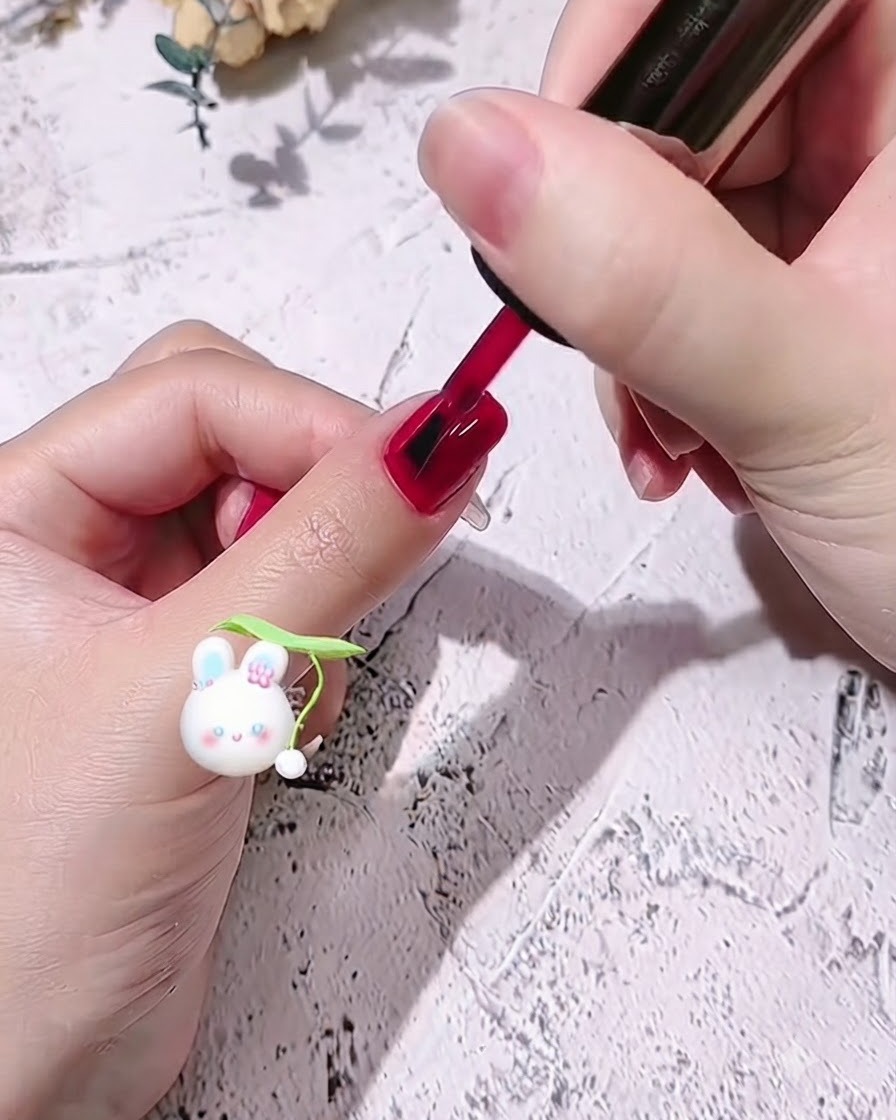
Place your hand inside the UV or LED nail lamp to cure the freshly applied layer of rose red gel polish. Allow it to cure fully according to the product or lamp manufacturers recommended time instructions.
Tip: Keep your hand flat inside the lamp to ensure all areas of the gel cure evenly. - 4Apply matte top coat
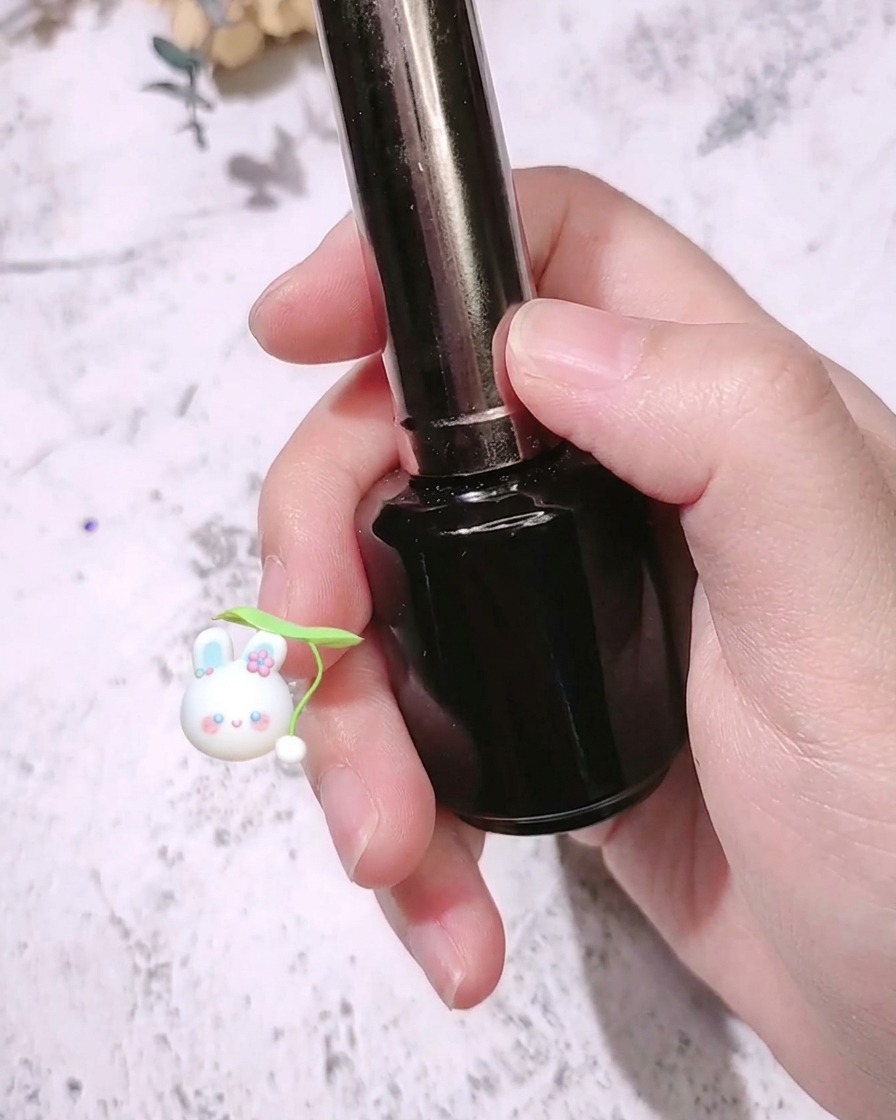
Apply a layer of matte top coat over the cured rose red gel polish to transform the glossy surface into a smooth, velvet-like matte finish. Make sure to cap the free edge properly to prevent chipping, then cure thoroughly under the UV or LED lamp according to the manufacturers instructions.
Tip: Applying too thick a layer of matte top coat can cause streaking or uneven curing; keep the stroke thin and even. - 5Apply modeling gel on index finger
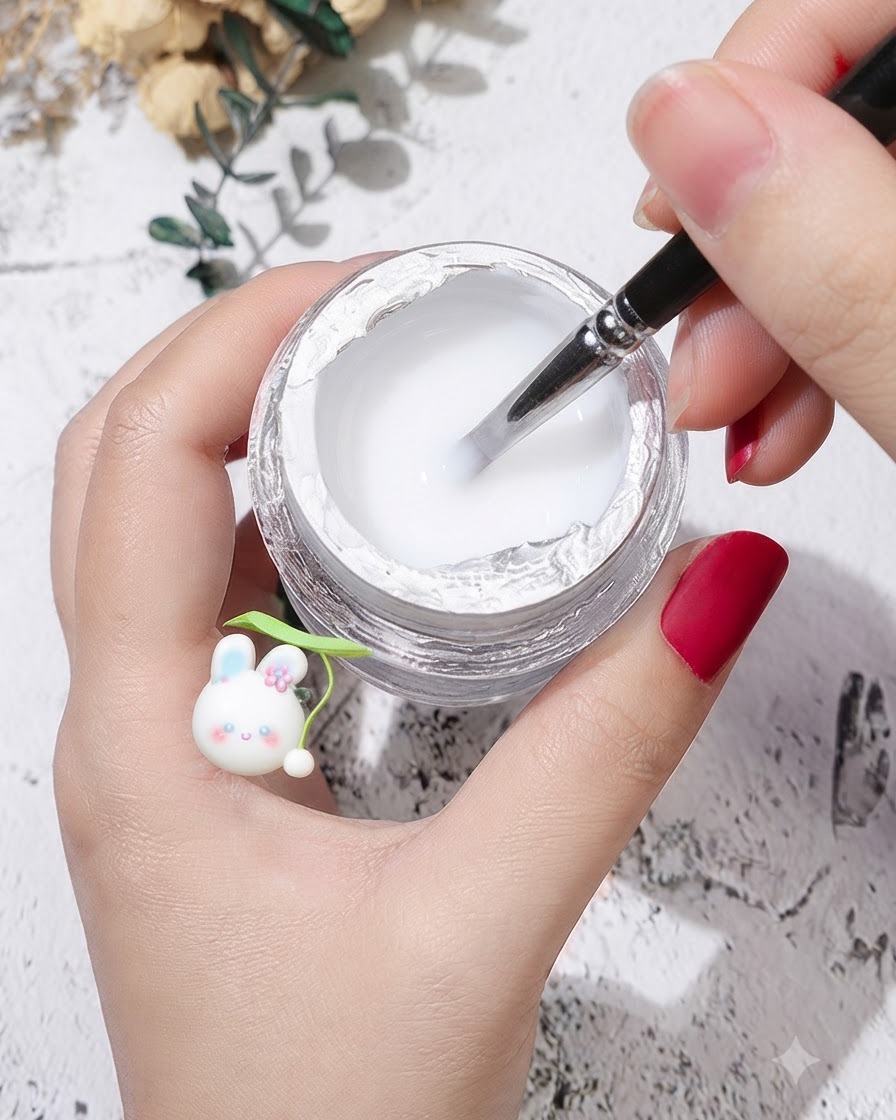
Dip a brush into the jar of modeling gel and apply a thin layer onto the index finger nail plate. Do not cure this layer yet, as it will act as a sticky base to hold decorative elements in place.
Tip: Keep the layer thin and even so that sequins or decorations do not slide around excessively. - 6Place large dot sequins
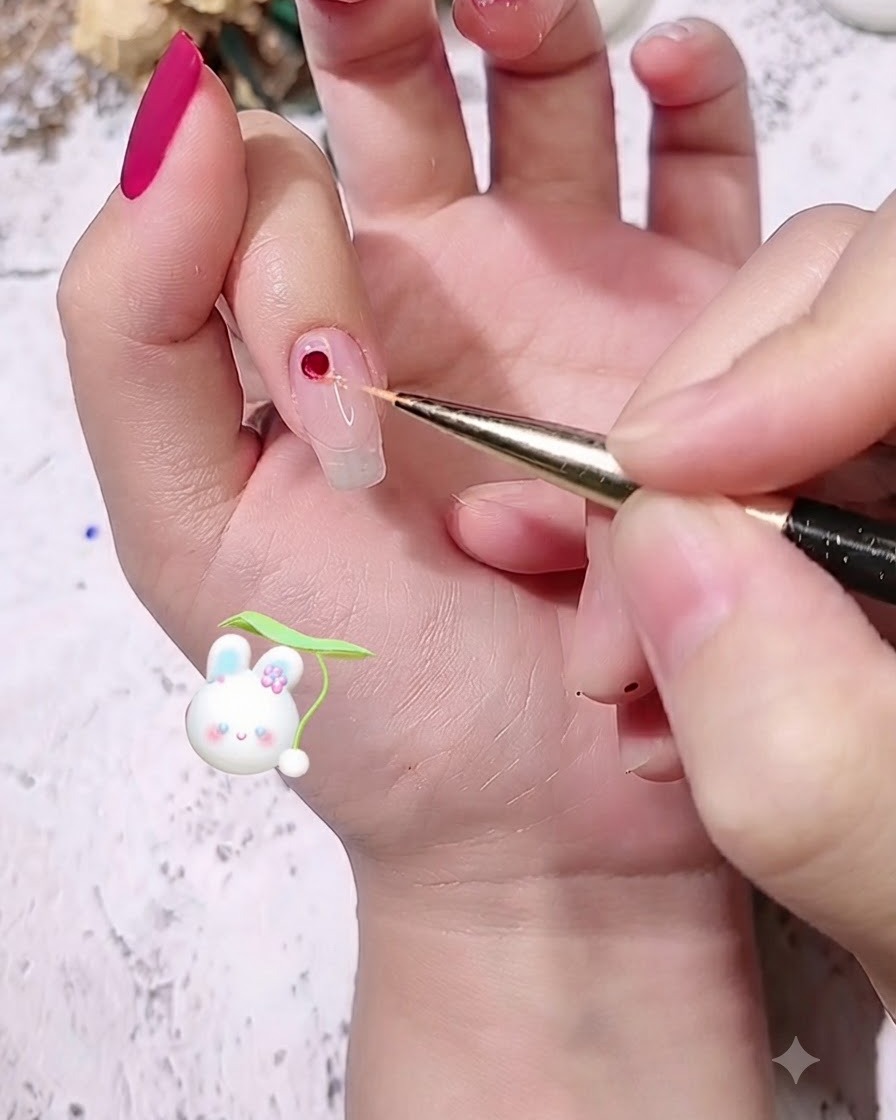
Using a fine detail brush, pick up the largest colorful dot sequins and place them strategically onto the uncured modeling gel on the nail. Follow an organized size arrangement, starting with these large focal pieces.
Tip: Lightly dab the tip of your brush with a tiny bit of gel or base coat to easily pick up individual sequins. - 7Place medium colorful sequins
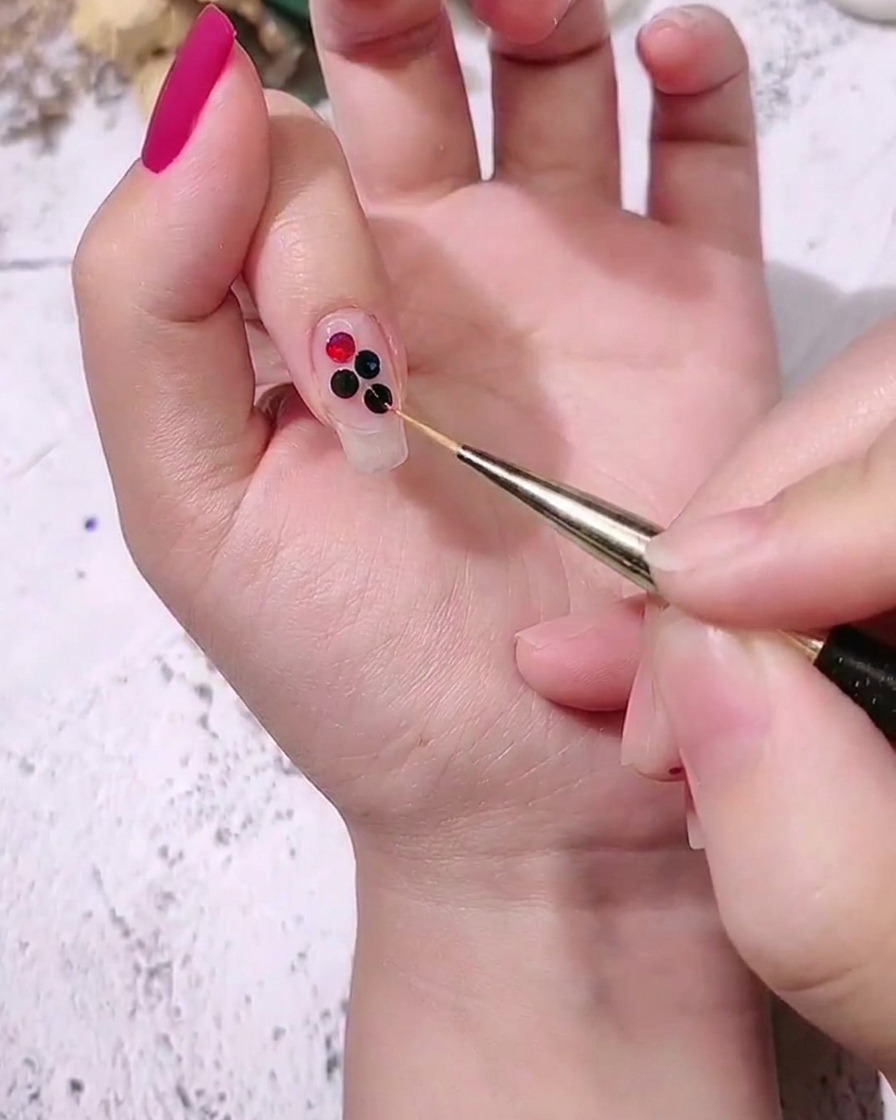
Using a detail brush, carefully pick up medium-sized colorful dot sequins and place them directly next to the previously applied large sequins on the index finger. Maintain a compact arrangement to prepare for filling in the smaller gaps.
Tip: Keep the modeling gel wet enough to hold the sequins in place, but not so thick that they slide out of position. - 8Fill gaps with small sequins
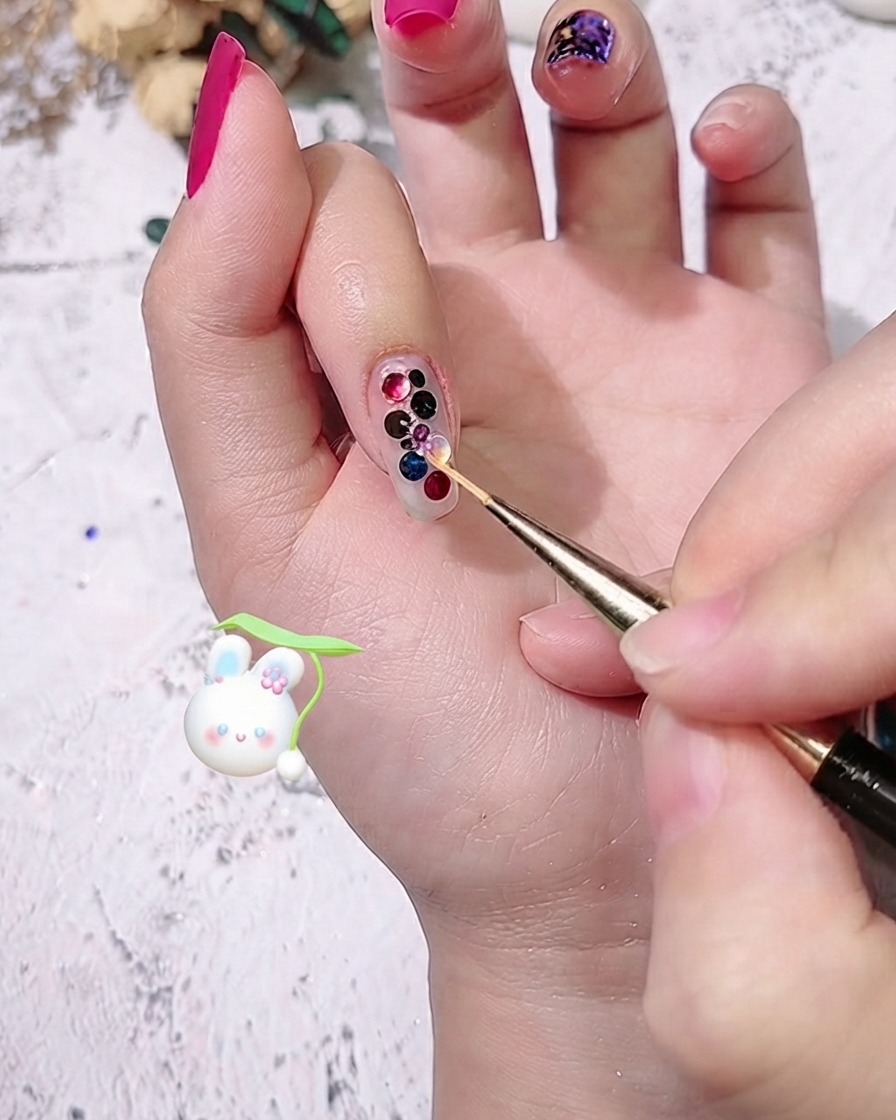
Select small colorful sequins and use the detail brush to place them into any remaining empty spaces among the large and medium sequins. This creates a dense, multi-sized mosaic pattern across the nail surface.
Tip: Work systematically from larger to smaller elements to ensure a balanced, well-distributed layout. - 9Encapsulate sequins with modeling gel
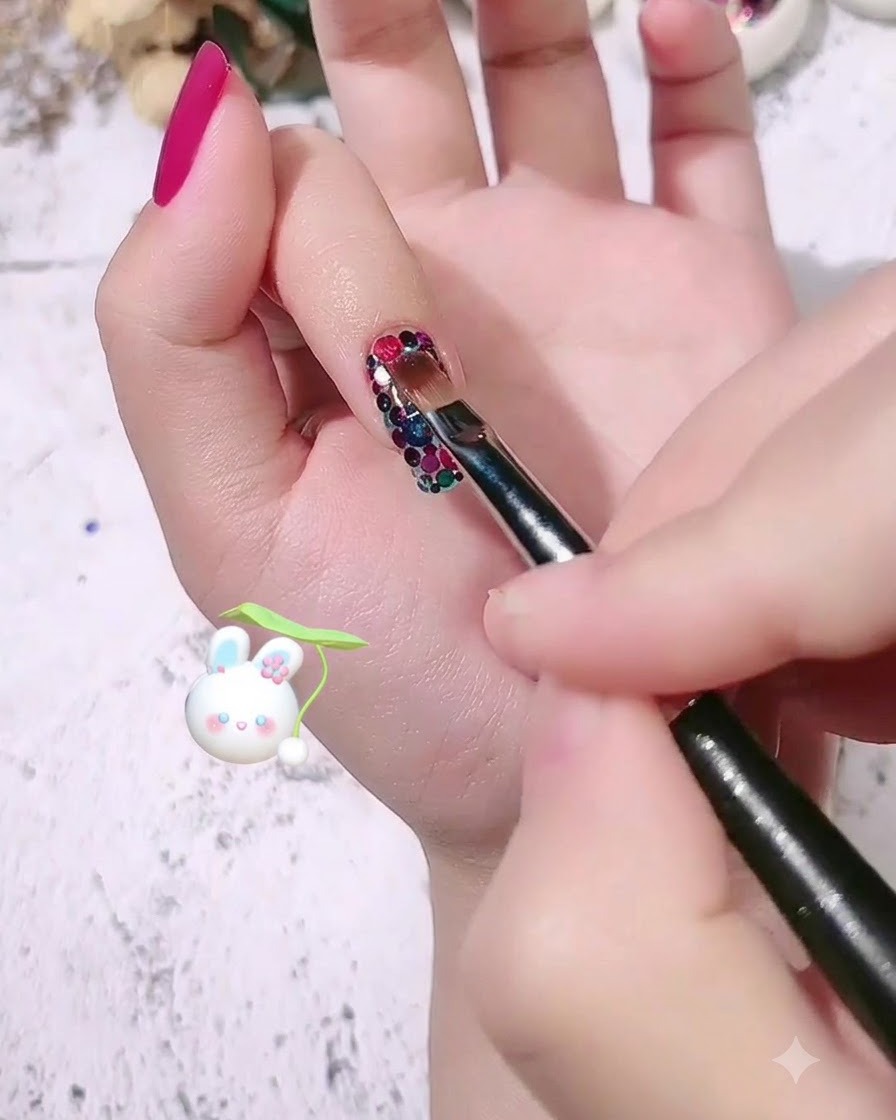
Apply an even layer of modeling gel completely over the entire arrangement of colorful sequins to fully encapsulate and secure them. Ensure the edges are covered to prevent snagging, then cure under the UV or LED lamp.
Tip: Make sure the modeling gel completely covers the raised edges of the sequins so the surface can be smoothed easily later. - 10Wipe off inhibition layer
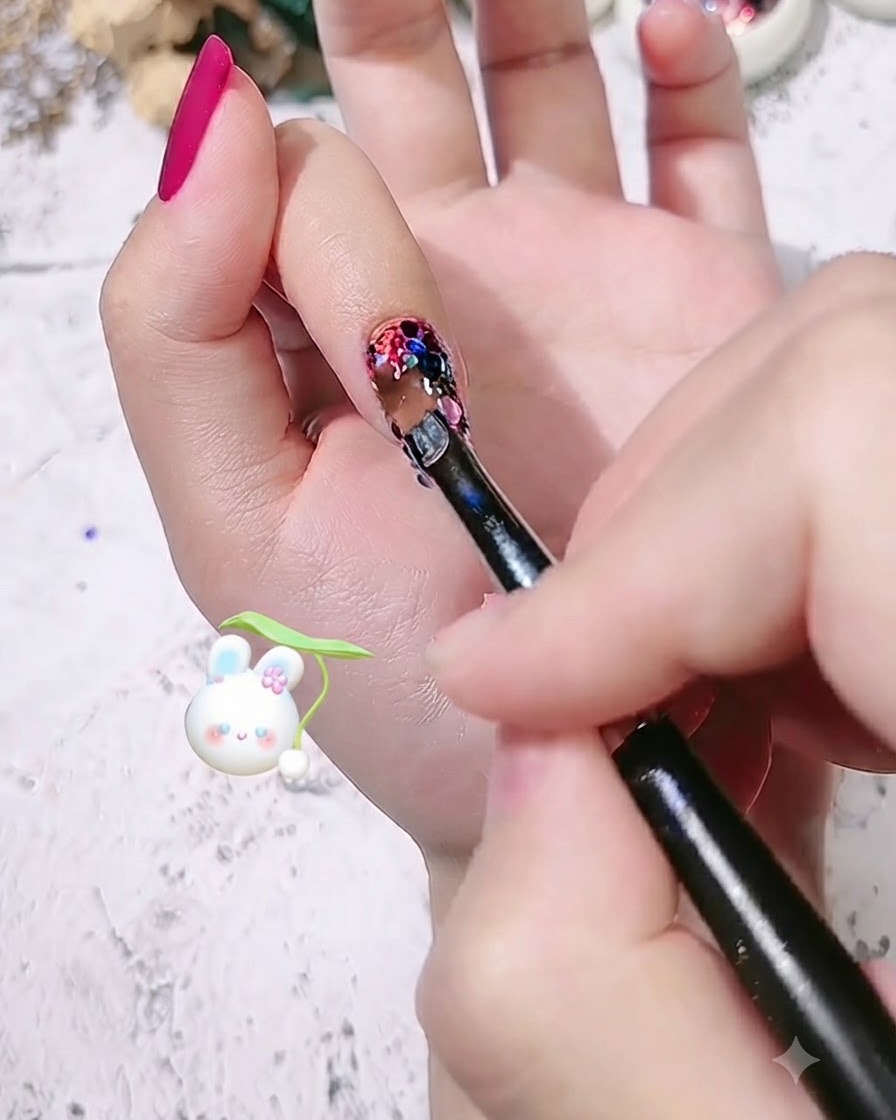
Using a lint-free cleansing wipe saturated with cleanser, thoroughly wipe the nail surface to remove the sticky inhibition layer left behind after curing the modeling gel.
Tip: A clean, residue-free surface is essential before filing and buffing to prevent clogging your nail files. - 11Buffer and smooth nail plate
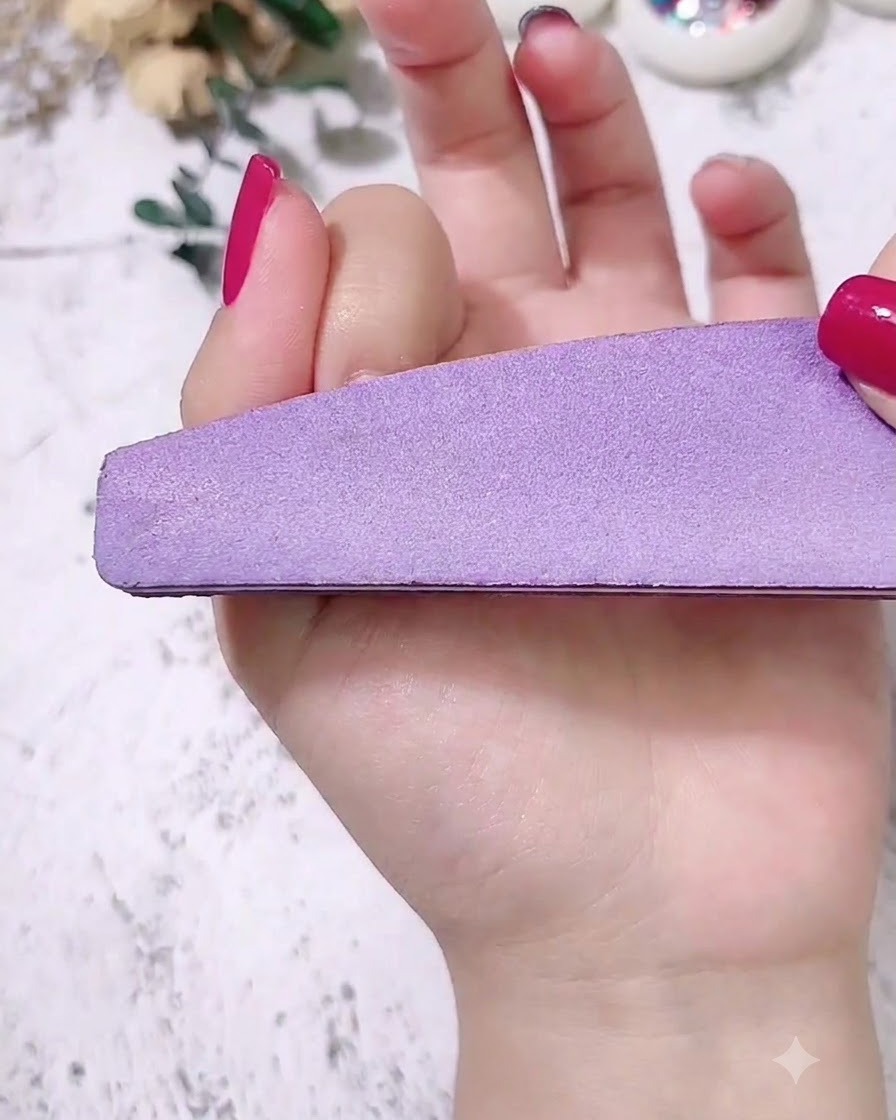
Take a buffer block and gently file the nail surface to smooth out any bumps or uneven areas caused by the encapsulated sequins. Level the nail plate until it feels uniform and flat to the touch.
Tip: Buff gently so you do not file through the encapsulation layer and expose the sequins underneath. - 12Apply final gloss top coat
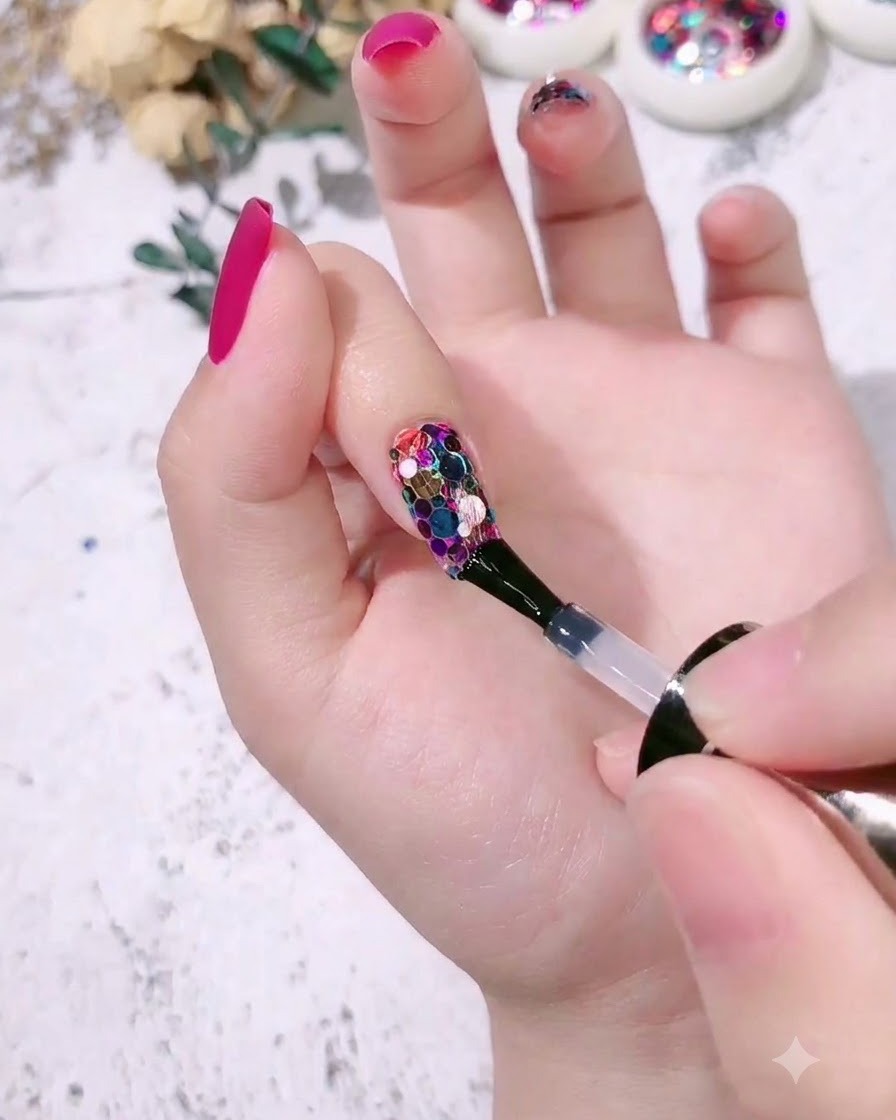
Apply a generous layer of clear gloss top coat over the embedded colorful sequin nail art to seal them in completely and smooth out any uneven texture from the sequins. Ensure all the edges of the sequins are fully covered by the top coat to prevent them from catching or peeling off, then cure under the lamp.
Tip: If the sequins create a bumpy surface, use a builder or modeling gel to level the surface before applying the final gloss top coat. - 13Apply milky white gel polish
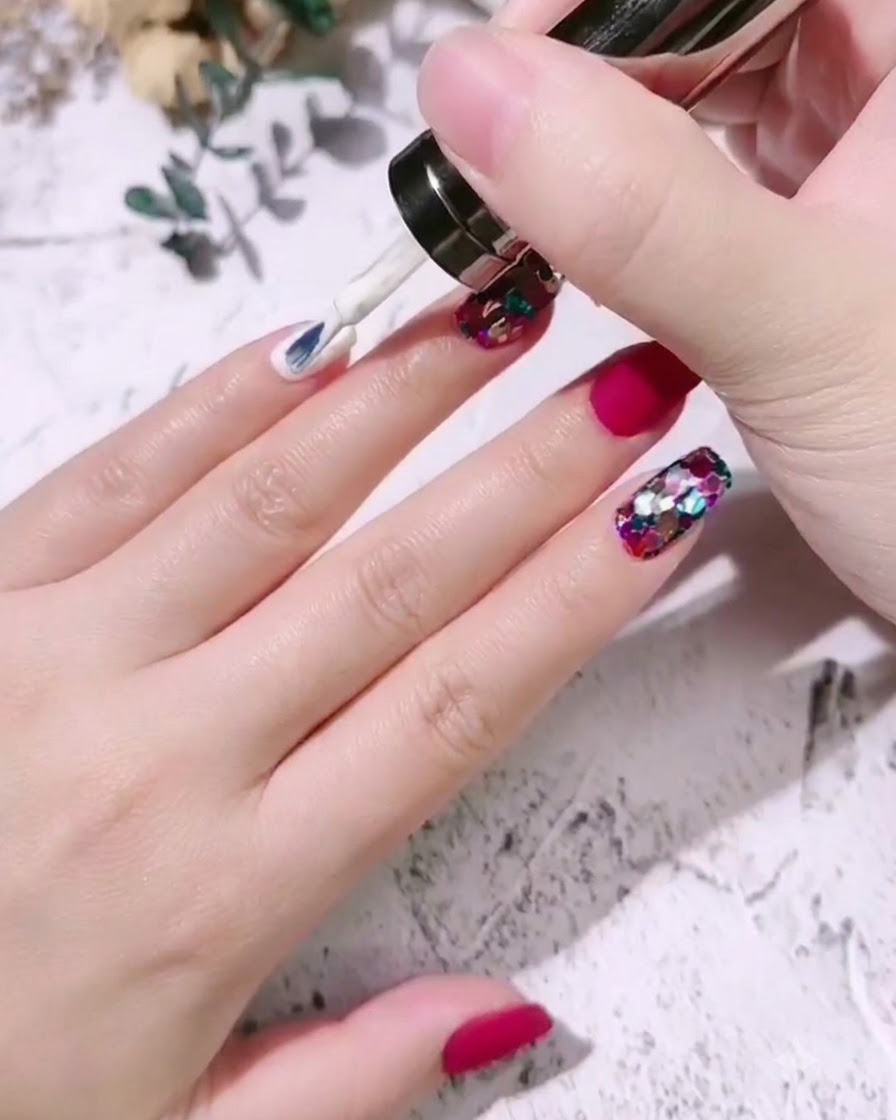
Apply a smooth layer of milky white gel polish, designated as color number five, onto the pinky fingernail. Take care to paint evenly around the cuticle line and side walls for a clean look, and cure under the UV or LED lamp. Apply a second coat if necessary for full, even opacity.
Tip: Milky white polishes can sometimes streak; apply thin, light strokes and let the self-leveling formula settle before curing.