Rose Pink 3D Heart
Gold Foil Press-On Nails — Step-by-Step Tutorial
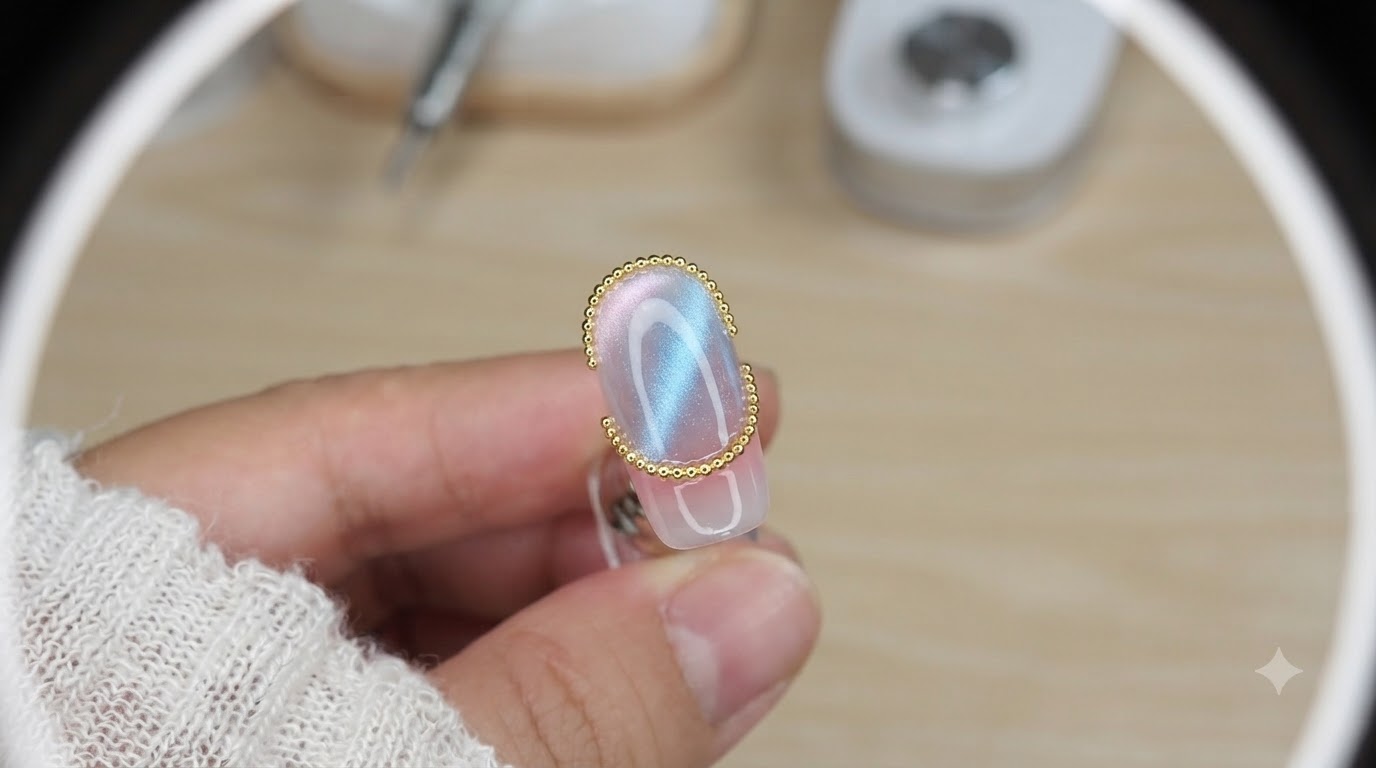
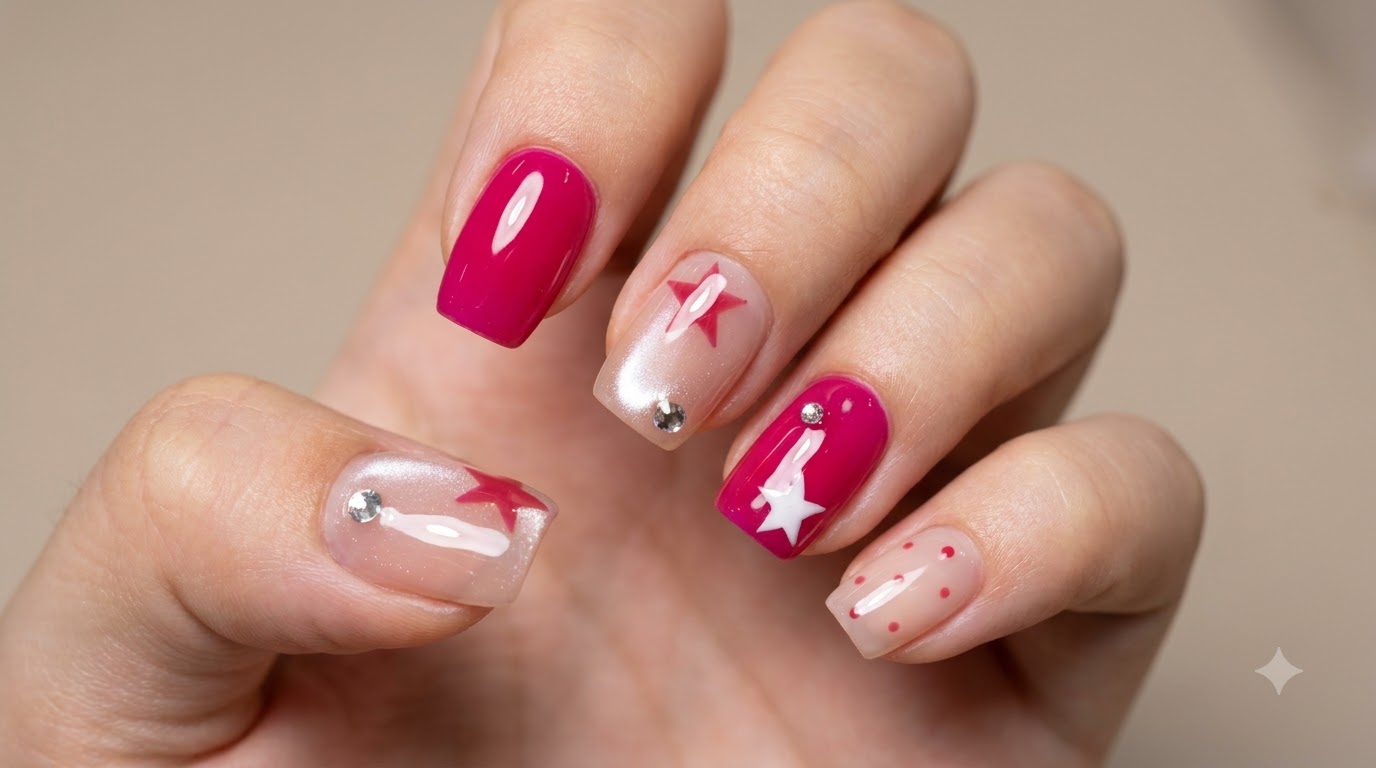
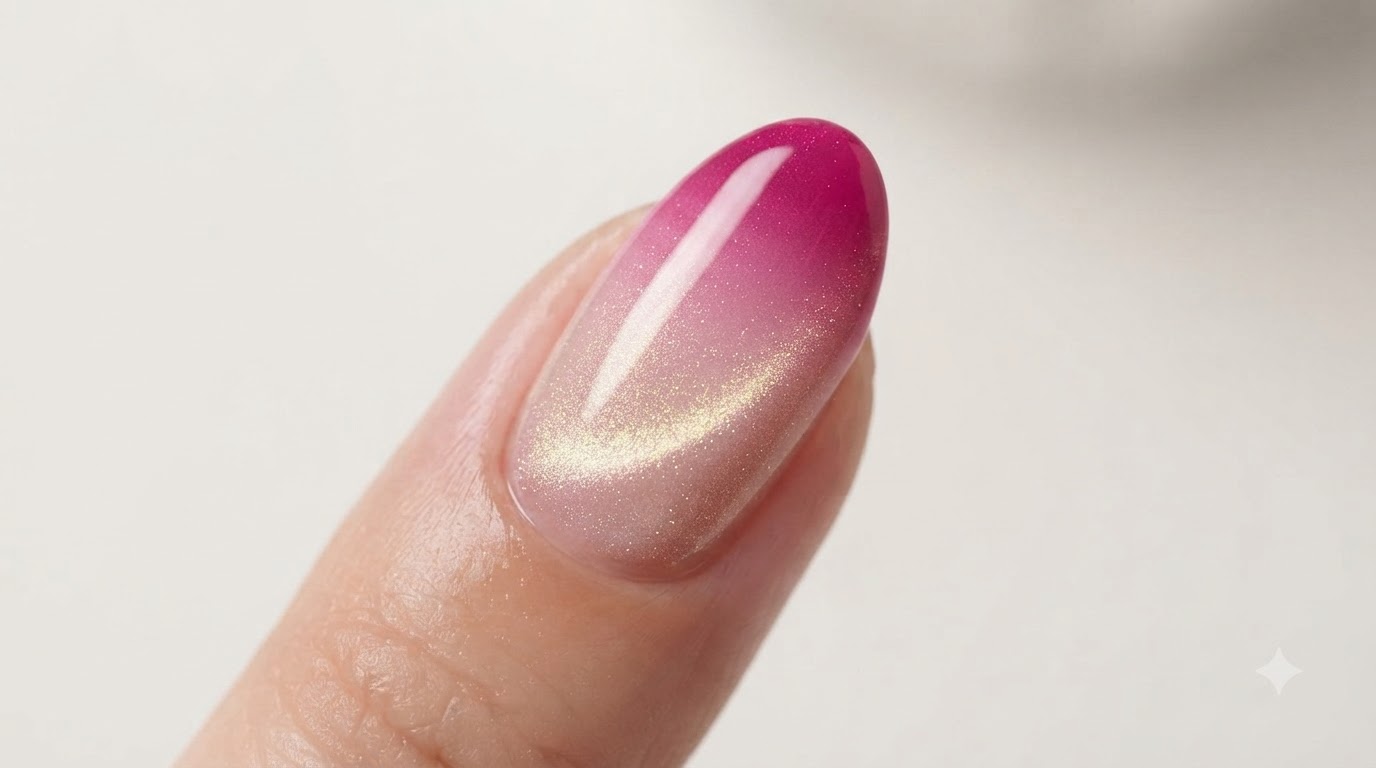
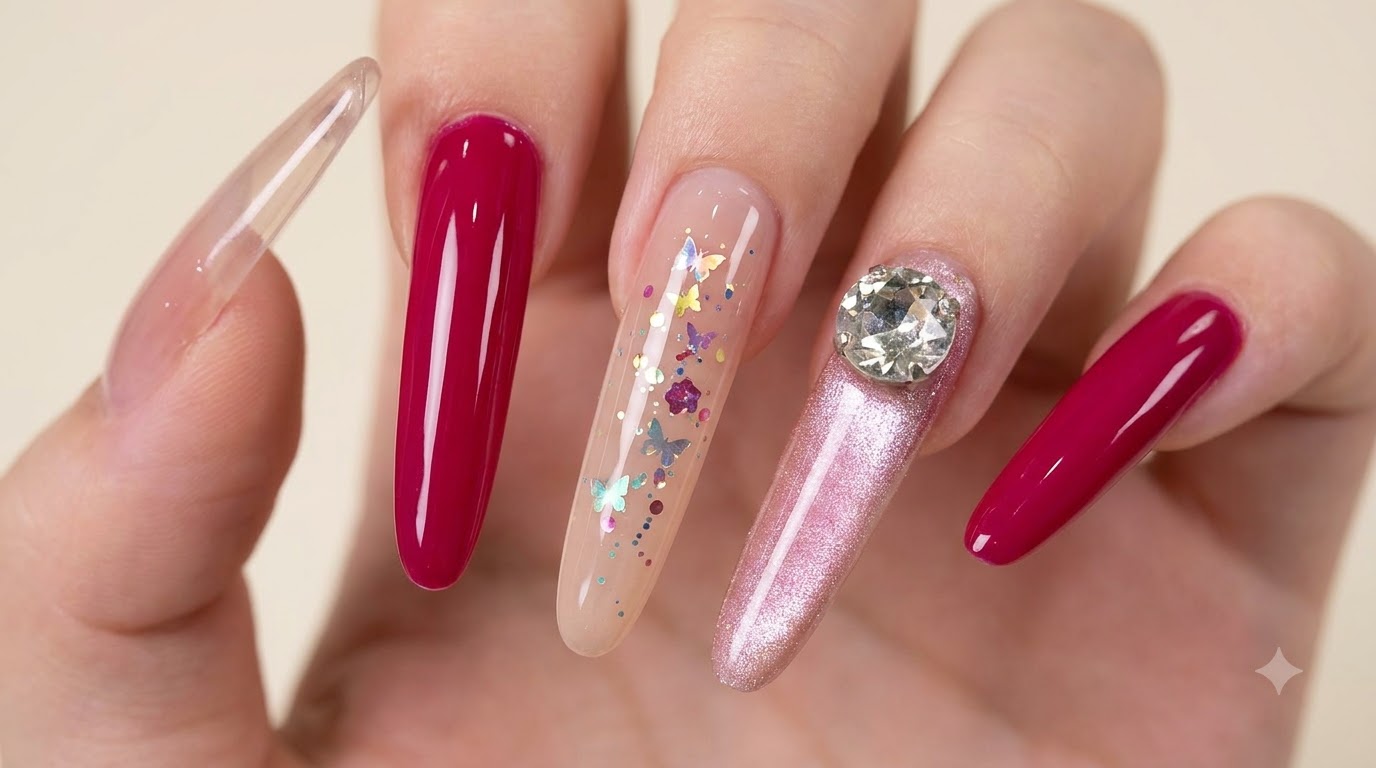
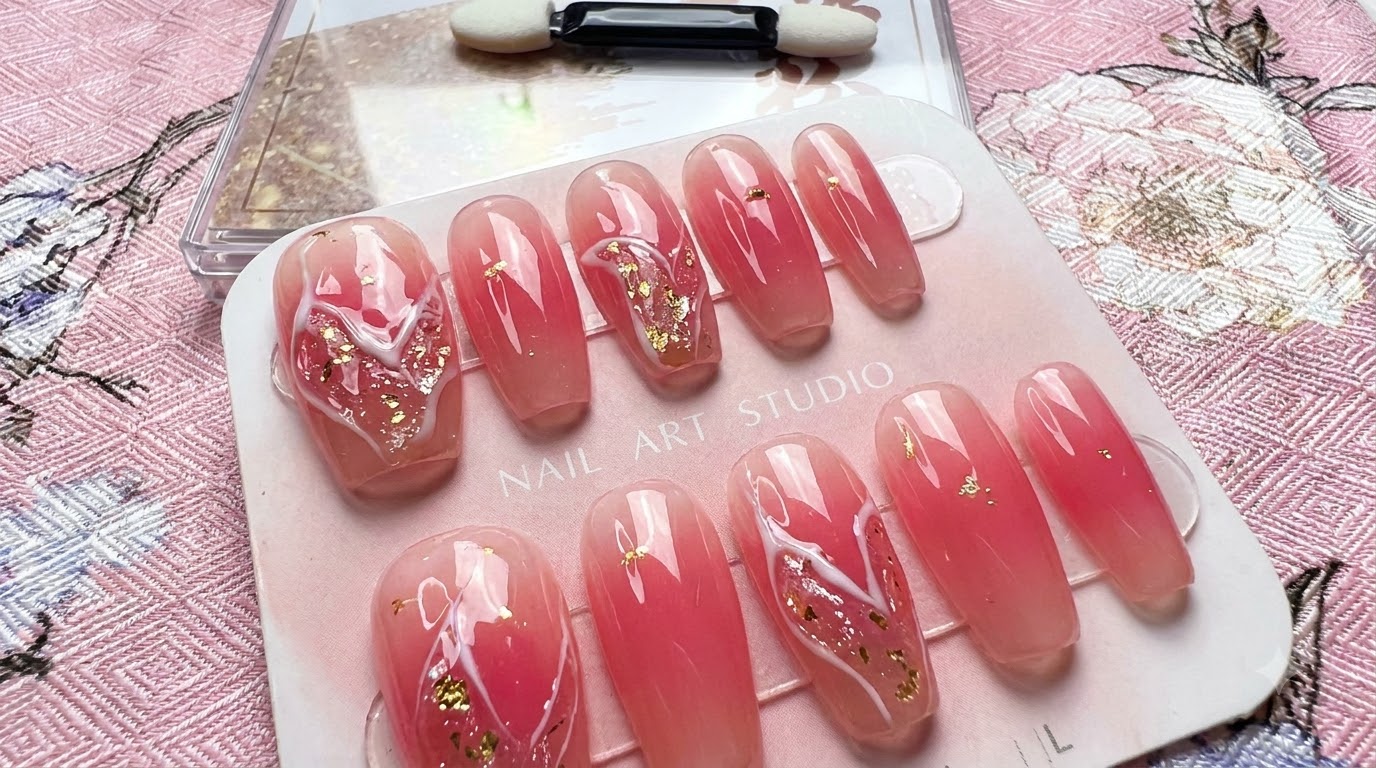
Create stunning jelly pink press-on nails featuring smoky rose gradient pigments, stylized 3D white heart line art, and sparkling gold foil accents.
Sparking an electric feel right at your fingertips, this romantic nail look combines delicate jelly pink gradients with modern 3D raised details and luxurious gold foil. Perfect for special occasions or whenever you want your manicure to truly stand out, this design brings together trend-forward textures and effortless elegance.
Steps
- 1Apply translucent pink base gel
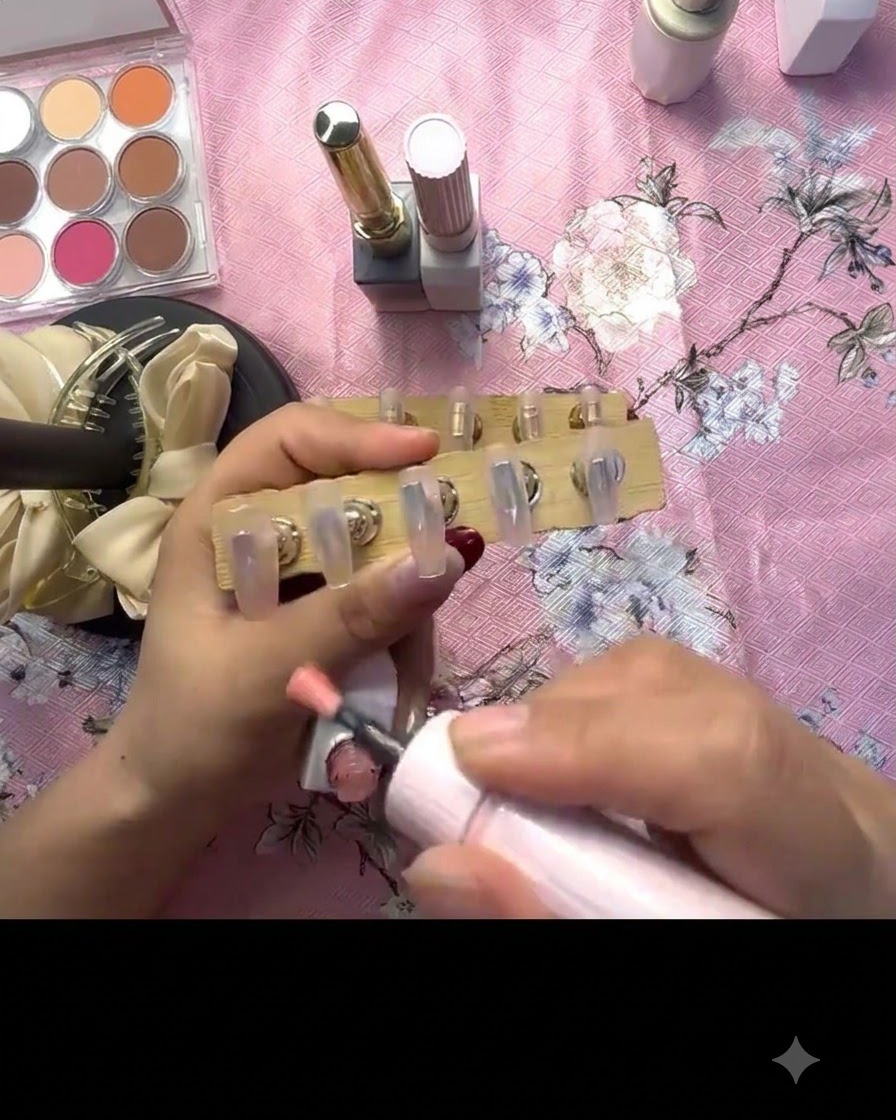
Apply a light translucent pink gel base layer smoothly onto the press-on nail surface, ensuring even coverage from cuticle to free edge to establish a glossy jelly-like foundation.
Tip: Keep the layer thin and even to prevent pooling and ensure proper curing. - 2Cure the pink base layer
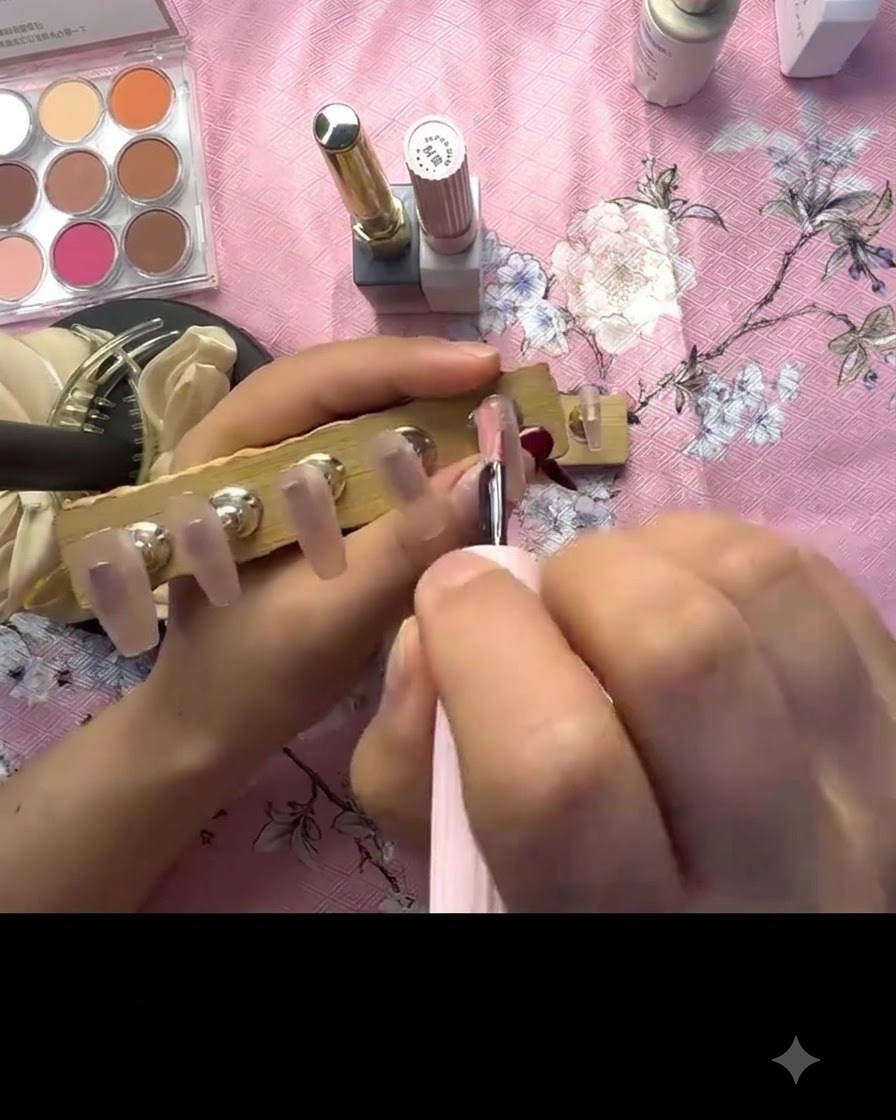
Place the nail stand under a handheld mini UV or LED lamp to cure the applied pink base layer. Ensure the light hits the entire nail surface evenly so the gel sets properly with a glossy finish. Follow the gel manufacturers curing time guidelines.
Tip: Position the mini lamp closely over the press-on nails to ensure complete and rapid curing. - 3Apply clear base gel layer
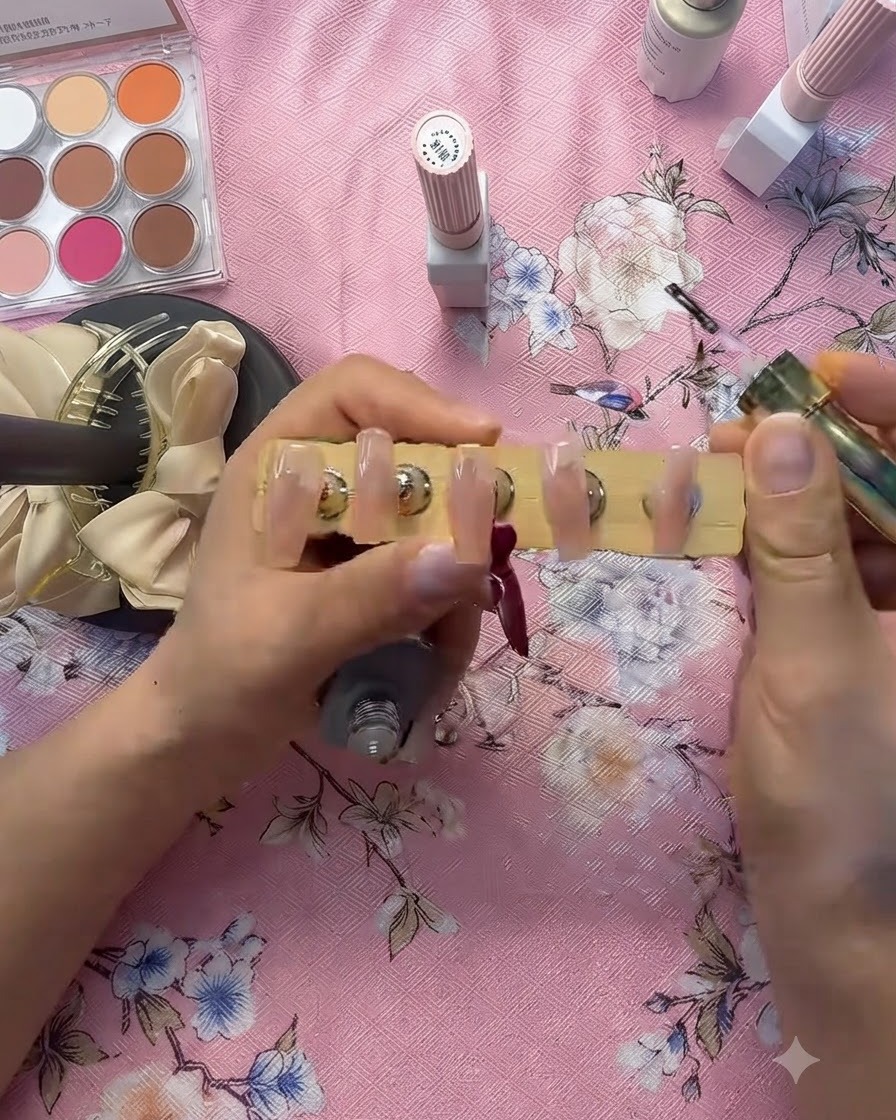
Brush an additional layer of clear base gel directly over the previously cured pink nail plate. This wet layer acts as a sticky base medium to catch and diffuse the pigment powder evenly. Make sure the application is smooth and covers the central zones.
Tip: Do not cure this clear layer yet; the pigment powder needs the wet surface to blend properly. - 4Pick up rose pink pigment
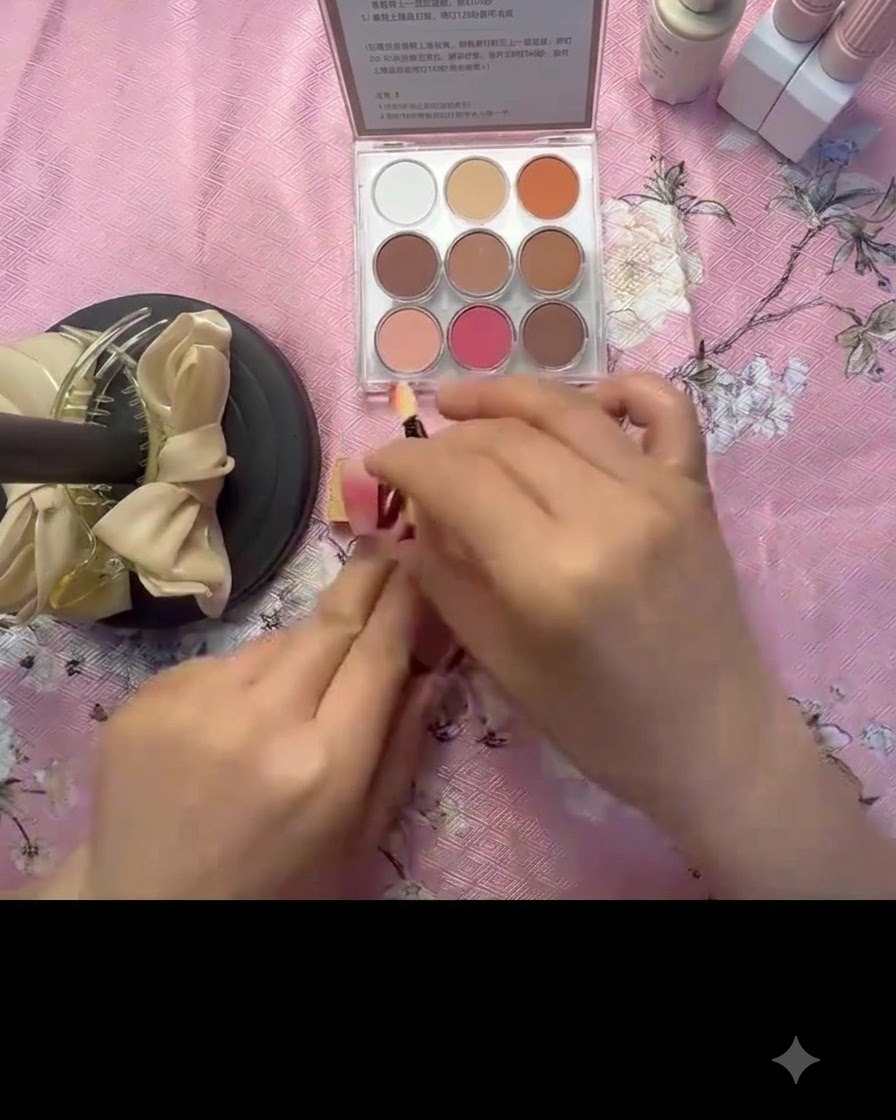
Using a small eyeshadow sponge applicator, pick up a moderate amount of bright rose-pink powder or pigment from your makeup palette. Tap off any excess powder to control the density before applying it to the nail.
Tip: A sponge applicator allows for precise control and a soft, diffused powder transition. - 5Blend pink powder gradient
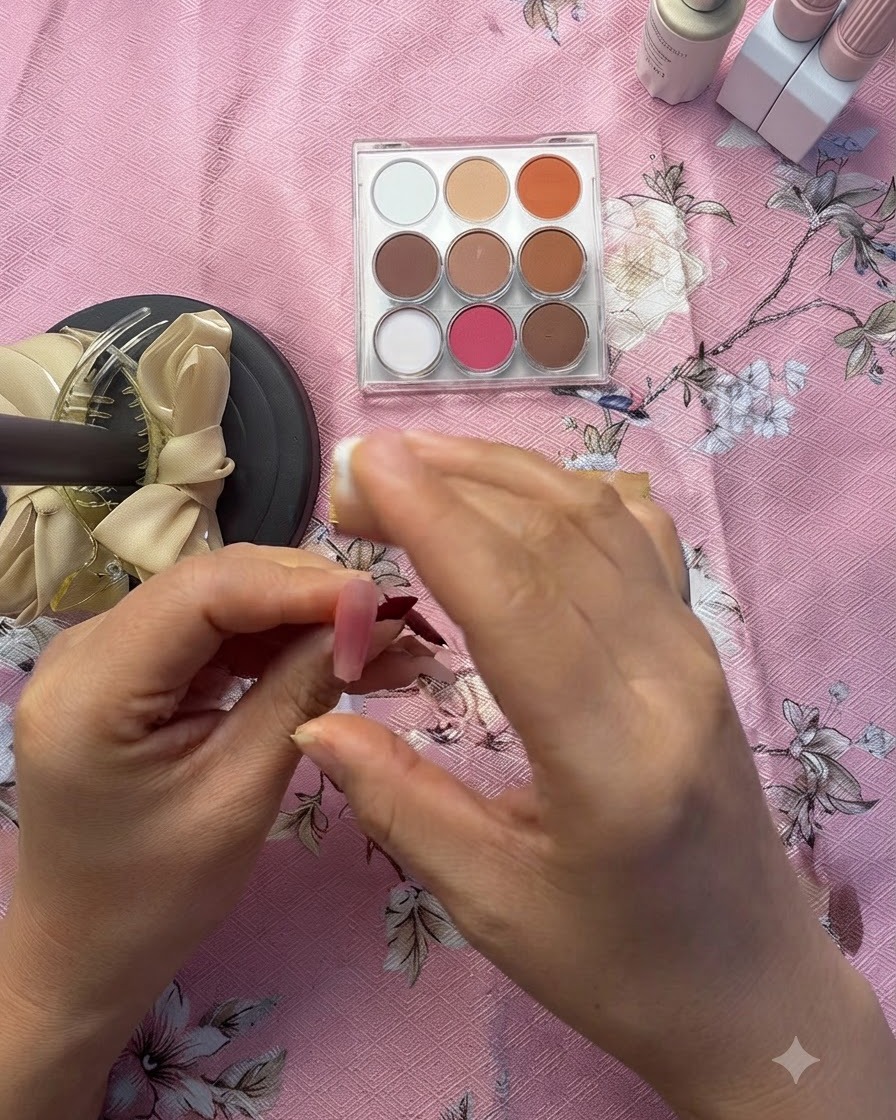
Dab and blend the rose-pink powder vertically onto the center of the wet gel layer on the nail. Blend it upwards and downwards to create a smooth, smudged gradient effect that fades toward the edges. Let it set for a moment before sealing.
Tip: Light tapping motions prevent harsh lines and create an organic, smoky ombre transition. - 6Seal color gradient with clear gel
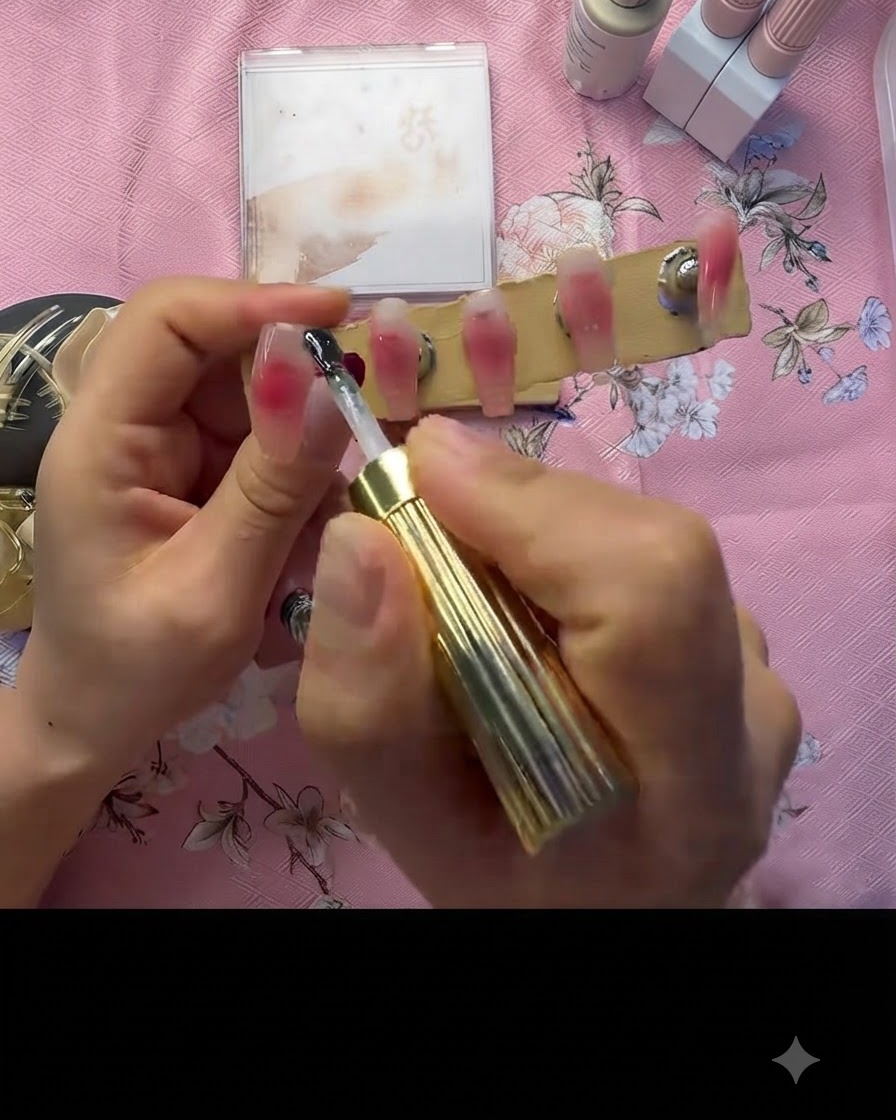
Apply a clear gel layer carefully over the blended pink powder gradient to lock in the pigment. This seals the smudged color design securely before moving on to the next decorative steps. Cure the layer under the lamp once applied.
Tip: Float the clear gel gently over the powder surface to avoid disturbing the gradient blend. - 7Paint white heart outline
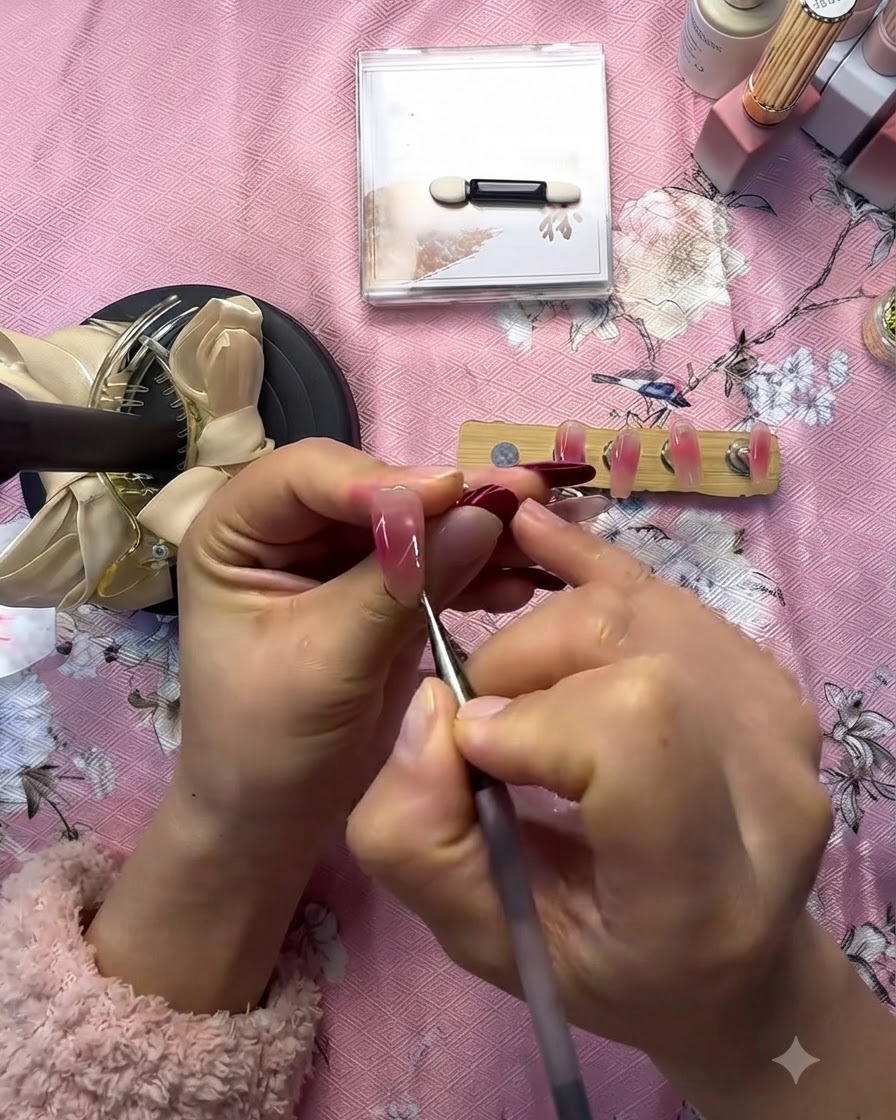
Using a fine liner brush and white gel, carefully paint the outline of a large, stylized heart shape across the center of the pink gel-coated nail.
Tip: Maintain a steady hand and use light pressure for clean, smooth lines. - 8Cure the heart outline
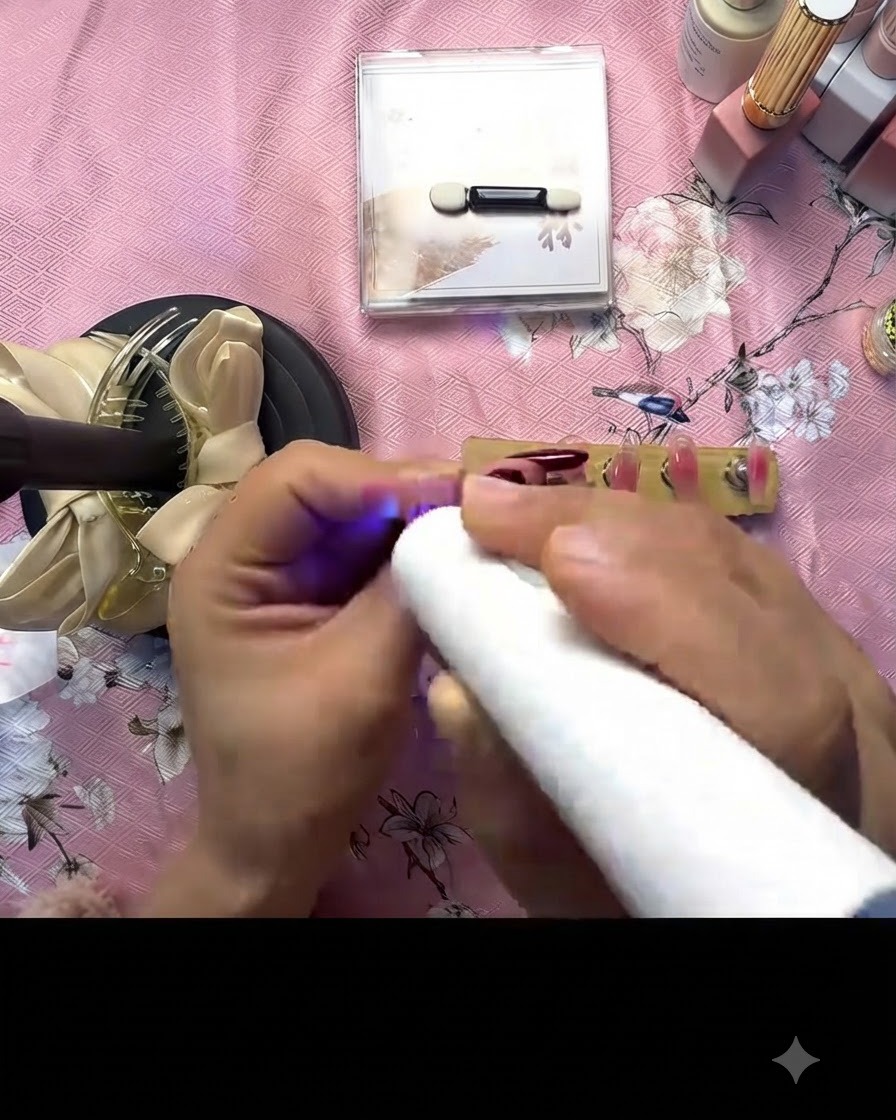
Place the nail under a mini UV or LED lamp and cure the newly painted white heart outline to set the gel and prevent any smudging before adding details.
Tip: Position the lamp directly over the nail to ensure uniform curing of the detailed lines. - 9Add decorative white lines
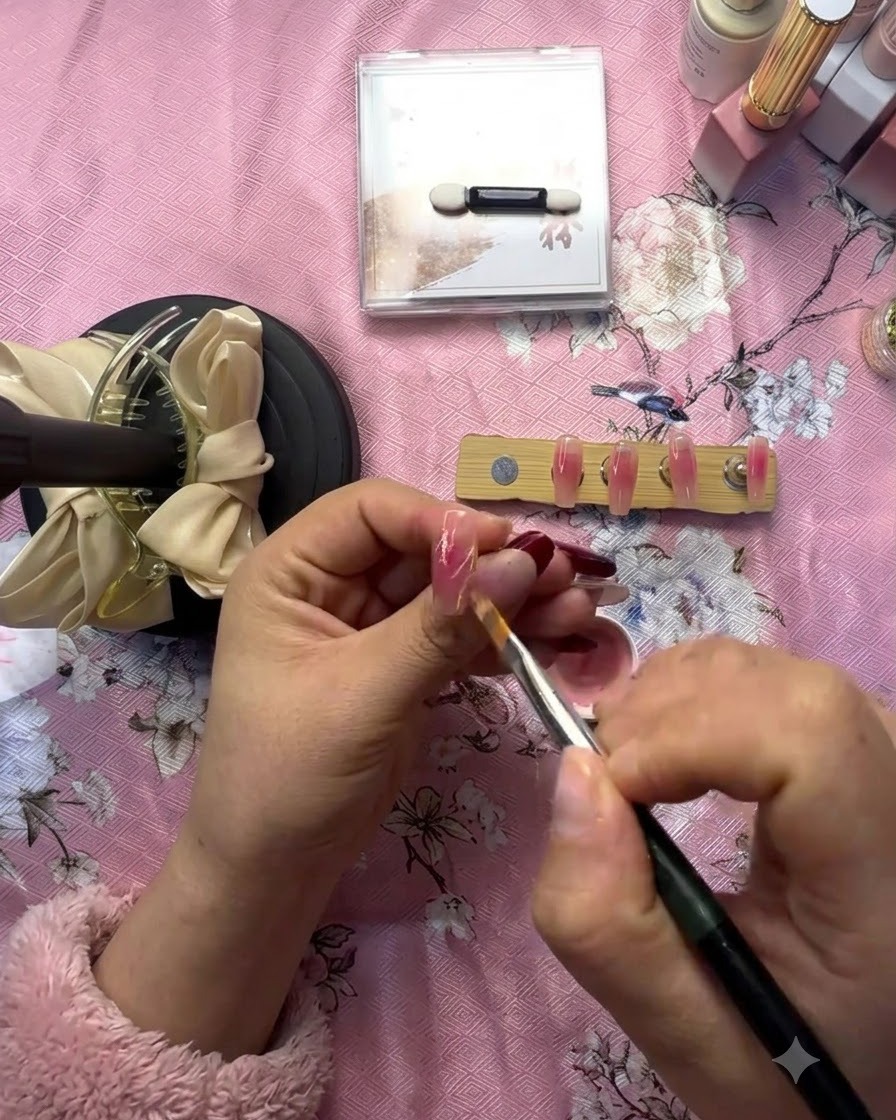
Using the fine liner brush, paint additional intricate decorative white lines both inside and around the stylized heart shape to enhance the design complexity.
Tip: Work in small sections to keep the line work neat and balanced. - 10Seal with clear gel
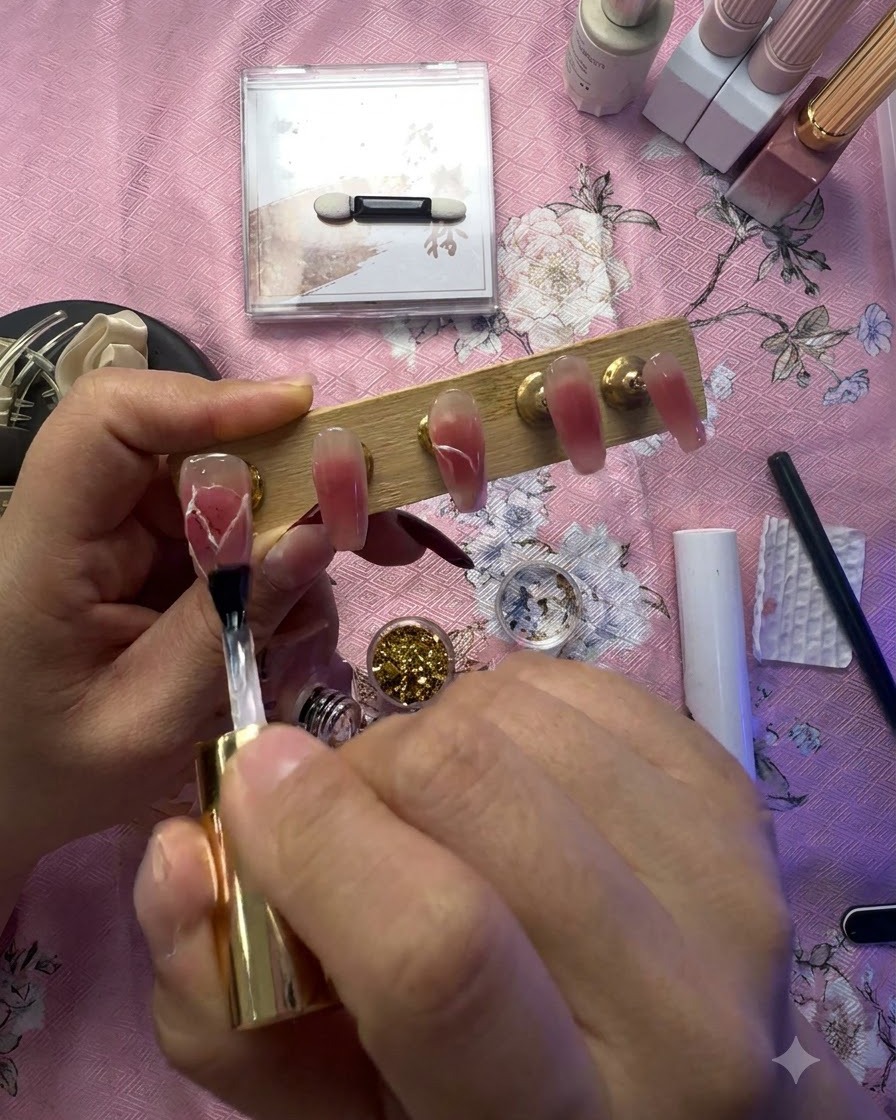
Apply a layer of clear gel evenly across the nail surface to completely seal and protect the completed white line art design.
Tip: Ensure the entire design is covered with clear gel to lock in the artwork before the next embellishment phase. - 11Apply gold foil accents
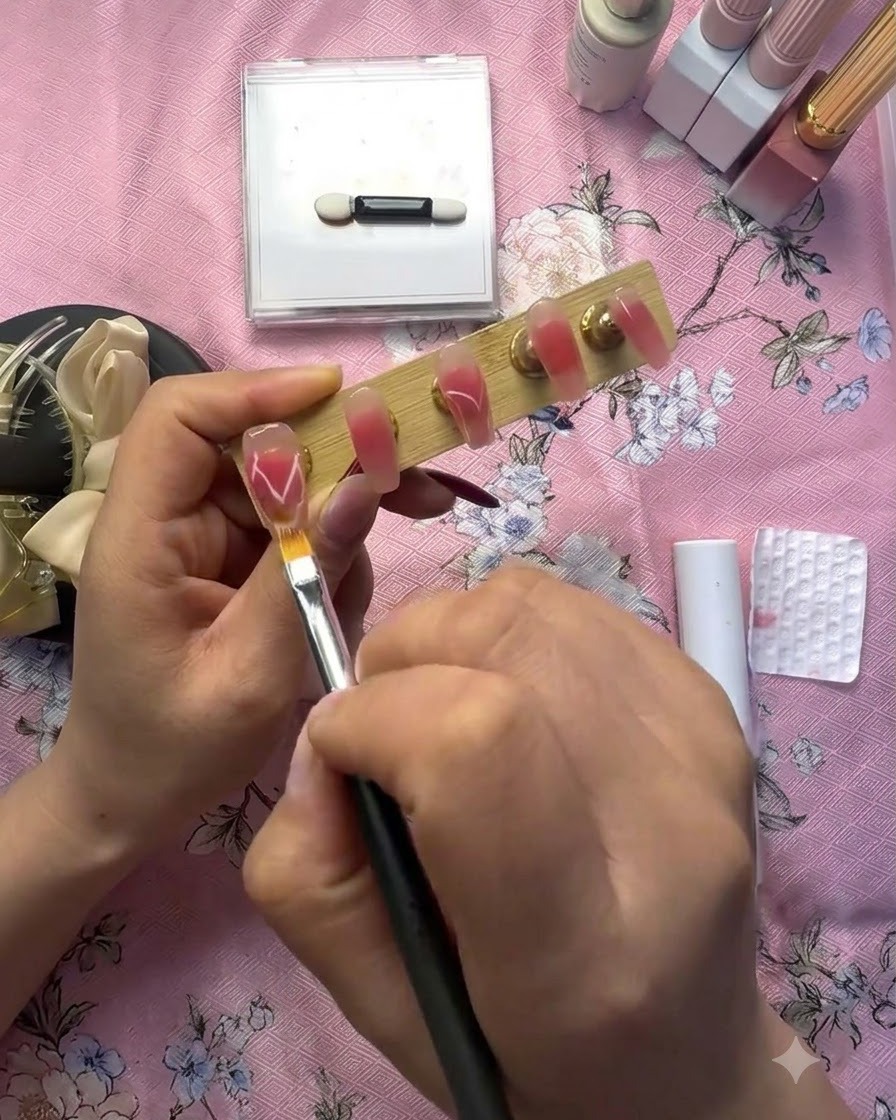
Using a detail brush or dotting tool, pick up small pieces of sparkling gold foil and gently place them as accents onto the wet clear gel layer near the white lines.
Tip: Place the foil fragments strategically to complement the heart shape without overcrowding the design. - 12Trace lines with 3D builder gel
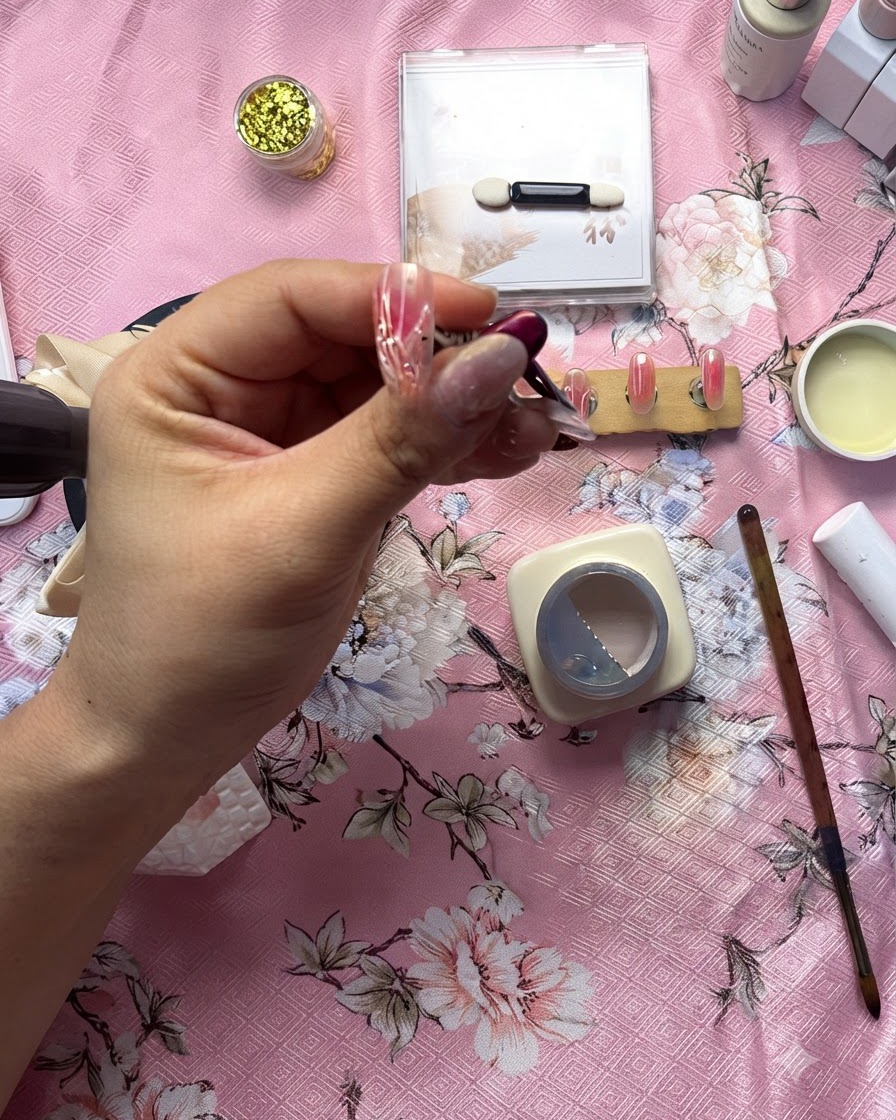
Using a fine detail brush and thick clear builder gel, carefully trace directly over the previously painted white heart lines. This creates a raised, three-dimensional texture that makes the heart design pop off the nail surface.
Tip: Work slowly with the thick gel to avoid flooding the edges and maintain crisp, clean lines. - 13Cure the 3D clear gel
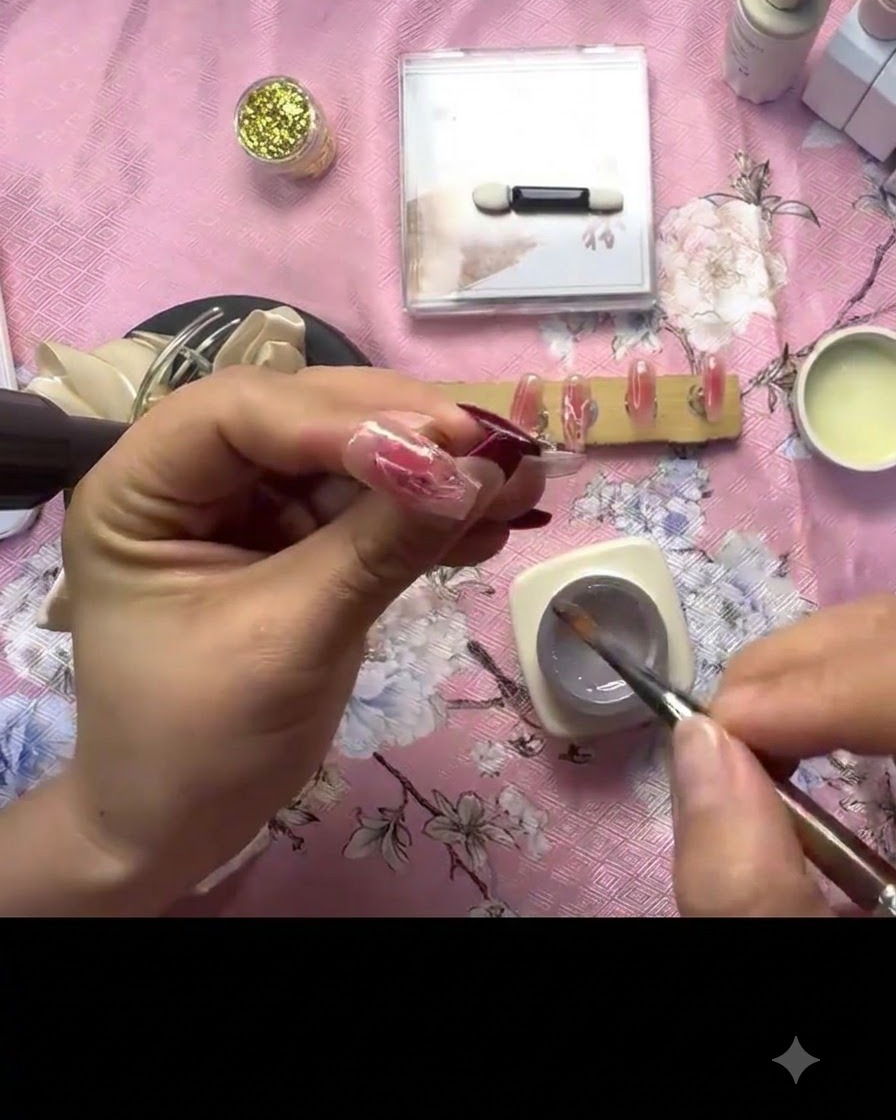
Place the nail under the UV or LED lamp to cure the newly applied 3D clear gel lines. Ensure the gel is fully hardened so the raised texture stays intact and does not smudge or shift.
Tip: Hold the portable curing lamp steady or use a desktop lamp to ensure even exposure across the detailed design. - 14Add accent 3D dots
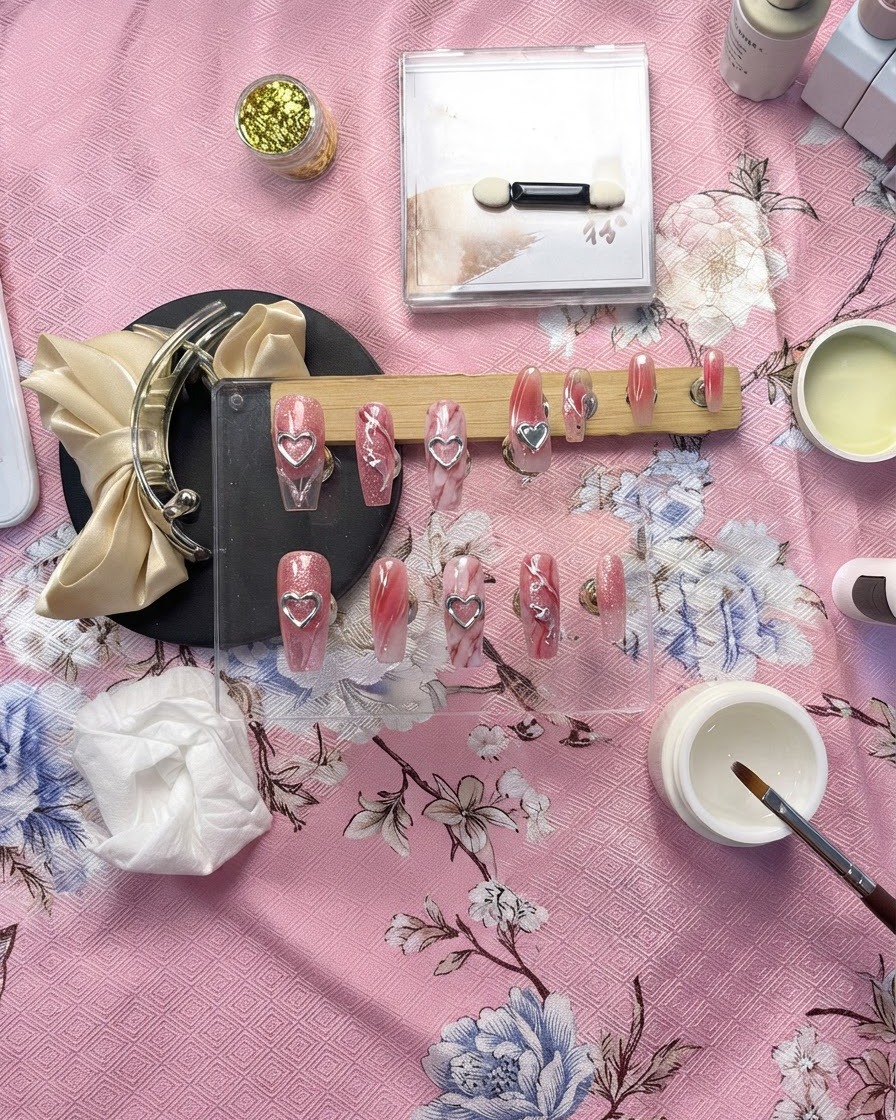
Using a dotting tool or detail brush dipped in clear gel, place several small 3D dots of clear gel around the outer edges of the main heart design. These tiny bubbles add a playful and whimsical look to the overall composition.
Tip: Keep the dots uniform in size for a neat, intentional appearance around the statement heart. - 15Cure the 3D accent dots
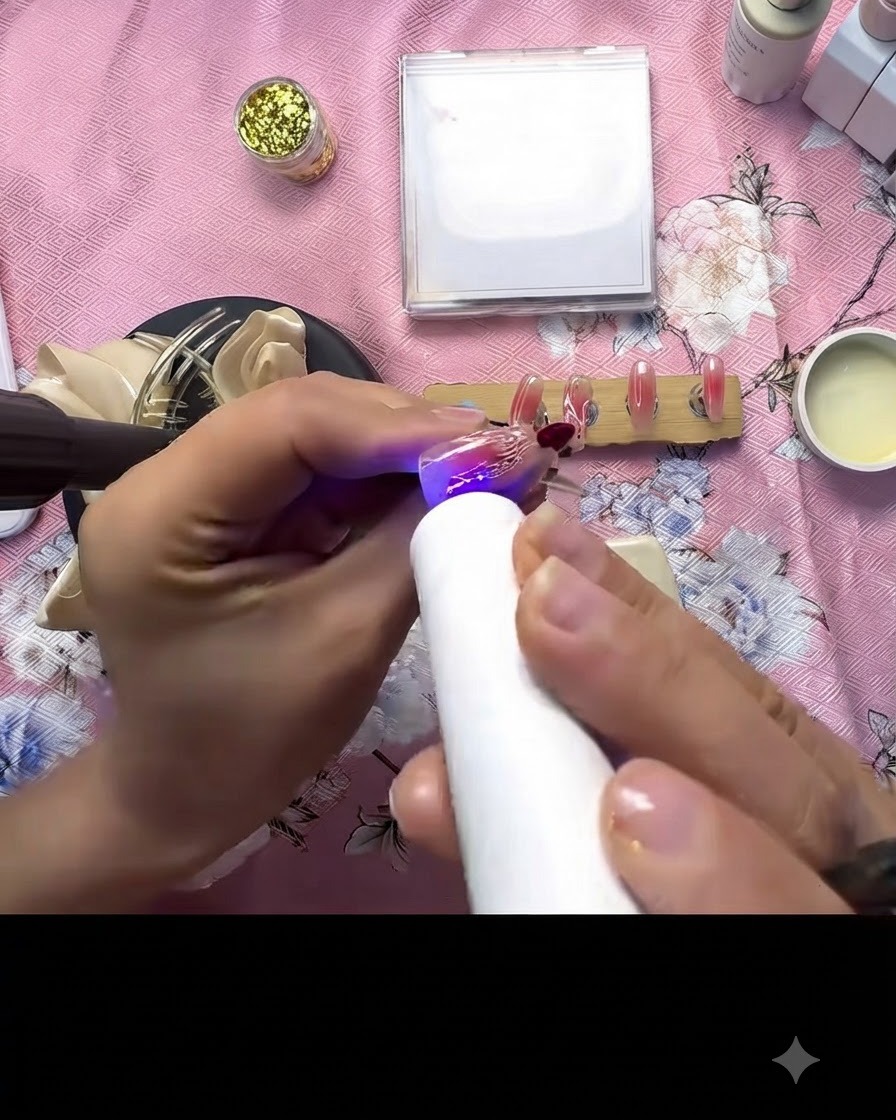
Cure the newly added clear 3D dots under the UV or LED lamp to lock their raised shape in place. Make sure they are completely set before moving on to the remaining nails.
Tip: Proper curing prevents the dimensional gel from flattening or losing its rounded shape. - 16Decorate accent nails with foil and dots
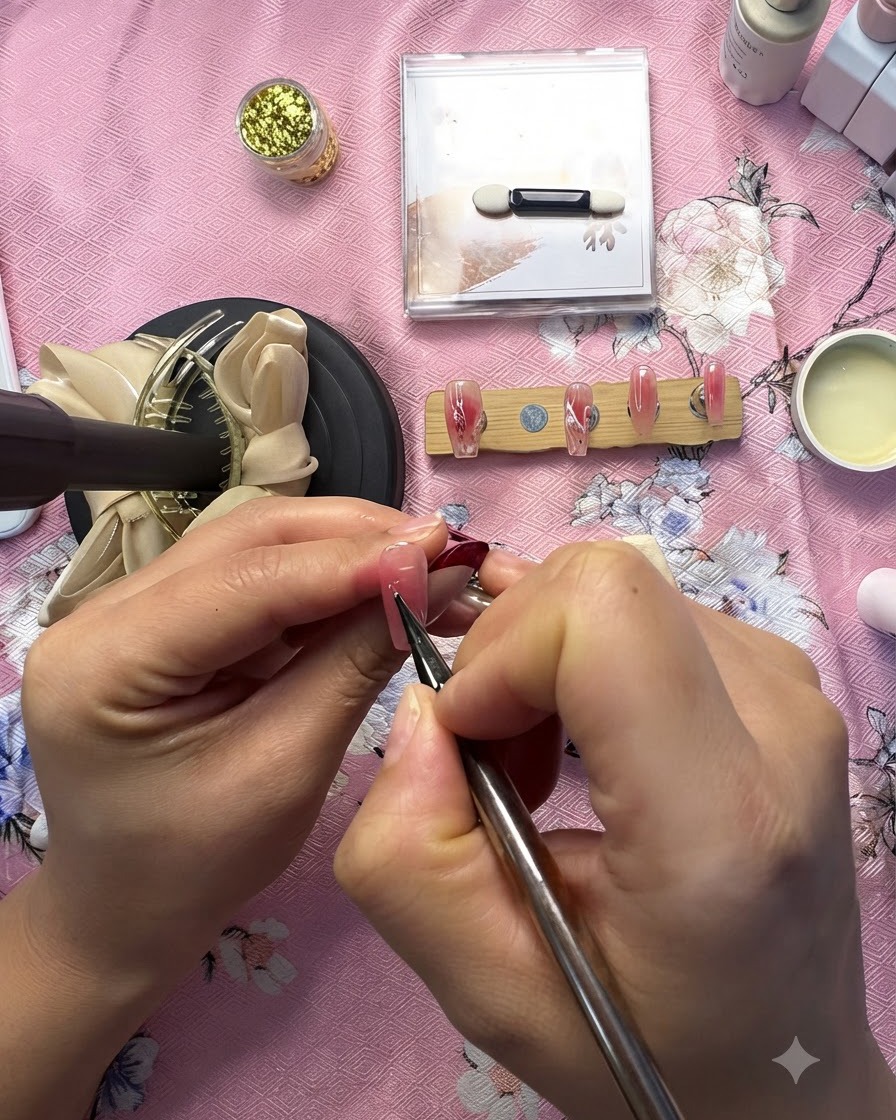
Take the remaining plain pink accent nails and apply small 3D clear gel dots along with tiny, delicate pieces of gold foil. This ties the whole set together and adds extra sparkle to the matching fingers.
Tip: Use a dotting tool to precisely place tiny flecks of gold foil onto the wet gel before curing. - 17Cure the finished accent nails
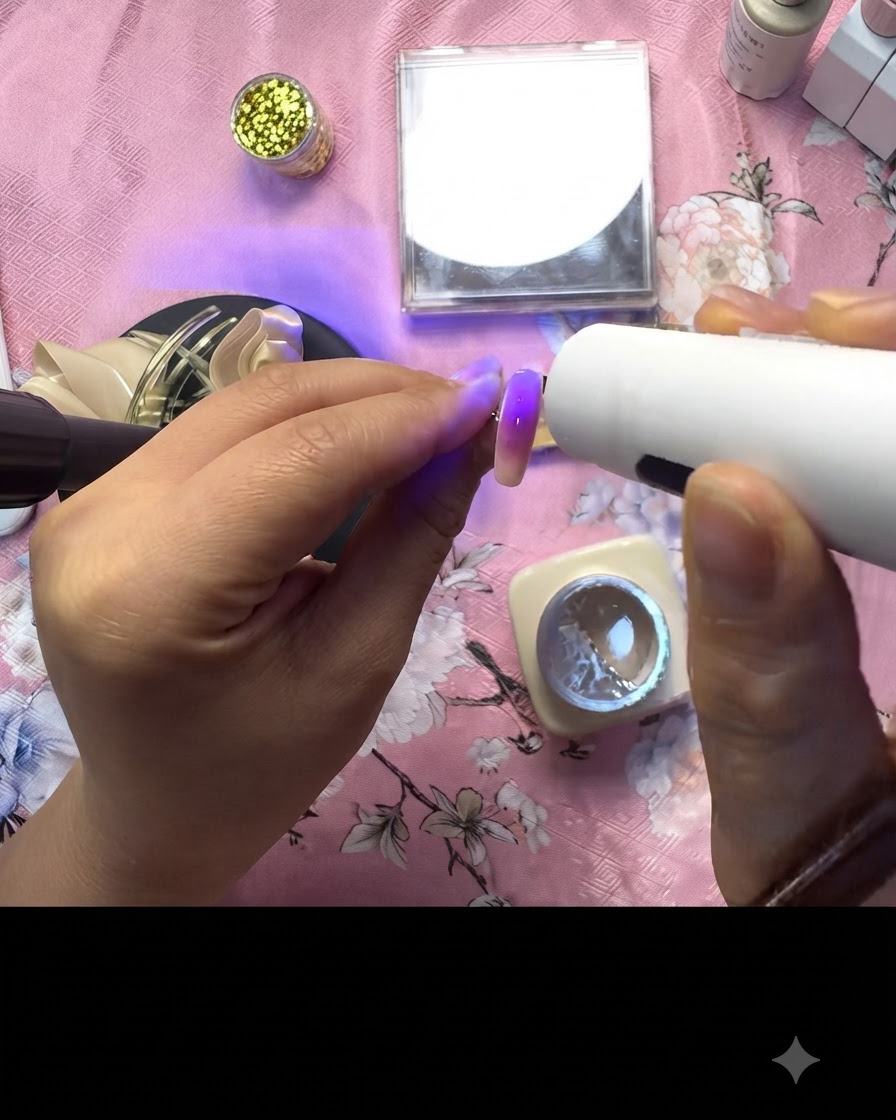
Place the completed accent nails under the UV or LED lamp for a final cure. This ensures all the added gold foil pieces and 3D clear dots are securely sealed and fully hardened.
Tip: A final thorough cure ensures long-lasting wear and prevents any embellishments from catching or lifting.