Magenta and Nude Cat-Eye Nail Art
Rhinestone Embellishment — Step-by-Step Tutorial
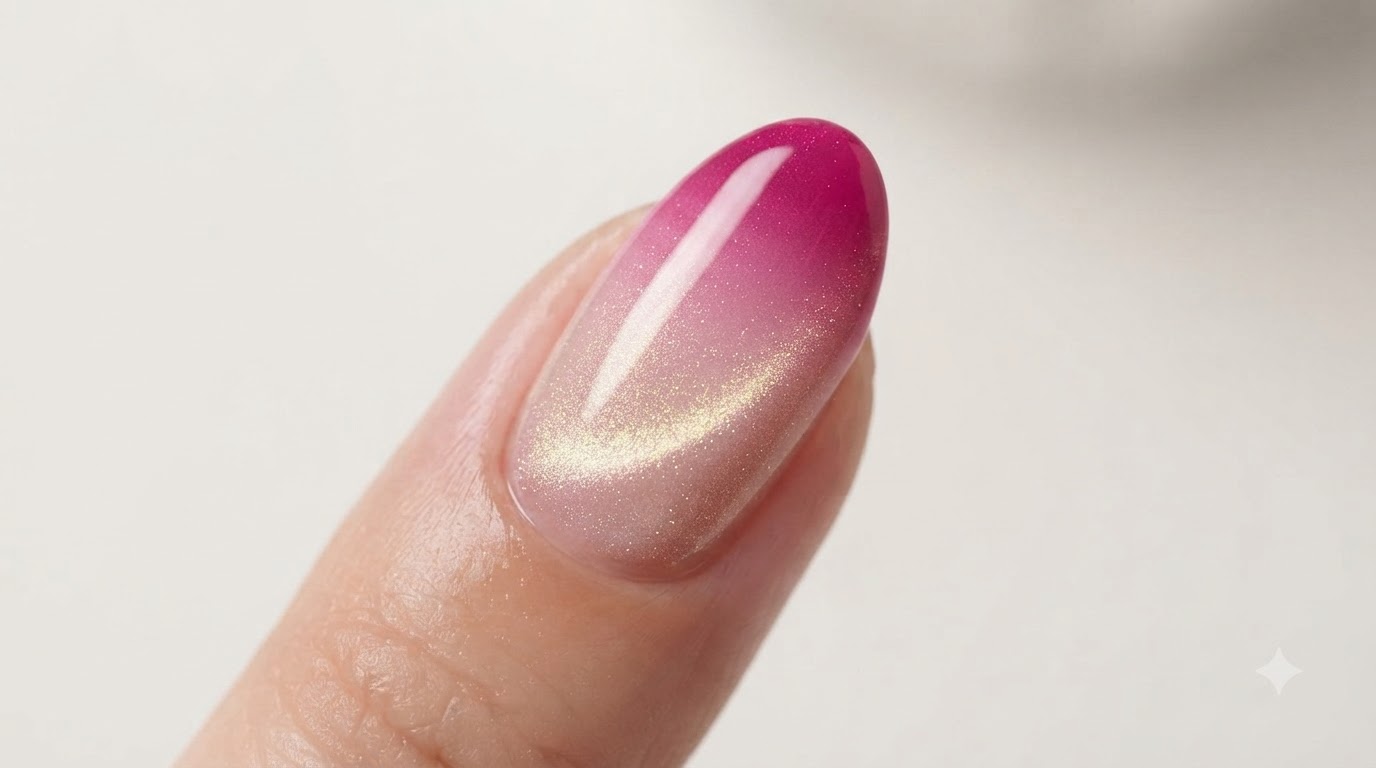
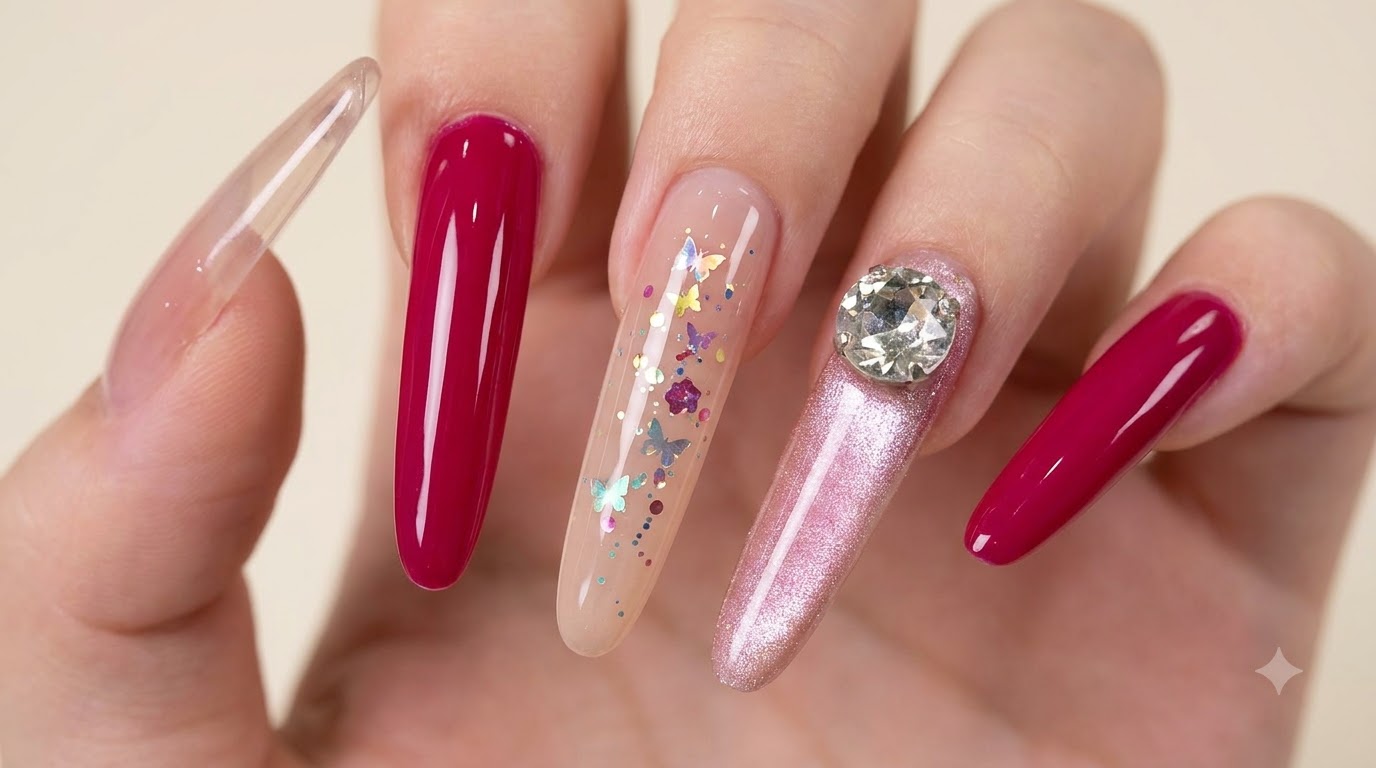
Elevate your manicure with rich magenta red polish, shimmering magnetic cat-eye effects, delicate butterfly sequins, and a statement rhinestone diamond.
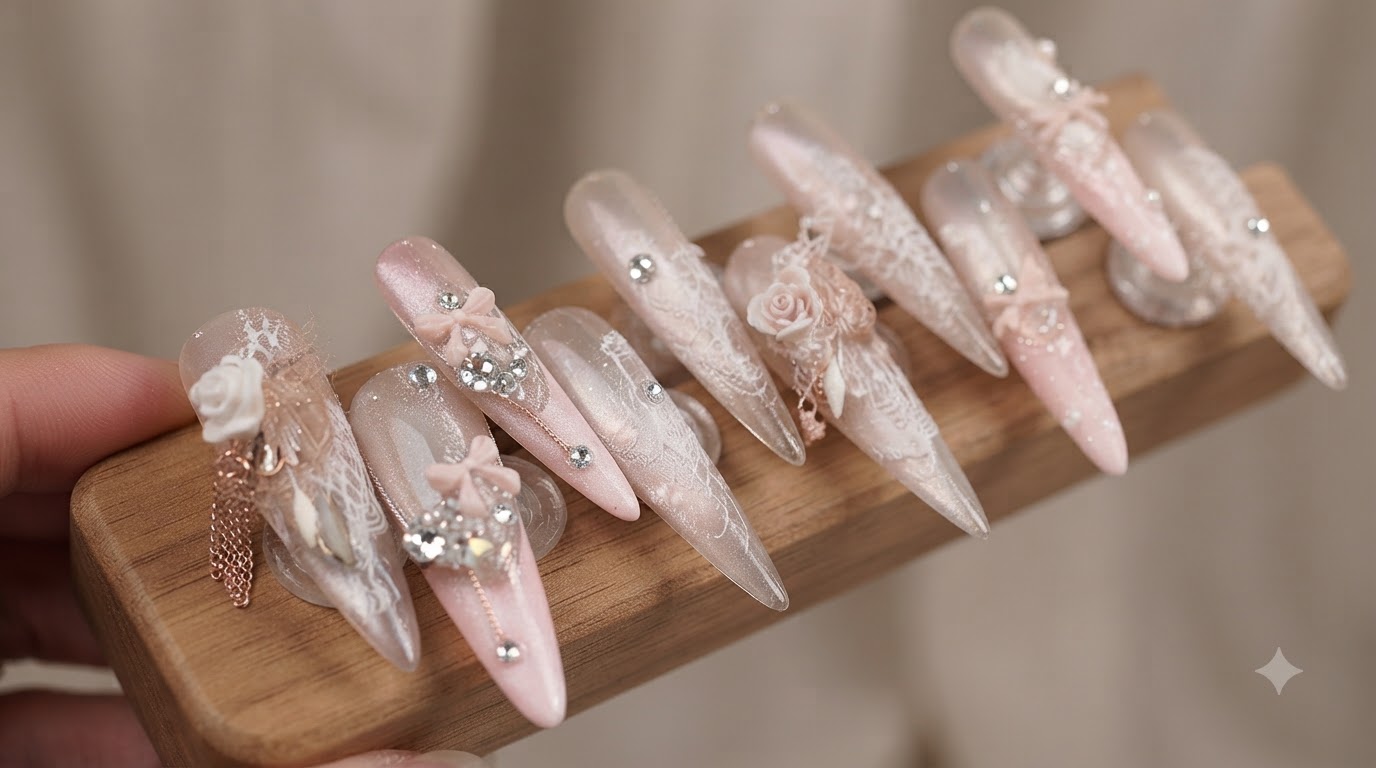
Combining bold jewel tones with delicate ethereal accents, this magenta and nude nail look offers a stunning balance of glamour and intricacy. Featuring a shimmering magnetic cat-eye base paired with playful butterfly sequins and a high-shine statement rhinestone, this tutorial guides you through creating an eye-catching salon-quality design right at home.
Steps
- 1Apply Base Nude Gel Polish
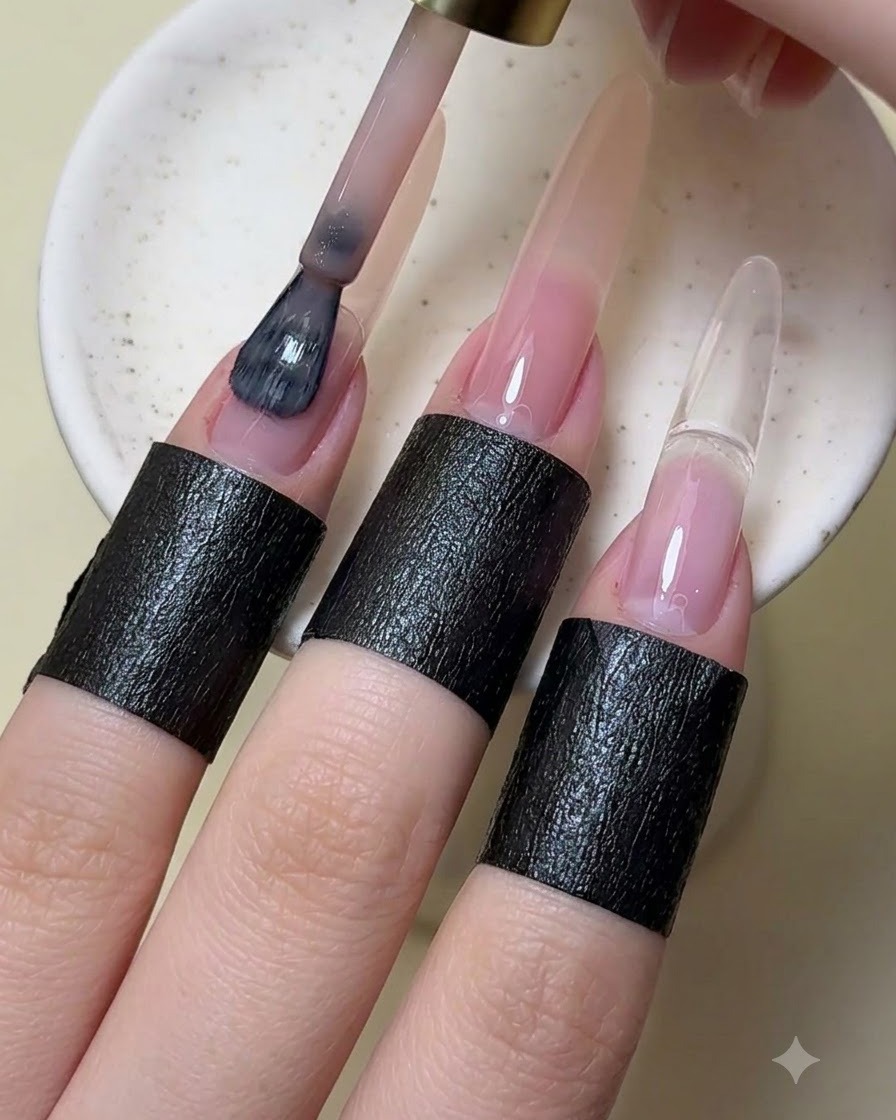
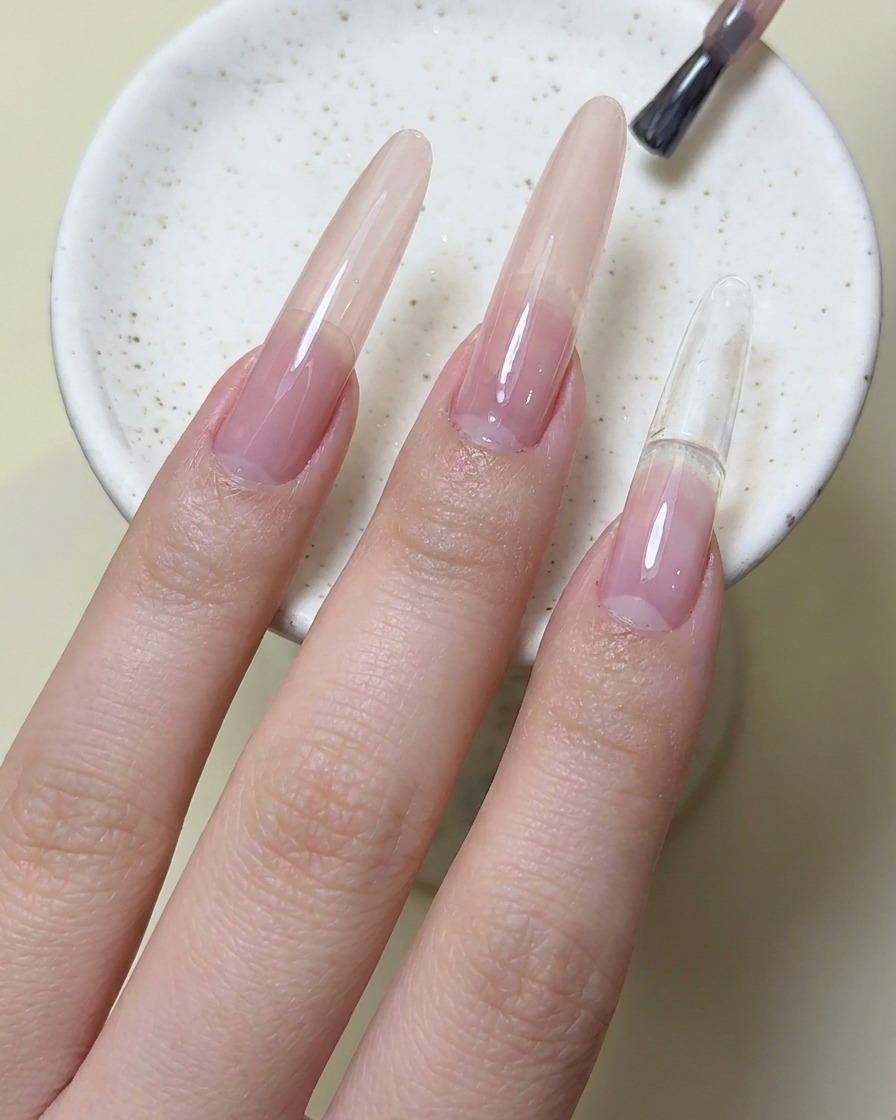
Using a nail brush, apply a smooth layer of nude gel polish directly onto the nail plate. Ensure even coverage across the surface to create a solid foundation for the subsequent nail art layers. Take care to avoid pooling around the cuticle area for a clean finish.
Tip: Apply in thin, controlled strokes to prevent the gel polish from bubbling or wrinkling during the curing process. - 2Apply first coat of magenta red polish
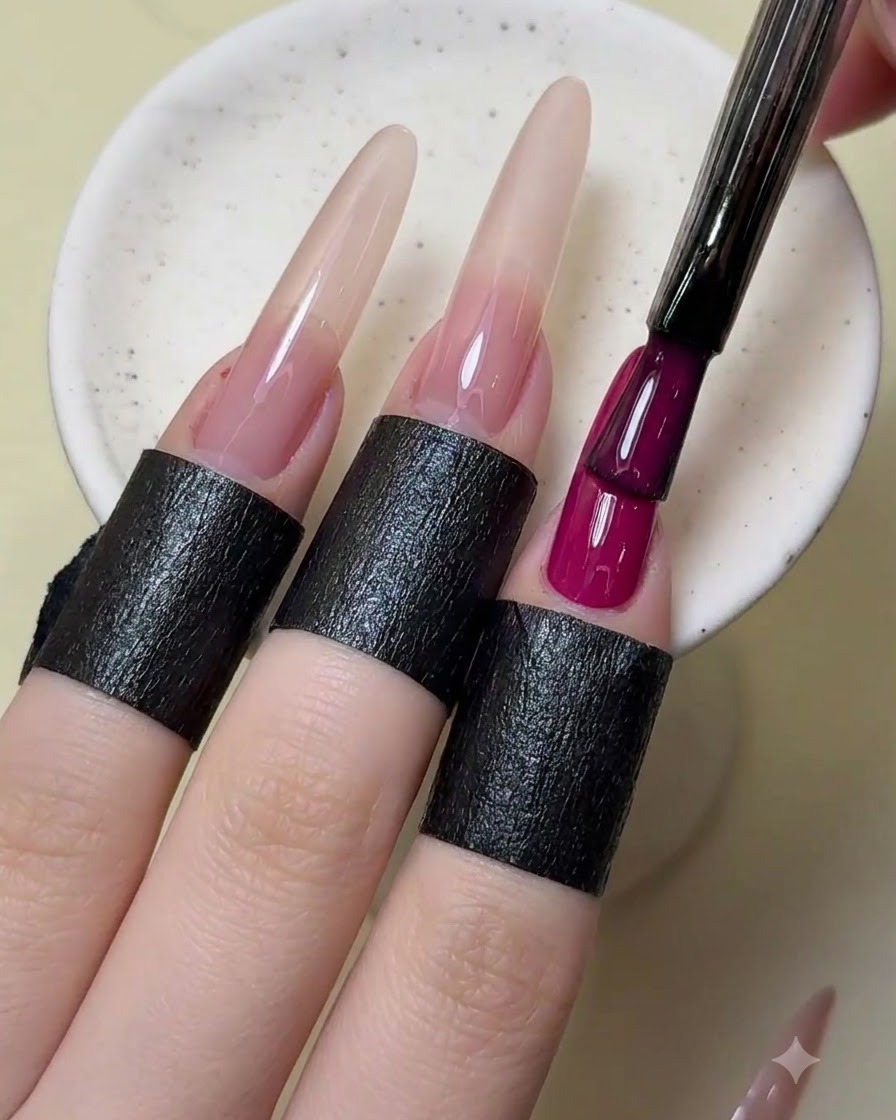
Apply the first coat of rich magenta red gel polish specifically onto the index finger nail. Use steady strokes to maintain a clean edge along the cuticle and sidewalls.
Tip: The first color coat can be slightly sheer; focus on an even application rather than full opacity. - 3Apply second coat of magenta red polish
Apply a second coat of magenta red gel polish over the index finger nail to achieve rich, solid opacity and depth of color. Cure under the lamp afterward.
Tip: Cap the free edge with each color layer to prevent chipping. - 4Apply cat-eye gel polish
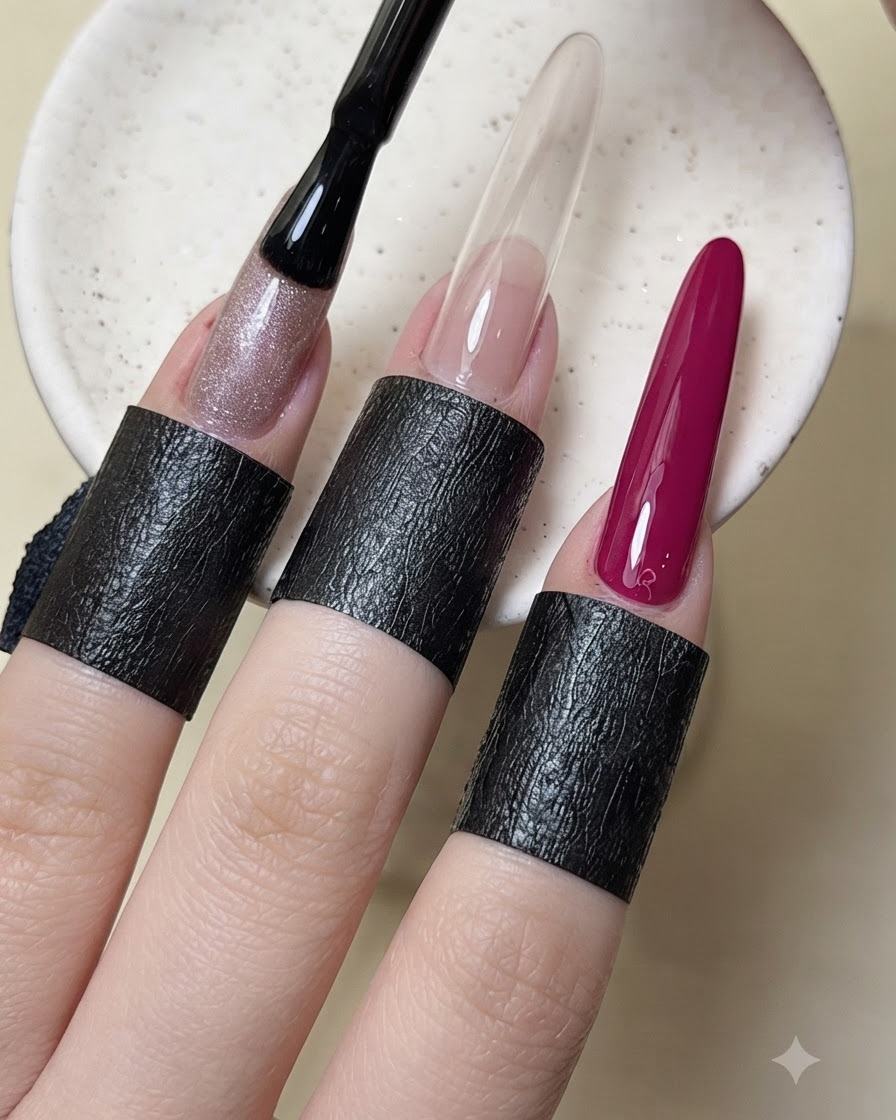
Apply a coat of cat-eye gel polish evenly onto the ring finger nail. Do not cure yet, as the magnetic particles need to be manipulated while the gel is still wet.
Tip: Ensure the magnetic gel layer is evenly distributed before using the magnet tool. - 5Shape cat-eye light effect with a magnet
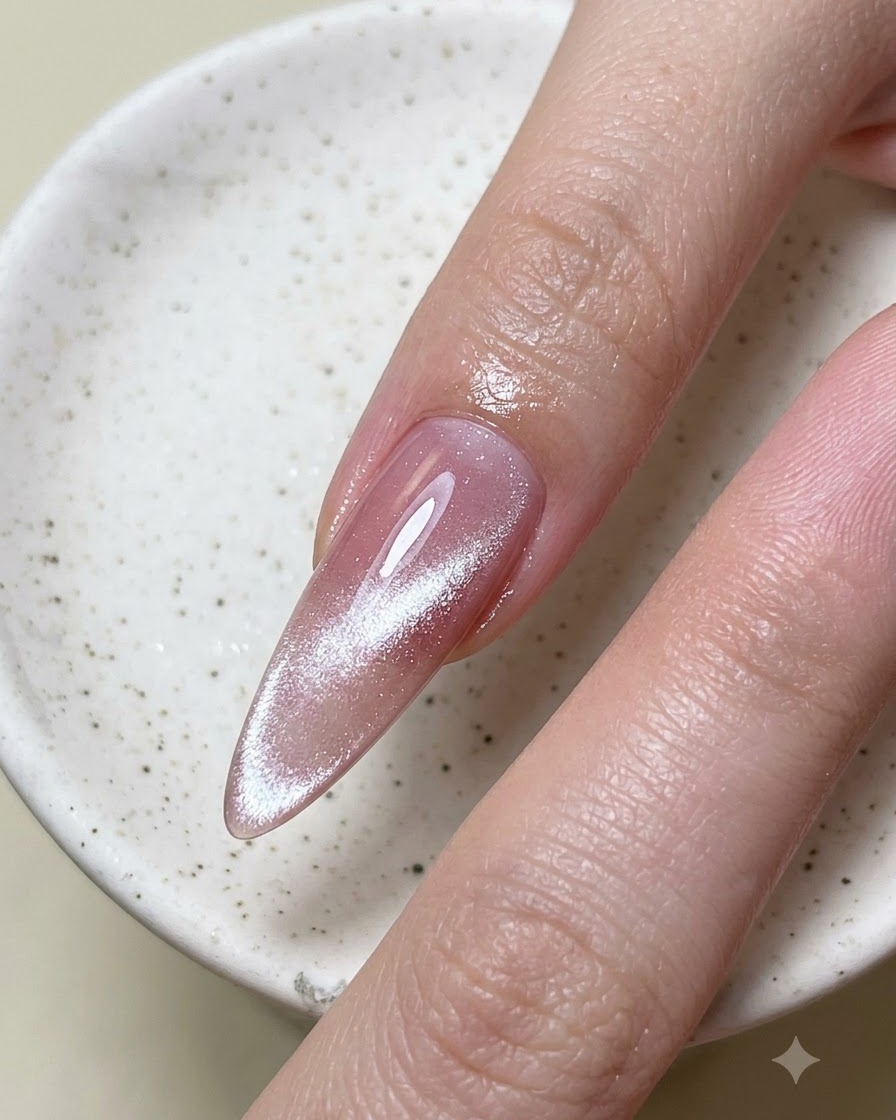
Hold a magnet tool closely over the ring finger nail without touching the wet polish to draw out and shape the reflective cat-eye light line. Once the desired glowing effect is achieved, cure immediately under the lamp.
Tip: Hold the magnet steady for a few seconds to lock the magnetic particles sharply into place. - 6Apply glitter flakes and butterfly sequins
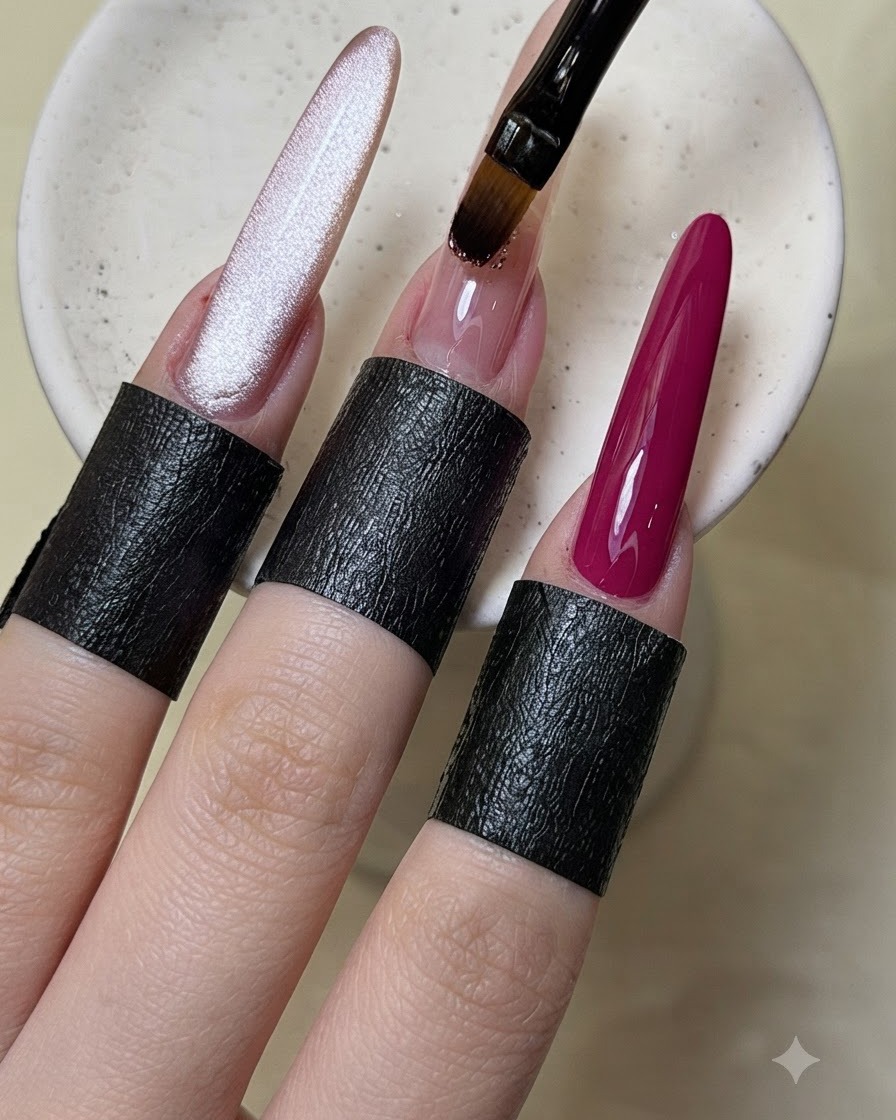
Using a fine brush, dot shiny glitter flakes onto the middle finger nail, then strategically overlay a few delicate butterfly sequins into the gel base before curing.
Tip: Press the sequins down gently so they lay flat against the nail surface without sharp edges. - 7Overlay Butterfly Sequins
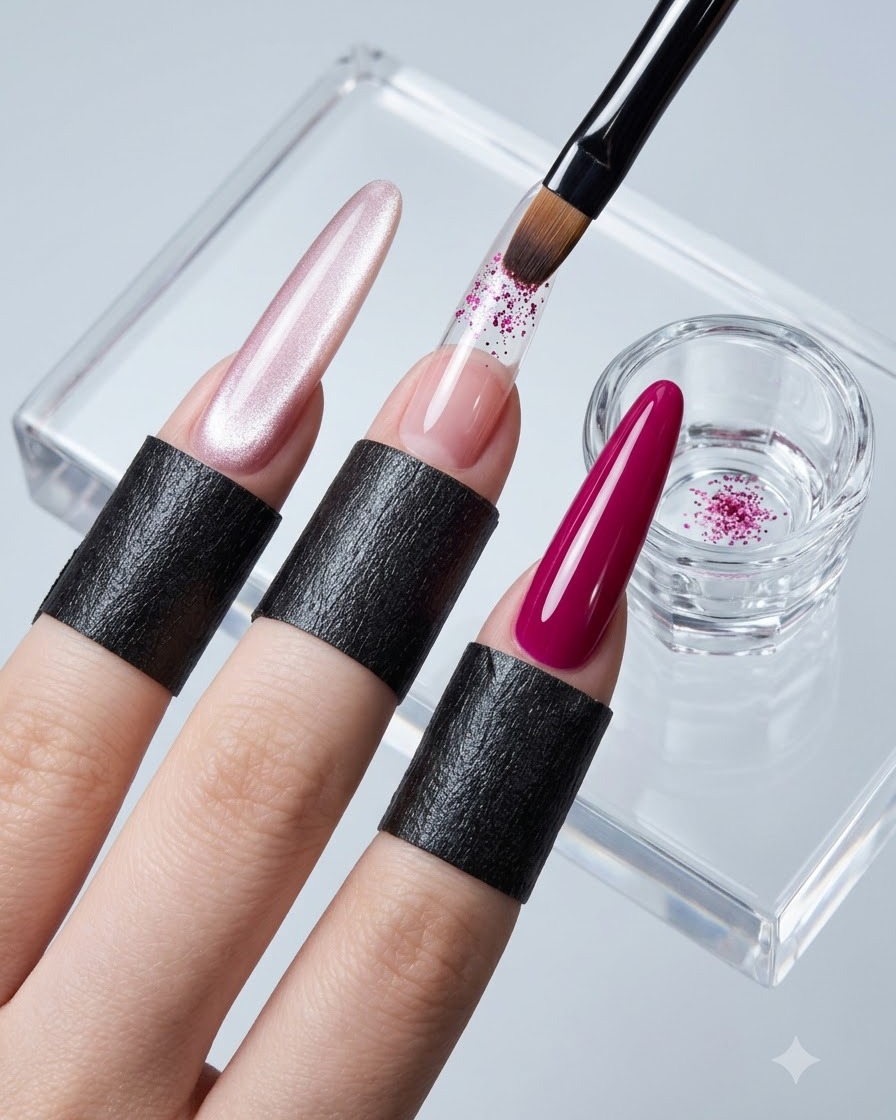
Using a detailing brush, pick up butterfly sequins and overlay them onto the pre-designed middle finger nail. Carefully press and arrange the sequins into the wet gel layer to achieve a balanced and decorative embellishment layout.
Tip: Place the sequins close to the center of the nail to prevent them from catching on edges or lifting after sealing. - 8Apply Top Coat and Cure
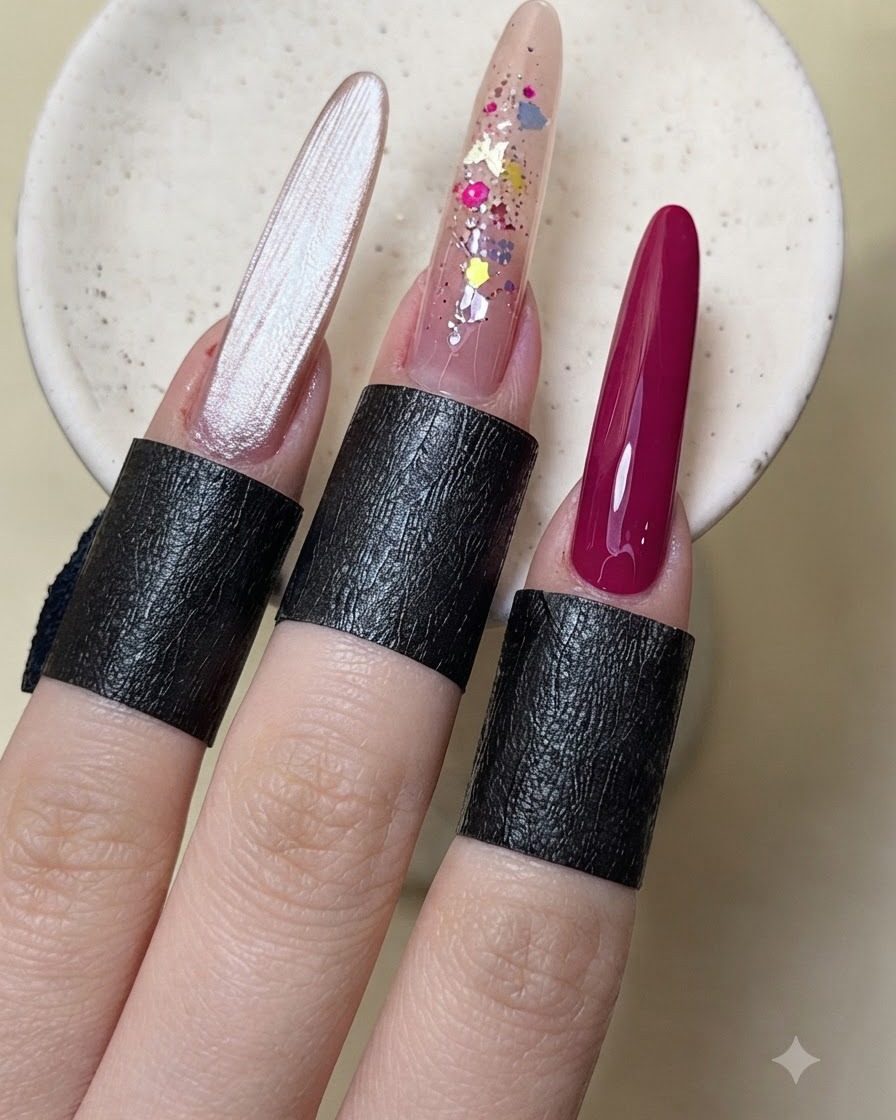
Apply a glossy sealing top coat over the entire nail surface to protect the design elements and secure the embedded decorations. Place the hand under the UV or LED nail lamp and cure for 20 seconds to set the top layer firmly.
Tip: Cap the free edge with top coat to prevent chipping and ensure long-lasting wear. - 9Place Large Crystal Rhinestone
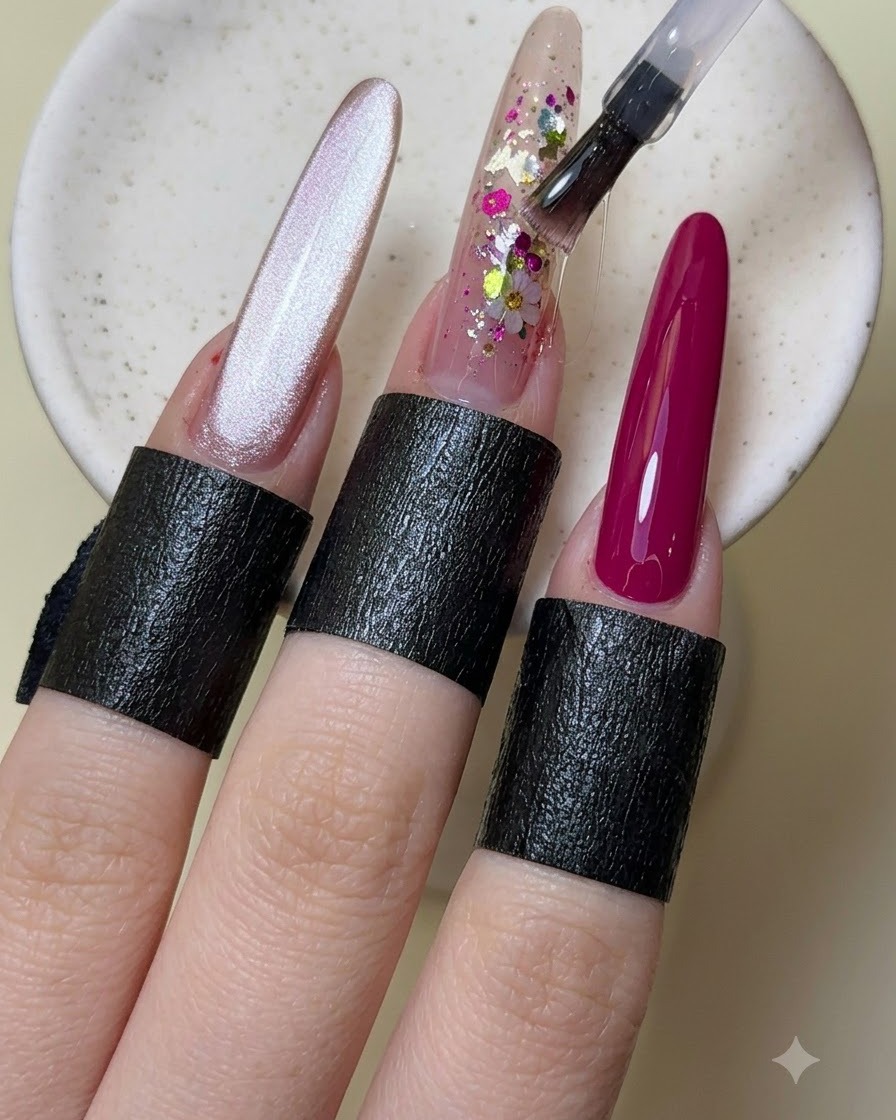
Using a pickup tool or brush, carefully select a large crystal rhinestone and place it onto the designated spot on the middle finger nail. Press gently to embed it into the adhesive layer for a secure hold.
Tip: Ensure the placement area has enough adhesive gel to anchor the heavy rhinestone securely. - 10Secure Rhinestone Base with Glue
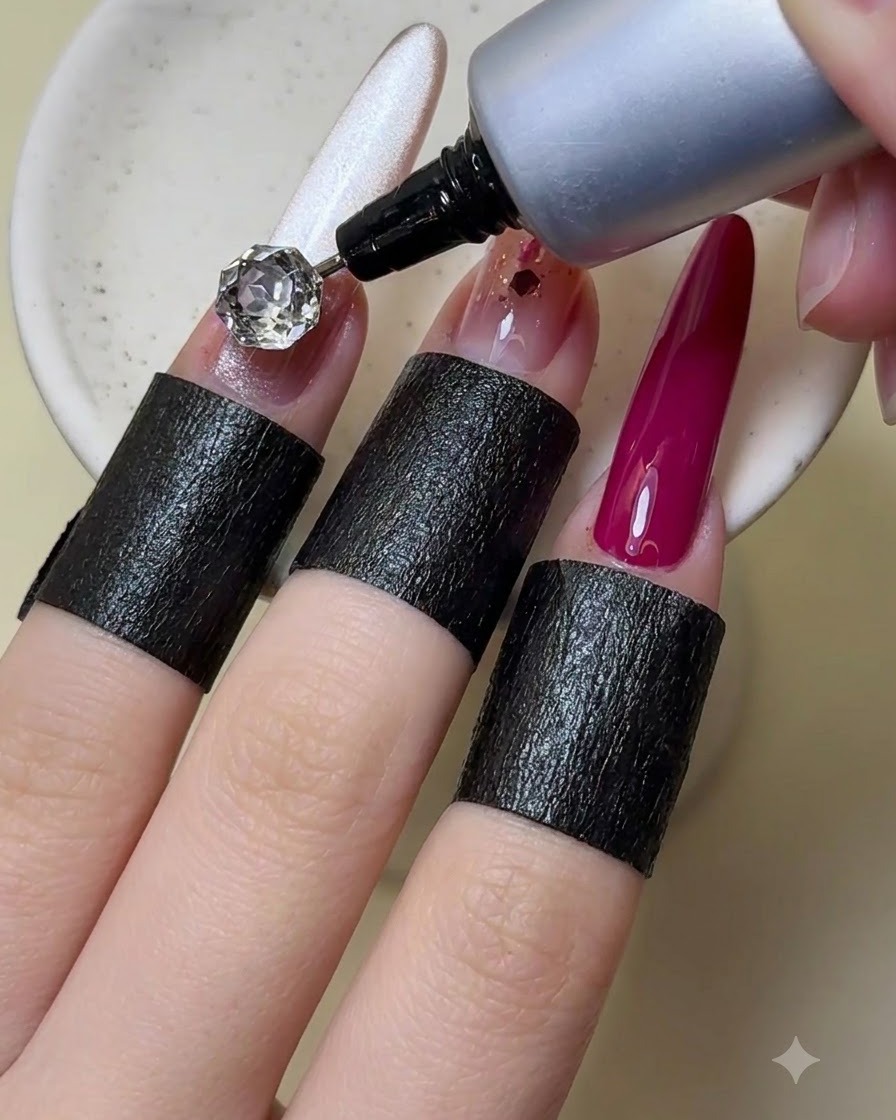
Using a precision applicator nozzle, dispense nail filling glue carefully around the base of the rhinestone. This locks the crystal in place, fills any gaps, and prevents it from catching or falling off.
Tip: Avoid getting glue on top of the rhinestone facets to maintain their high-shine sparkle and clarity.