Dopamine Gradient Ombre
Magnetic Aurora Nails — Step-by-Step Tutorial
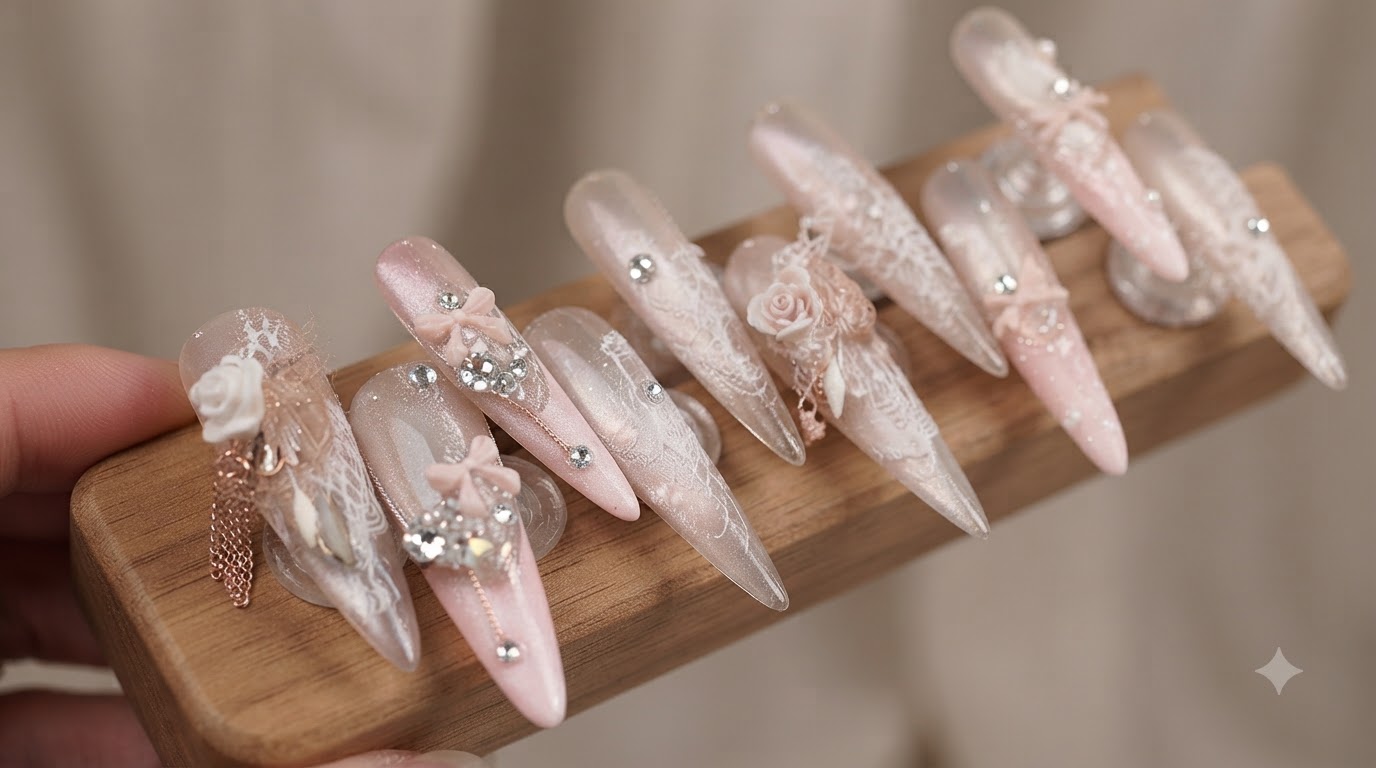
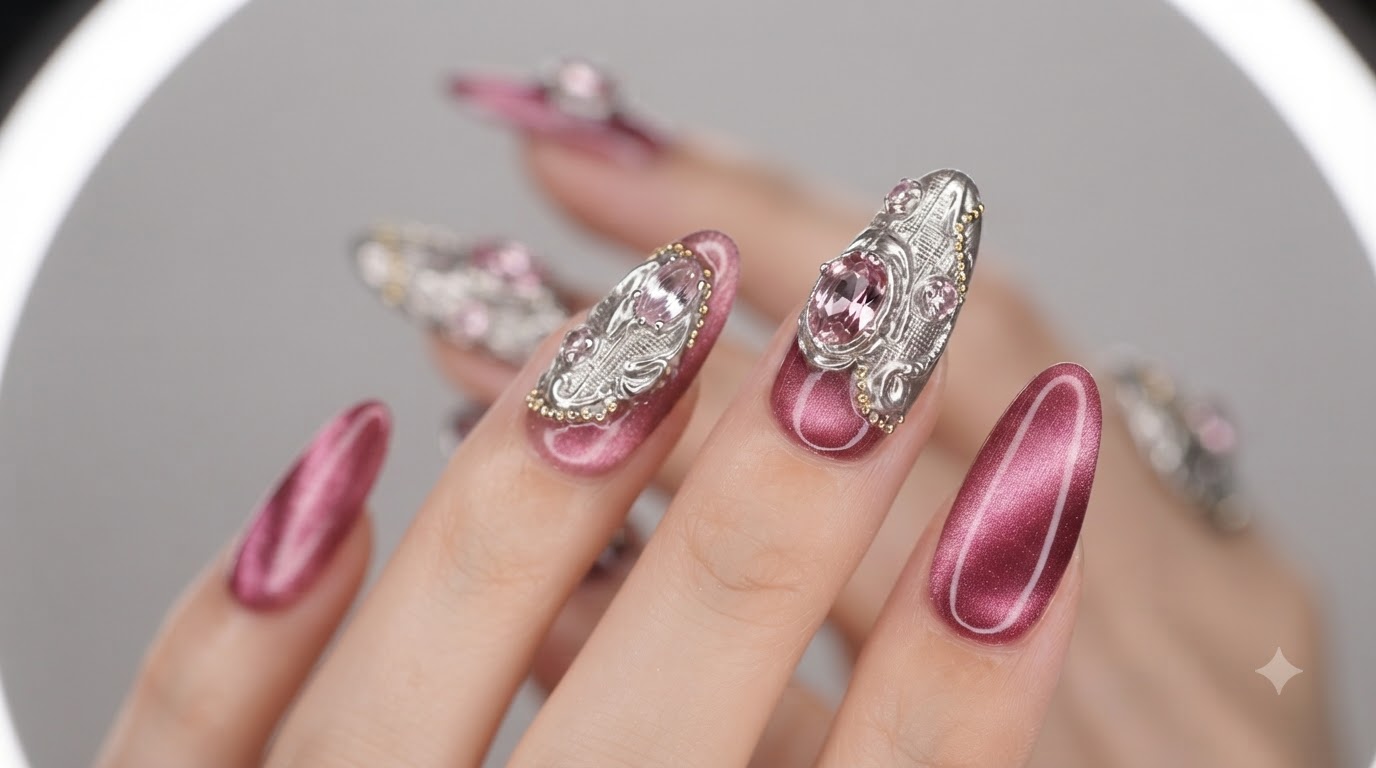
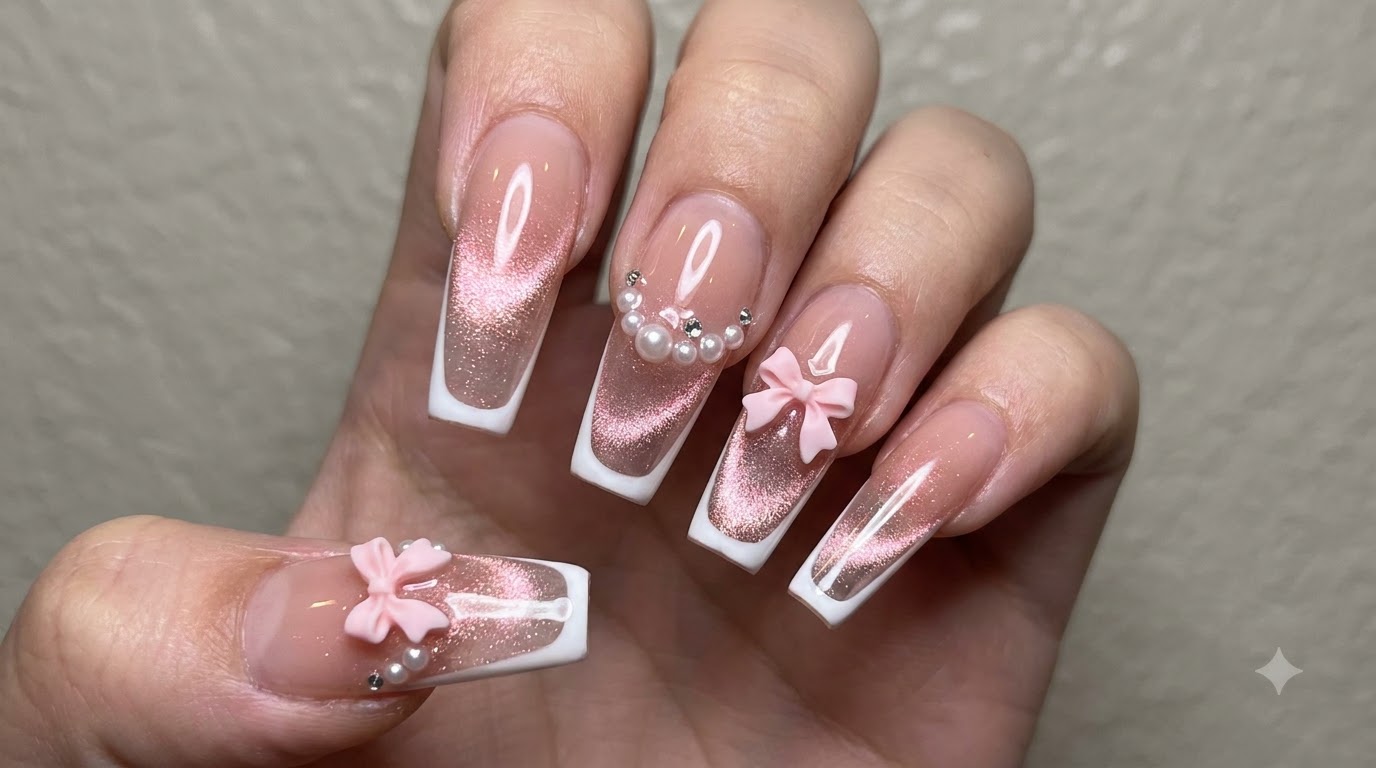
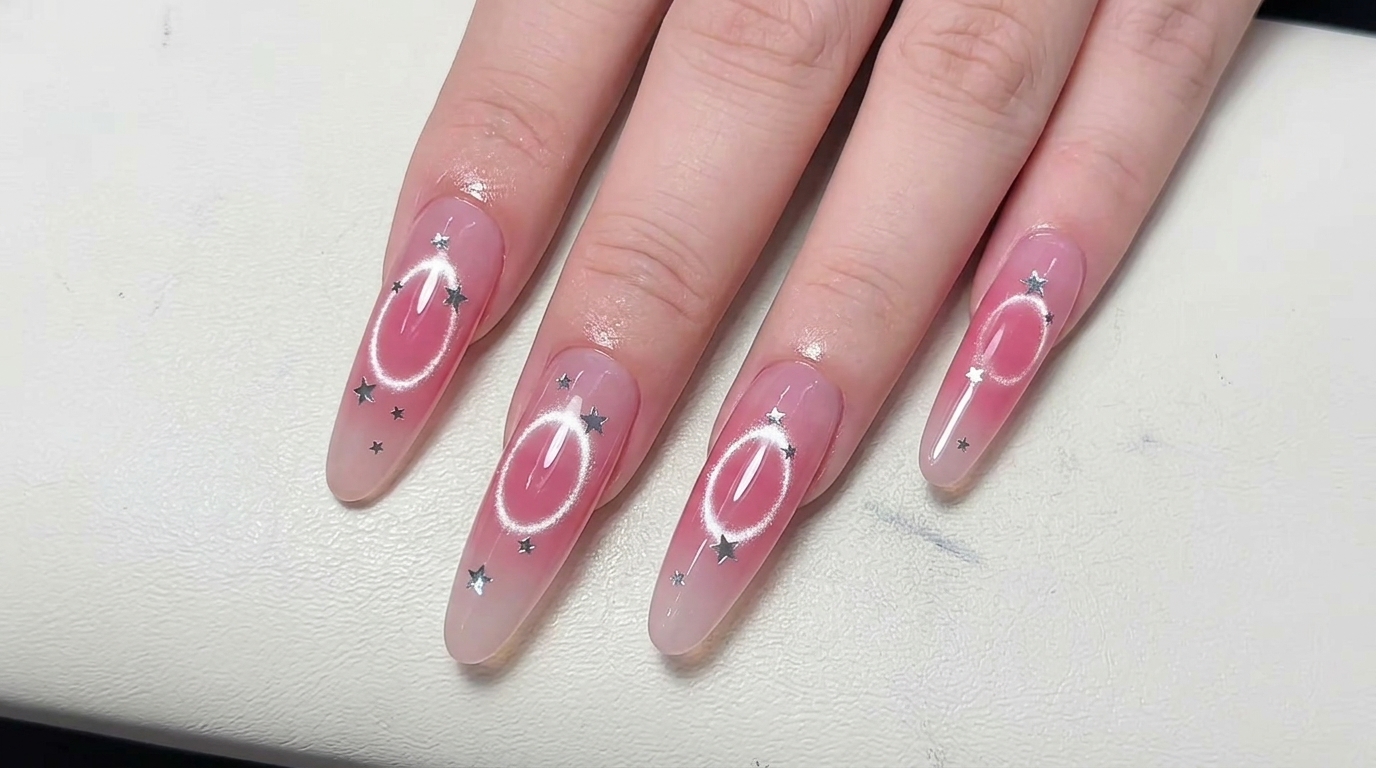
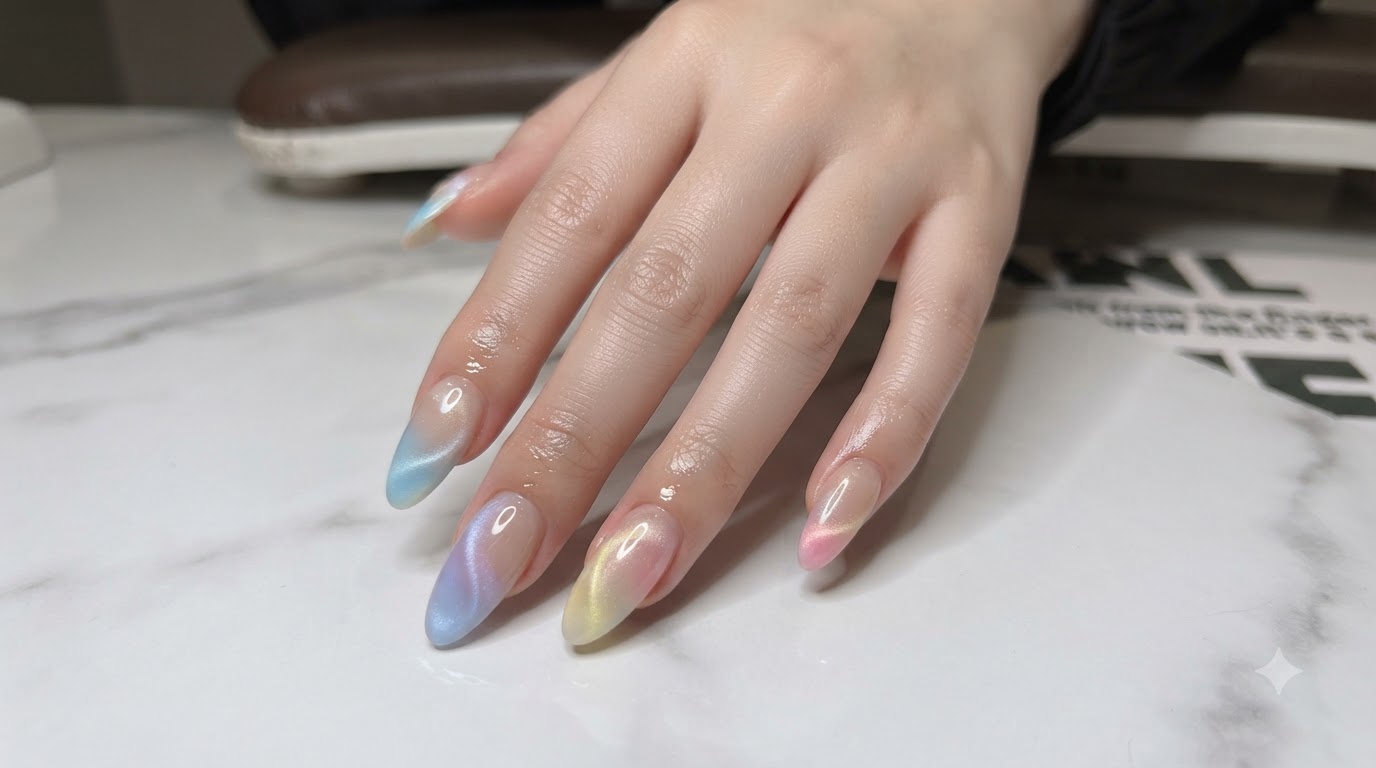
Brighten your mood with healing dopamine pastel ombre nails featuring shimmering magnetic aurora beams and a high-gloss almond finish.
Dopamine beauty trends are all about choosing colors and styles that instantly boost your mood and bring joy to your daily routine. This stunning look combines soft pastel gradient ombre with the mesmerizing depth of a magnetic cat-eye aurora beam, creating an ethereal yet playful aesthetic on classic almond nails.
Steps
- 1Wipe down the index finger nail plate
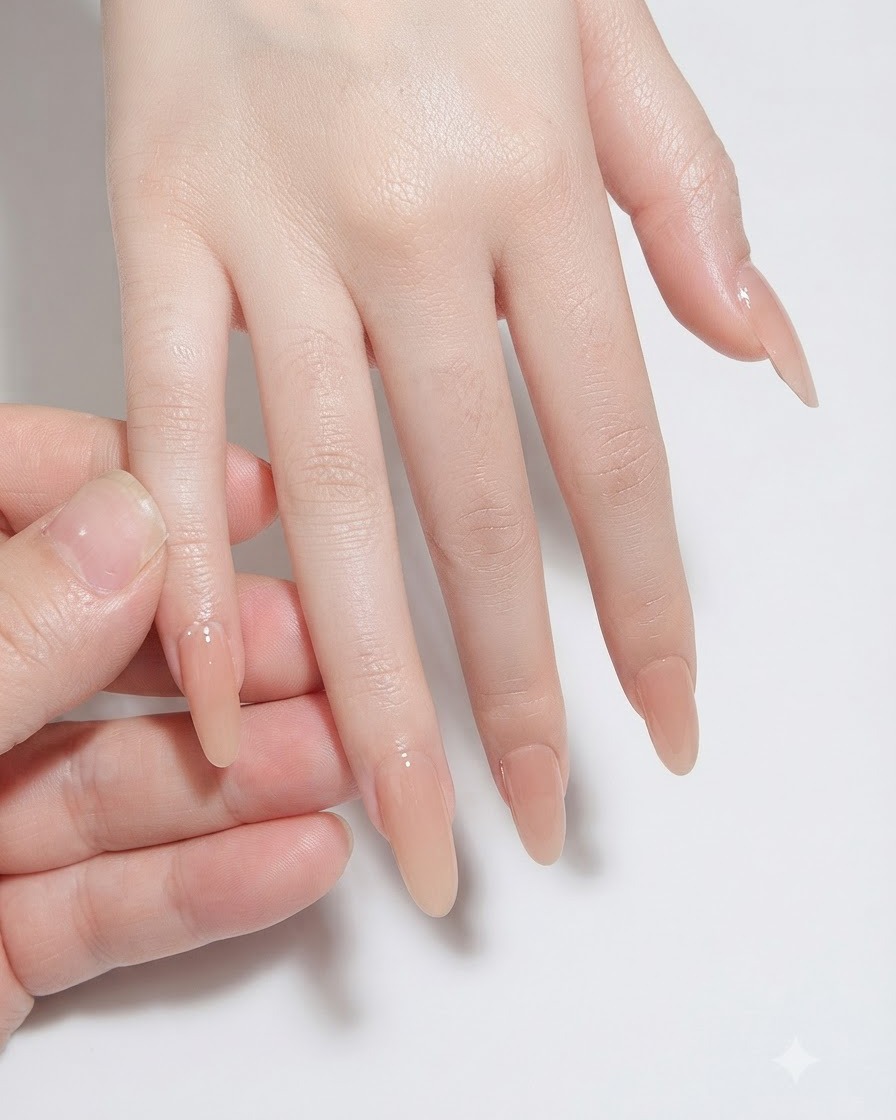
Using a lint-free wipe dampened with cleanser, gently wipe the nail plate of the index finger to remove any oils, dust, or residue, ensuring a clean surface for subsequent application steps.
Tip: Make sure the wipe is only damp and not dripping wet to avoid excess moisture around the cuticles. - 2Wipe down the middle finger nail plate
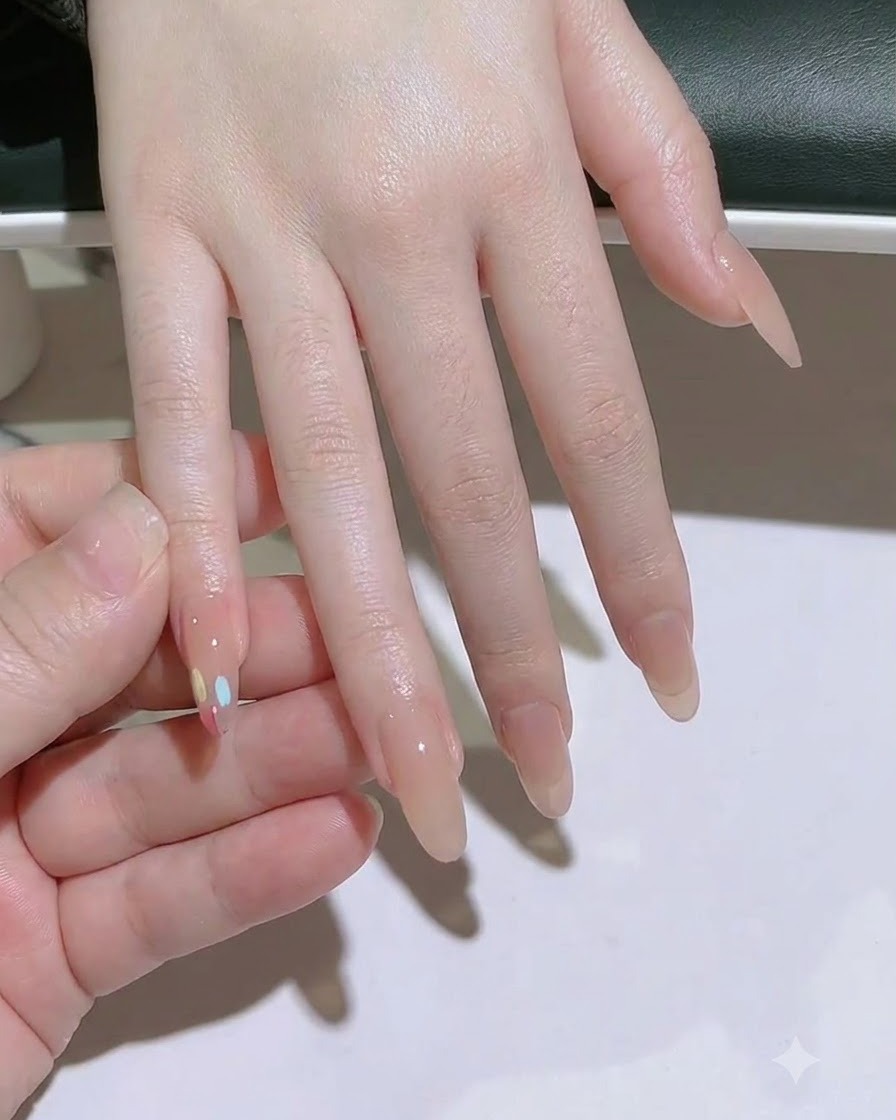
Take a lint-free wipe dampened with cleanser and thoroughly wipe down the nail plate of the middle finger to prepare it completely.
Tip: Always check for any lingering lint fibers on the nail surface after wiping. - 3Wipe down the ring finger nail plate
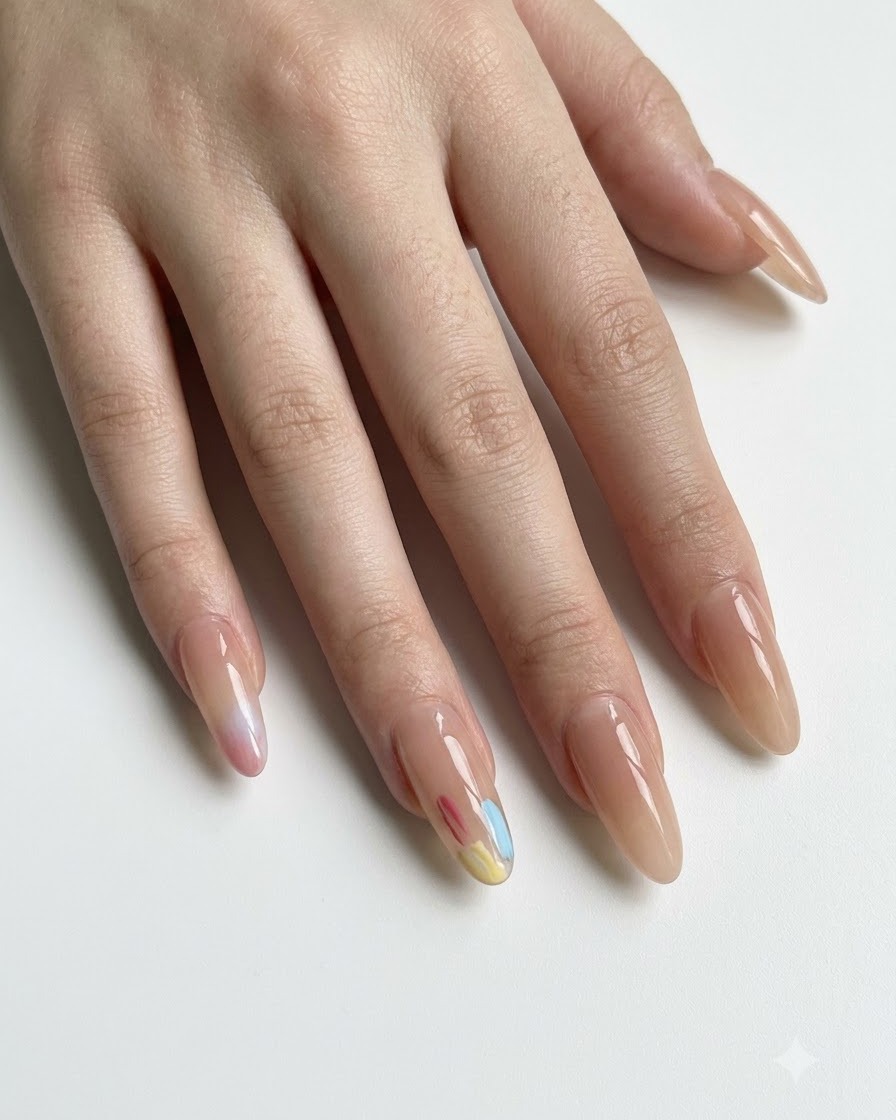
Clean the nail plate of the ring finger using a lint-free wipe dampened with cleanser to eliminate any surface debris.
Tip: Ensure the entire surface from cuticle to free edge is wiped cleanly. - 4Wipe down the pinky finger nail plate with cleanser
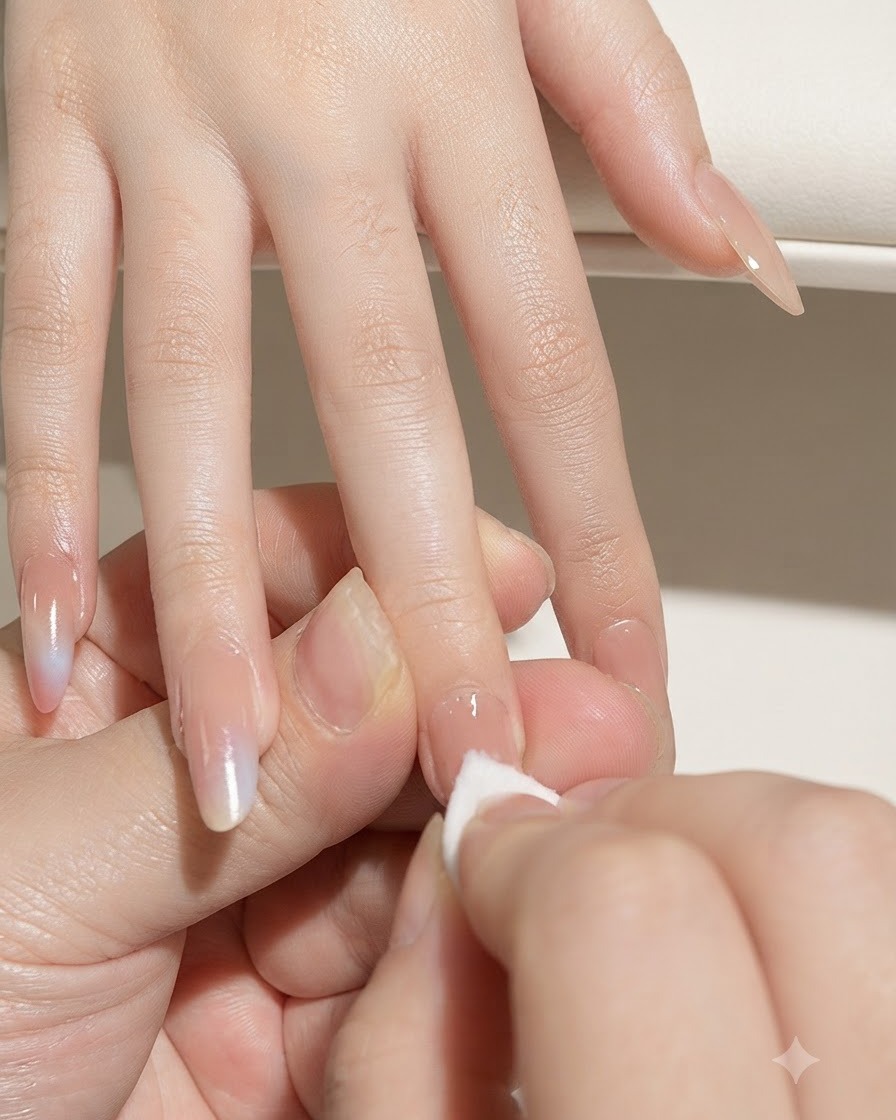
Take a lint-free wipe dampened with nail cleanser and thoroughly wipe down the nail plate of the pinky finger to remove any lingering oils, dust, or residue from previous preparation steps. This ensures a pristine surface for optimal gel product adhesion.
Tip: Make sure the wipe is only damp and not dripping wet to avoid flooding the surrounding skin. - 5Apply base gel coat
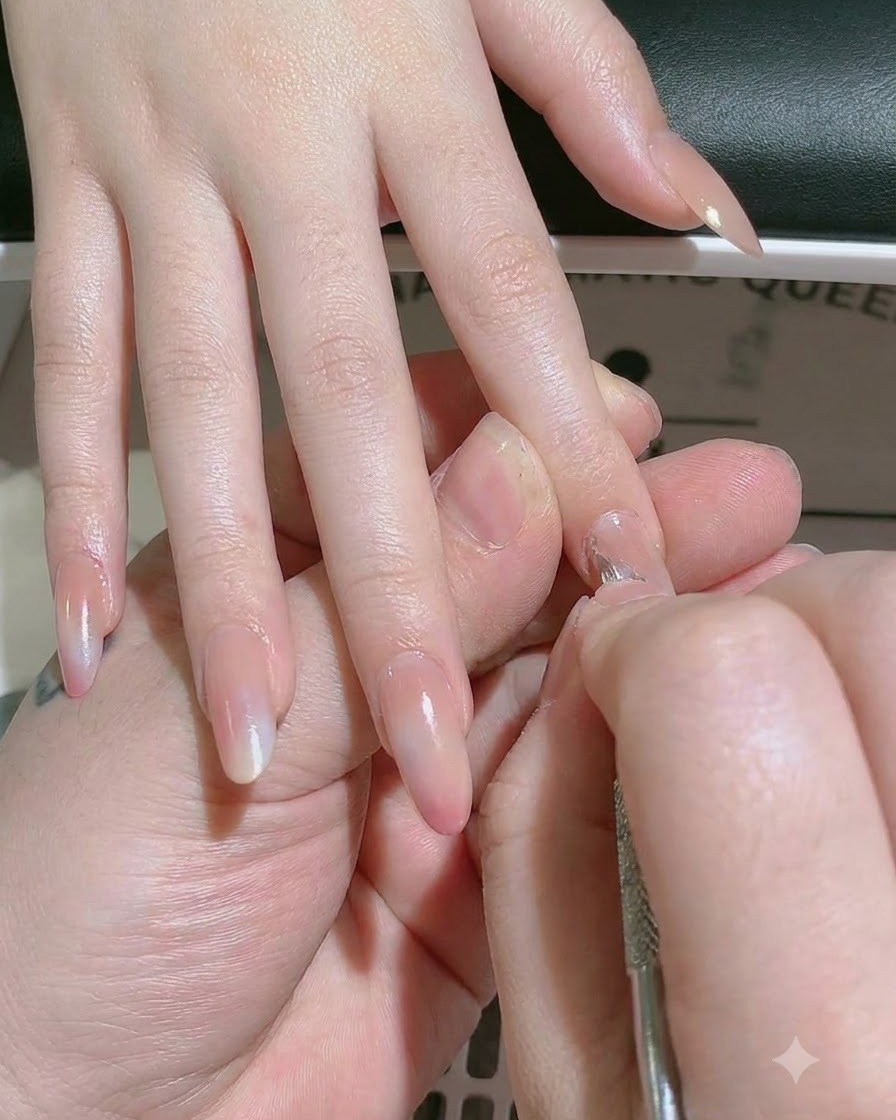
Apply a thin, even coat of base gel onto the prepped nail plate using a gel brush, working smoothly from the cuticle area toward the free edge. Make sure to cap the edge securely and avoid flooding the skin. Cure under a UV/LED lamp according to your product instructions.
Tip: Apply in thin layers to prevent wrinkling and ensure proper adhesion during curing. - 6Create aurora beam cat-eye effect
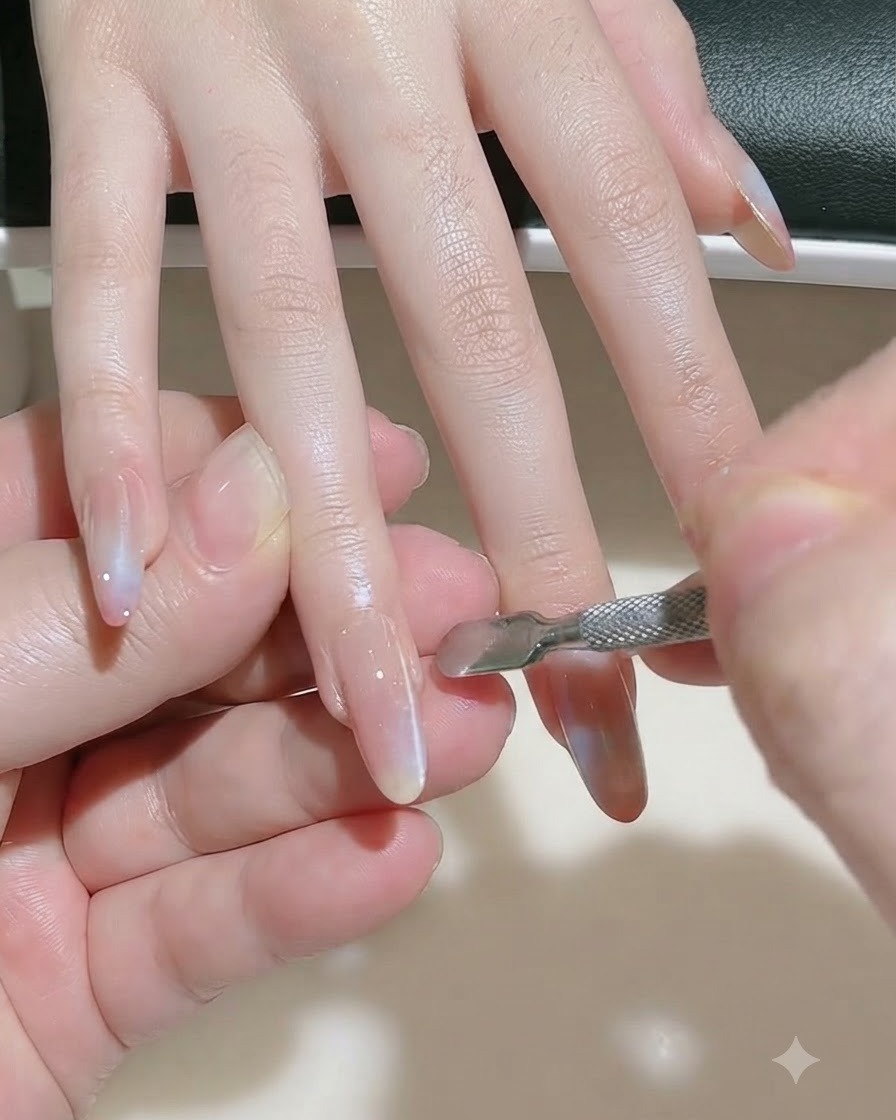
Position a strong magnetic tool close to the wet magnetic gel surface without touching it. Hold it steadily to guide and push the magnetic shimmer particles into a concentrated, glowing aurora beam line across the nail.
Tip: Keep your hand completely steady while holding the magnet to prevent the shimmer particles from scattering before you cure. - 7Refine the magnetic shimmer line
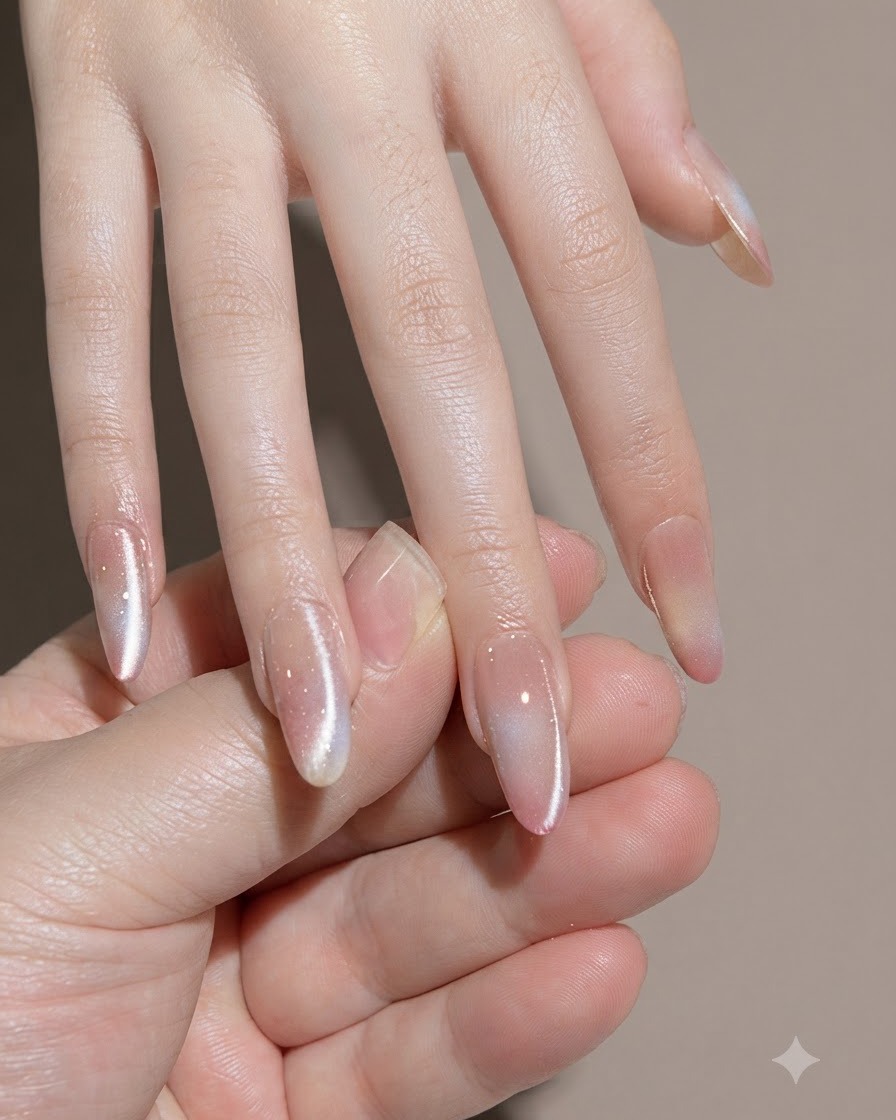
Fine-tune the placement and sharpness of the magnetic beam across the gradient nail surface using the wand of the magnetic tool. Once you achieve the desired sharp aurora effect, immediately place the hand under the lamp to flash cure and lock the design in place.
Tip: Magnetic gel shifts quickly; always cure immediately after perfecting the line to avoid distortion. - 8Apply glossy top coat over magnetic gradient
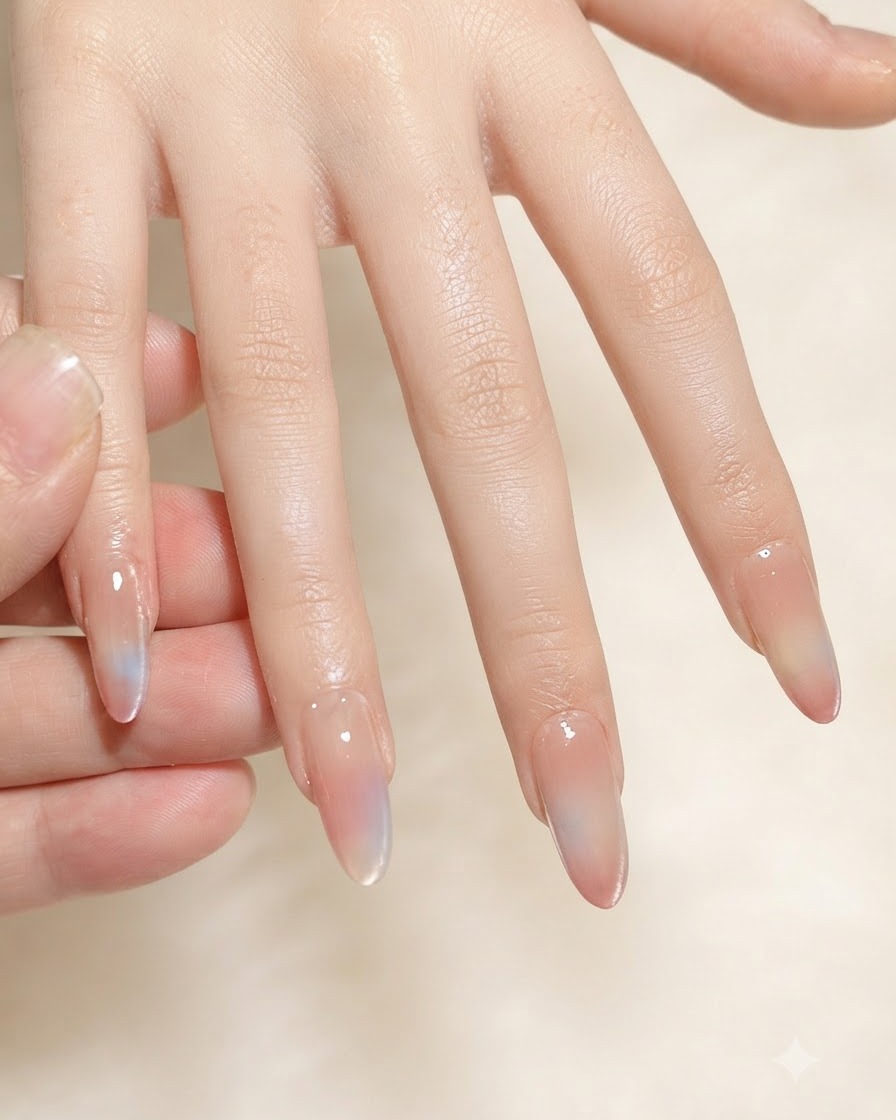
Using a brush, apply an even layer of glossy top coat over the cured magnetic gradient nail to seal in the design and provide high shine.
Tip: Cap the free edge with top coat to prevent chipping and extend the lifespan of your manicure. - 9Smooth and seal the top coat
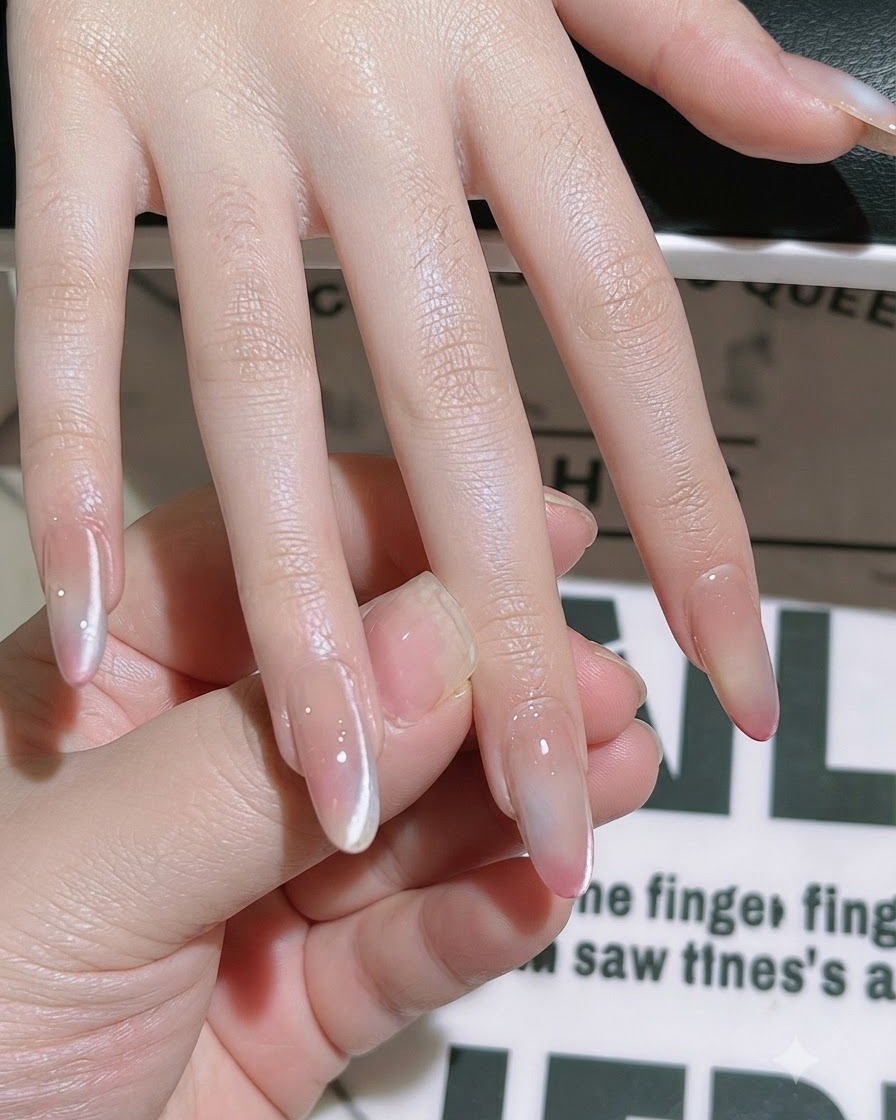
Smooth and seal the top coat evenly over the entire nail plate using the brush, making sure there are no streaks or pooling around the edges.
Tip: Lightly glide the brush over the surface to let the top coat self-level into a smooth finish.