Pink Star Cat Eye Nail Art — Easy Shimmer Gel Tutorial
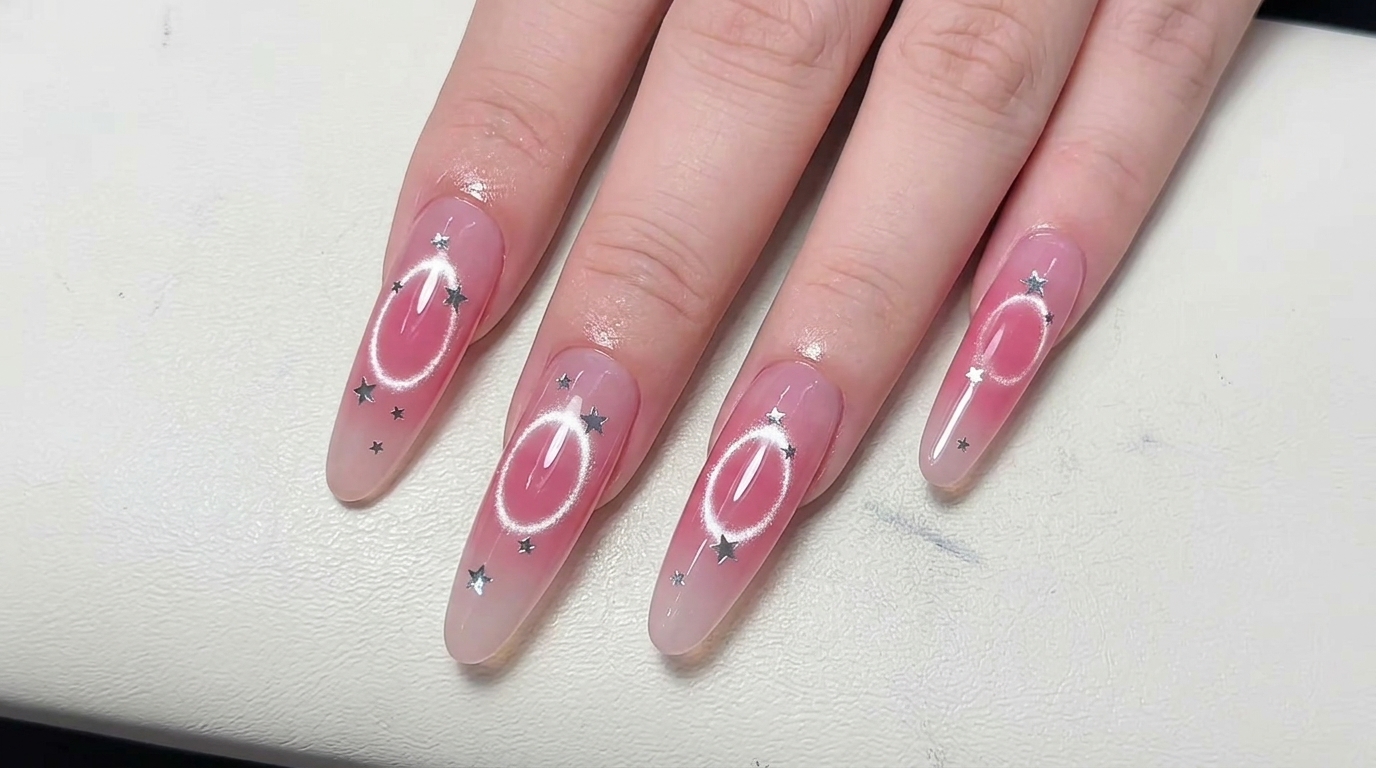
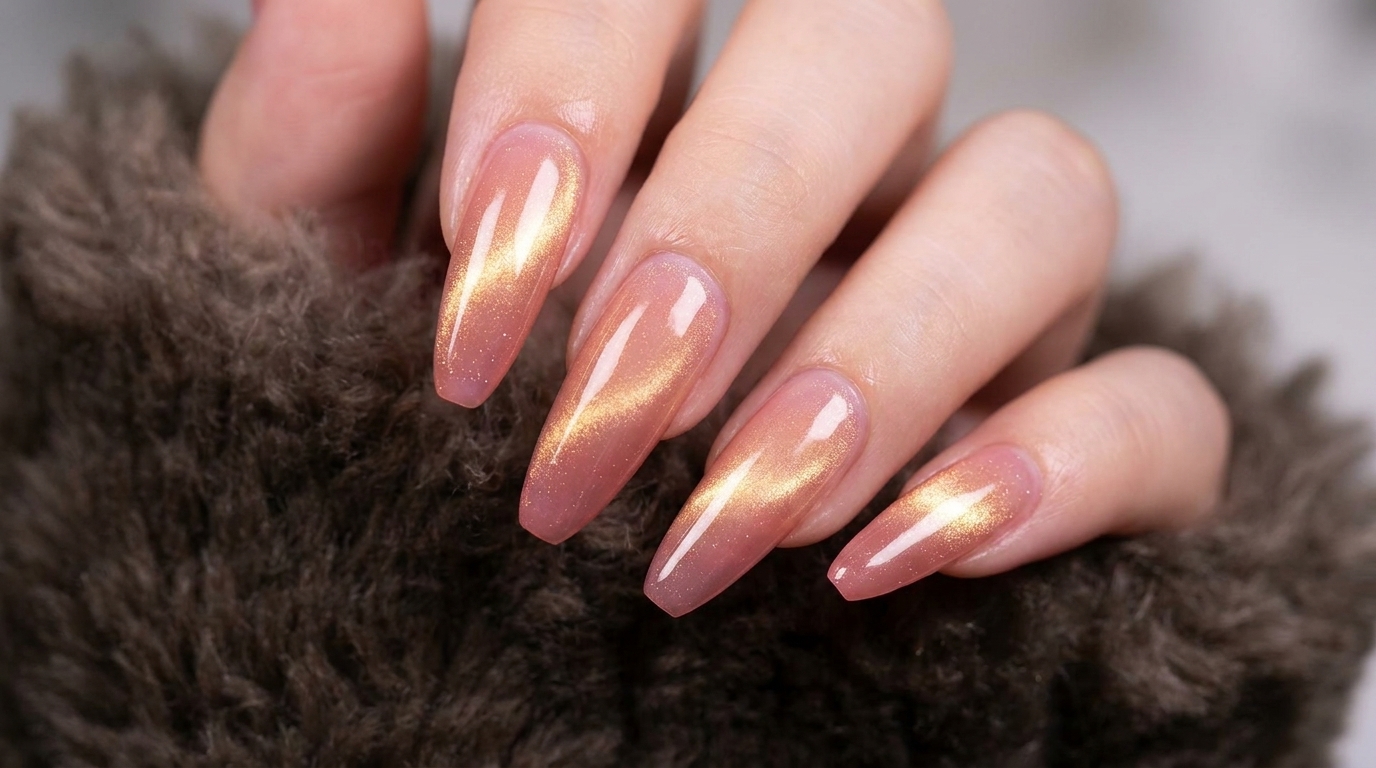
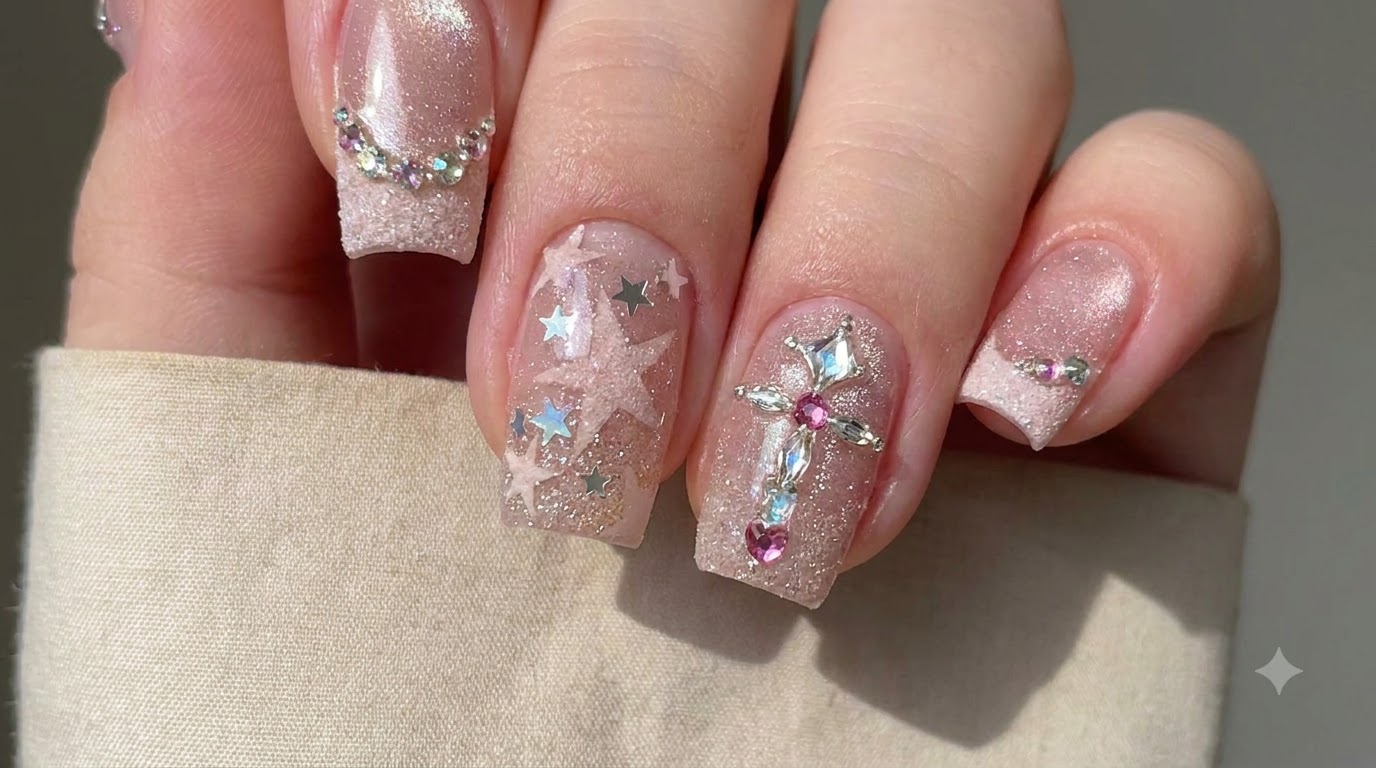
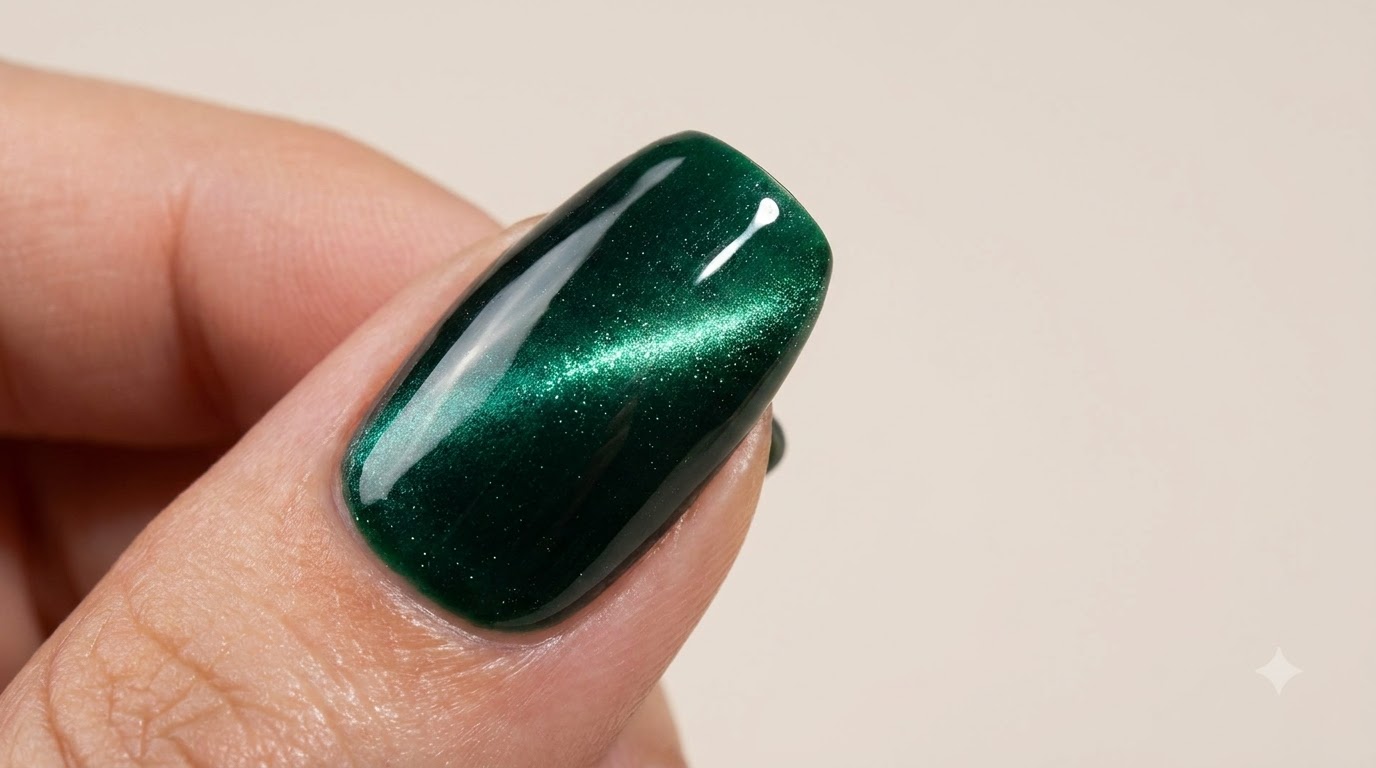
Create a brilliant pink cat-eye gel look with a moving glass bead effect. Complete this easy nail art design with a delicate silver fringe and star accent.
Cat-eye gel polish continues to dominate nail trends with its mesmerizing, multi-dimensional shimmer. This pink glass bead variation takes the classic magnetic effect to the next level by drawing the light into a concentrated, moving band. By finishing the look with a hand-drawn silver fringe and a dainty star embellishment, you get a beautiful, ethereal design that is surprisingly simple to achieve at home.cite: 1
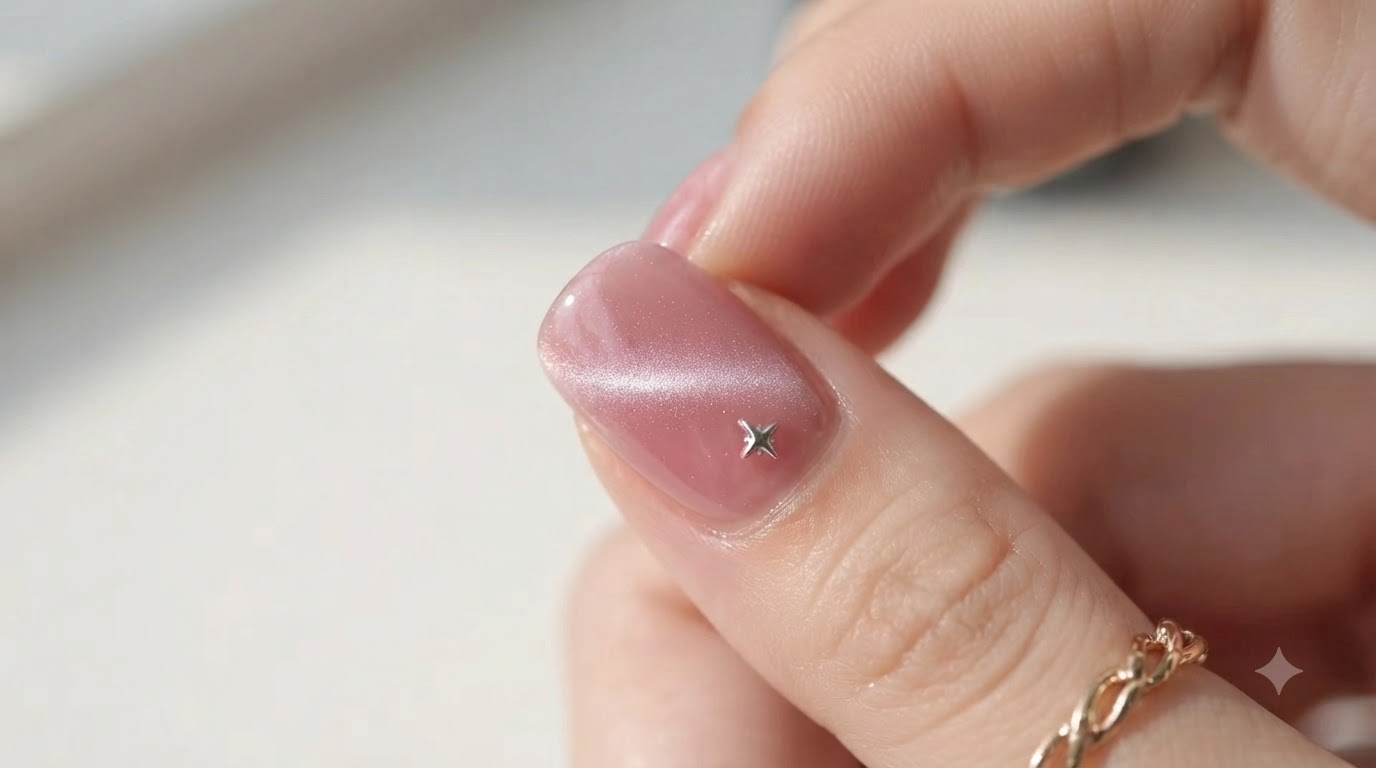
Steps
- 1Apply cat-eye gel polish
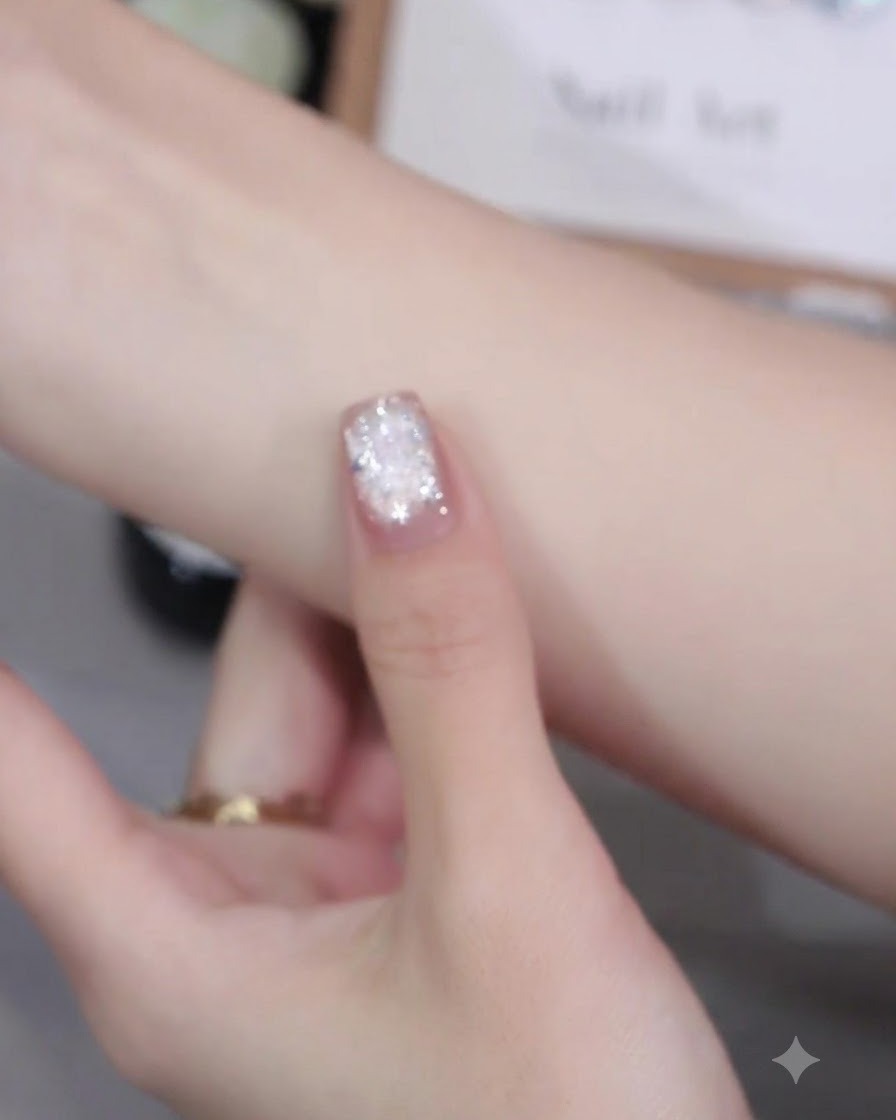
Apply Bing茉莉 number 09 pink cat-eye gel polish evenly across the entire surface of the nail using a professional nail brush, ensuring full and smooth coverage from cuticle to free edge.
Tip: Apply a smooth, even layer to ensure the magnetic particles disperse properly in the next steps. - 2Sweep magnet left and right
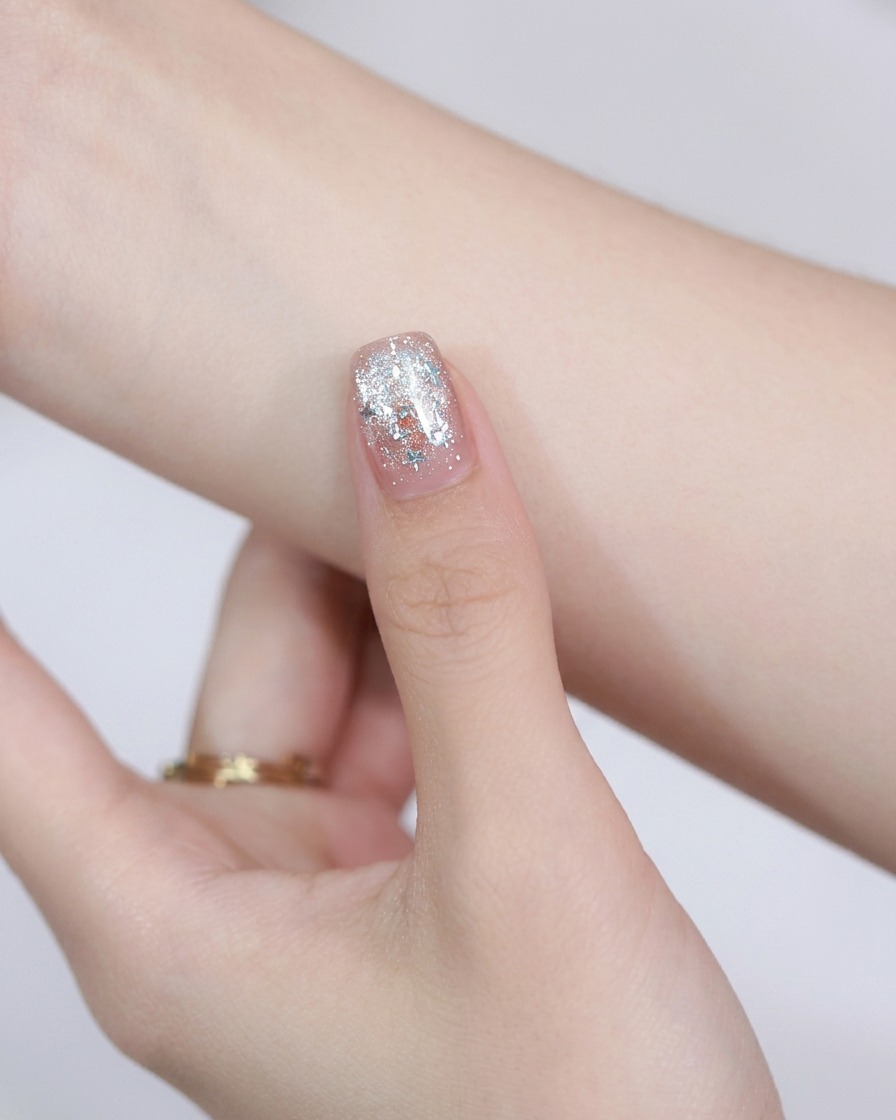
Take the round steel magnet and gently sweep it across the nail from left to right to activate the magnetic particles and begin creating a brilliant, full-light glowing effect.
Tip: Keep the magnet close to the gel surface without touching it to effectively move the particles. - 3Refine magnetic effect vertically
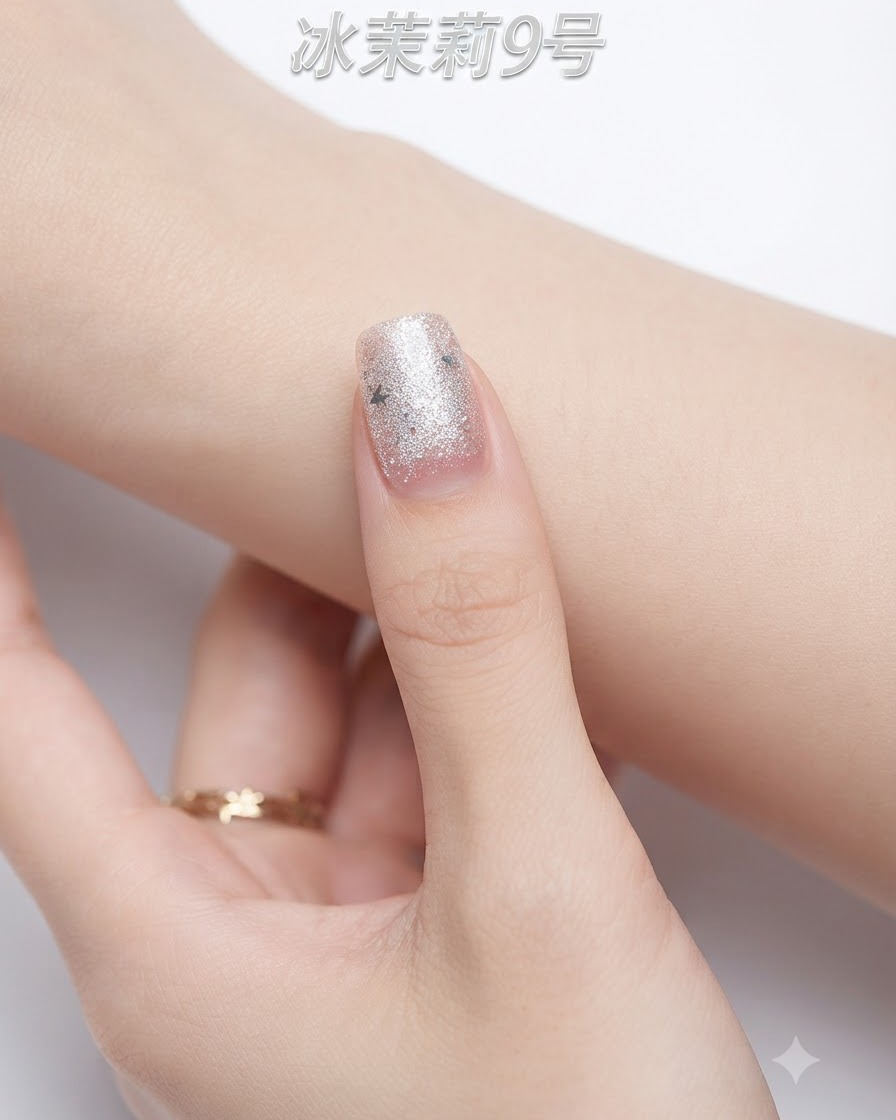
Continue using the round steel magnet to sweep vertically up and down over the nail surface, refining the magnetic dispersion to shape the luminous cat-eye field.
Tip: Slow, steady movements help achieve an even and radiant light reflection across the nail. - 4Create moving glass bead effect
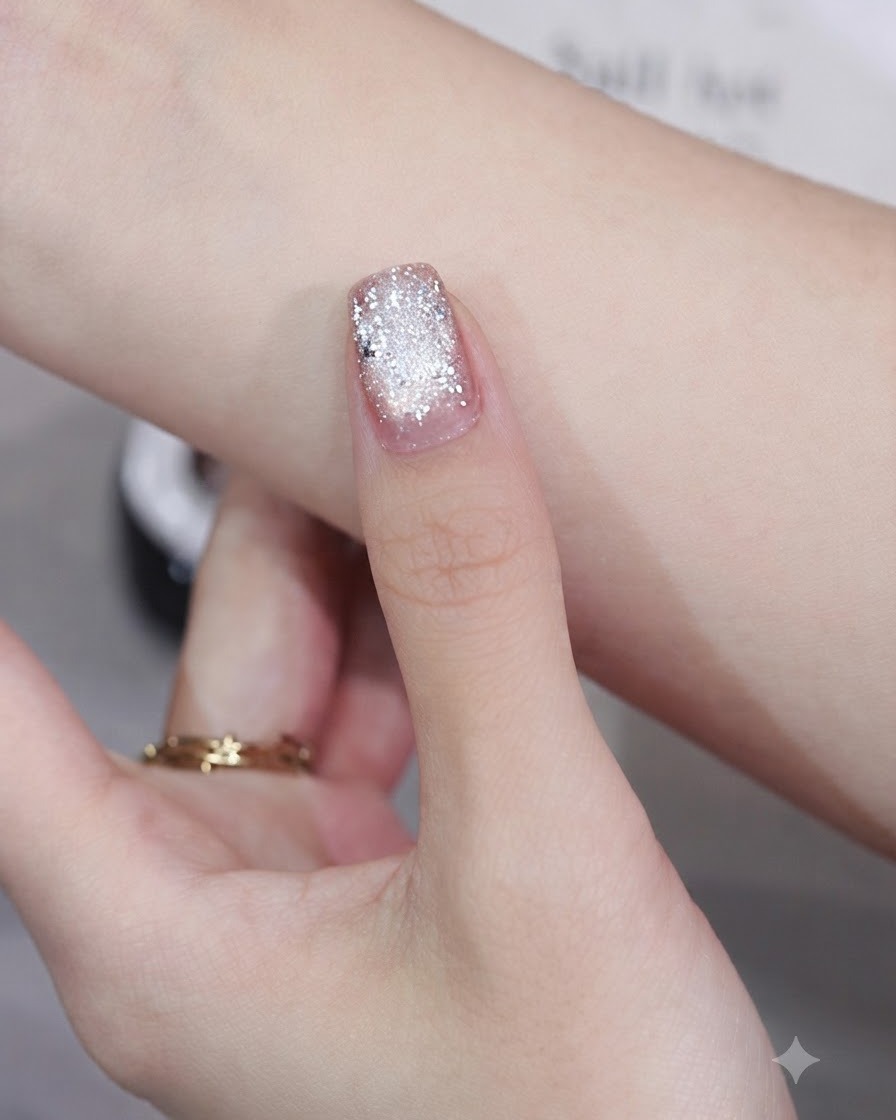
Sweep the round steel magnet back and forth across the nail to draw out the distinct, moving cat-eye glass bead effect, creating a striking multi-dimensional shine.
Tip: Back-and-forth passes concentrate the magnetic shimmer into a sharp, luminous line resembling a glass bead. - 5Cure under nail lamp
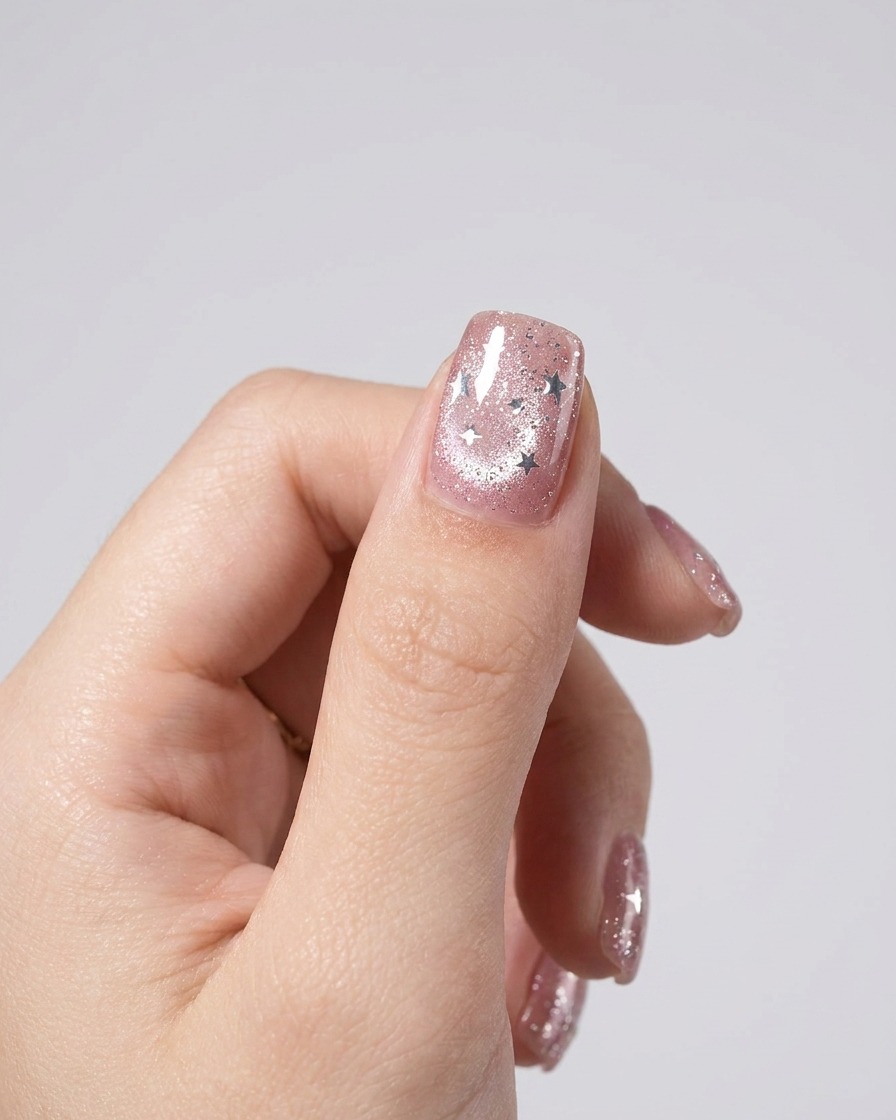
Place your hand under the UV or LED nail lamp to cure the gel polish and lock the cat-eye glass bead design securely in place.
Tip: Ensure your hand is positioned correctly under the lamp to allow complete and even curing of the gel layer. - 6Draw fringe detail on nail tip
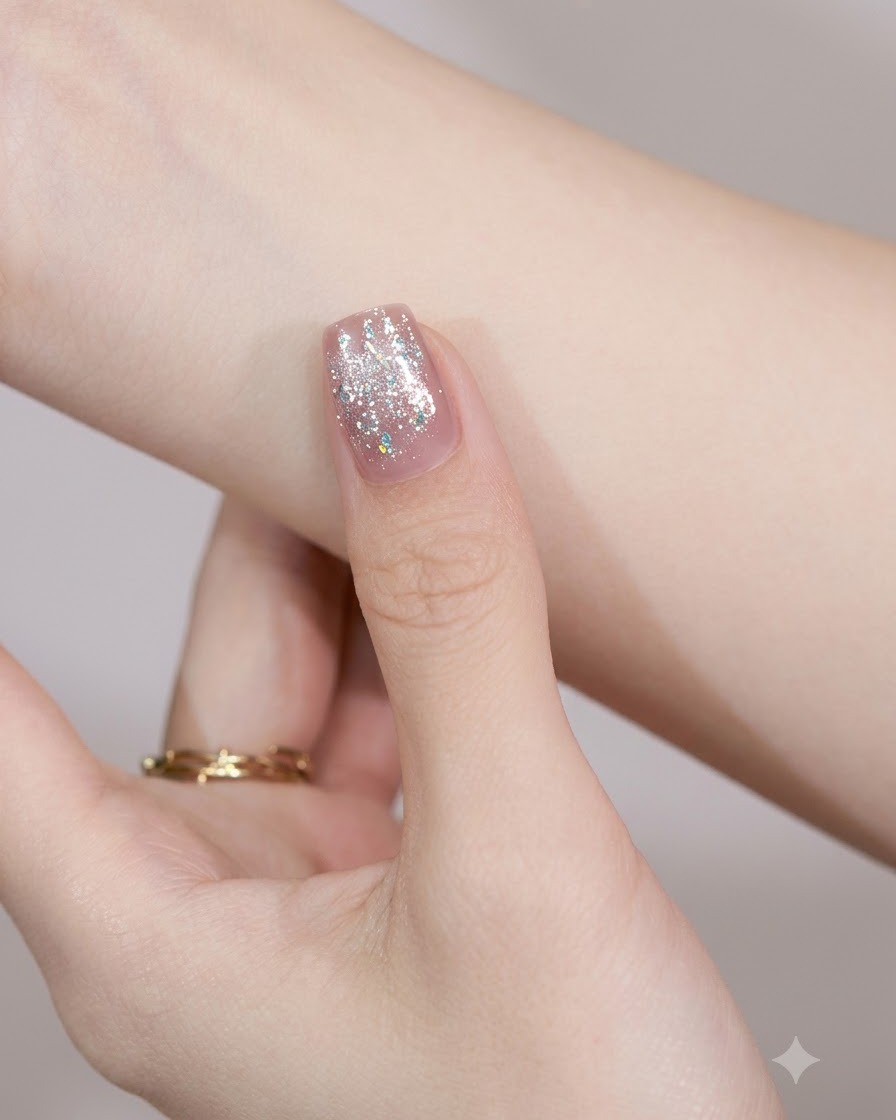
Take a fine liner brush dipped in silver liner gel and carefully paint a delicate fringe line along the tip of the nail to create an elegant metallic accent.
Tip: Use light, steady pressure with the tip of the liner brush to draw clean and precise fringe lines. - 7Pick up star glitter
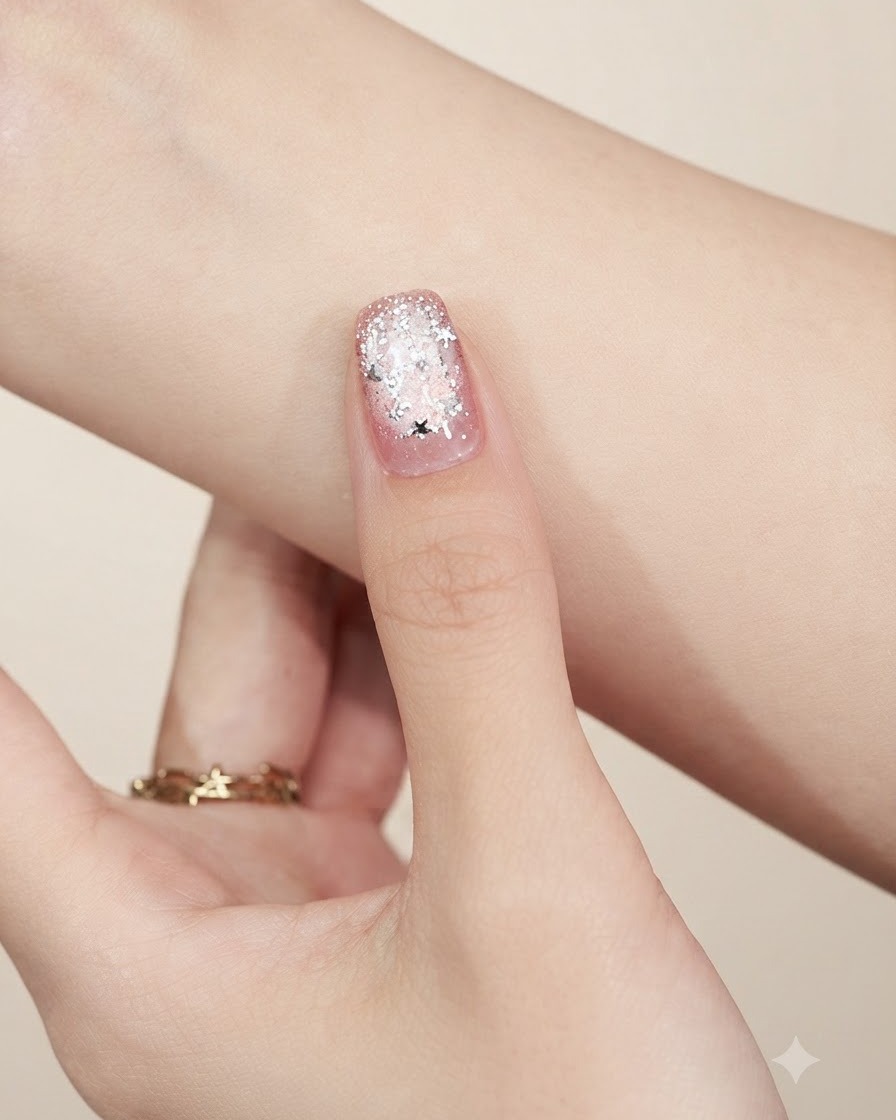
Using a detailing tool or a wax picker, gently pick up a small star-shaped glitter piece. Make sure the surface of the tool has a tiny bit of gel or tackiness if needed to secure the piece before placement.
Tip: A wax picker pencil makes grabbing and positioning tiny nail art decorations much faster and more precise than tweezers. - 8Place star glitter on the nail tip
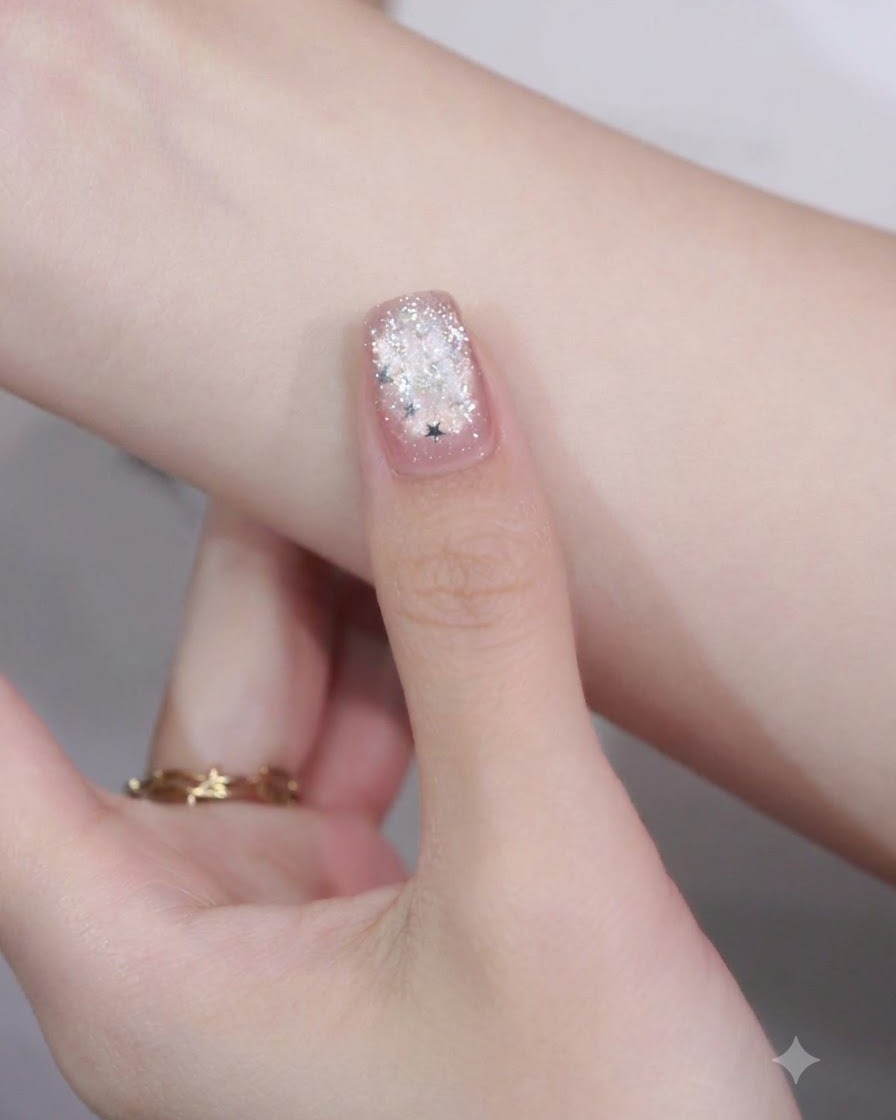
Carefully place the star glitter onto the nail tip directly over the previously drawn fringe detail. Press it down lightly so it adheres securely to the uncured or tacky gel surface before curing it under the lamp.
Tip: Seal the finished design with a layer of clear top coat to lock the star glitter in place and prevent it from catching or peeling off.