Half-Aurora Blush Cat-Eye Gel Manicure
Short Nails
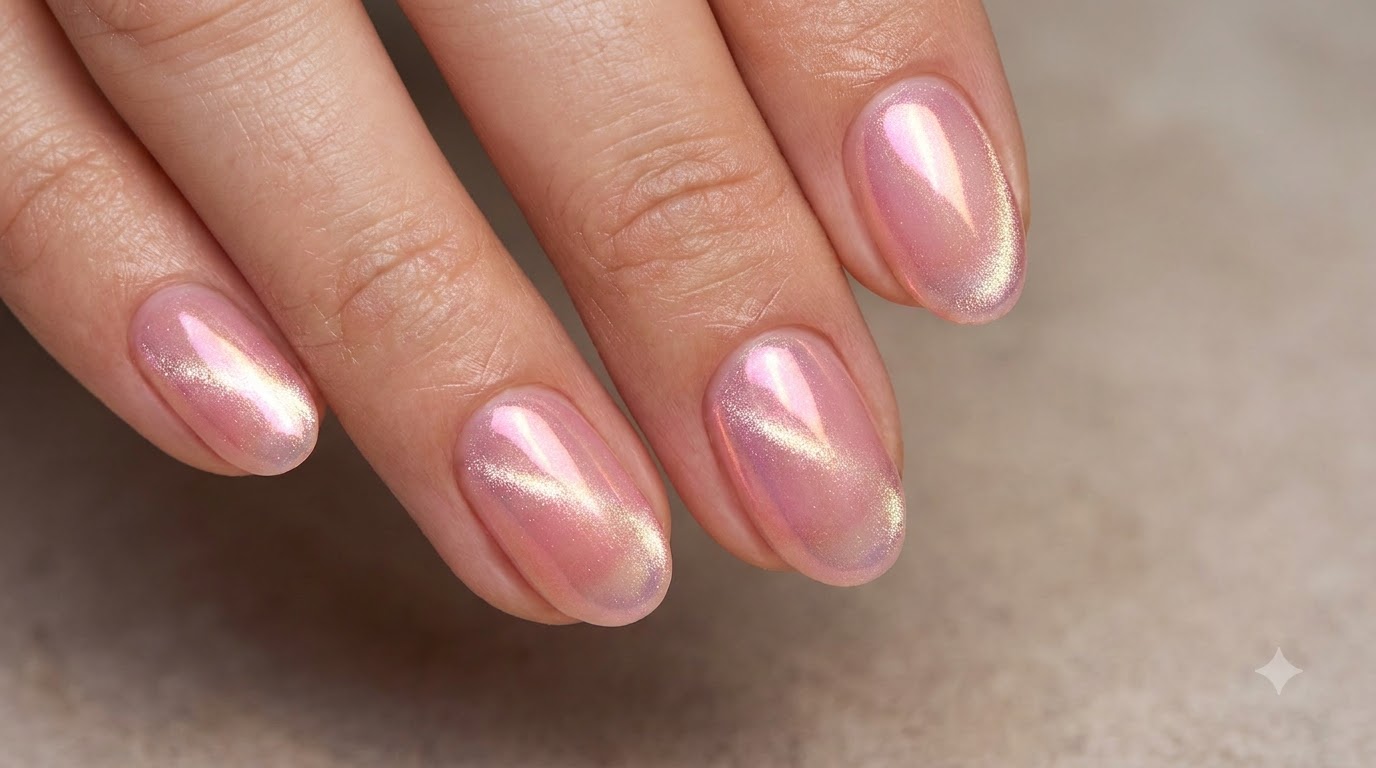
Transform your short nails with this stunning half-aurora blush cat-eye gel look. It features a smooth nude base, a soft pink blush gradient, and a shimmering side-light cat-eye finish.
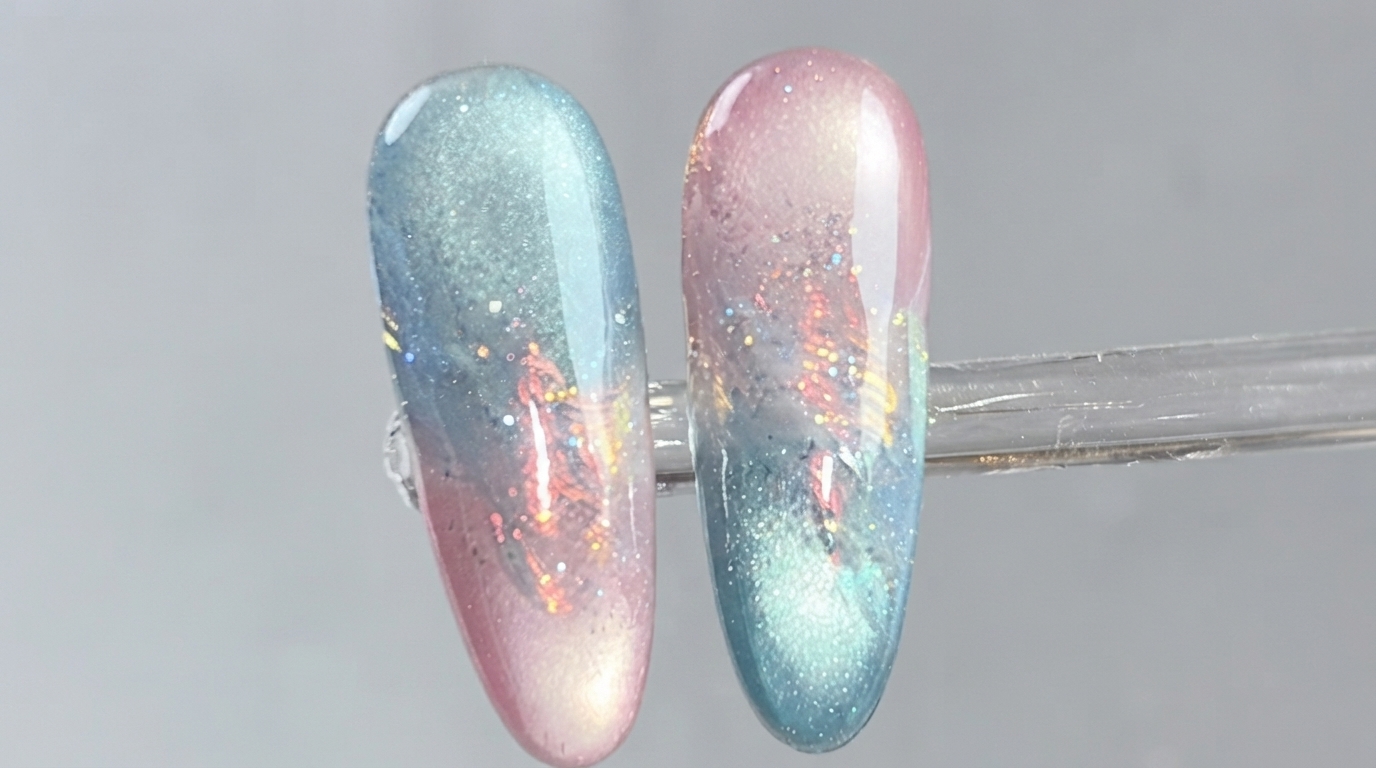
Today we are sharing a gorgeous daily look perfectly suited for short nails. This half-aurora blush cat-eye manicure combines a smooth, unstreaked nude base with a softly blended pink blush center. Finished with an iridescent aurora powder package and a glowing magnetic cat-eye effect, it delivers a translucent, ethereal shine that looks incredibly pretty and wears beautifully.
Steps
- 1Apply nude base color
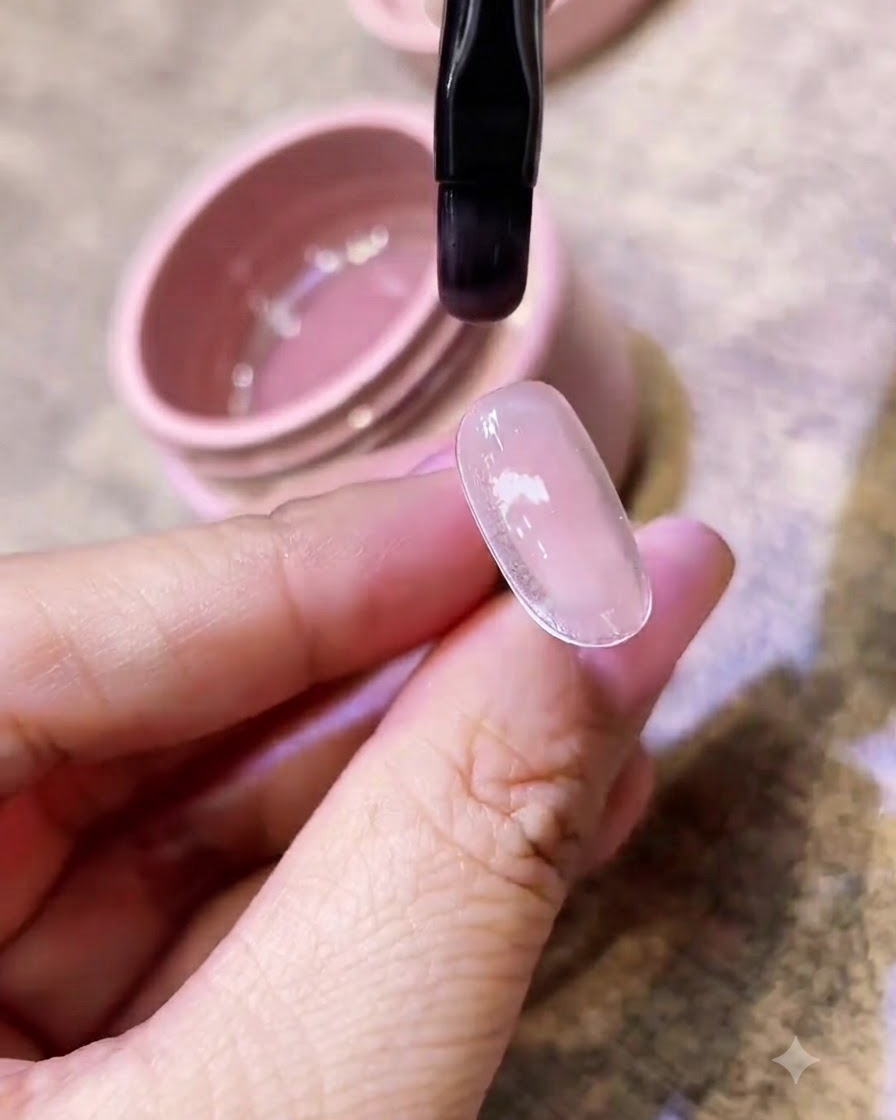
Using a flat gel brush, apply a smooth, even layer of nude base color gel onto the nail plate. Ensure the application is completely unstreaked to create the perfect texture and foundation for the aurora blush design.
Tip: Keep your brush parallel to the nail to float the gel smoothly without creating unwanted streaks. - 2Cure the nude base coat
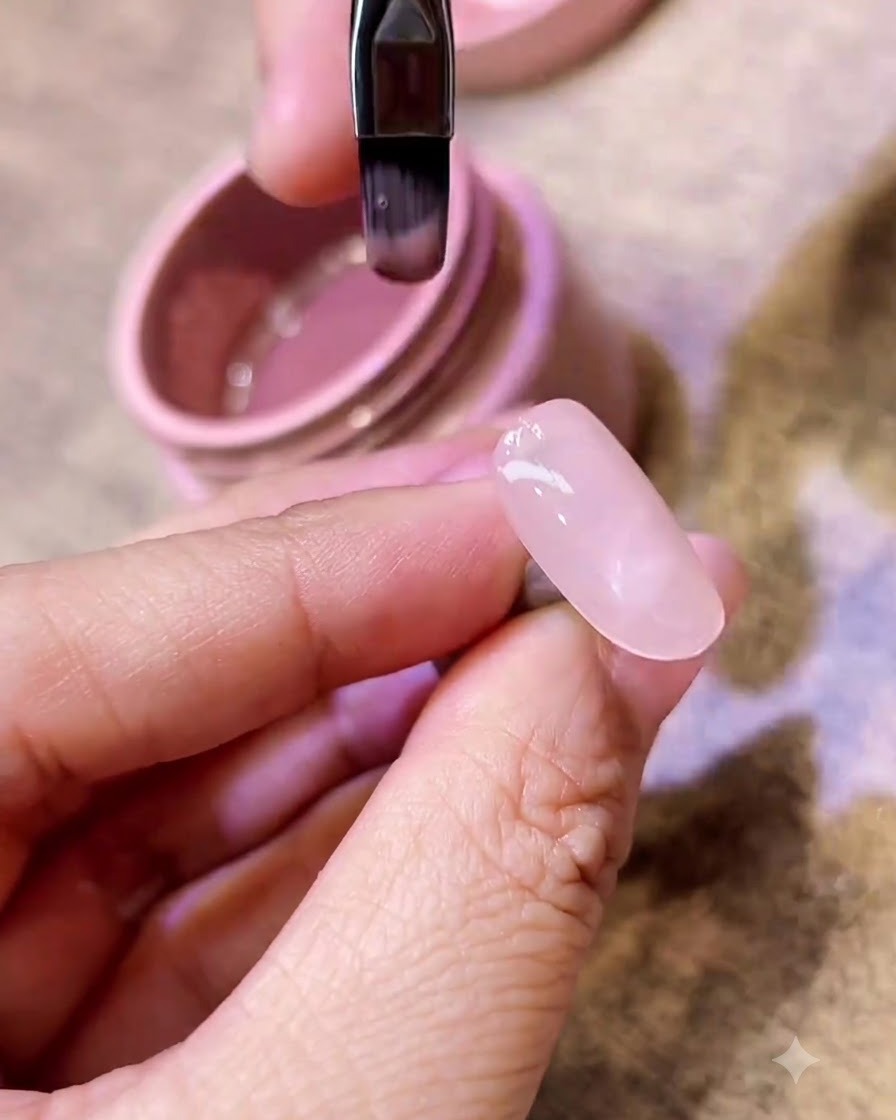
Place the hand under a UV or LED lamp to cure the freshly applied nude base coat. Follow your gel polish manufacturers recommended curing time to ensure the layer fully hardens and forms a strong foundation for subsequent layers.
Tip: Ensure your hand is placed flat inside the lamp so light reaches every part of the nail evenly. - 3Apply Pink Blush Pigment
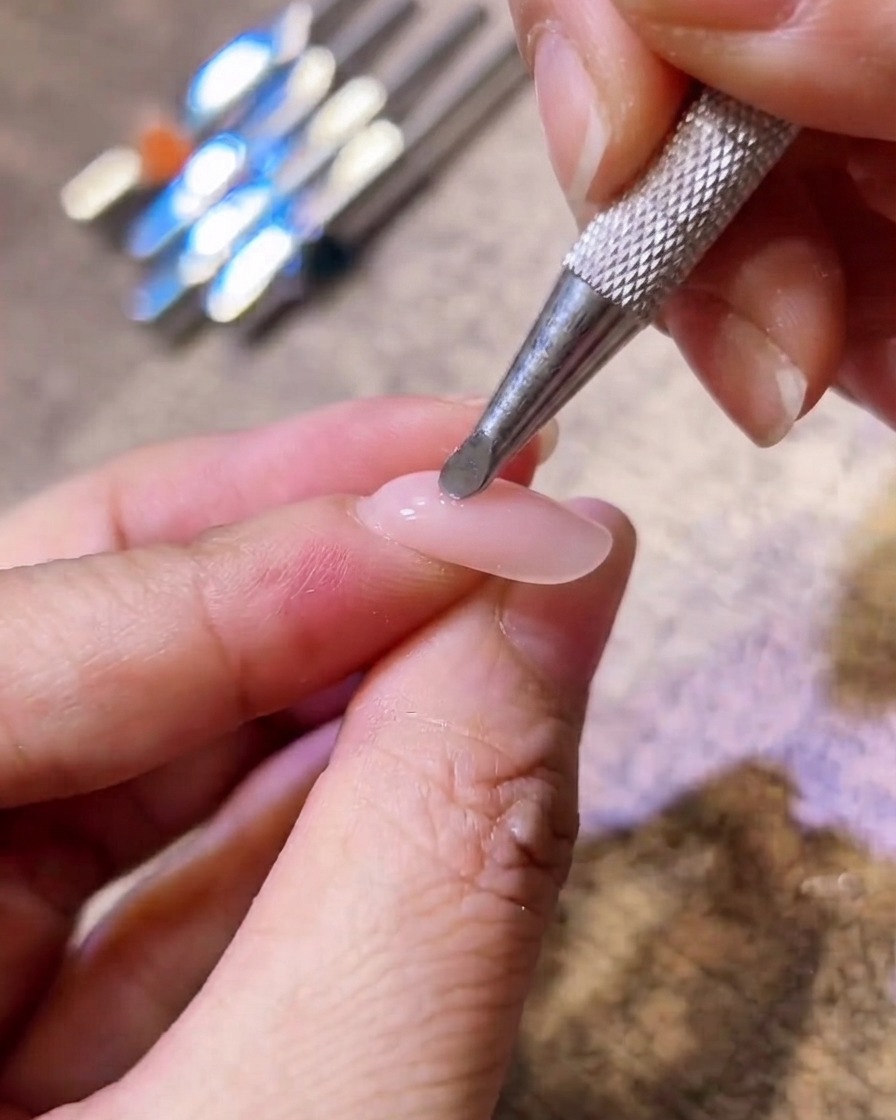
Apply your pink blush color pigment to the center of the nail plate. Use your applicator tool to carefully press and blend the color, focusing the intensity in the middle and diffusing it outwards for that soft, flush effect.
Tip: Work in light layers to build up the blush intensity exactly where you want it without it spreading too far. - 4Apply powder-backing gel layer
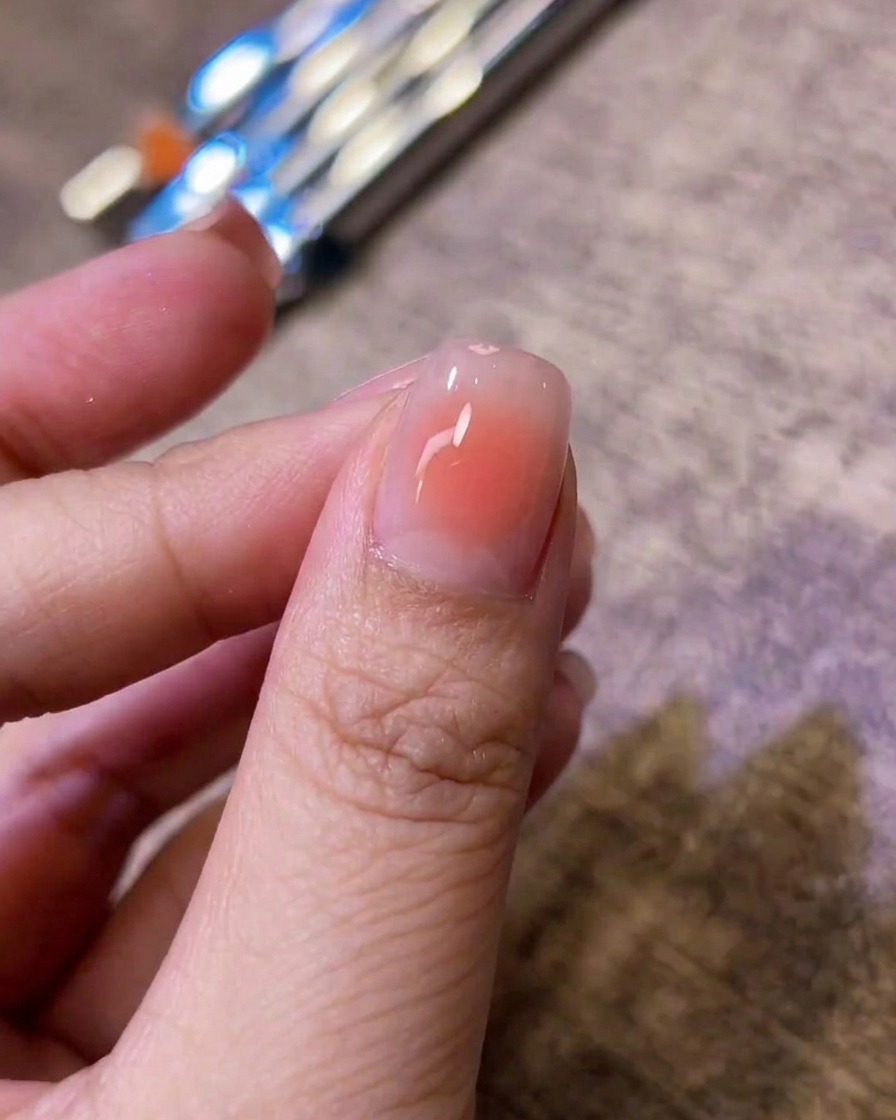
Once the pink blush color is perfectly blended in the center of the nail, apply a clear powder-backing or base gel layer over the entire nail. This clear coat protects the blush layer and provides the ideal tacky surface for the upcoming aurora powder application.
Tip: Ensure the clear gel completely encapsulates the blush color to protect the gradient effect. - 5Cure the powder-backing gel
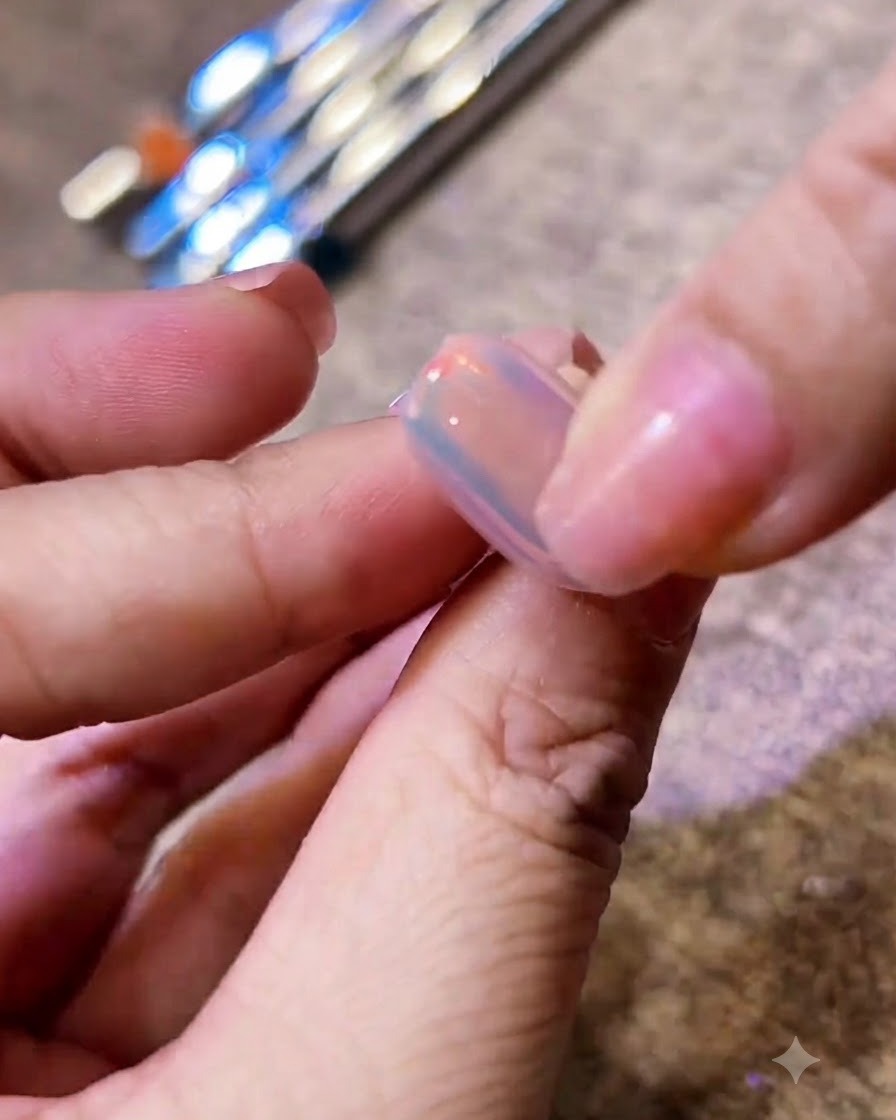
Place the nail under the UV/LED nail lamp to cure the newly applied layer. This sets the product firmly in place before moving on to the next decorative step or top coating.
Tip: Do not rush the curing process, as incomplete curing can lead to wrinkling or lifting. - 6Apply aurora chrome powder
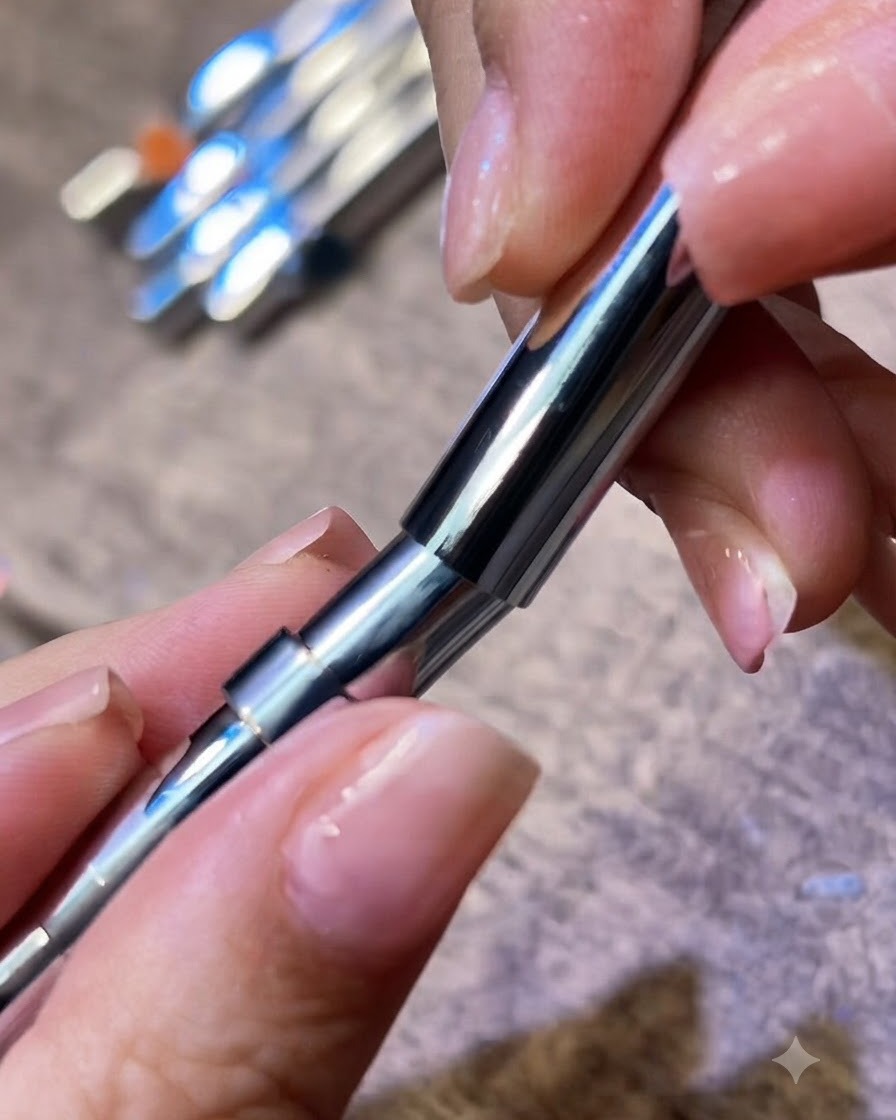
Take a flat silicone applicator brush and gently buff aurora chrome powder over the cured nail surface. Make sure to wrap the powder around the free edges smoothly to ensure long-lasting wear and prevent chipping.
Tip: Buff the powder lightly using circular motions until a smooth, mirror-like aurora sheen appears. - 7Buff and Smooth the Chrome
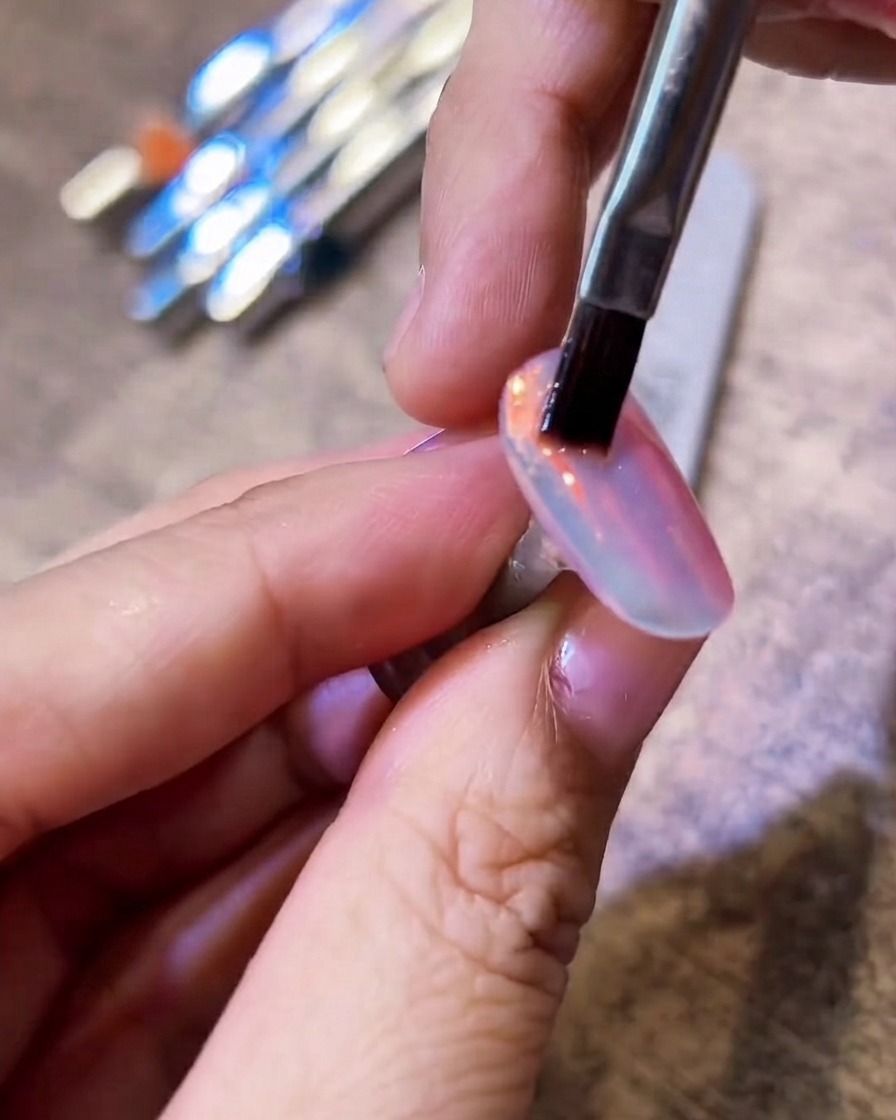
Take a flat bristle brush and gently buff over the entire nail to smooth out the chrome powder layer. This sweeping motion removes any excess loose pigment and burnishes the powder to achieve a flawless, high-shine aurora finish.
Tip: Keep your brush clean and dry so it easily sweeps away excess powder without leaving streaks. - 8Seal chrome with top coat
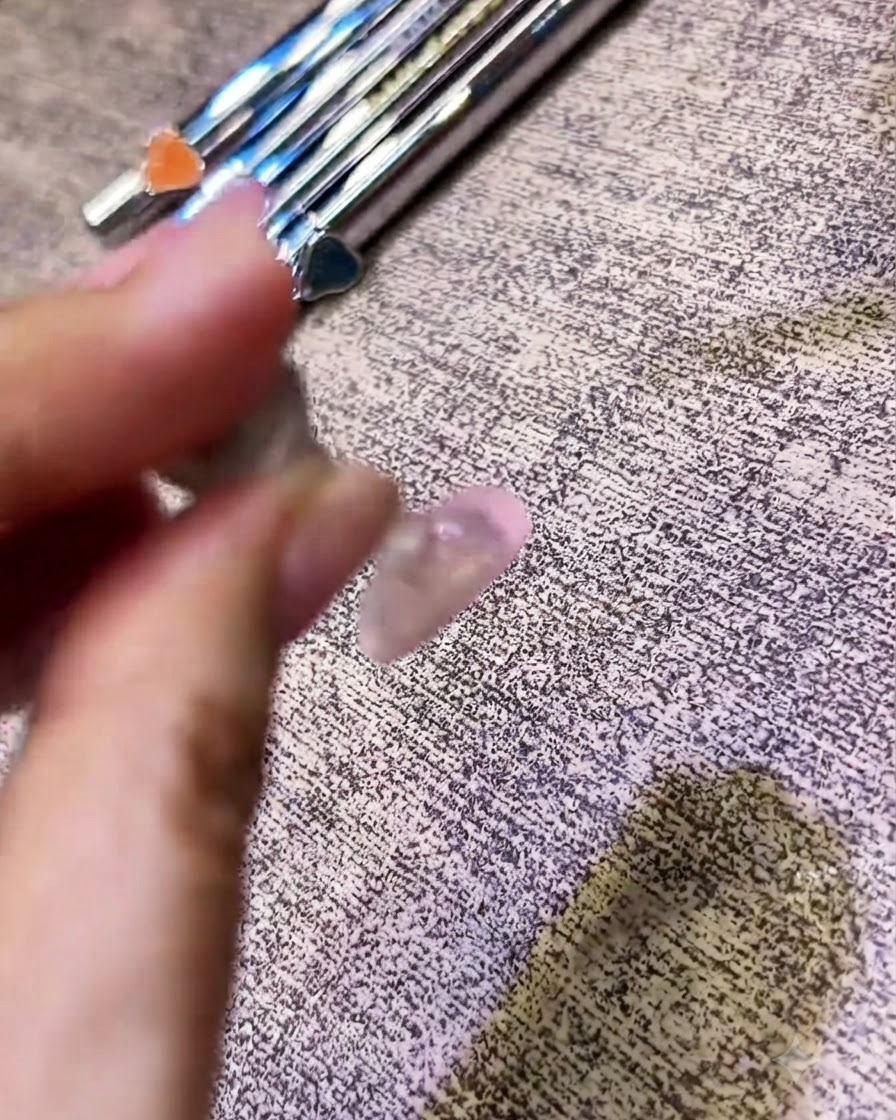
Apply a layer of no-wipe top coat evenly over the aurora chrome layer to seal in the pigment and protect the finish. Cure the nail under a UV/LED lamp to achieve a durable, high-gloss shine.
Tip: Seal the free edge carefully with the top coat to prevent the chrome from wearing off at the tips. - 9Apply magnetic cat-eye gel
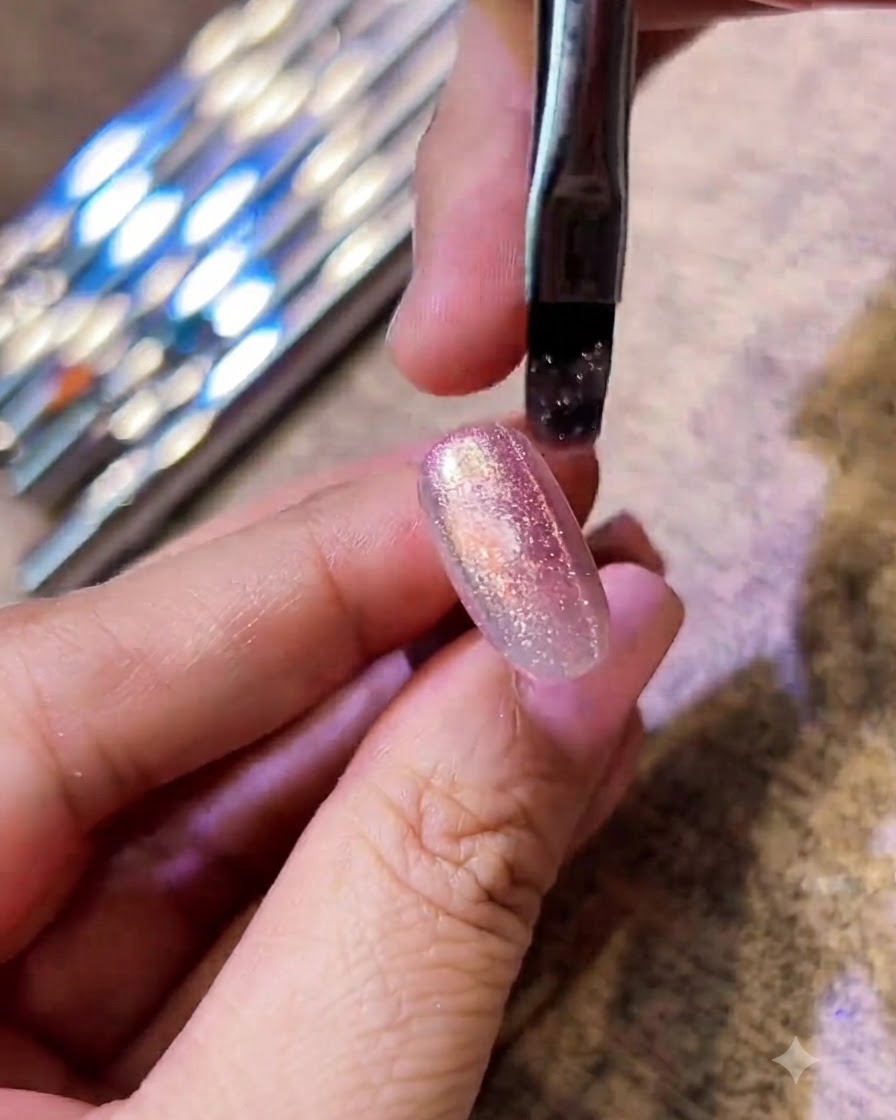
Brush a smooth layer of magnetic cat-eye gel polish evenly over the nail surface. Do not cure it yet, as you will need the wet gel consistency to manipulate the magnetic particles.
Tip: Keep the layer even and avoid thick globs so the cat-eye effect can shift cleanly. - 10Create side-light cat-eye effect
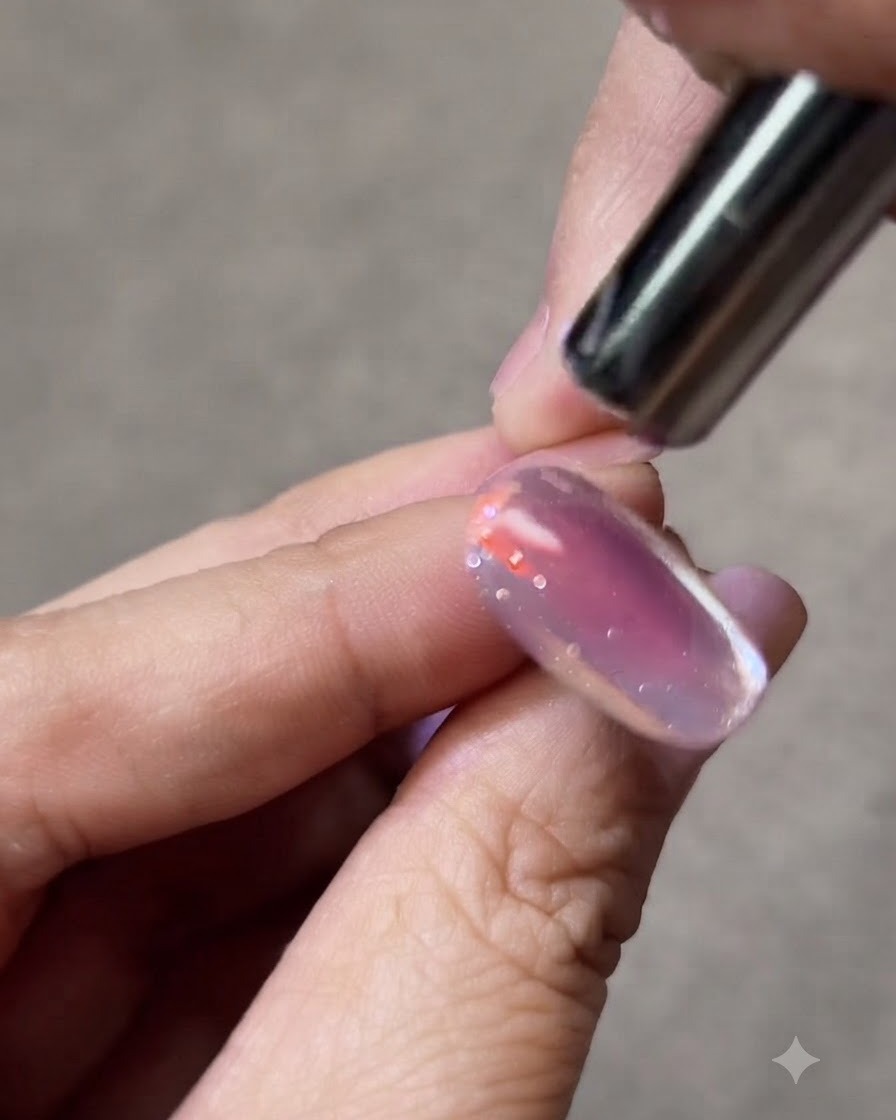
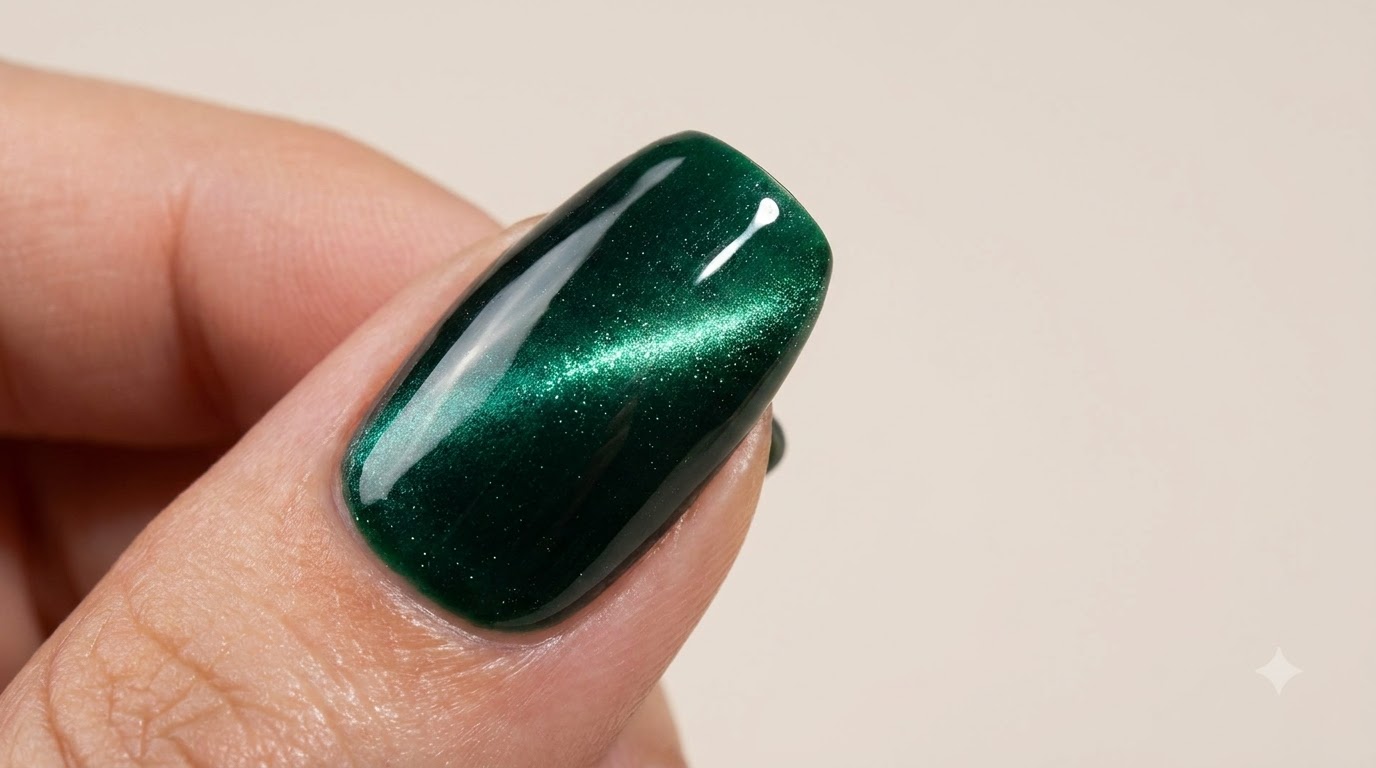
Hold a specialized magnet close to the side of the nail without touching the wet gel. The magnetic field will pull the reflective particles away from the edges, creating a distinct side-light glowing stripe effect. Cure immediately once the desired effect is achieved.
Tip: Hold the magnet steady for a few seconds to let the particles lock into position before curing. - 11Cure cat-eye gel
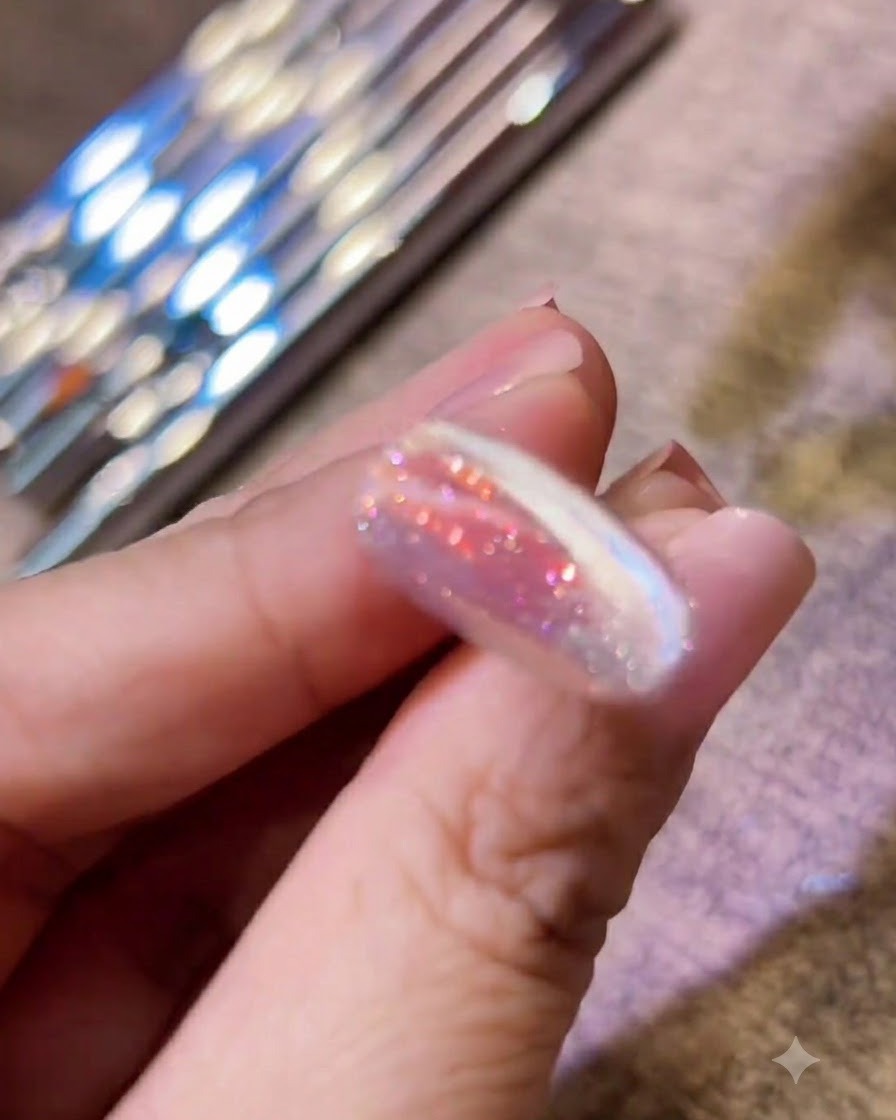
Place the hand under the UV or LED lamp to cure the cat-eye gel layer. Ensure the light fully sets the product to lock in the magnetic shimmer effect before applying the final top coat.
Tip: Keep the fingers steady inside the lamp to prevent the gel or magnetic effect from shifting before it cures. - 12Apply final top coat and cure
Apply a final sealing top coat evenly over the entire nail art design, ensuring all edges are properly capped. Cure the top coat under the UV or LED lamp to complete the manicure and provide a long-lasting, glossy finish.
Tip: Capping the free edge with top coat is essential for preventing chipping and extending the wear time of your manicure.