Pink and Yellow Sunset Gradient Nails
Sweet Heart Details
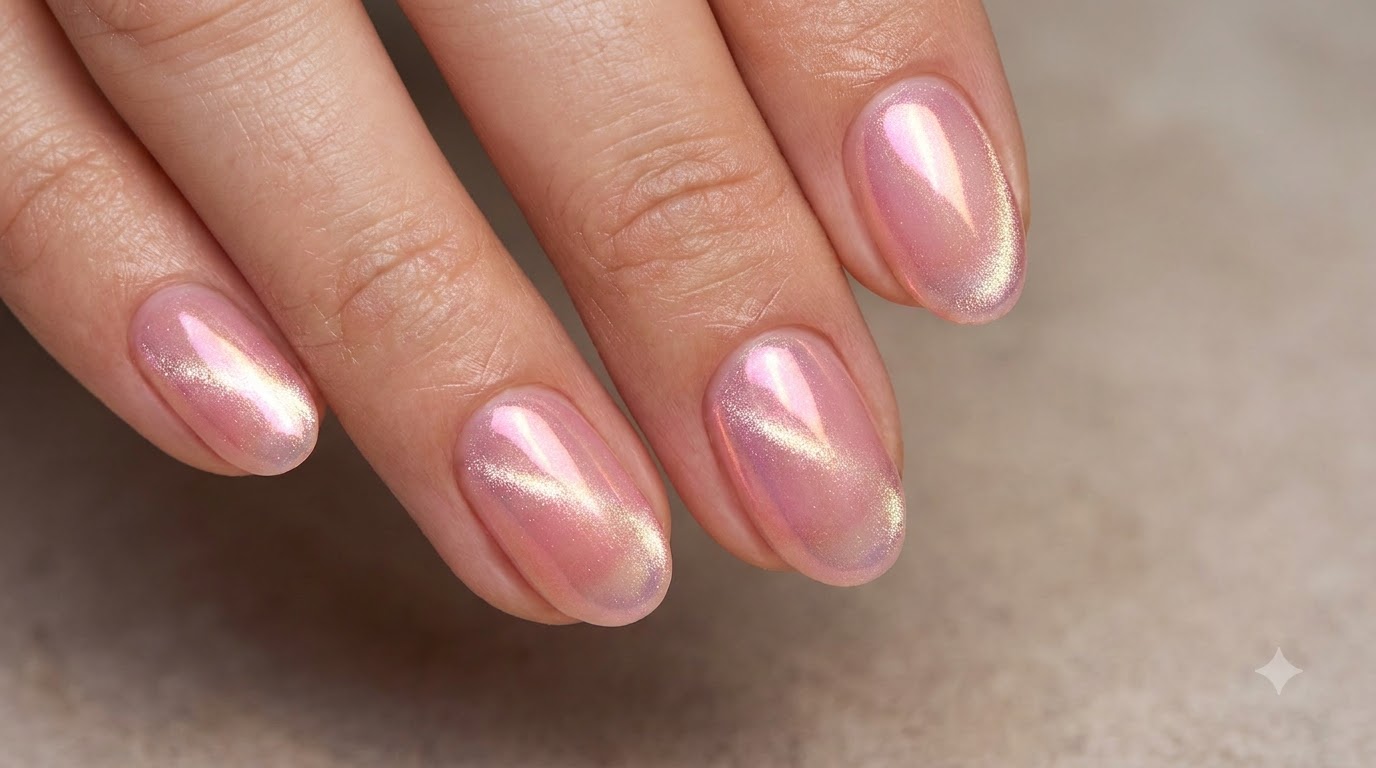
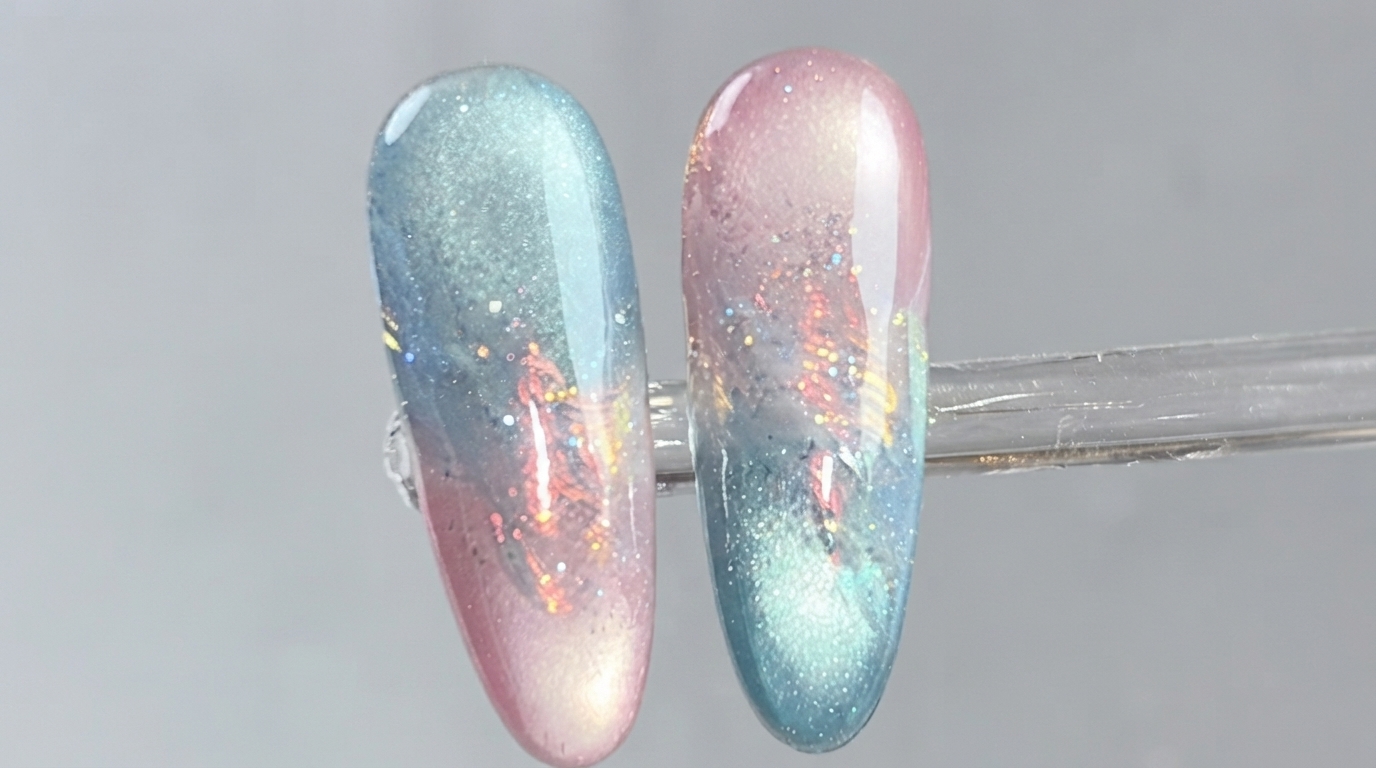
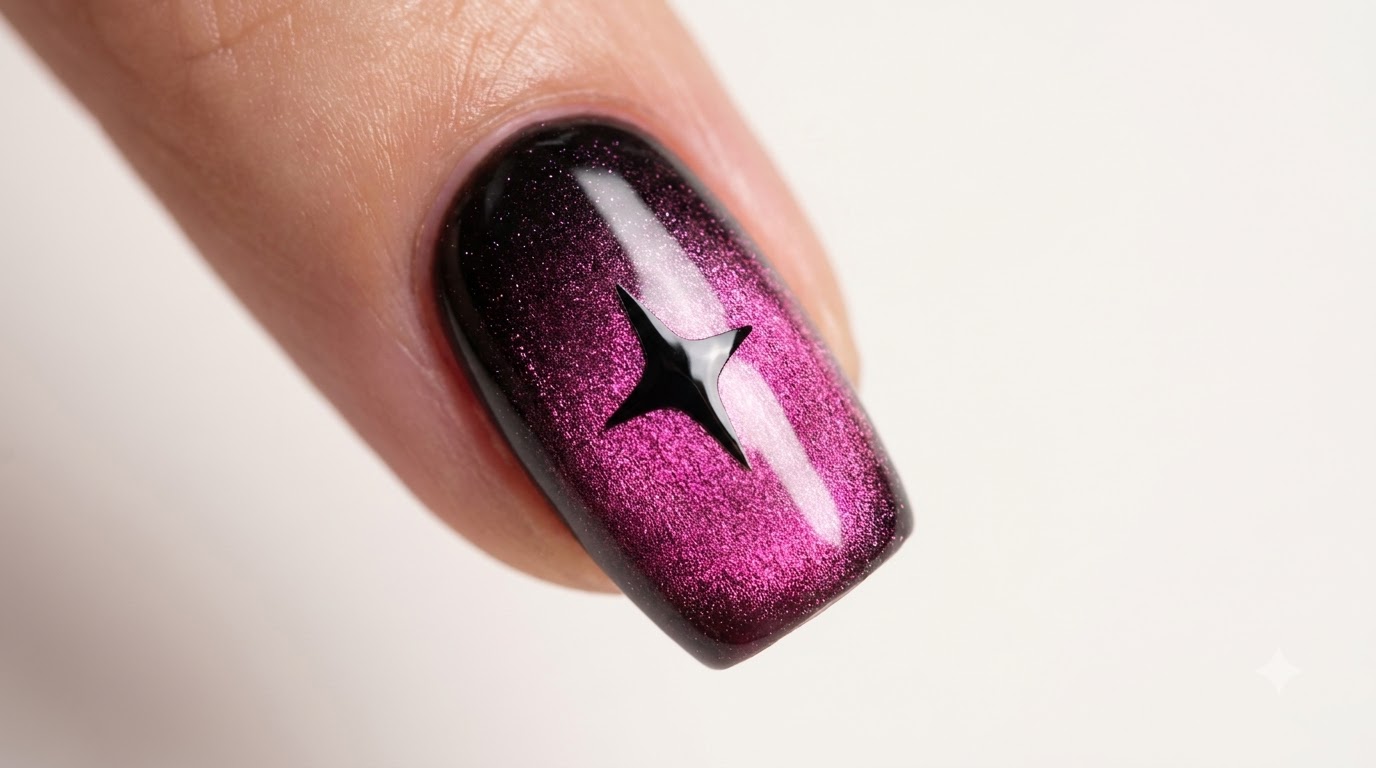
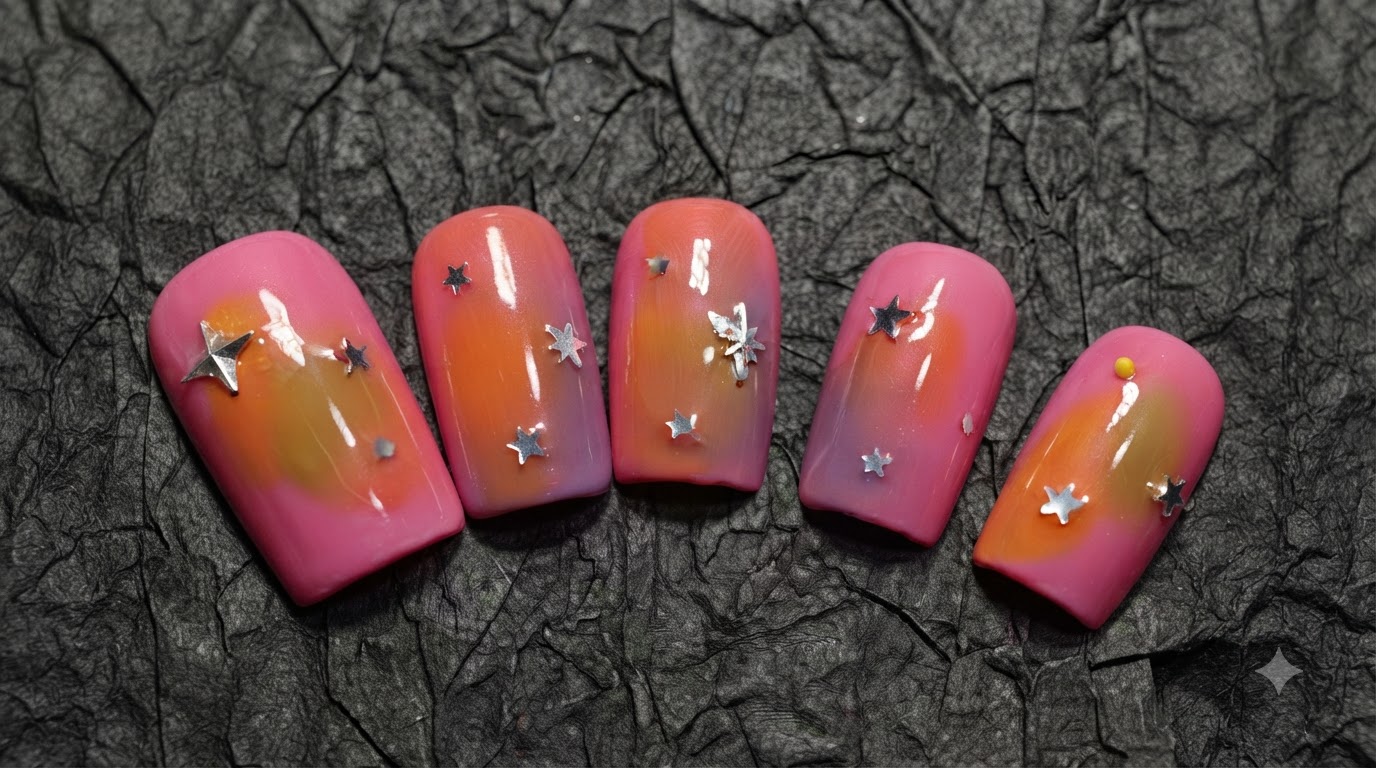
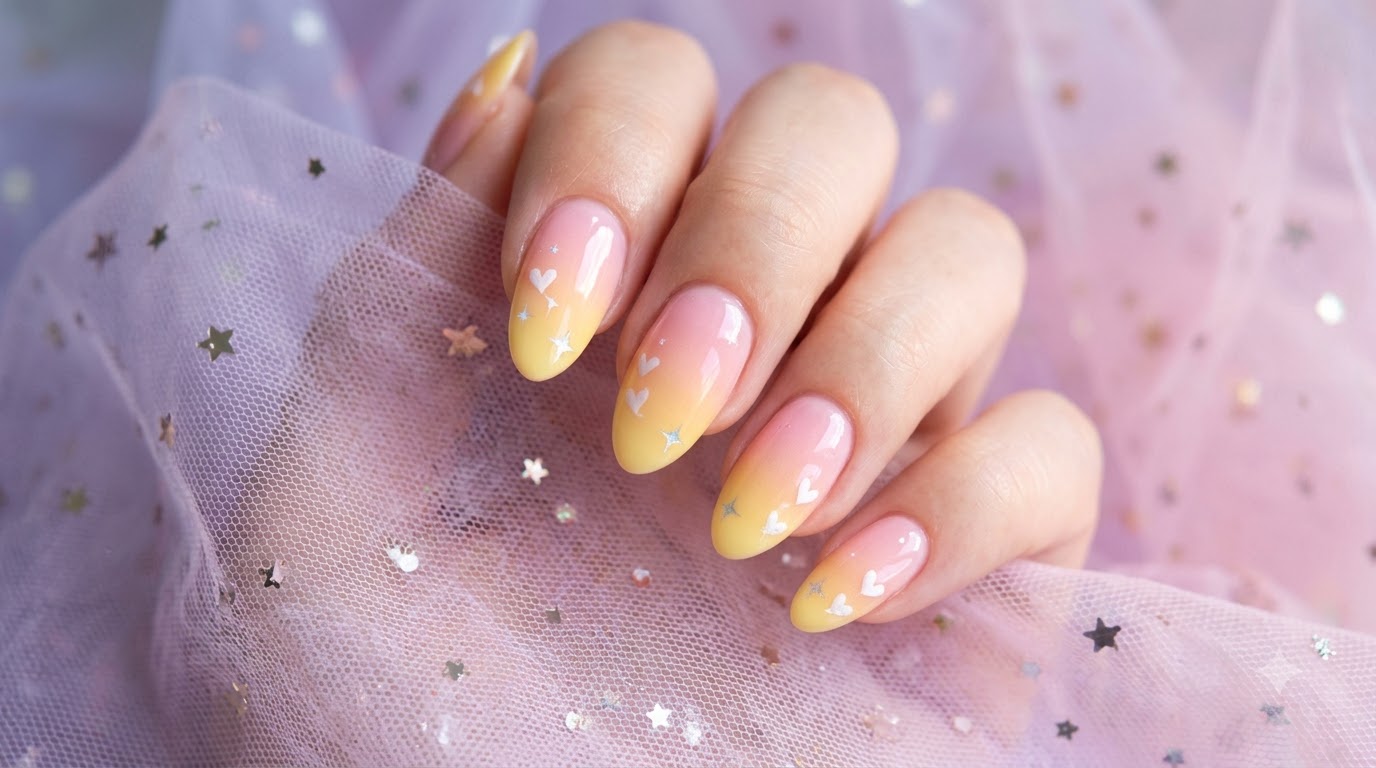
Create an ethereal pink and yellow gradient nail look featuring delicate white painted hearts, subtle star sparkles, and a high-gloss gel finish.
Sunset gradient nails bring a dreamy, romantic warmth to your fingertips, blending soft pastel shades into a seamless hazy ombre. Enhanced with tiny hand-painted white hearts and sparkling star accents, this airy design looks effortlessly elegant and fairy-like.
Steps
- 1Apply yellow gel to the tips
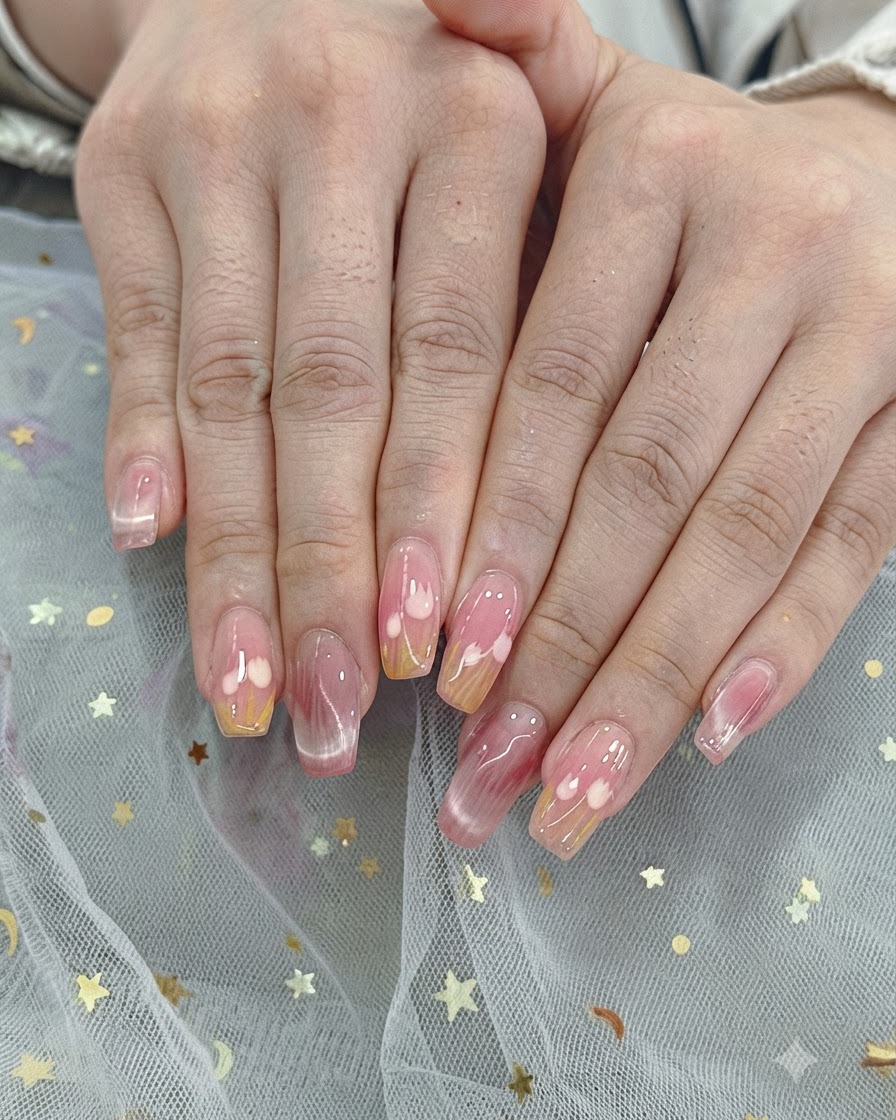
Using a fine brush, carefully apply a soft yellow gel polish directly to the free edge and tip of each prepped nail to form the base of the gradient design. Keep the application thin and avoid pooling product near the edges.
Tip: Applying a sheer or soft yellow gel helps create a smooth transition when blending later. - 2Blend pink and yellow for ombre effect
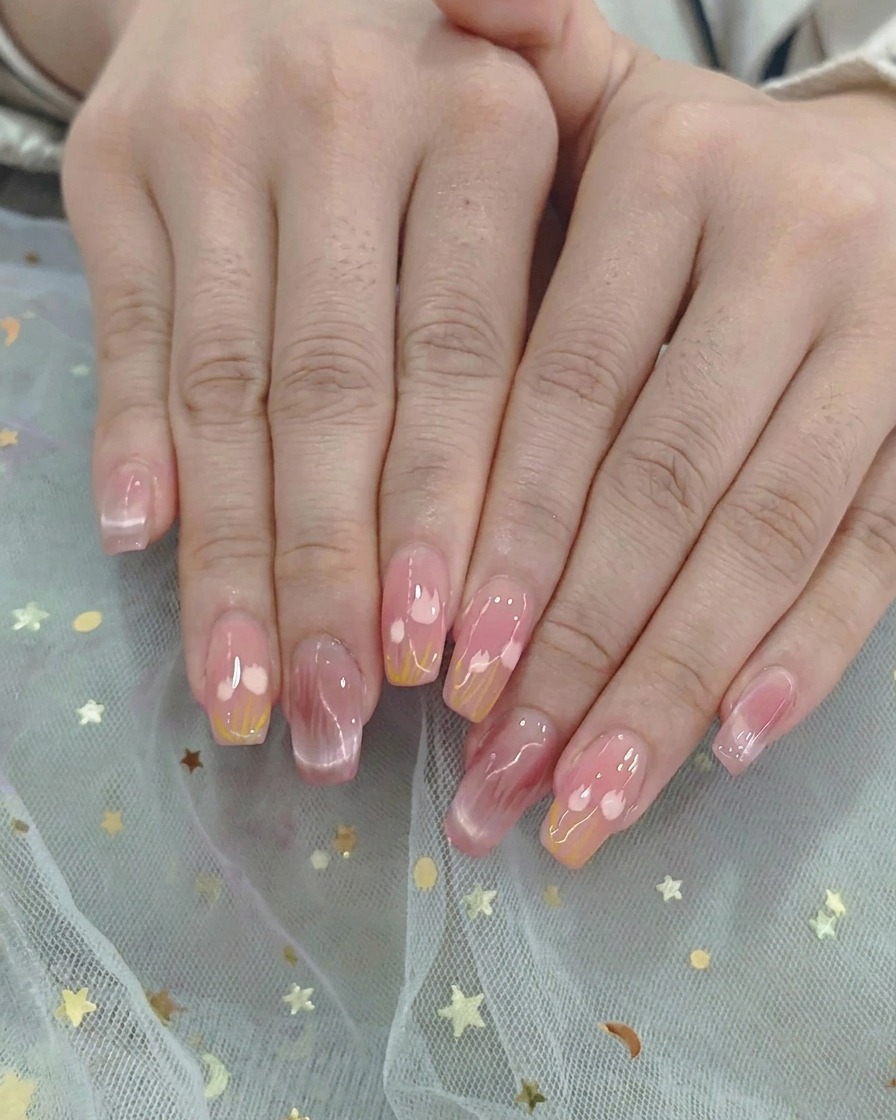
Take an ombre brush or sponge and gently tap the meeting point where the pink and yellow gel layers overlap in the center of the nail. Softly feather the edges together to create a seamless, hazy gradient transition.
Tip: Use light, vertical tapping motions rather than heavy strokes to avoid muddying the colors. - 3Cure the gradient layer
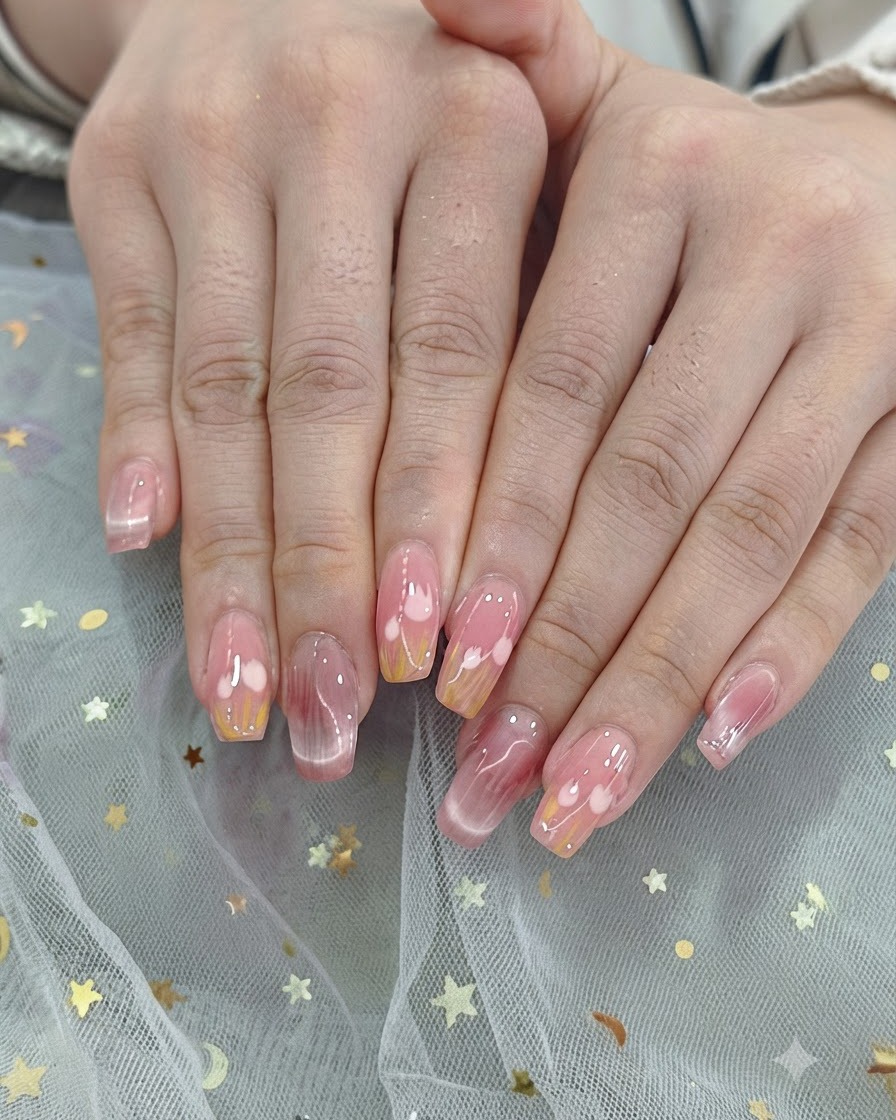
Position the hand comfortably inside the UV or LED nail lamp, making sure all fingers are exposed to the light evenly. Cure the blended gradient layer for the full recommended duration to lock the colors in place.
Tip: Ensure your fingers stay flat so the gel does not pool to one side during curing. - 4Paint hearts and stars on the tips
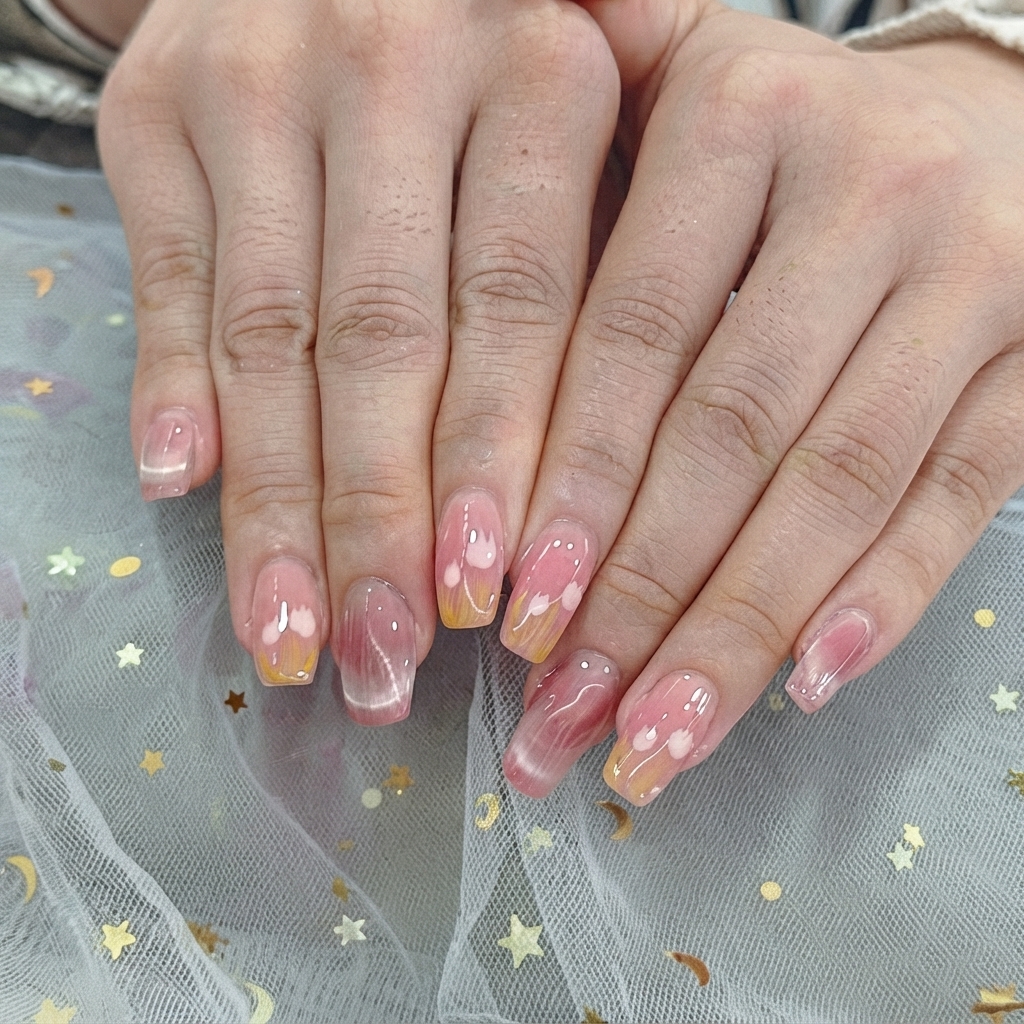
Dip a fine liner brush into white gel paint and delicately draw tiny, charming heart and star outlines or filled shapes onto the gradient nail tips. Take your time to keep the linework crisp and consistent across each nail.
Tip: Wipe your liner brush clean frequently to maintain a razor-sharp point for detailed art. - 5Add sparkle around the nail art
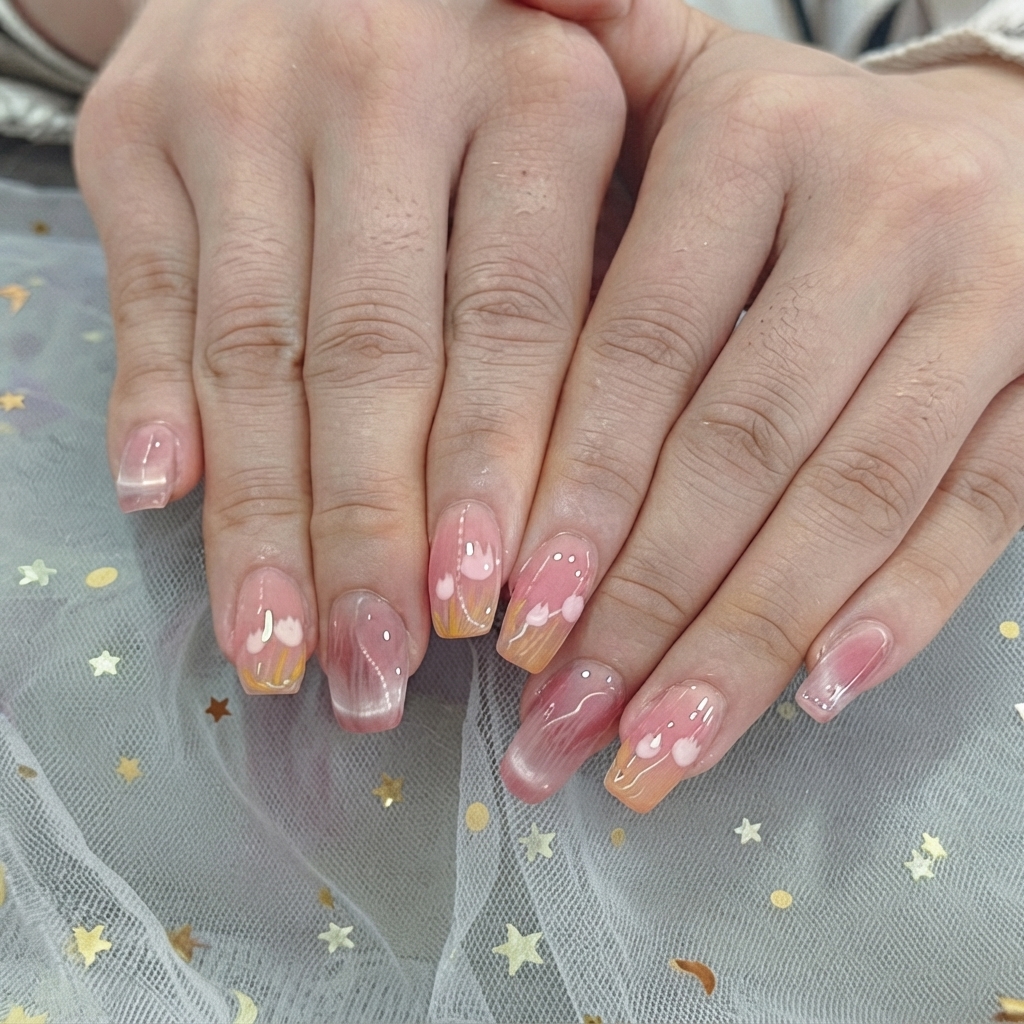
Take a small detail tool or brush and dab a tiny amount of subtle glitter or translucent shimmer polish around the painted hearts and stars. This adds an ethereal, sparkling dimension that catches the light beautifully.
Tip: Less is more with fine glitter accent placement; focus on tiny clusters rather than heavy coverage. - 6Apply glossy top coat
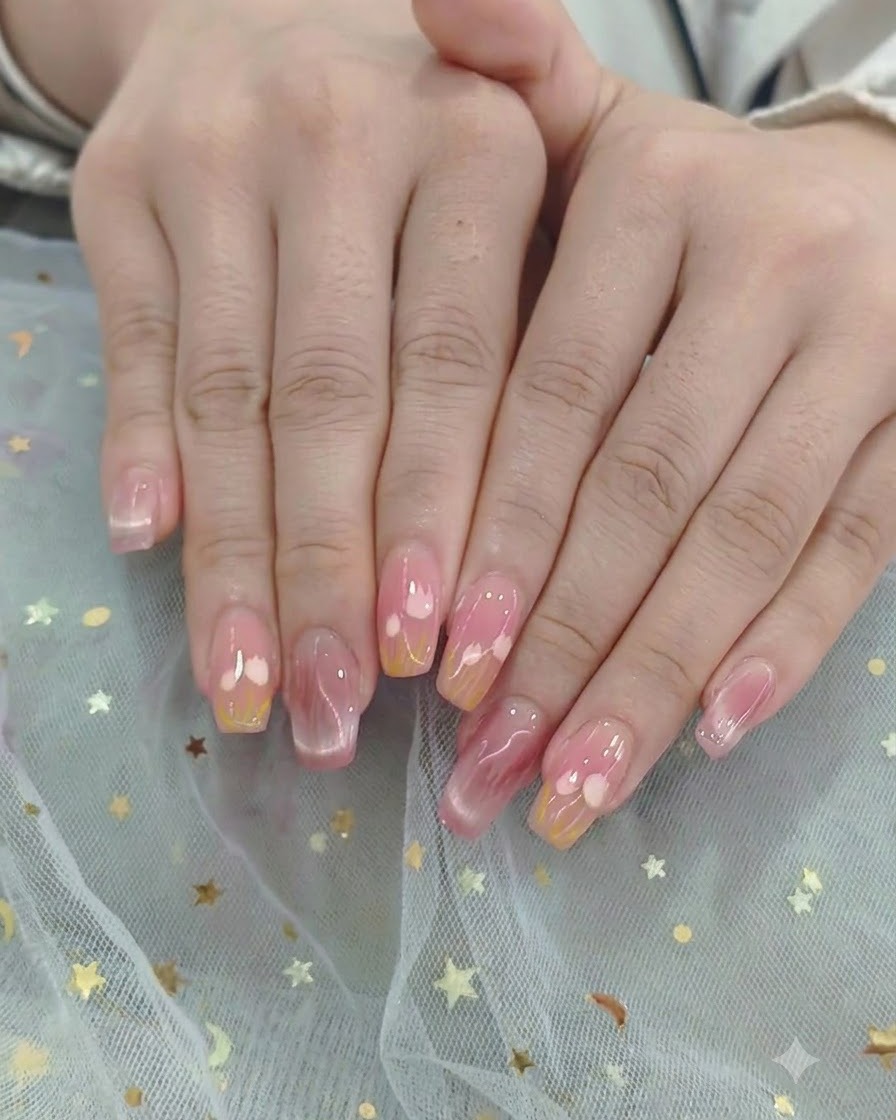
Finish the manicure by applying a smooth, generous layer of glossy, no-wipe top coat over the entire surface of every nail. Cap the free edge carefully to secure the art and cure under the lamp for a glass-like shine.
Tip: Capping the free edge with top coat prevents chipping and protects your delicate nail art from wear. - 7Final cure under UV/LED lamp
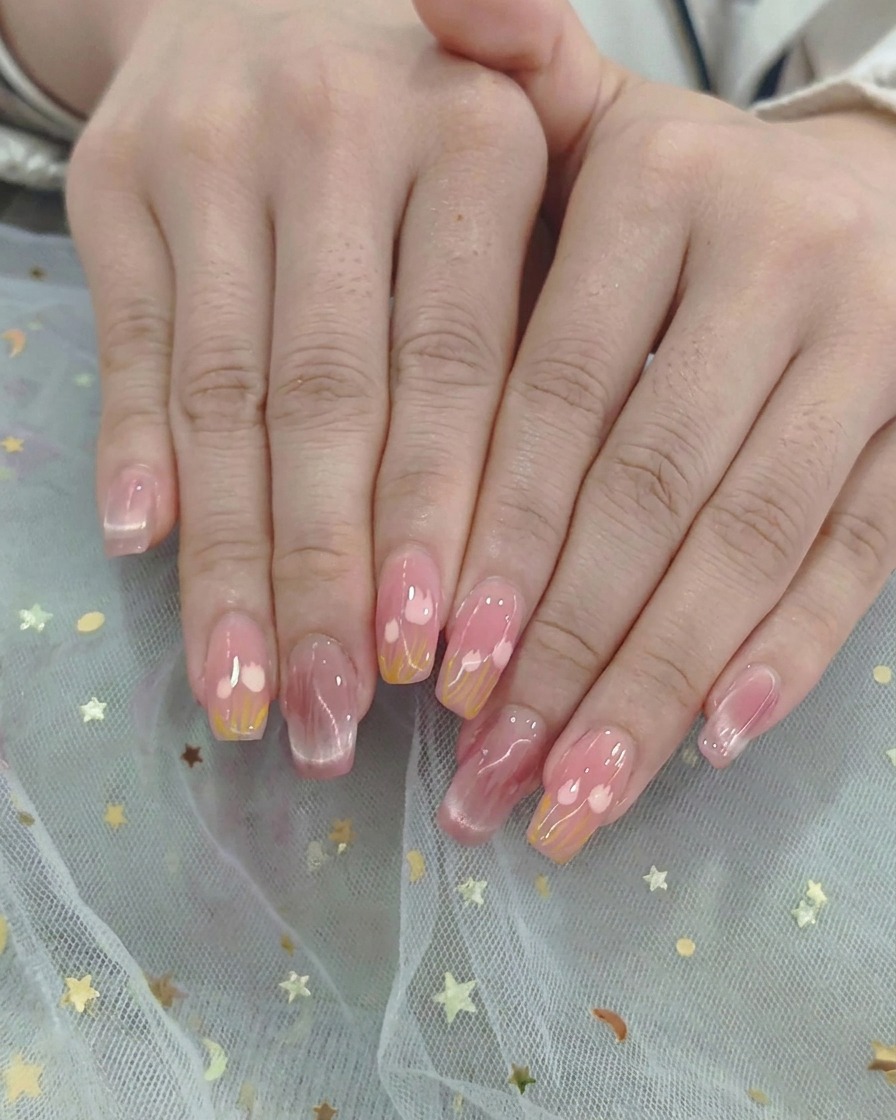
Place both hands under the UV or LED lamp one final time to fully cure the top coat and lock in all layers. Ensure the hands are positioned properly so that every fingernail receives direct light exposure for the complete curing cycle recommended by your gel manufacturer.
Tip: Do not remove your hands early; an incomplete cure can result in a tacky surface, reduced shine, and premature chipping.