Floral Bow French Manicure — Step-by-Step Gel Nail Art Tutorial
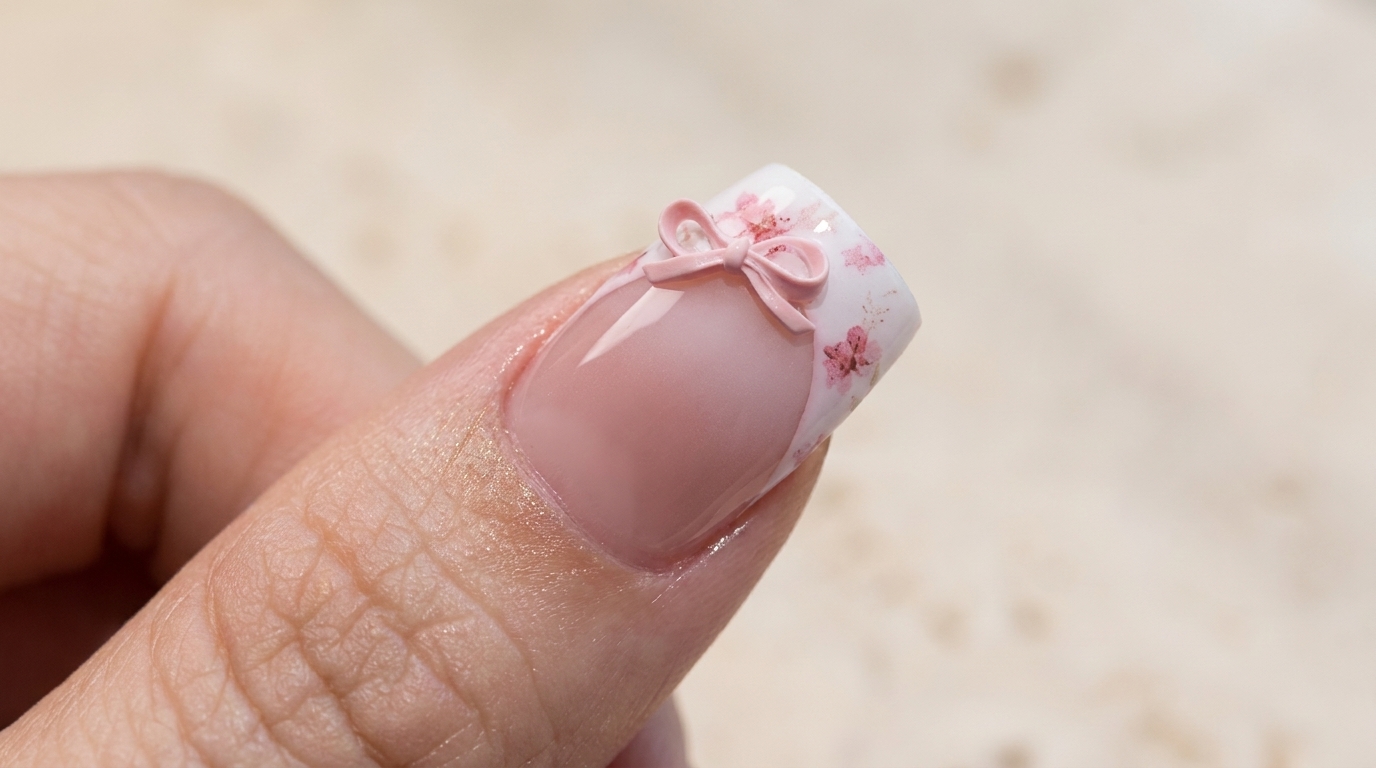
Create an elegant French manicure featuring a delicate pink floral gradient, crisp white tips, and a charming 3D pink ribbon bow accent.
The floral bow French manicure blends classic elegance with sweet, feminine detailing. By combining a soft pink gradient base with dainty cherry blossom stickers and a statement 3D bow, this design elevates standard French tips into a work of wearable art that looks stunning for any special occasion.
Steps
- 1Position finger and cure base coat
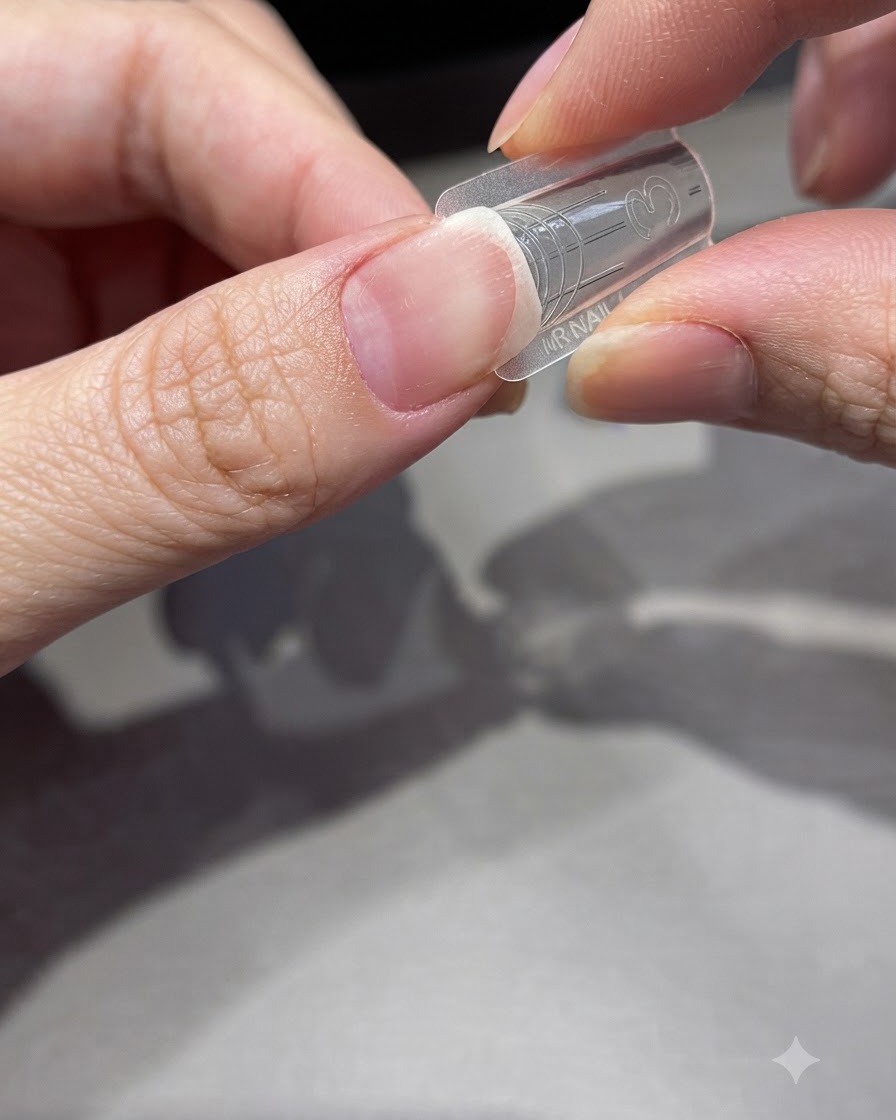
Place your index finger under the UV lamp with your finger supporting the mold form from beneath to ensure proper alignment. Cure the peelable base coat according to your lamp specifications to set the foundation layer securely on the form.
Tip: Keep your finger steady during curing to prevent the base coat from shifting or forming air bubbles on the mold surface. - 2Apply milk extension gel
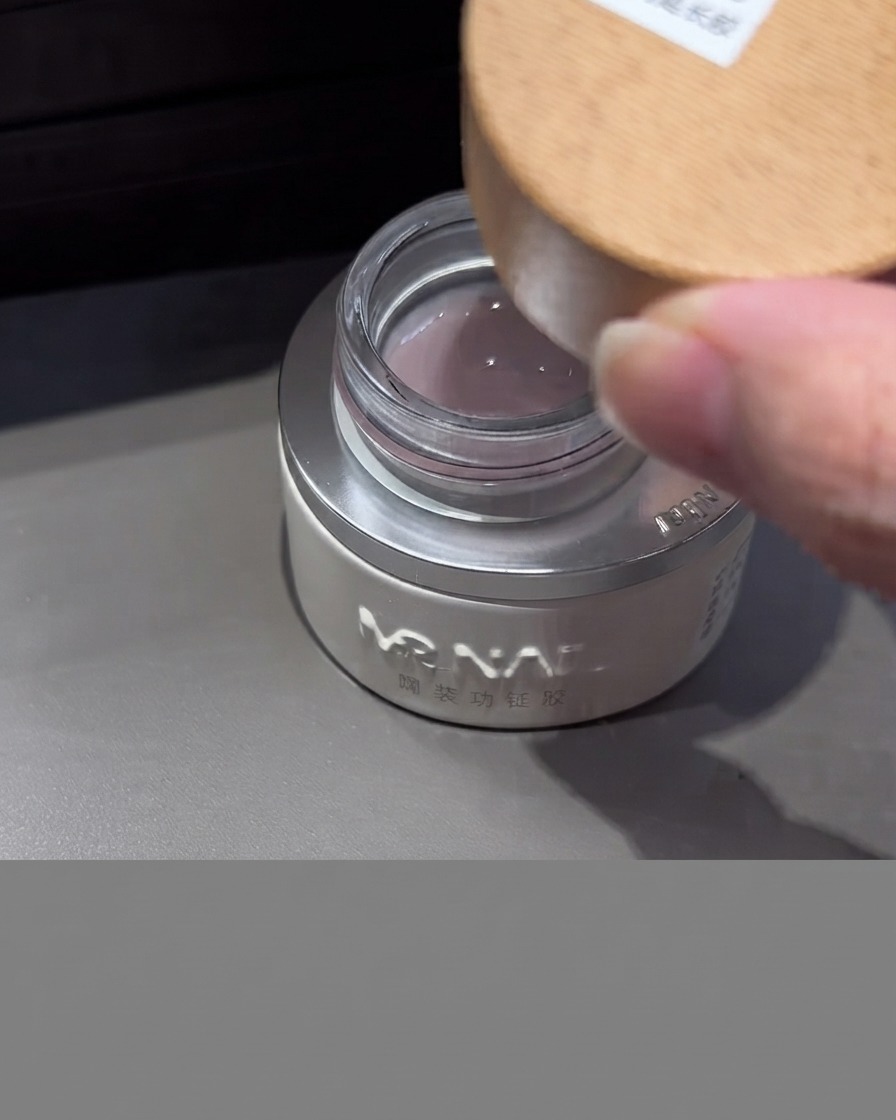
Dip your brush into the container of milk extension gel to gather a measured bead of product. Place and apply the milk extension gel evenly onto the tip area of the mold form, establishing the structure for the nail extension.
Tip: Take a controlled amount of gel to avoid overflow and ensure a smooth, manageable layer on the extension mold. - 3Spread and build extension gel
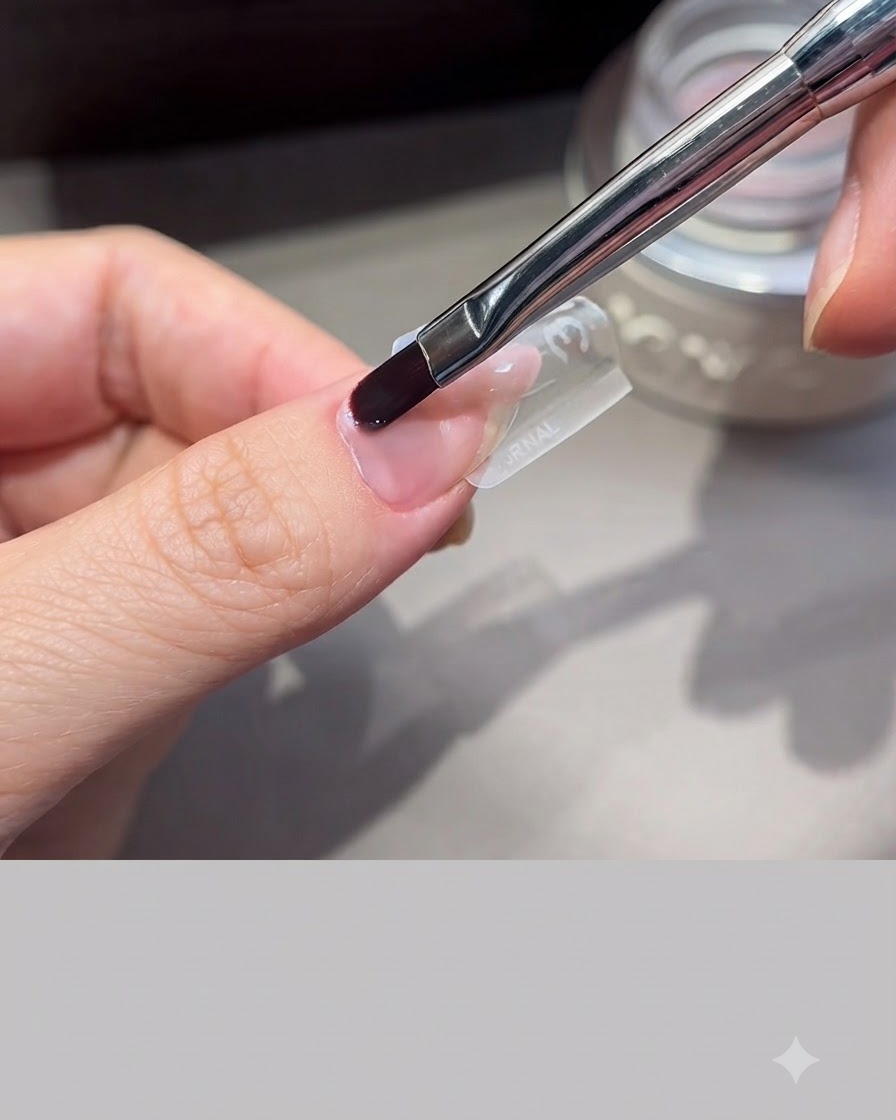
Using your application brush, gently spread and build the milk extension gel uniformly across the nail plate area and onto the form. Work the gel smoothly toward the cuticle boundary to create a seamless transition and even thickness.
Tip: Use light, sweeping pressure with the brush to avoid dragging or leaving streaks in the extension gel. - 4Fine-tune gel application
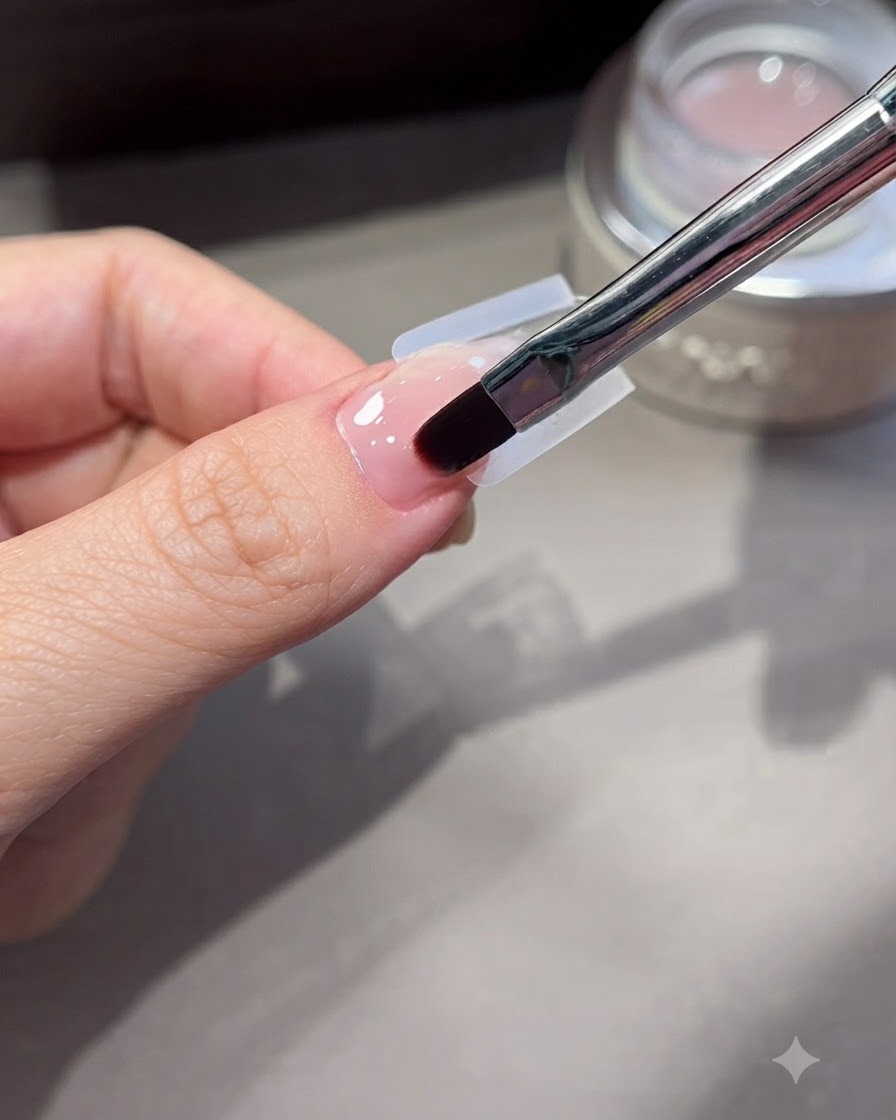
Take a fine liner brush to meticulously adjust, smooth out, and perfect the edges of the gel application. Ensure the product is clean around the sidewalls and cuticle zone before curing.
Tip: A liner brush gives you ultimate precision for cleaning up gel boundaries and achieving a flawless, professional shape. - 5Adjust arch and cure
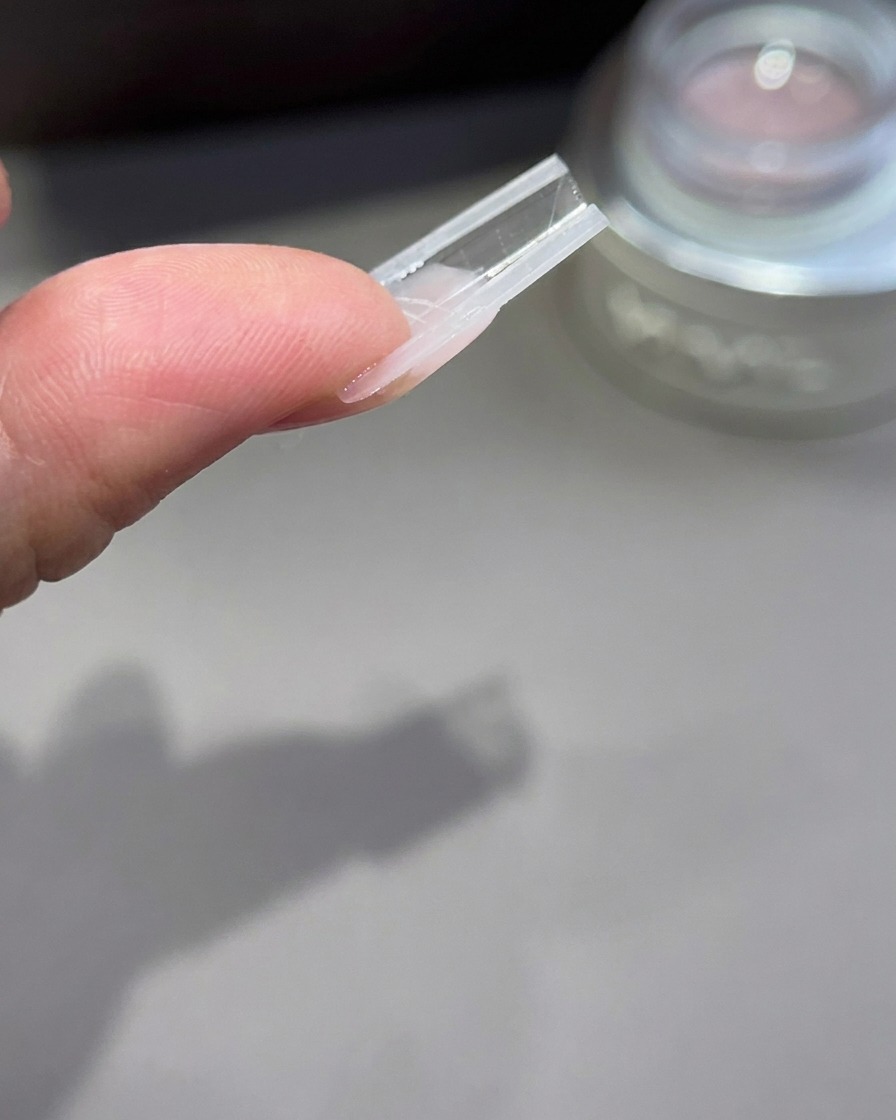
Invert the finger and nail structure to allow gravity to naturally balance the apex and refine the arch profile. Once the desired shape is achieved, cure the gel under a handheld UV lamp to lock in the structure.
Tip: Inverting the nail for just a few seconds before curing helps self-level the gel and creates a strong, natural-looking apex. - 6Remove the dual form
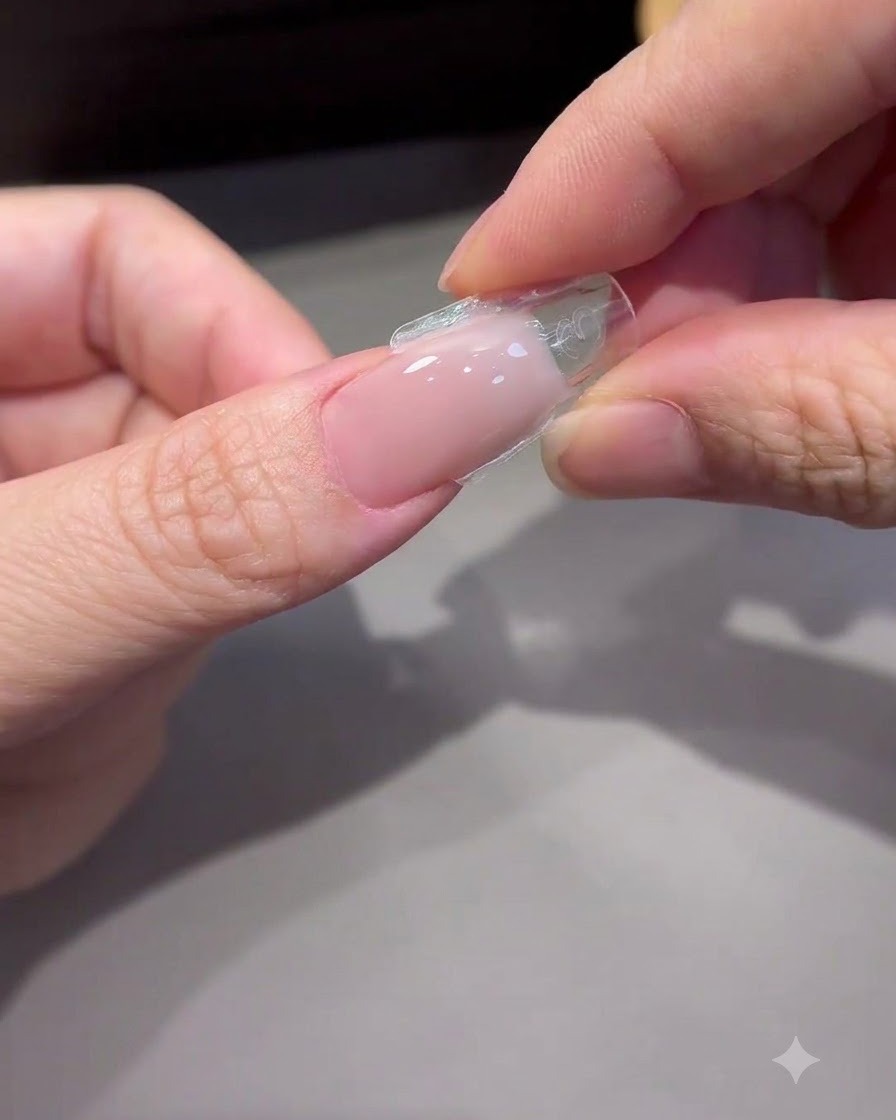
Gently pinch both sides of the plastic dual form to break the suction and easily detach it from the cured gel extension. Ensure the gel is fully hardened before removing the form to prevent warping or bending the new nail structure.
Tip: Do not force or yank the form off; a gentle squeeze on the sides will release it smoothly. - 7Trim nail length
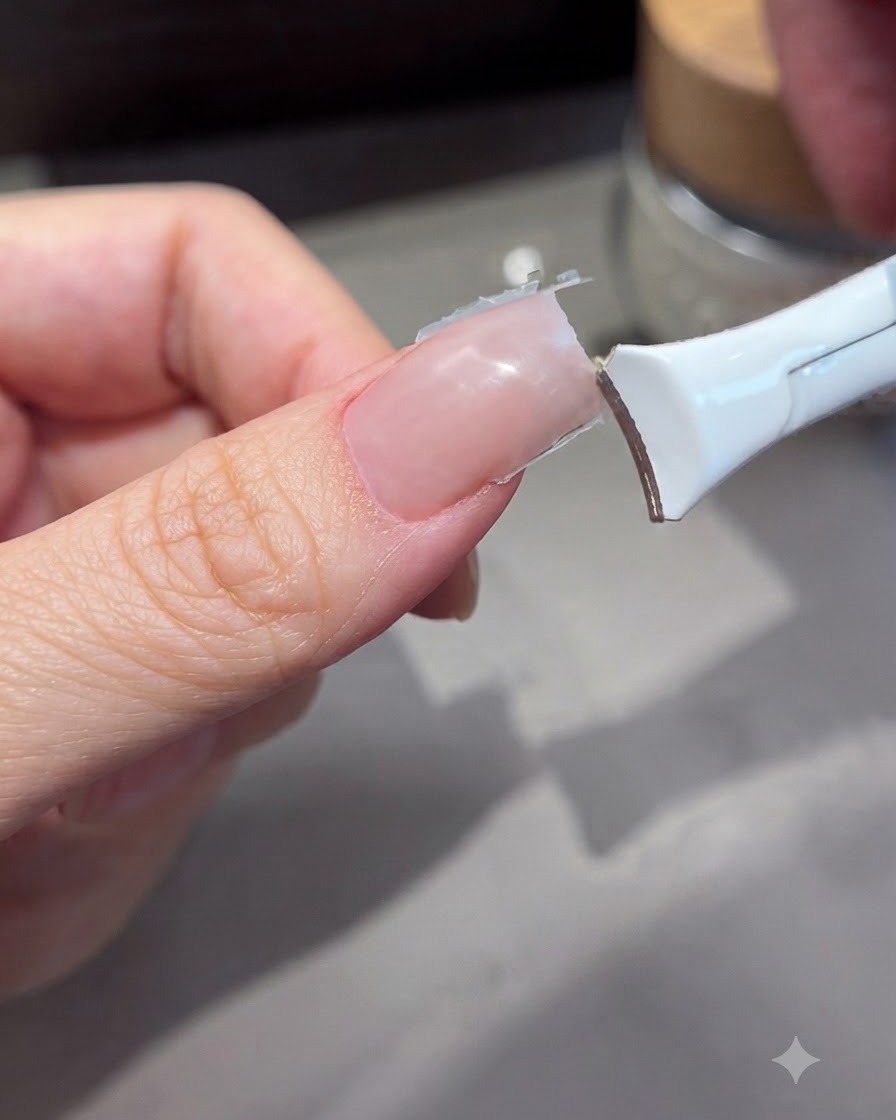
Using a nail clipper, carefully cut the extended nail down to your desired length. Make sure to cut slightly longer than your target length to leave room for filing and shaping the free edge.
Tip: Clip straight across or follow your desired shape outline to make filing quicker and easier. - 8File sidewalls and free edge
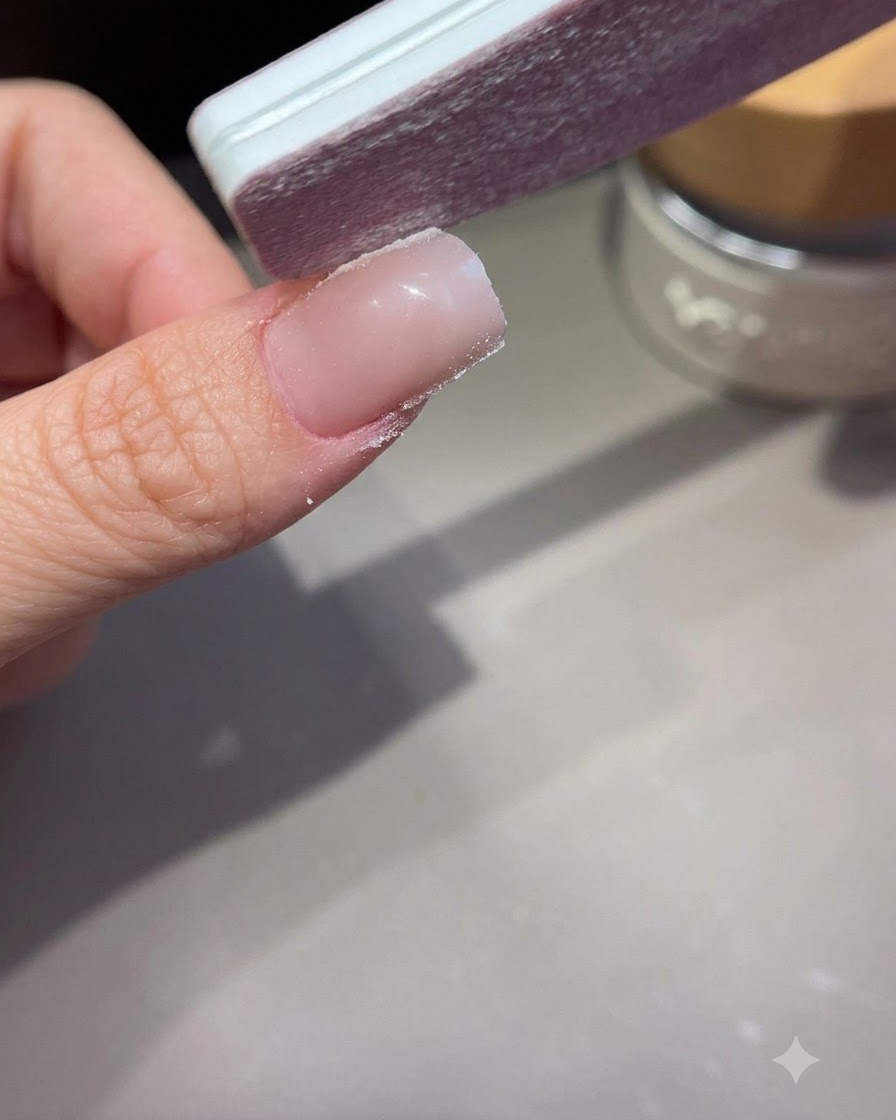
Use a hand nail file to refine the sidewalls and shape the free edge of the nail. Keep the file straight and perpendicular to the edge to ensure clean, crisp lines and a balanced nail structure.
Tip: Hold the file flush against the sidewalls to avoid creating an uneven or tapered look. - 9Buff the nail surface
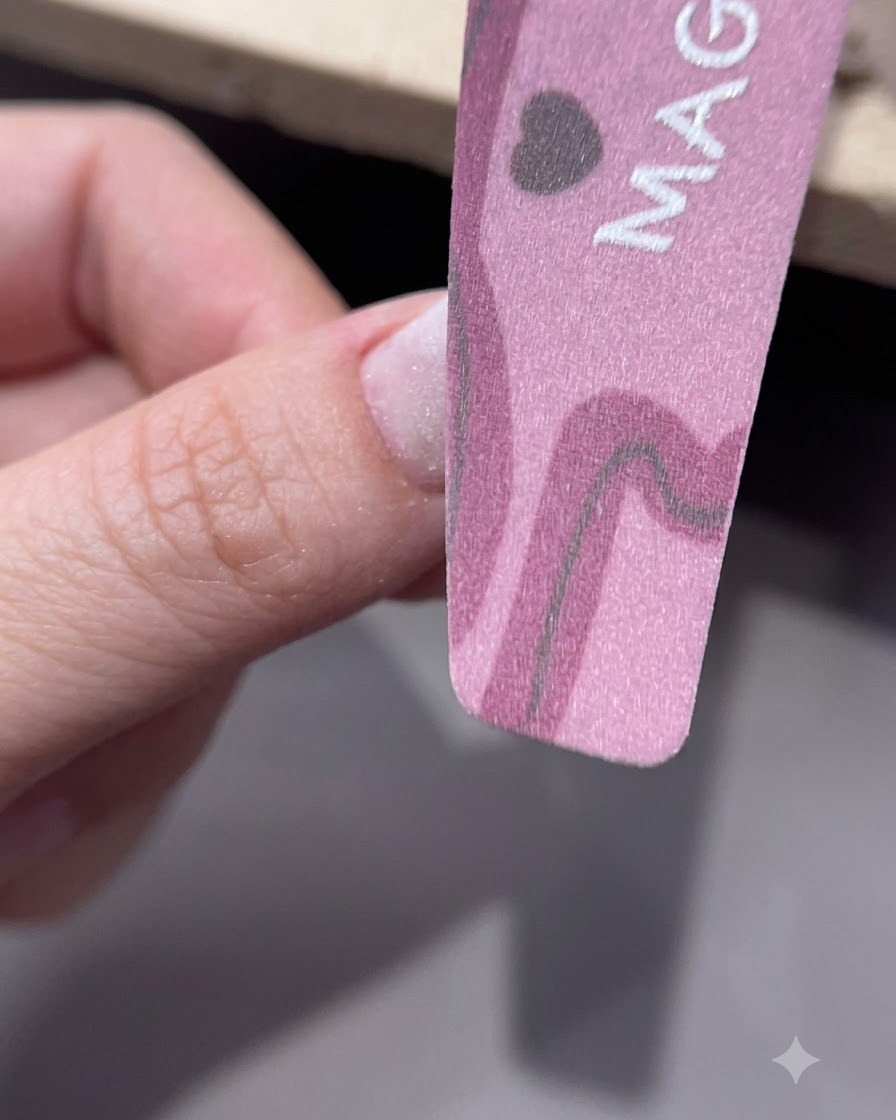
Gently buff the entire surface of the nail using a buffer block to remove any rough spots, ridges, or filing marks. This creates a smooth, even canvas that is perfectly prepped for color or top coat application.
Tip: Use light, sweeping motions and avoid over-buffing, which can thin out the gel layer. - 10Remove filing dust
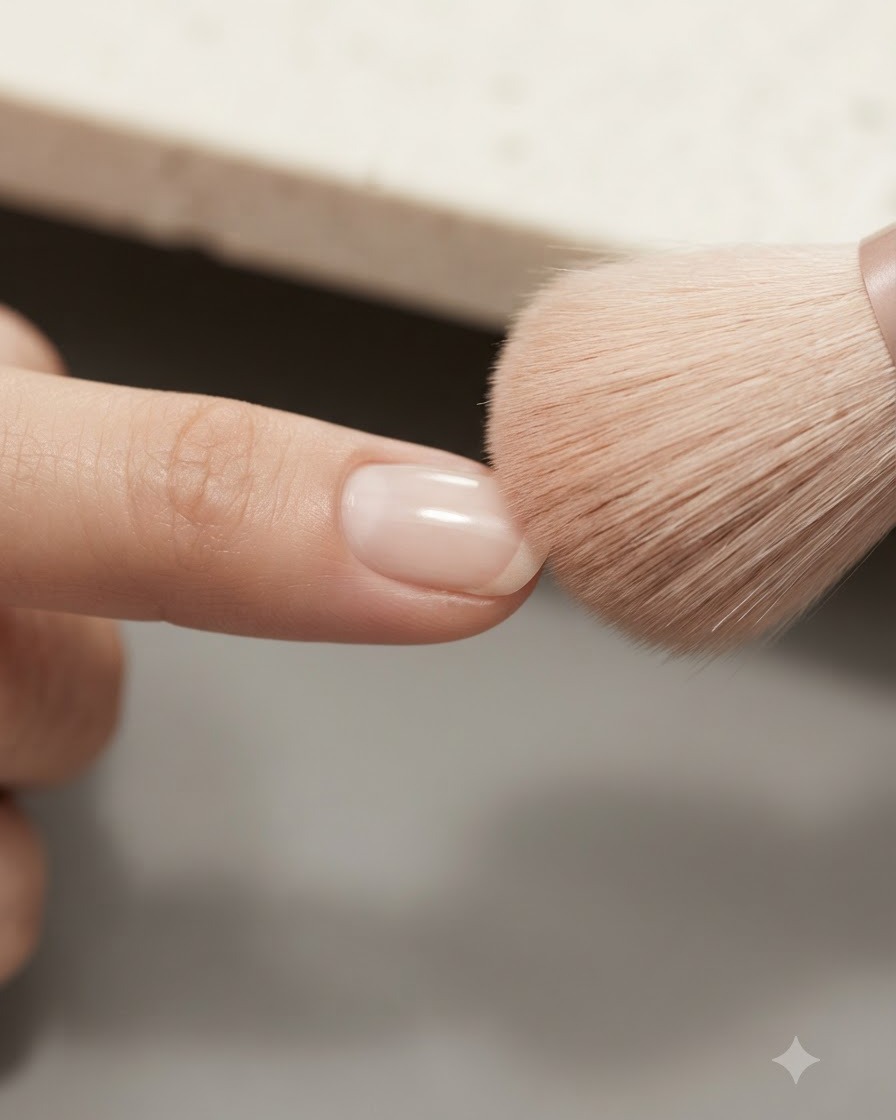
Take a clean, fluffy makeup brush and gently sweep away all filing dust and debris from the nail surface and surrounding skin. A clean surface is essential for ensuring subsequent products adhere properly without trapping particles.
Tip: Brush from the cuticle down toward the free edge to completely clear out dust from the nail grooves. - 11Cleanse the nail surface
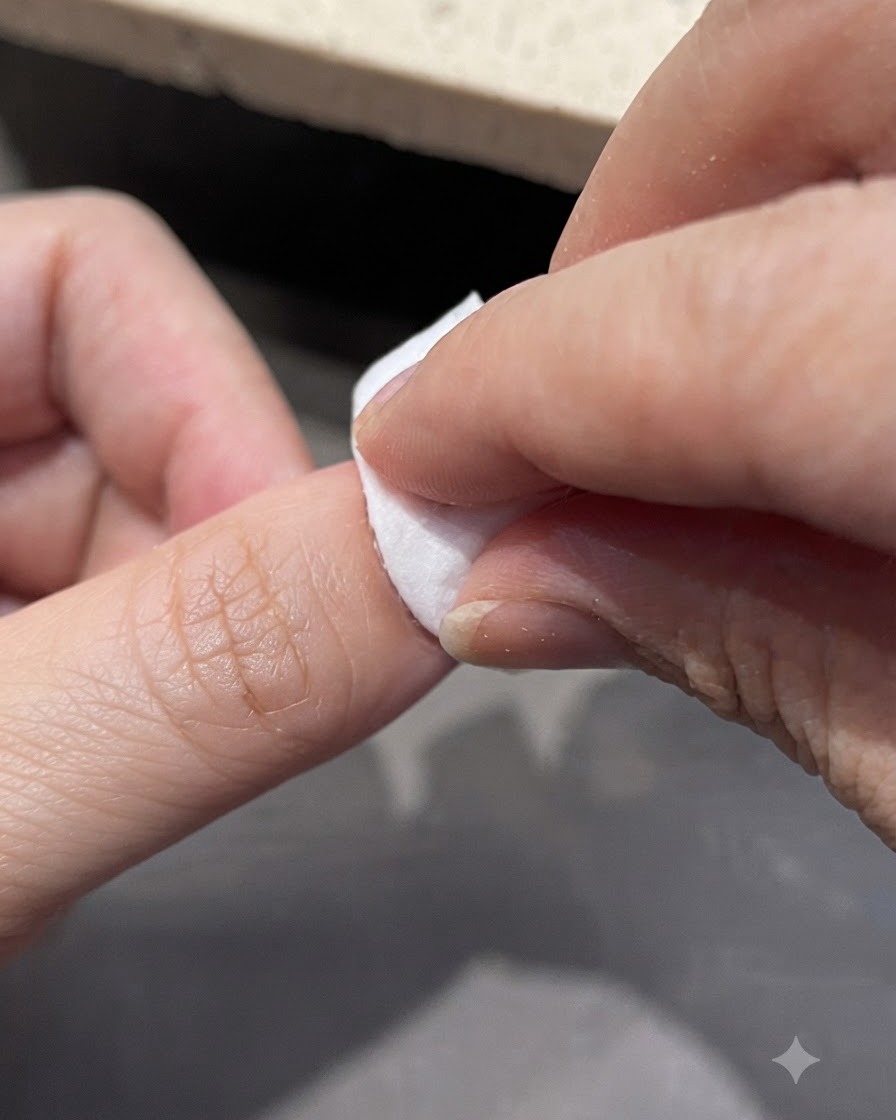
Take a lint-free wipe soaked in rubbing alcohol or nail cleanser and thoroughly wipe down the nail surface. This removes any lingering dust oils, or residue, leaving the nail completely clean and ready for the next design steps.
Tip: Ensure the wipe is lint-free so no fuzz gets stuck onto the freshly buffed nail surface. - 12Apply light pink gradient
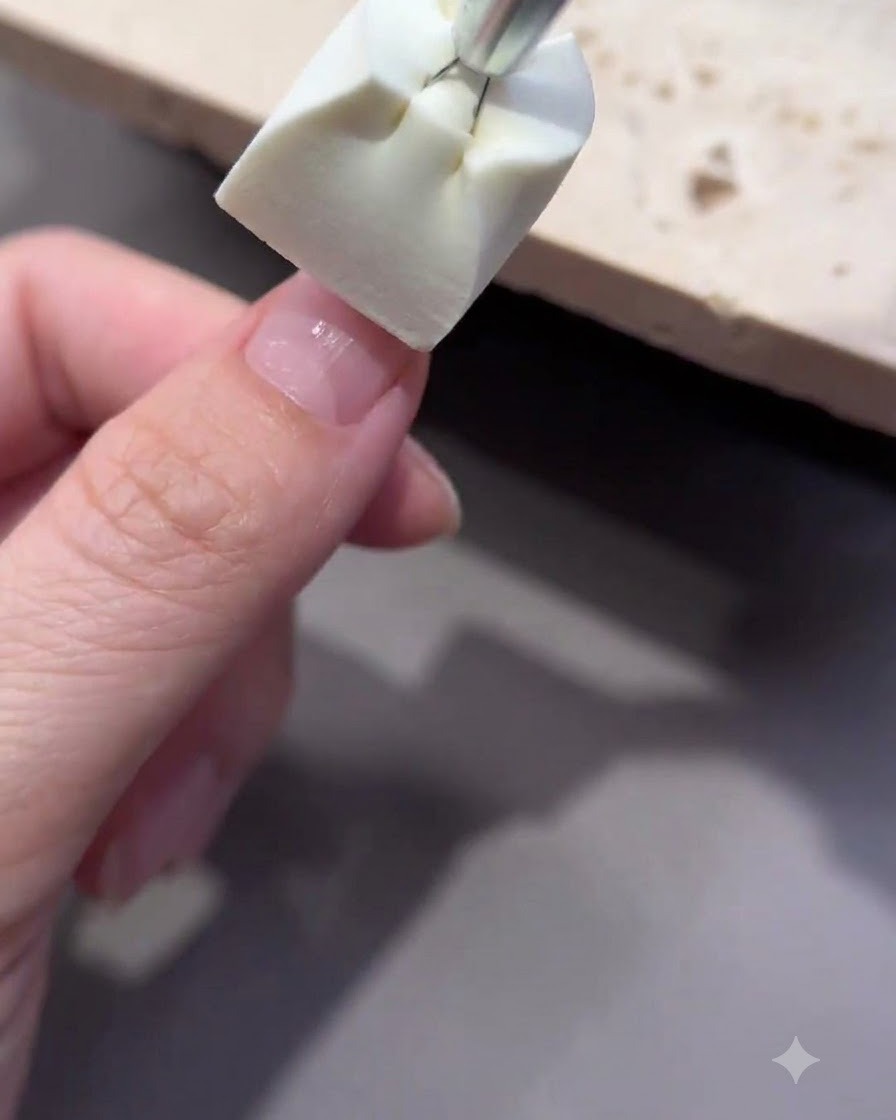
Using a sponge applicator tool, gently dab a light pink gradient color onto the nail tip to create a soft base for the French design. Ensure the transition fades smoothly toward the nail bed without harsh lines. Cure under the lamp briefly if required before the next step.
Tip: Dab lightly with the sponge to avoid a heavy, chunky texture on the nail surface. - 13Stamp white french tip
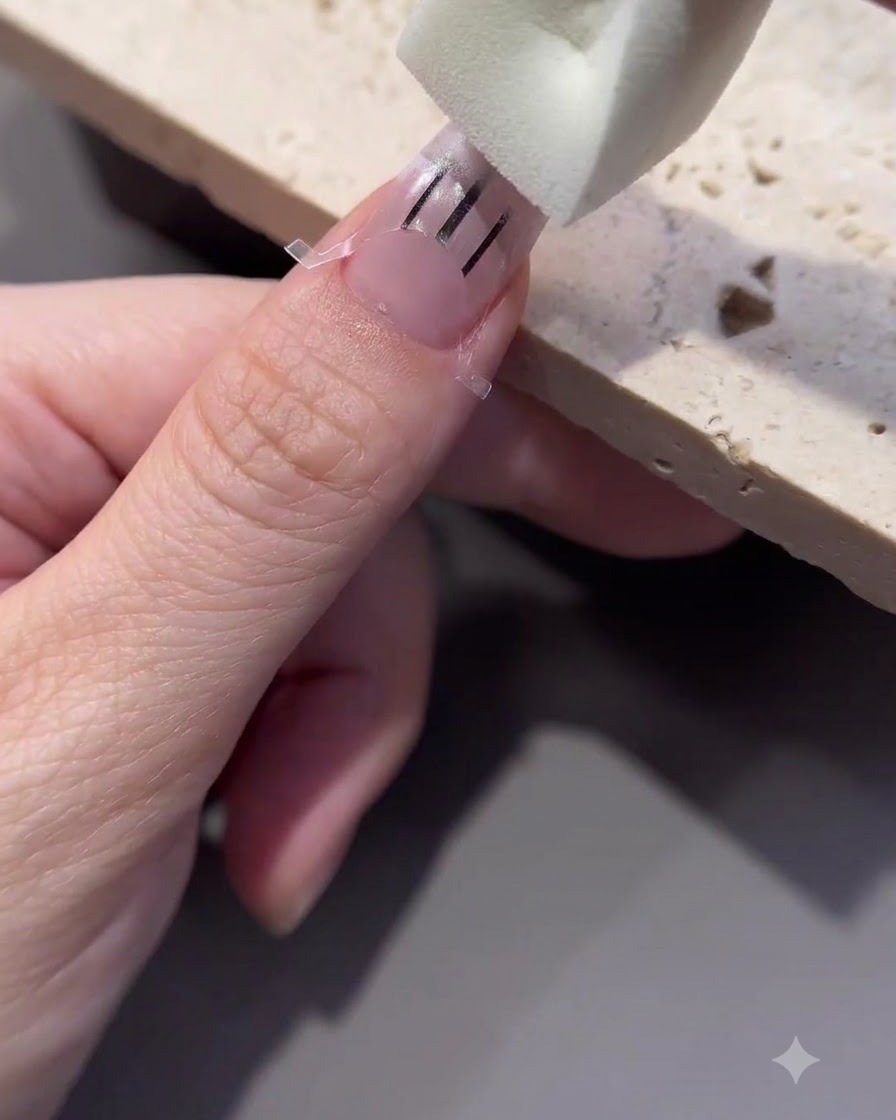
Apply white color onto the french sticker template using a sponge block to stamp the classic tip design cleanly. Position the template accurately over the nail tip according to the desired guideline. Cure the stamped white color under the lamp to set it securely.
Tip: Keep the sponge pressure even to ensure the white stamp transfers crisply across the french guide. - 14Apply transfer gel
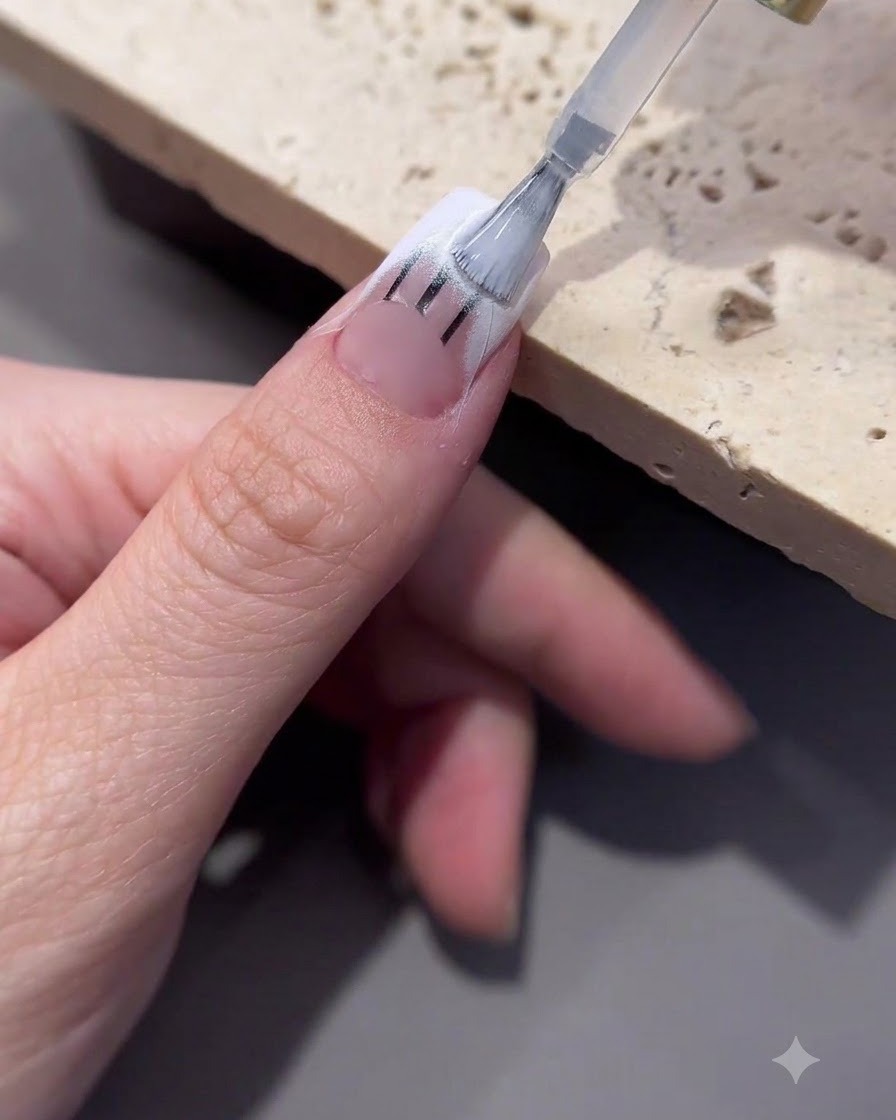
Brush a thin layer of transfer gel over the nail tip area where decorations will be placed. Ensure complete coverage so that stickers adhere evenly. Cure the layer under the UV or LED lamp to create the sticky base needed for the nail art.
Tip: Do not apply the transfer gel too thickly, or it may wrinkle during the curing process. - 15Apply small floral stickers
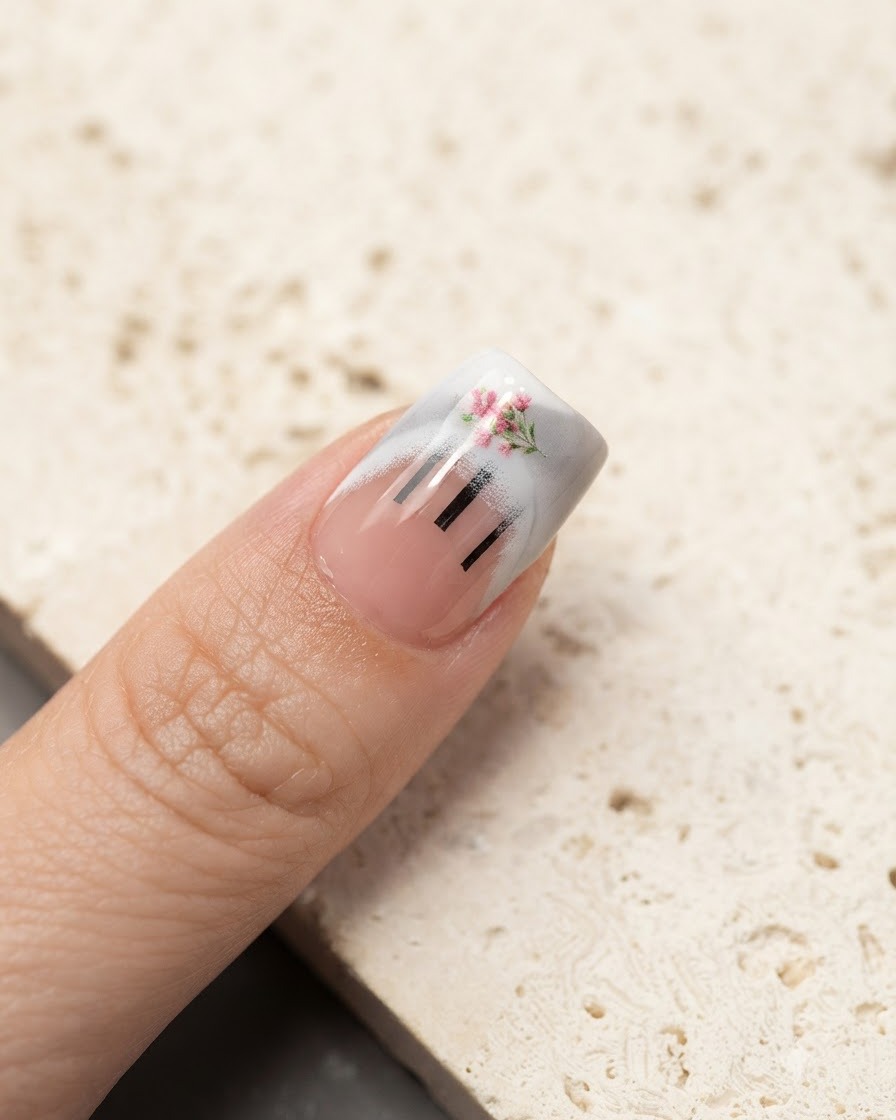
Carefully pick up small floral pattern stickers using tweezers and place them onto the sticky french tip area. Press down gently to secure the stickers flat against the nail surface. Arrange them neatly to complement the overall floral bow manicure design.
Tip: Use fine-tipped tweezers for precise placement without bending or damaging the delicate floral stickers. - 16Remove sticker backing
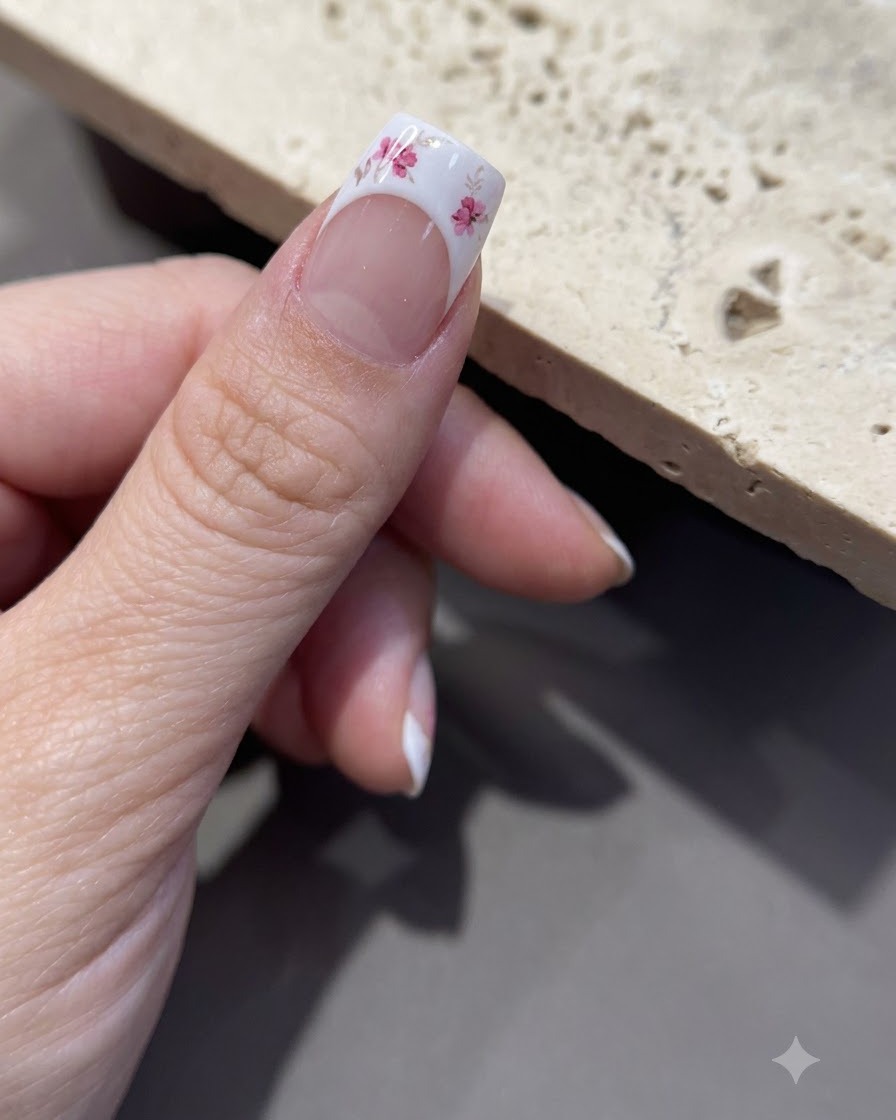
Carefully peel away the excess backing from the floral sticker template, ensuring the delicate design remains intact on the transfer sheet.
Tip: Use fine tweezers to gently lift the edges without tearing the sticker. - 17Apply base gel over decoration
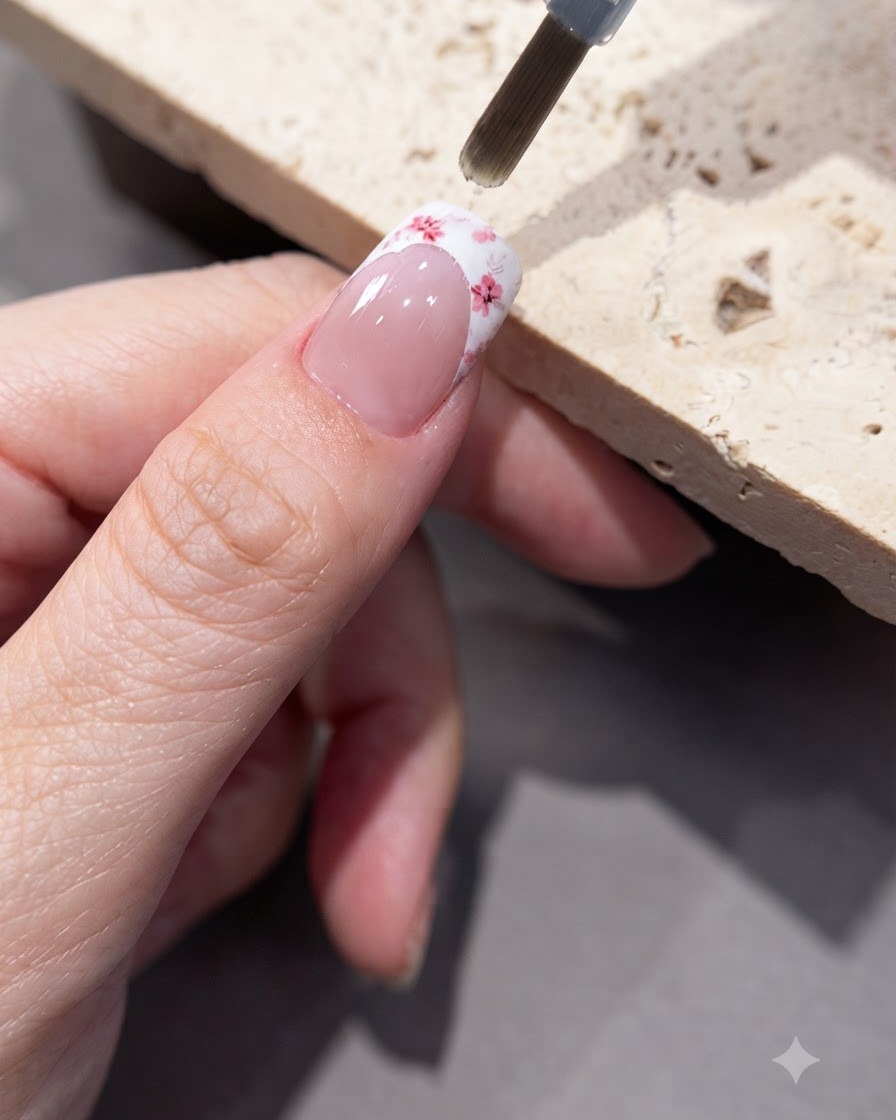
Apply a smoothing layer of base gel over the entire decorated nail surface to encapsulate the stickers and level out any texture. Seal the edges carefully to protect the nail art from lifting or peeling. Cure under the lamp before moving on to the final steps.
Tip: Encapsulating stickers with a clear layer prevents them from catching or wearing off prematurely. - 18Outline french tip boundaries
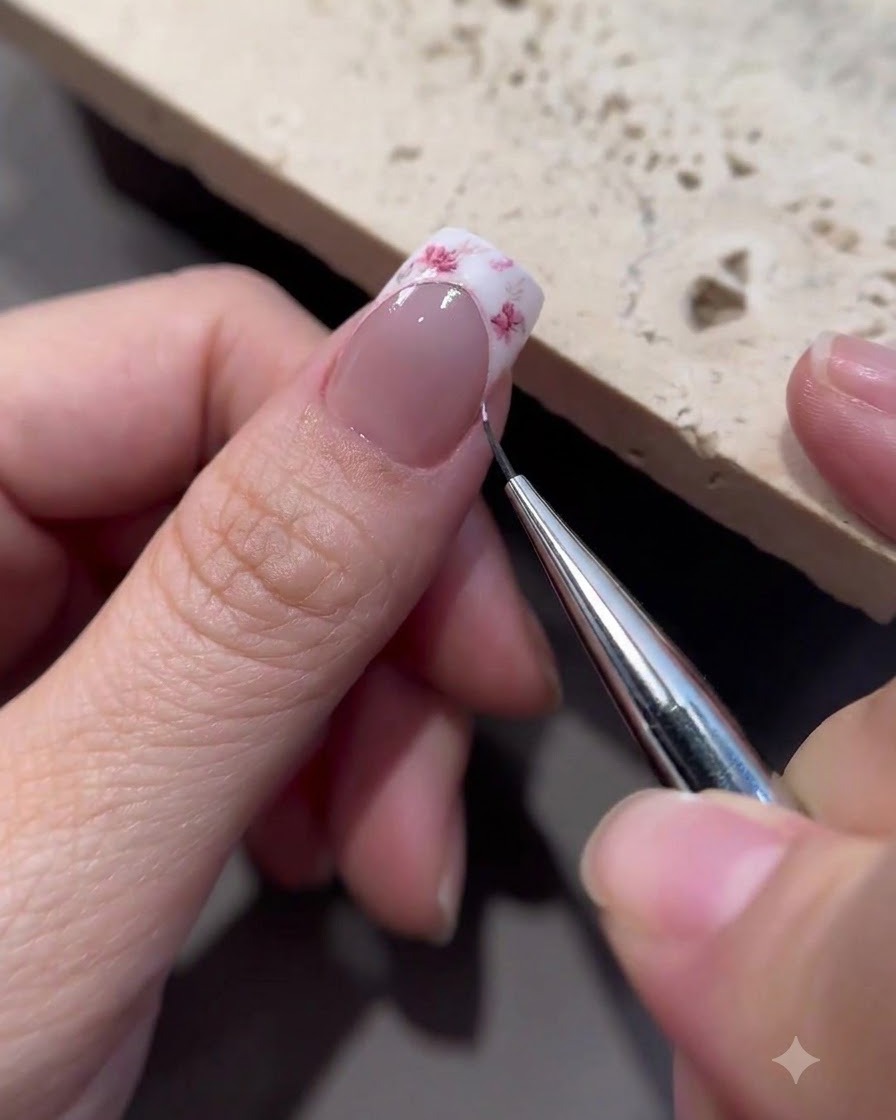
Dip a fine liner brush into white gel or base product to carefully outline and smooth the side boundaries of the french tip for a crisp finish.
Tip: Keep a steady hand and wipe the brush clean if the lines start to thicken. - 19Apply top coat and bow sticker
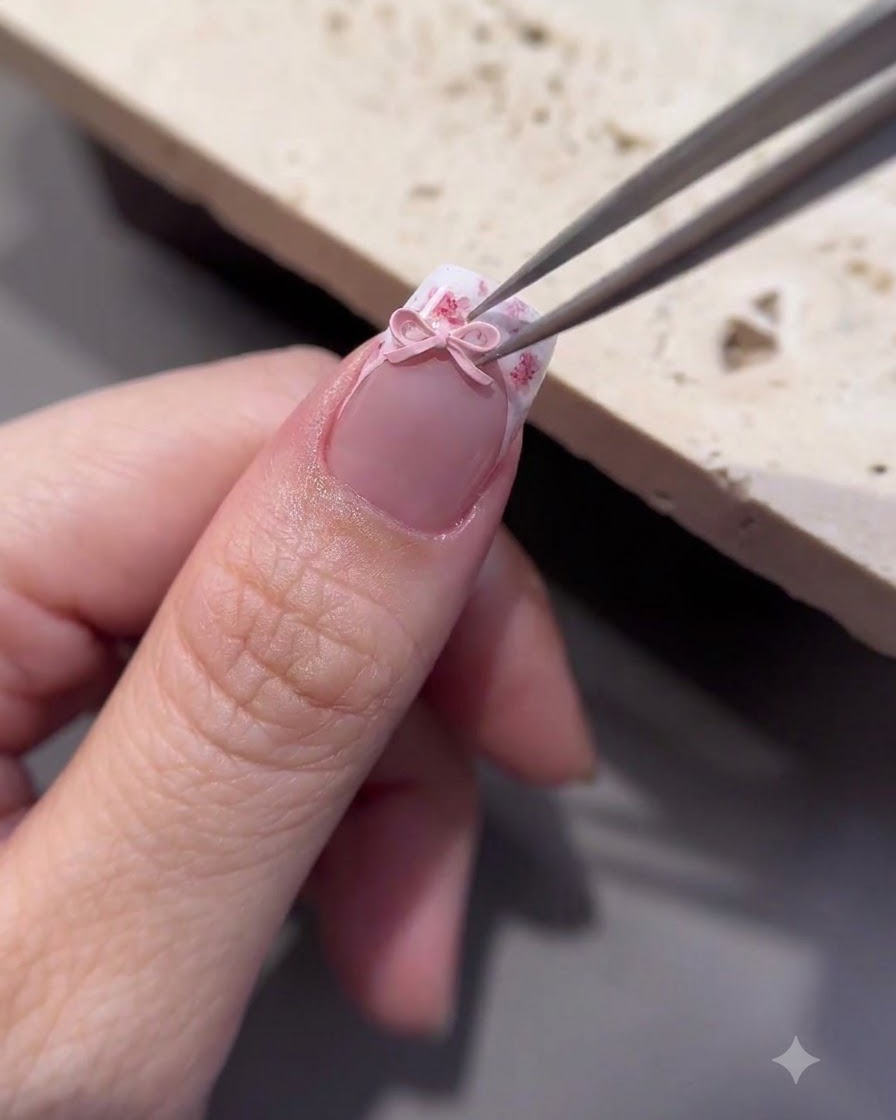
Apply a final layer of top coat sealant, then use tweezers to carefully place a cute 3D pink bow sticker right on the edge of the french line before curing.
Tip: Press down gently on the sides of the 3D bow to ensure it adheres securely into the uncured top coat.