Hailey Chrome Aurora White Gradient Nails — Step-by-Step Tutorial
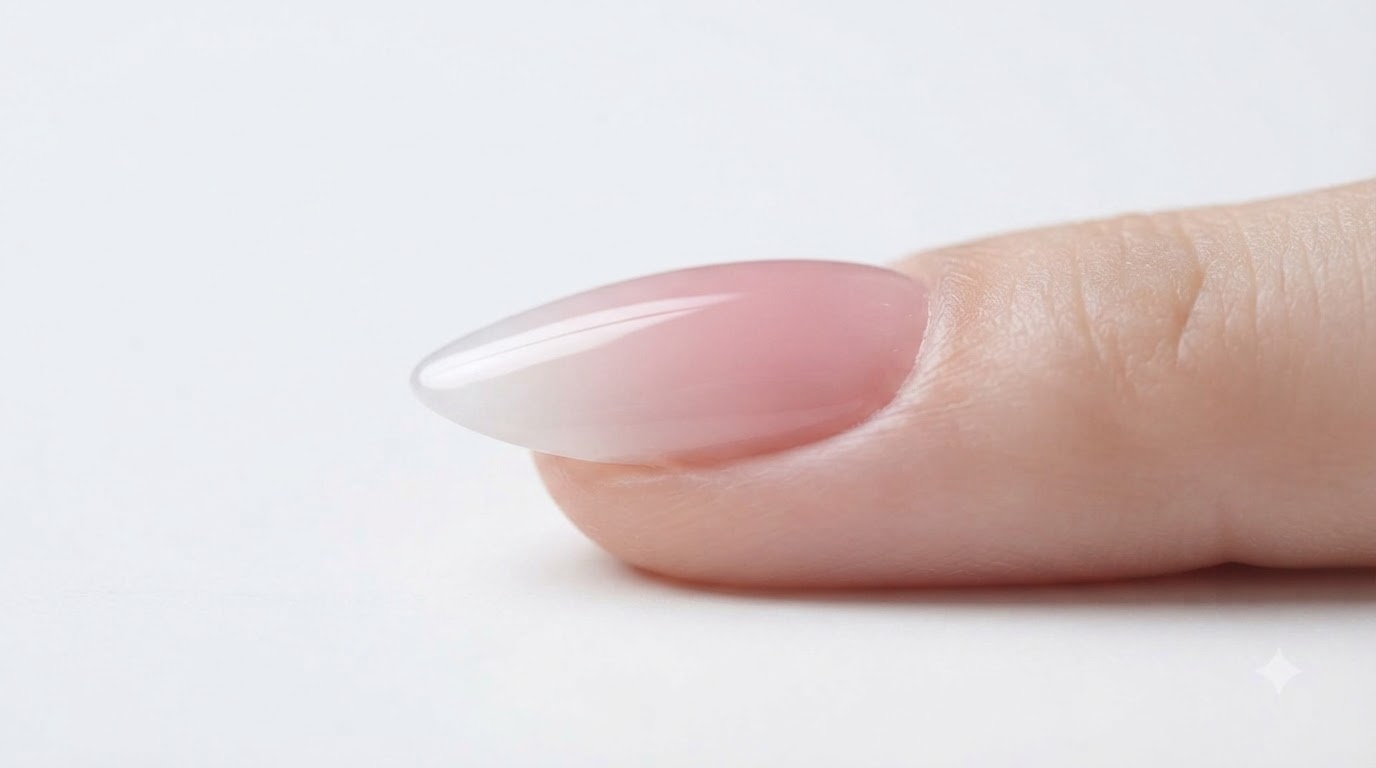
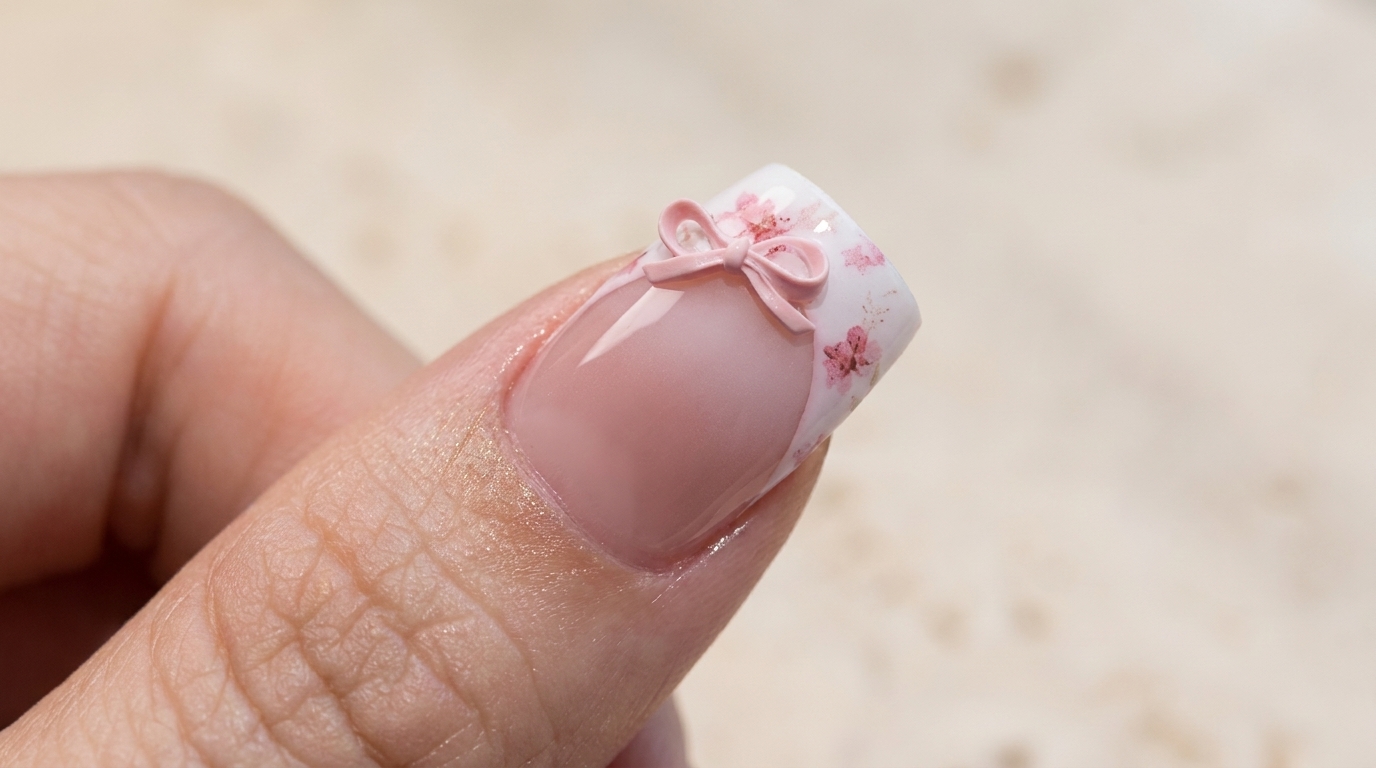
Achieve an ultra-bright, glossy Hailey chrome aurora white gradient look with a dreamy moonlight shimmer using a simple sponge gradient and buffing technique.
The Hailey chrome aurora white gradient style has captured the attention of nail enthusiasts everywhere for its dreamy, ethereal aesthetic. Combining a soft sponge gradient technique with a high-shine white-moon chrome finish, this look creates a brilliant, mirror-like reflection that catches the light from every angle. Perfect for elevating your everyday manicure with an effortless yet sophisticated glow.
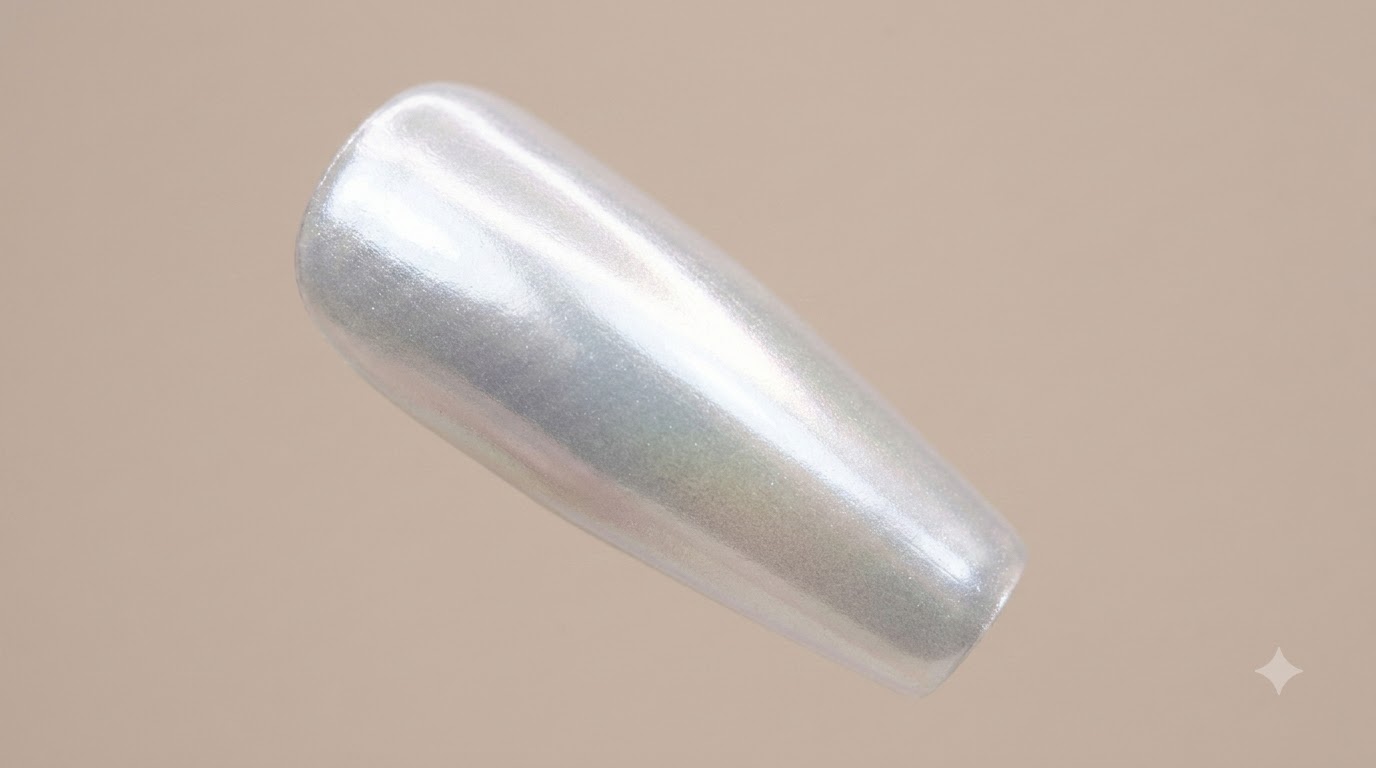
Steps
- 1Apply translucent pink base color
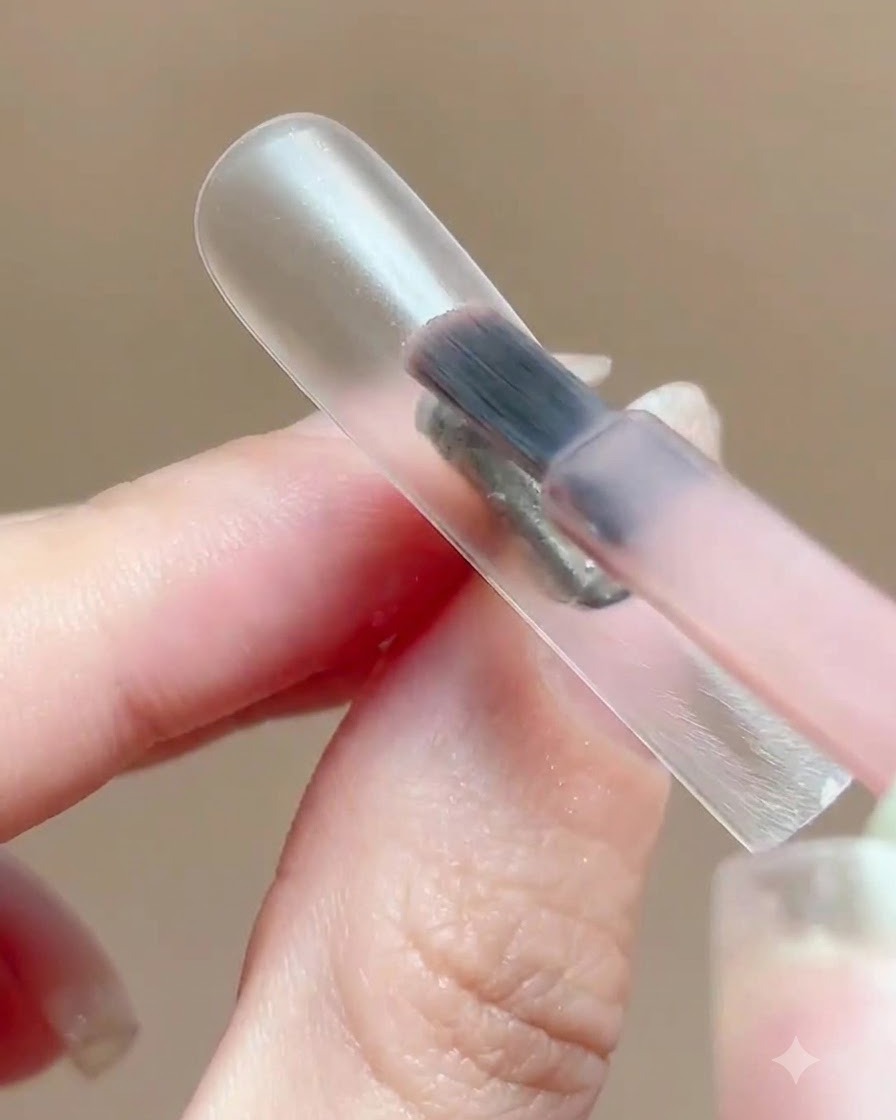
Apply a translucent pink base color evenly onto the nail plate, making sure the application is not too thick to allow proper leveling and curing.
Tip: Keep the base layer thin and controlled to prevent pooling near the edges. - 2Cure the base coat
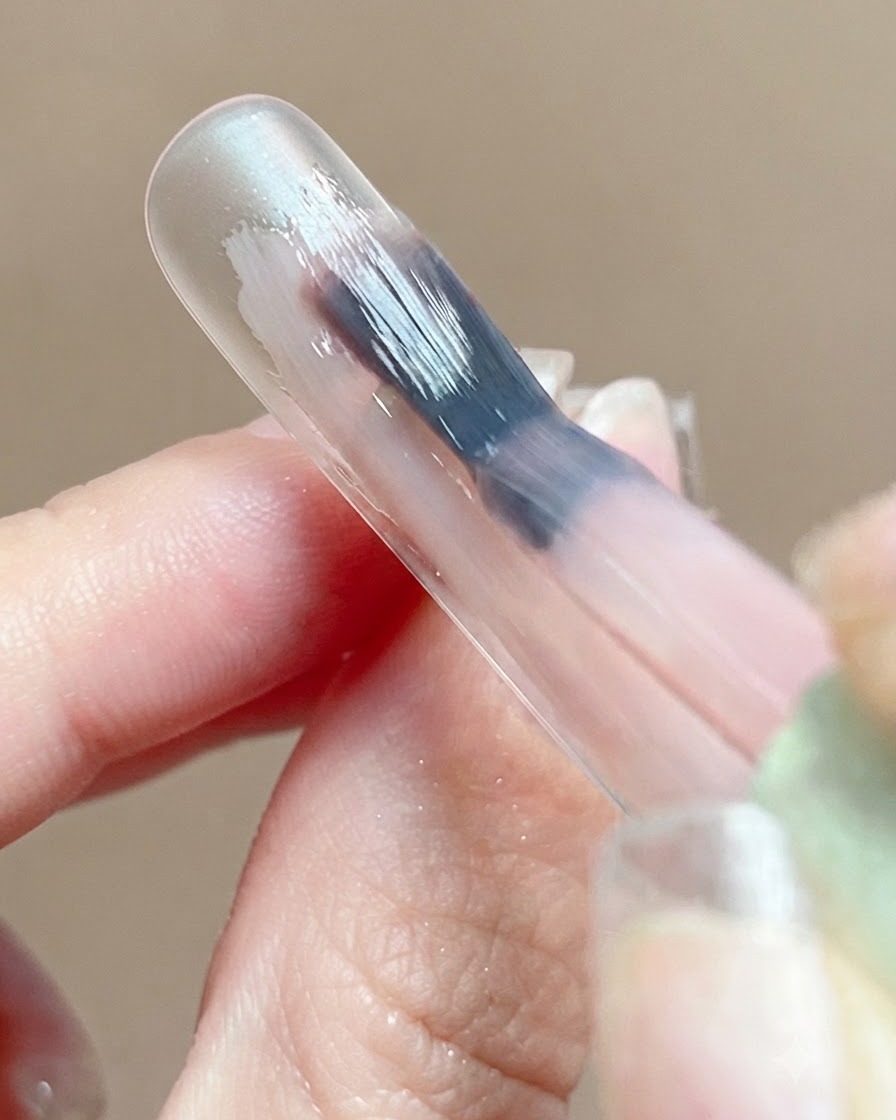
Allow the pink base coat to self-level smoothly across the nail surface before placing it under a UV or LED lamp to cure completely.
Tip: Check the surface reflection before curing to ensure the self-leveling is even and smooth. - 3Remove the inhibition layer
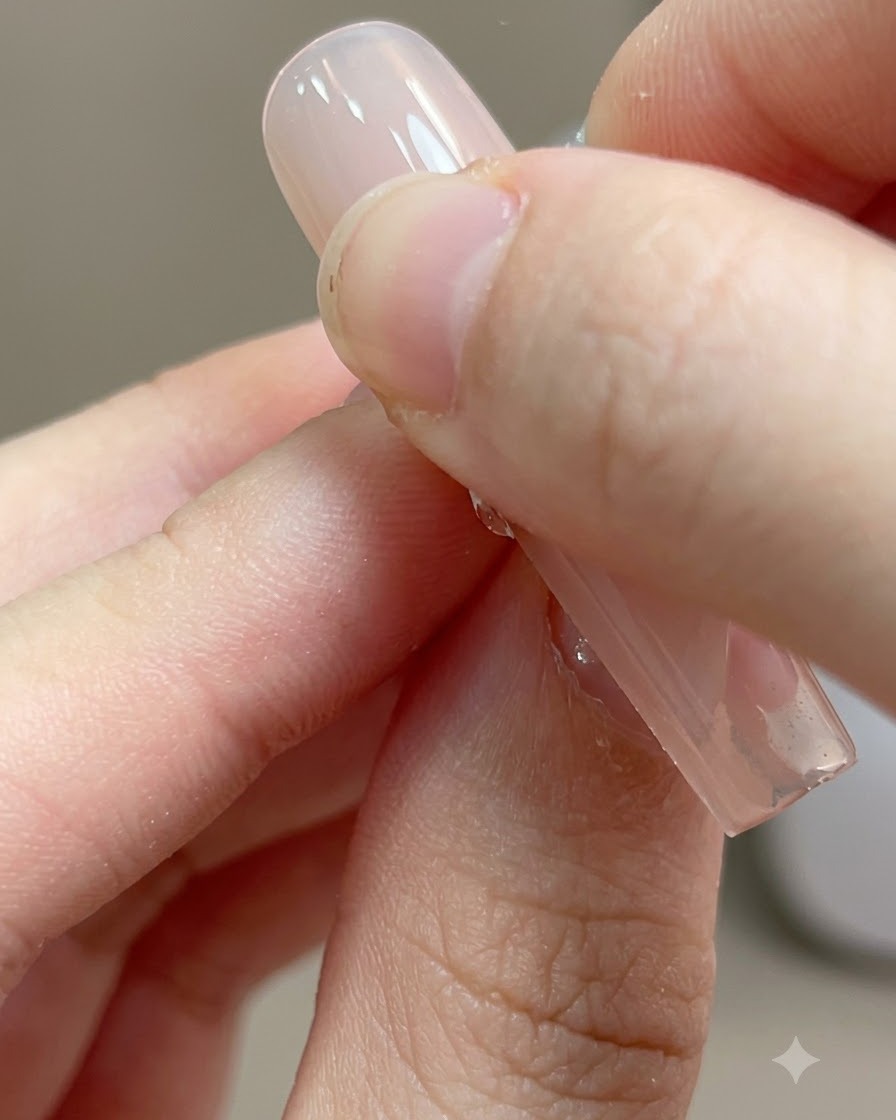
Take an alcohol wipe and thoroughly scrub away the sticky inhibition layer from the cured nail surface to prepare it for the next step.
Tip: Ensure the inhibition layer is completely removed so the subsequent texture layers adhere properly. - 4Inspect the matte surface
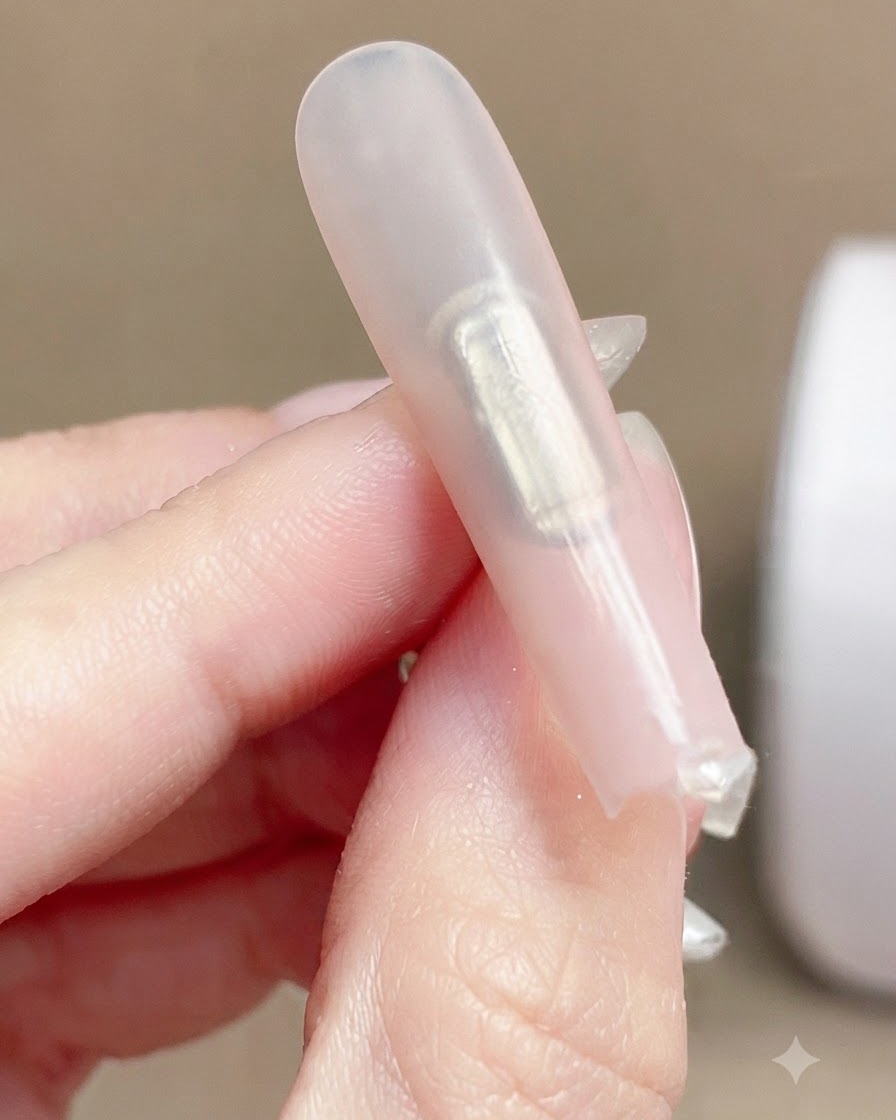
Inspect the nail surface carefully under good lighting to confirm that it has achieved a uniform matte texture after wiping away the sticky residue.
Tip: A completely uniform matte finish is essential for the next sponge gradient technique. - 5Create a sponge gradient
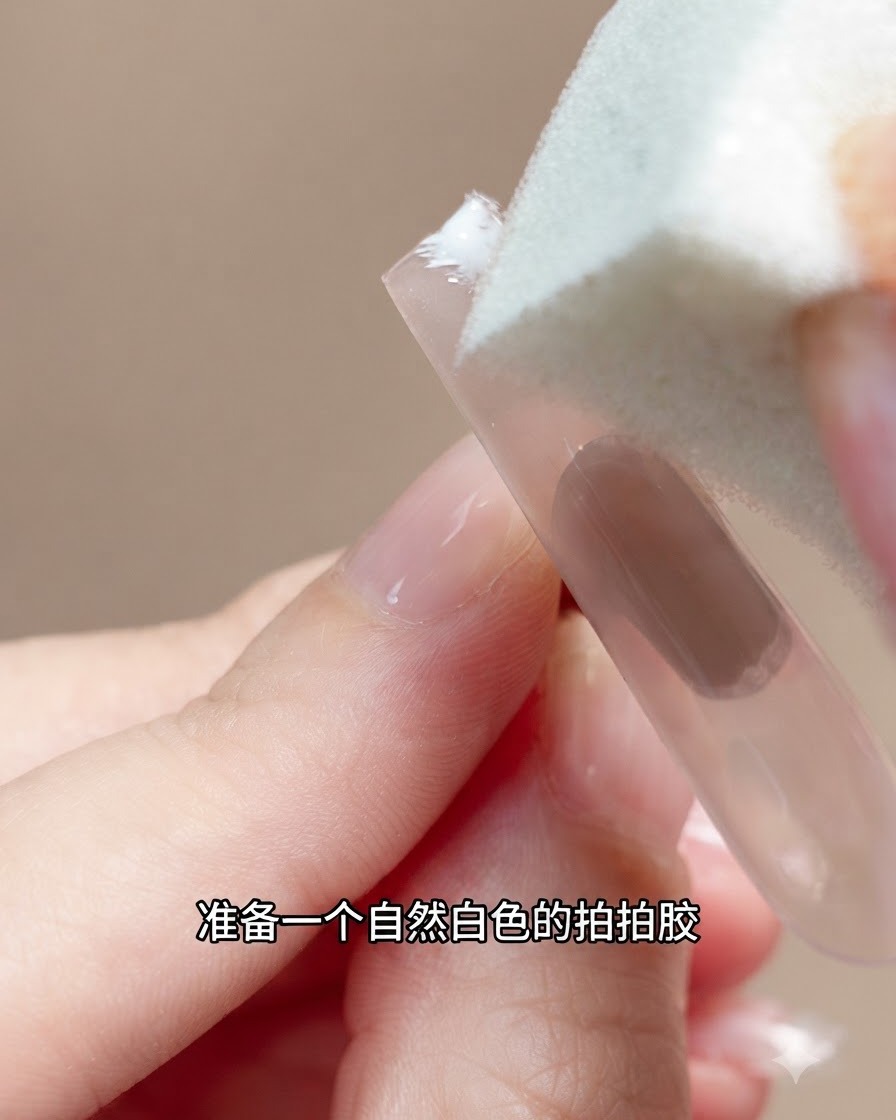
Prepare a natural white sponge-pat gel and gently dab it onto the nail, working downward from the fingertip to build a soft gradient transition.
Tip: Dab lightly and control the pressure to keep the gradient soft and natural. - 6Build the gradient intensity
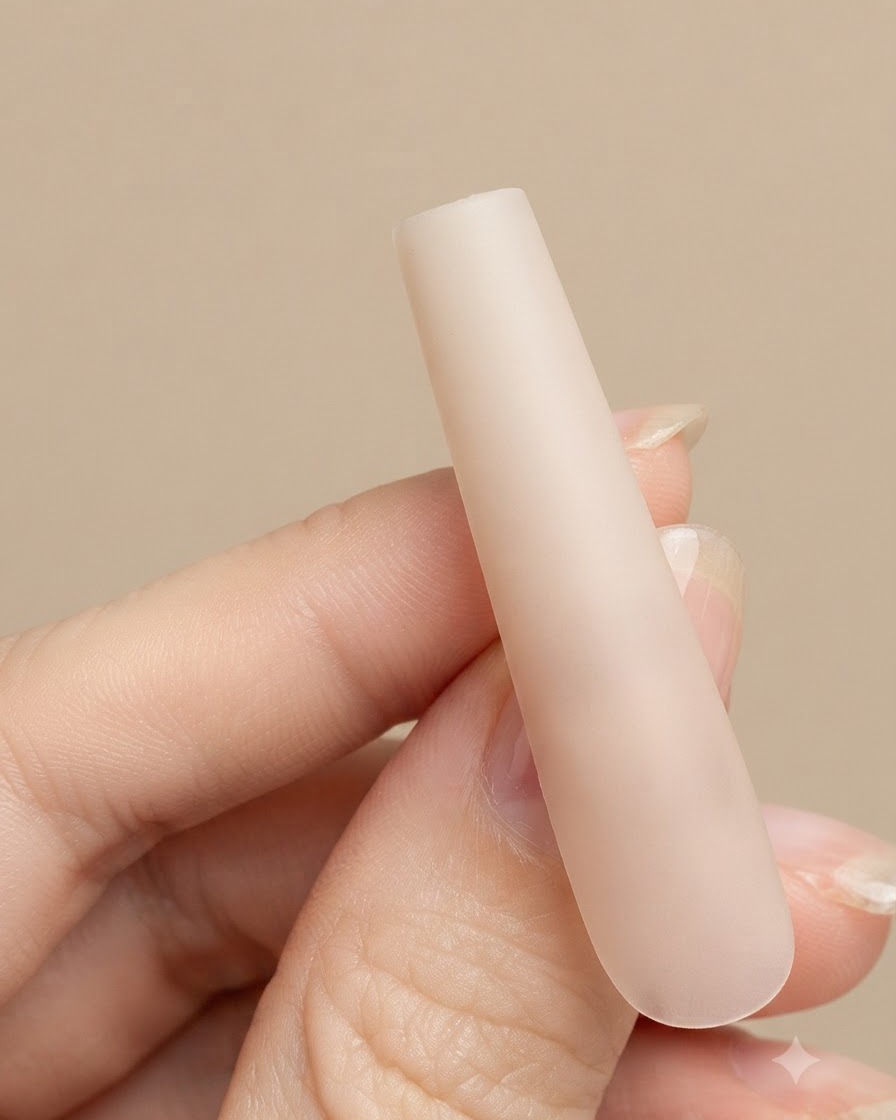
Apply a second and third pass of the sponge gel, progressively concentrating the pigment and deepening the color strictly at the fingertip for a seamless look.
Tip: Focus each successive pass closer to the very edge to build a rich gradient contrast. - 7Cure the white gradient
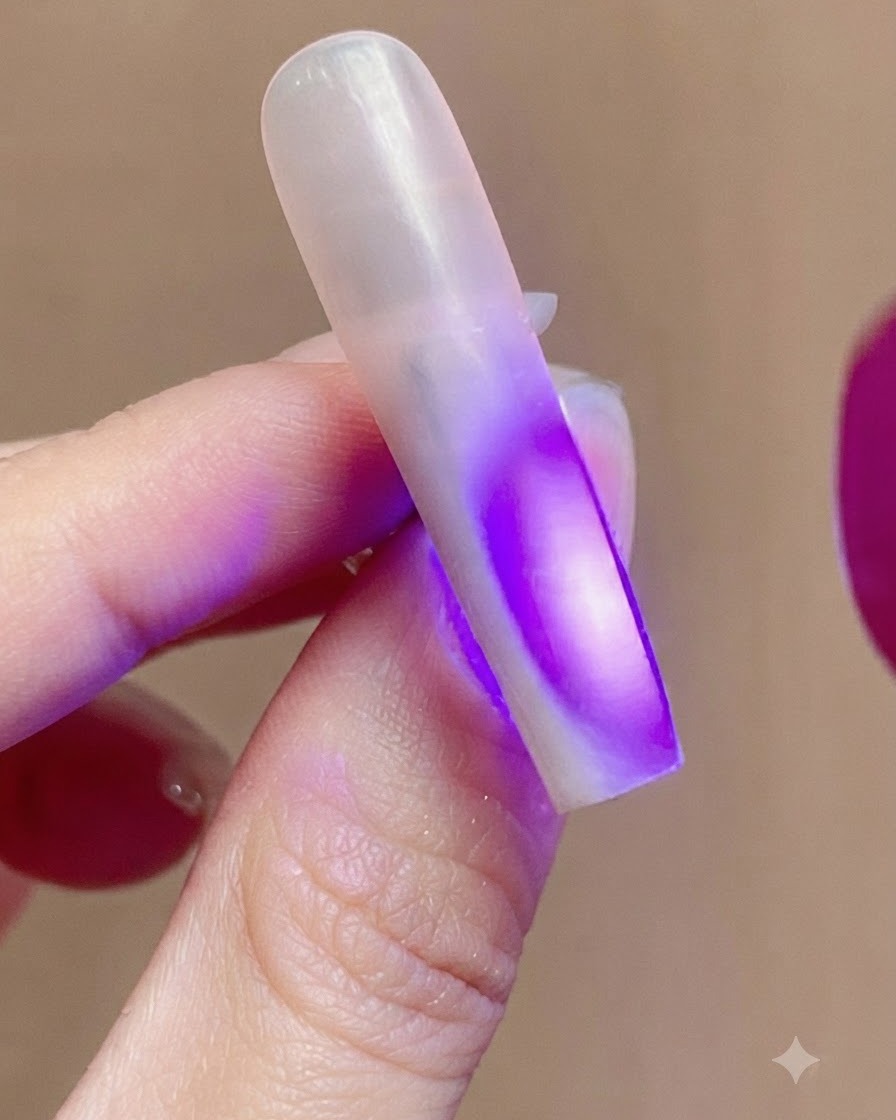
Place the nail under a UV or LED lamp to fully cure the white gradient design. Ensure the light exposure is even so the gel hardens properly before moving on to the top coat application.
Tip: Make sure your hand is positioned directly under the light source to prevent uncured spots in the gradient. - 8Apply resilient water-gloss top coat
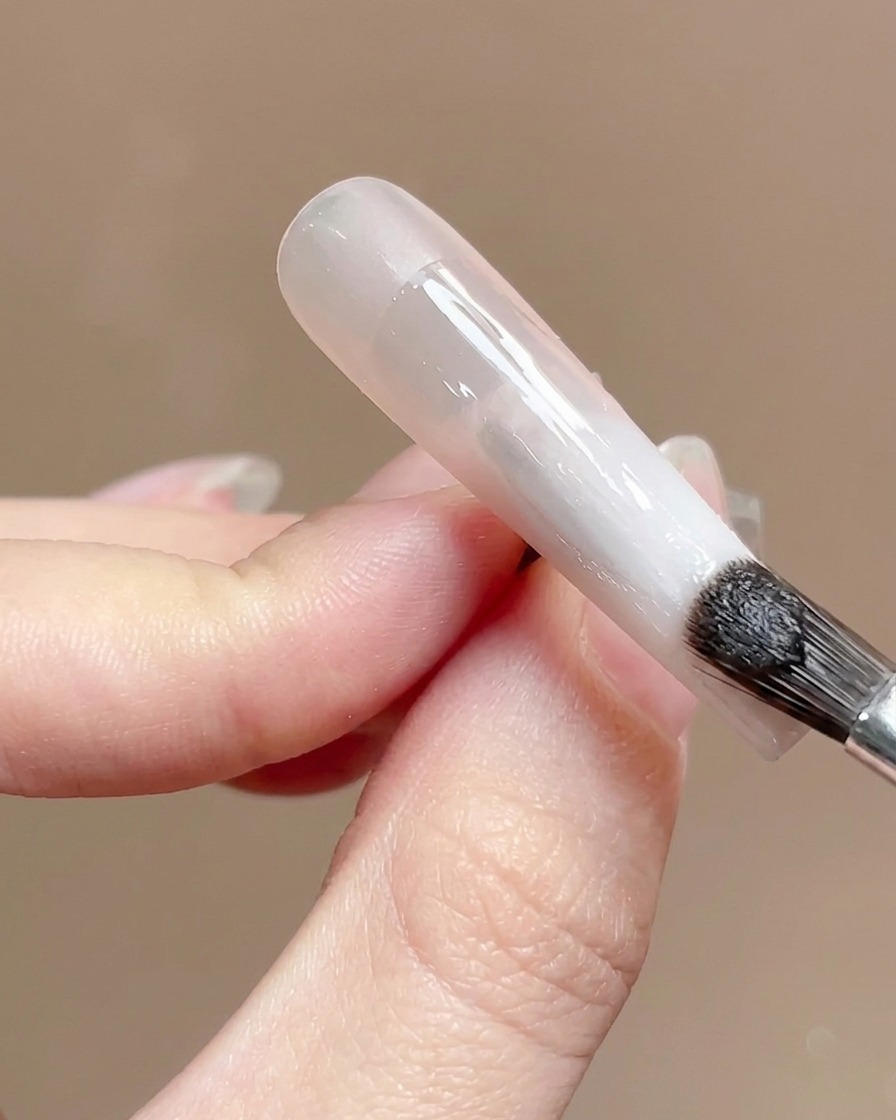
Apply a slightly thicker layer of resilient water-gloss top coat across the entire nail to create a smooth gel body for self-leveling. Check the surface reflection to ensure there are no bumps or particles before curing.
Tip: A smooth, flawless top coat base is essential for achieving an ultra-bright, mirror-like chrome finish without texture imperfections. - 9Verify surface and cure
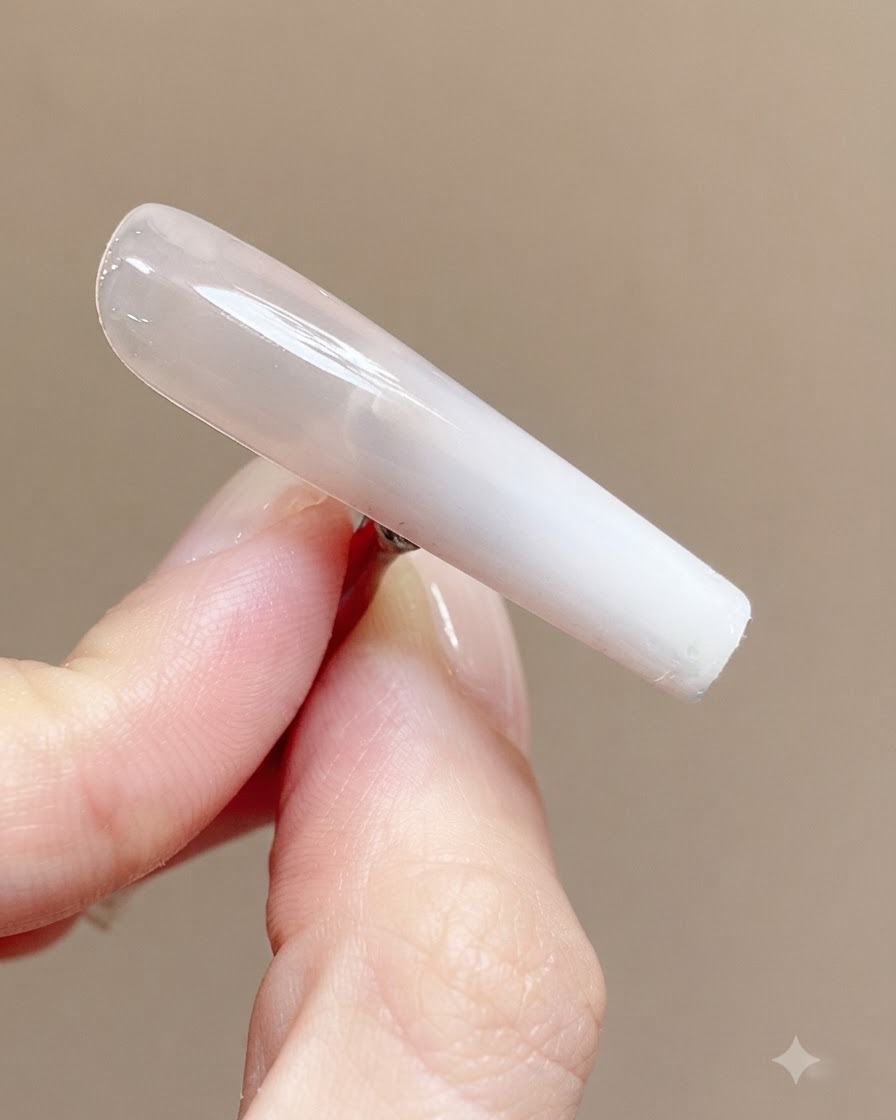
Examine the light ring reflection on the top coat to verify that the surface is perfectly flat and smooth with zero particles. Cure under the lamp for 60 seconds.
Tip: Inspect the reflection from multiple angles under bright light to catch any tiny dust specks before they get locked in by curing. - 10Pick up white-moon chrome powder
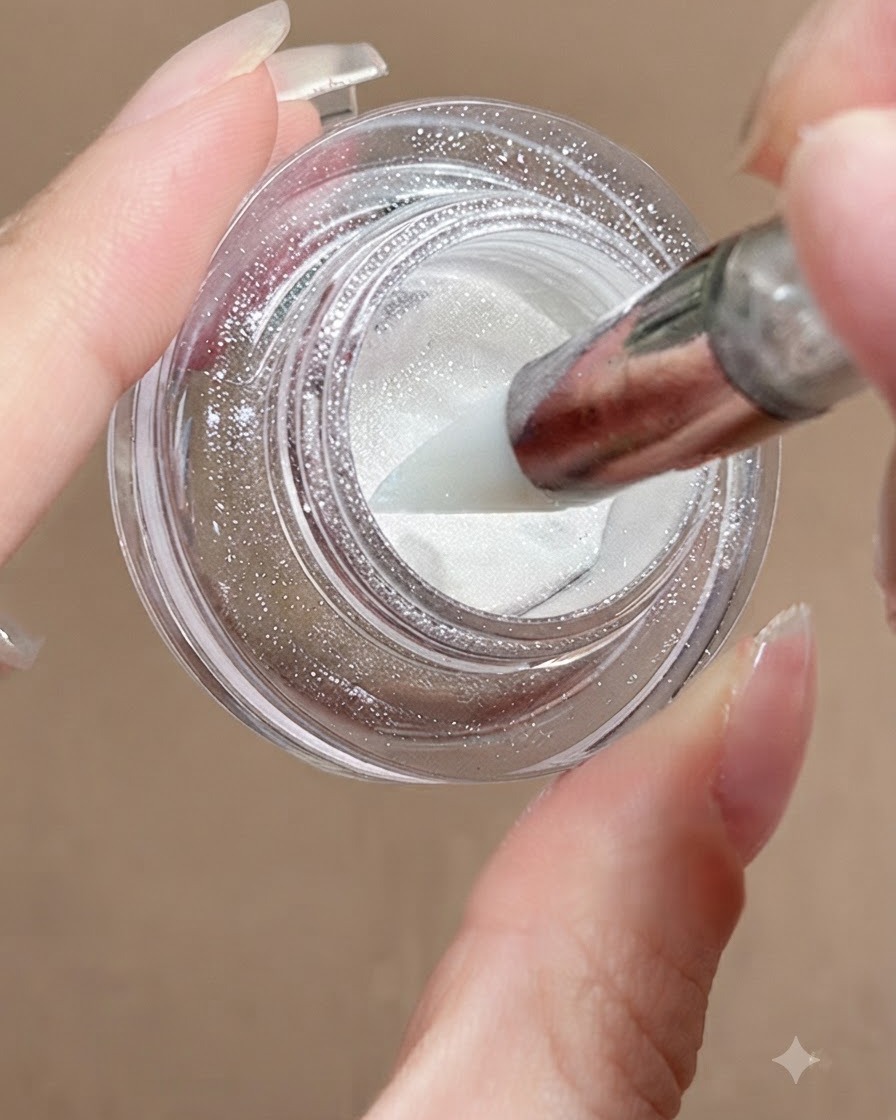
Use a silicone pen to pick up a small amount of white-moon chrome powder from the container. Gently tap the powder onto the previously cured nail surface to distribute it evenly.
Tip: A small amount of powder goes a long way; start with less on your silicone pen to avoid clumping. - 11Buff and press chrome powder
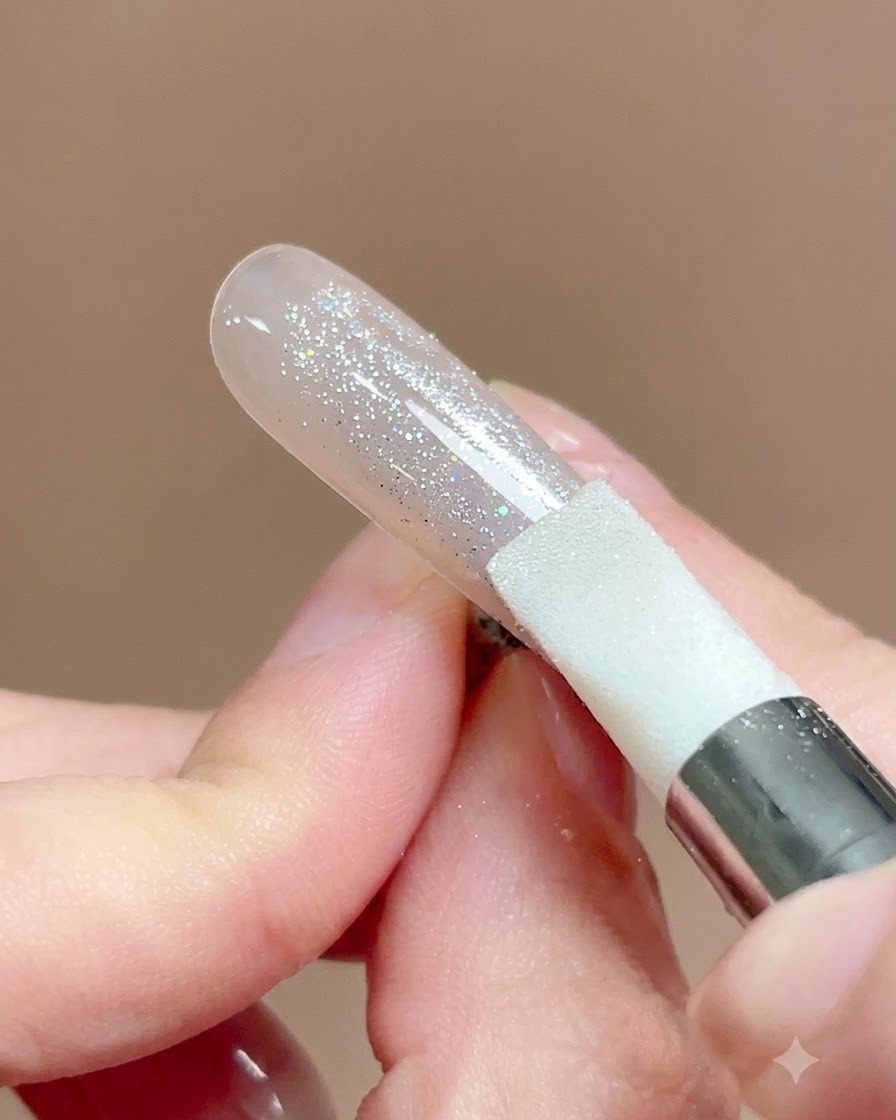
Use the silicone pen firmly to press and buff the chrome powder into the nail plate. Pay close attention to get into all tiny edges and corners to ensure full and even coverage.
Tip: Firm pressure is key here to burnish the powder into a brilliant sheen rather than just dusting it loosely on top. - 12Brush away excess powder
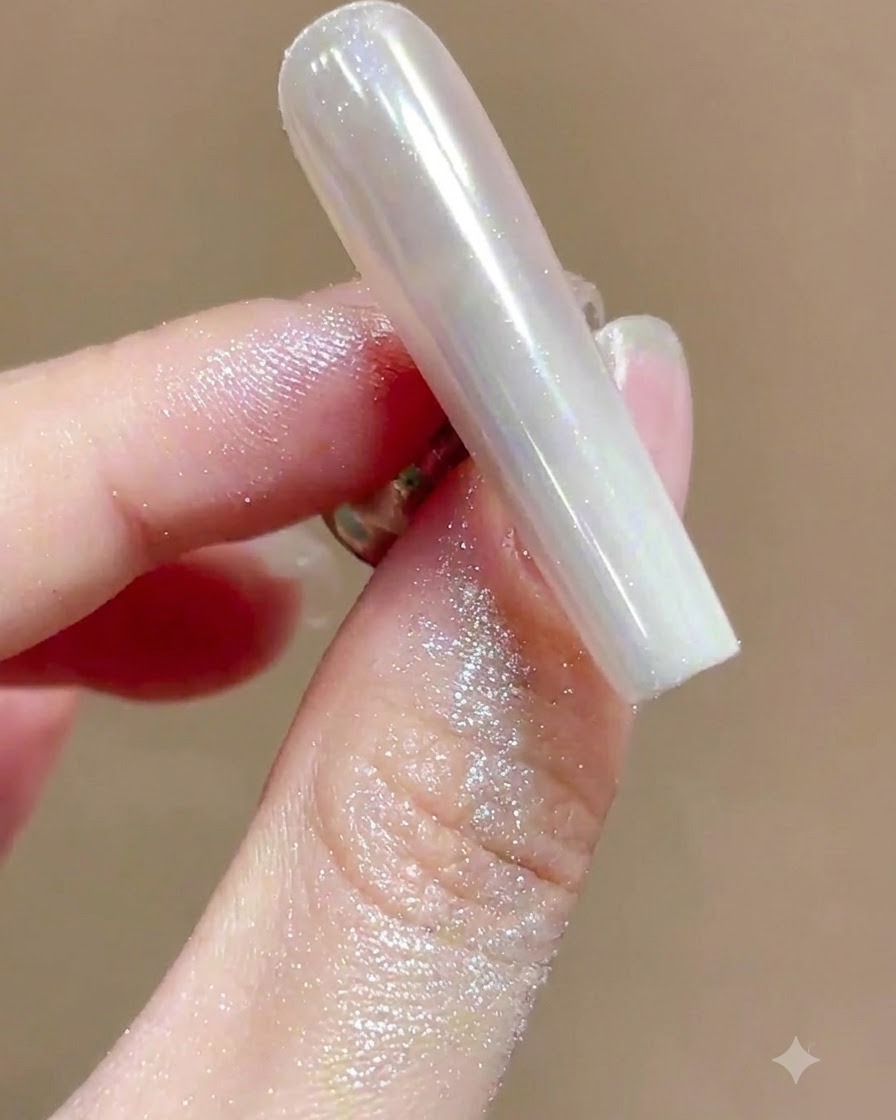
Sweep away excess loose powder using a soft, fluffy dust brush to reveal a super bright and smooth surface with zero particles. This flawless look is achieved thanks to the detailed top coat preparation beforehand.
Tip: Use a light, gentle sweeping motion with a clean brush so you dont scratch or dull the chrome finish. - 13Apply sealing top coat
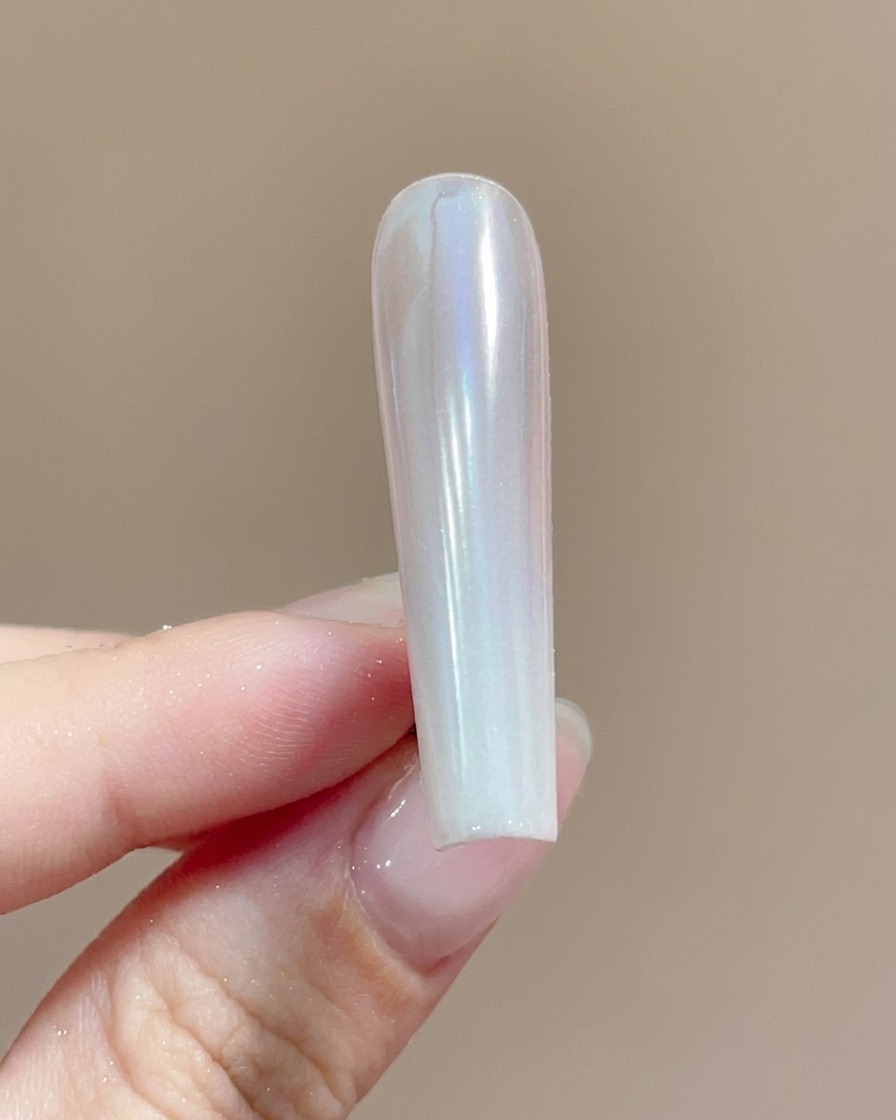
Apply a final sealing layer of top coat over the chrome powder to encapsulate it completely. This locks in the pigment, protects the finish from chipping, and preserves the vibrant shine of the Hailey nail art look.
Tip: Apply the top coat gently over the powder layer so you do not disturb or smudge the chrome finish underneath. - 14Self-level and cure
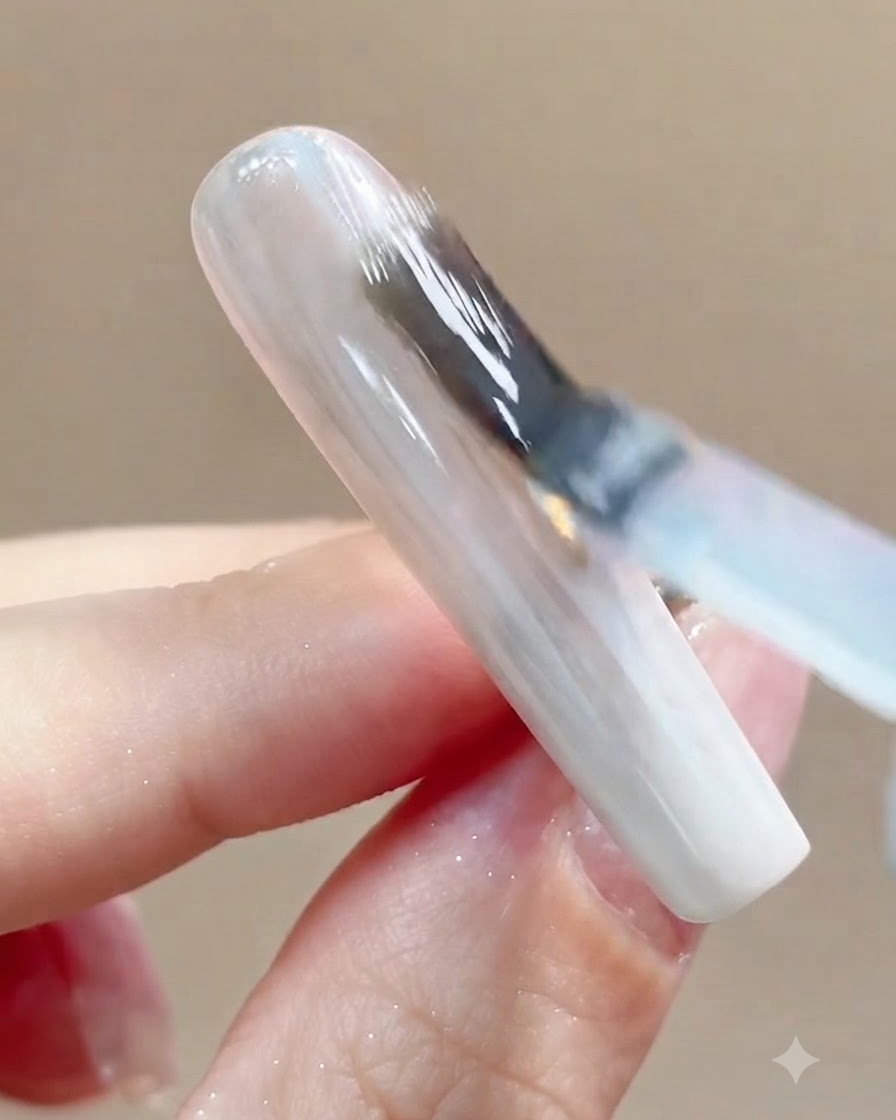
Wait for the sealing top coat to self-level lightly to create a smooth, even surface reflection, then immediately place the nail under the lamp to cure. This ensures a flawless, high-gloss finish that securely seals the entire manicure.
Tip: Allowing the gel to self-level briefly before curing prevents brush marks and ensures an even, glossy coat.