Milky White
Pink Ombre Gel Nails — Step-by-Step Tutorial
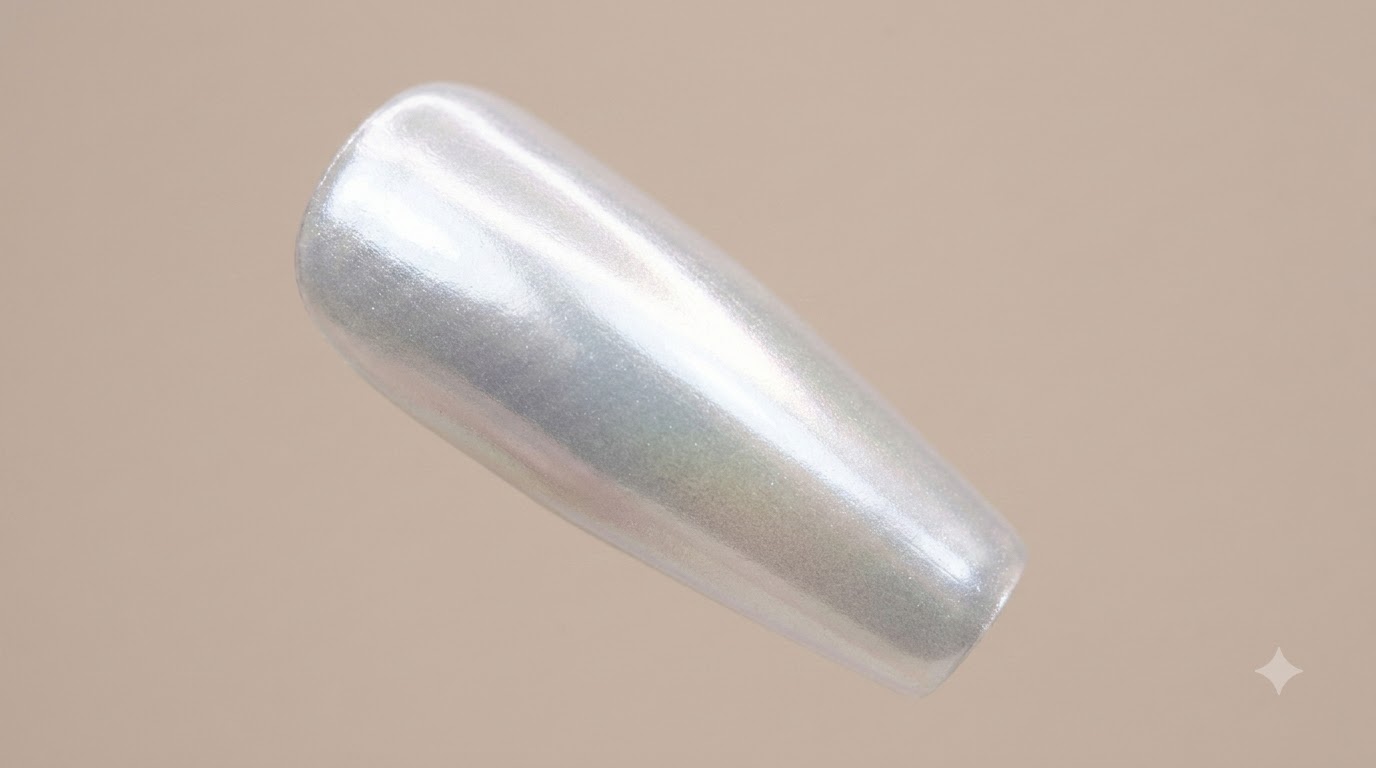
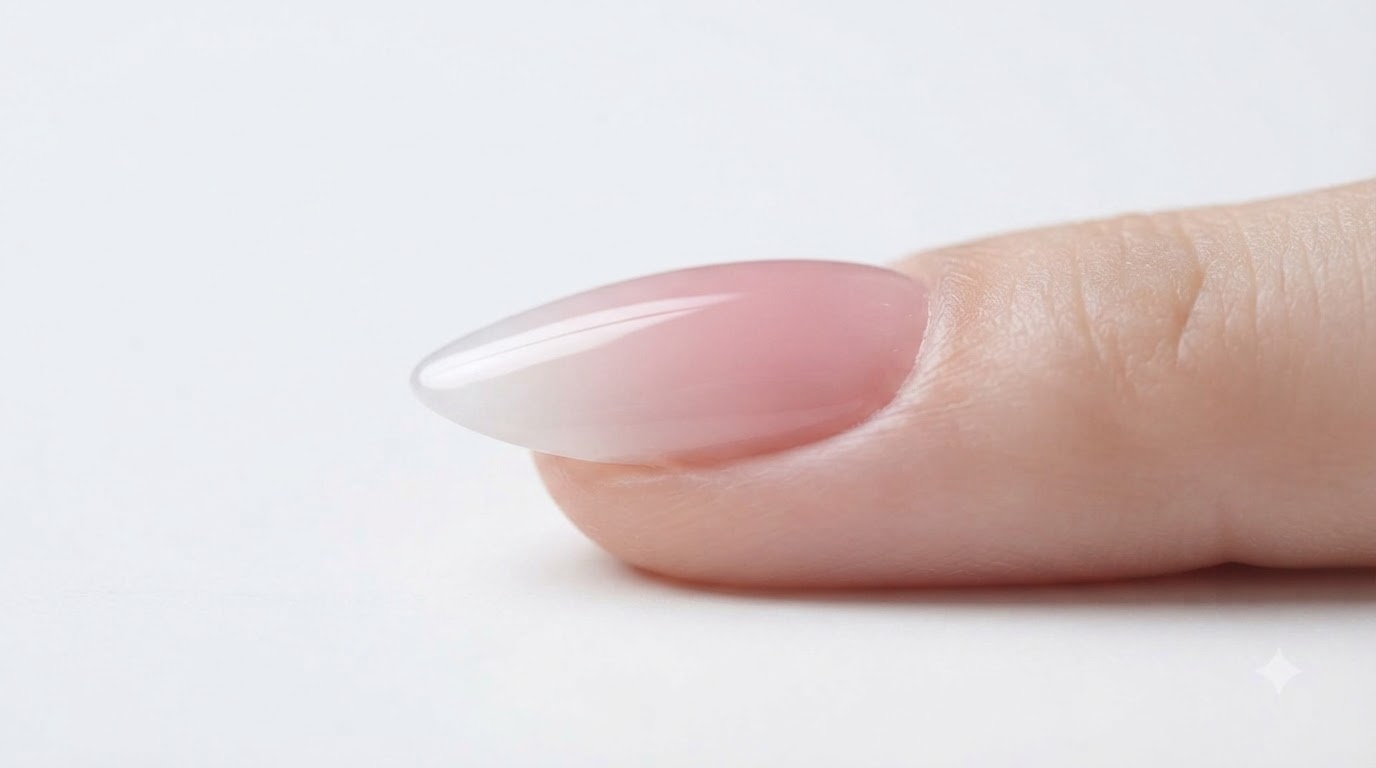
Create a flawless milky white and pink ombre gradient gel nail with a high-gloss finish and plump architectural apex using building gel.
Achieving a smooth, seamless gradient without brush strokes can often feel challenging, but the self-leveling nature of building gel makes it effortless. This tutorial guides you through applying milky white and rose pink building gels to build a natural, watery transition with a professional plump side profile.
Steps
- 1Buff the natural nail
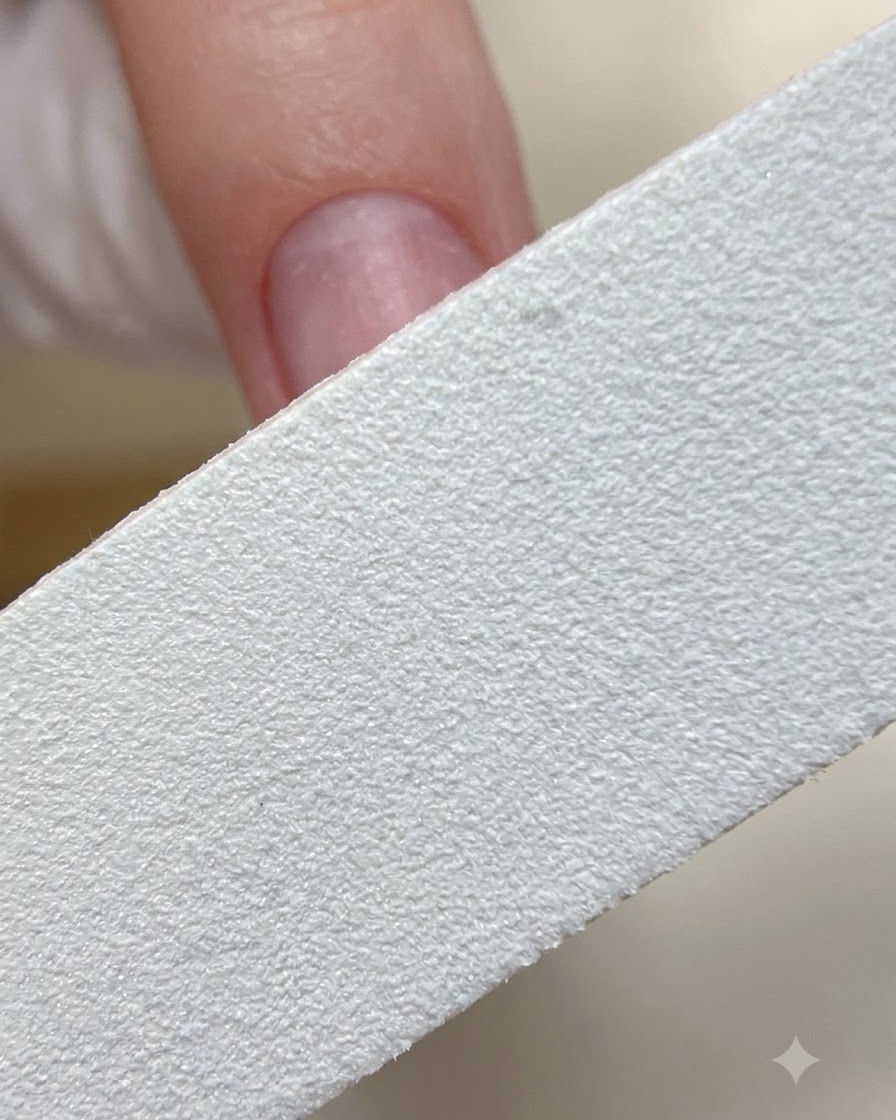
Gently buff the surface of the natural nail using a white nail file buffer to remove shine and create a micro-textured surface. This preparation ensures proper adhesion for the upcoming building gel layers and prevents premature lifting.
Tip: Use a light touch when buffing natural nails to avoid thinning or damaging the nail plate. - 2Prepare color building gel number 01
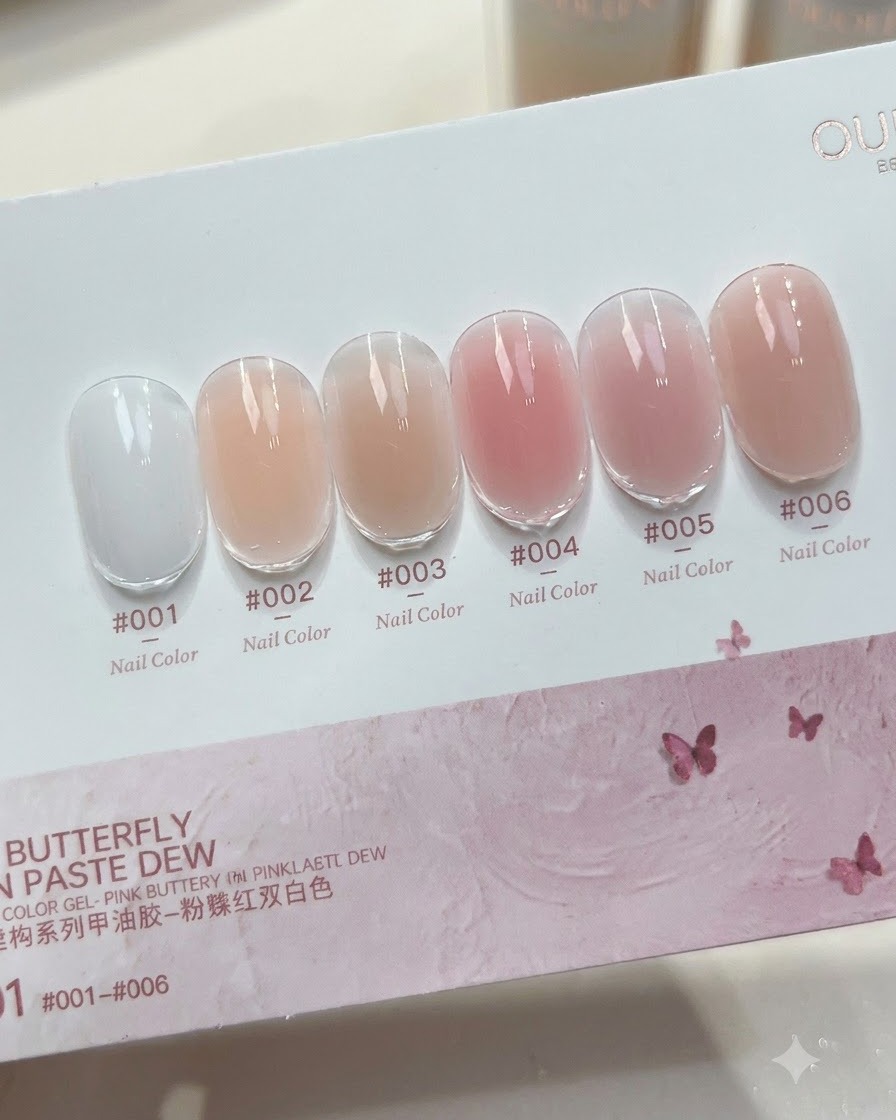
Open the bottle of color building gel number 01, milky white, and check the brush applicator. Ensure there is an appropriate amount of product loaded on the brush, with a slight drop forming at the tip for smooth application.
Tip: Wipe one side of the brush against the bottleneck to control the amount of gel and prevent pooling. - 3Apply milky white gel to the tip
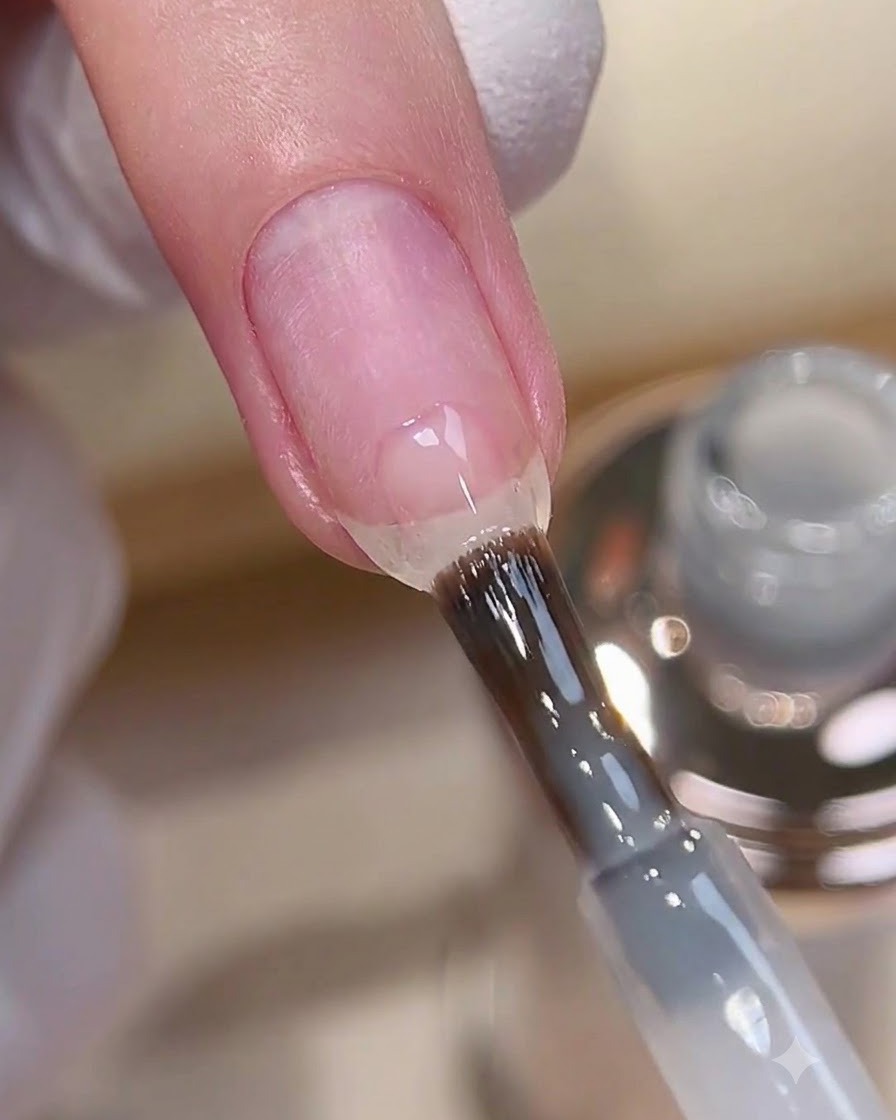
After buffing the natural nail, brush color building gel number 01, milky white, onto the free edge and fingertip. This creates the base for a soft, seamless gradient effect without visible brush strokes.
Tip: Apply a thin layer at the tip to maintain a natural look and prevent bulkiness. - 4Blend the white gel upward
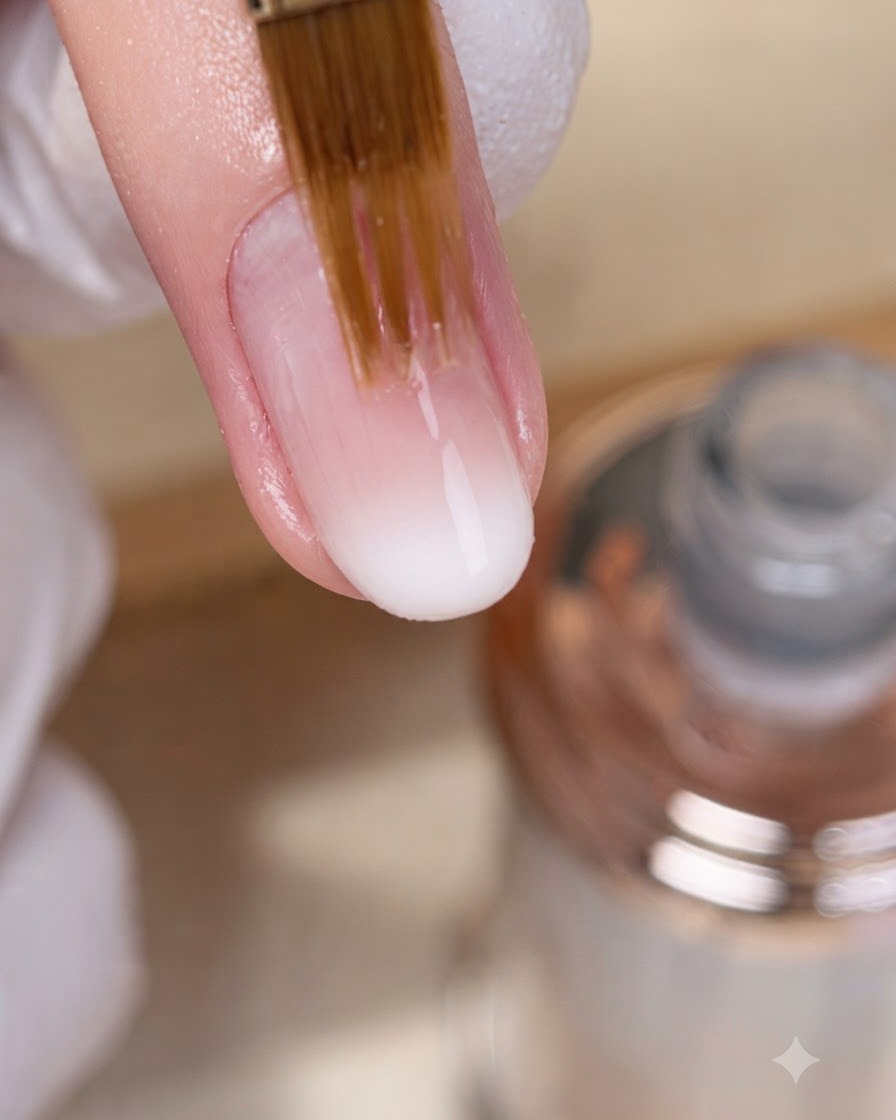
Take a flat gradient brush and gently smooth the milky white gel upward toward the cuticle area. Rely on the self-leveling nature of the gel to create a soft, even transition.
Tip: Keep the brush strokes light and feathery to avoid leaving streaks in the gel layer. - 5Select color building gel number 10
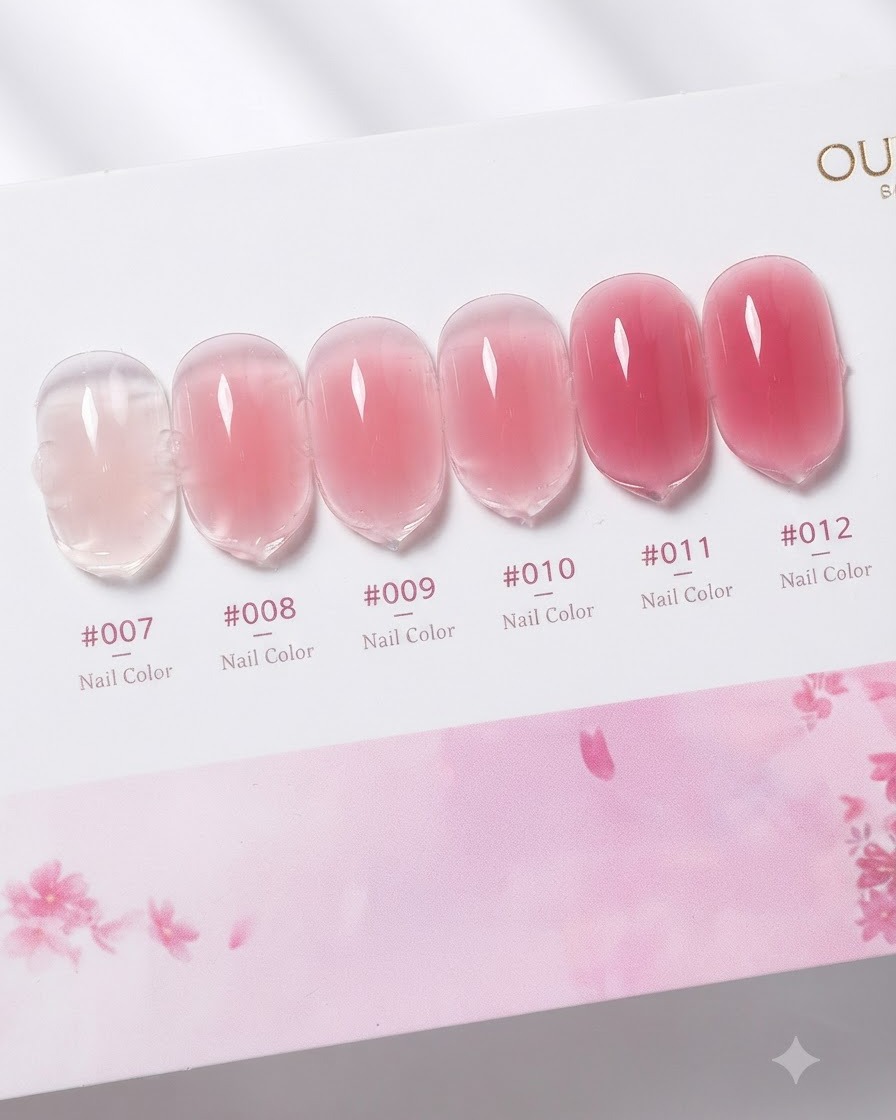
Open the bottle of color building gel number 10, rose pink, to prepare for the next layer. Examine the brush and the translucent pink gel consistency to ensure it is ready for application over the blended white base.
Tip: Ensure the bottle is kept away from direct UV light or lamp exposure to prevent premature curing of the gel inside. - 6Apply rose pink gel base layer
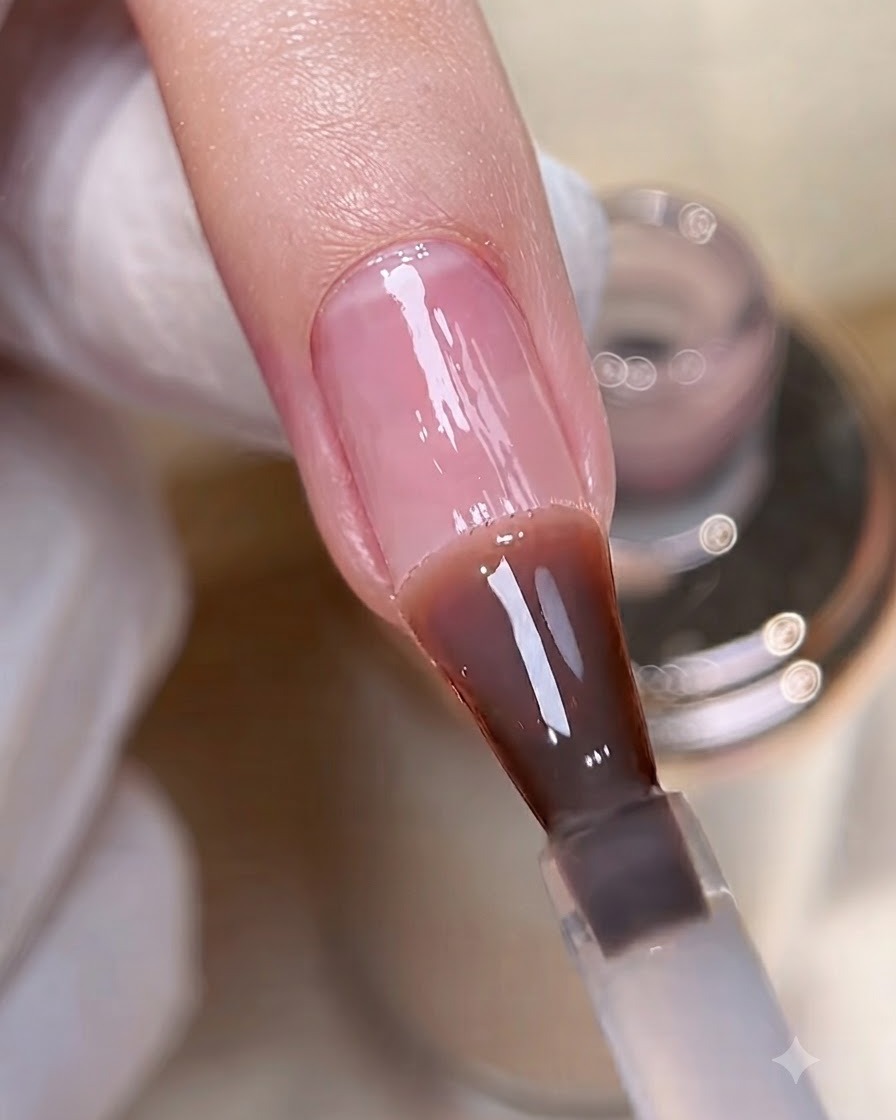
Apply a thin coat of color building gel number 10, rose pink, across the entire nail plate over the cured or smoothed white gradient. This creates a unified translucent pink tint that harmonizes the overall gradient look.
Tip: Apply this initial coat thinly and evenly to serve as a slick base for the structural gel bead. - 7Pick up rose pink gel for structure
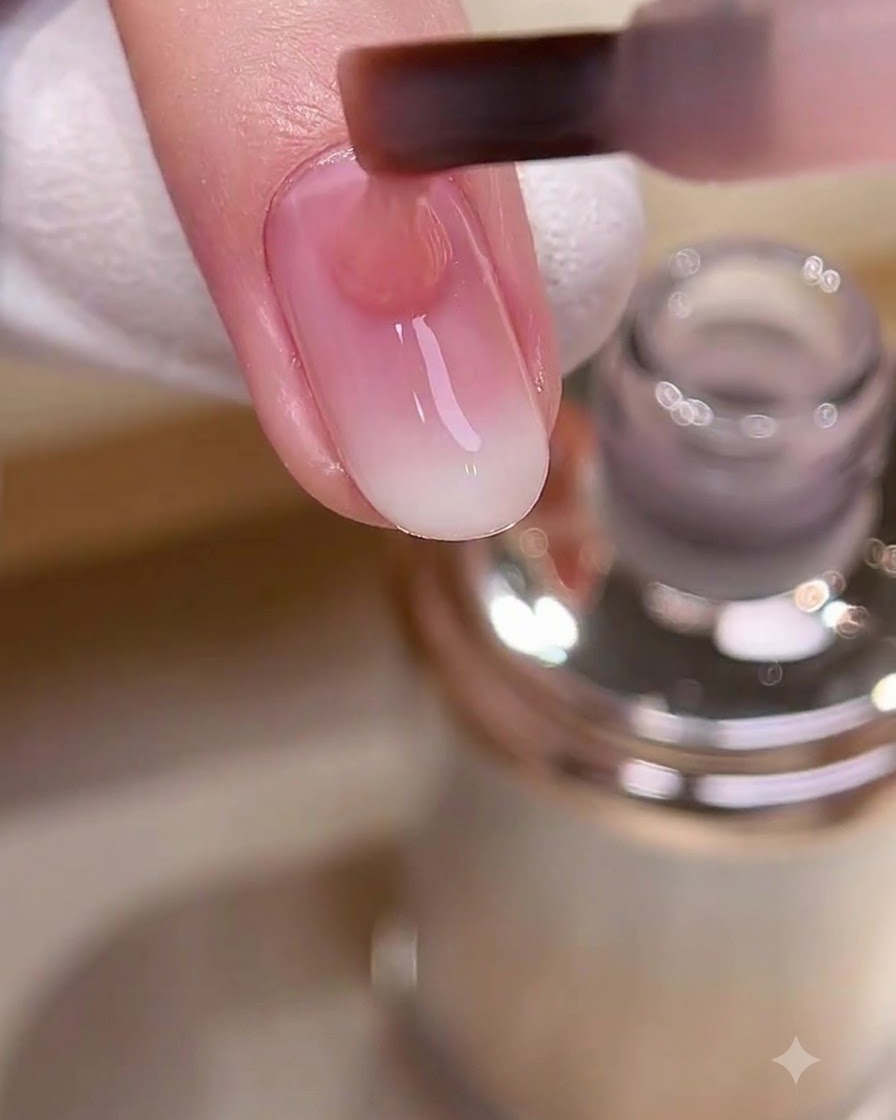
Apply a thin coat of number 10, rose pink, over the entire nail, then pick up a larger bead of the same gel. Place it near the cuticle area to begin building the structural apex.
Tip: Ensure the bead is properly sized to provide structural strength without flooding the sidewalls. - 8Spread and level the pink gel
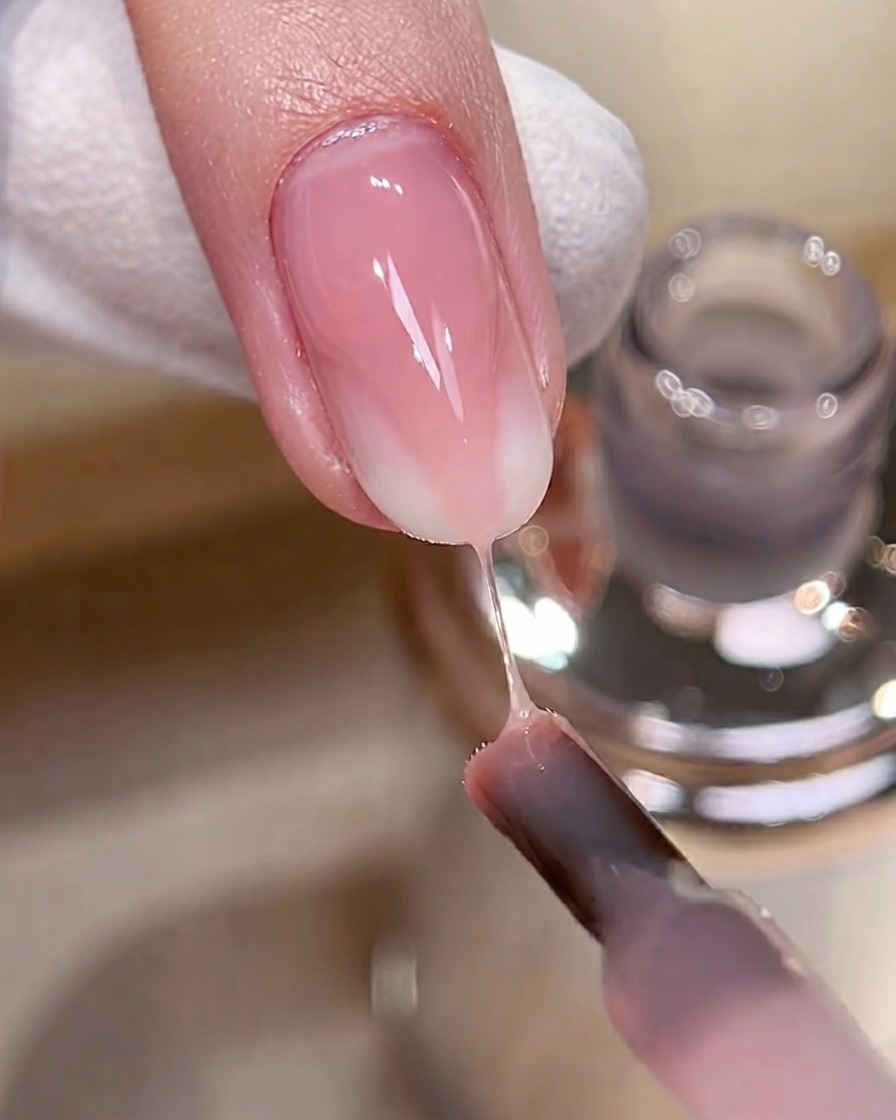
Gently guide and spread the pink building gel down to fully cover the entire nail, blending it seamlessly with the white gradient underneath. Let the self-leveling formula create a smooth surface.
Tip: Work efficiently so the gel levels out smoothly before curing. - 9Invert finger for apex concentration
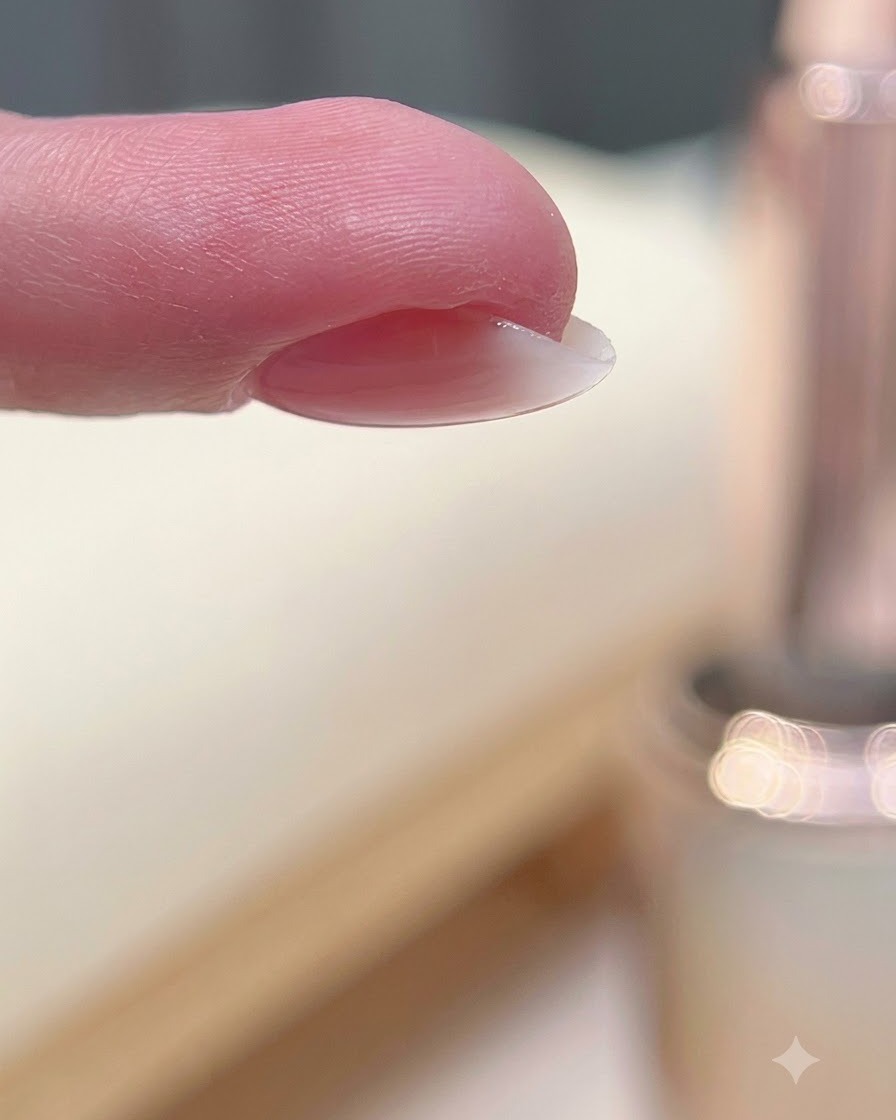
Briefly invert the finger upside down to allow gravity to pull the building gel, concentrating it in the middle to form a strong, plump apex profile.
Tip: Check the side profile while inverted to ensure an even, natural arch before curing. - 10Cure the gel under UV/LED lamp
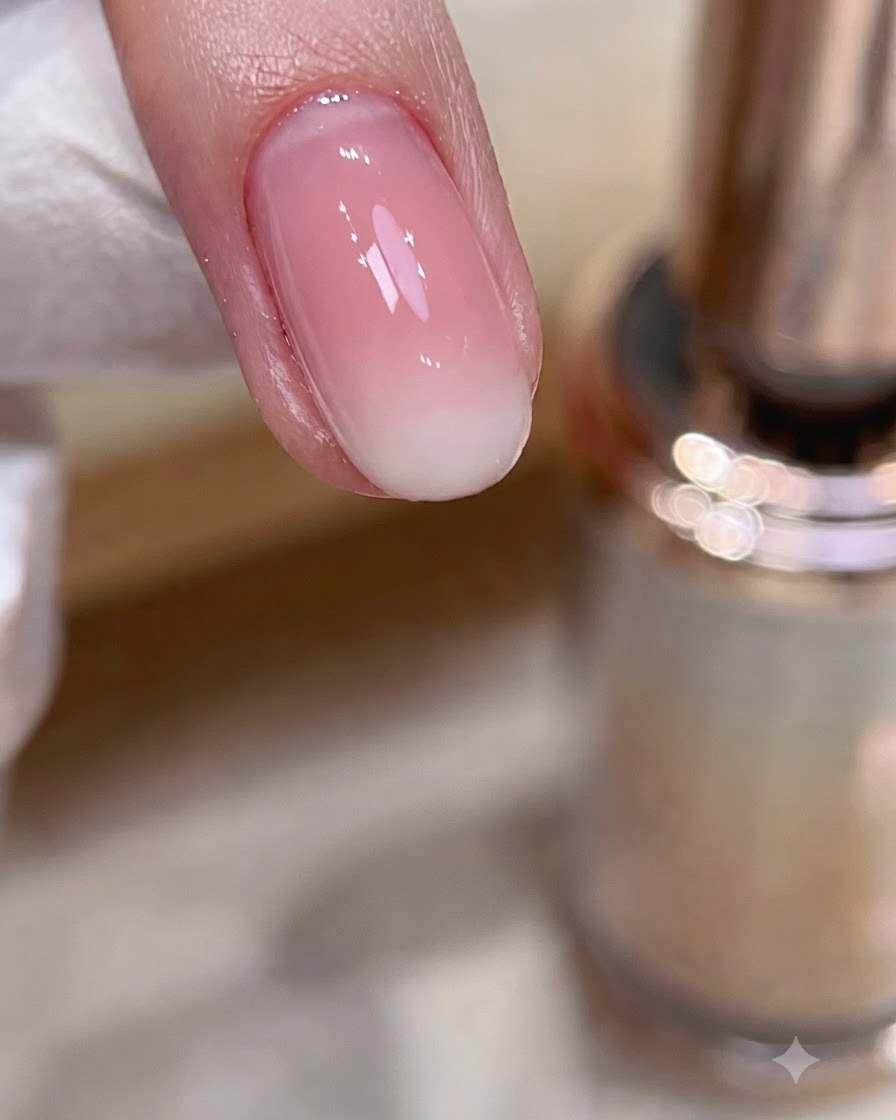
Flip the finger back right-side up and place it under the UV or LED nail lamp to flash cure the gel structure, securing the gradient and apex in place.
Tip: Make sure the hand is positioned directly under the light source for an even cure. - 11Apply plated crystal top coat
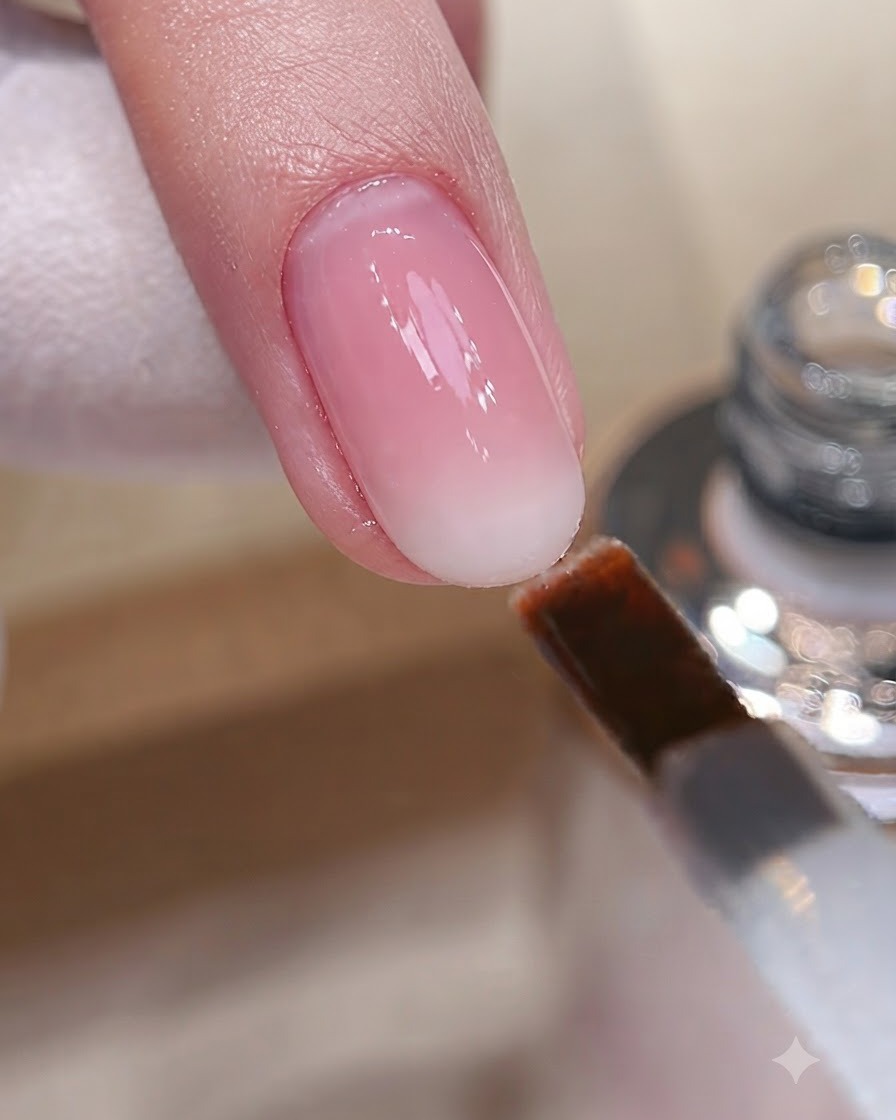
Brush a final layer of plated crystal top coat over the cured ombre nail to create a natural, watery, smooth gradient. Ensure complete coverage to seal the surface, eliminating any brush marks and highlighting a plump, glossy side profile. Cure under the UV or LED lamp to finish.
Tip: A good top coat application provides that watery gloss finish and protects the gradient underneath from chipping or yellowing.