Galaxy Starry Sky Gradient Cat Eye Nails — Step-by-Step Tutorial
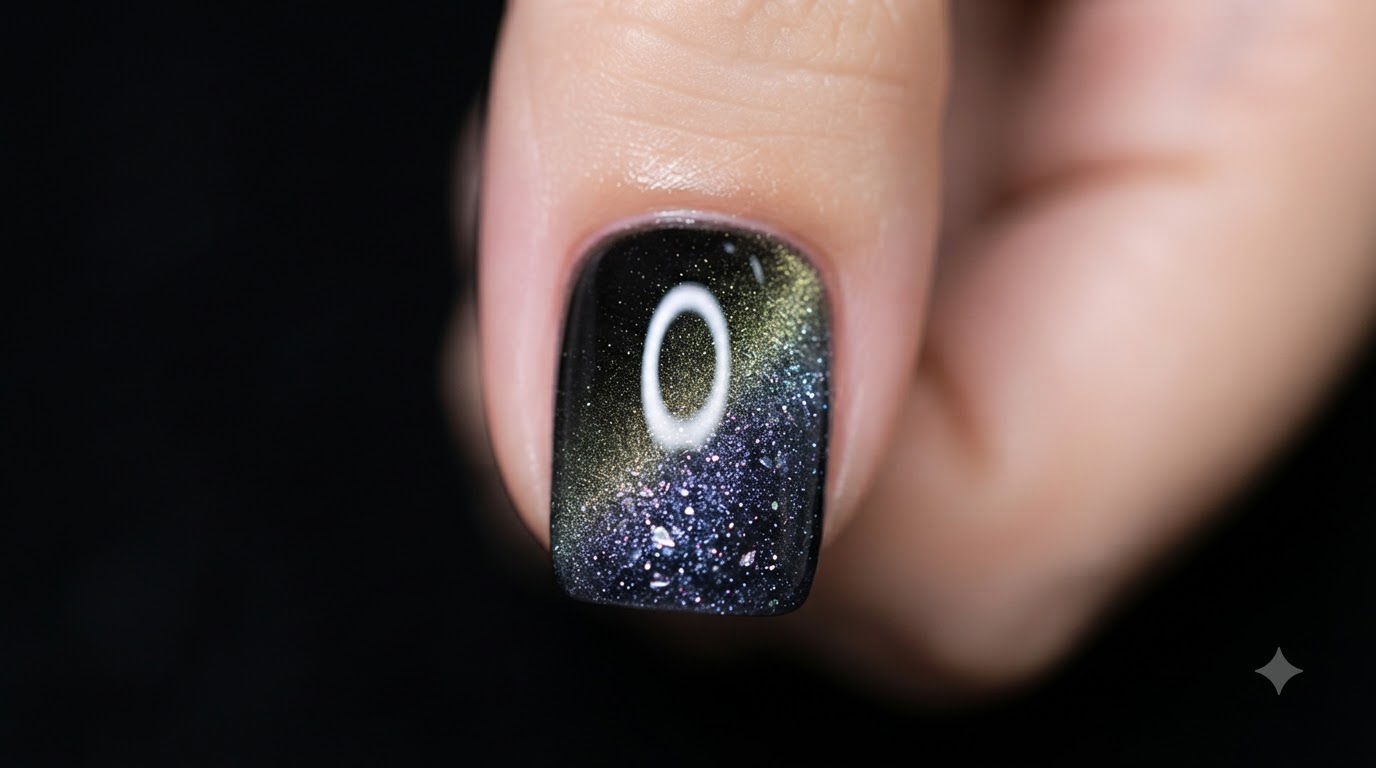
Create a stunning galaxy starry sky design using a black gradient base and sparkling crystal crushed ice cat eye gel with dynamic magnetic shifts.
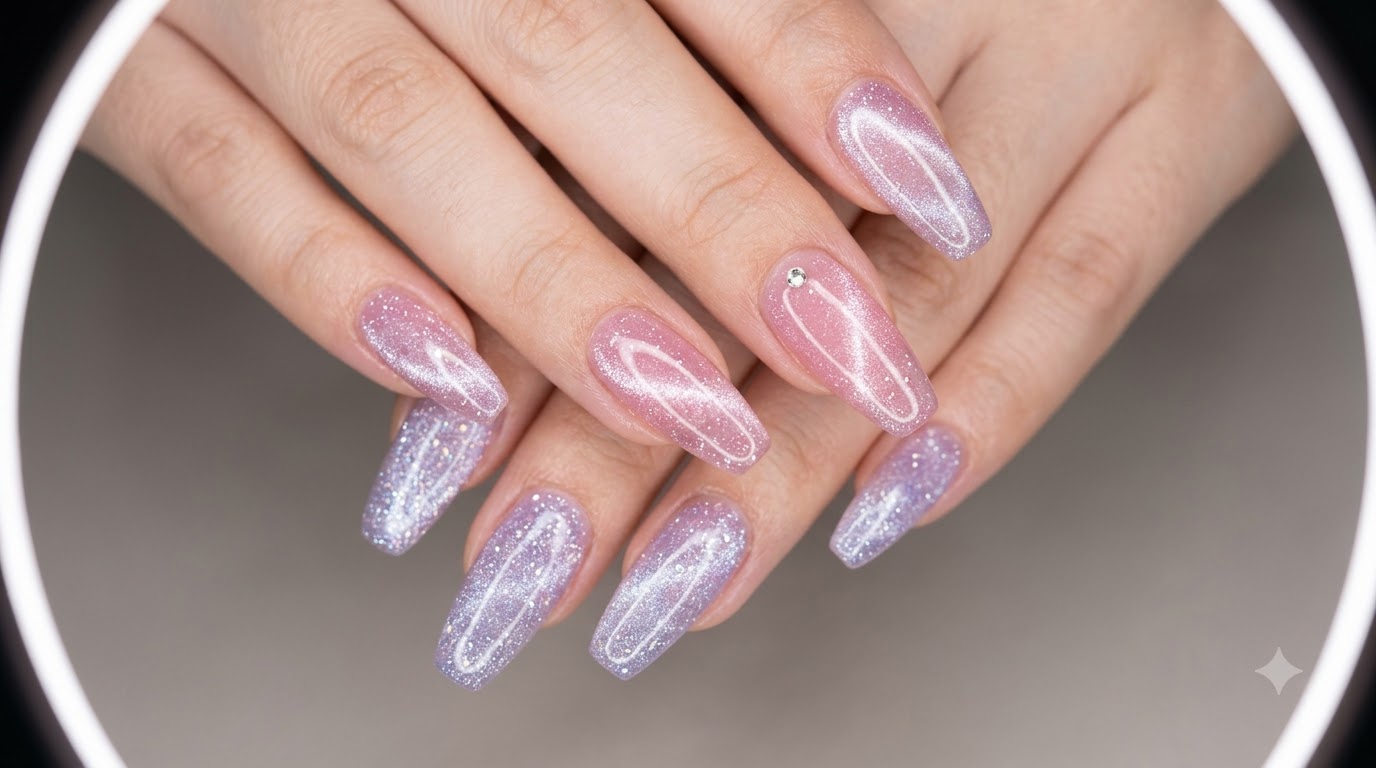
Cosmic nail designs inspired by the night sky continue to captivate with their mesmerizing depth and multi-dimensional shimmer. This look combines a smoky black gradient base with a coarse magnetic cat eye glitter that mimics distant stars and nebulae. By using a specialized sponge blending technique paired with precise magnetic manipulation, you can easily achieve a professional galaxy aesthetic right at home.
Steps
- 1Apply black gradient with a sponge
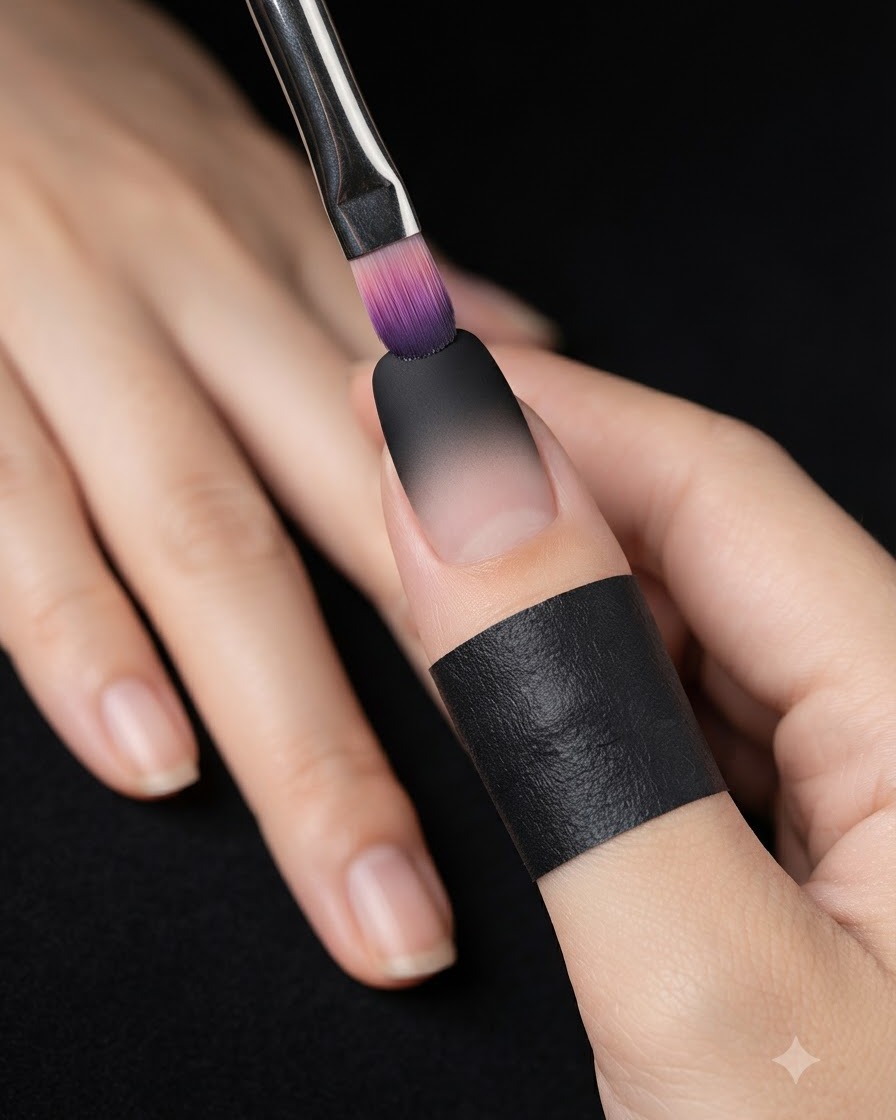
Using a makeup sponge or specialized sponge tool, gently dab black gel polish near the cuticle area and upper nail to create a smooth, smoky gradient effect over the matte top layer. Work in light, tapping motions to avoid heavy patches.
Tip: Dab most of the excess polish off the sponge on a palette before applying to the nail for a softer, more seamless gradient transition. - 2Reinforce gradient shading
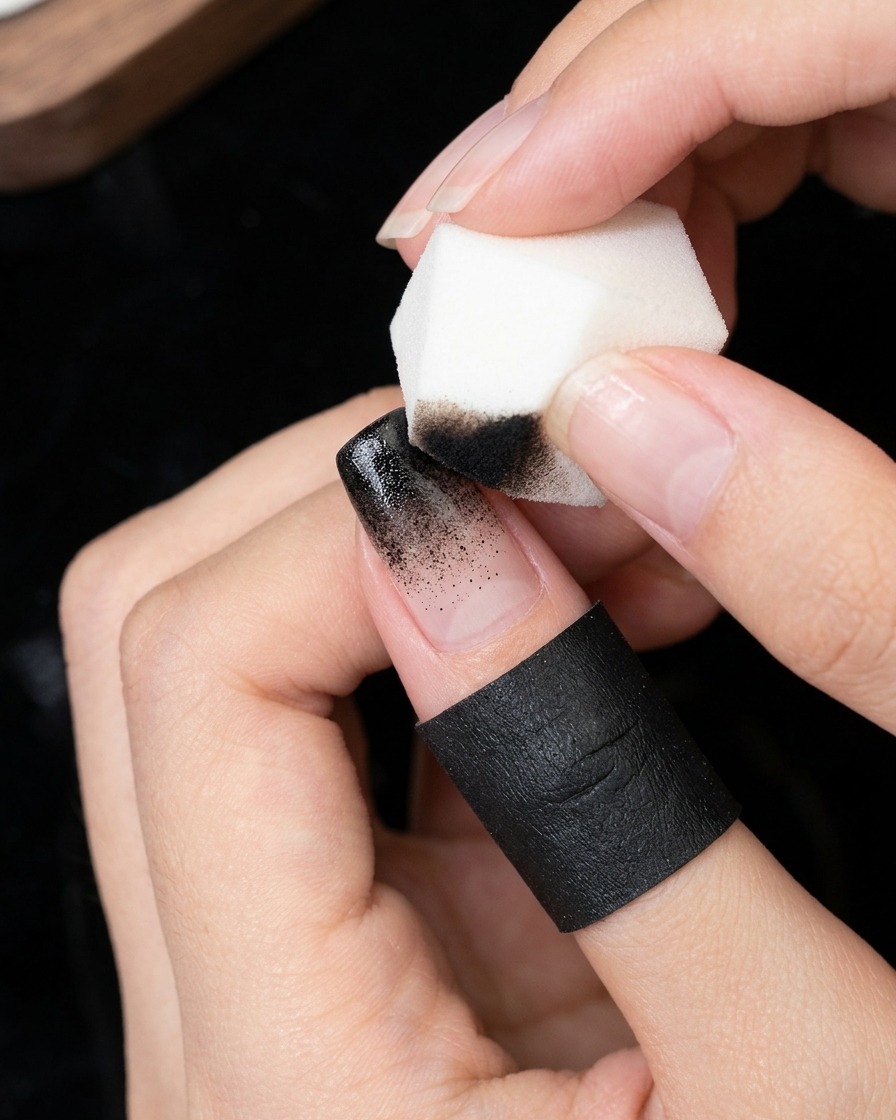
Take a sponge applicator loaded with a small amount of black gel polish and lightly dab over the existing gradient area. This reinforces the density of the black pigment and smooths out any uneven spots on the nail plate.
Tip: Use very light pressure when dabbing to preserve the soft, airy fade of the gradient. - 3Cure first gradient layer
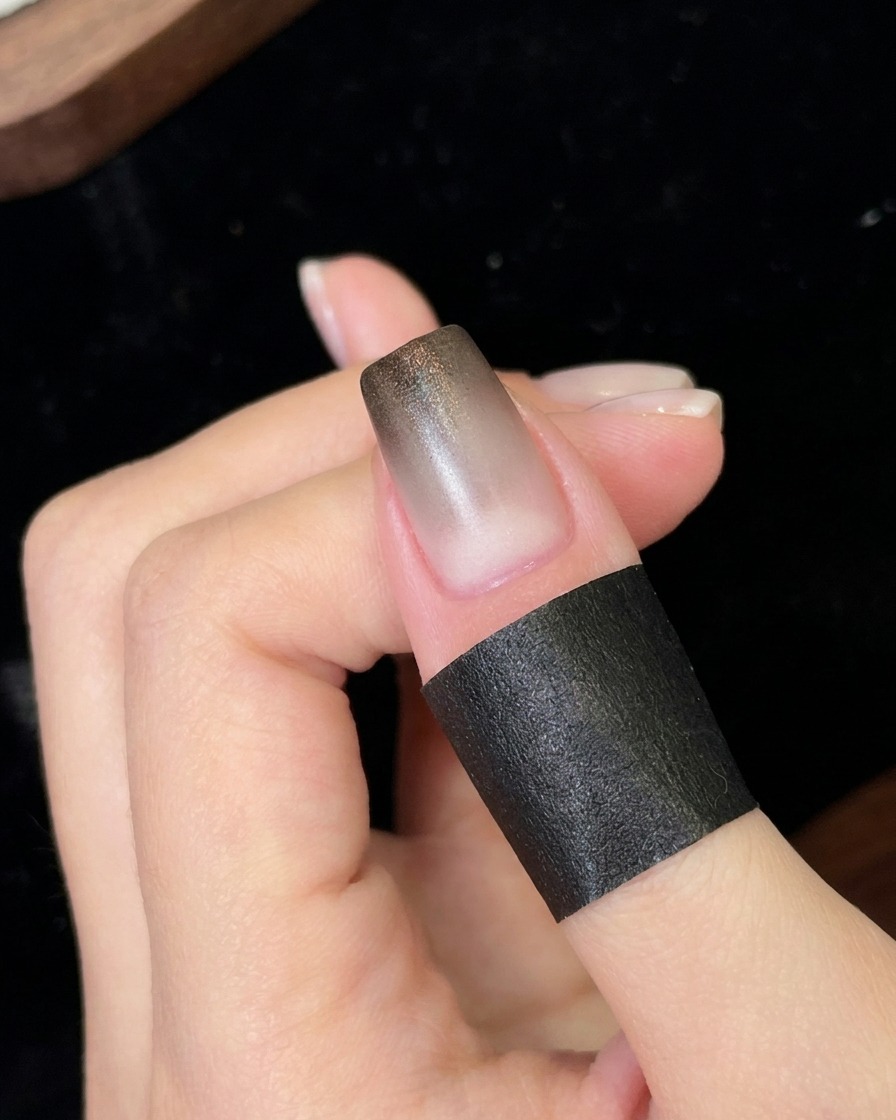
Place the finger under a portable UV or LED nail lamp to cure the first layer of the black gradient. Follow standard curing times to ensure the gel pigment sets completely before moving on to the next application.
Tip: Keep the hand steady under the compact lamp to prevent the gel from shifting during the initial cure. - 4Apply second black pigment layer
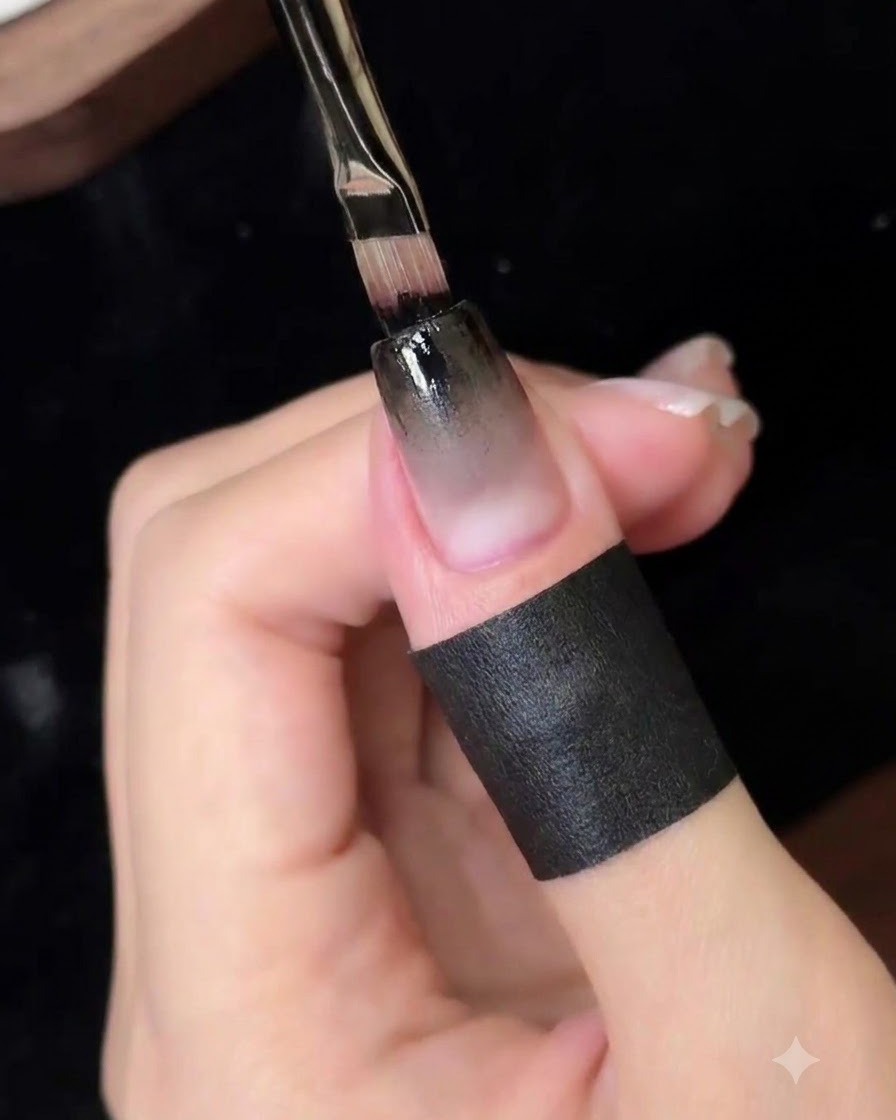
Using a fine nail art brush, carefully apply a second layer of black pigment concentrated near the edge to deepen and intensify the gradient color. This adds greater dimension and richness to the dark galaxy background.
Tip: Keep strokes controlled and concentrate the color primarily at the very top to maintain the gradient fade. - 5Smooth and deepen gradient transition
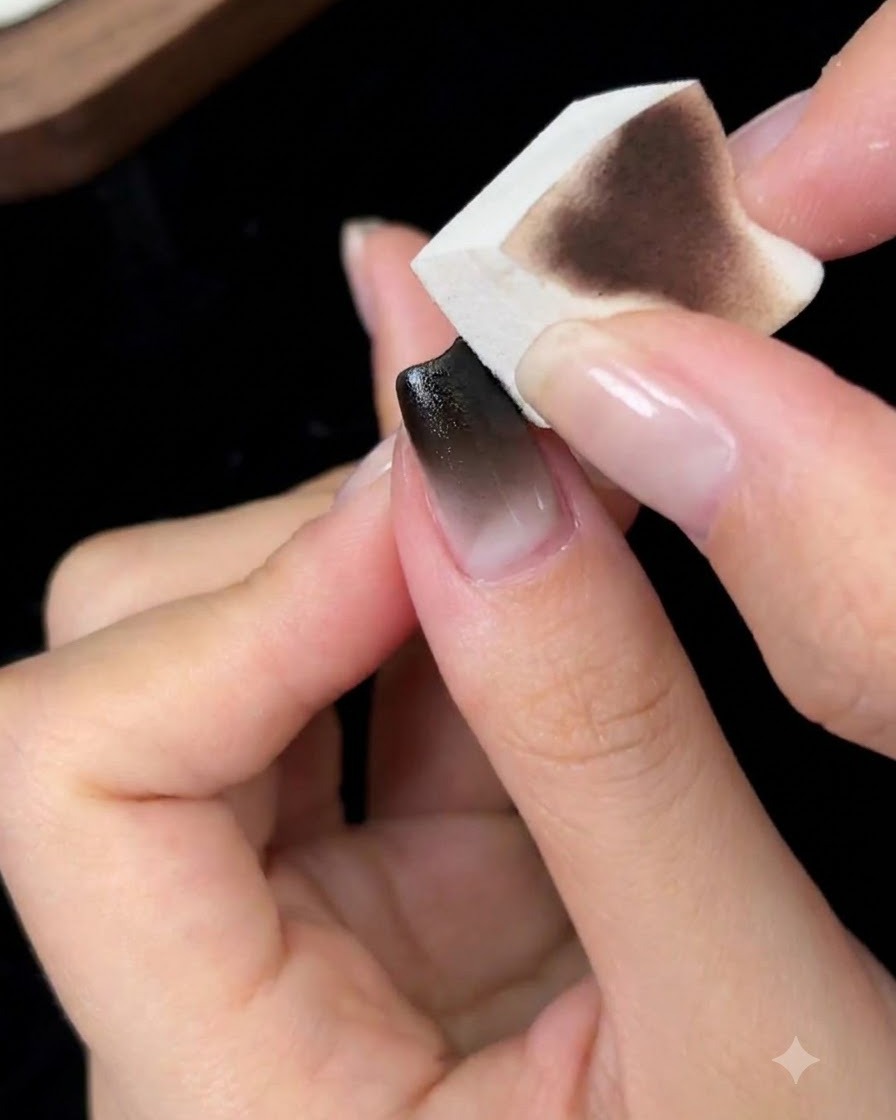
Lightly dab the sponge applicator over the newly applied second black layer. This action helps blend the edges seamlessly, smoothing out the transition between the dark tip and the lighter base area.
Tip: Ensure the sponge is clean or lightly used so it blends rather than deposits excess blotchy pigment. - 6Cure second gradient layer
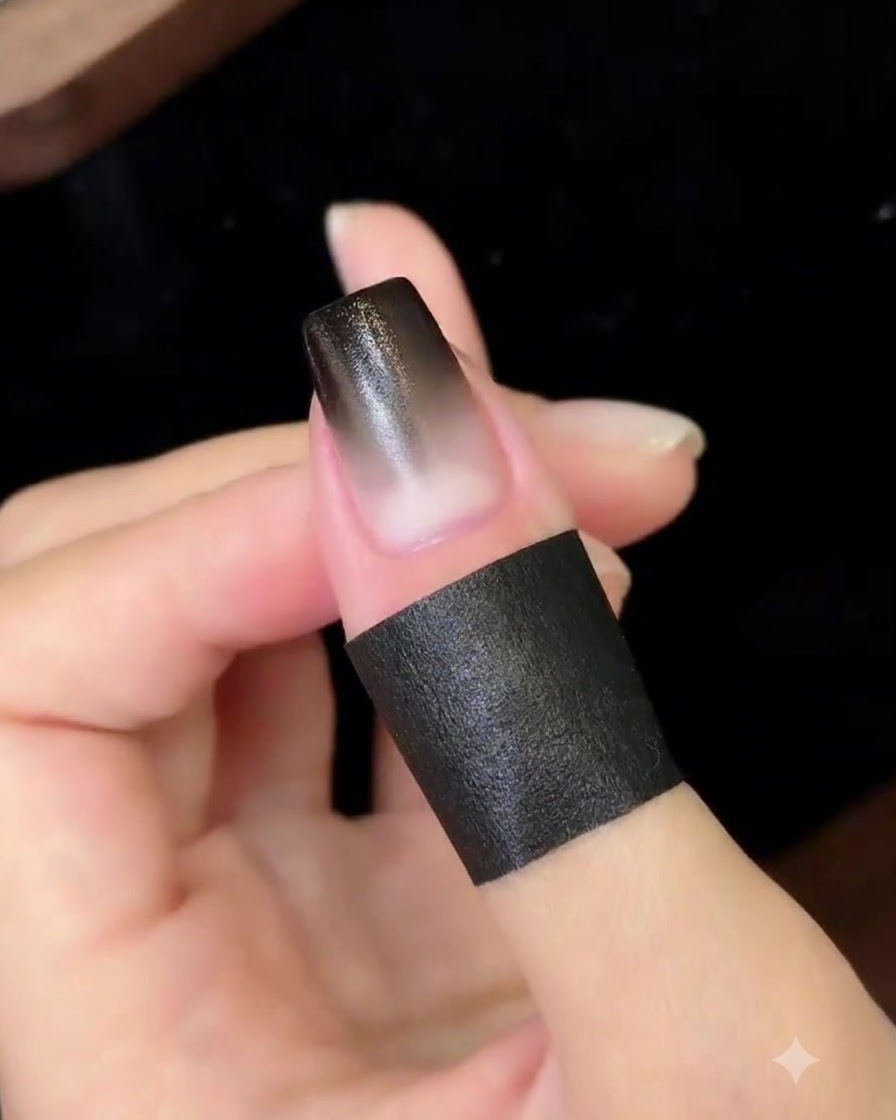
Place the nail back under the UV/LED nail lamp to fully cure the second gradient layer. Proper curing locks in the deep color intensity and prepares the surface for the next phase of the starry sky design.
Tip: Ensure a full cure cycle is completed so the thick pigment layers do not wrinkle under subsequent coats. - 7Apply crystal crushed ice cat eye gel
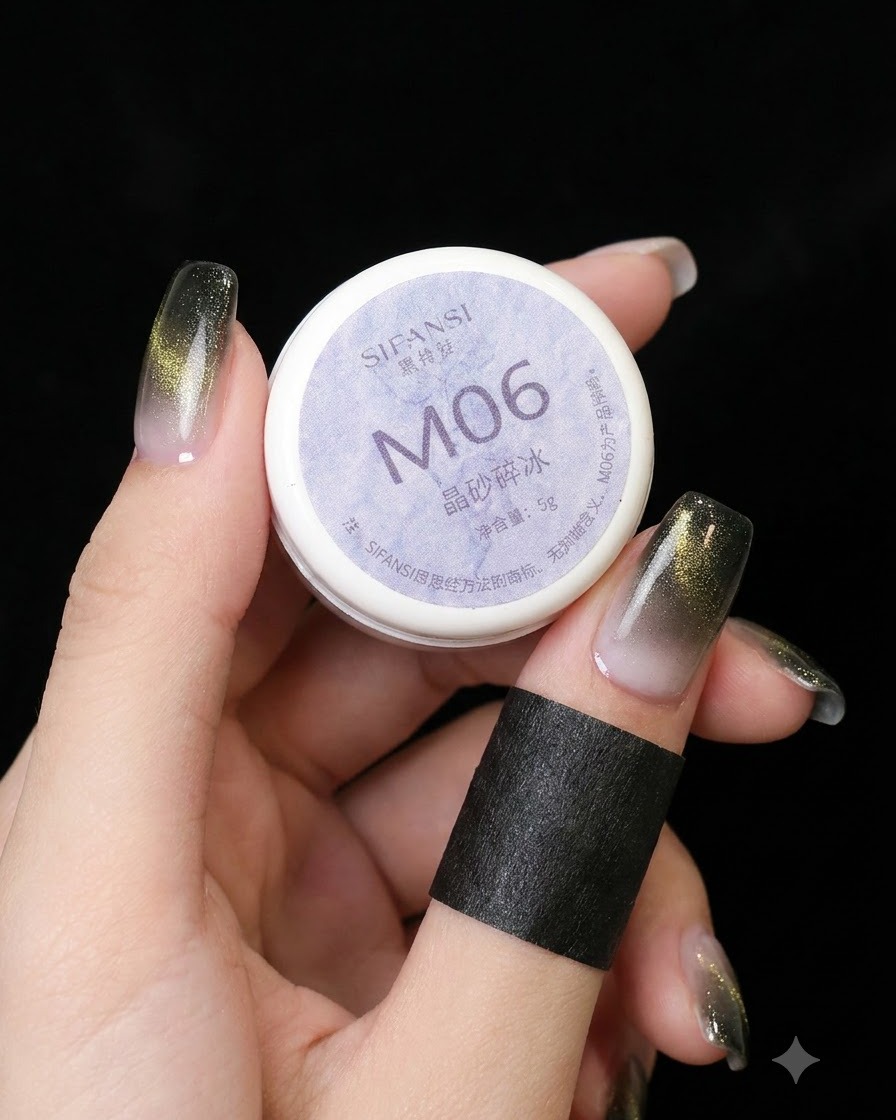
Apply a full, even layer of crystal crushed ice cat eye gel M06 across the entire surface of the nail. This coarse magnetic powder creates a super sparkling effect. Do not cure yet, as you need to magnetize the gel immediately while it is wet.
Tip: Work efficiently to magnetize the gel before it shifts or settles. - 8Create wide cat eye stripe effect
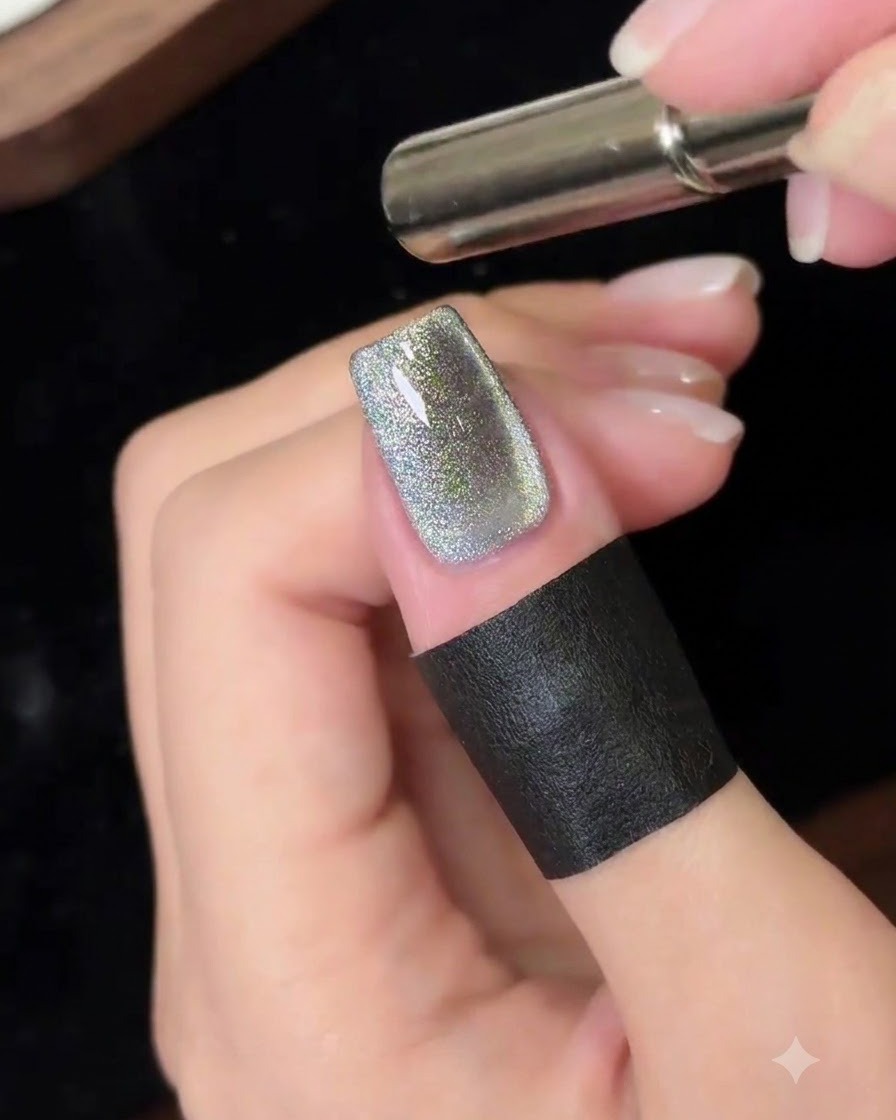
Hold the magnetic wand tool close to the wet nail surface to pull and concentrate the magnetic particles. First, draw out a wide cat eye stripe effect across the center of the nail.
Tip: Keep the magnet steady and close enough to attract the glitter particles without touching the wet gel surface. - 9Draw magnetic gradient effect
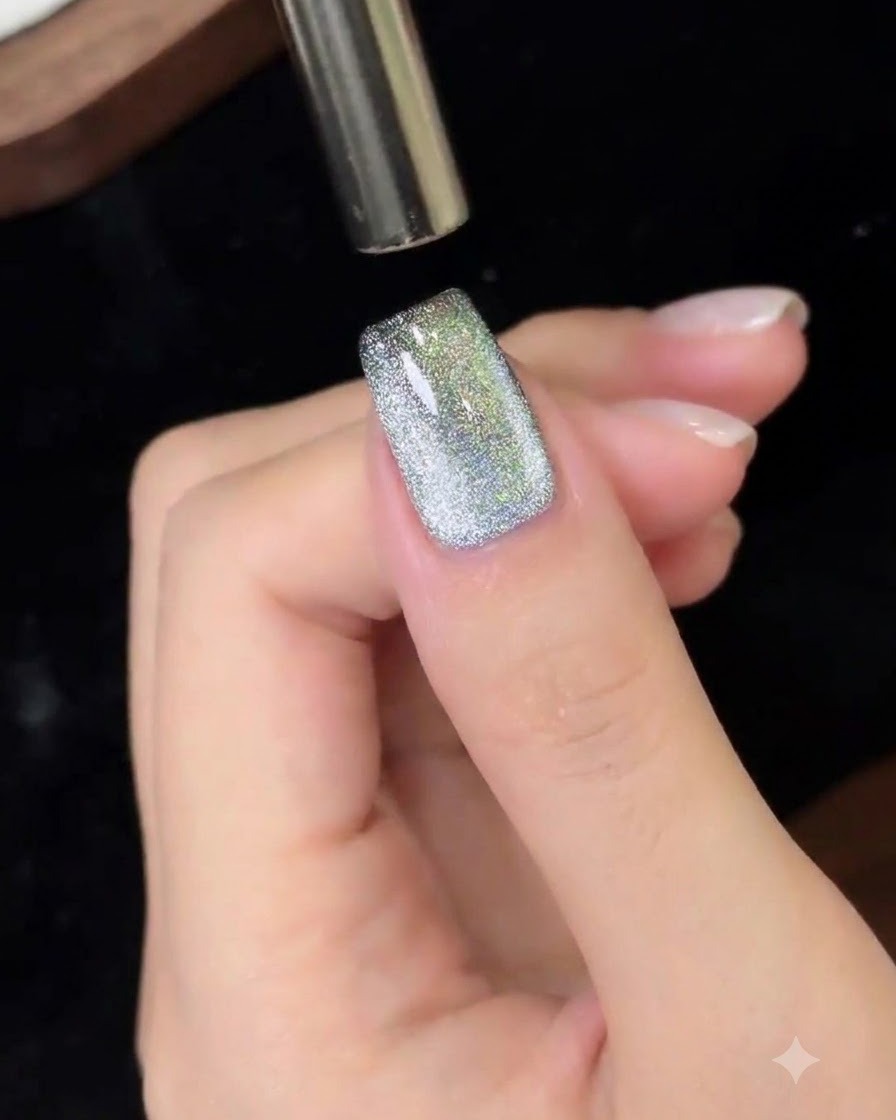
With the magnet positioned near the nail, move it smoothly from the top to the bottom to shape a striking magnetic gradient shift effect. This enhances the galaxy starry sky aesthetic.
Tip: Smooth, continuous motion from top to bottom ensures an even gradient transition. - 10Cure the cat eye gel
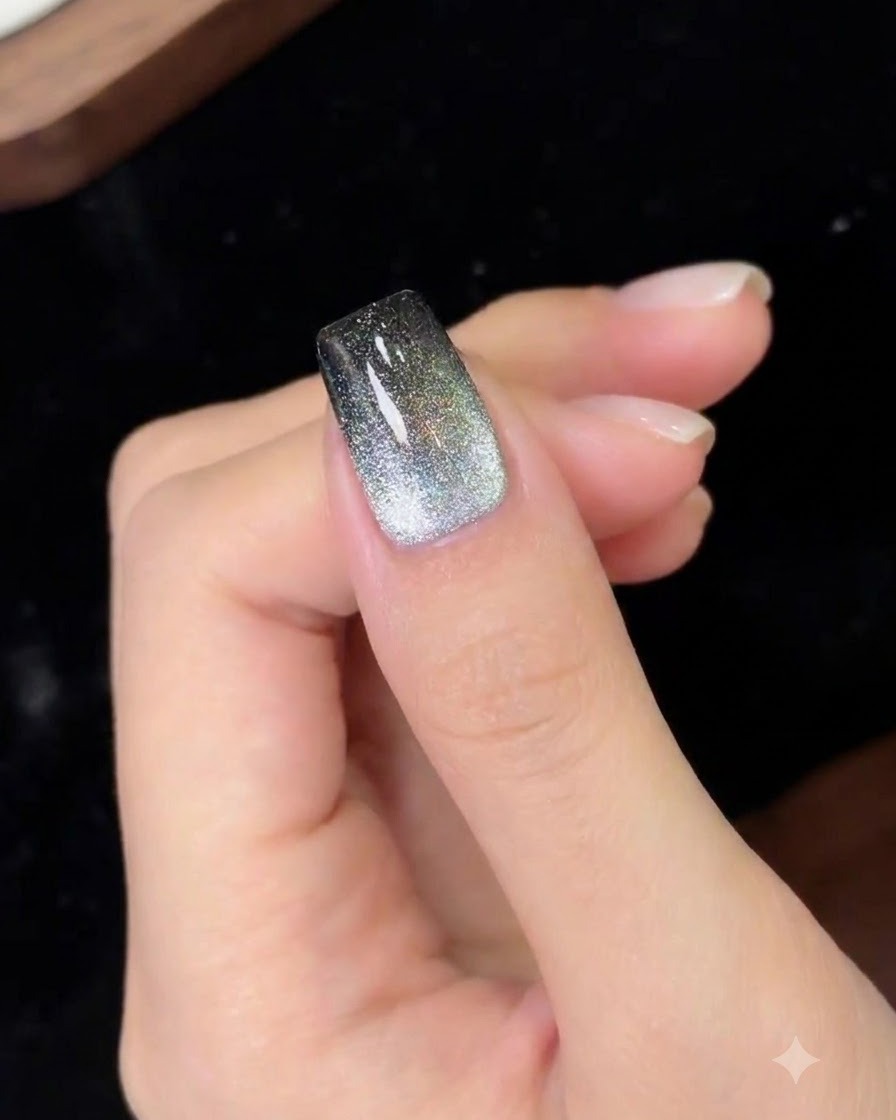
Once the desired cat eye gradient effect is achieved, place the hand under the UV or LED lamp and cure for the recommended time to lock the magnetic particles in place.
Tip: Ensure your hand stays steady during placement into the lamp so the magnetic design does not shift. - 11Apply final clear top coat
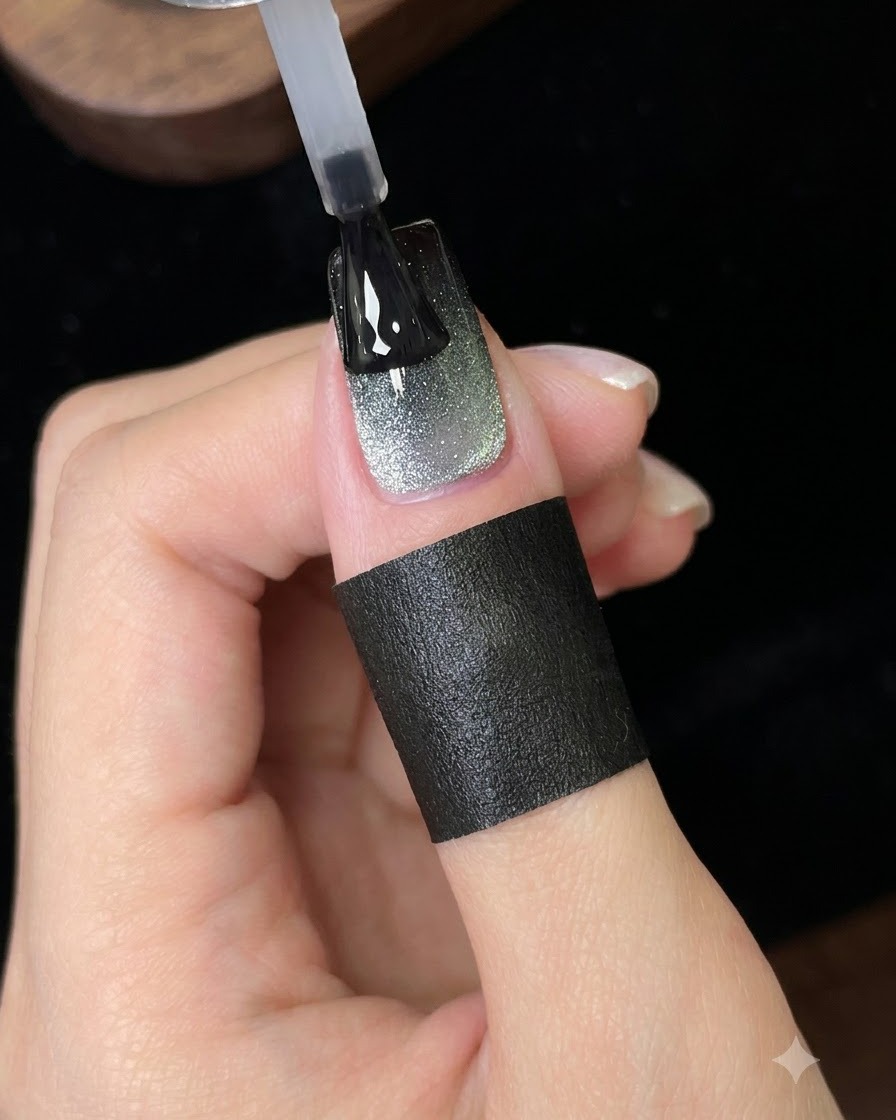
Apply a final layer of clear top coat over the entire nail surface to seal the design and add a brilliant glossy shine. Cure under the UV/LED lamp to finish the super cool galaxy starry sky look.
Tip: Cap the free edge with top coat to prevent chipping and ensure longevity.