Star Cat Eye Gel Nails — Celestial Step-by-Step Tutorial
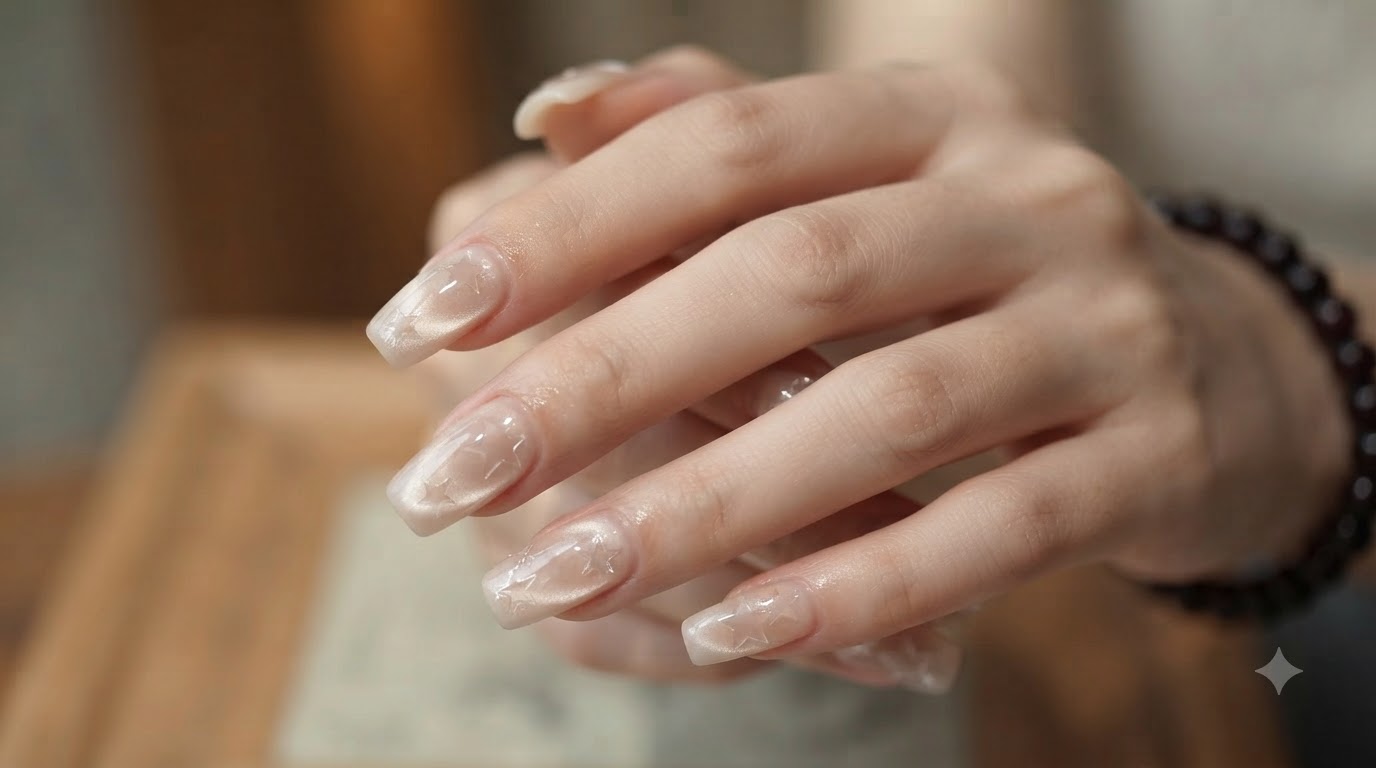
Create a dreamy celestial look with translucent milky nude base, magnetic side light cat eye effects, and negative space star details.
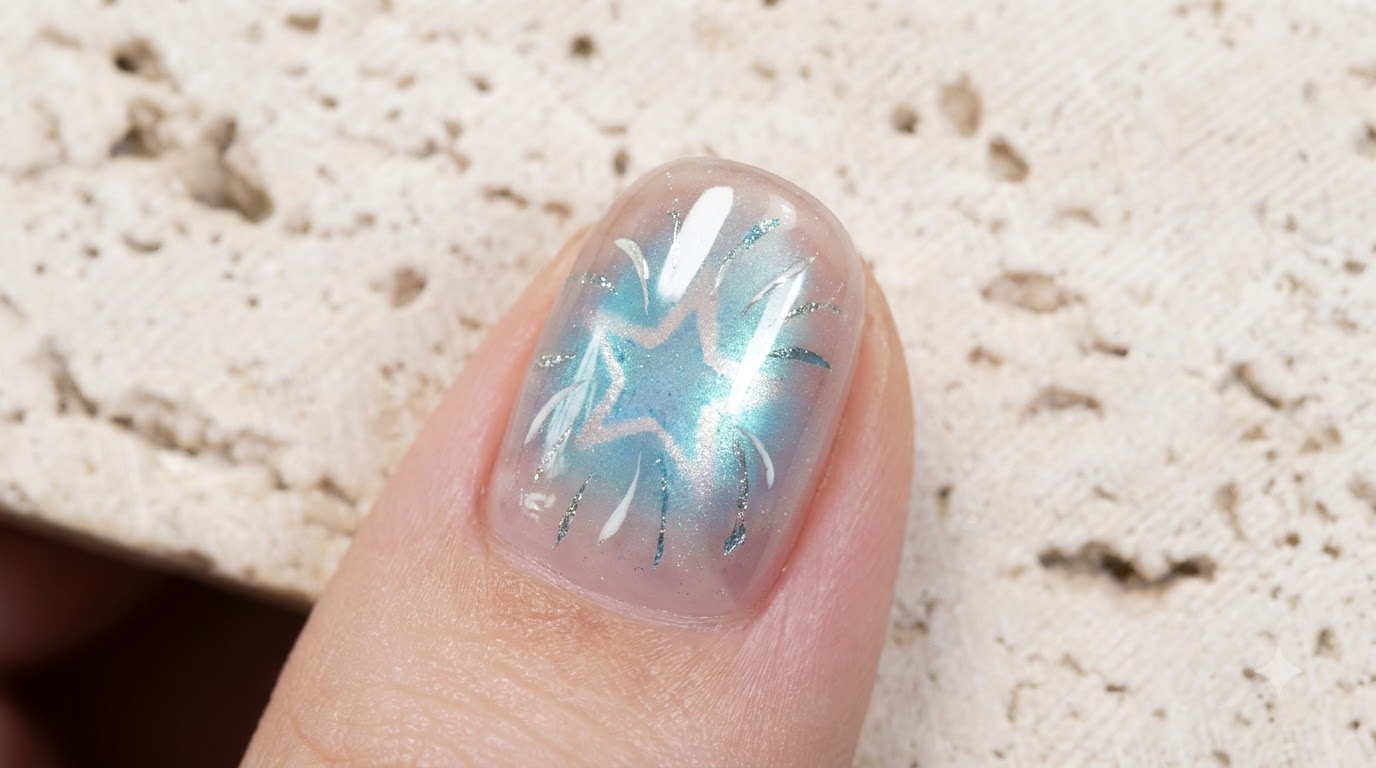
Celestial nail art featuring starry elements and shimmering cat eye textures has taken over social media feeds. This gorgeous design combines a natural translucent nude base with a mesmerizing side light cat eye effect, framed by crisp negative space star details created using a simple sponge padding technique.
Steps
- 1Apply nude base gel
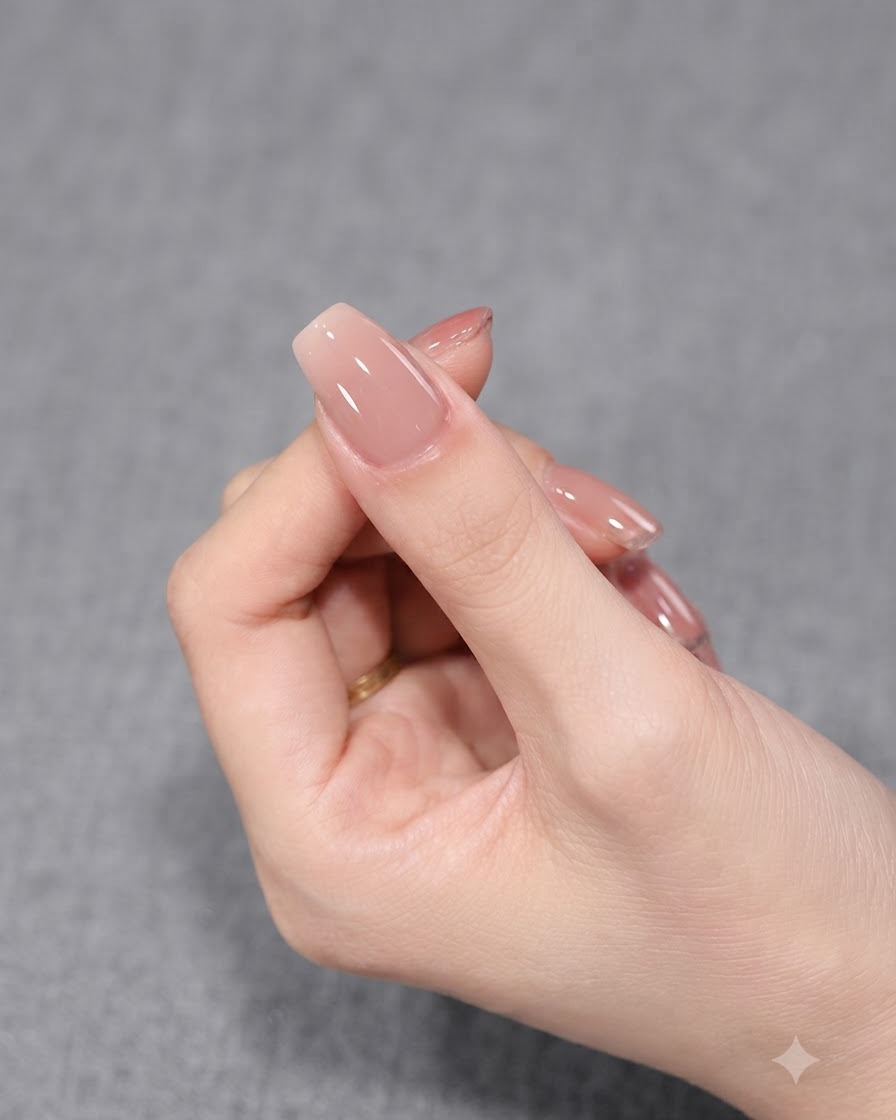
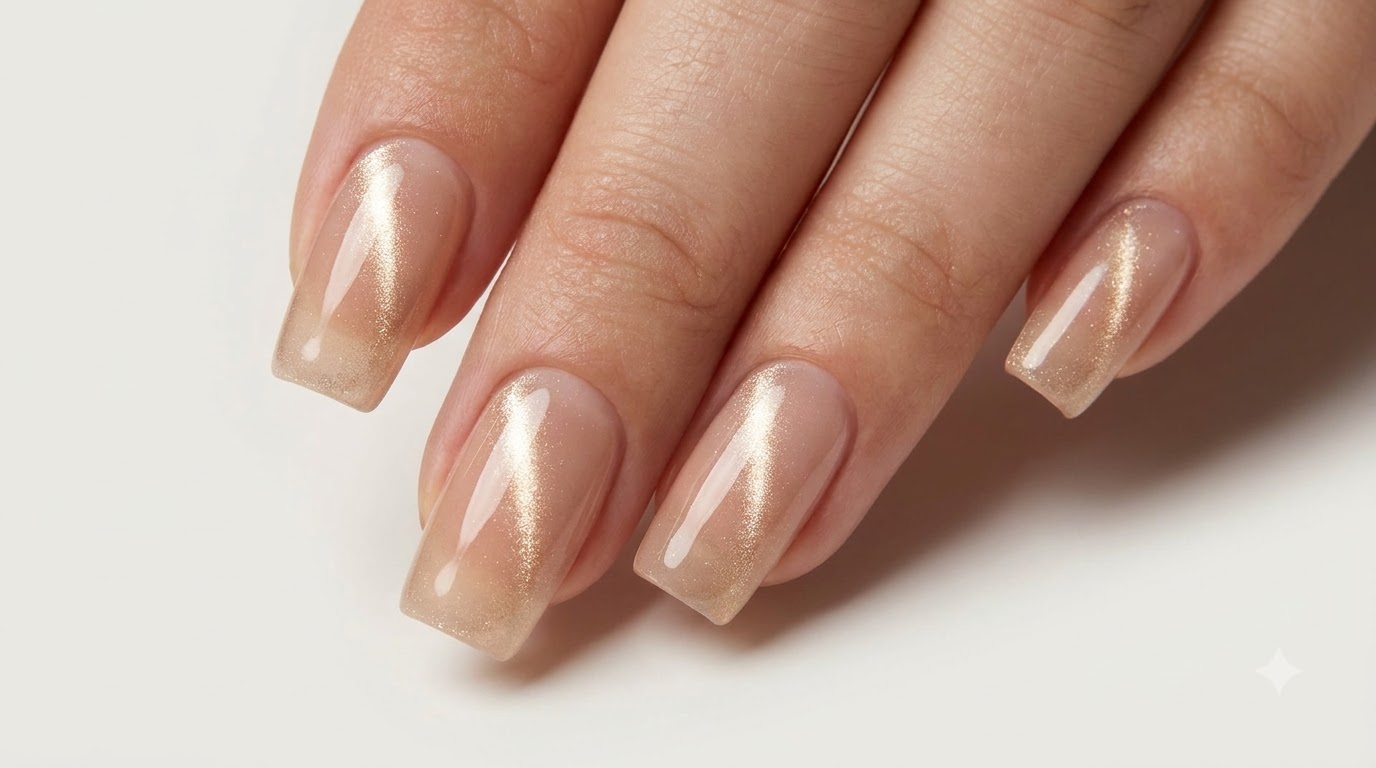
Apply a coat of nude colored base gel evenly onto the nail plate using the polish brush. A single coat of nude looks very nice and natural for daily wear, giving an elegant feel. Ensure the application is smooth before proceeding to cure.
Tip: Keep the layer even to avoid uneven thickness or pooling around the cuticles. - 2Showcase nude coat application
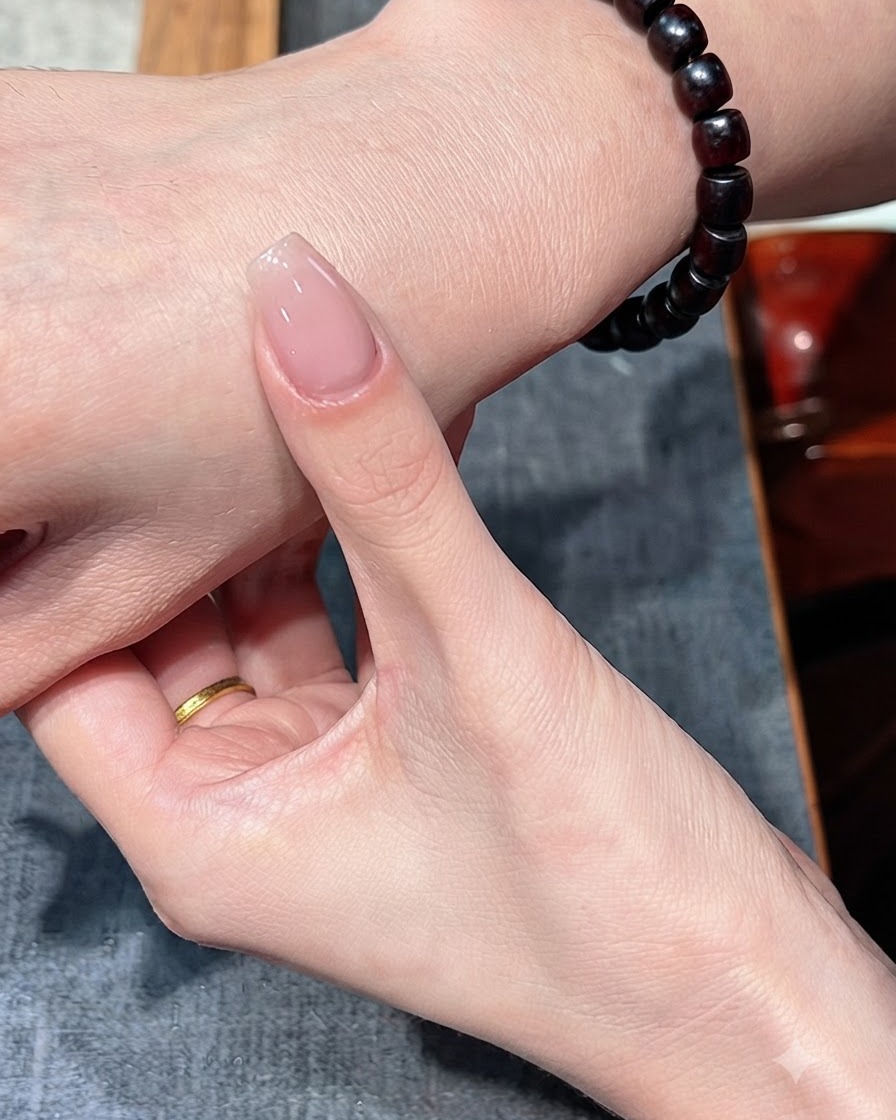
Display the single nude coat application on the nail against the back of the hand to check the natural and elegant look. This gives a clean, understated appearance suitable for daily wear.
Tip: Check the coverage and finish under good lighting to ensure a neat application. - 3Cure the base coat
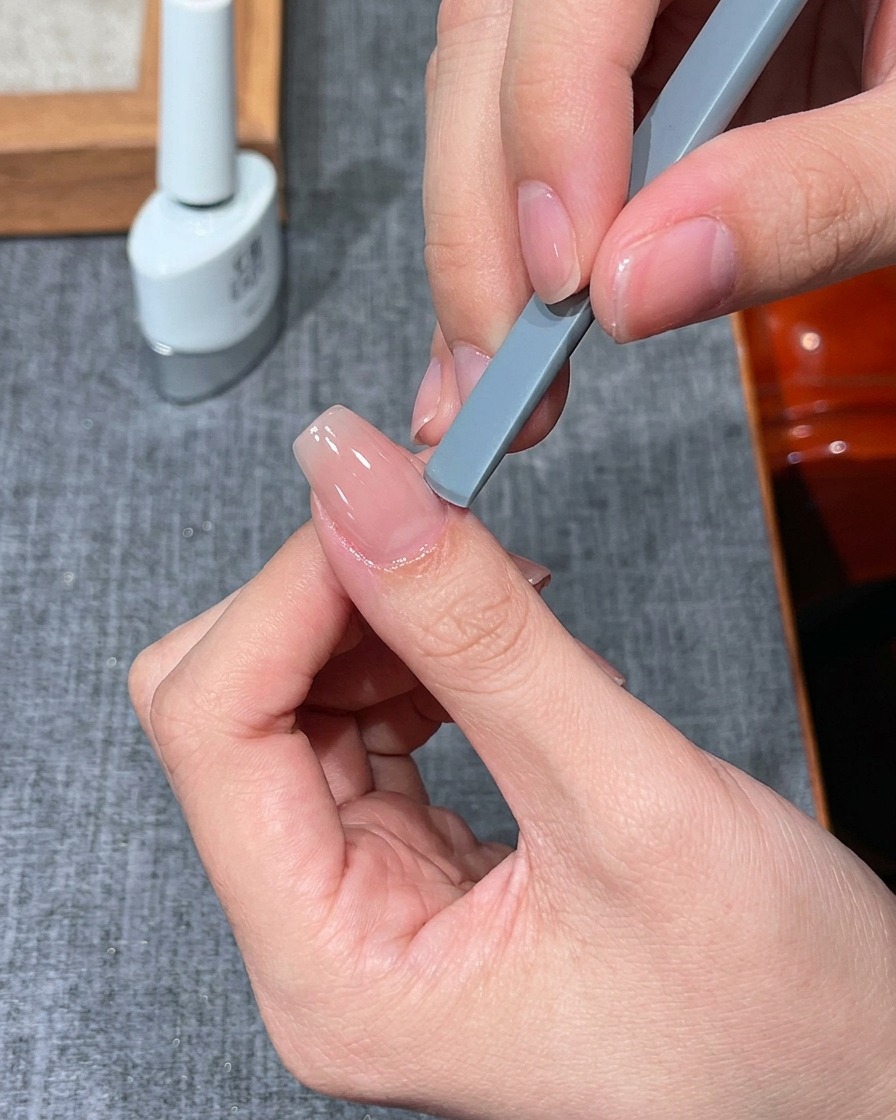
Place the finger under a UV/LED mini lamp to fully cure the applied nude base coat layer. Proper curing ensures the gel hardens correctly and provides a stable foundation for the next steps.
Tip: Hold the finger steady under the lamp for the recommended duration to prevent shifting. - 4Apply clear cat eye gel
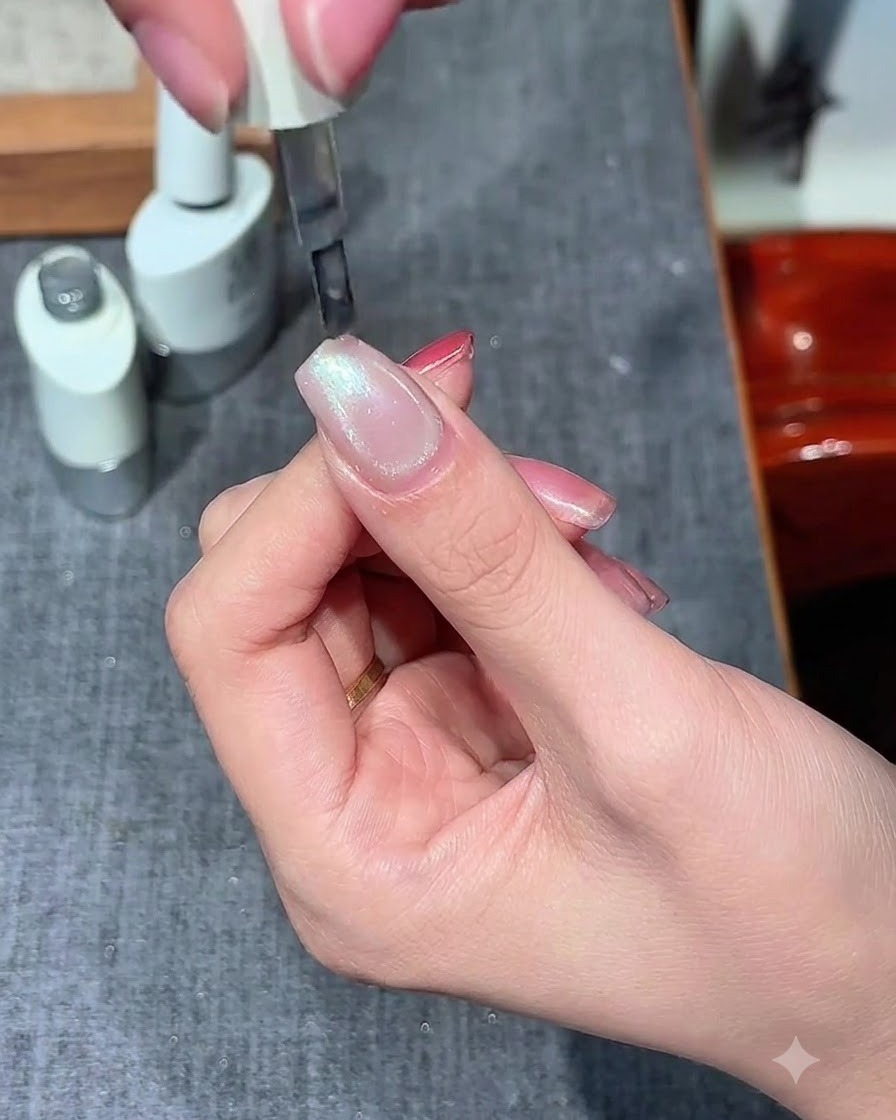
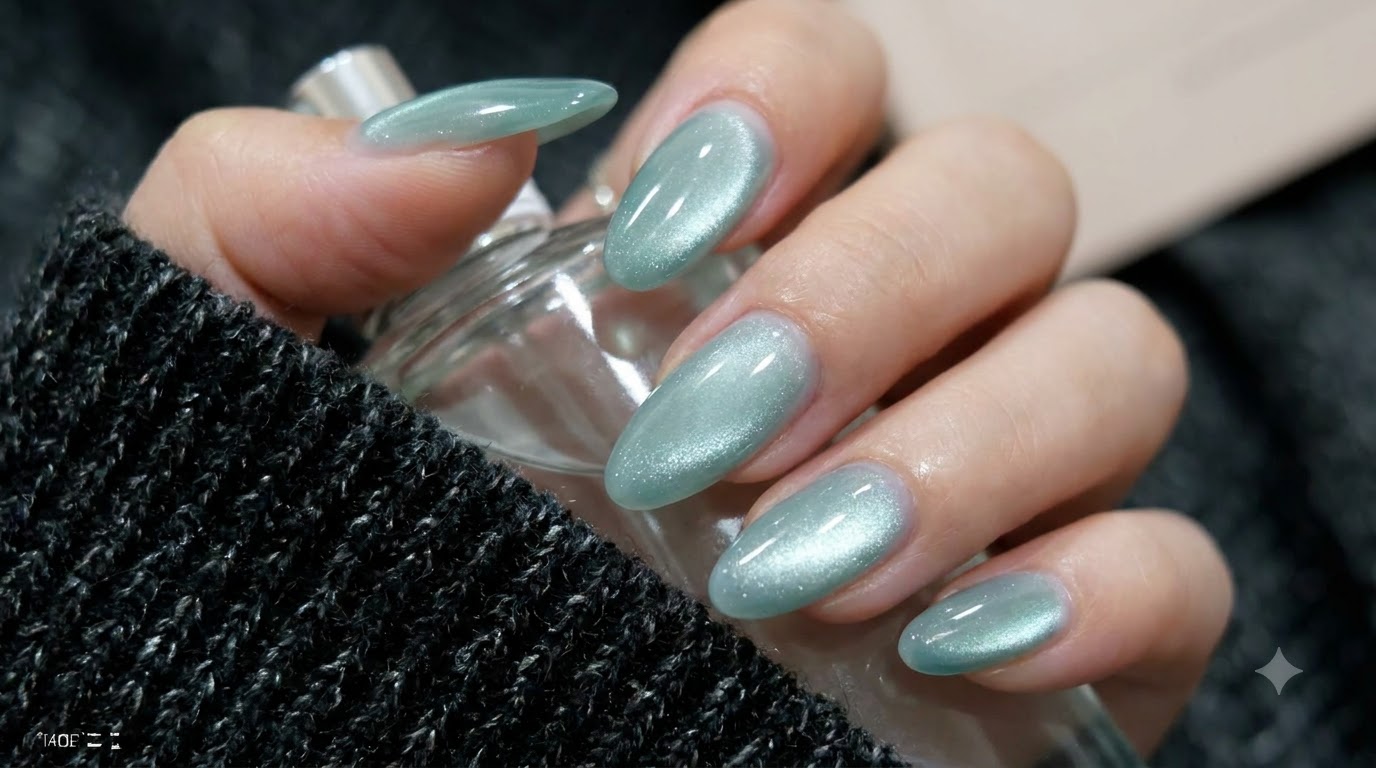
Apply a layer of clear cat eye gel evenly over the cured nude base layer. This gel contains magnetic particles that will be manipulated in the next step to create a specialized lighting effect.
Tip: Apply a moderate amount to ensure the magnetic particles can move freely when the magnet is applied. - 5Create side light cat eye effect
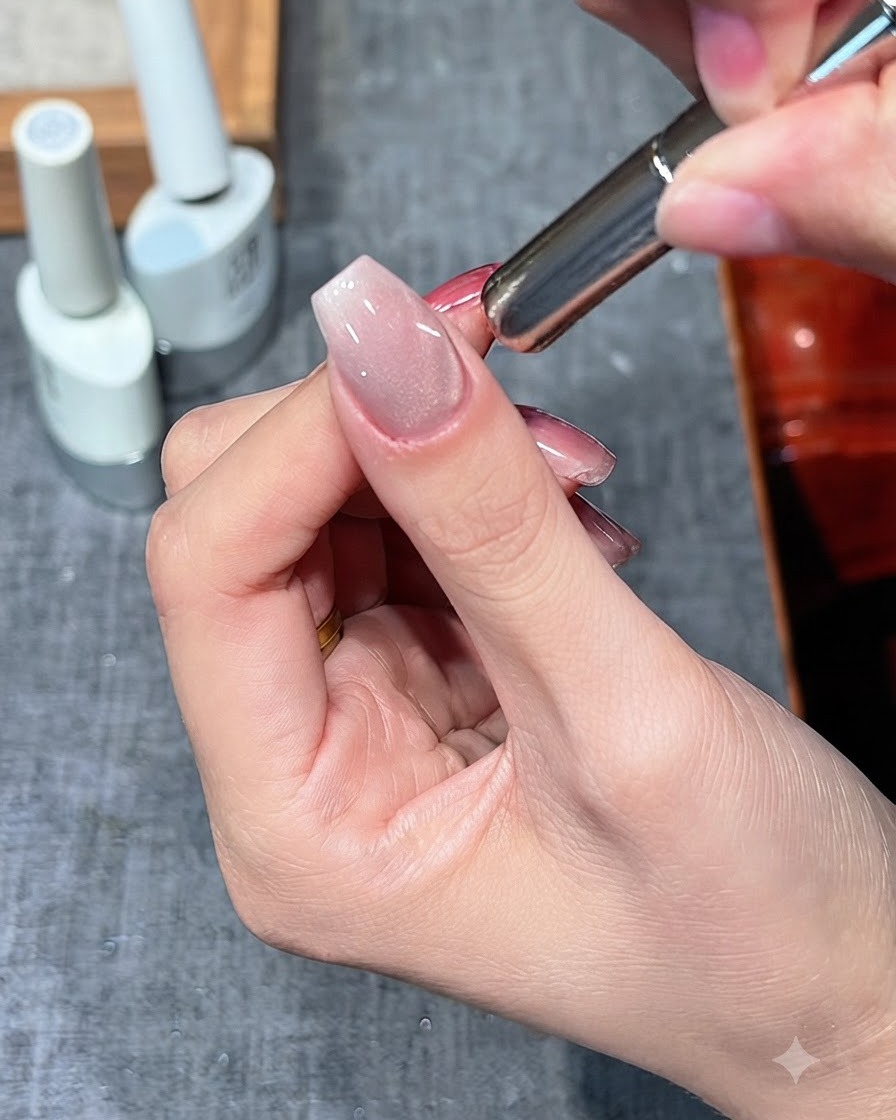
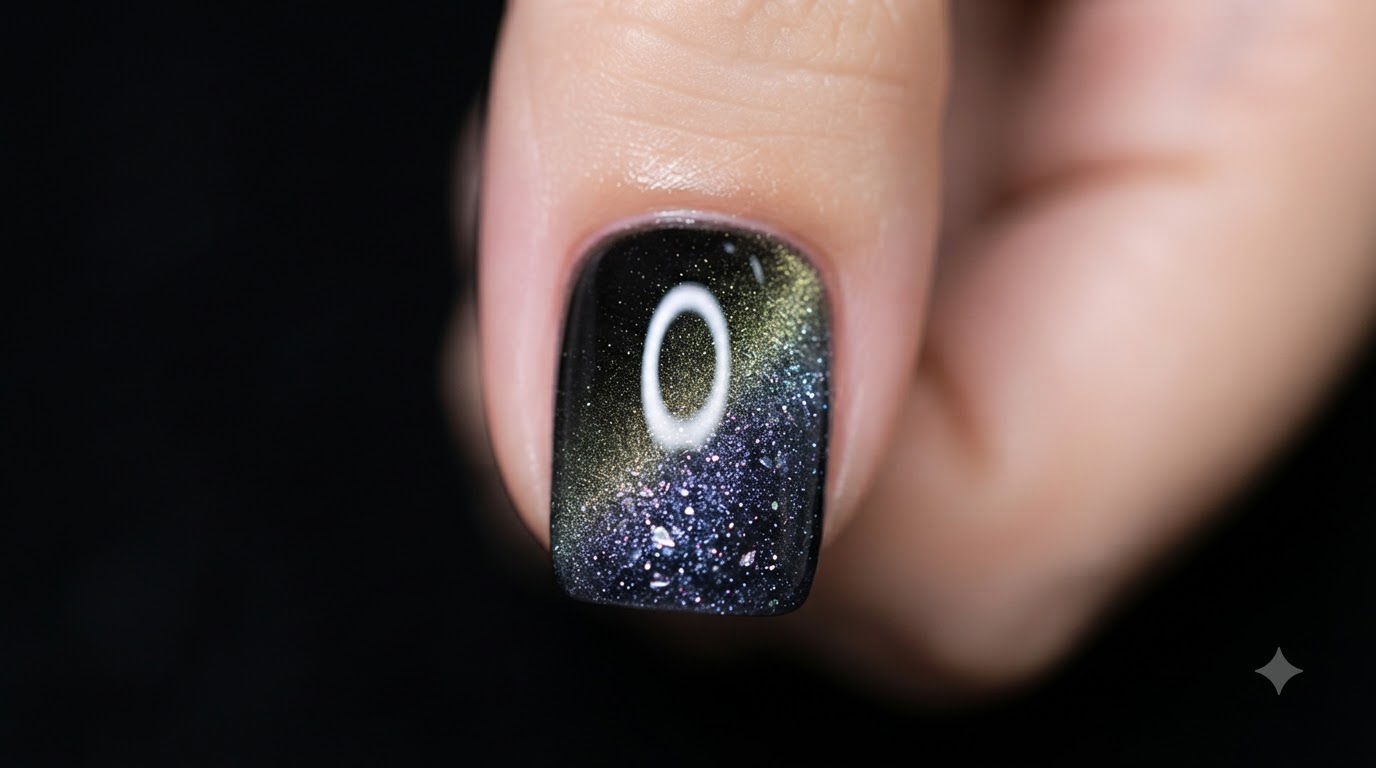
Hold a magnetic stick above and below the nail to attract and pull the magnetic particles into position, creating a distinctive side light effect. Keep the magnet close without touching the wet gel surface.
Tip: Hold the magnet steady for a few seconds until the desired cat eye reflection line appears clearly. - 6Cure cat eye gel
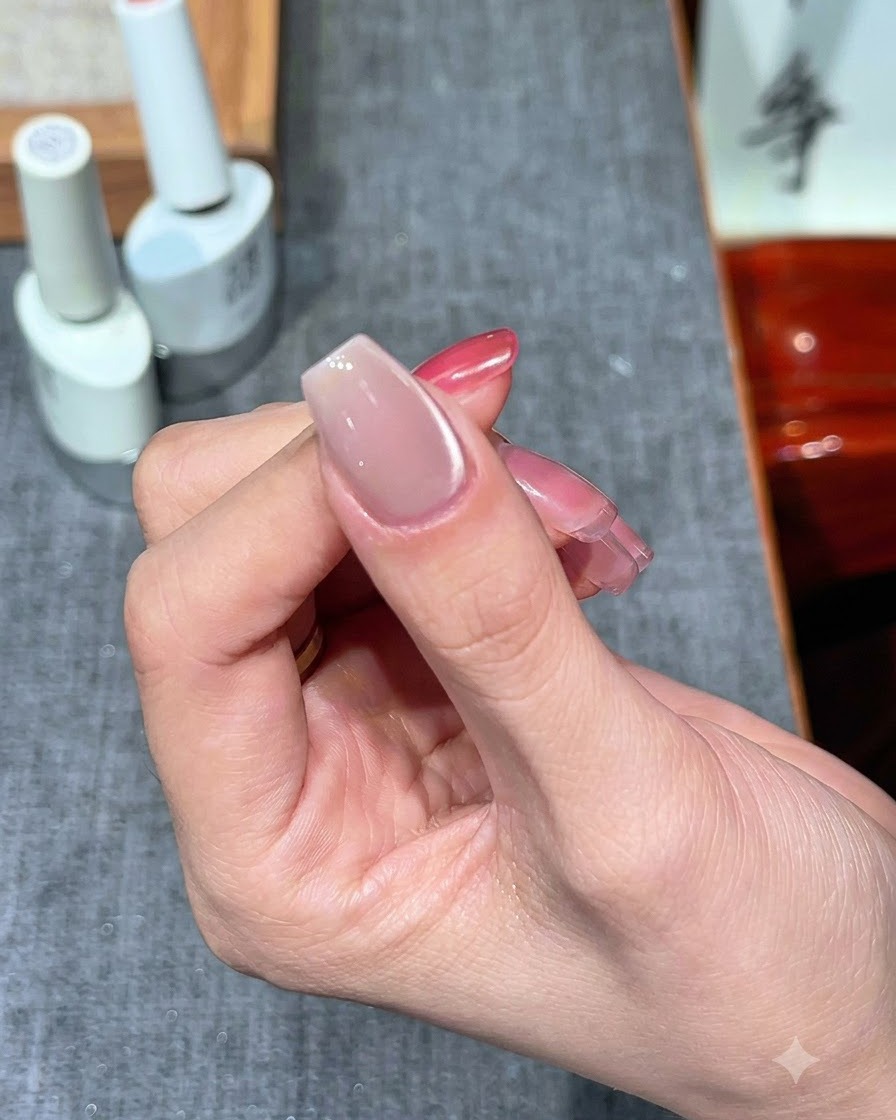
Cure the patterned cat eye gel layer under the UV/LED lamp to lock the magnetic effect in place. This sets the side light reflection so it will not shift or fade.
Tip: Do not disturb the nail position before placing it under the lamp to preserve the magnetic alignment. - 7Apply a solid star sticker
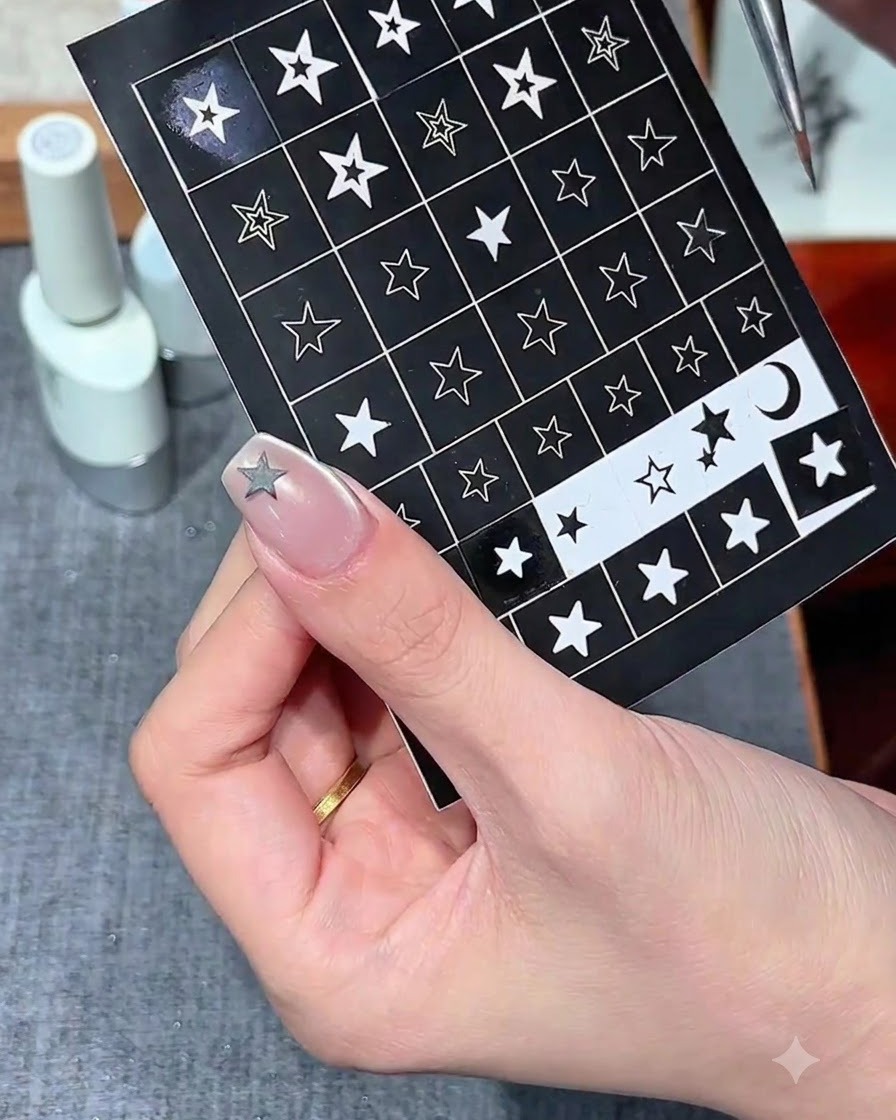
Carefully pick up a solid star sticker using precision tweezers and place it accurately onto the tip of the prepped nail. Press down gently to ensure the edges adhere securely to the surface without lifting or wrinkling before moving on to the next step of the nail art design.
Tip: Use a silicone tool or the tip of your tweezers to smooth down the sticker edges completely, ensuring no air bubbles are trapped underneath. - 8Load milky white gel onto the brush
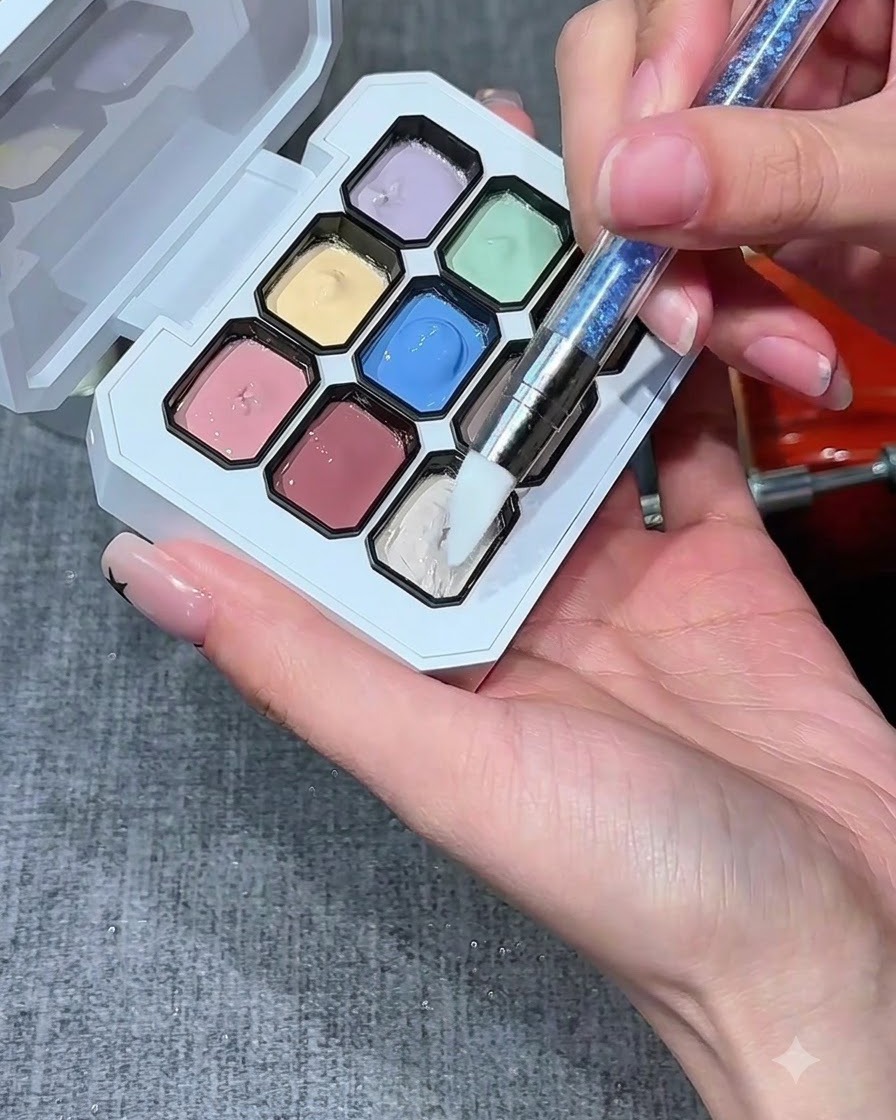
Dip your styling tool or brush lightly into the milky white padding gel on your mixing palette to pick up a controlled amount of product. Ensure the product is evenly distributed on the tool tip without overloading, which helps maintain precision during the subsequent dabbing process.
Tip: Keep product amounts minimal on your tool to prevent excess gel from bleeding underneath the sticker stencils. - 9Create negative space with a sponge stamp
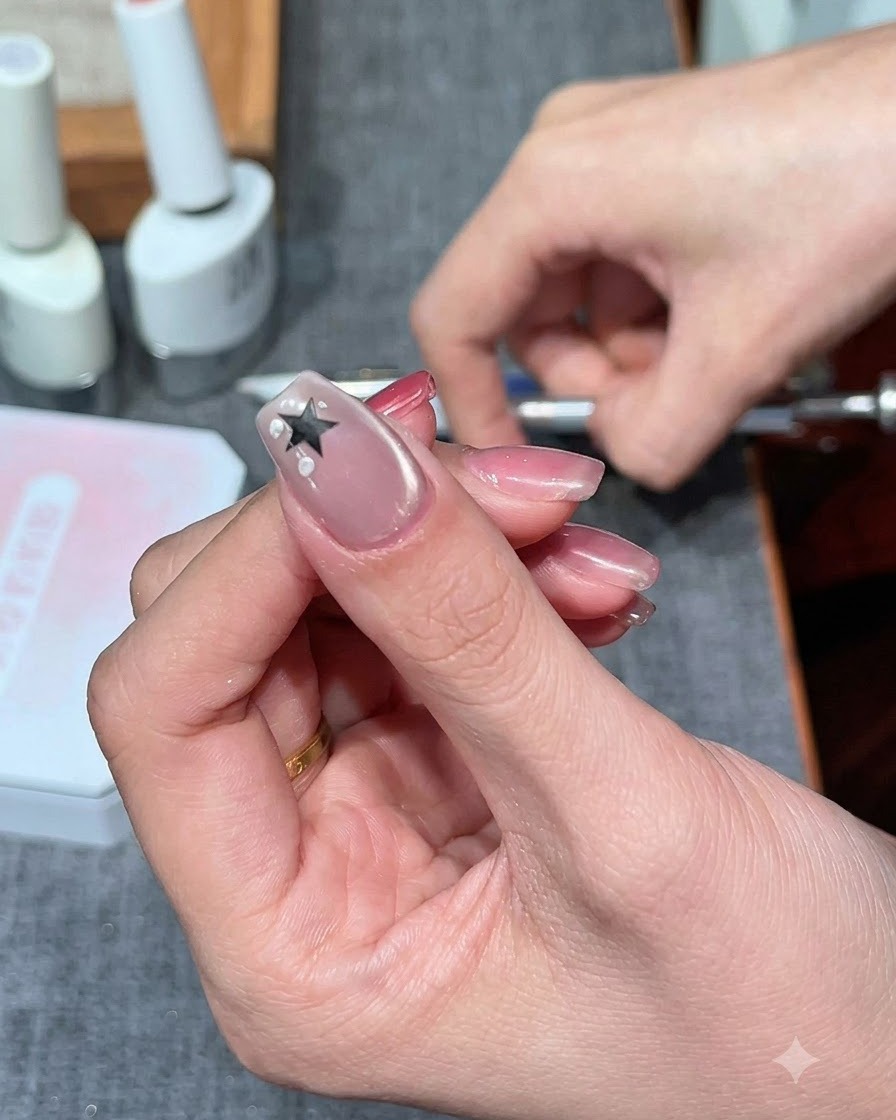
Gently dab the milky white gel around the placed star sticker using a lint-free sponge stamp to build a soft textured background effect. This technique leaves the star area unpainted, creating a clean negative space frame appearance once the sticker is eventually peeled away.
Tip: Dab lightly and evenly to avoid creating heavy texture ridges in the gel layer around the sticker boundary. - 10Add a hollow star outline sticker
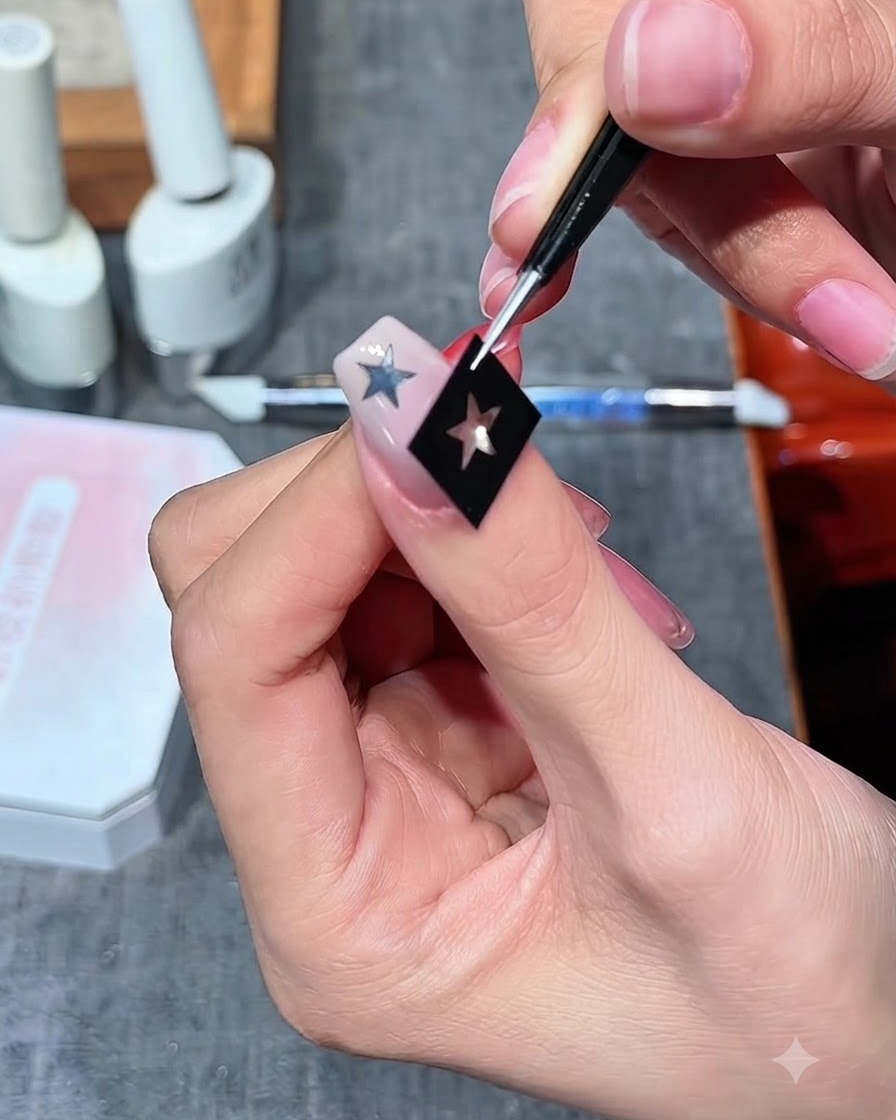
Using precision tweezers, pick up a hollow star outline sticker and position it neatly next to the first star design on the nail. Press it down securely to create a balanced, multi-element composition before performing the next layer of padding gel application.
Tip: Plan your sticker placement carefully beforehand to ensure balanced spacing across the nail tip area. - 11Stamp over the hollow star sticker
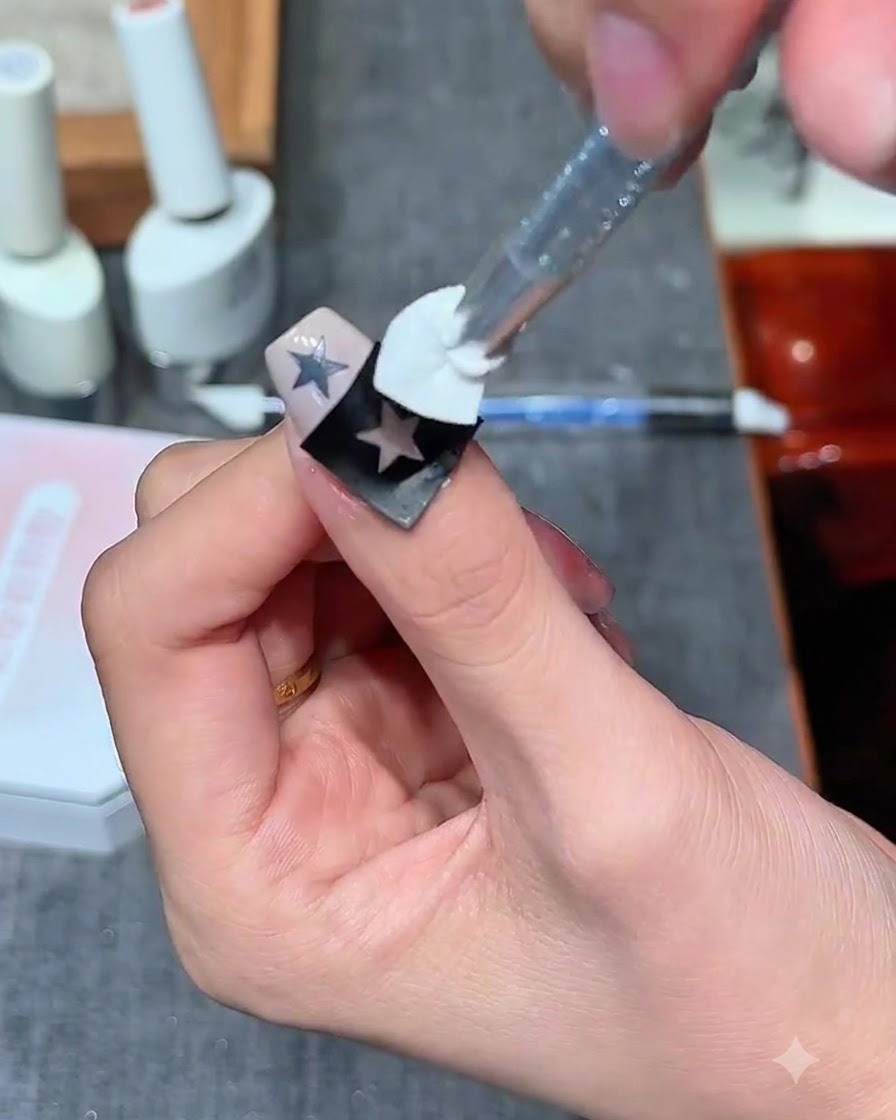
Take your sponge stamp loaded with milky white gel and gently dab directly over the hollow star outline sticker. This technique fills the surrounding area while allowing the sticker design to block out the gel, resulting in a solid star motif when completed.
Tip: Ensure the sponge is tapped evenly over the sticker edges to achieve a crisp definition for the final pattern. - 12Cure the gel design
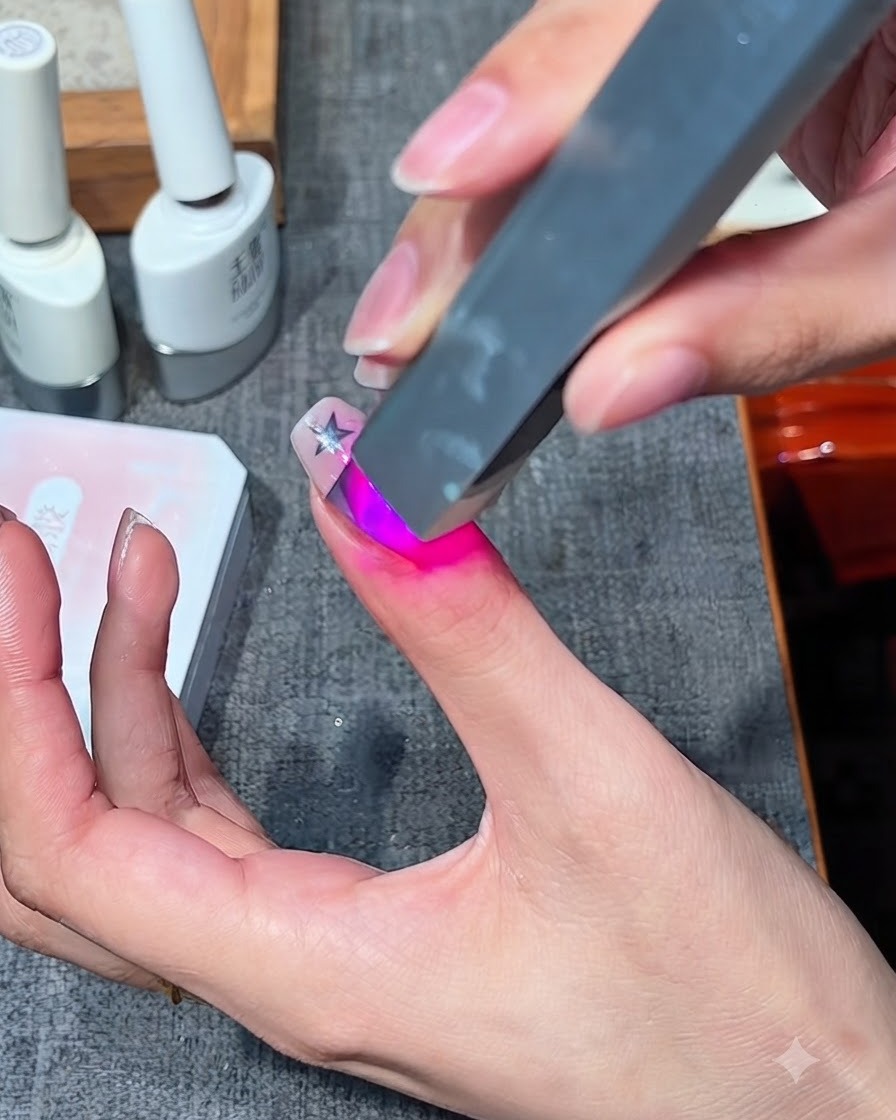
Place your hand under a portable UV/LED curing lamp to cure the freshly applied milky white gel design. Hold or position the lamp over the nail for the manufacturer-recommended duration to ensure the gel hardens completely before sticker removal.
Tip: Keep your finger steady beneath the light source to prevent the wet gel design from shifting before it sets. - 13Remove sticker guides
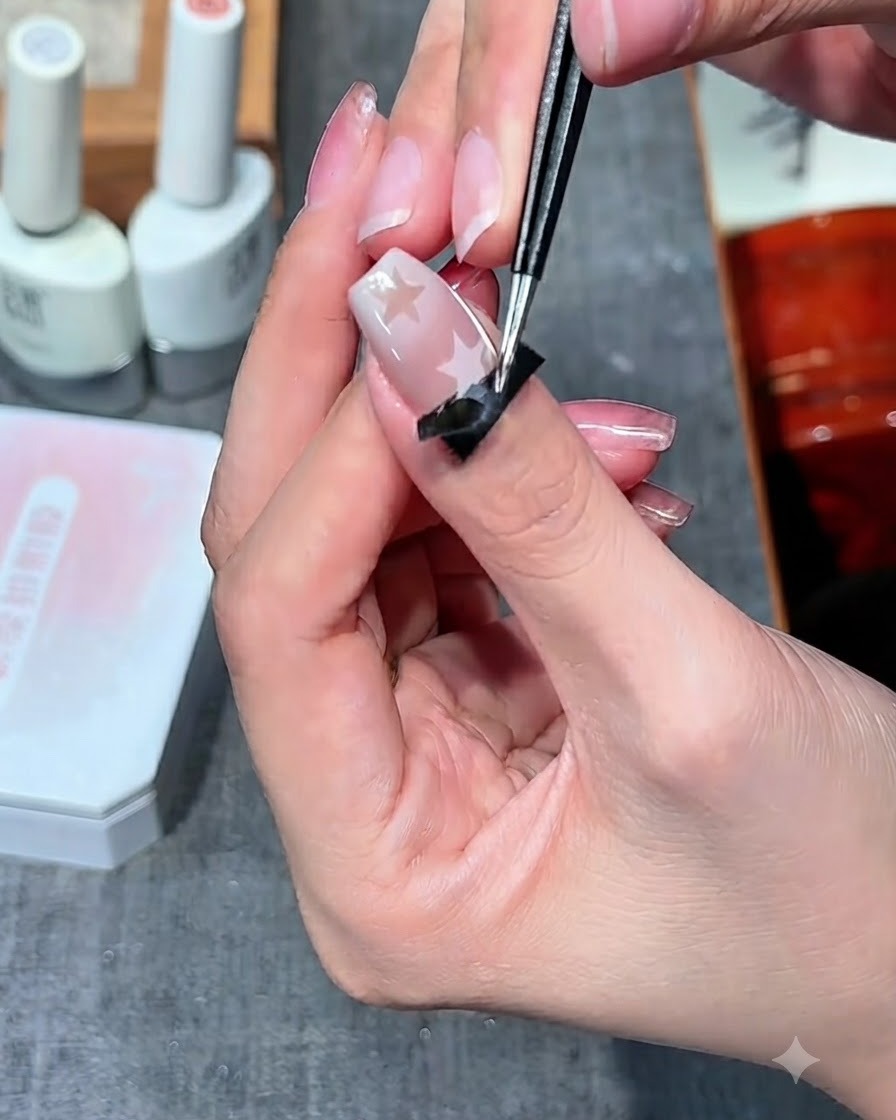
Using a pair of fine tweezers, carefully and slowly peel off the star sticker guides from the cured nail surface. Pull gently at a low angle to avoid lifting or disturbing the surrounding gel design, revealing the clean negative space star patterns underneath.
Tip: Pulling the stickers off too quickly or vertically can damage the sharp edges of your gel pattern. - 14Apply top coat
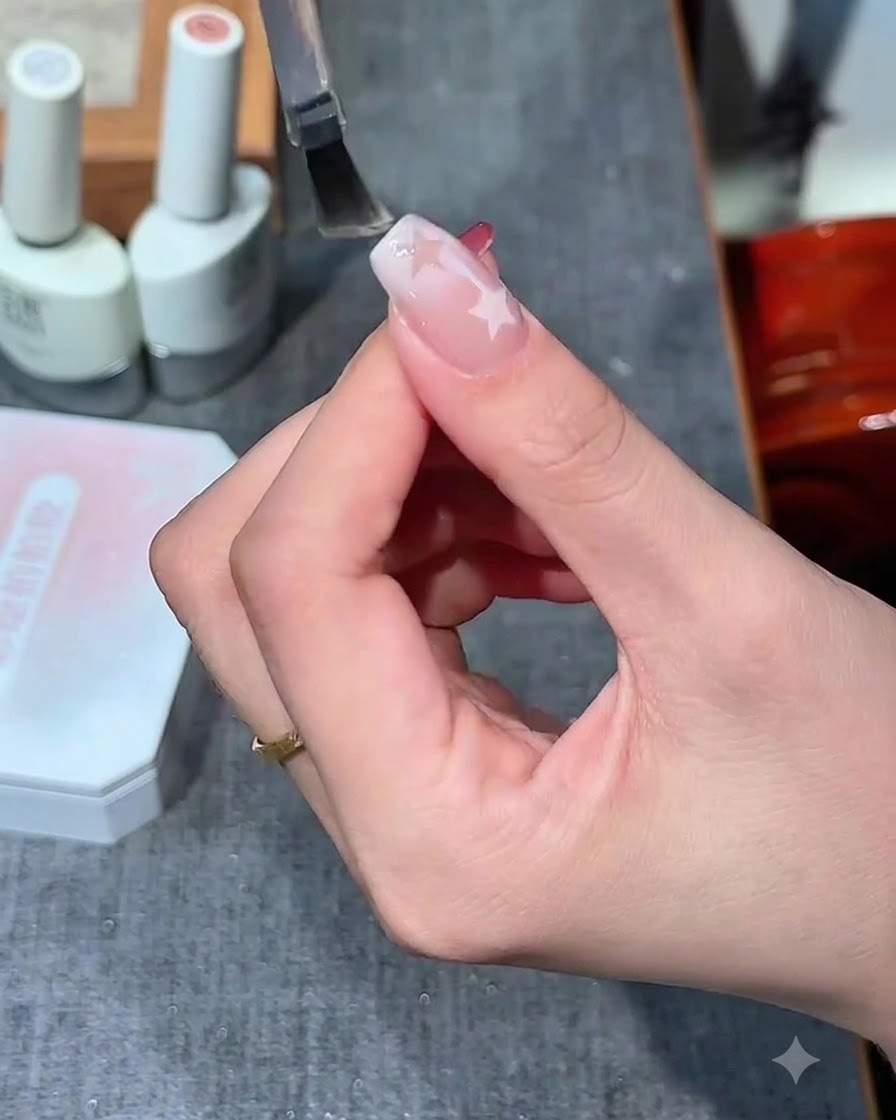
Apply a generous yet even layer of glossy top coat over the entire nail design to seal in the star art and provide a protective high-shine finish. Ensure you cap the free edge completely to prevent chipping and premature wear.
Tip: Capping the free edge with top coat is essential for long-lasting protection against daily wear and tear. - 15Cure final top coat
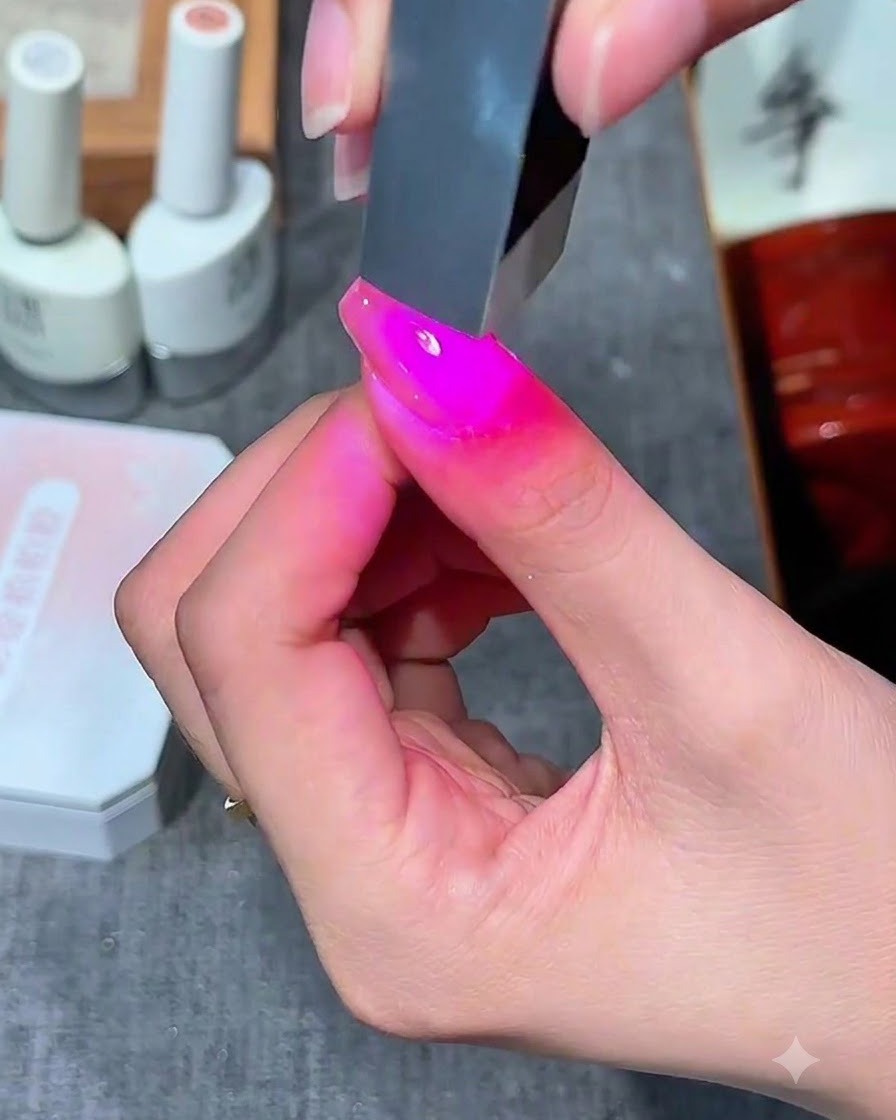
Place your hand under the UV or LED lamp and cure the final top coat for the full recommended duration. This ensures the top layer hardens completely into a durable, mirror-like gloss finish without any tacky residue.
Tip: Make sure your hand is positioned flat and evenly under the lamp lights to cure the entire nail surface uniformly.