Ice Transparent Mint Sea Salt Hollow Star Cat Eye Nail Art Tutorial
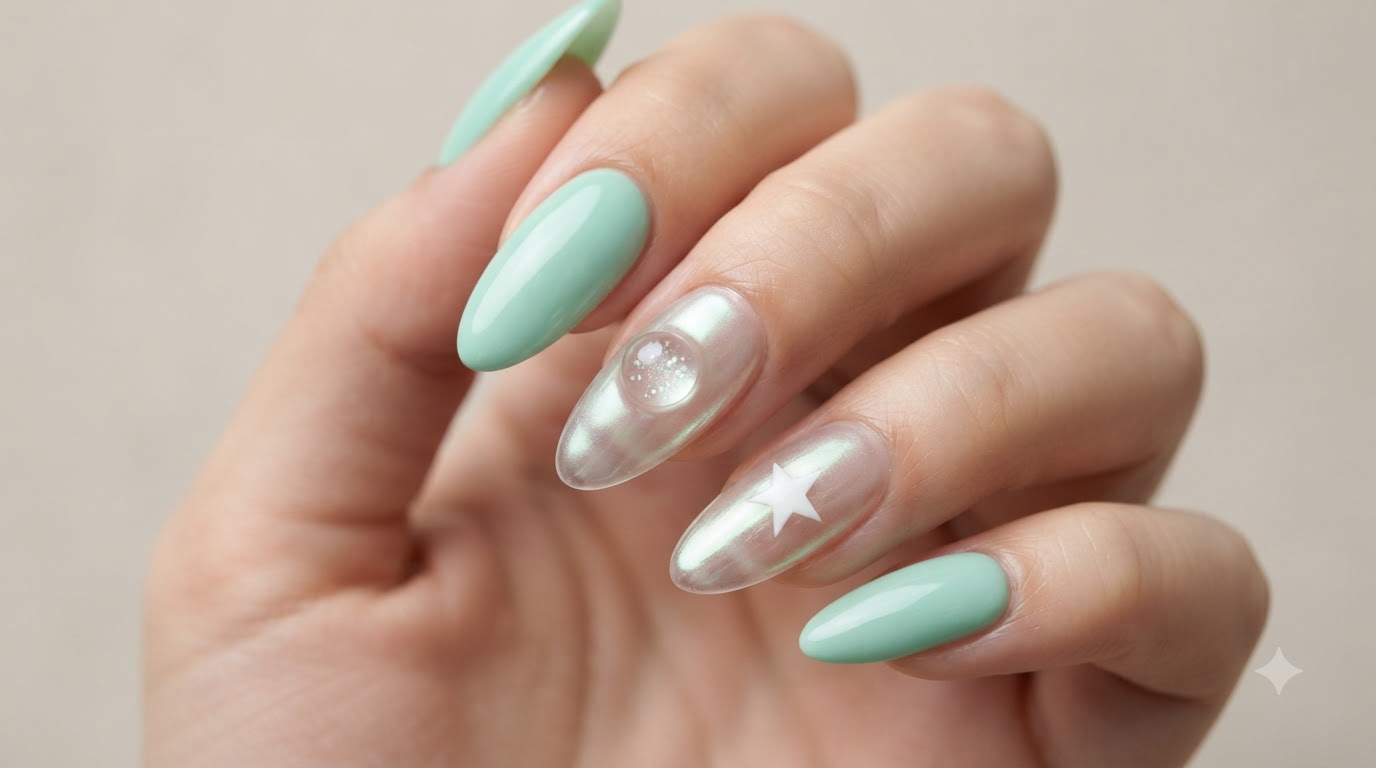
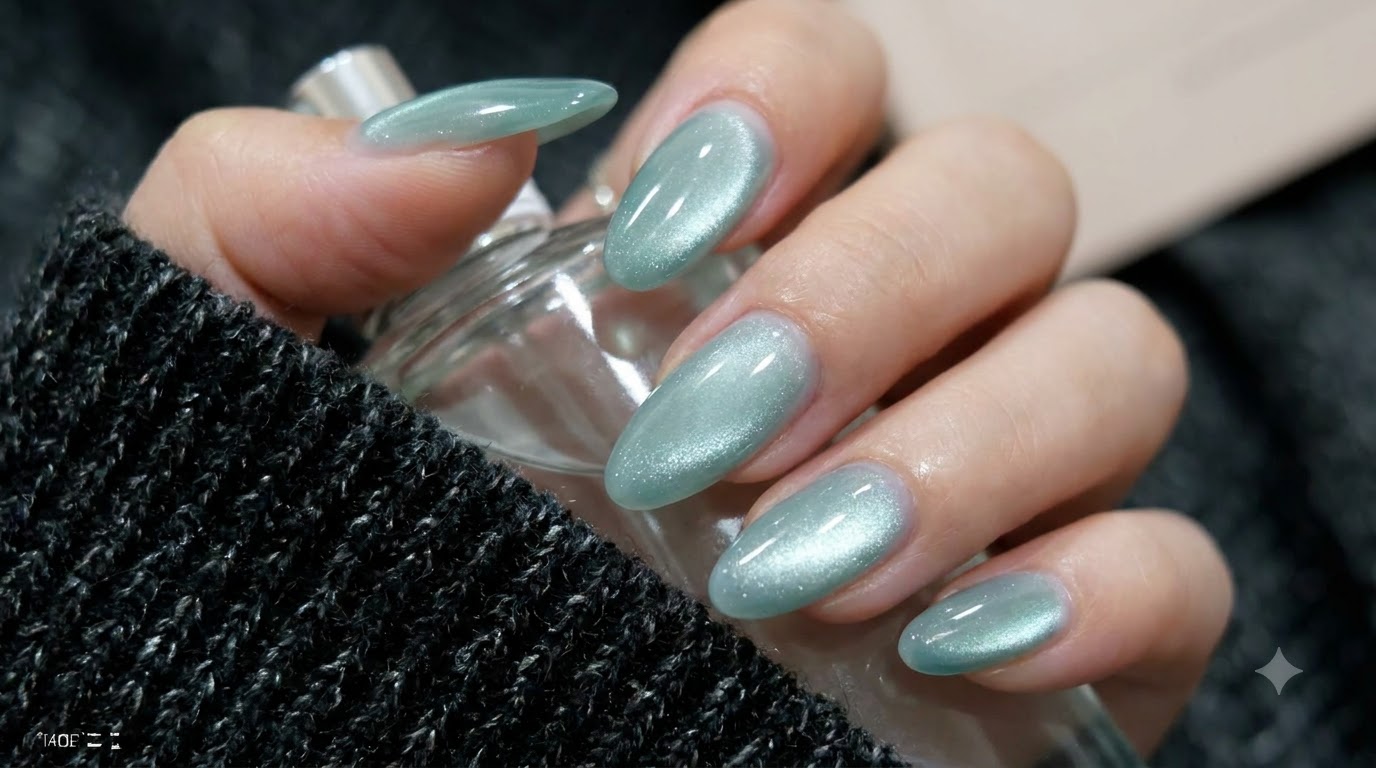
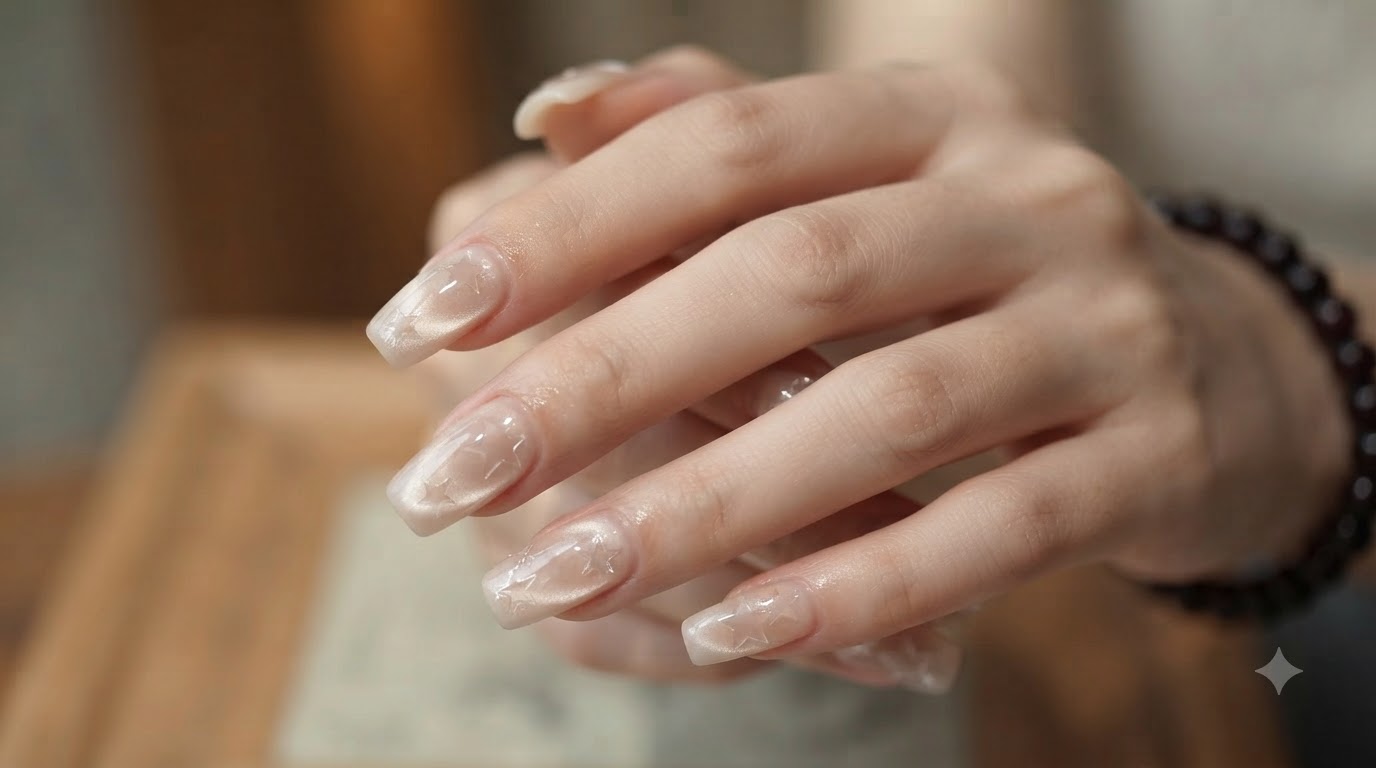
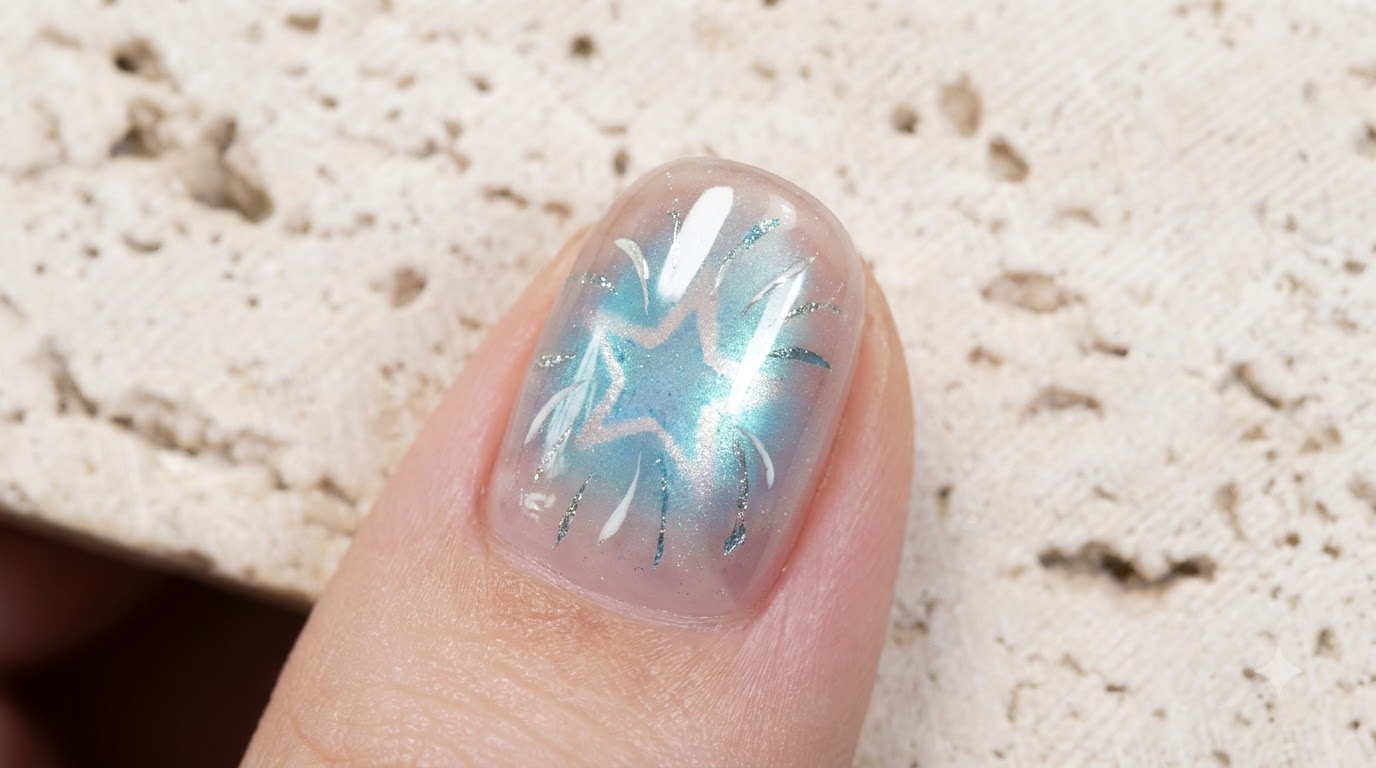
Create glowing ice transparent mint sea salt hollow star cat eye nails featuring a magnetic glass marble effect, delicate blue blush, and crystal-clear finish.
Cat eye nail art has taken salon trends by storm, offering an incredible multi-dimensional glow that shifts under the light. This ice transparent mint sea salt look pairs an all-in-one cat eye gel with a delicate hollow star sticker, soft blue blush shading, and fine linear details for a magical, ethereal finish that is surprisingly easy to achieve at home.
Steps
- 1Open Cat Eye Gel Polish
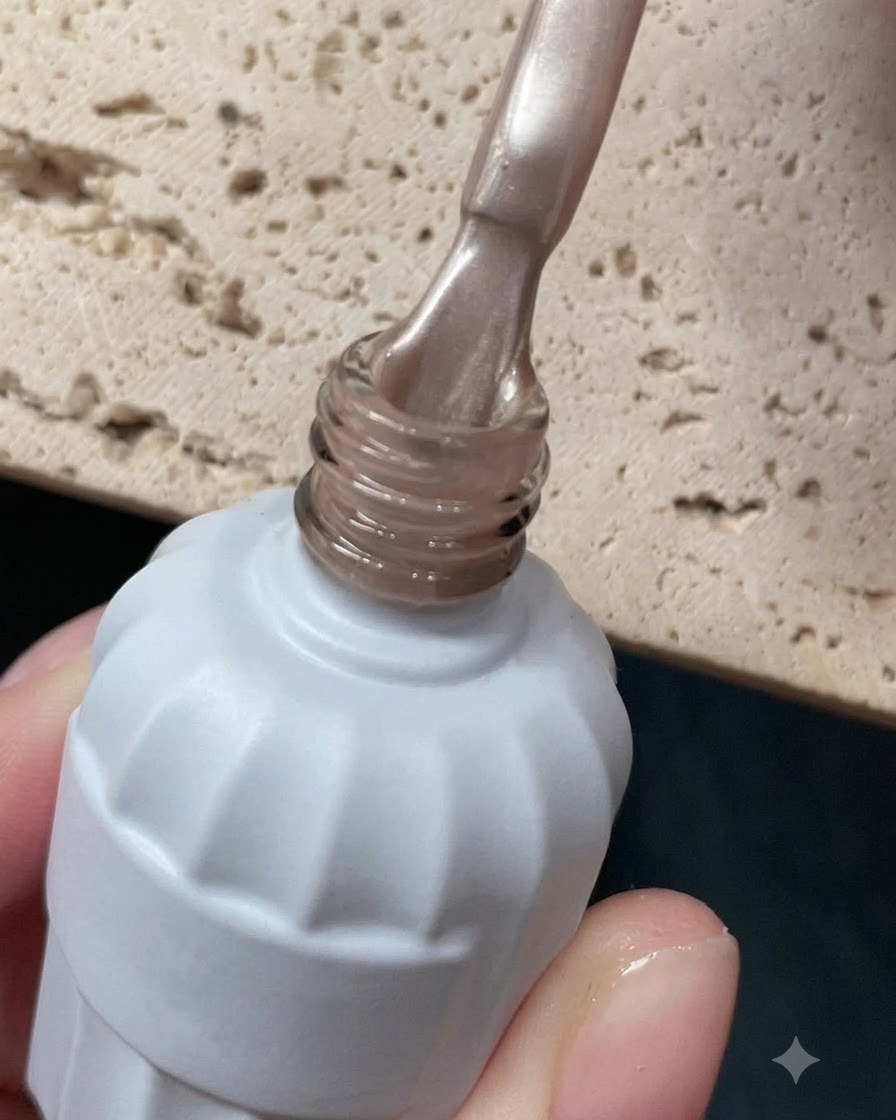
Unscrew the bottle of light champagne cat eye gel and ensure the brush applicator is clean and properly saturated with product, preparing it for smooth application onto the nail.
Tip: Wipe excess gel on the neck of the bottle to prevent clumping during application. - 2Apply Light Champagne Cat Eye Gel
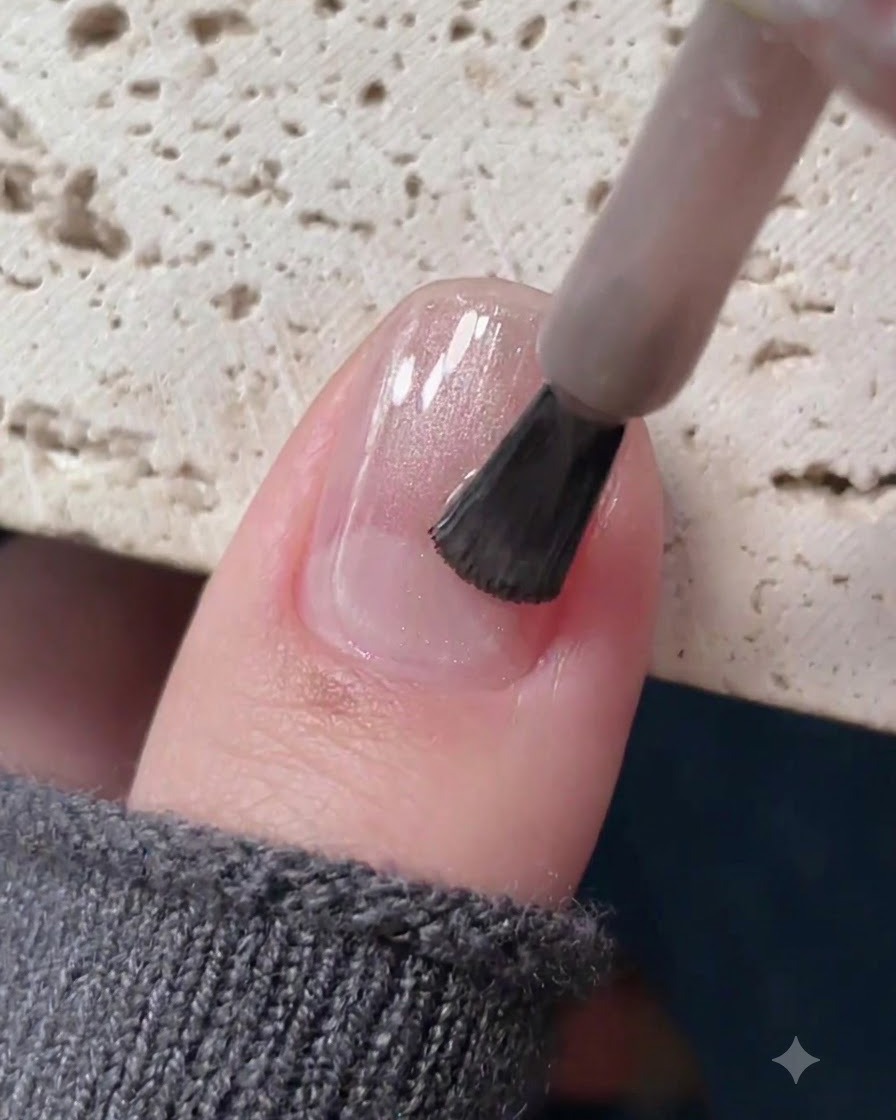
Apply one normal, even layer of transparent light champagne cat eye gel across the nail plate, ensuring smooth coverage from the cuticle to the free edge.
Tip: Keep the layer even to ensure the magnetic particles disperse uniformly. - 3Create Glass Marble Effect with Magnet
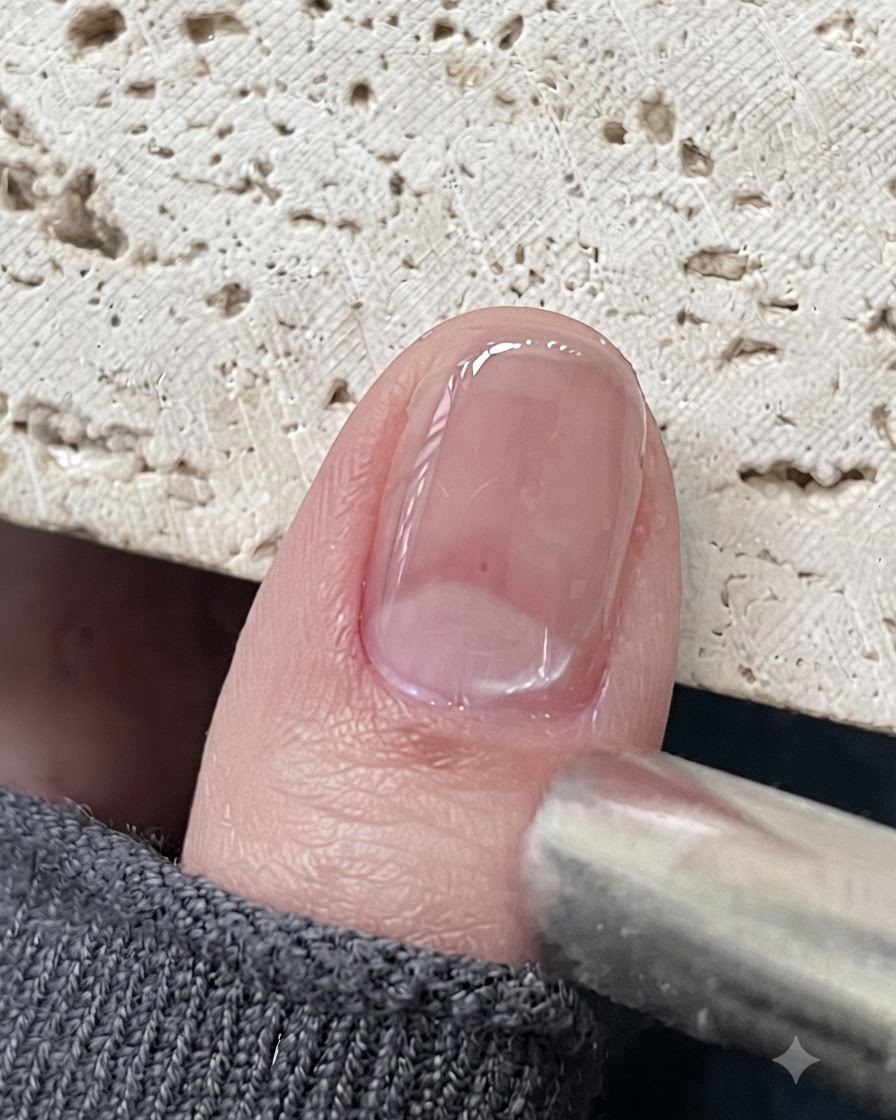
Hold a magnet tool close to the wet nail surface without touching it, using the magnetic field to move the particles and create a glowing, transparent glass marble effect.
Tip: Hold the magnet steady for a few seconds until the desired cat eye reflection forms clearly. - 4Cure All-in-One Cat Eye Gel
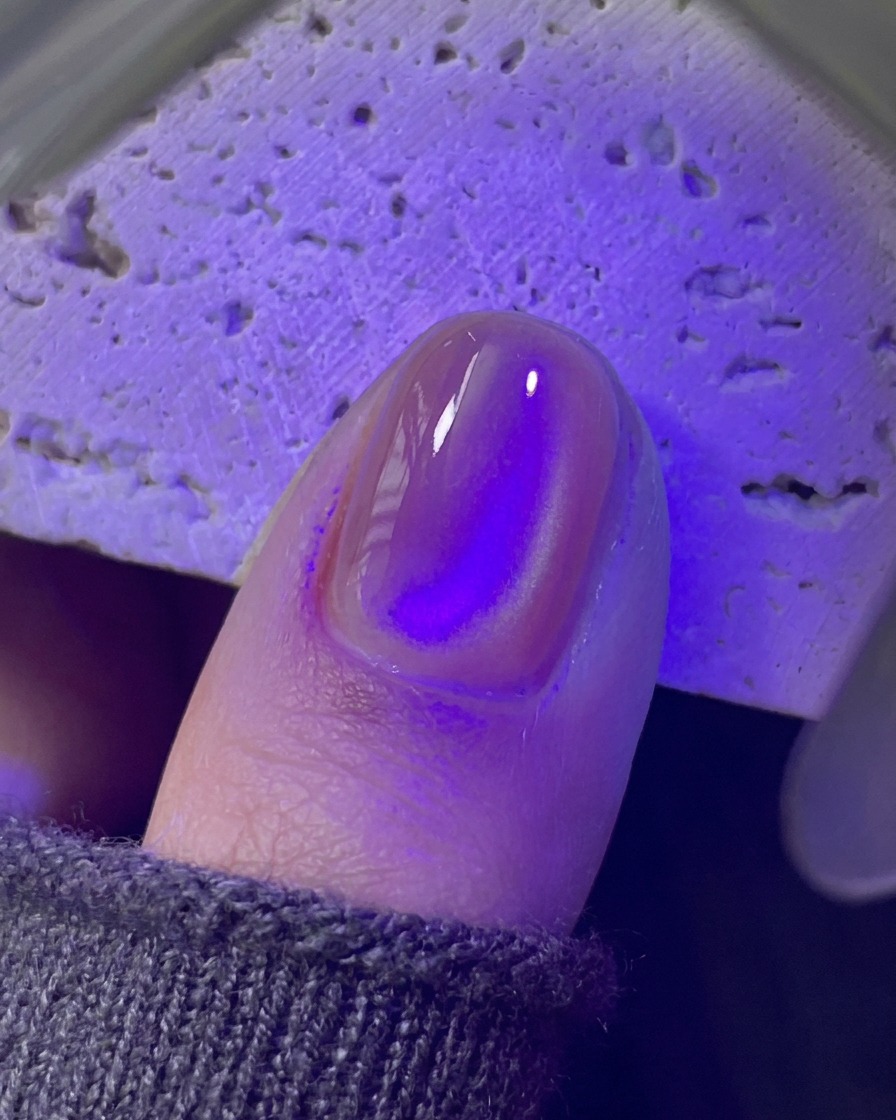
Place the finger under a purple UV/LED mini lamp to cure the all-in-one cat eye gel layer completely, as this formula does not require an extra top coat.
Tip: Ensure your hand is centered under the mini lamp for an even and complete cure. - 5Apply Hollow Star Sticker
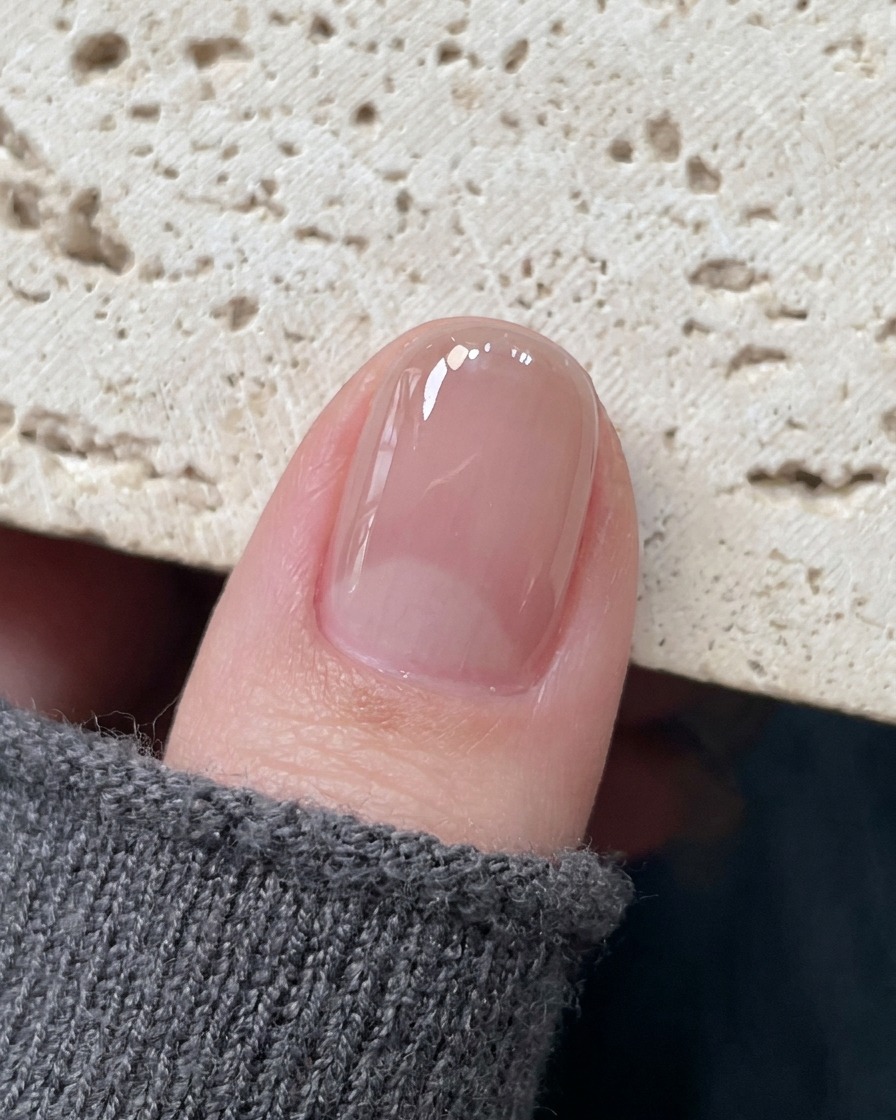
Pick up a hollow star shaped sticker using precision tweezers and carefully place it onto the center of the cured nail surface, pressing down the edges gently.
Tip: Use a silicone tool to press down the sticker edges firmly so they dont lift under subsequent gel layers. - 6Create Soft Blush Effect with Blue Gel
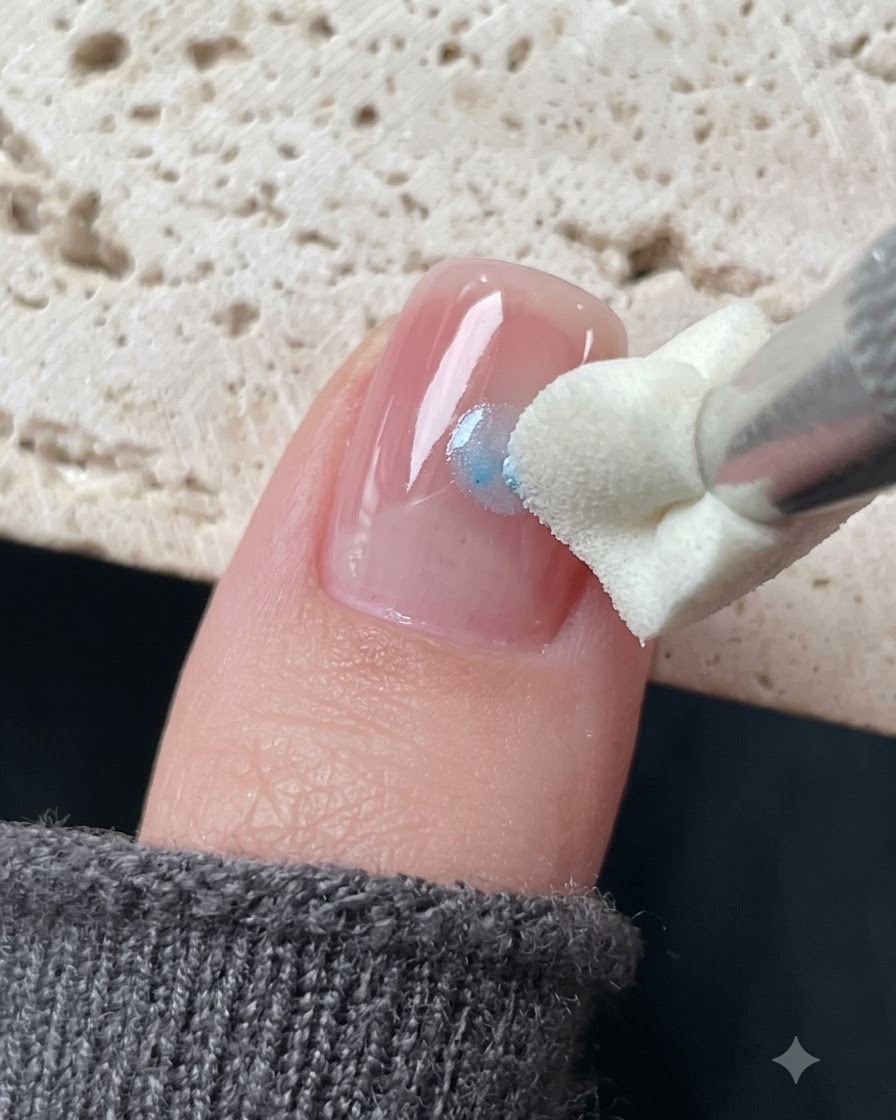
Dab a blue glass gel onto a silicone tool and gently stamp it around the hollow star sticker to create a soft, diffused blush effect, resulting in a mint blue hollow star look.
Tip: Dab lightly and build up color gradually to keep the gradient soft and translucent. - 7Cure the blue blush layer
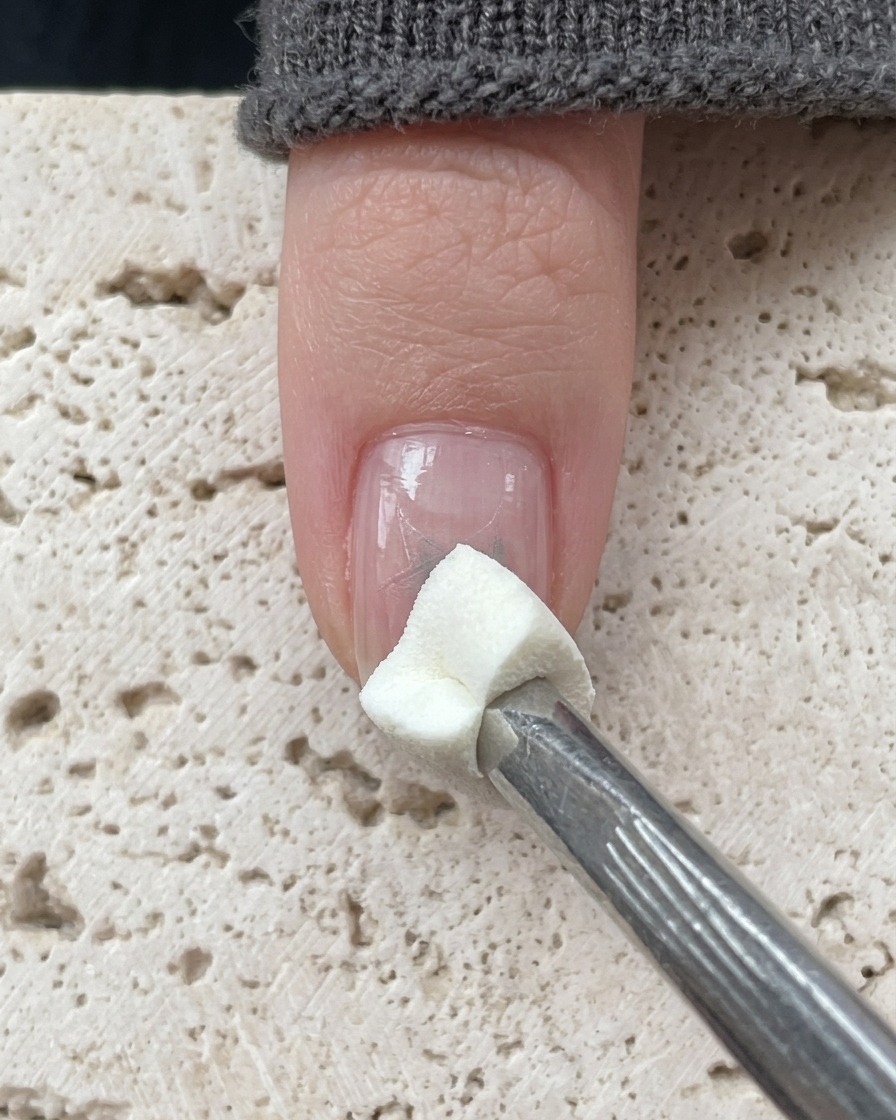
Place your hand inside the UV or LED nail lamp to cure the blue blush color layer. Ensure the hand is positioned correctly so the light evenly sets the gel. Follow the recommended curing time for your specific gel product to prevent wrinkling or uncured spots.
Tip: Make sure your hand stays flat inside the lamp to ensure all areas cure evenly under the light source. - 8Draw delicate accent lines
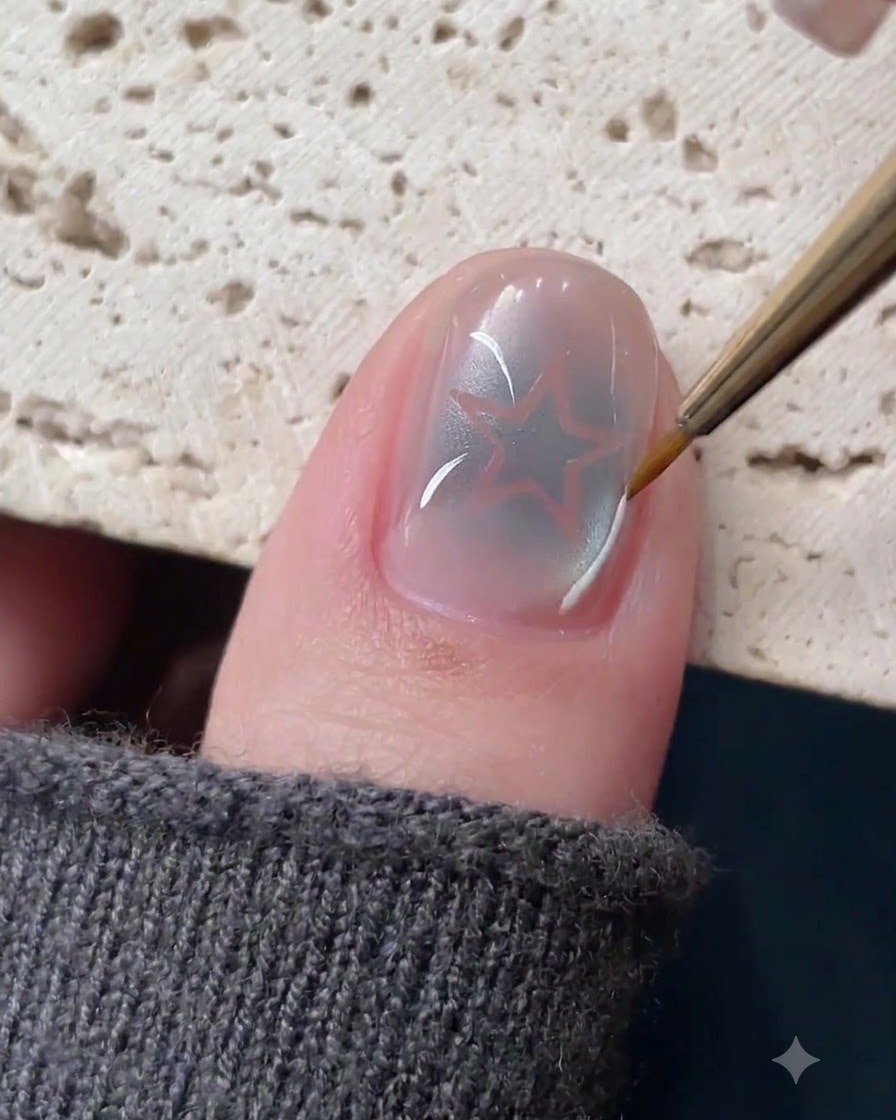
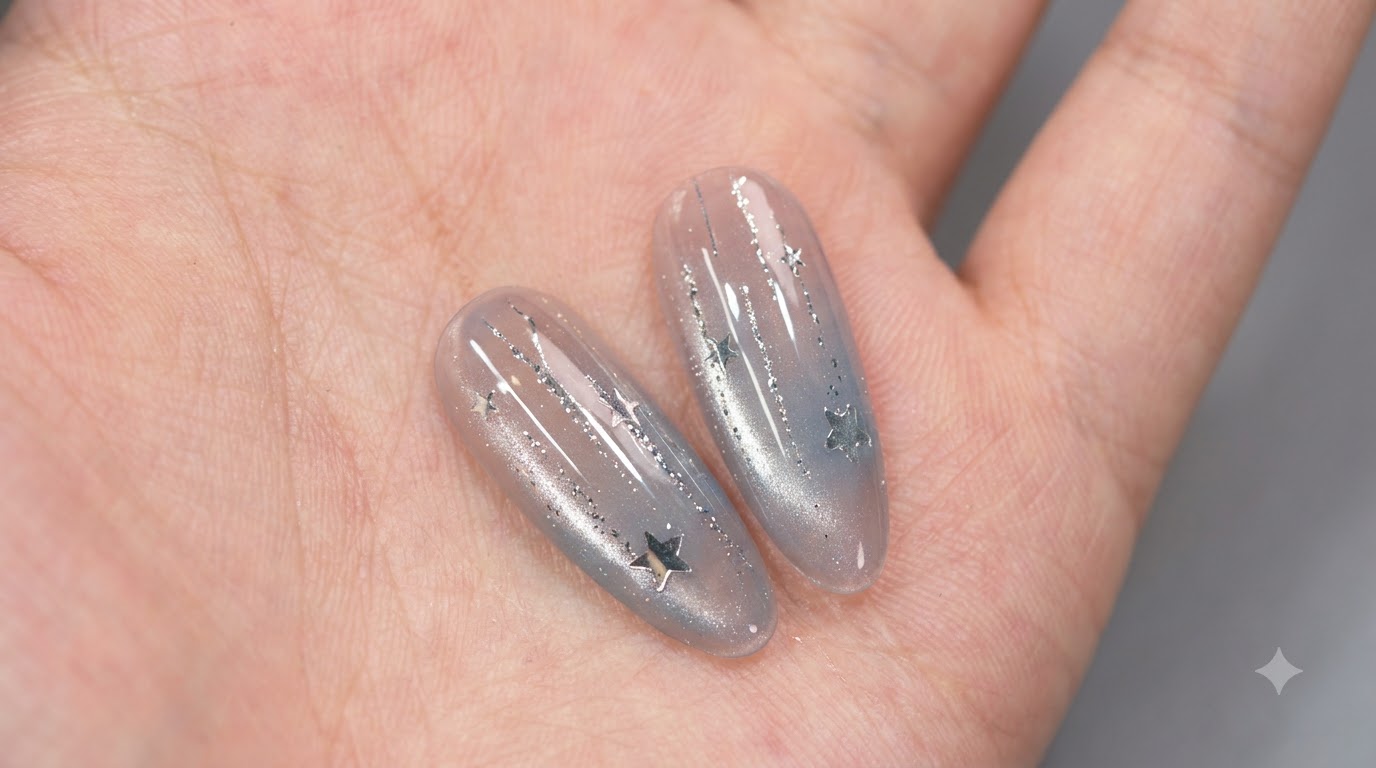
Take a fine liner brush dipped in white painting gel and silver platinum gel to carefully draw small, irregular accent lines radiating outward around the hollow star design. These fine details add dimension and a delicate, sparkling touch to the overall nail artwork.
Tip: Keep a very light touch on the brush to ensure the lines stay thin, crisp, and tapered at the ends. - 9Add blue platinum accents
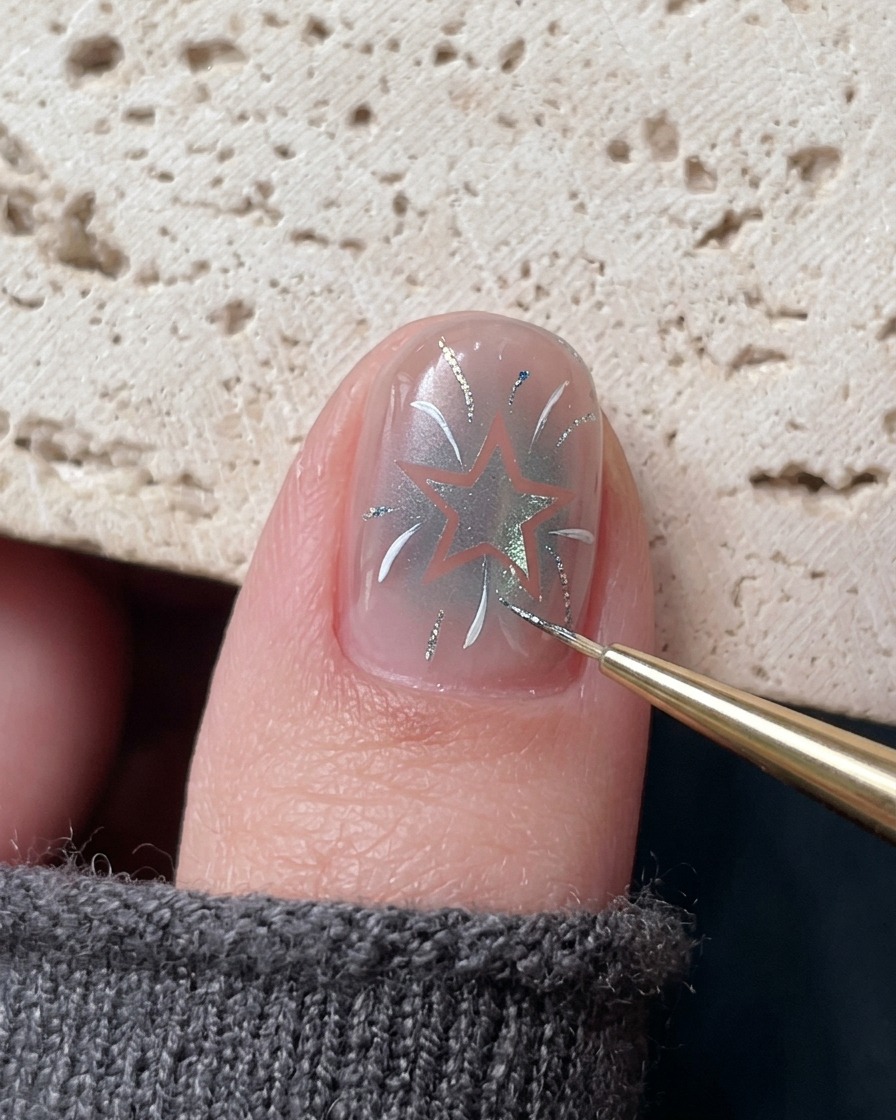
Carefully layer an additional touch of blue platinum gel directly onto the detailed line work you just created. This adds subtle color highlights and extra sparkle that complements the mint sea salt theme of the manicure.
Tip: Apply small, controlled dabs of the platinum gel so it enhances the lines without overpowering them. - 10Apply self-leveling top coat
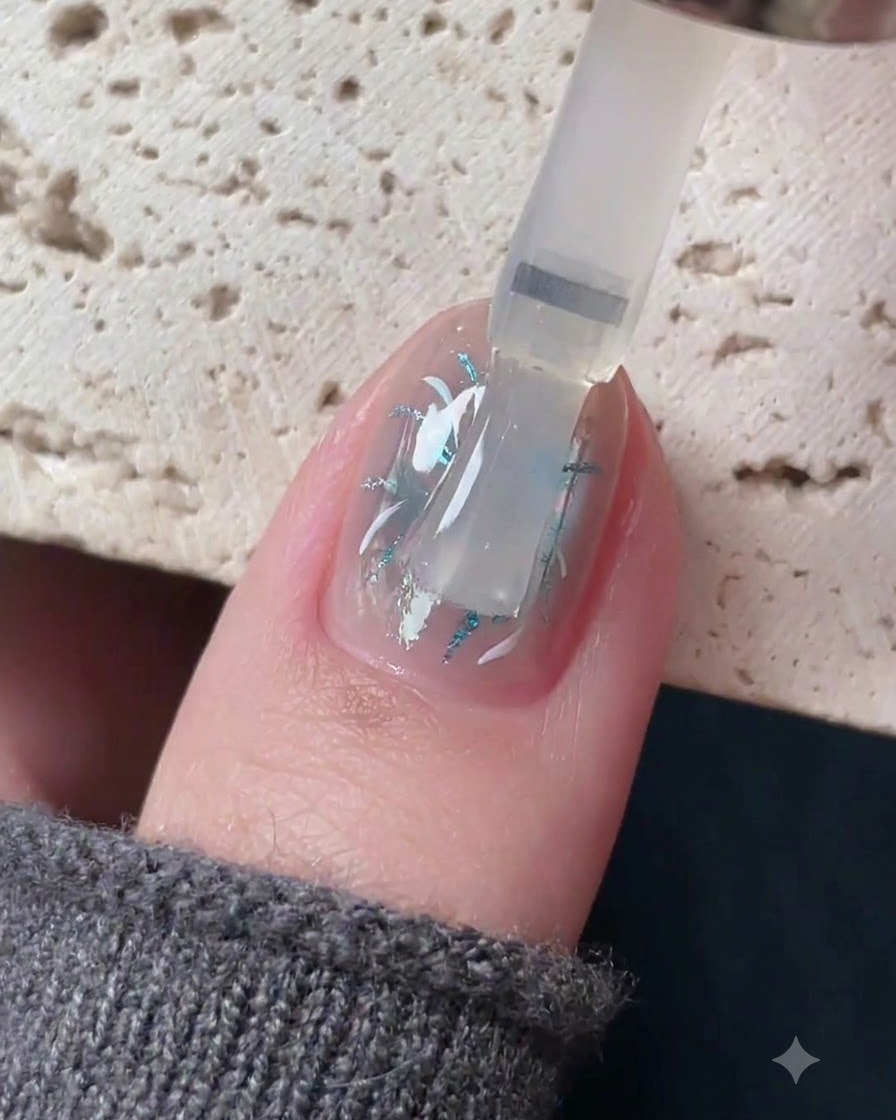
Apply a generous yet controlled layer of clear self-leveling top coat over the entire finished nail art design. Float the brush gently across the surface so the product smooths out on its own, sealing in all the decorations and creating a high-gloss, protective finish.
Tip: Capping the free edge with top coat is crucial to prevent chipping and sealing the nail art layers completely. - 11Introduce cuticle oil pen
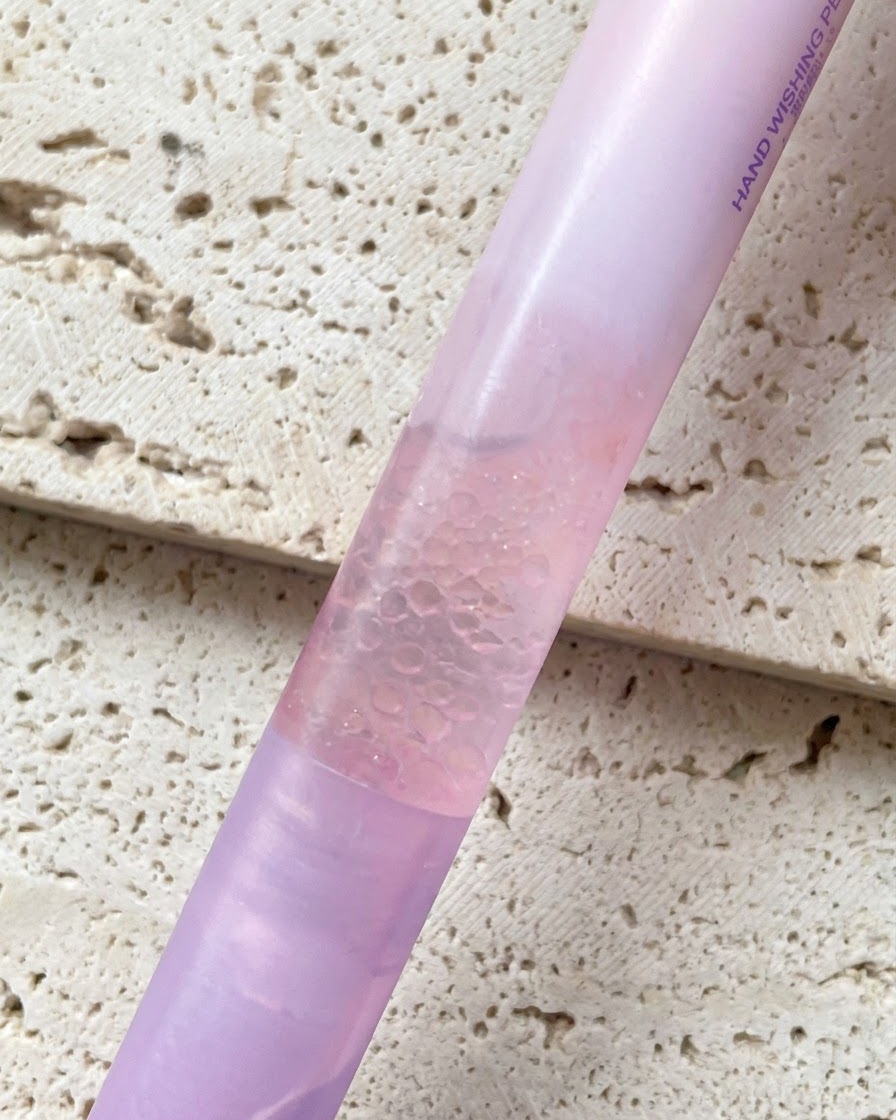
Present the pearl essence cuticle oil pen, which features a convenient soft bristle brush head. This product is designed to easily dispense nourishing oil to hydrate the skin around the nails after the curing process.
Tip: Keep the cuticle oil pen handy at your desk or in your bag for quick, daily hydration maintenance. - 12Dispense and apply cuticle serum
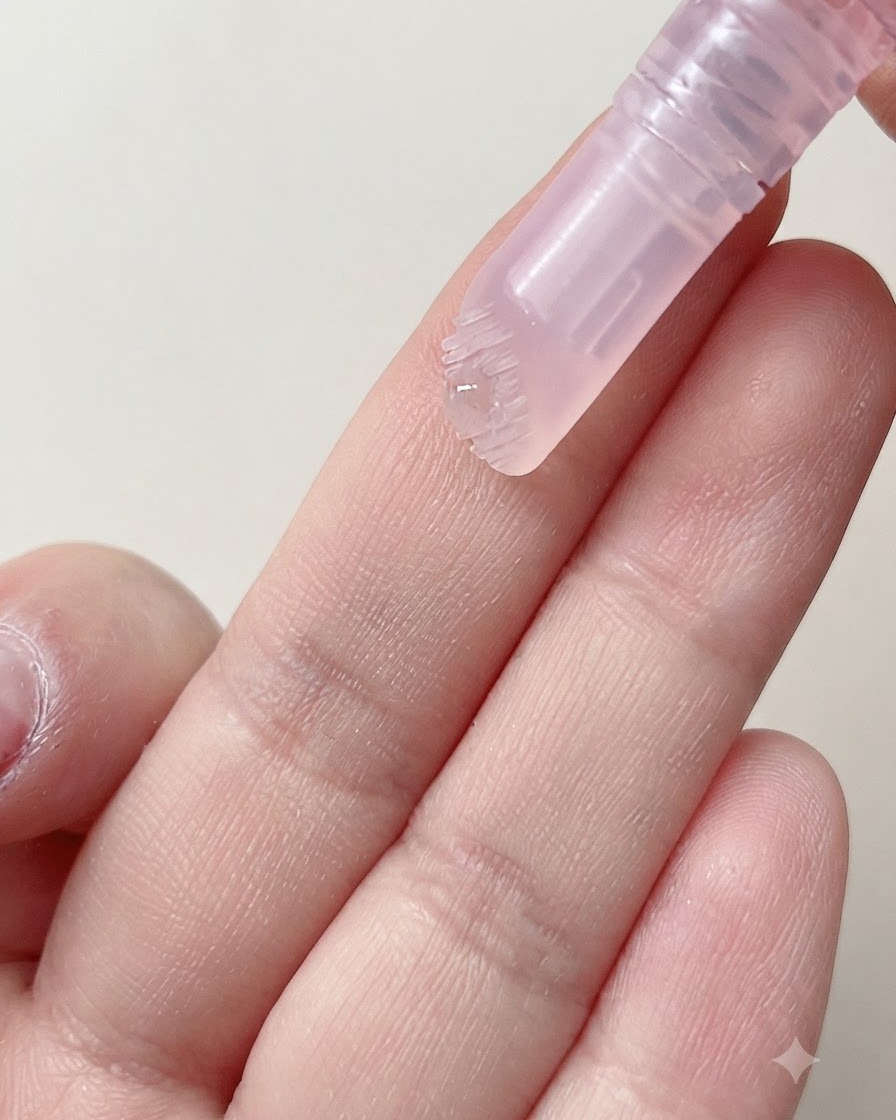
Gently press the bottom or body of the pen to squeeze out a proper amount of the moisturizing, non-greasy serum onto the soft brush head. Apply it around the nail folds to soothe and rehydrate dry skin caused by repeated UV curing, then gently massage it into the joint areas.
Tip: Massaging the oil into your skin and joints helps improve absorption and keeps your hands looking youthful and supple. - 13Apply cuticle oil and massage
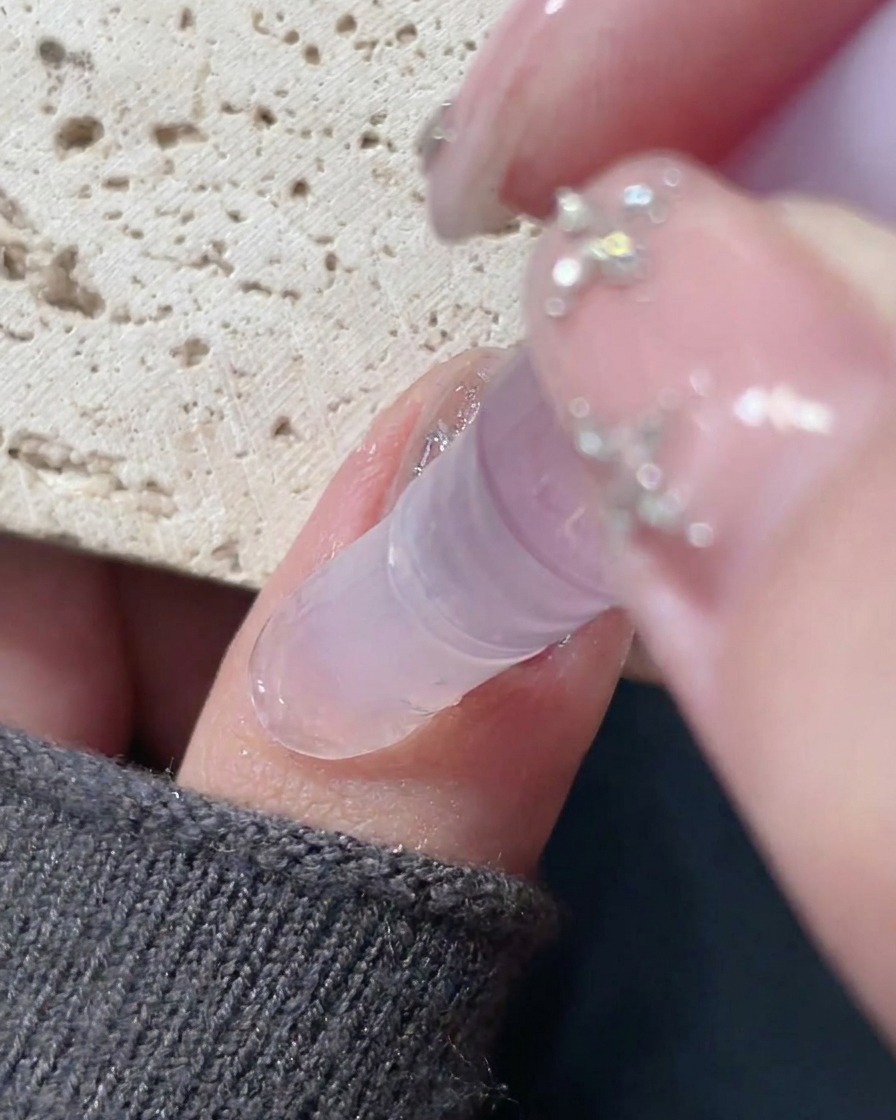
Take out the pearl essence cuticle oil pen, press to squeeze out a proper amount of essence, and apply it around the nails to moisturize dry skin caused by repeated curing. Gently massage around the nail joints and cuticles to lock in moisture.
Tip: Regularly applying cuticle oil prevents dry skin around the nails and keeps your manicure looking fresh and well-maintained. - 14Massage knuckles and joints
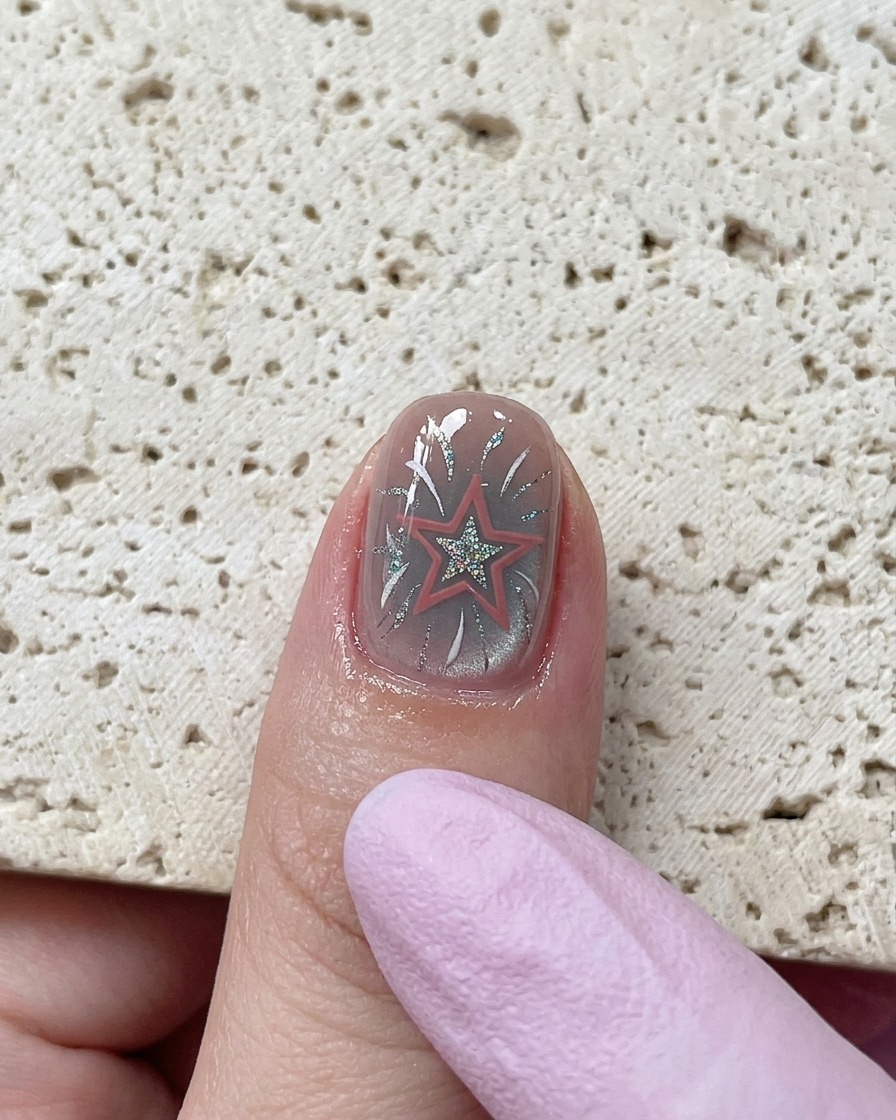
Take the cuticle oil serum and massage it into the knuckle and finger joint areas. This helps restore moisture to areas stressed during the nail styling and curing process, leaving the hands looking neat, glowing, and well-conditioned.
Tip: Massaging around the joints improves blood circulation and enhances the overall absorption of the moisturizing essence.