Mint Green
Translucent Chrome Aurora Nails — Step-by-Step Tutorial
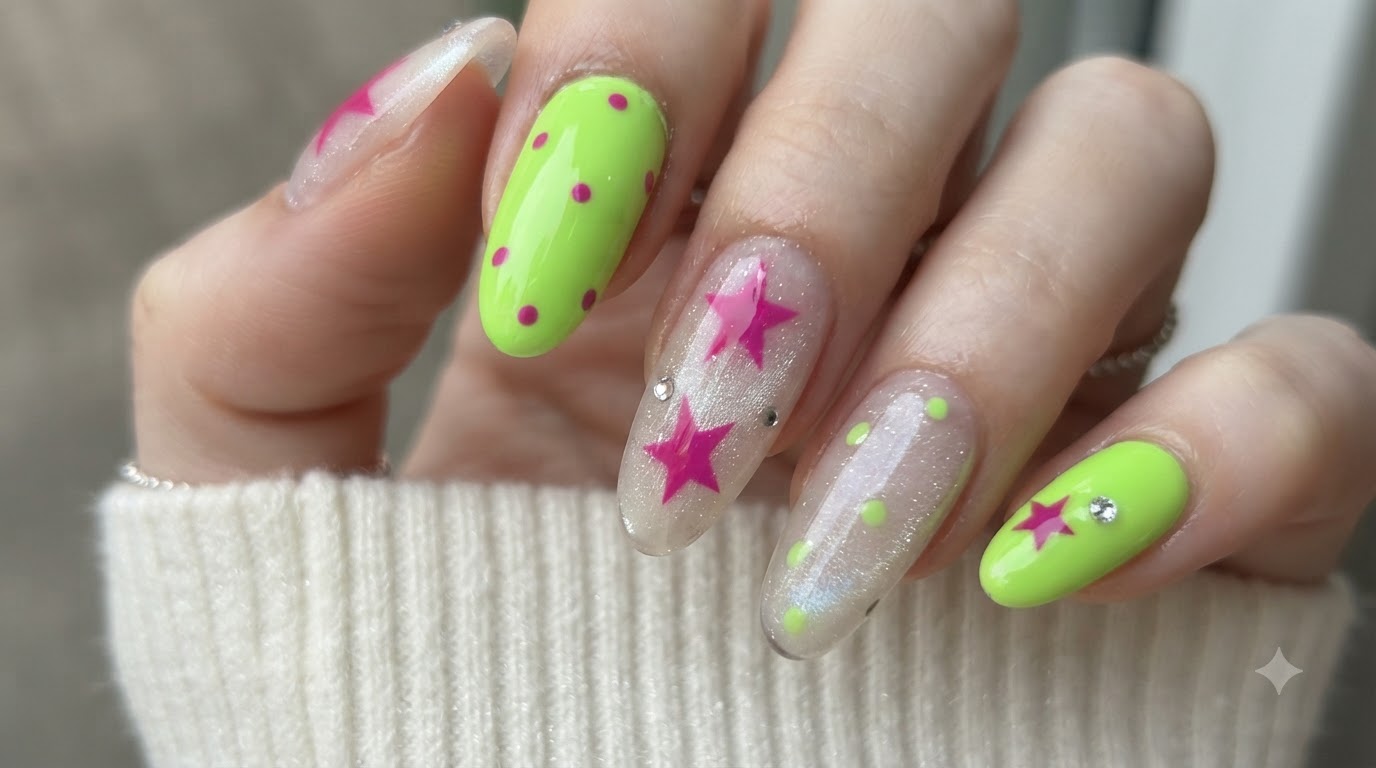
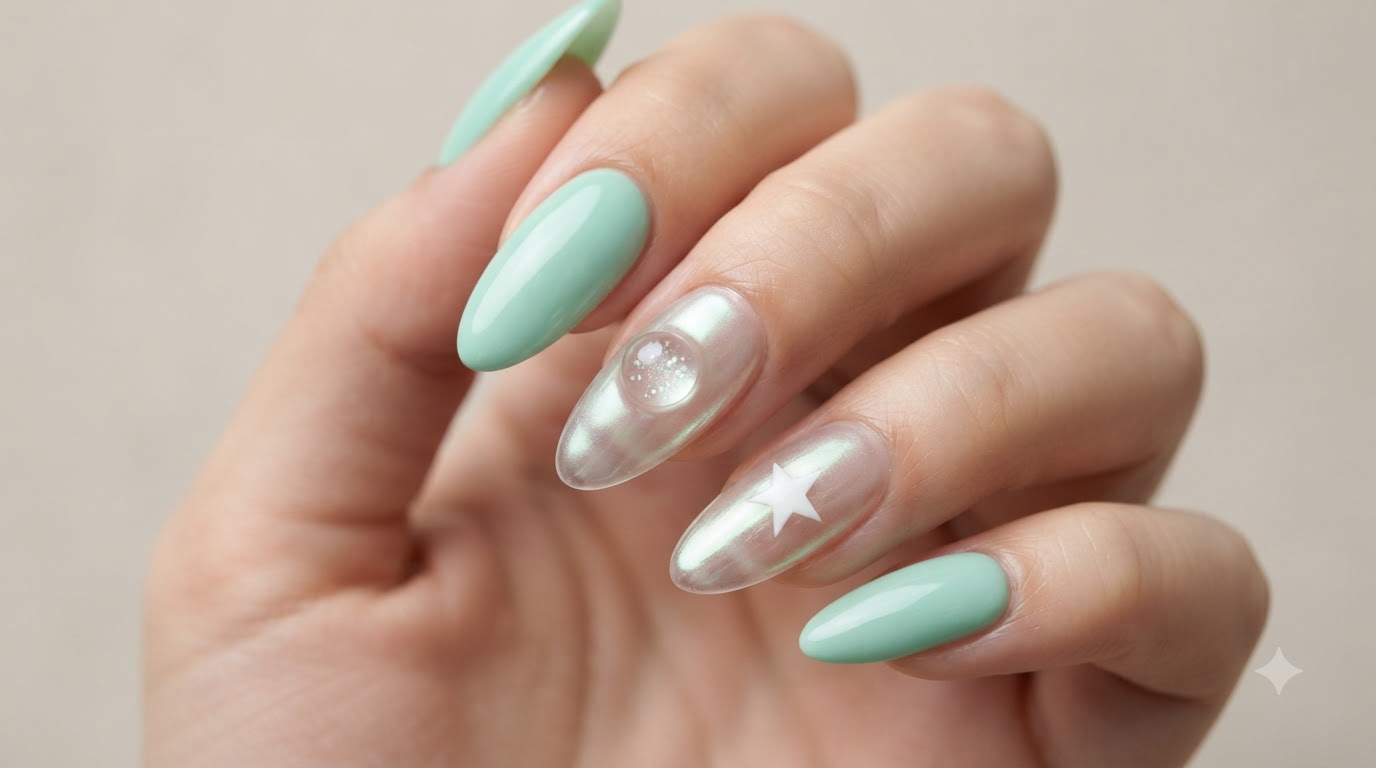
Learn how to create trendy summer mint green nails featuring translucent aurora chrome effects, cat-eye gel depth, and delicate white star details.
Mint green is the ultimate summer shade, and this look takes it to the next level by combining solid pastel polish with translucent aurora chrome finishes and playful celestial details. The contrast between creamy opaque tones and ethereal glassy gel layers creates a multi-dimensional summer manicure that catches the light from every angle. This beginner-friendly step-by-step tutorial guides you through each stage to achieve salon-quality results at home.
Steps
- 1Cure clear gel extension tip
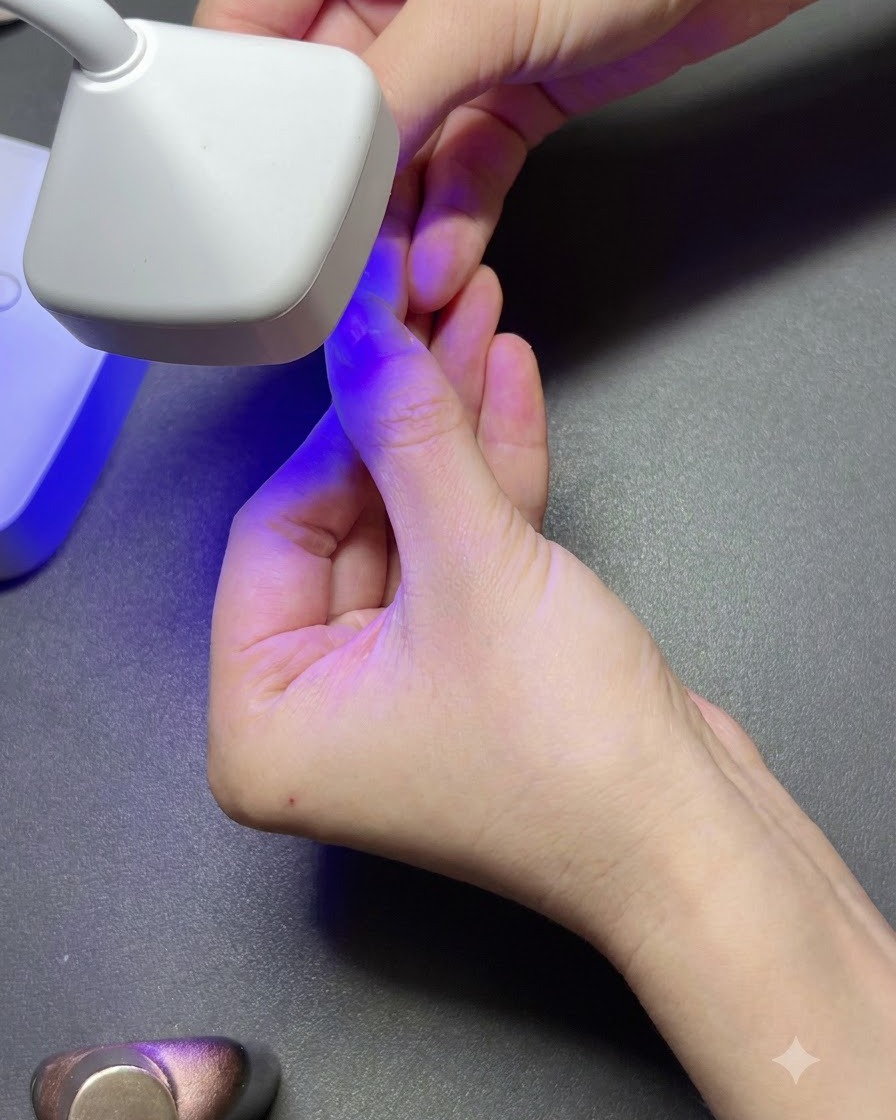
Position a portable UV lamp directly over the newly attached clear gel extension tip. Cure the gel under the light to securely bond the tip to your natural nail before moving on to shaping and building.
Tip: Hold the extension steady while curing to prevent the tip from shifting or trapping air bubbles underneath. - 2Trim Nail Extension Length
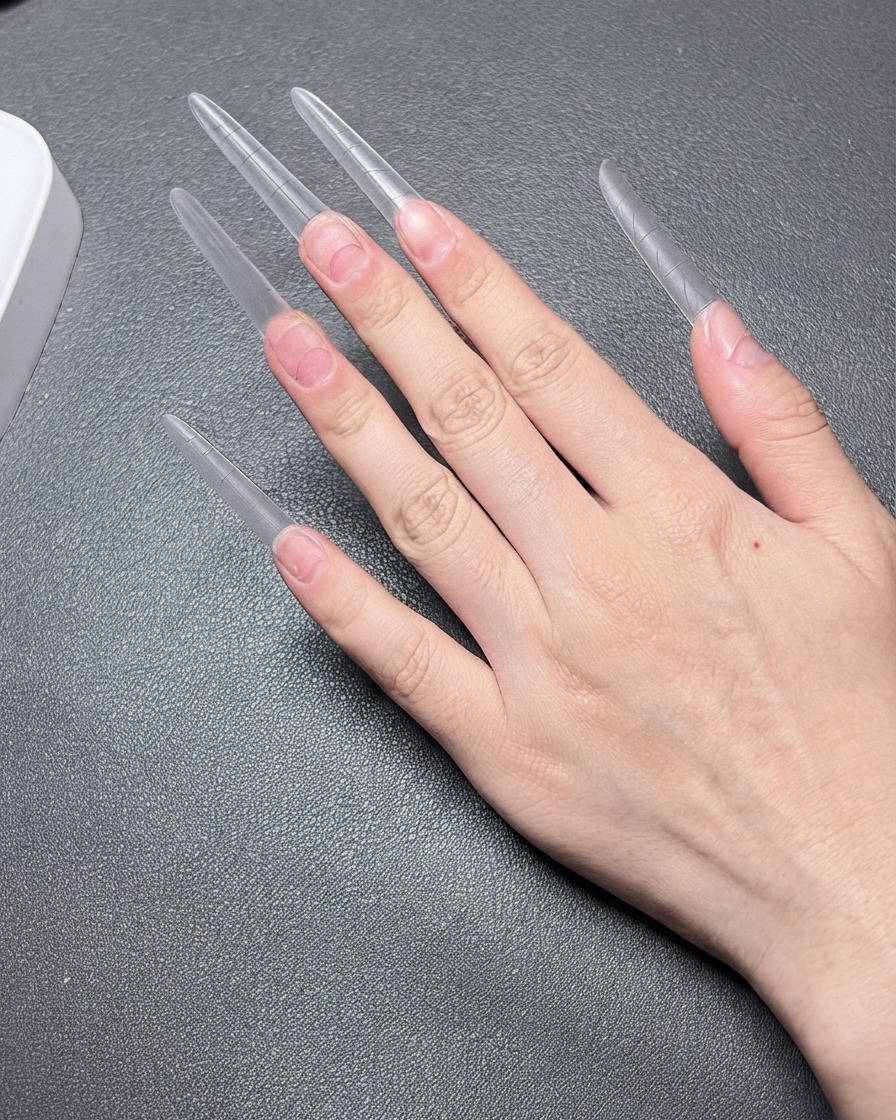
Take a nail clipper tool and trim down the excess length of the clear long nail extension to your desired working length. This makes the subsequent filing and shaping process much easier and more manageable.
Tip: Trim slightly longer than your target length to leave room for filing and shaping the free edge. - 3File and Shape Nail Edges
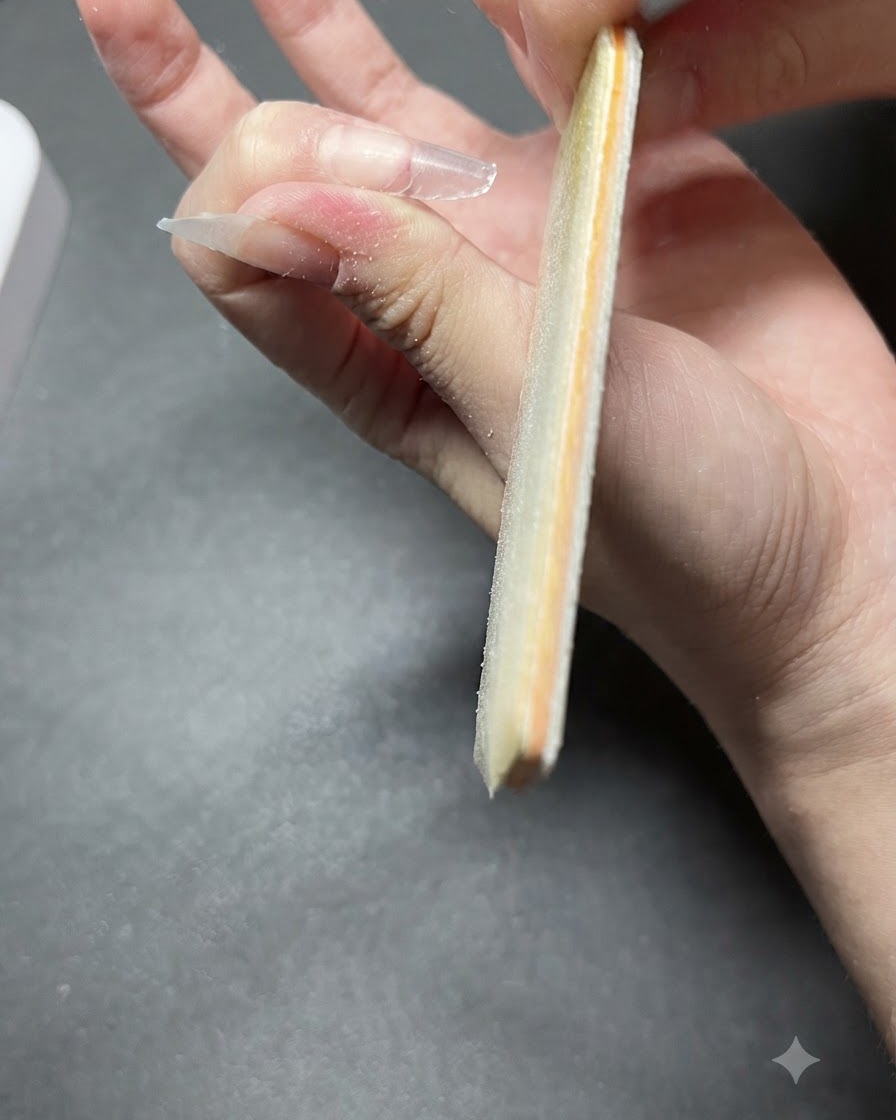
Use a coarse nail file buffer to shape the nail edges and smooth out any rough surface transitions where the extension meets the natural nail. Ensure the shape is even and clean across all fingers.
Tip: Keep the file parallel to the sidewalls to maintain a straight and balanced shape. - 4Apply Clear Base Gel
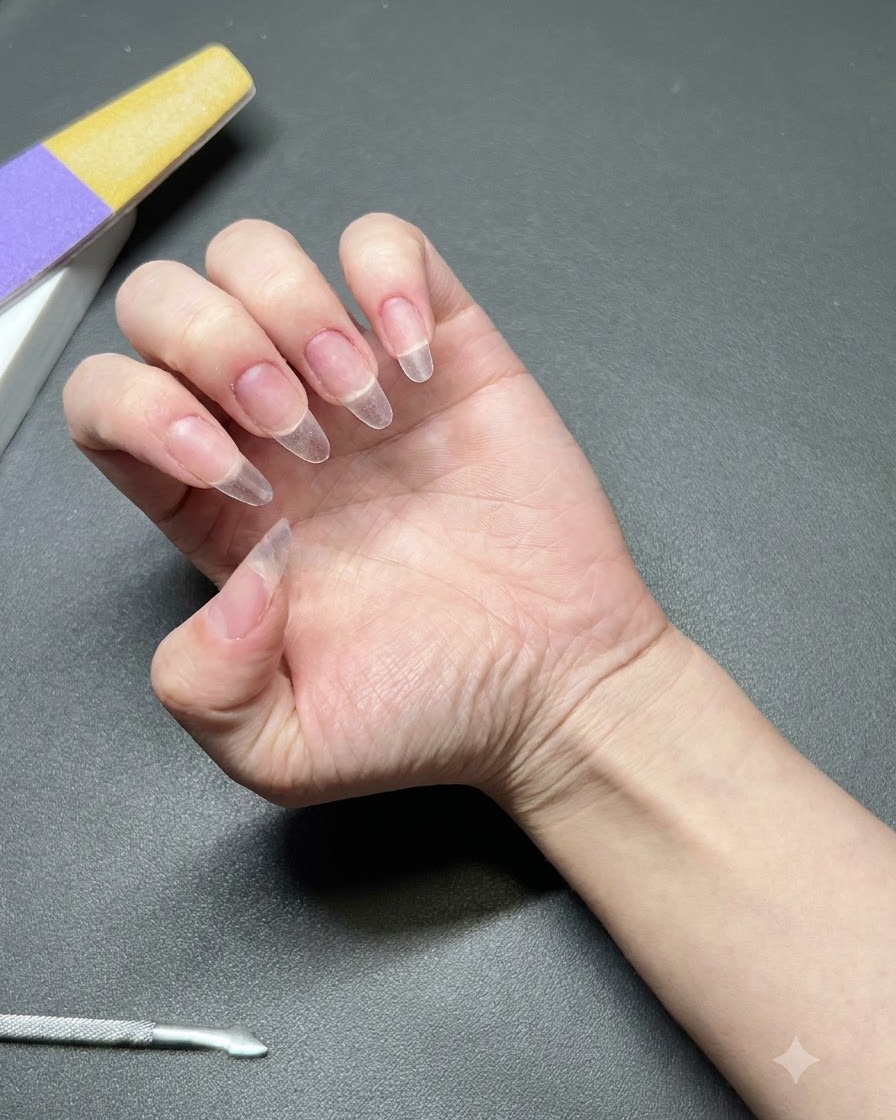
Apply a thin, even coat of clear base gel across the natural nail plate and the entire extension surface. This creates a strong adhesive foundation for subsequent building and color gels.
Tip: Cap the free edge with base gel to prevent premature lifting. - 5Apply Building Gel
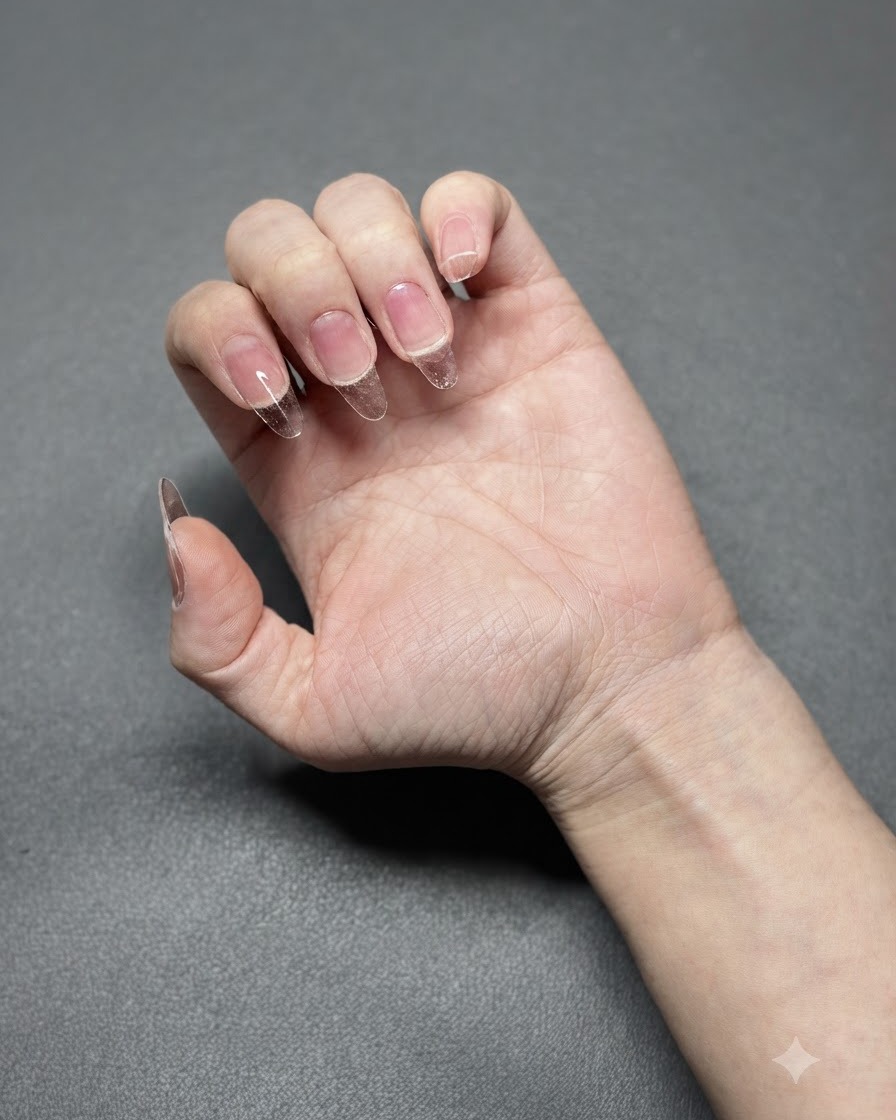
Using a detailing brush, pick up building gel and apply it carefully onto the nail structure. Focus on creating adequate strength, thickness, and an apex to support the long nail length.
Tip: Work one nail at a time or flash cure to prevent the building gel from running into the cuticles. - 6Cure Building Gel
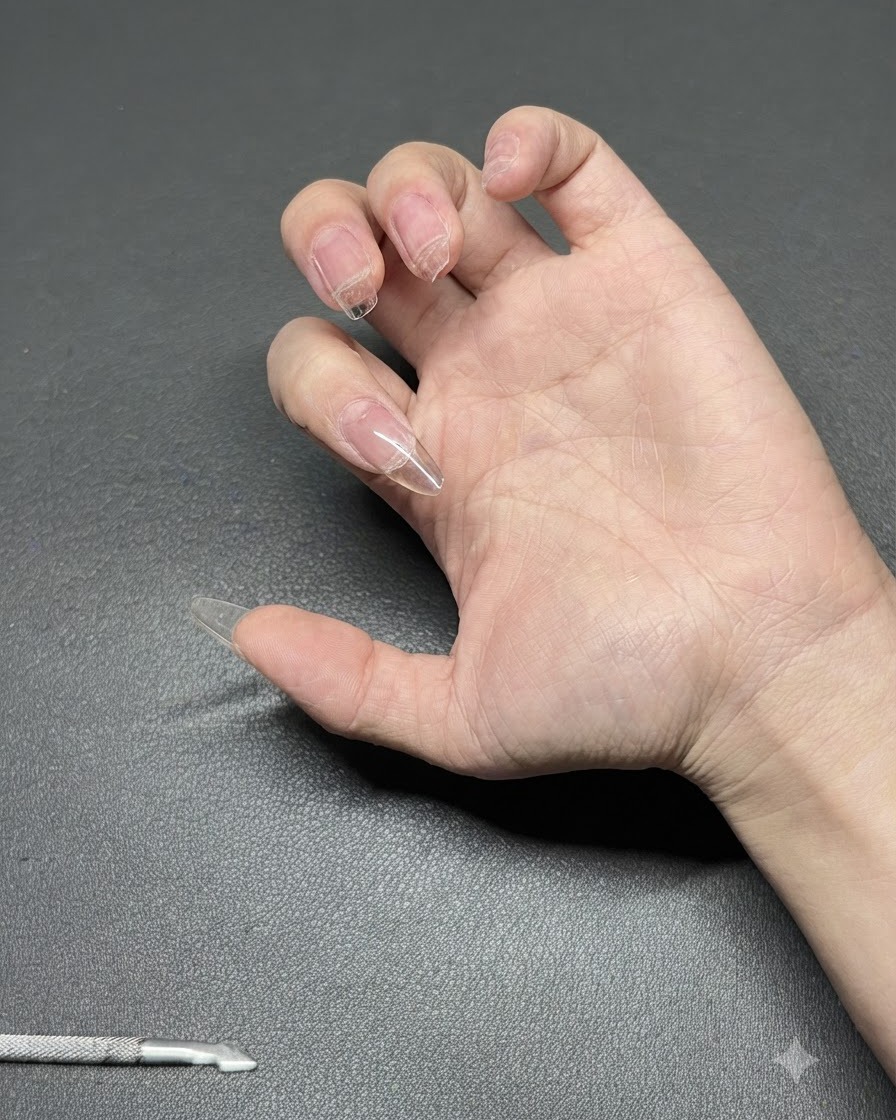
Place the nails under a portable purple-light UV lamp to cure the building gel layer. Ensure each nail receives sufficient exposure time so the gel hardens completely.
Tip: Hold the portable lamp steady over each finger to guarantee a thorough cure without shifting the gel. - 7Apply Mint Green Gel Polish
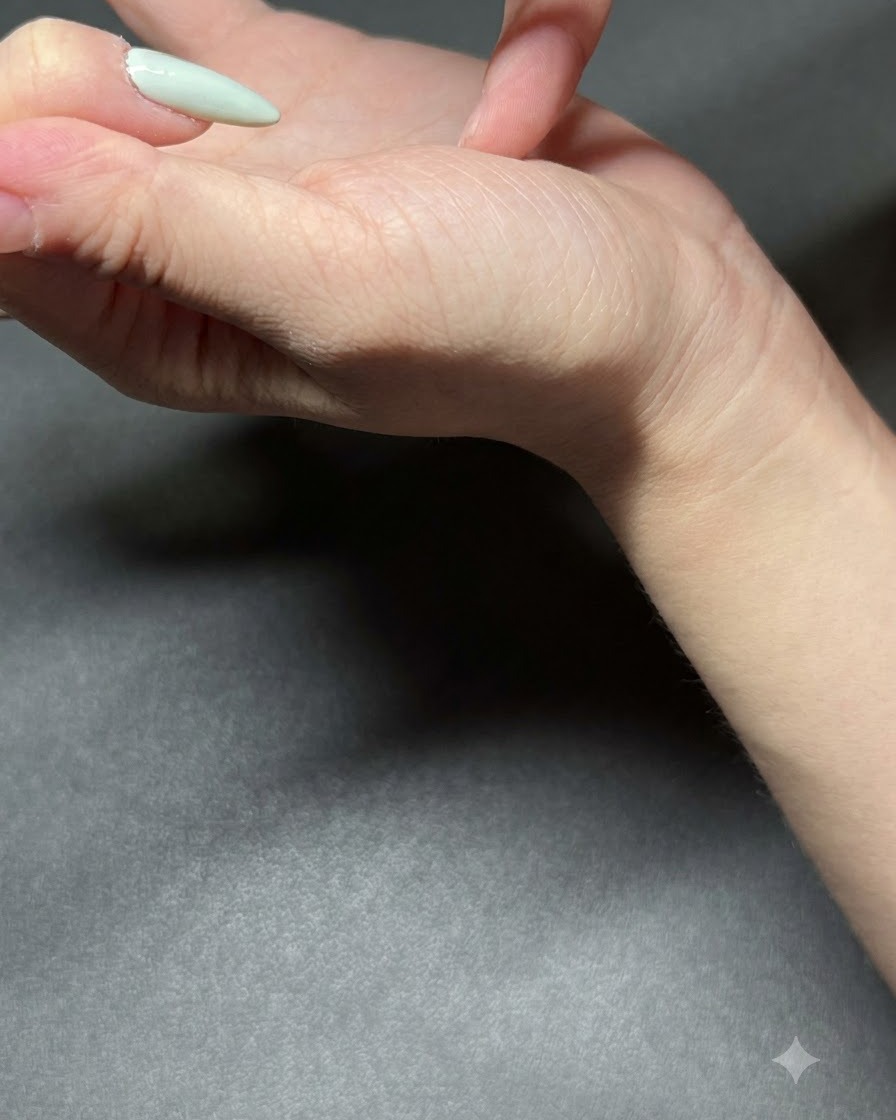
Using a fine brush, carefully apply light mint green gel polish onto the index and pinky fingers. Create smooth, even strokes to achieve an opaque and vibrant summer color finish.
Tip: Apply two thin coats rather than one thick coat for a streak-free mint green look. - 8Cure the mint green gel
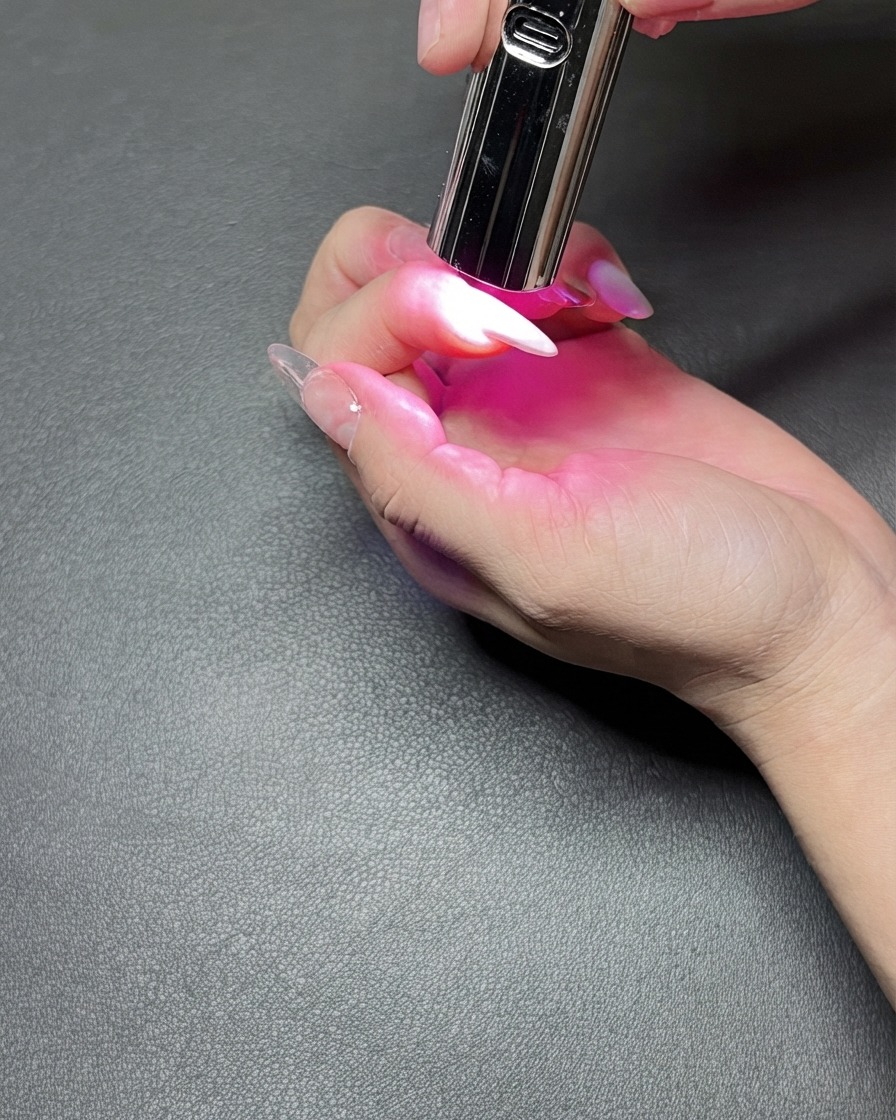
Place the finger under a portable UV lamp to cure the newly applied layer of mint green gel polish, ensuring proper setting and long-lasting wear.
Tip: Hold the portable curing lamp steadily over the nail to prevent any shifting of the wet gel polish. - 9Apply nude semi-sheer base
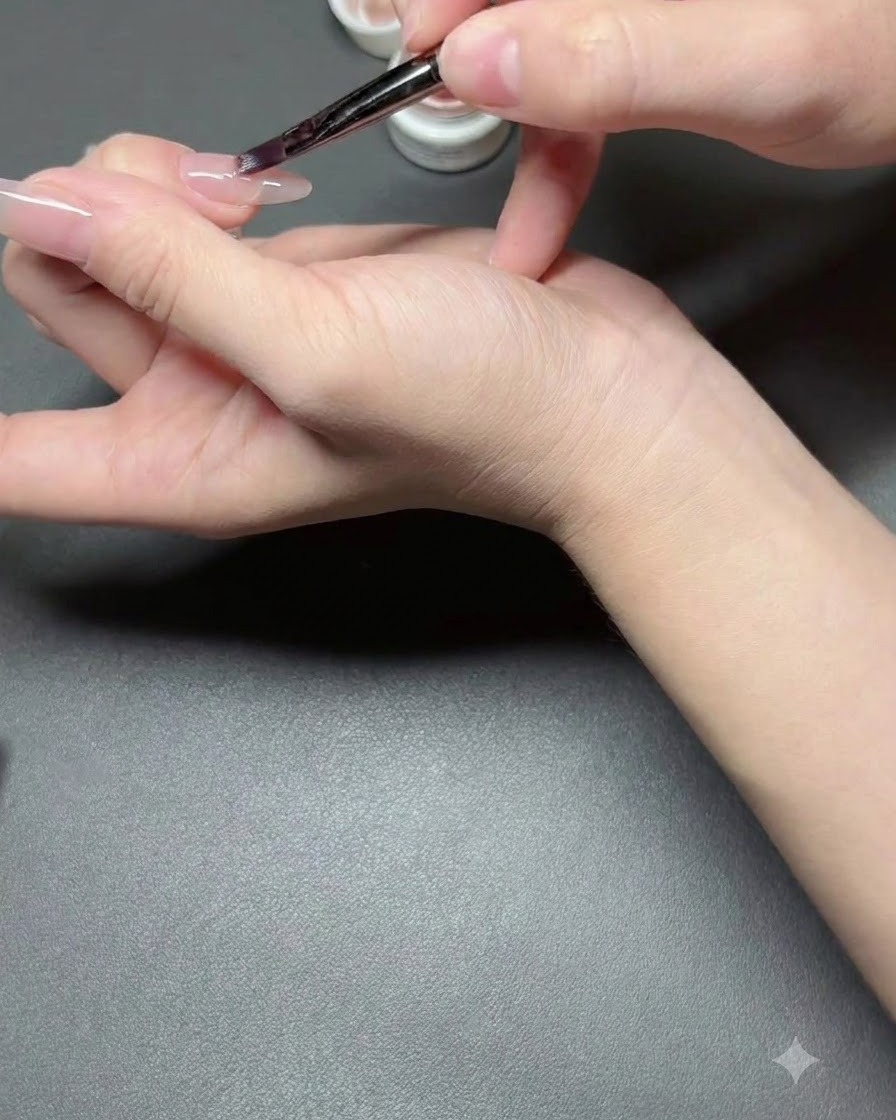
Take a fine nail art brush and carefully apply a smooth coat of nude semi-sheer base color onto the remaining uncured fingers, working evenly around the cuticle line.
Tip: Keep the coat thin and even to create a natural, translucent foundation for subsequent nail art layers. - 10Apply magnetic cat-eye gel
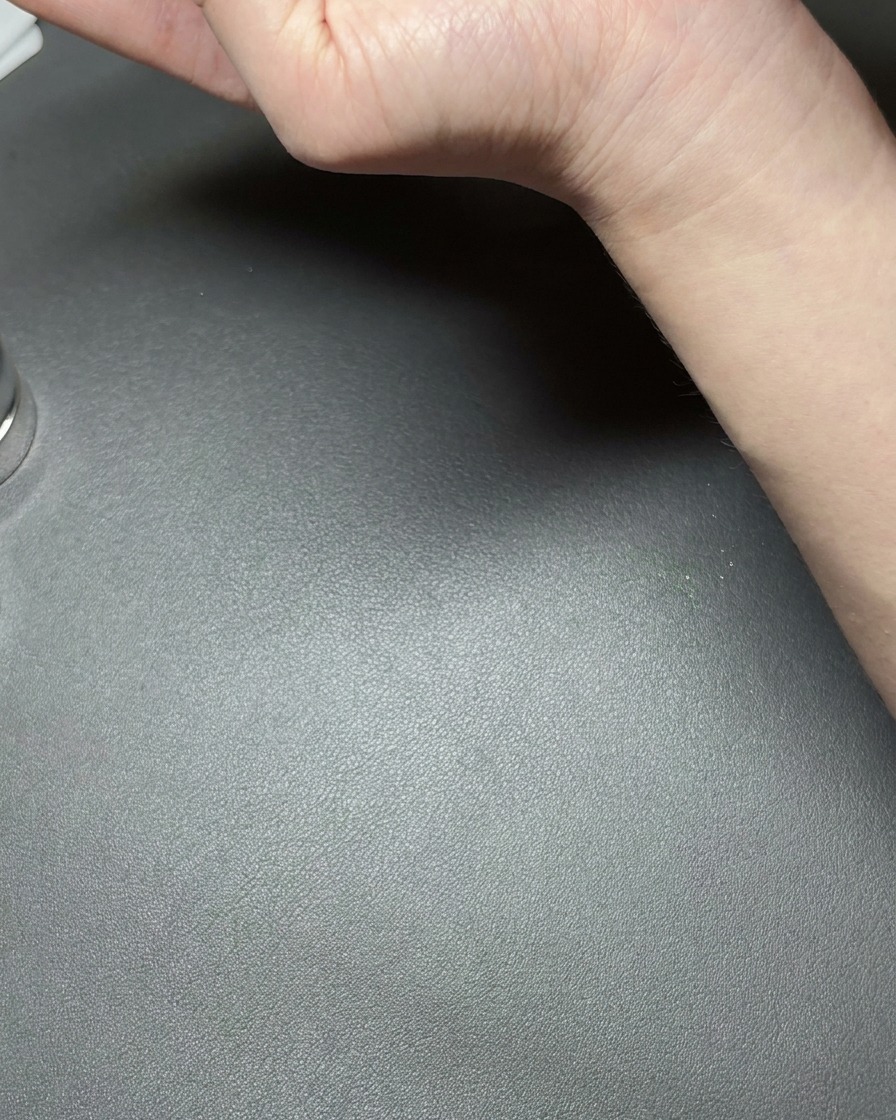
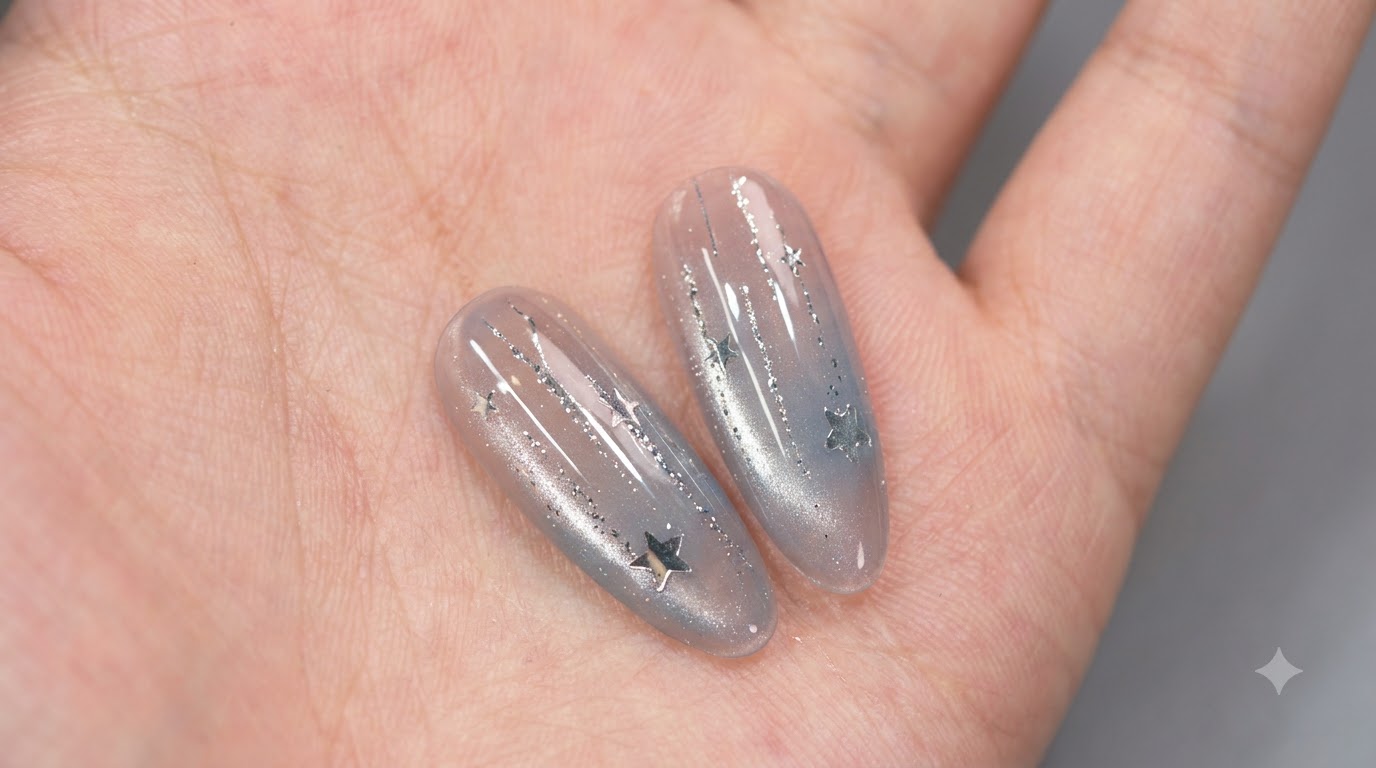
Apply the magnetic cat-eye gel over your cured nude base coat. Before curing, hold a magnetic tool close to the nail at your desired angle to pull the magnetic particles into a shimmery, multidimensional line or design, then cure immediately under the UV or LED lamp to lock the effect in place.
Tip: Hold the magnet steady for about 5 to 10 seconds and keep it close without touching the wet gel surface to get the sharpest and most defined cat-eye stripe. - 11Cure the cat-eye gel layer
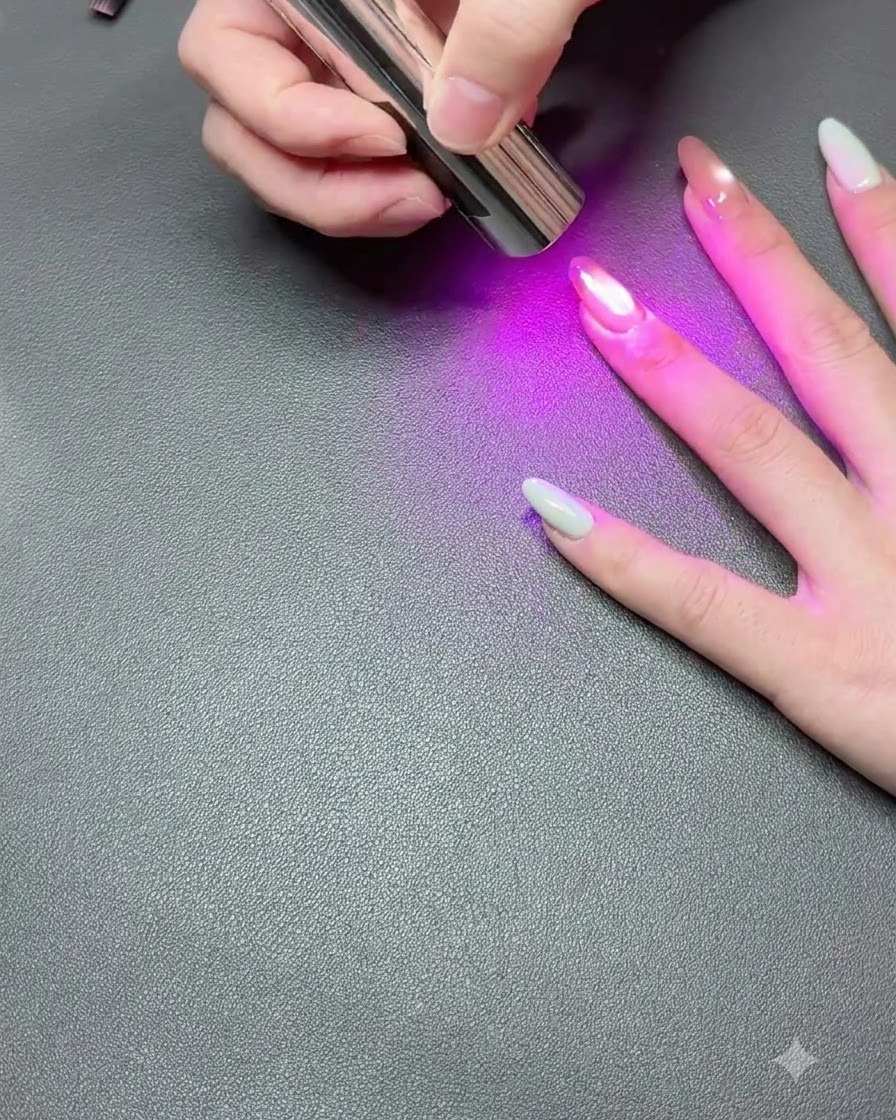
Cure the newly created magnetic cat-eye gel layer under a UV lamp to lock the shimmering effect into place before moving on to the next design steps.
Tip: Make sure the hand remains completely still during this curing phase to avoid distorting the magnetic particles. - 12Apply second mint green layer
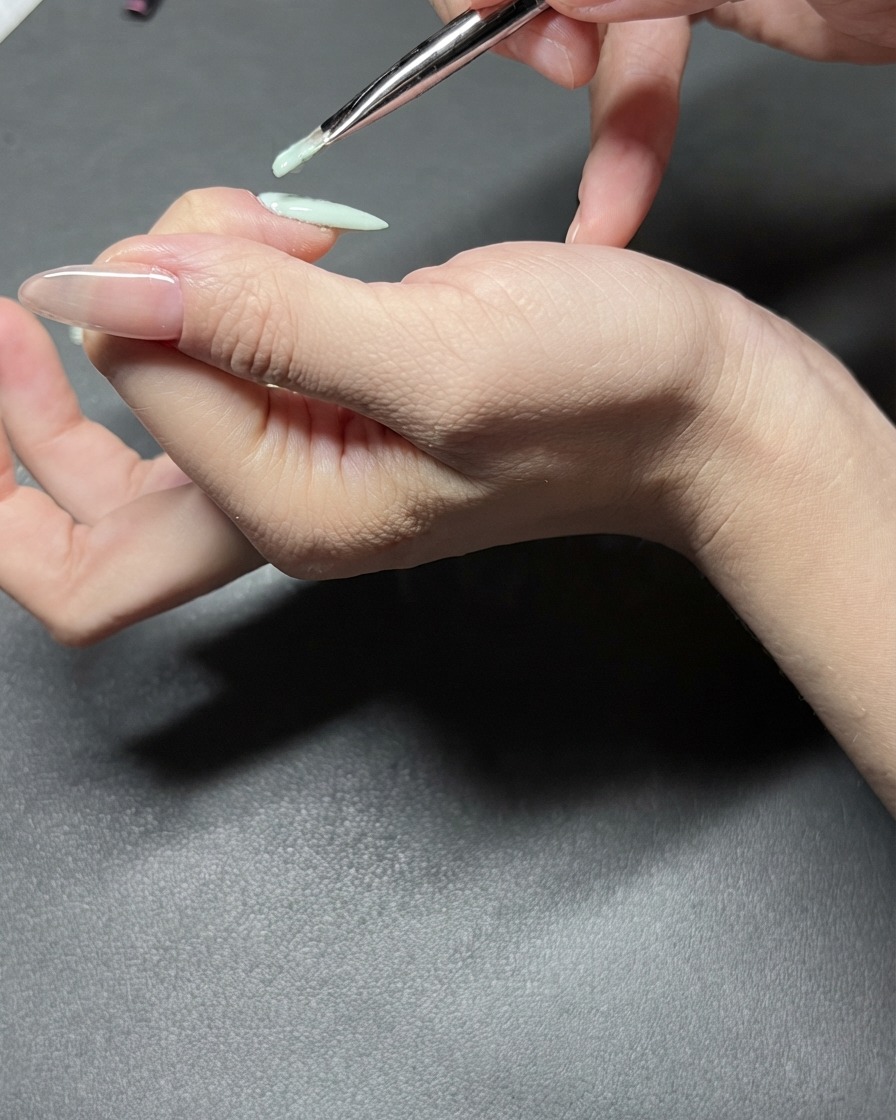
Using a fine brush, carefully apply a second layer of mint green gel polish onto the index and pinky fingers to enhance color saturation and opacity.
Tip: Apply thin strokes to avoid pooling or bubbling near the edges and cuticles. - 13Add mint green bubble dots
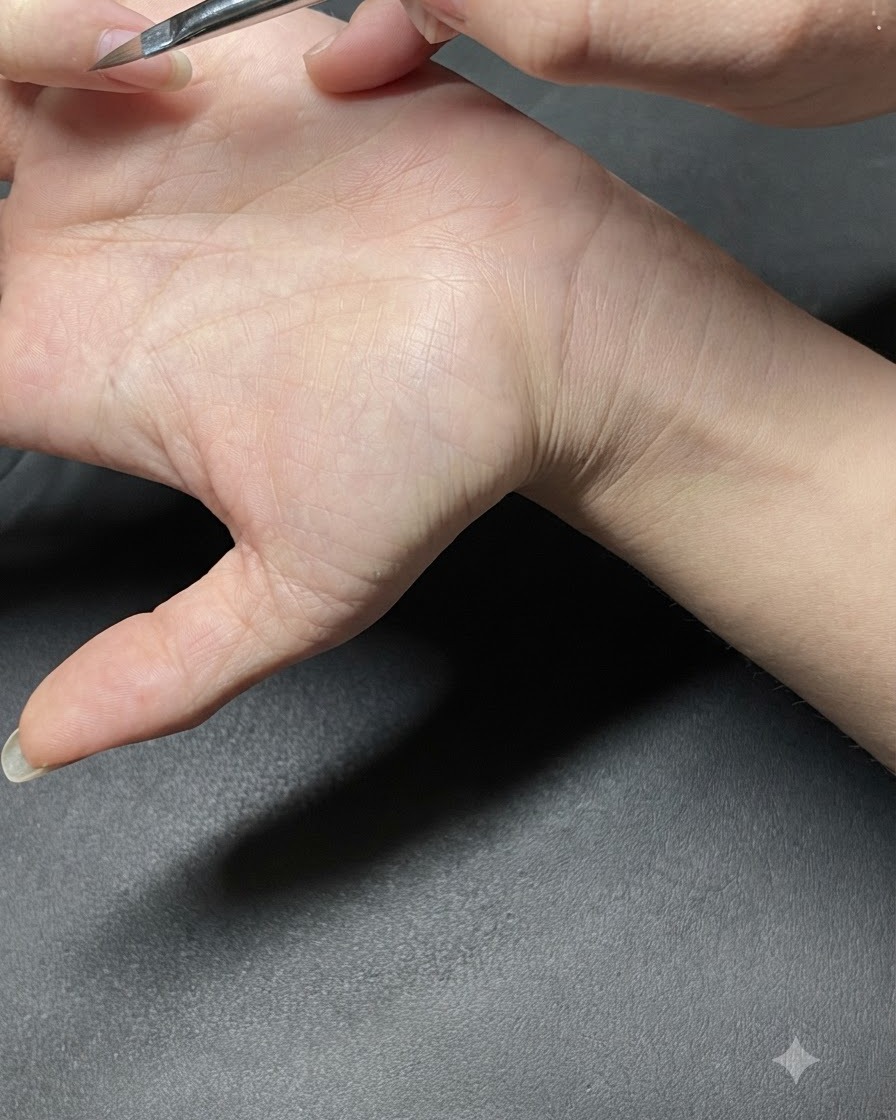
Dip a fine dotting tool into mint green gel polish and carefully place small, scattered bubble dots onto the middle finger over the nude base to build a whimsical summer design.
Tip: Vary the pressure slightly on your dotting tool to create natural variations in dot sizes. - 14Cure the design
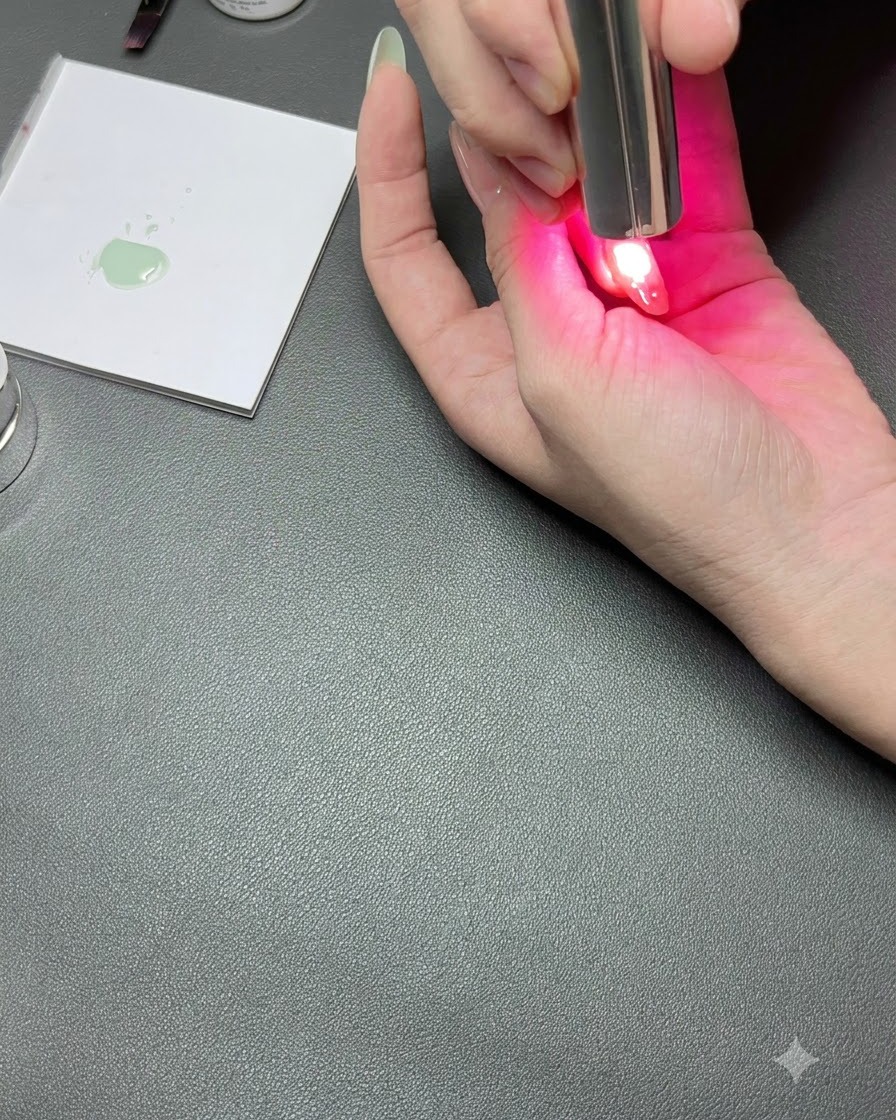
Place the hand under the UV lamp to cure and harden the applied design securely. Ensure proper placement so all decorated areas receive full light exposure, preventing any uncured spots or lifting.
Tip: Keep your hand steady inside the lamp to avoid shifting uncured gel details. - 15Paint white star details
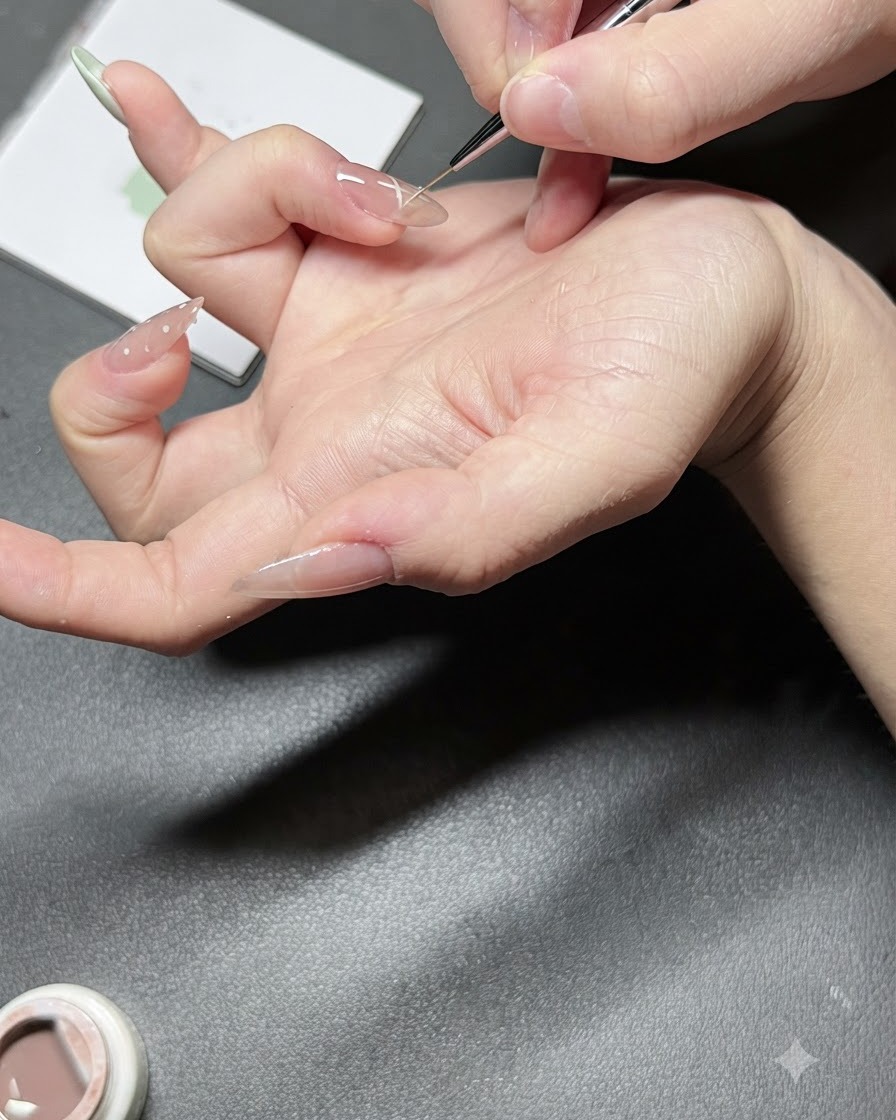
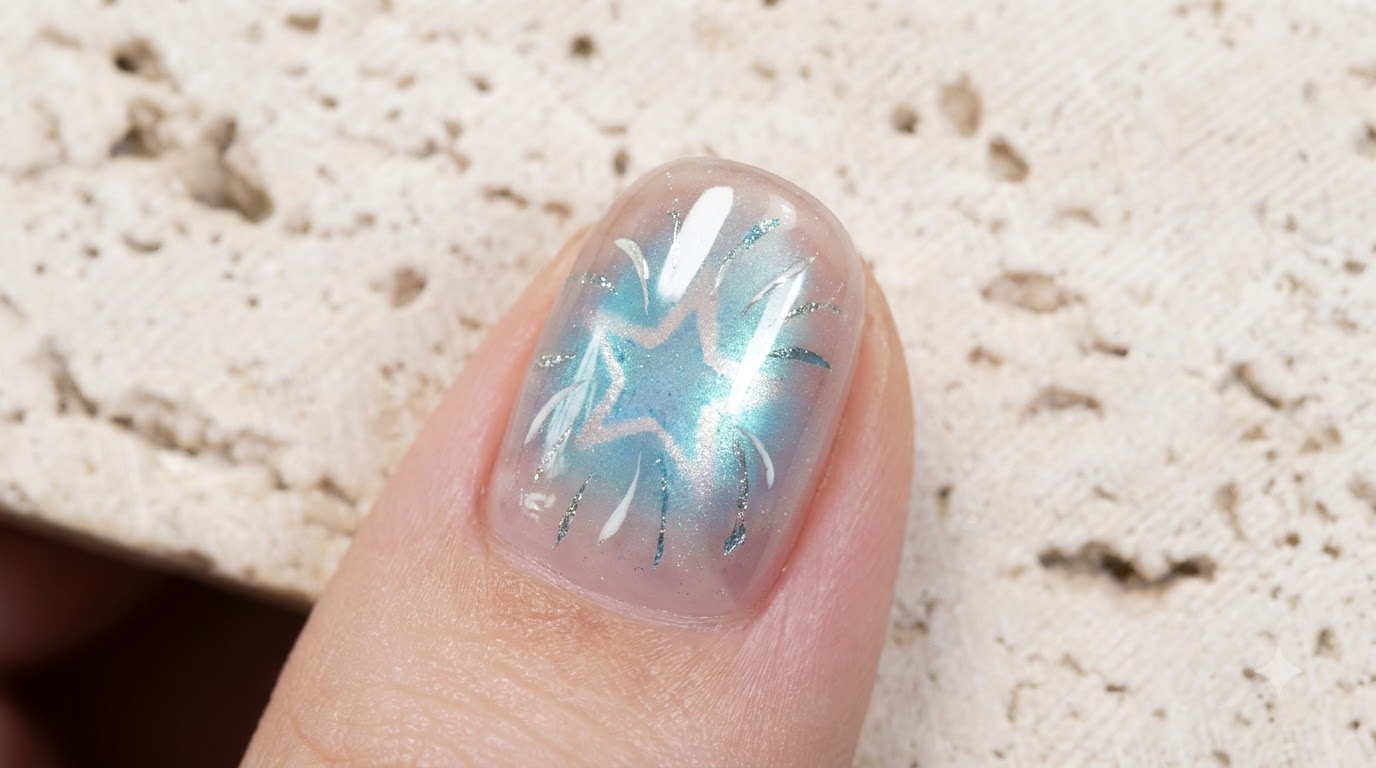
Using a fine liner brush dipped in pigmented white gel, carefully draw a delicate star outline and accent details on the ring finger to complement the mint green theme.
Tip: Use light, sweeping strokes with the very tip of your liner brush for crisp, thin lines. - 16Apply aurora shimmer top coat
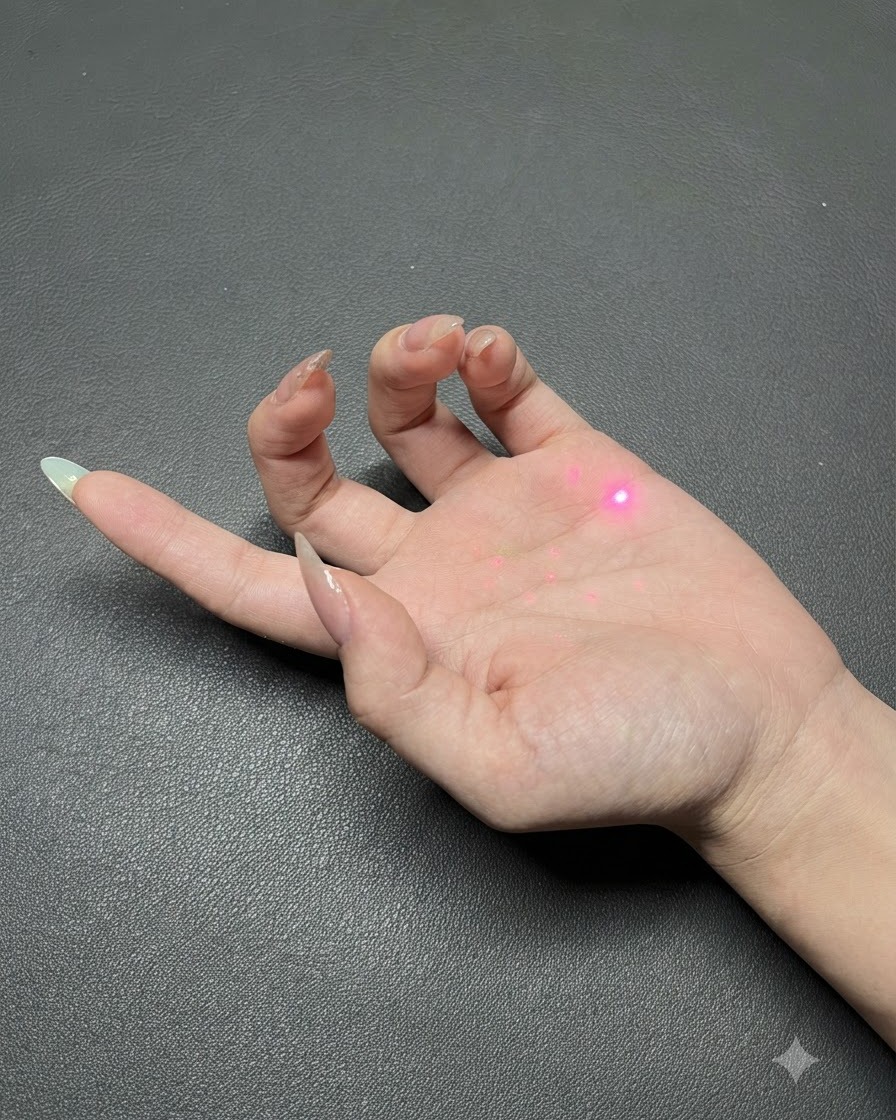
Brush a layer of top coat infused with translucent aurora shimmer powder evenly across the polished nails. This adds an ethereal, glossy dimensional glow that catches the light beautifully.
Tip: Apply in smooth, thin strokes to ensure the shimmer powder distributes evenly without clumping. - 17Buff in crystal chrome powder
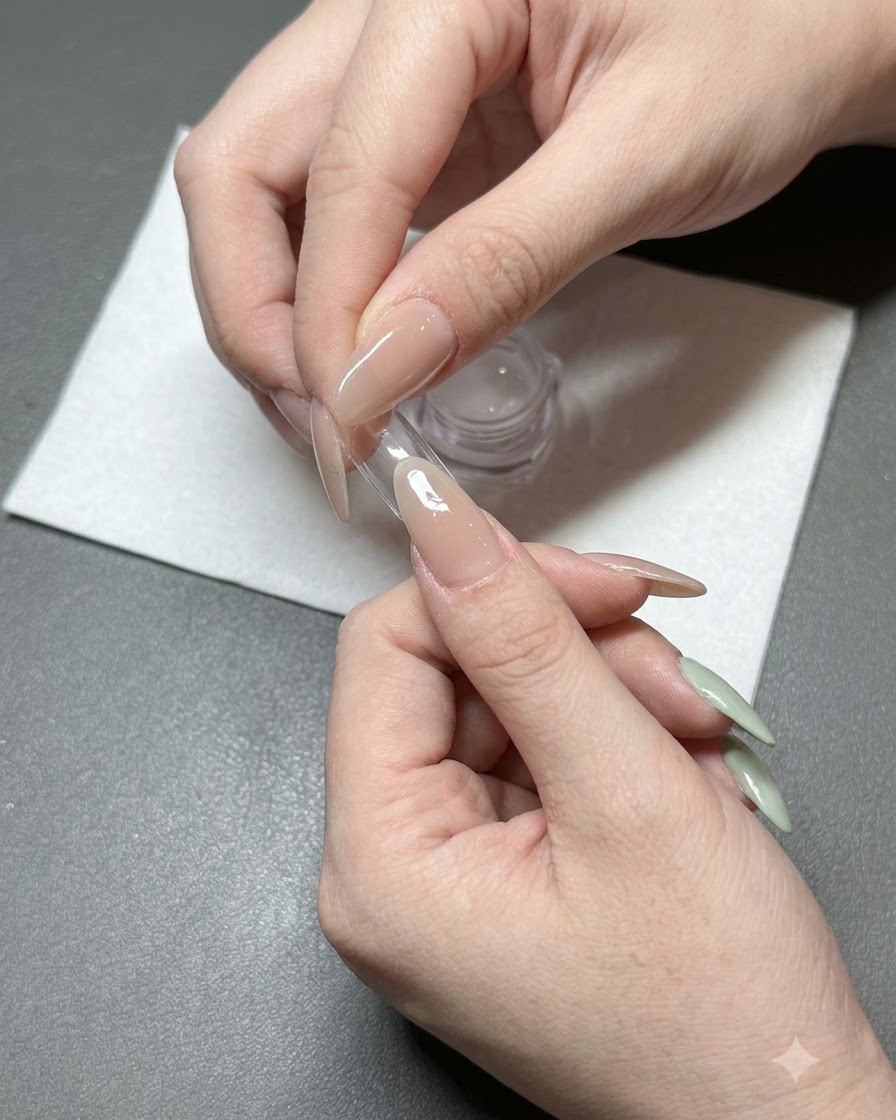
Gently rub a fine translucent crystal chrome powder over the cured surface using a clean finger pad to impart an ultra-glossy, glassy sheen over the entire manicure.
Tip: Buff the powder in with light circular motions once the surface has cooled slightly for maximum mirror-like shine.