Fluorescent Green
Magenta Star Y2K Contrast Nail Art Tutorial
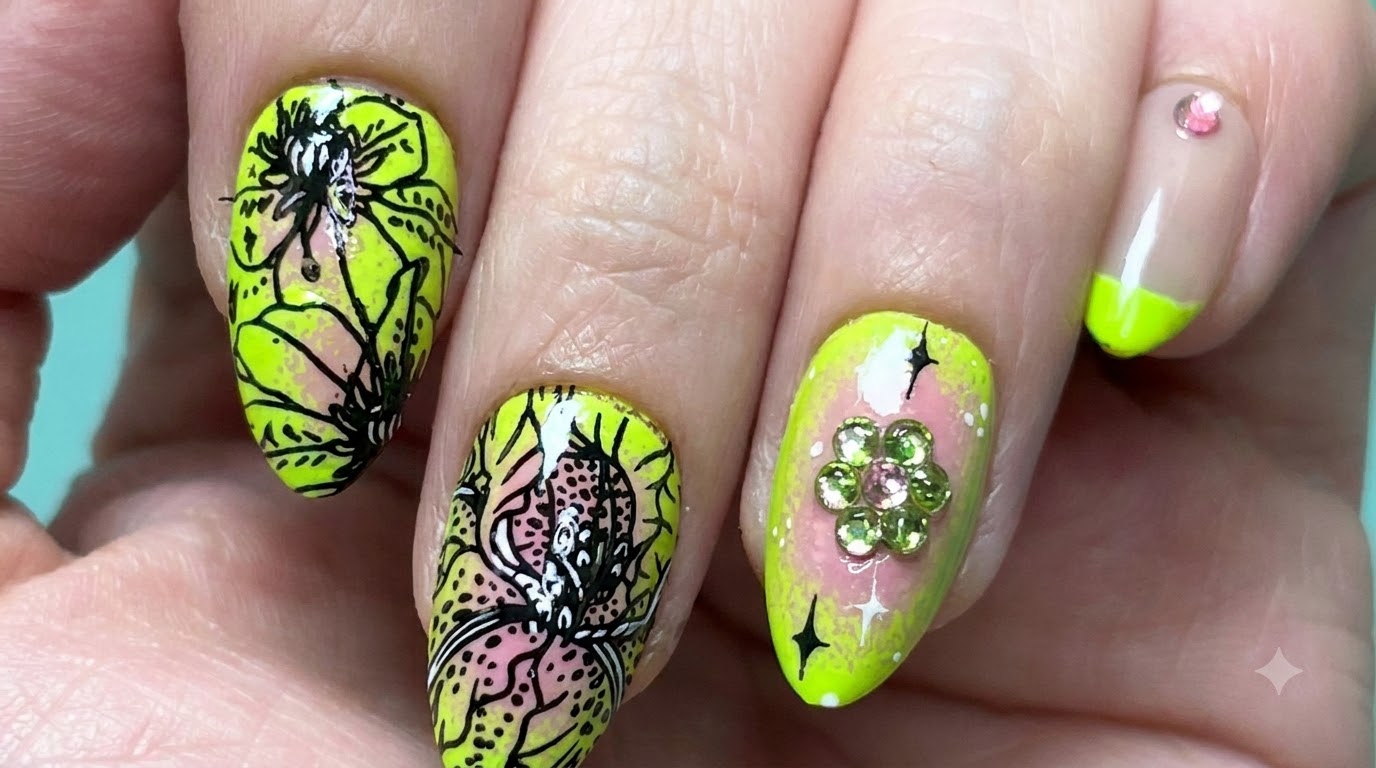
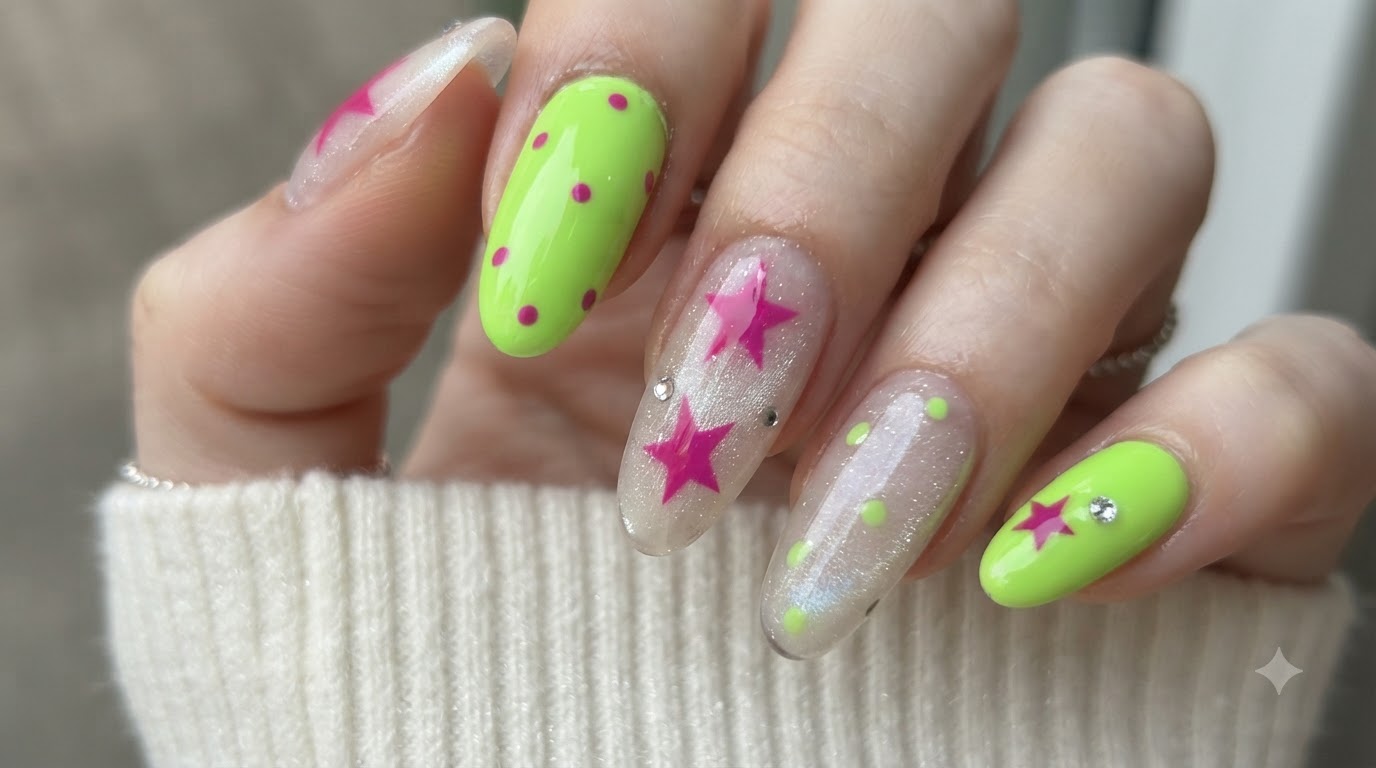
Create a striking Y2K contrast look featuring vibrant neon green, cat-eye glass bead effects, and bold magenta stars on long almond nails.
Embrace the ultimate Y2K aesthetic with this high-contrast nail art tutorial that combines electric neon green, mesmerizing cat-eye texture, and playful star accents. Perfect for making a bold statement, this design balances luminous glitter with sharp graphic details for a truly unforgettable finish.
Steps
- 1Apply ivory solid gel to transition lines
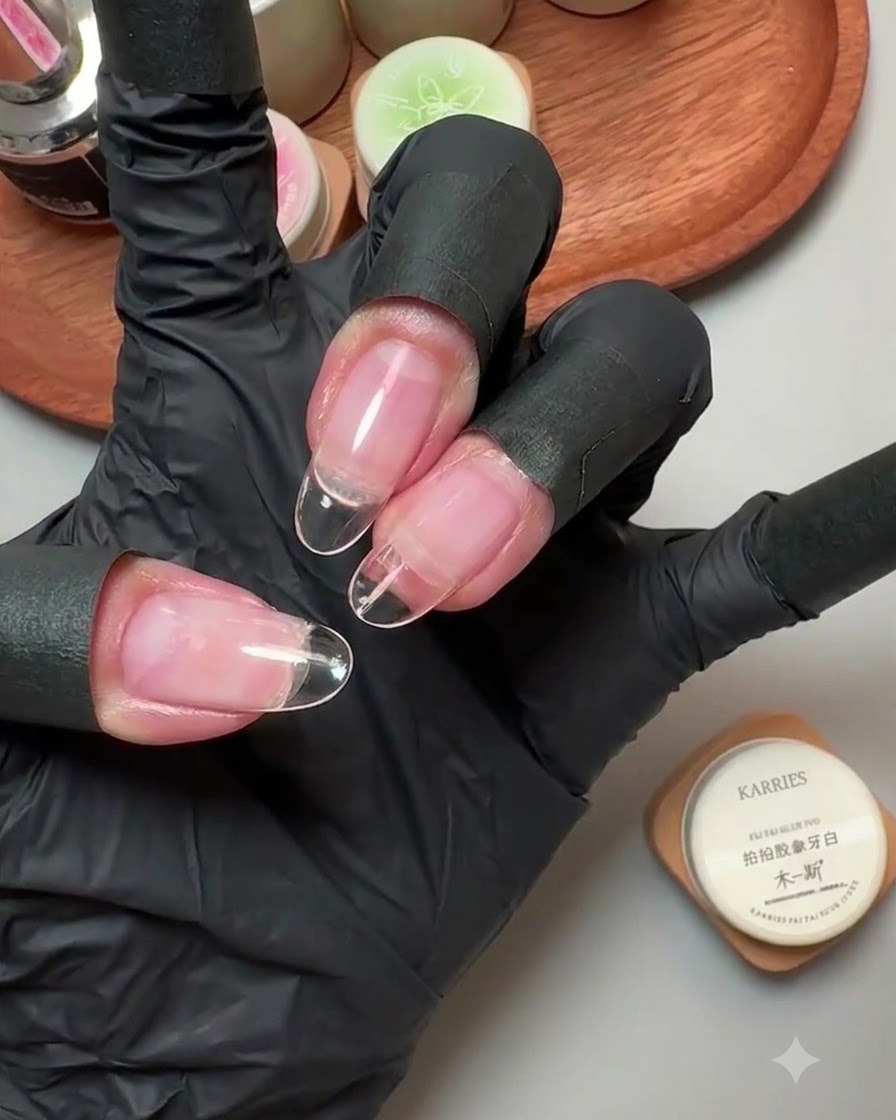
Apply ivory solid gel onto the middle and ring fingers to cover the transition lines, carefully avoiding the fingertips to maintain a clean edge.
Tip: Keep the gel layer thin and even to prevent bulkiness before adding glitter and art. - 2Apply Thick Glitter Cat-Eye Gel
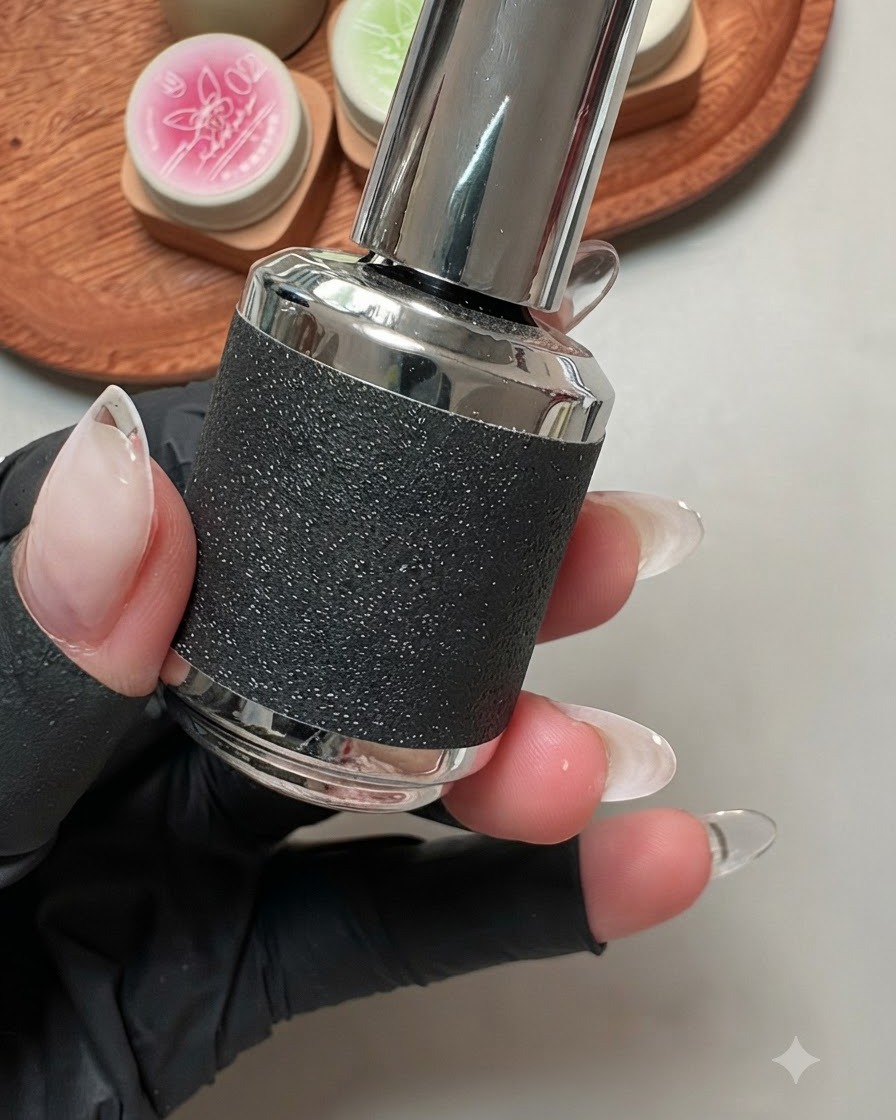
Apply the unbased thick glitter cat-eye gel directly onto the thumb nail. Ensure an even distribution of the glitter particles across the nail surface before proceeding to magnetize and cure under the lamp.
Tip: Keep the layer controlled to avoid flooding the cuticles. - 3Coat middle and ring fingers with cat-eye gel
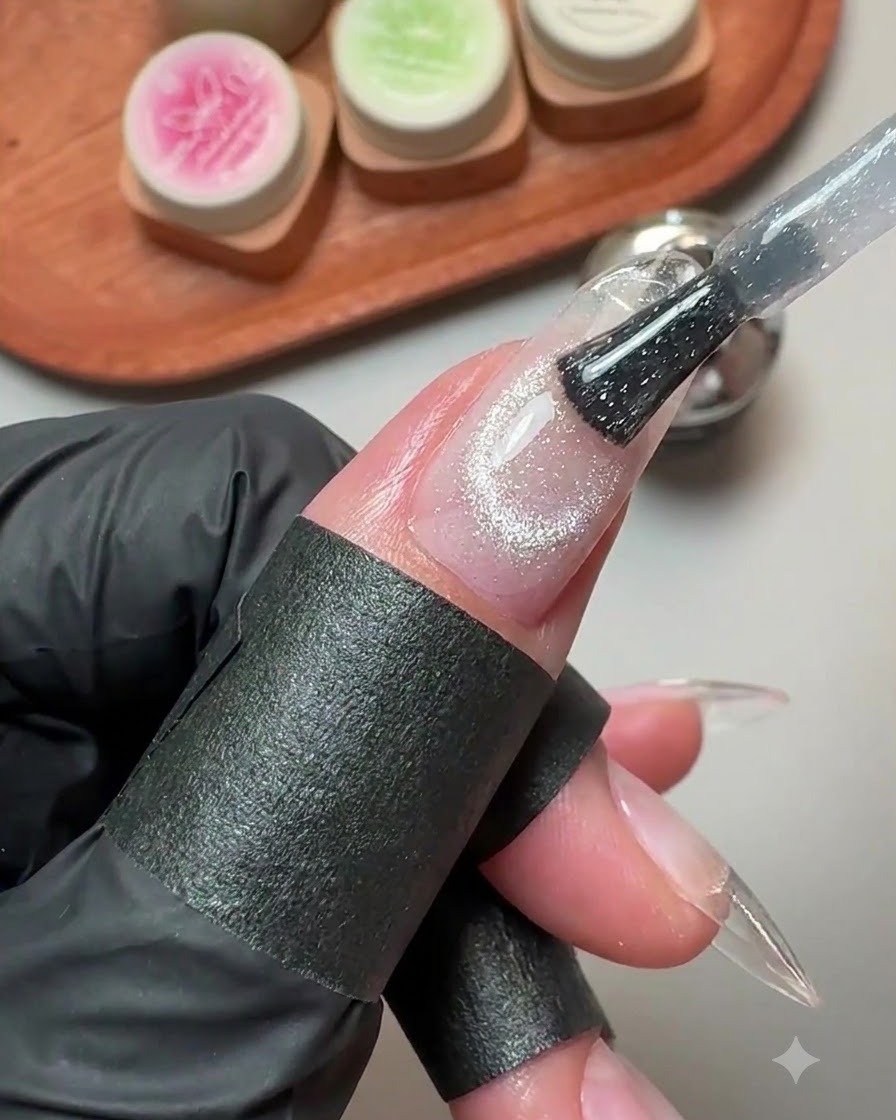
Apply the unbased thick glitter cat-eye gel evenly onto the middle and ring fingers, ensuring the glitter is distributed smoothly across the nail plates.
Tip: Work quickly to ensure the glitter particles do not settle unevenly before magnetic treatment. - 4Create glass bead effect and cure
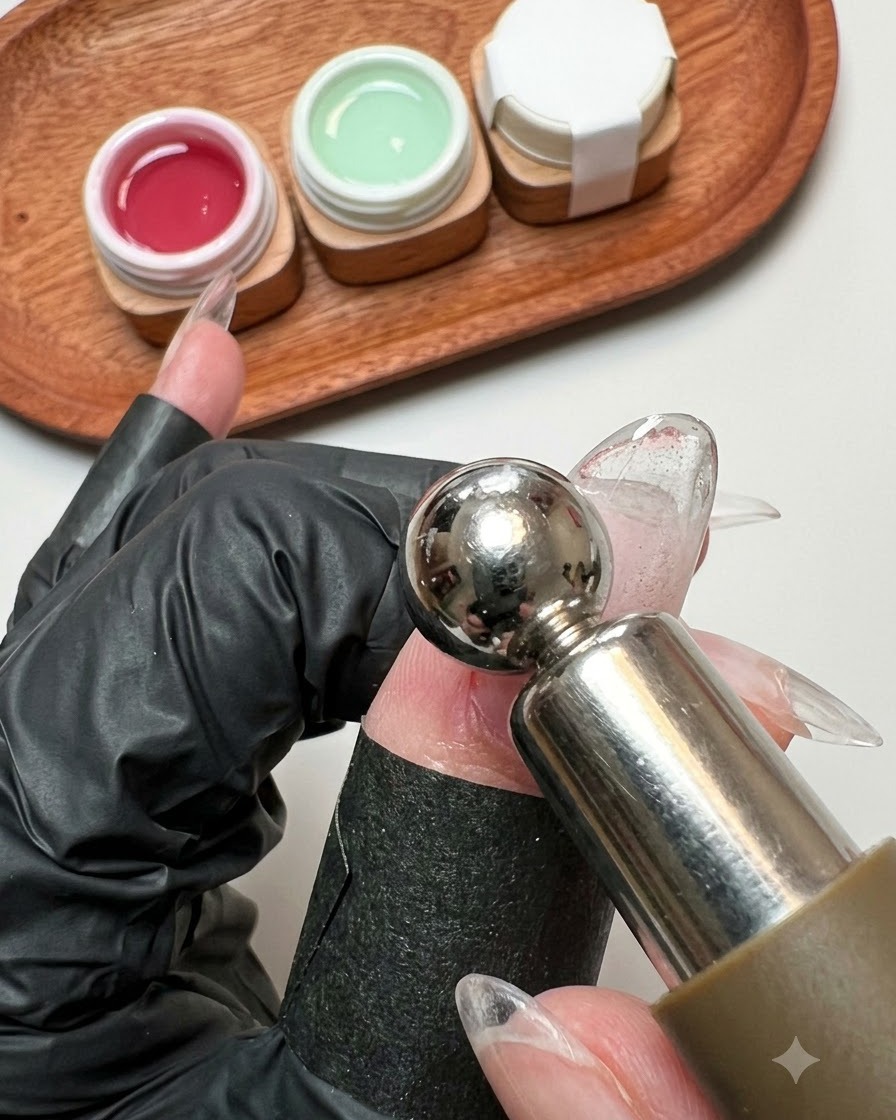
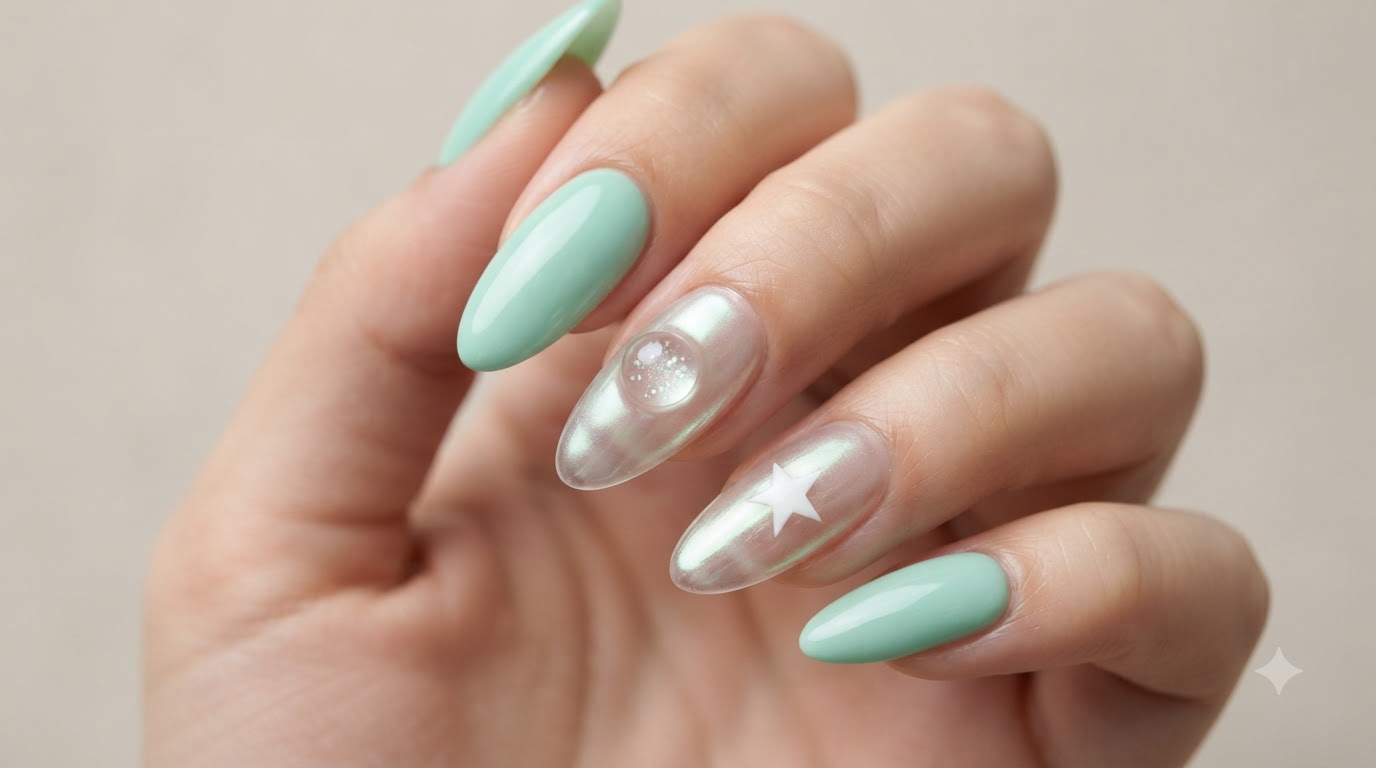
Hold a magnetic wand close to the uncured cat-eye gel to pull the magnetic particles into a concentrated glass bead effect, then cure under the UV or LED lamp.
Tip: Keep the magnet steady and close to the surface without touching the wet gel to achieve a sharp, defined light reflection. - 5Mix custom neon green solid gel
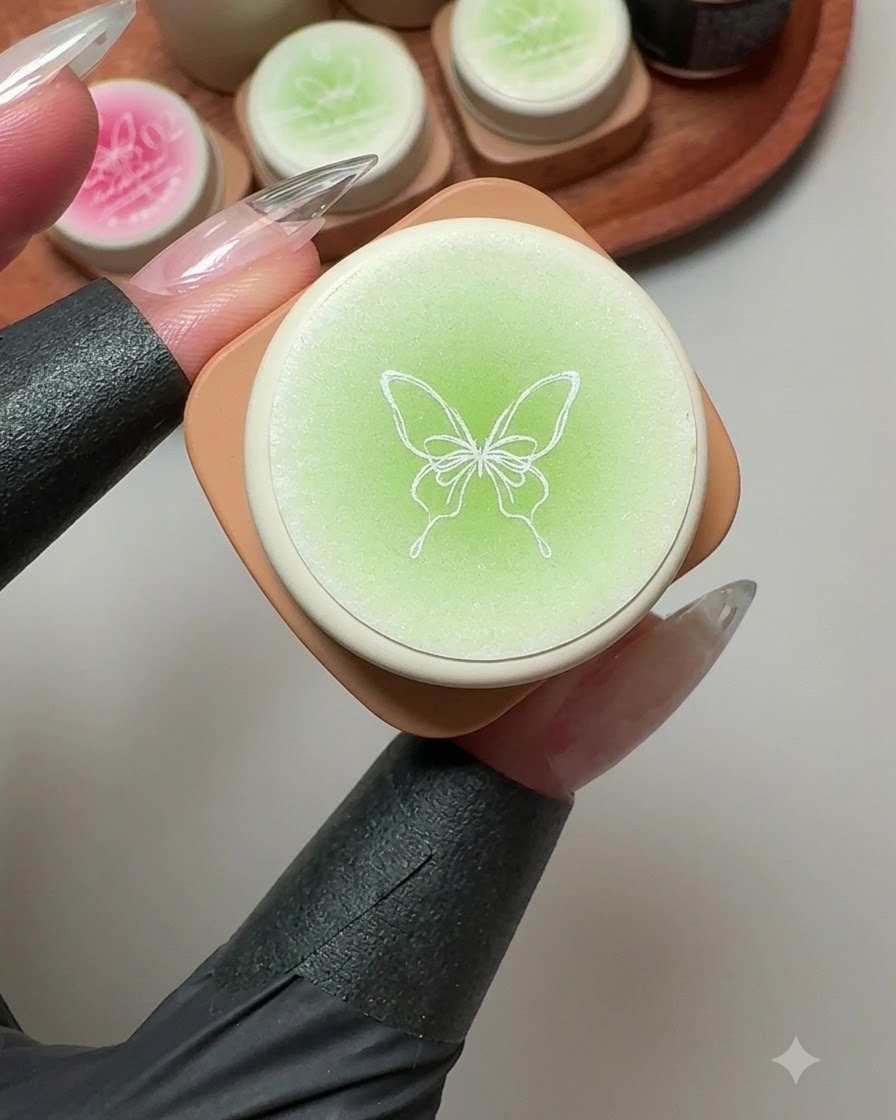
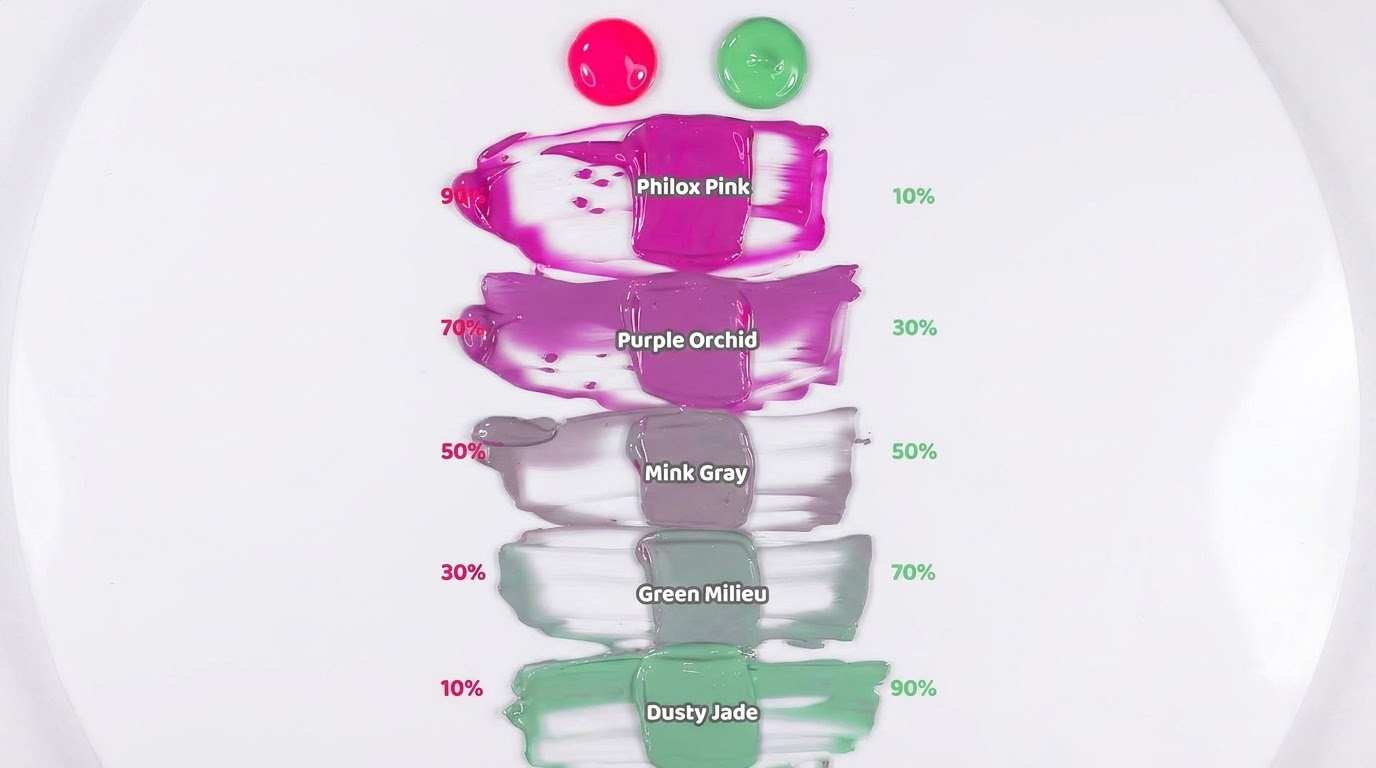
Dispense emerald green solid gel onto your palette, add a small amount of yellow, and mix thoroughly with a spatula to create a vibrant custom neon green shade.
Tip: Add yellow in small increments to achieve the exact desired neon brightness without making it too pale. - 6Apply Mixed Neon Green Gel to Index Finger
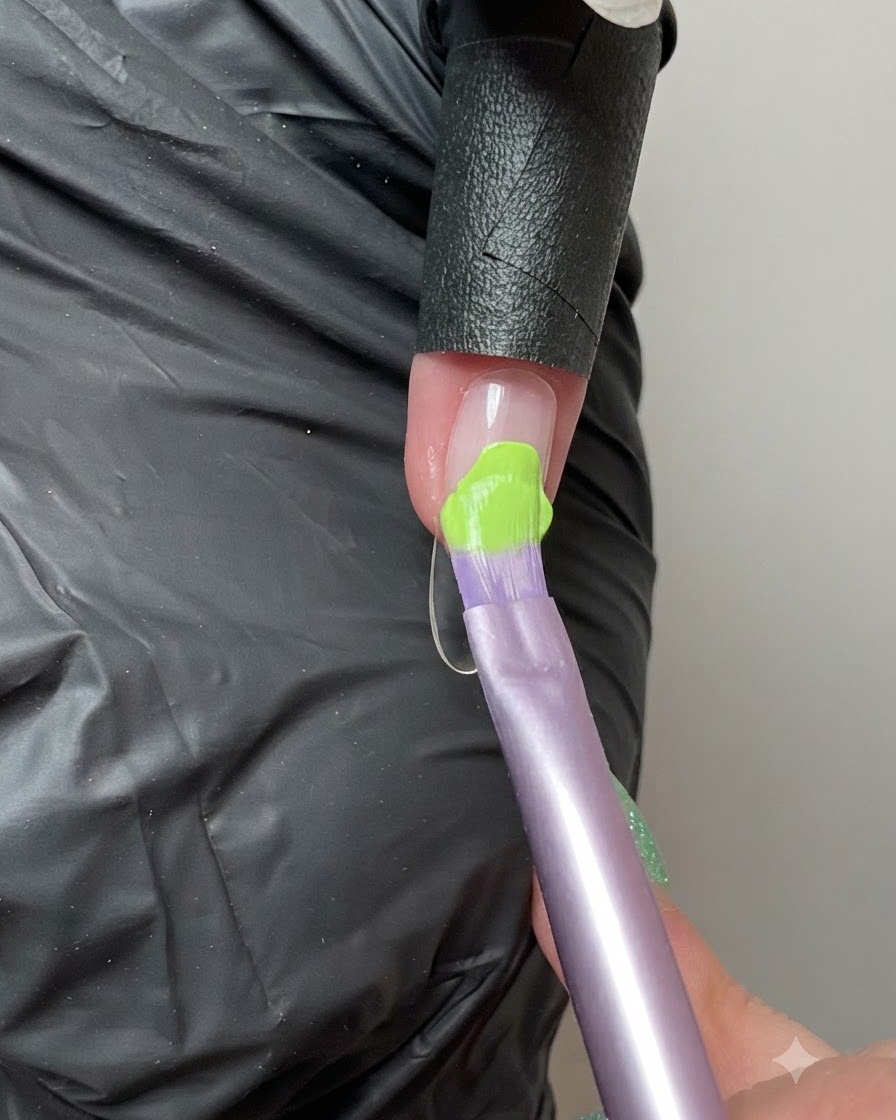
Using a fine nail art brush, take the vibrant mixed neon green and yellow solid gel blend and carefully apply it onto the index finger nail. Smooth out the gel to ensure a bright, opaque coverage.
Tip: Apply in thin layers if necessary to prevent wrinkling under the UV or LED lamp. - 7Apply Mixed Neon Green Gel to Small Finger
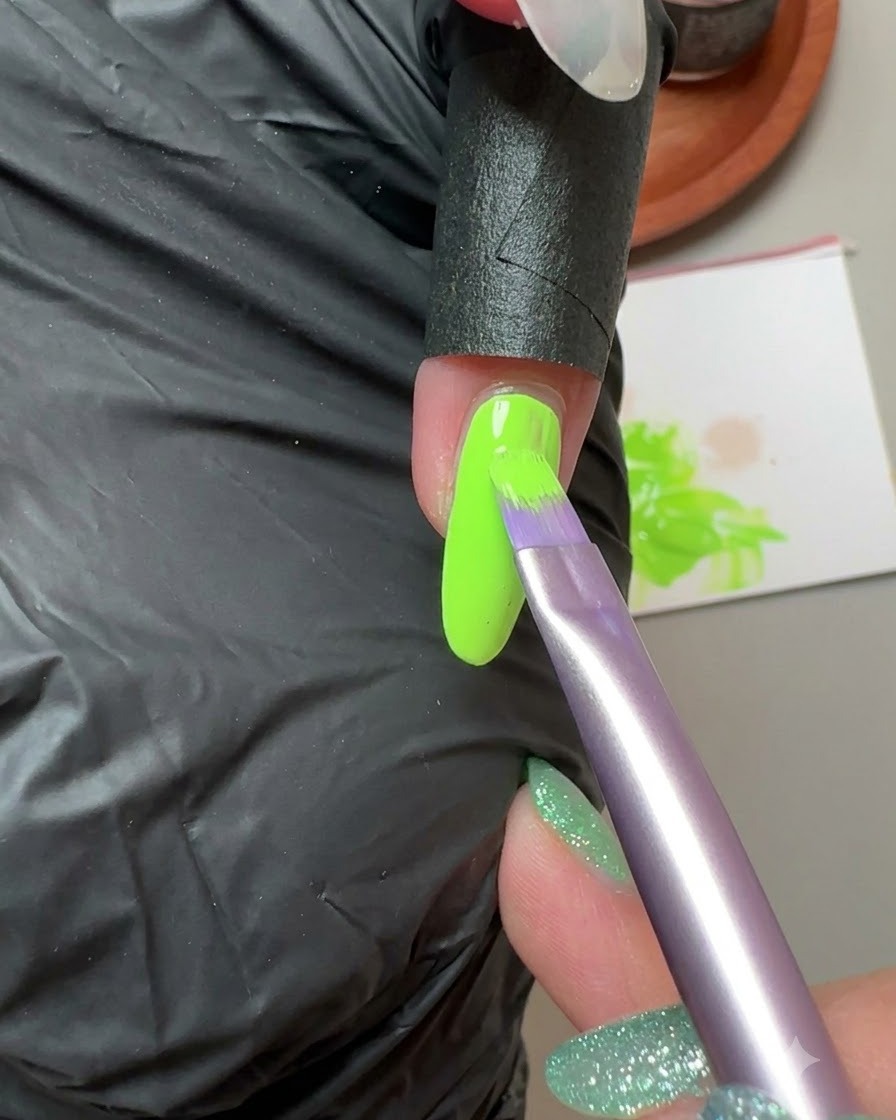
Continue using the mixed fluorescent green solid gel, applying it evenly onto the small finger nail. Maintain clean lines around the cuticle and sidewalls for a neat application.
Tip: Ensure the color is evenly saturated to match the index finger perfectly. - 8Wipe Away Inhibition Layer
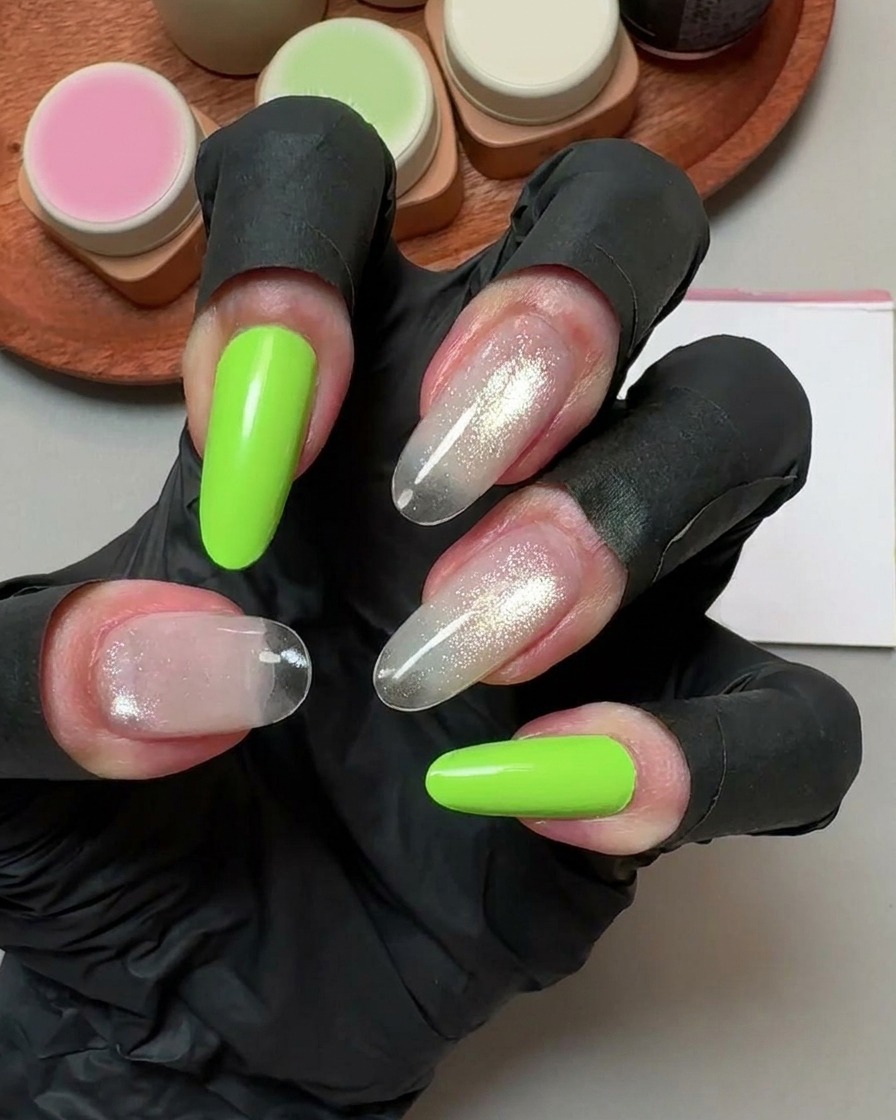
Take a lint-free pad dampened with cleanser and gently wipe away the sticky inhibition layer from the surface of the fake nails. This cleans the surface and prepares it for free-hand nail art detailing.
Tip: Make sure the surface is completely dry and non-sticky before drawing stars or patterns. - 9Paint a Large Star on Thumb
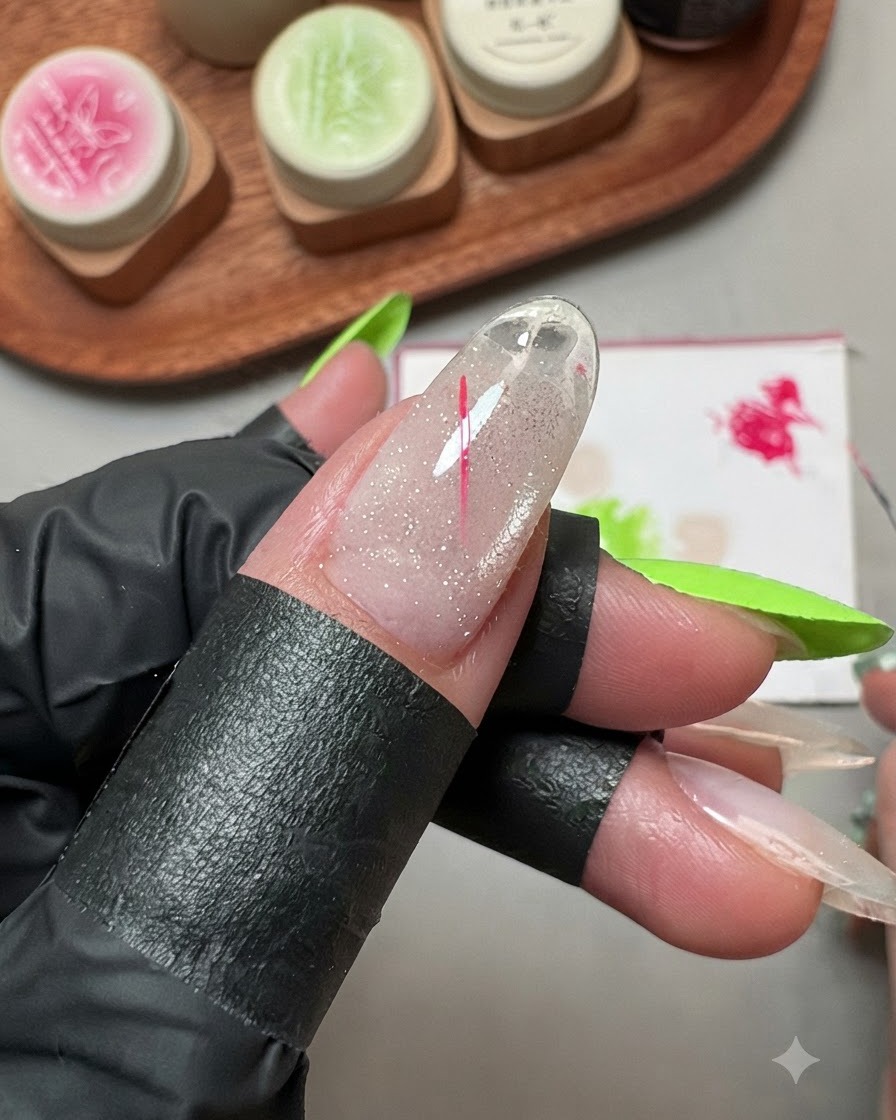
Dip a fine liner brush into pink solid gel and carefully paint a large star design onto the center of the thumb nail. Take your time to crisp up the points of the star for a sharp finish.
Tip: Flash cure for a few seconds if needed to prevent the gel lines from spreading before full curing. - 10Paint Two Stars on Middle Finger
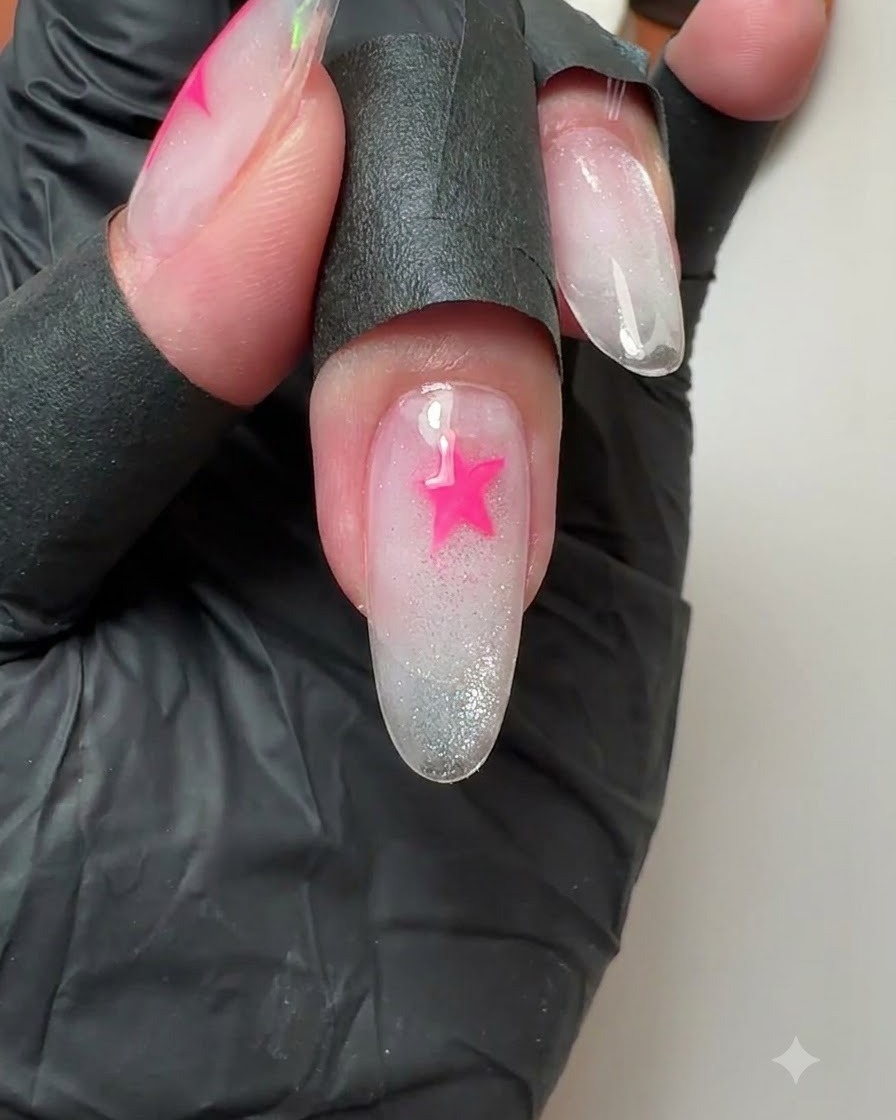
Using the same pink solid gel and fine liner brush, paint two distinct stars onto the middle finger nail. Balance their placement to create an aesthetically pleasing composition over the cat-eye background.
Tip: Vary the sizes slightly for a more dynamic and professional nail art look. - 11Paint a star on the small finger
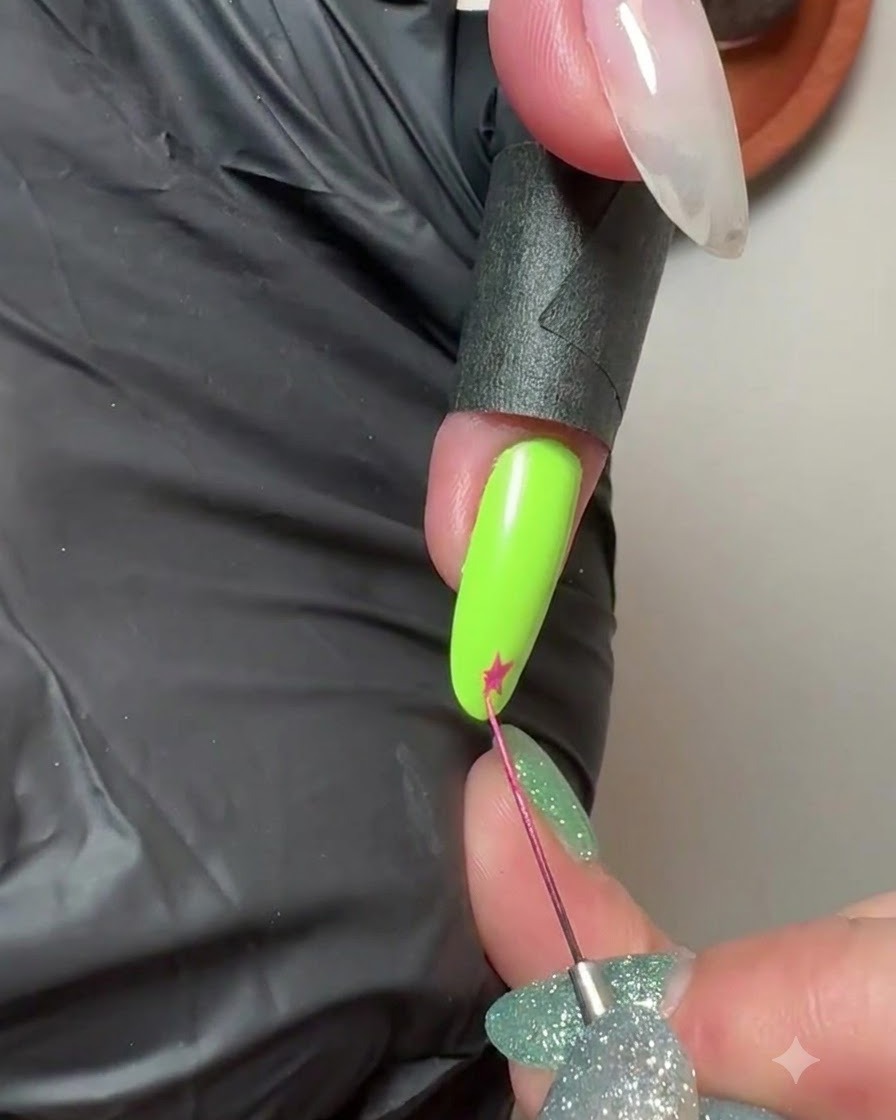
Using a fine liner brush and pink solid gel, carefully paint a small star shape right at the tip of the neon green small fingernail. This introduces a playful contrast element that ties into the star design theme across the other fingers.
Tip: Keep your hand steady and use only the very tip of the fine brush to maintain sharp, clean lines for the star points. - 12Add polka dots to glitter nails
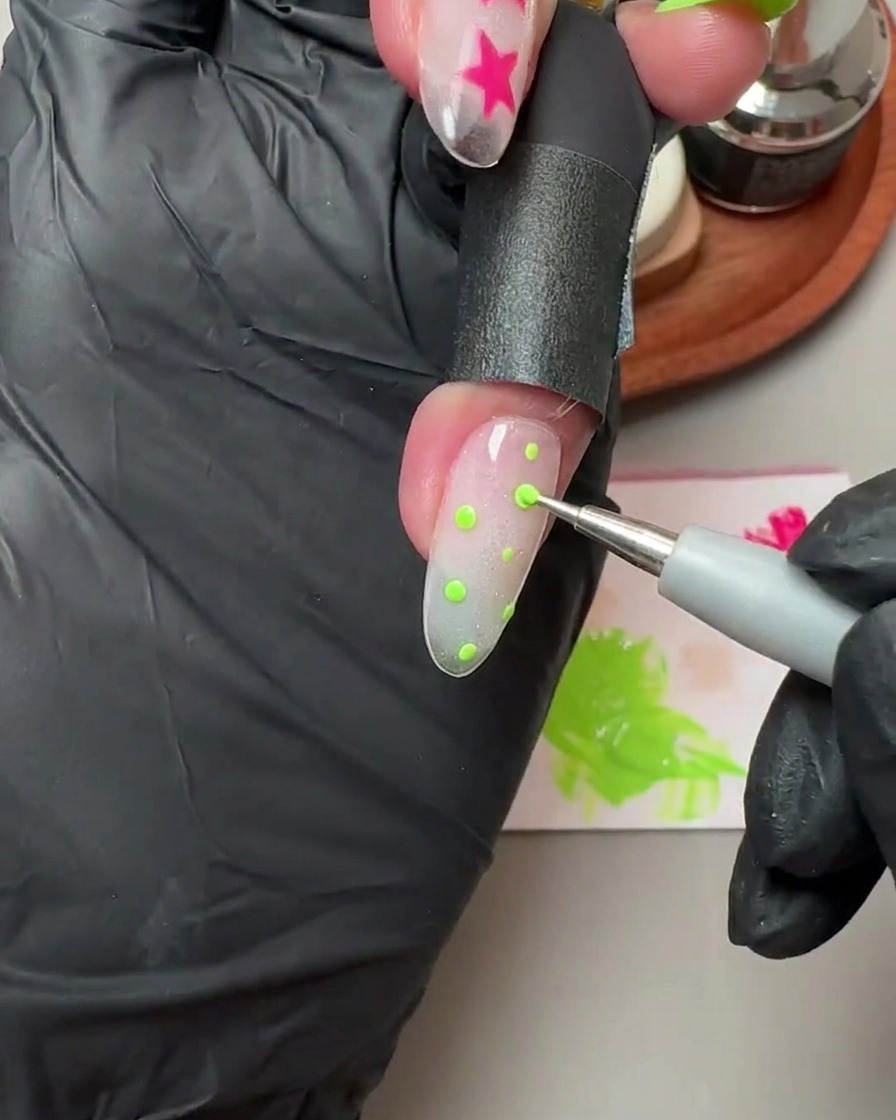
Take a dotting tool dipped in matching color gel to place neat polka dots across the translucent cat-eye and glitter nails, balancing the composition without overcrowding.
Tip: Vary the amount of pressure slightly if you want different dot sizes, but maintain consistency for a uniform pattern. - 13Apply white moon builder gel
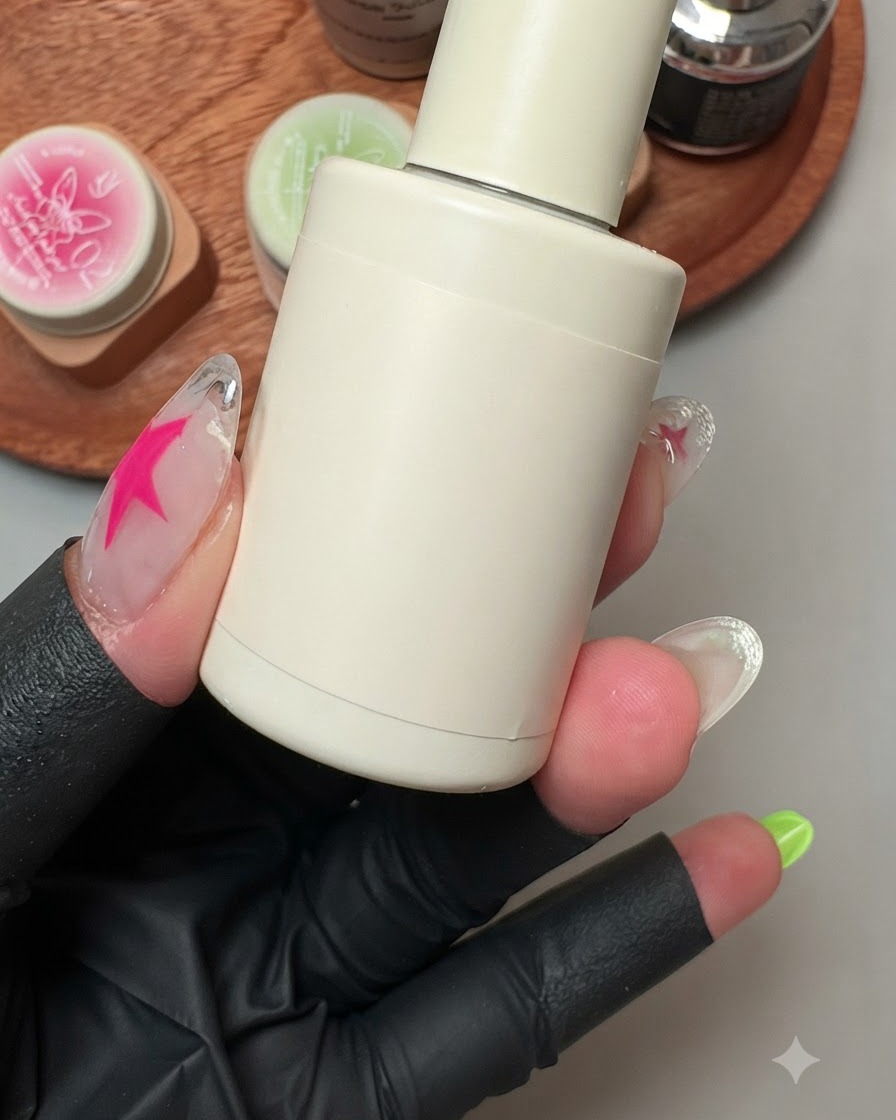
Apply a layer of white moon builder gel over the nail surface to level and smooth the finish, ensuring a clean and even foundation. Cure under the lamp according to the product guidelines.
Tip: Builder gel helps correct any uneven texture or bumps from nail art before sealing with the top coat. - 14Seal with top coat
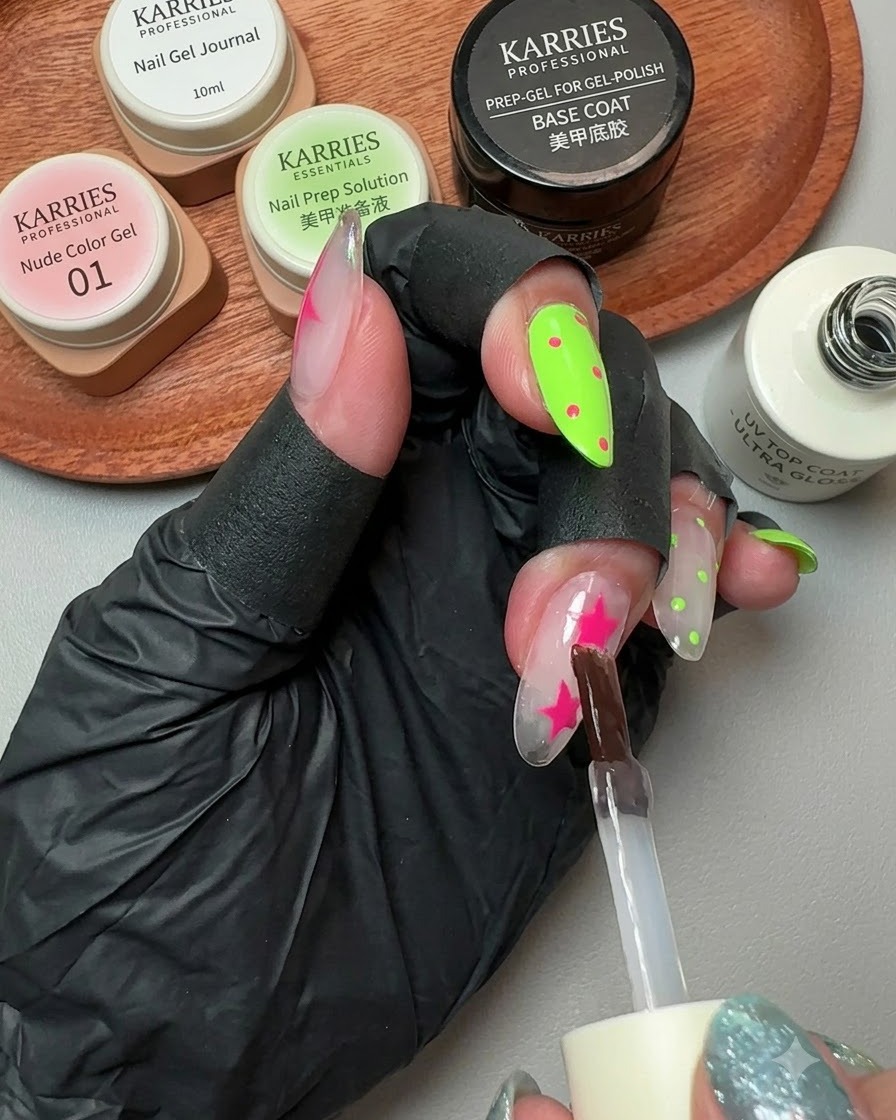
Apply a glossy UV top coat over all the nails to seal the vibrant contrast star nail art design, protect the painted elements, and give a high-shine finish. Cure under the lamp to complete the process.
Tip: Cap the free edge of every nail with top coat to prevent premature chipping and lifting.