Neon Pink and Sage Green Color Mixing Gradient — Custom Gel Polish Tutorial
Learn how to custom blend neon pink and sage green gel polishes into a stunning 5-row gradient featuring unique transitional shades.
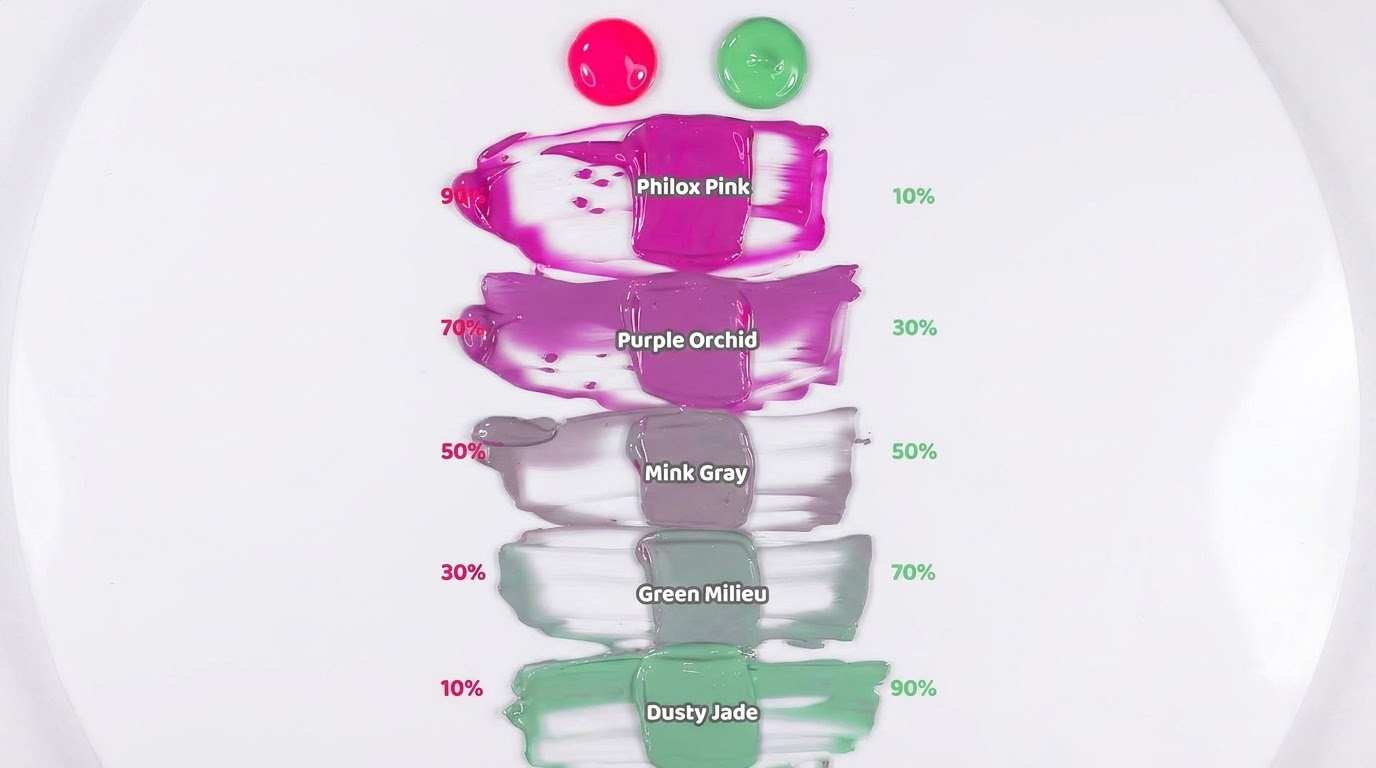
Creating custom gel polish colors opens up endless design possibilities for your manicures. This step-by-step tutorial guides you through mixing a vibrant neon pink and a soothing sage green into a balanced vertical color gradient featuring custom shades like Philox Pink, Purple Orchid, and Mink Gray.
Steps
- 1Mix the initial neon pink polish
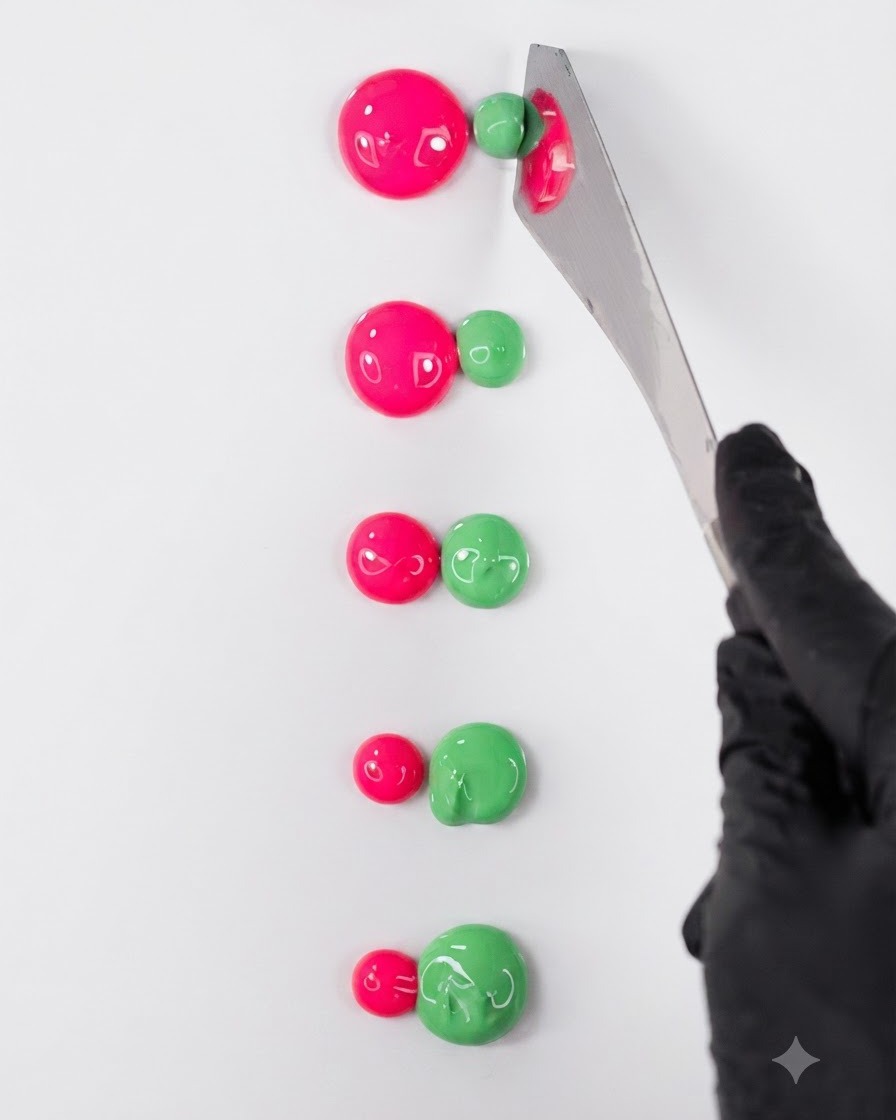
Take a dollop of neon pink gel polish at the top left of the mixing surface and use a metal spatula to spread it horizontally. This creates the primary color swatch needed for the gradient and custom shade preparation.
Tip: Keep your spatula clean and flat against the surface to get an even, streak-free swatch. - 2Flatten the pink swatch
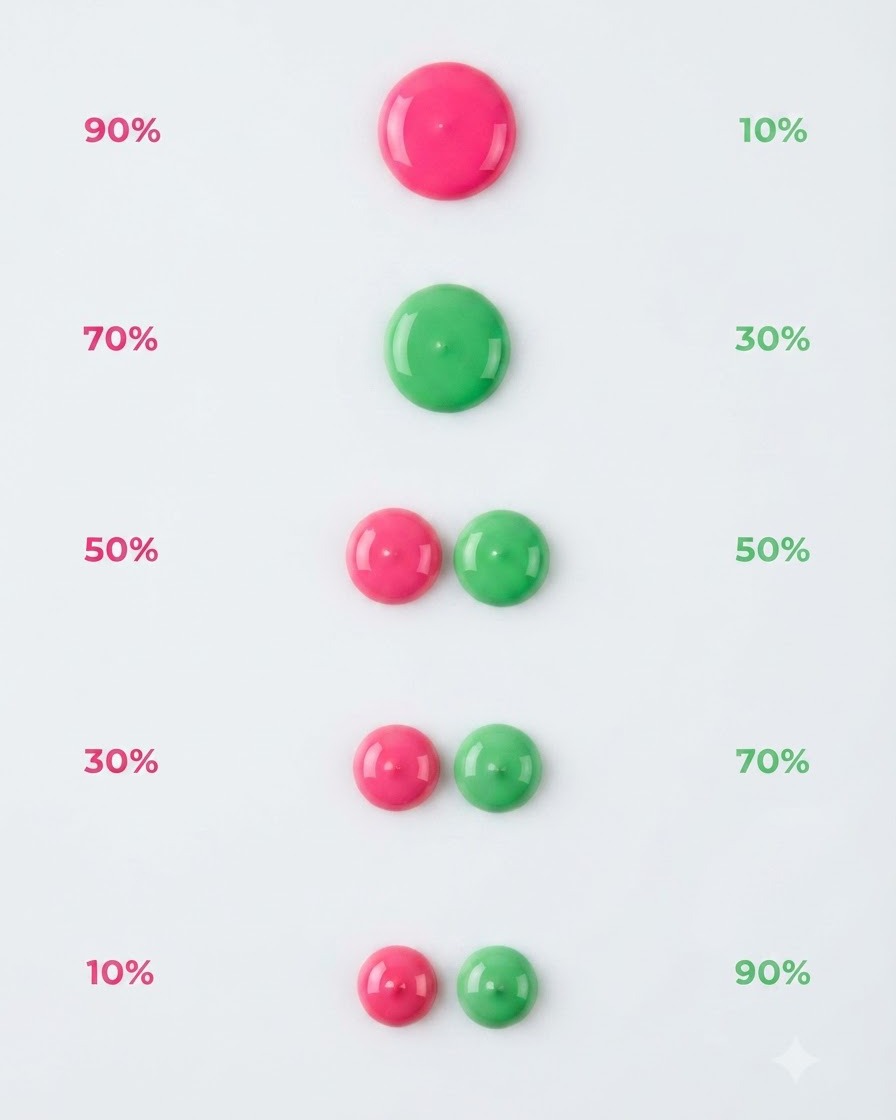
Continue spreading the neon pink gel polish flat across the surface with your metal spatula. This ensures an even thickness and makes it easier to measure ratios for blending.
Tip: Spread the gel thinly to make future blending smoother and more controlled. - 3Pull and blend colors
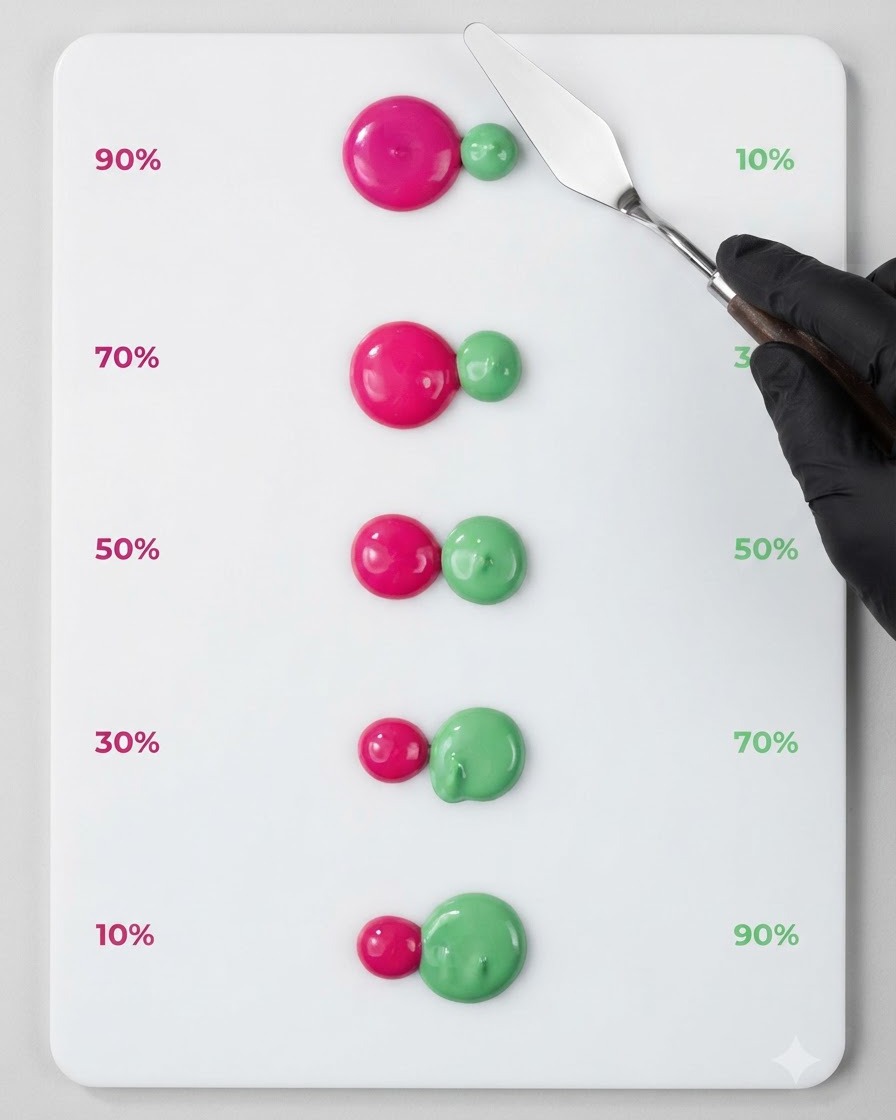
Take a small amount of the mixed neon pink polish and pull it downwards toward the next level where the sage green is situated. This begins the gradient mixing process for your color ratios.
Tip: Work with small amounts of product at a time to maintain precise color control. - 4Clean excess polish from the spatula
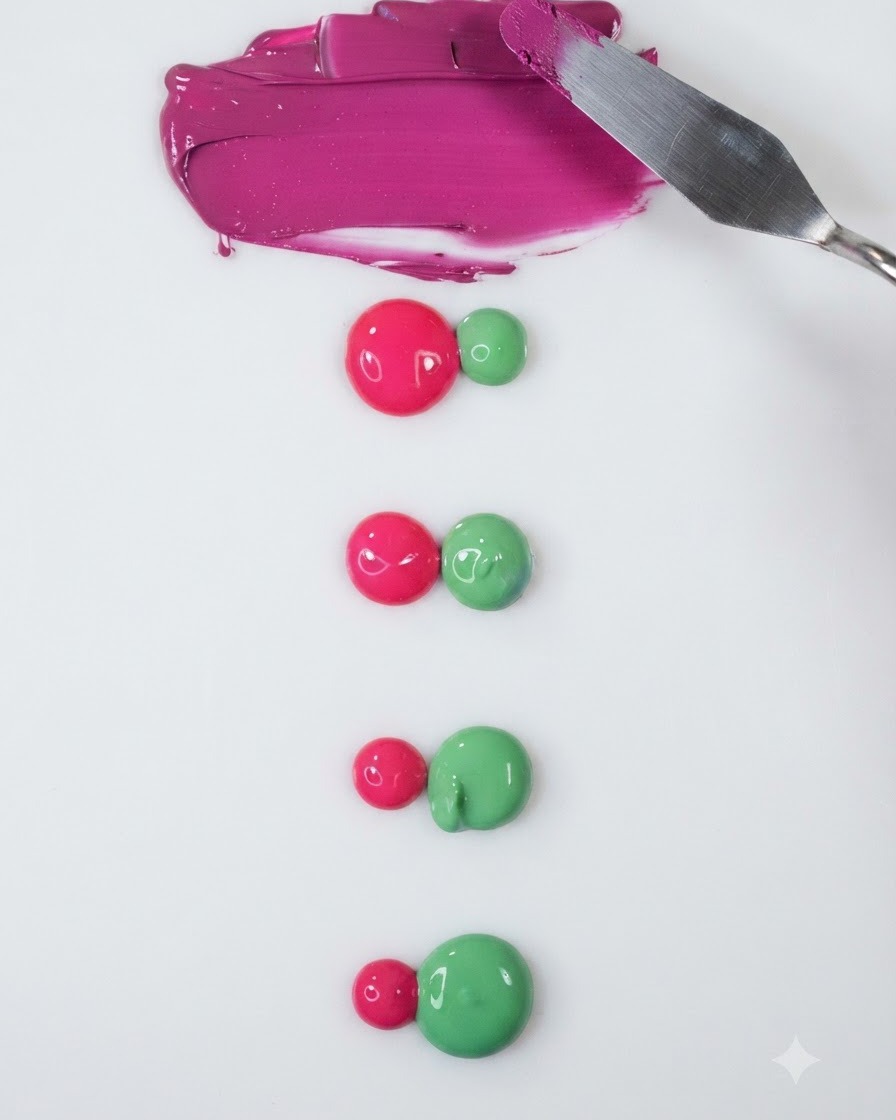
Gently tap the metal spatula against the palette surface to clear off any remaining excess product before moving on to mix the next custom shade ratio.
Tip: Tapping instead of wiping helps preserve the sharp edge of your mixing tool. - 5Mix Philox Pink Gel
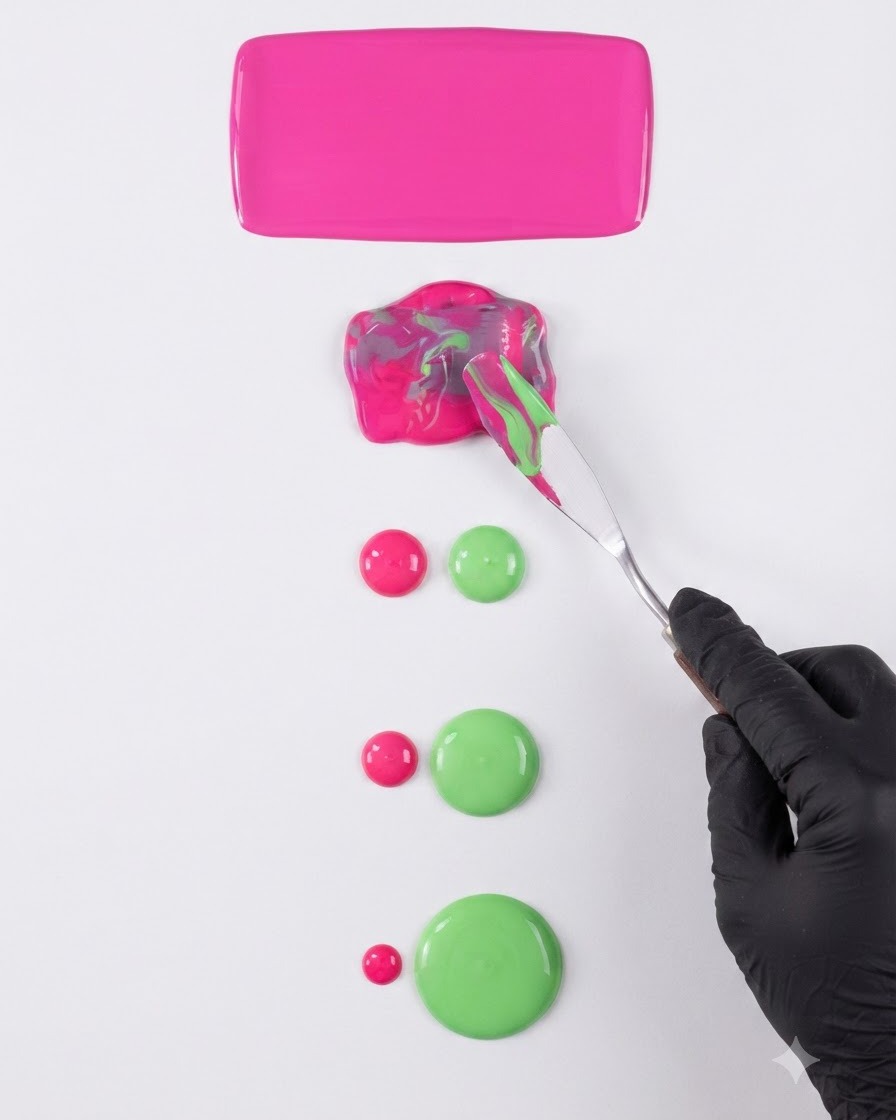
Using a metal spatula, thoroughly blend neon pink and sage green gel pigments to create a vibrant magenta shade. Ensure the mixture is smooth and consistent before applying it to the palette swatch row.
Tip: Keep the spatula clean between mixes to prevent color contamination. - 6Smooth out Philox Pink
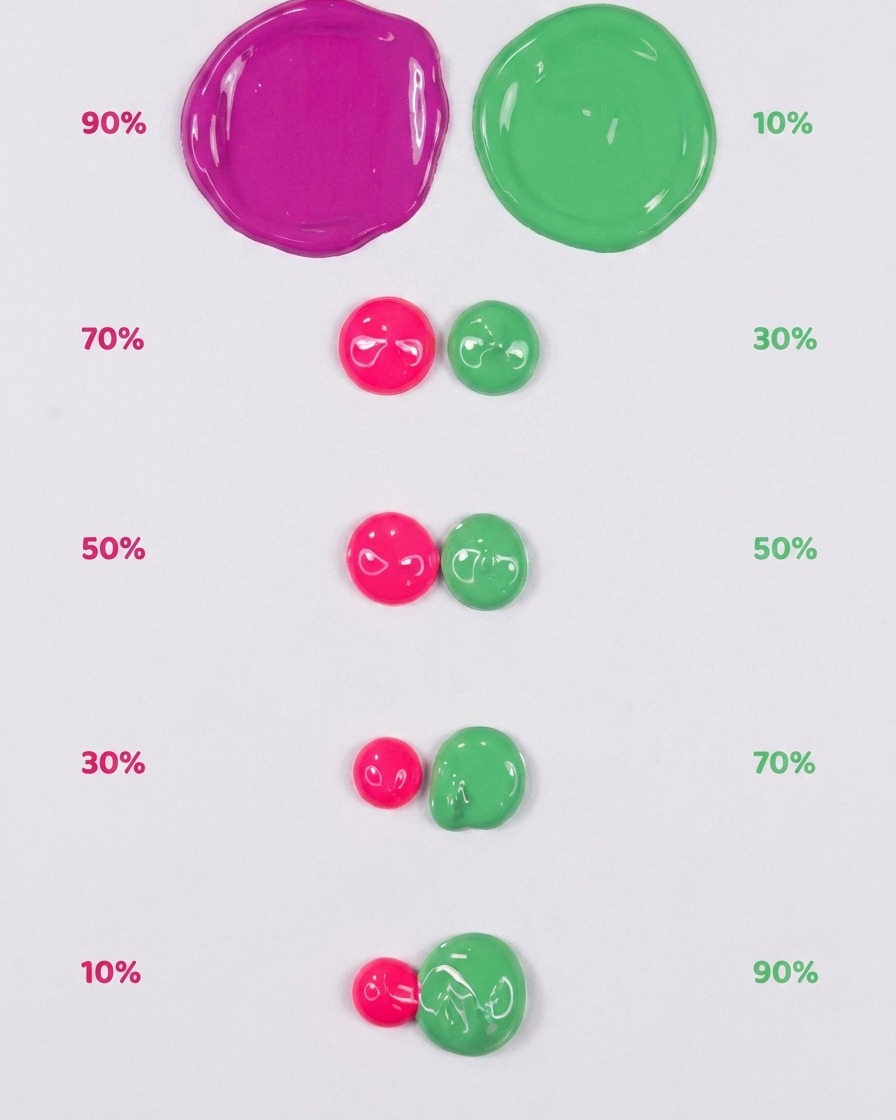
Smooth the newly blended Philox Pink gel mixture horizontally across the middle section of the palette. Make sure the layer is uniform and free of air bubbles before proceeding to subsequent rows.
Tip: Use light, sweeping strokes with the flat edge of the spatula for a smooth finish. - 7Clear spatula between color ratios
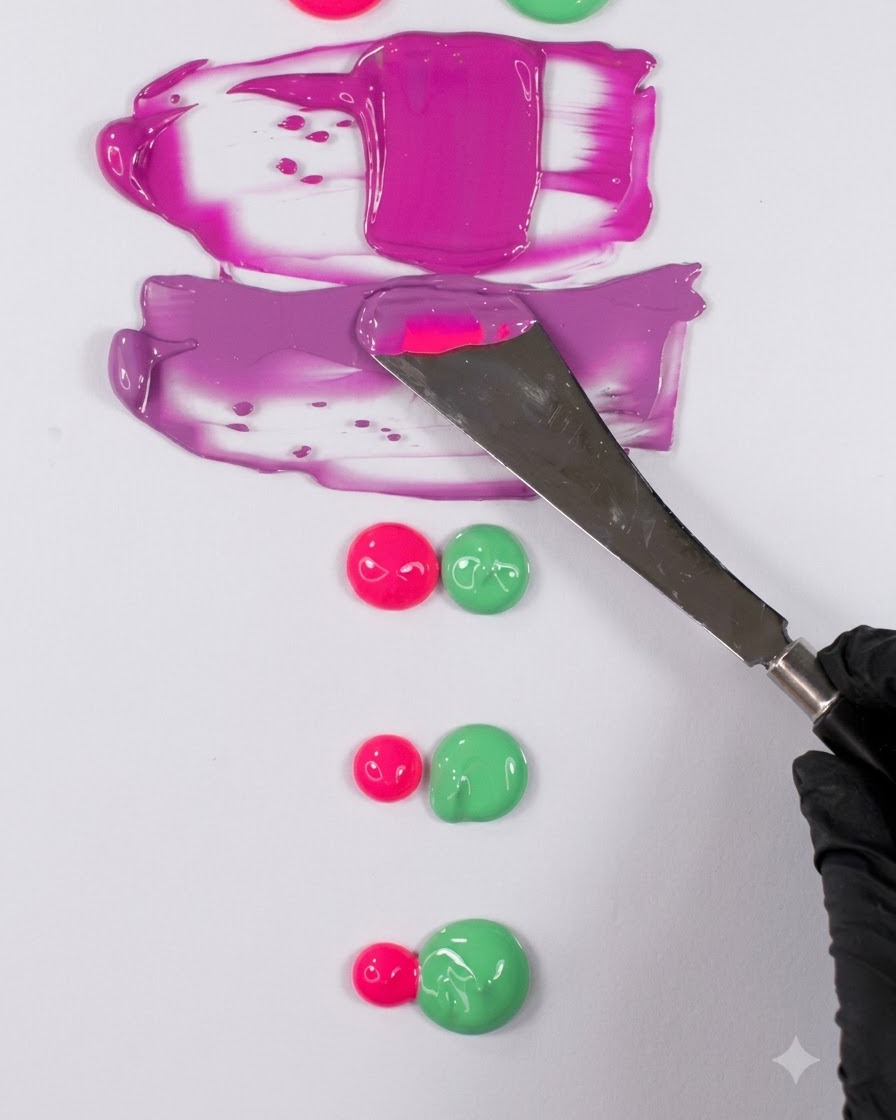
Tap the metal spatula clean once more to ensure no residual magenta tone contaminates the subsequent color mixture.
Tip: A clean tool is essential for keeping custom color ratios accurate and true to tone. - 8Mix Purple Orchid shade
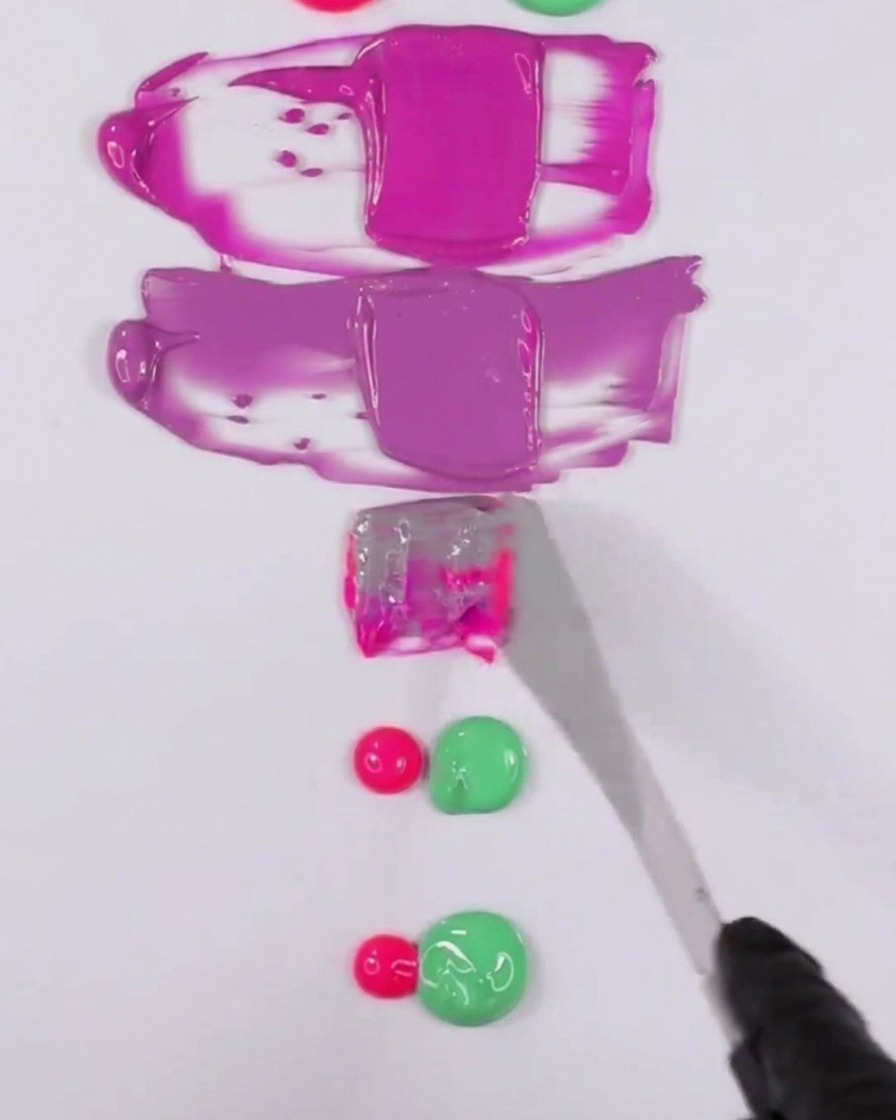
Proceed to mix the third color row, labeled Purple Orchid, by combining pink and green to formulate a muted purple tone.
Tip: Adjust the balance of the two colors until you achieve the desired level of muted depth. - 9Swatch the Purple Orchid mixture
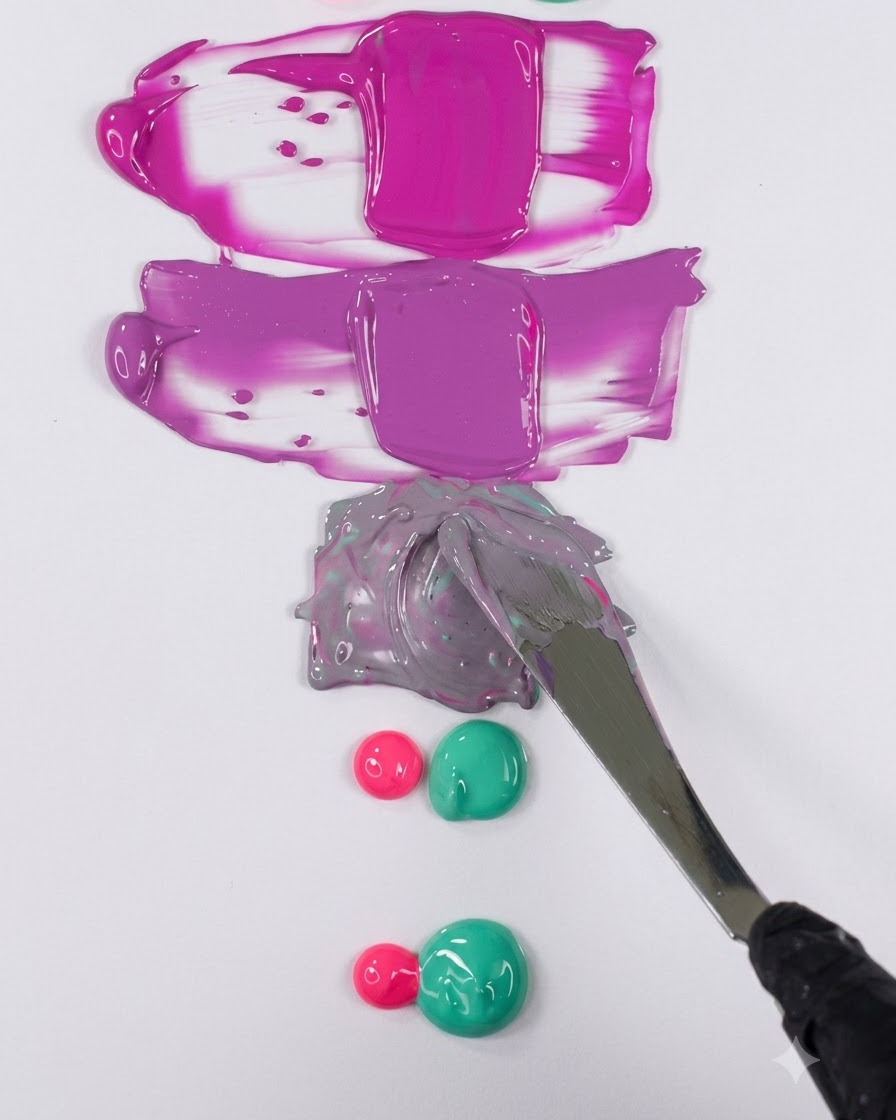
Smooth and spread the Purple Orchid gel mixture into a neat, clean horizontal swatch below the previous color rows for comparison.
Tip: Spread the edges thin to check the true opacity and tone of the mixed gel. - 10Clear the Spatula
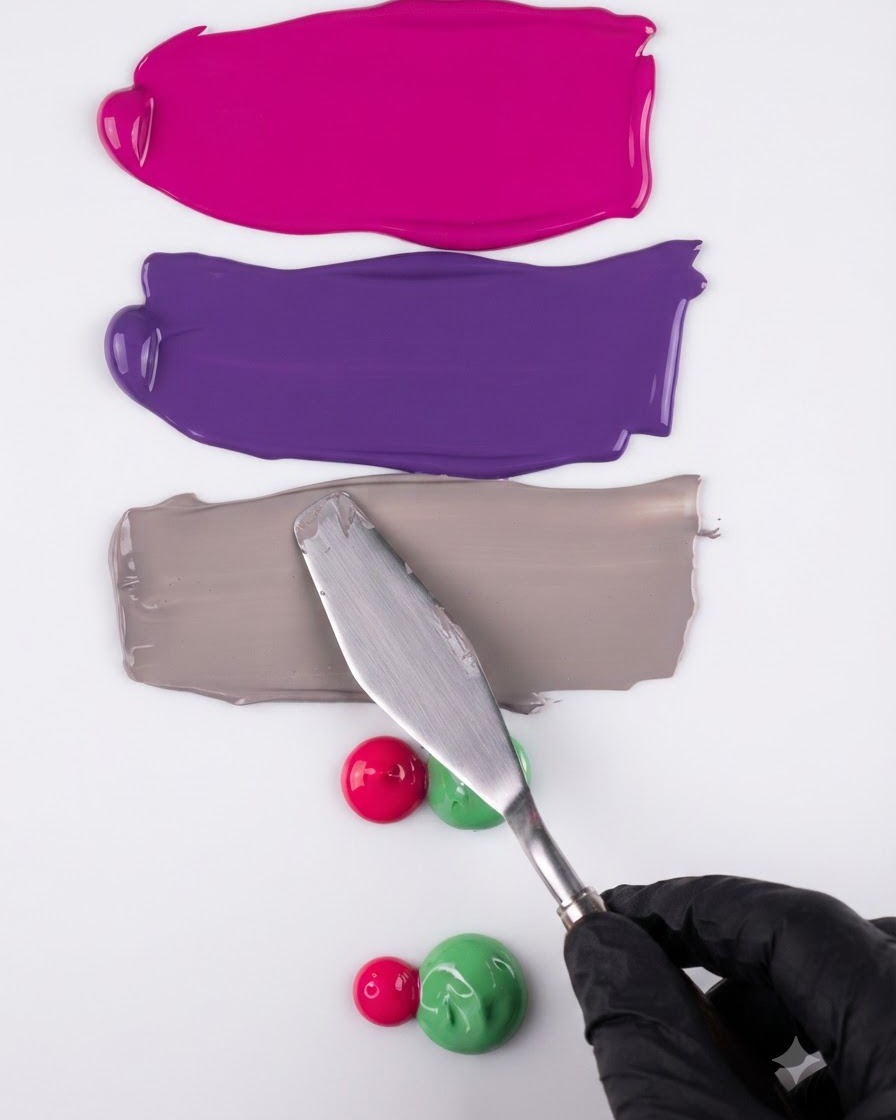
Gently tap the metal spatula against the edge of the mixing area to remove excess gel pigment. This prepares the tool for mixing subsequent color rows cleanly and efficiently.
Tip: A quick tap prevents product buildup on the handle and blade. - 11Mix Mink Gray Gel
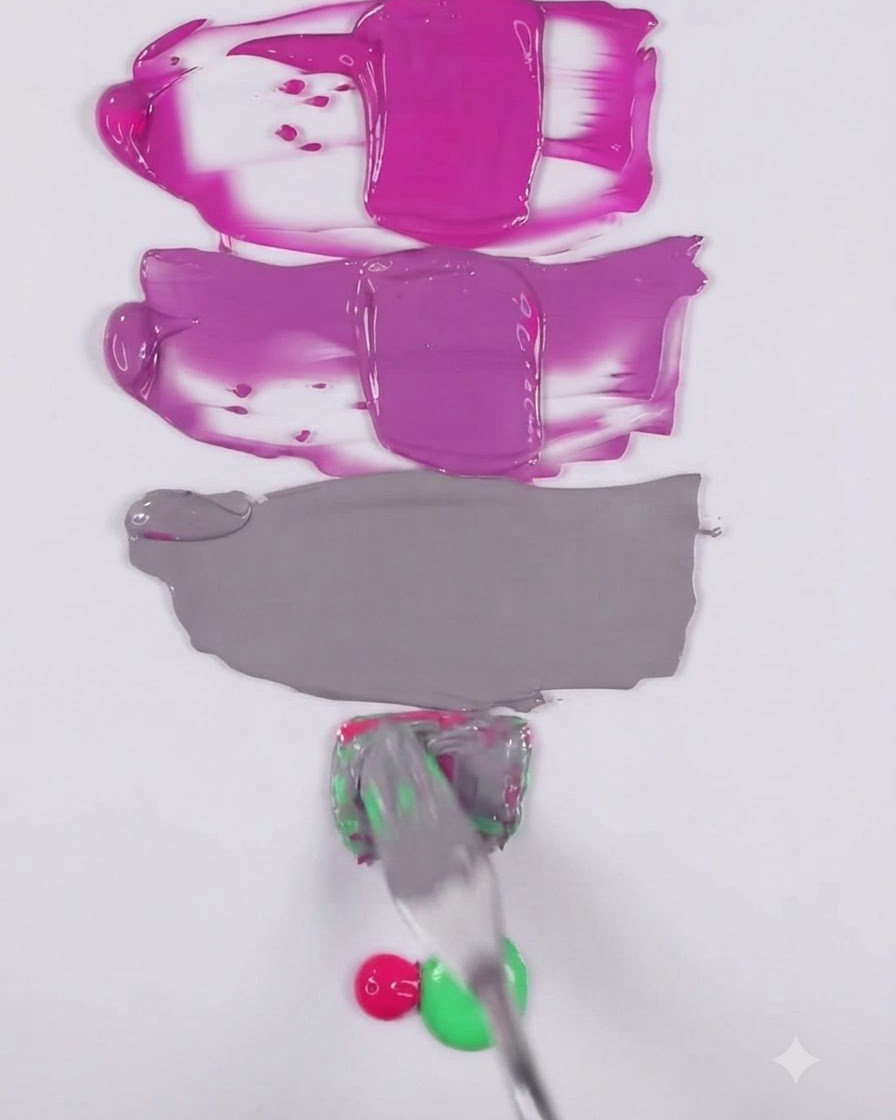
Blend a higher proportion of sage green with neon pink to create the neutral Mink Gray shade. Mix continuously with the spatula until a uniform greyish-taupe color is achieved.
Tip: Adjust pigment ratios gradually to hit the desired neutral tone precisely. - 12Apply Mink Gray swatch
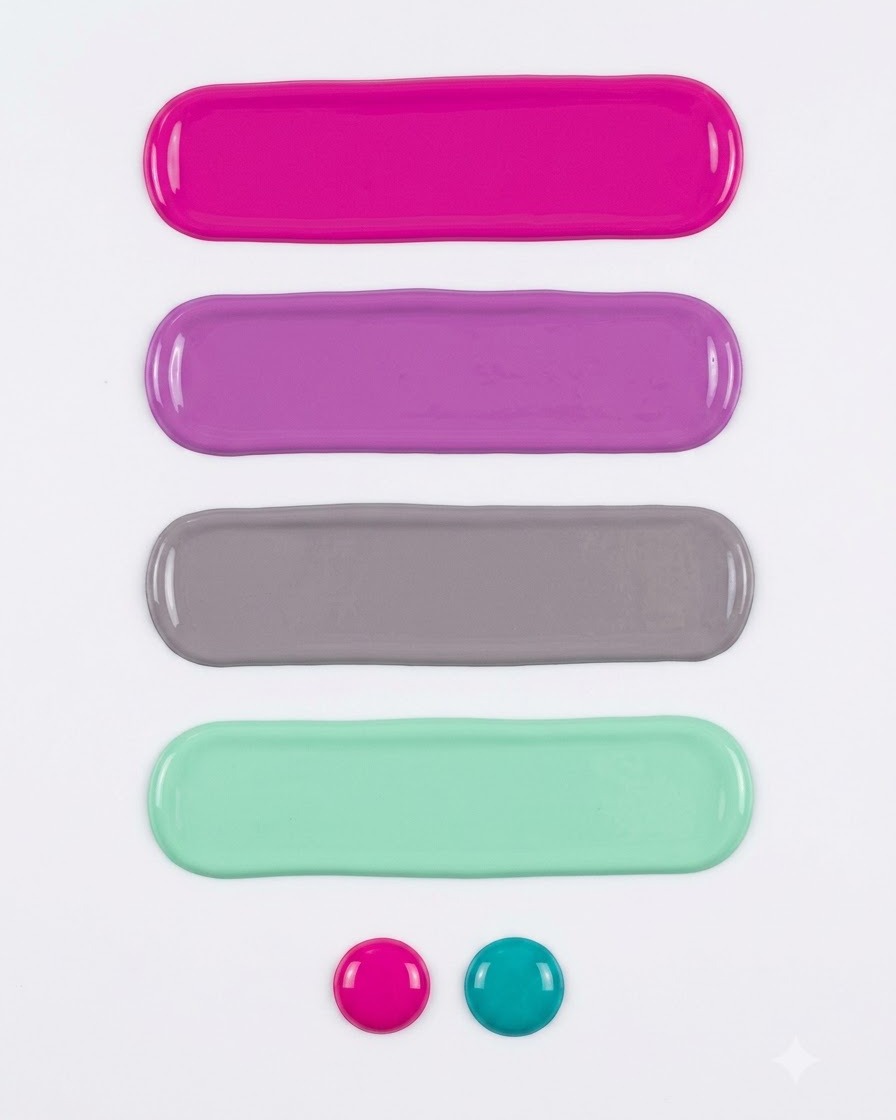
Smooth out the Mink Gray swatch horizontally across the palette to prepare for gradient mixing and color comparison against your chosen shades.
Tip: Keep your strokes even to ensure the color swatch remains consistent and smooth. - 13Mix Green Milieu Gel
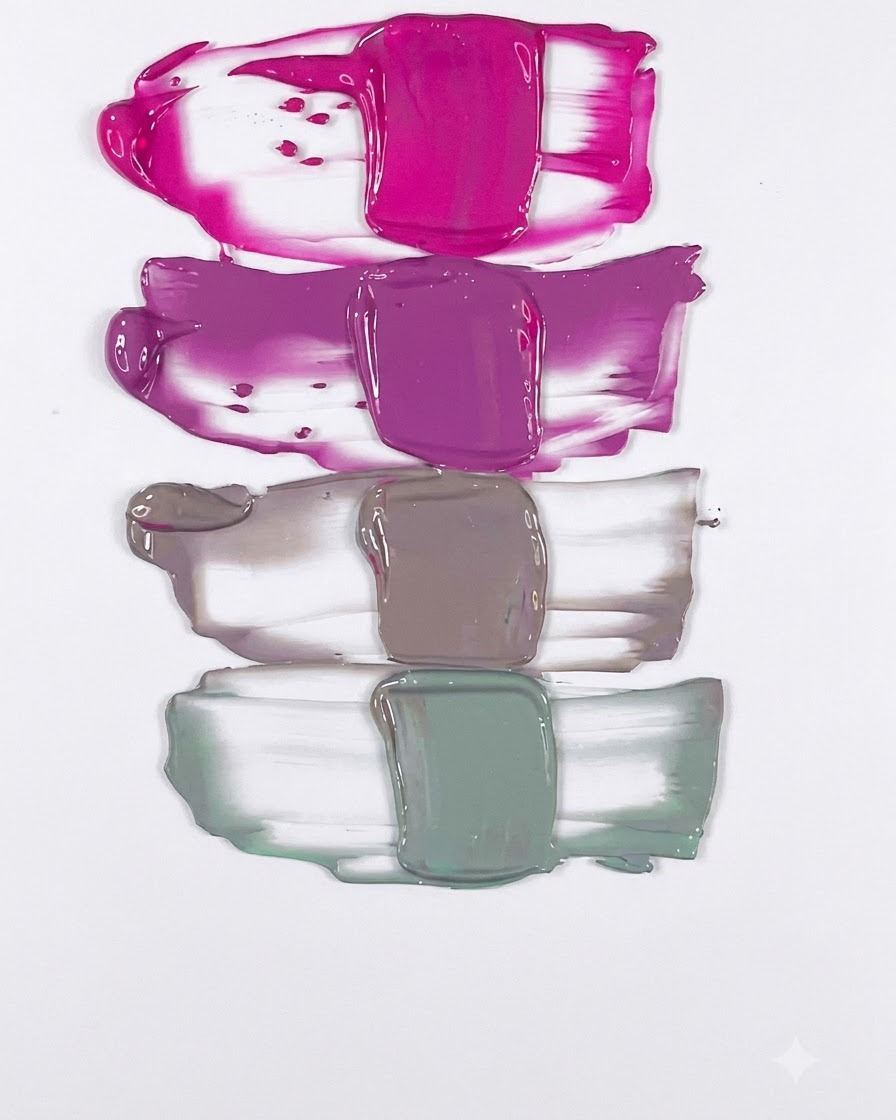
Combine a dominant amount of sage green gel with just a tiny hint of neon pink to create the Green Milieu shade. Mix thoroughly to ensure a cohesive, muted green tone.
Tip: Add the pink pigment in microscopic amounts so it does not overpower the green base. - 14Finalize Green Milieu Swatch
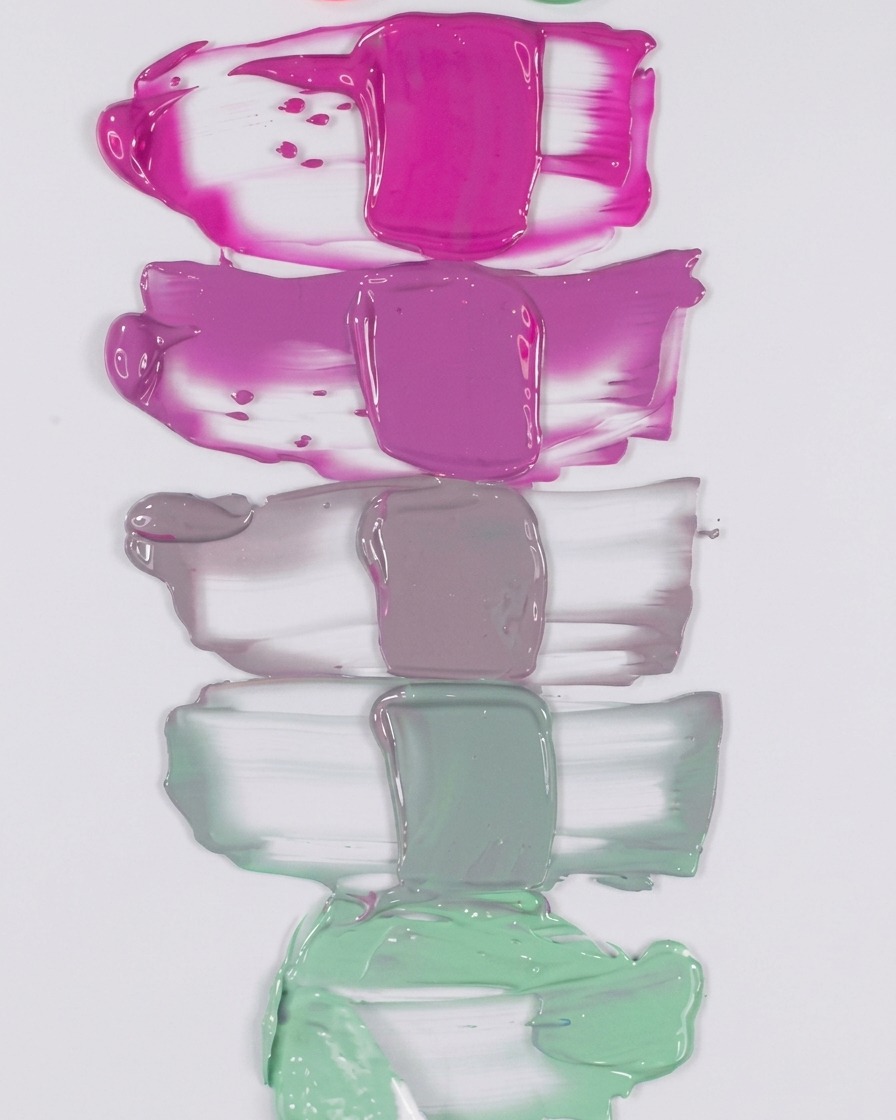
Carefully shape and finalize the Green Milieu gel swatch using the edge of the spatula. Clean up any uneven borders to ensure the final row matches the layout and cleanliness of the previous swatches.
Tip: Clean edges give the palette a professional, structured look for tutorial presentation. - 15Display complete vertical color gradient
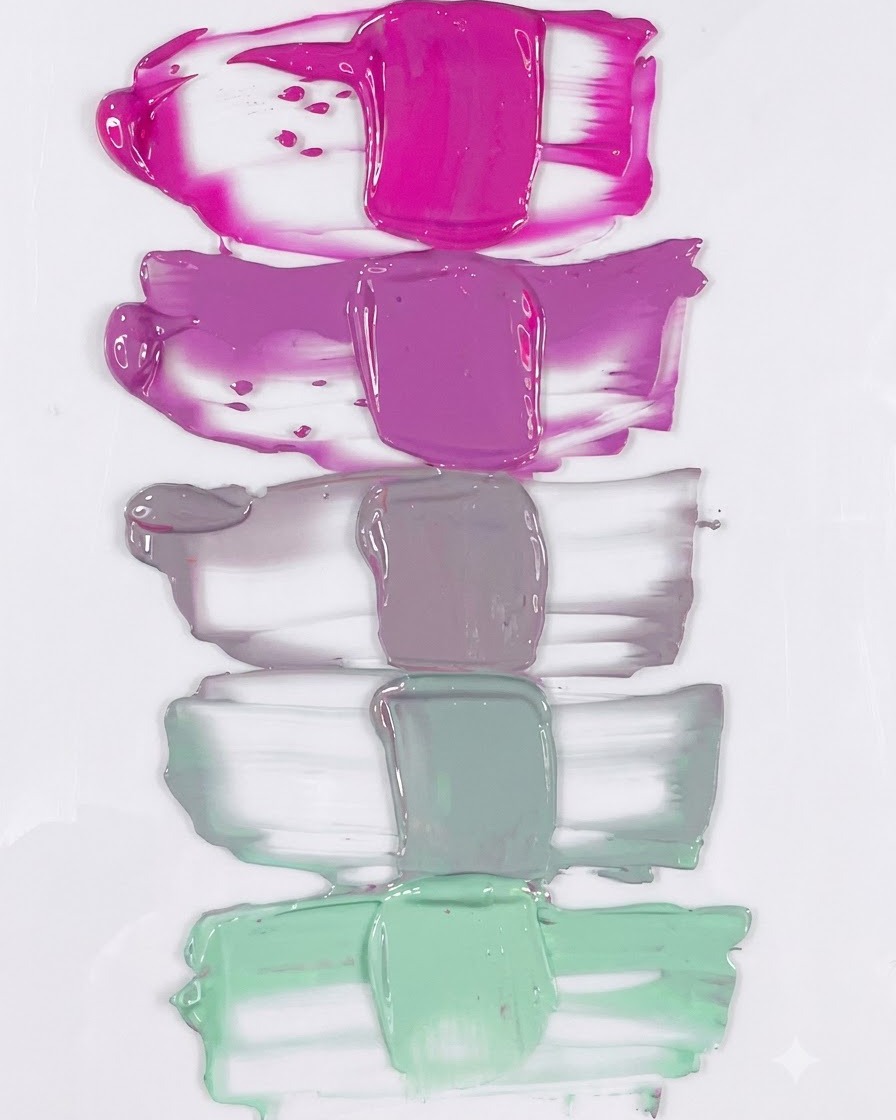
Display the complete vertical color ratio gradient ranging from pure neon pink down to dusty jade and sage green to evaluate the full transition range.
Tip: Ensure the gradient transitions evenly from the bright pink down to the muted sage tones.