Neon Green
Pink Gradient Floral Nail Art Tutorial
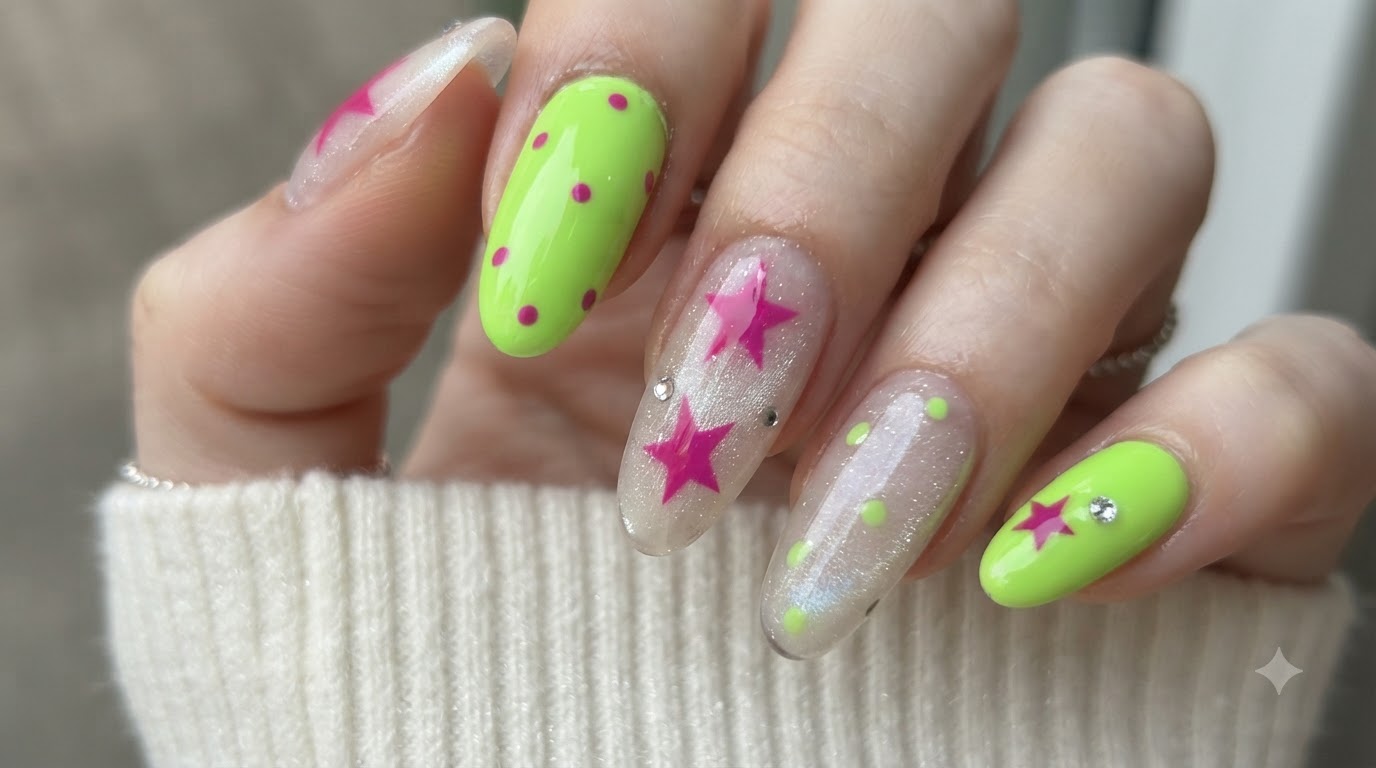
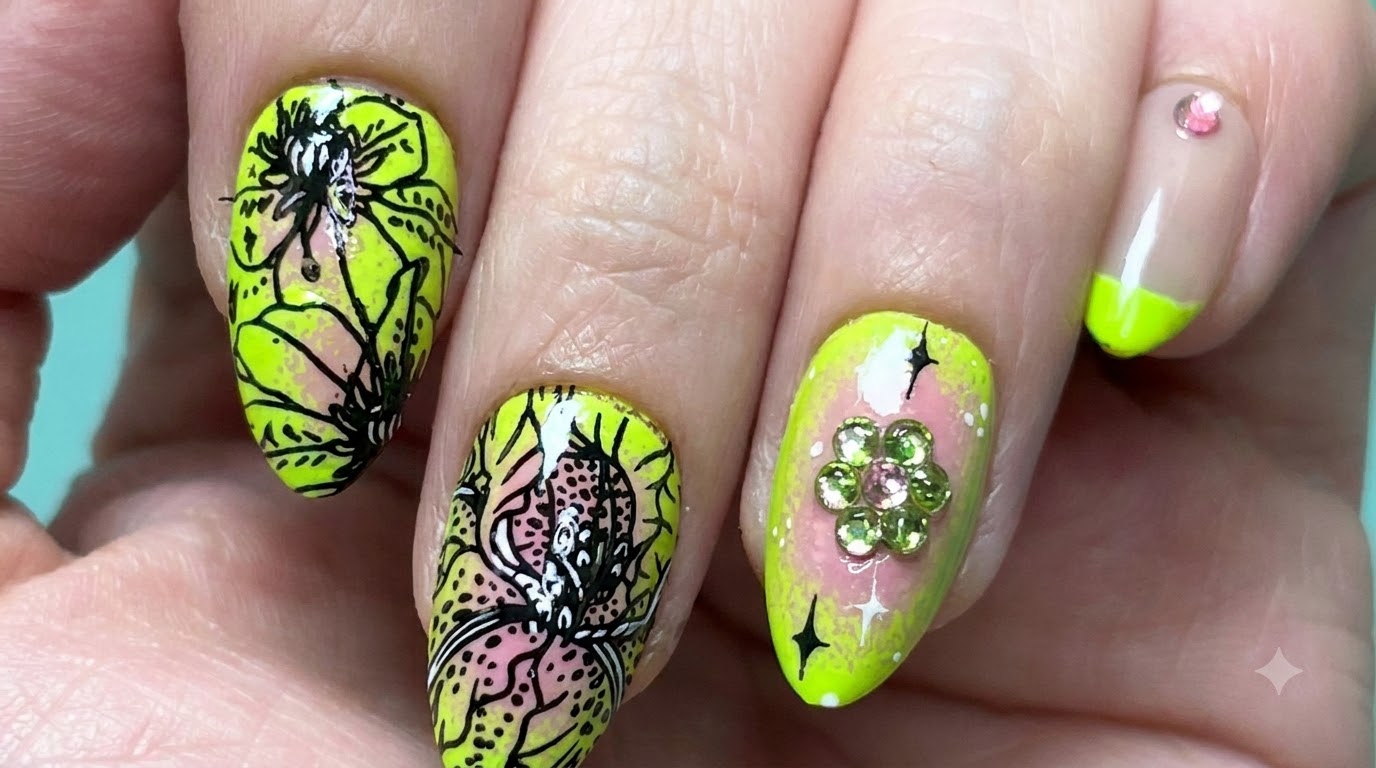
Create vibrant Y2K-inspired nails featuring neon green, soft pink gradient backgrounds, hand-painted black botanical flowers, and rhinestone charms.
Embrace the bold Y2K aesthetic with this striking neon green and soft pink gradient nail art look. Complete with hand-painted black botanical outlines, sparkling rhinestone floral accents, and four-pointed stars, this tutorial guides you through creating a high-contrast masterpiece.
Steps
- 1Stamp the Pink Gradient Dot Pattern
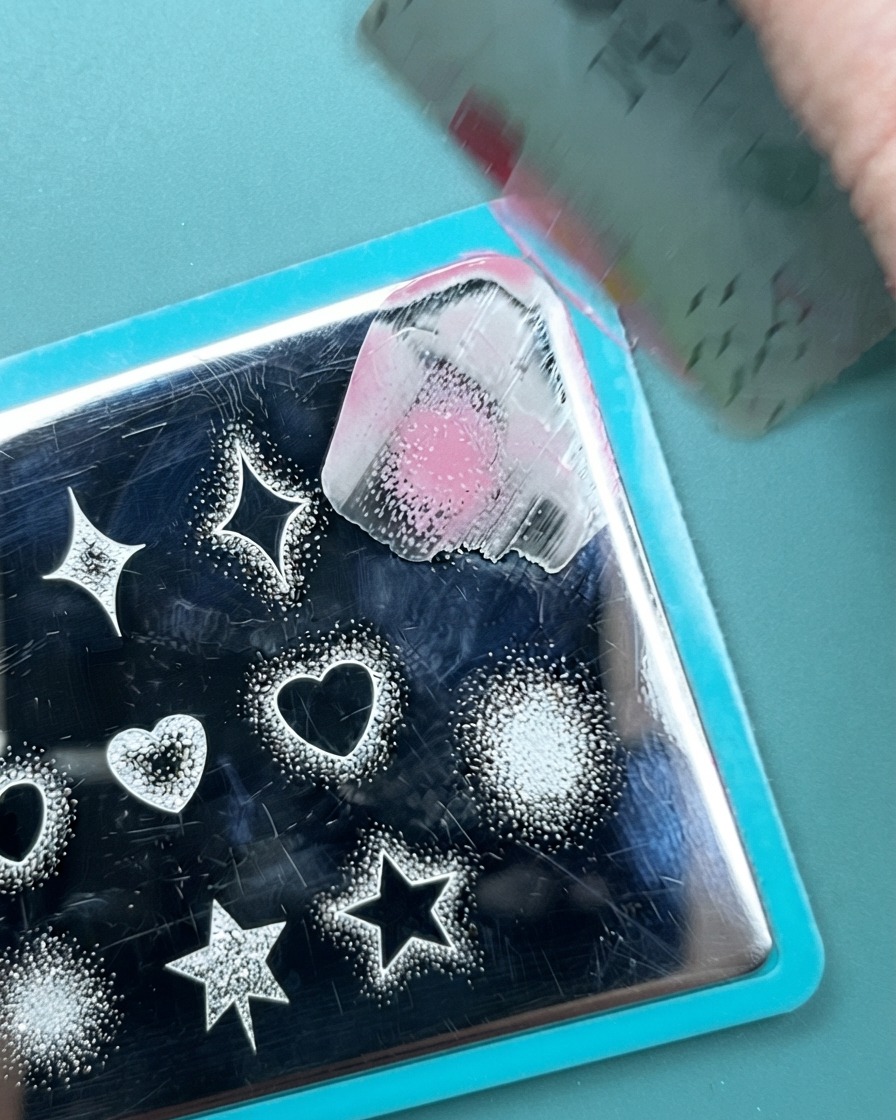
Take the clear silicone stamper loaded with the pink gradient dot pattern and carefully align it over the neon green base nail. Press down gently to transfer the stamped dot design cleanly onto the nail surface without smudging.
Tip: Roll the stamper gently from side to side across the nail curve to ensure even contact and prevent air bubbles or distortion in the dot pattern. - 2Stamp Pink Gradient and Dotted Texture
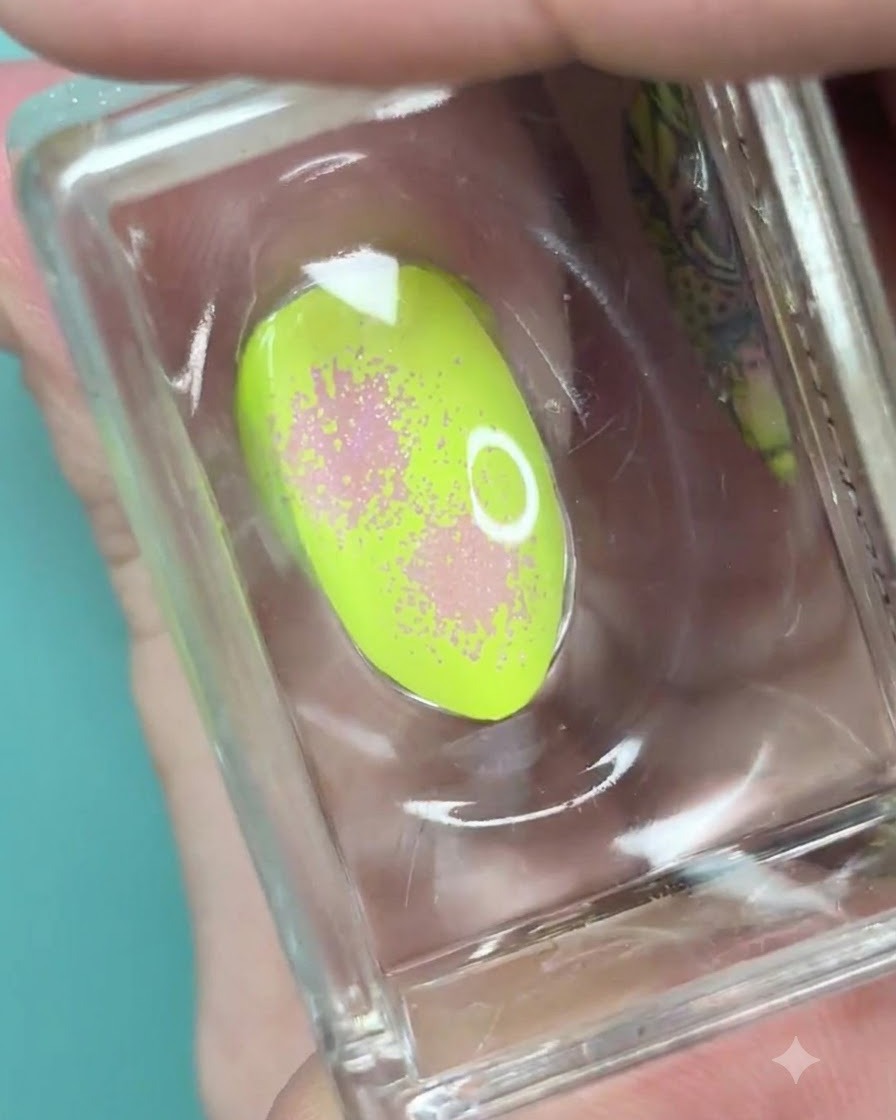
Position the soft pink gradient base with rich dotted textures onto the neon green nail base using a silicone stamper to establish the unique background contrast.
Tip: Ensure your silicone stamper is clean so the gradient pigment transfers evenly without smudging. - 3Apply Black Stamping Polish to the Plate
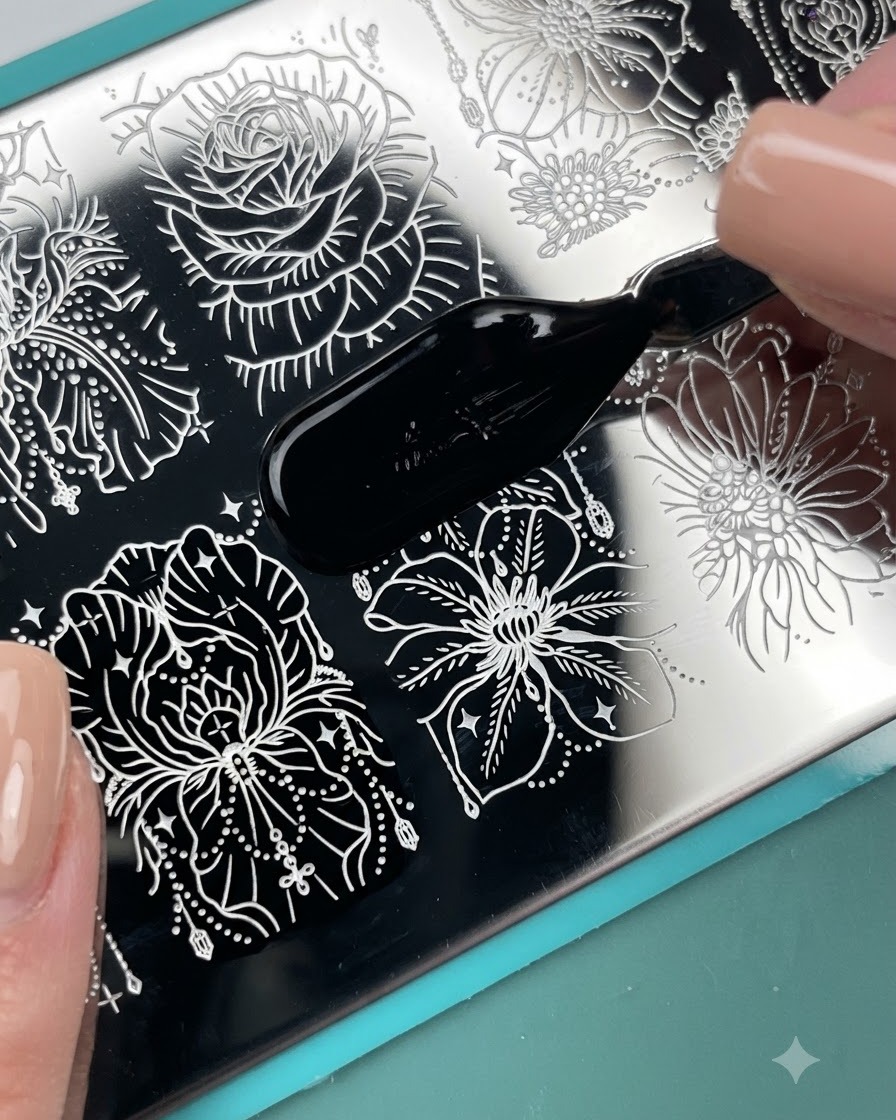
Use a brush applicator to generously apply rich black stamping polish over the engraved floral design on the metal stamping plate, ensuring all the recessed etched lines are thoroughly filled with polish.
Tip: Work quickly when applying stamping polish so it does not dry out on the metal plate before you have a chance to scrape and pick it up. - 4Pick Up the Black Floral Pattern
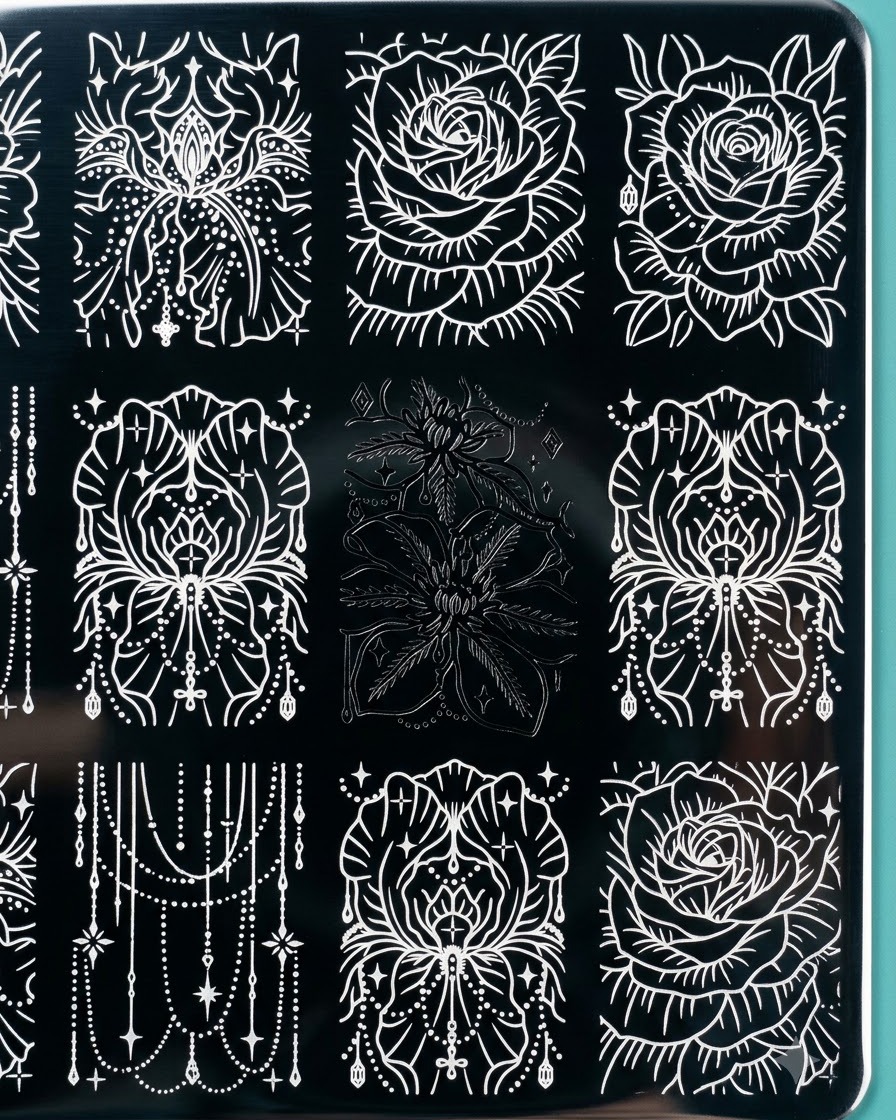
Take the clear silicone stamper and press it firmly and evenly down onto the polished floral engraving on the metal plate. Lift straight up to pick up the detailed black outline large flower design onto the stamper head.
Tip: Use a light, even rolling motion when picking up the image from the plate to capture fine lines cleanly without distorting the floral details. - 5Transfer the Black Floral Stamp Design
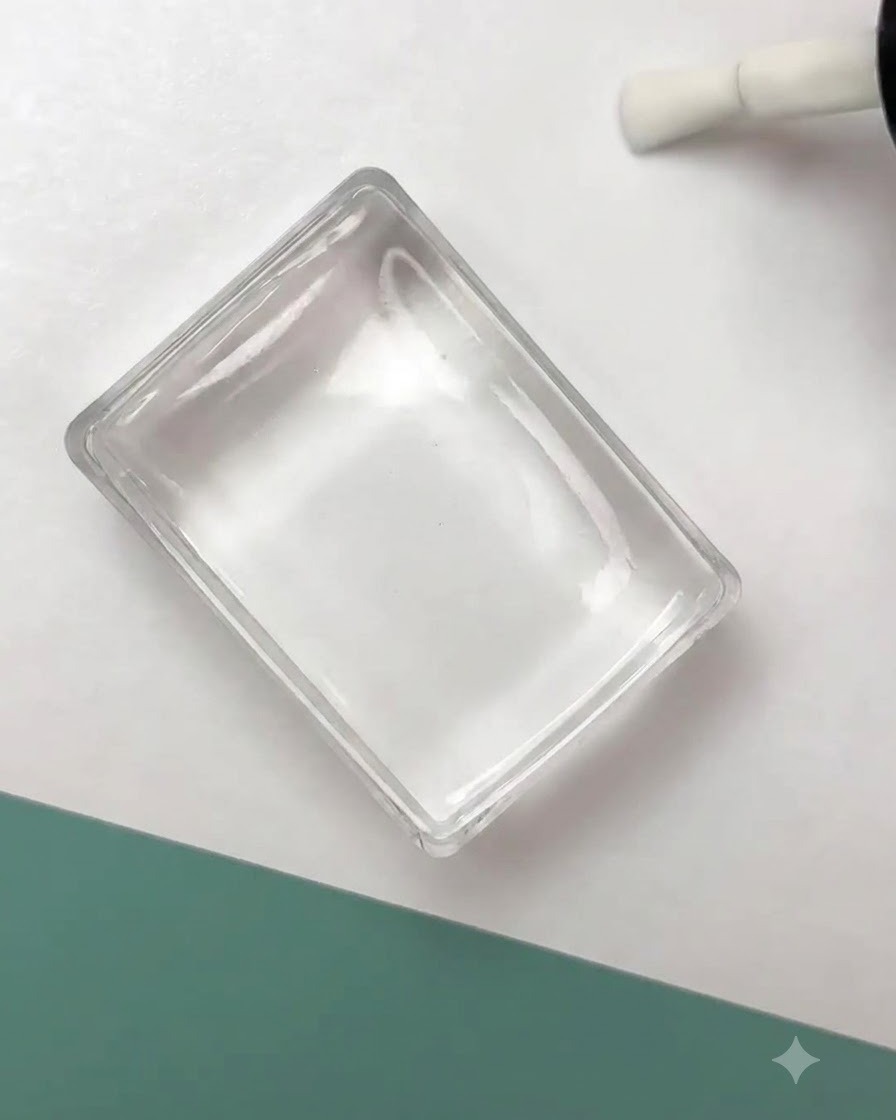
Align the picked-up black floral design on the clear silicone stamper over the prepared nail surface. Press down firmly to transfer the hand-painted style black outline large flowers directly onto the nail.
Tip: Double-check your alignment through the transparent back of the silicone stamper before pressing down to ensure the floral design lands precisely where desired. - 6Refine Floral Outlines with Liner Brush
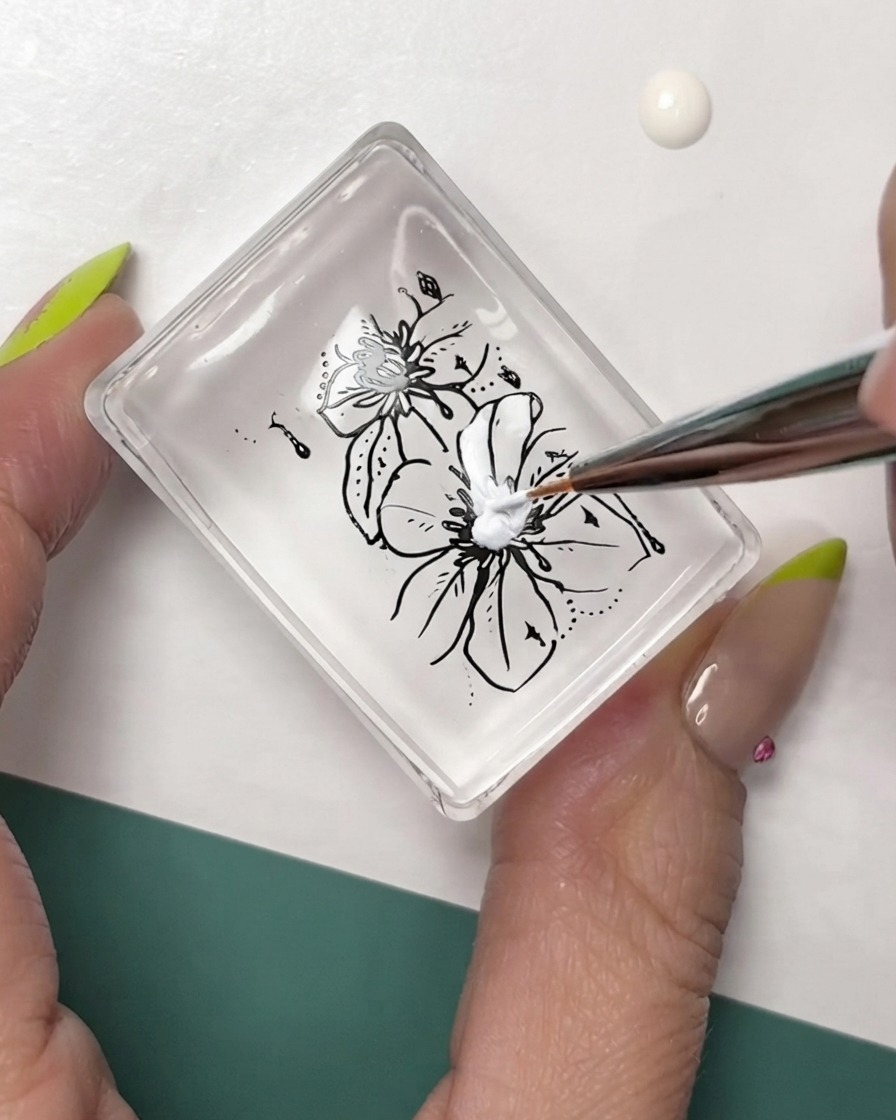
Take a fine nail art liner brush with white polish to carefully detail, highlight, and refine the petals and centers of the hand-painted black outline large flowers.
Tip: Keep a light hand and use the tip of the brush to maintain clean, sharp lines inside the floral design. - 7Verify Floral Pattern Alignment
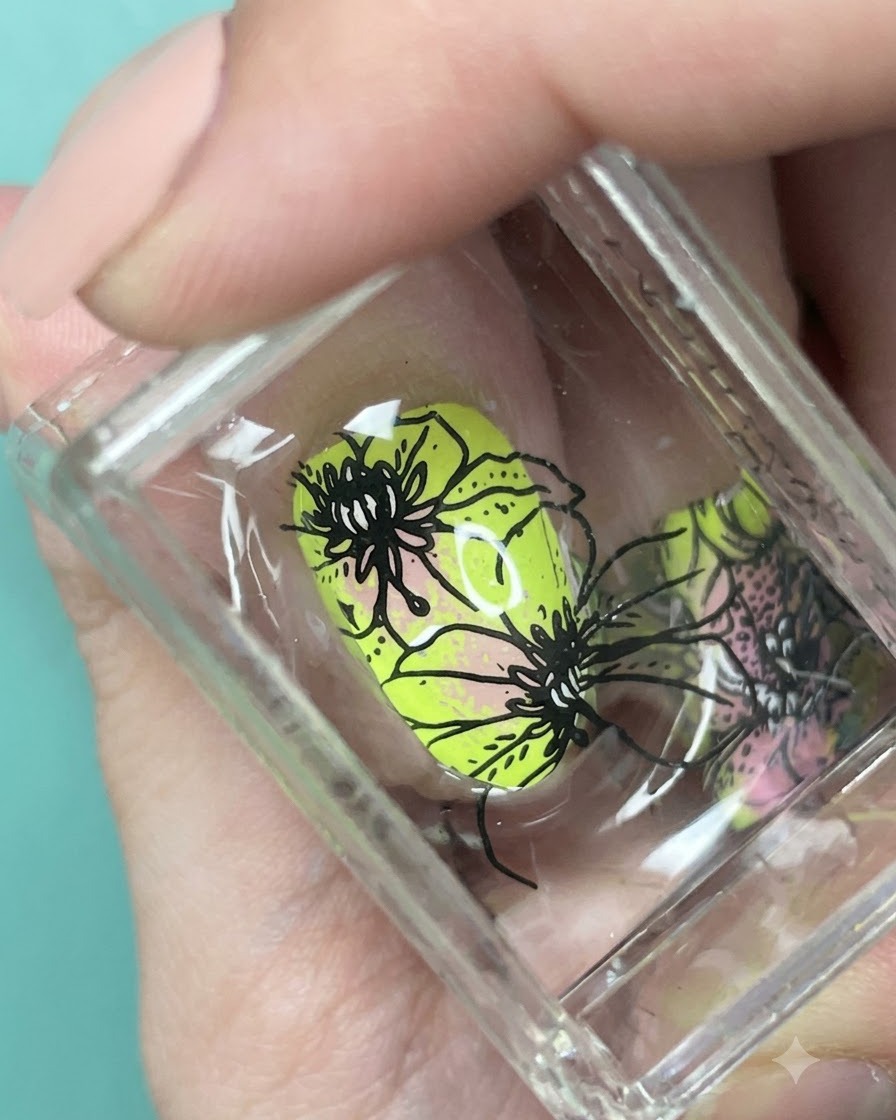
Inspect the transferred black floral pattern on the gradient nail surface to ensure proper alignment, crisp outlines, and balance before sealing the design.
Tip: Check for any edges that need extra smoothing or touch-ups while the polish is still manageable. - 8Apply Sealing Top Coat
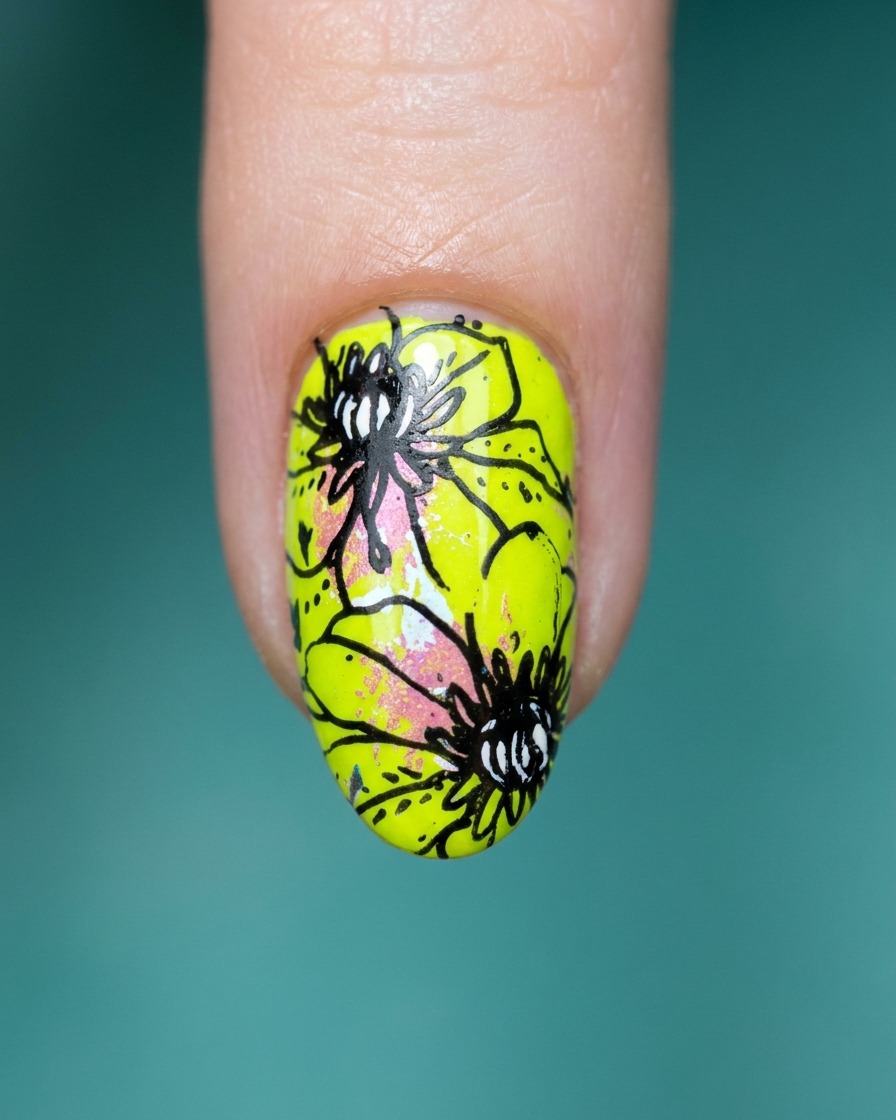
Paint a smooth layer of clear top coat across the entire nail art design to seal the pigments, protect the hand-painted details, and provide a high-gloss finish.
Tip: Cap the free edge with top coat to prevent chipping and extend the lifespan of your intricate nail art.