Silver Star Galaxy Press-On Nails — Step-by-Step Gel Art Tutorial
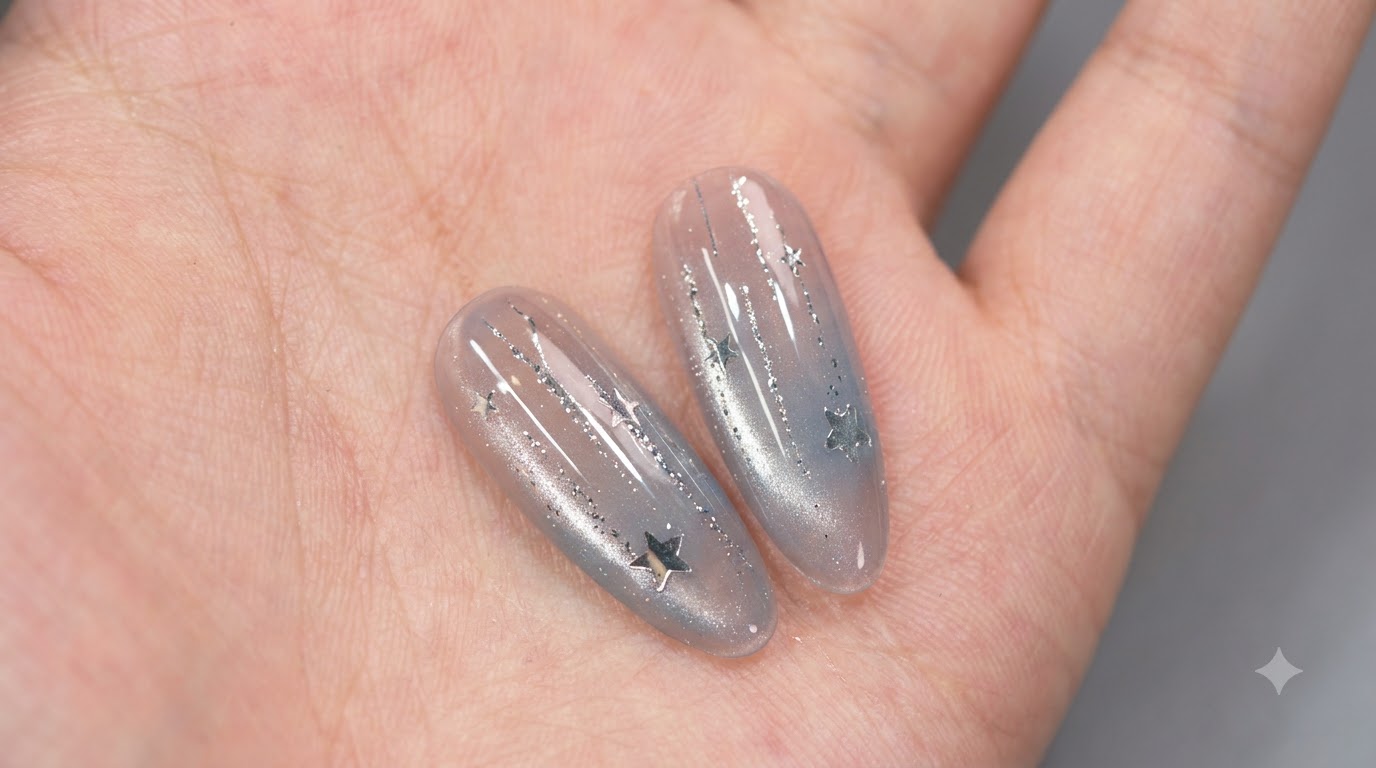
Create a mesmerizing celestial galaxy look with gray-blue cat-eye gel, delicate silver foil lines, and embedded star glitter pieces.
Celestial nail designs combining magnetic cat-eye effects with starry embellishments offer a stunning, multi-dimensional look reminiscent of the night sky. This tutorial guides you through layering translucent tones, manipulating magnetic particles, and encapsulating delicate glitter elements for a professional finish.
Steps
- 1Mount the False Nail Tips
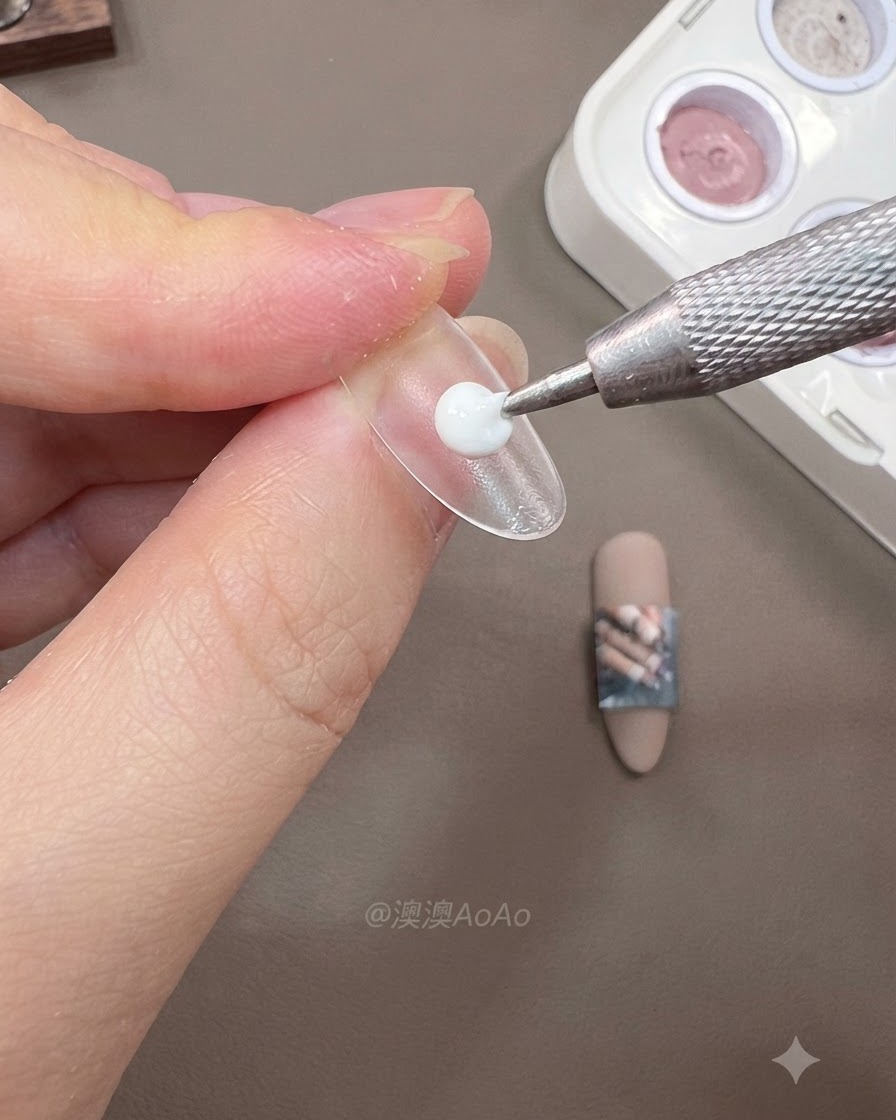
Prepare three false nail tips and mount them securely onto temporary stands with guide strips attached, displaying the initial clear structure for the silver star galaxy nail tutorial.
Tip: Ensure the false nail tips are firmly secured on the stands to prevent shifting during application. - 2Apply Builder Gel for Growth Line
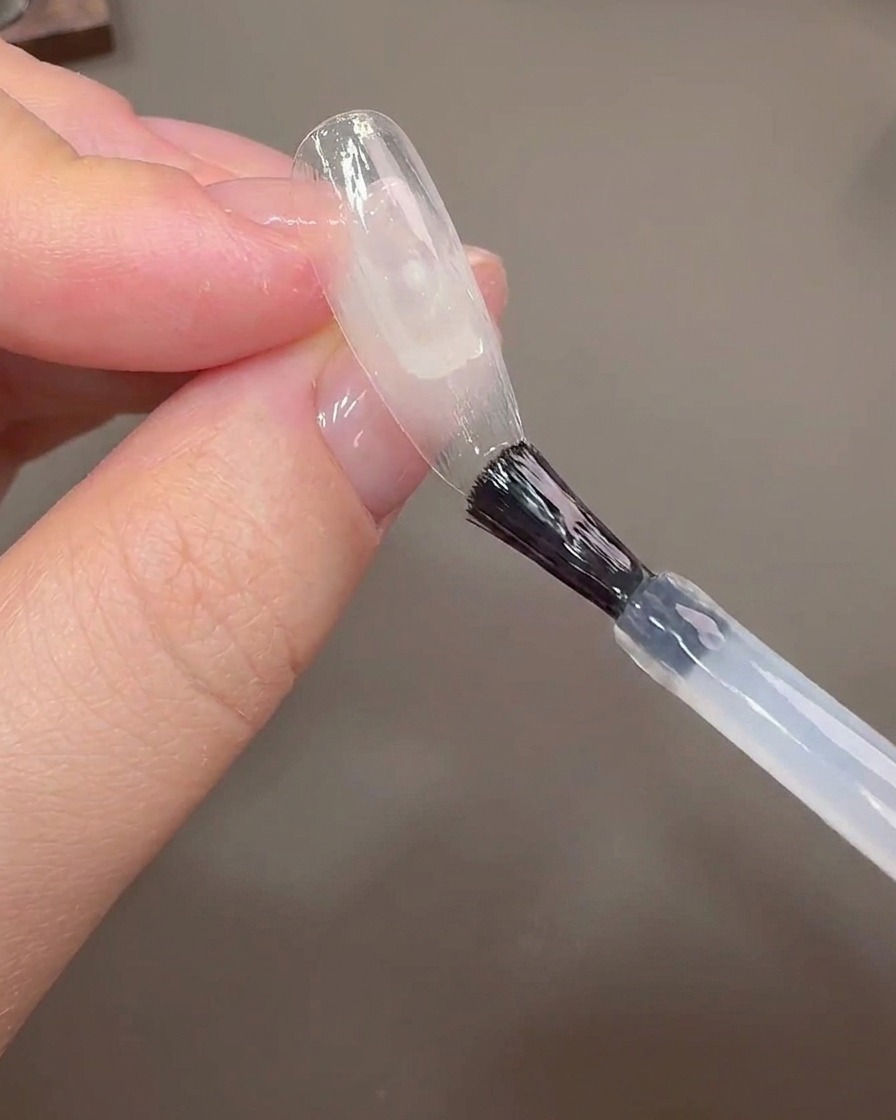
Brush builder gel onto the clear nail tip to cover the growth line and completely wrap and encapsulate the nail surface.
Tip: Apply an even, smooth layer of builder gel to ensure proper coverage of the growth line. - 3Apply Nude Pink Color Gel
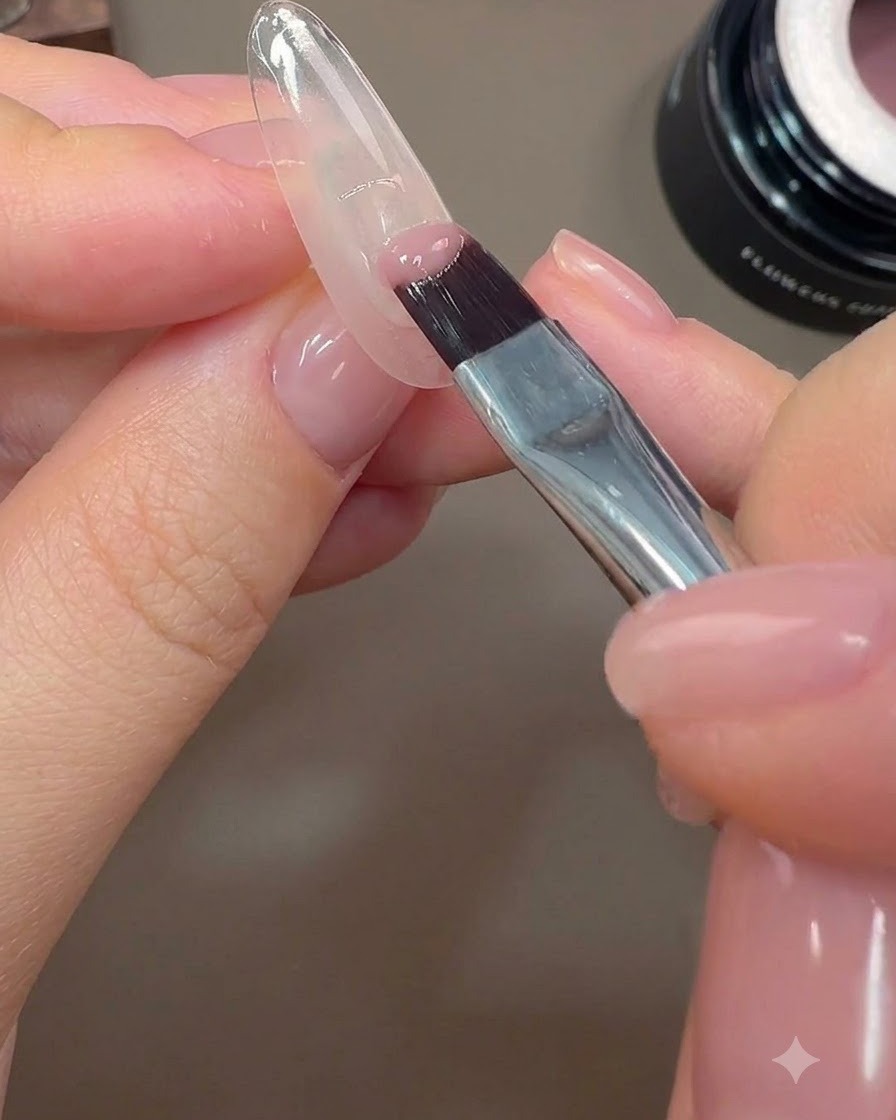
Apply a half-cover of nude pink color gel to the posterior edge of the nail to mimic a natural flesh color base.
Tip: Apply the gel carefully to the posterior edge to create a clean starting point for blending. - 4Blend Nude Pink Boundary
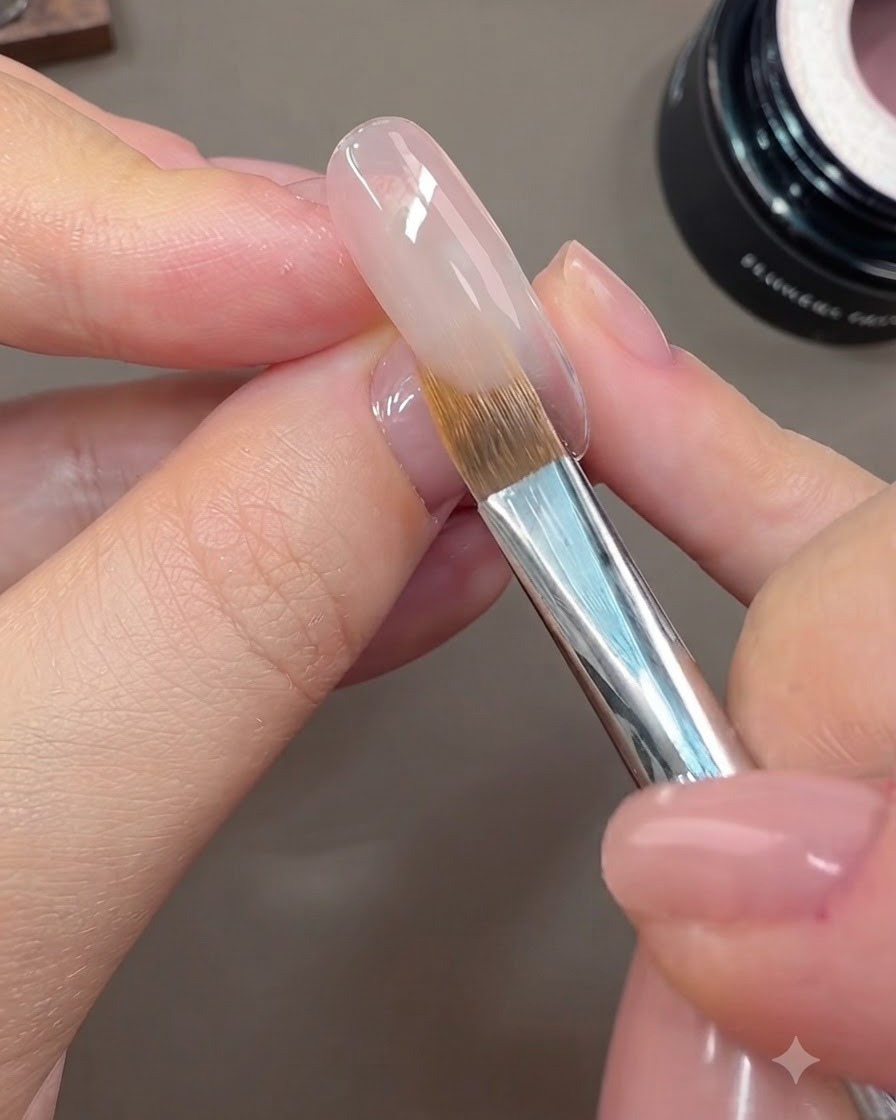
Use a sweeping brush to gently blend the boundary of the nude pink gel so that it fades naturally into the rest of the nail.
Tip: Use light, sweeping strokes with the brush to achieve a smooth and seamless gradient effect. - 5Apply Gray-Blue Cat-Eye Gel
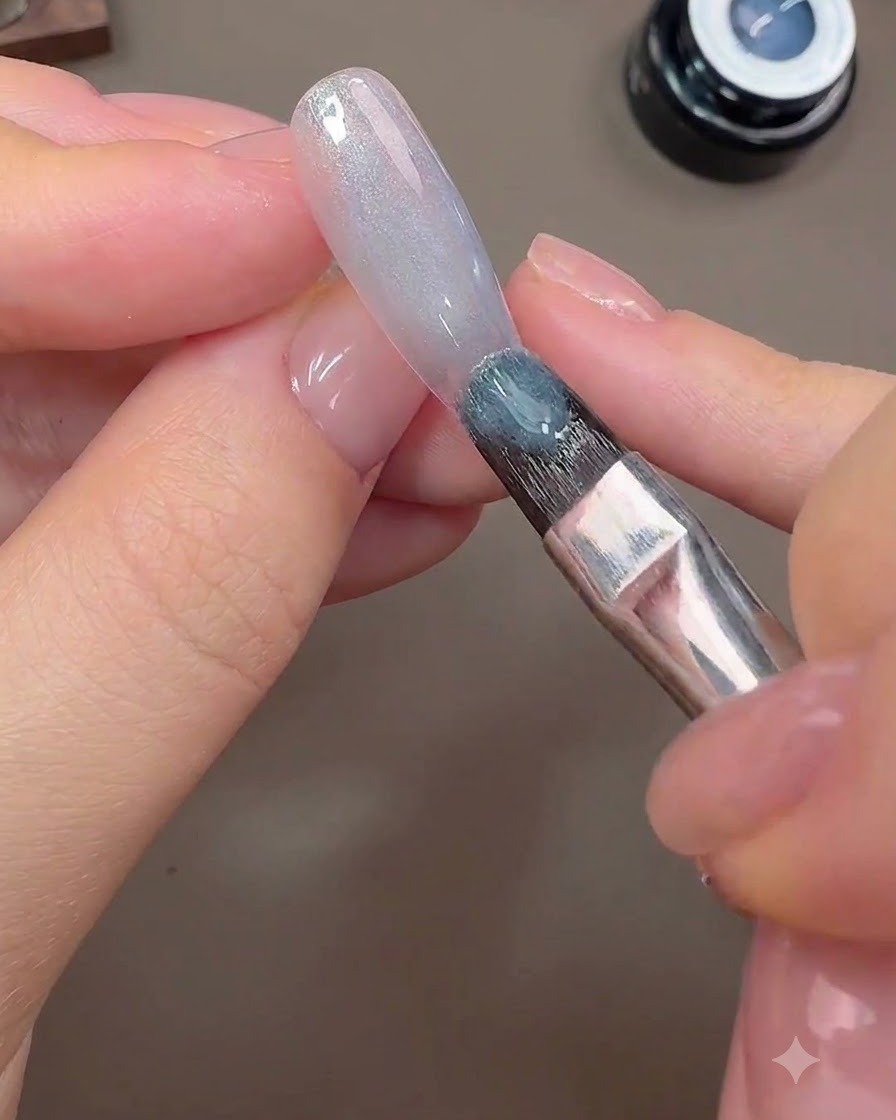
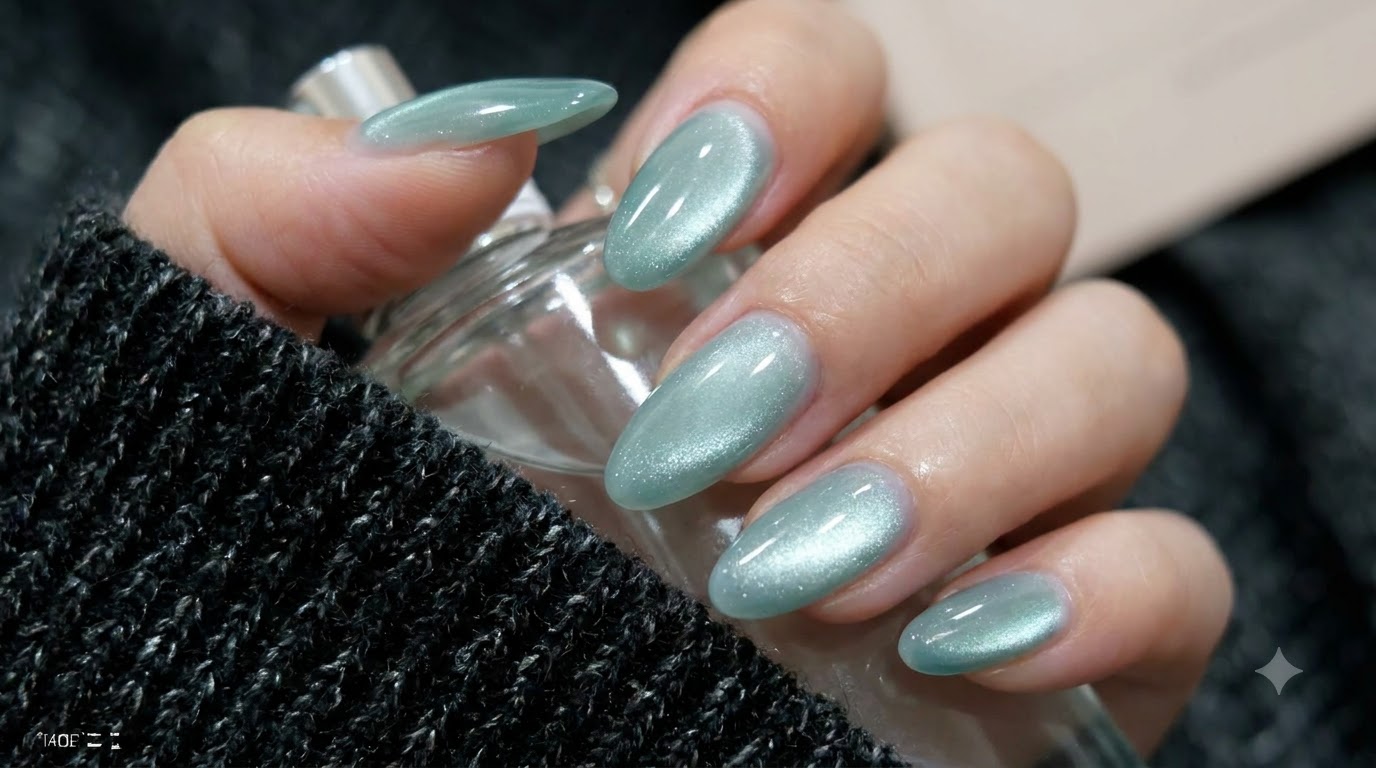
Apply a layer of gray-blue cat-eye gel onto the nail surface over the previous base to establish the deep galactic background.
Tip: Ensure an even application of the cat-eye gel before using the magnet tool for the reflection effect. - 6Create Cat-Eye Reflection
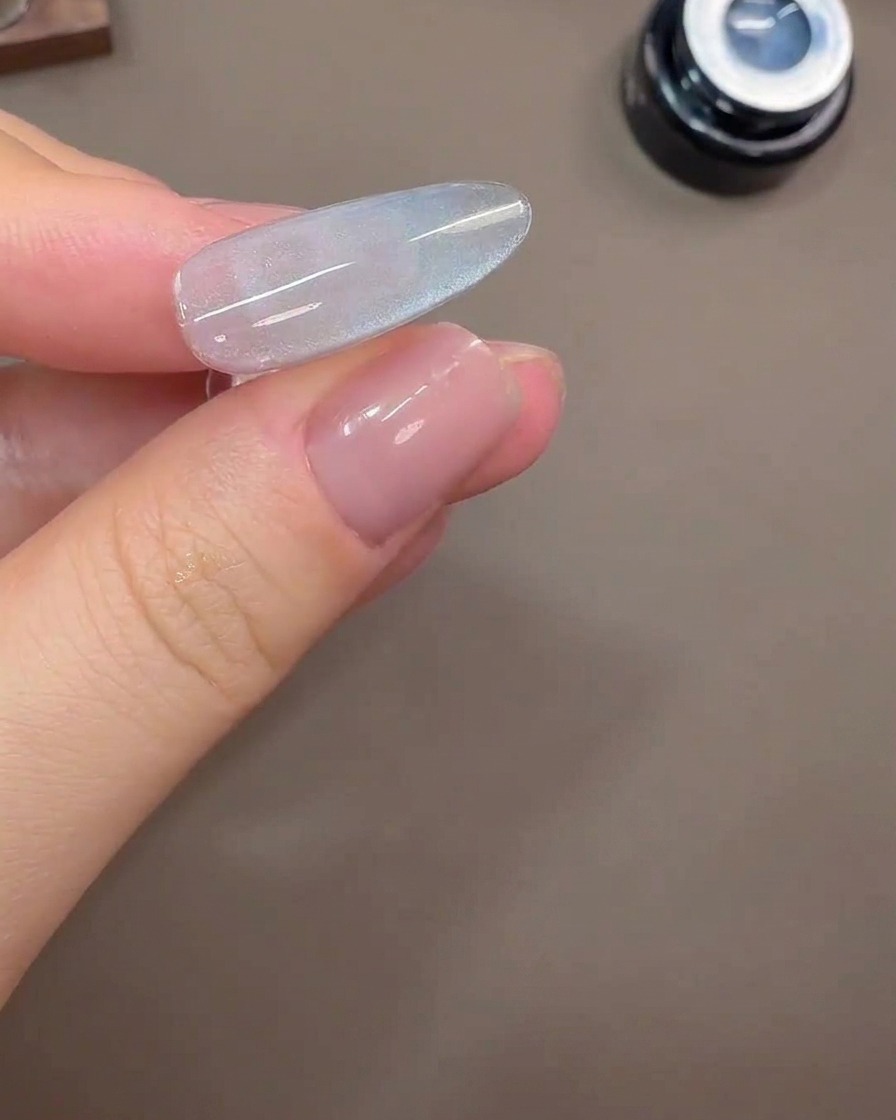
Use a magnet tool to pull out a wide light reflection on the gray-blue cat-eye gel, adjusting the side light effect before curing.
Tip: Hold the magnet steady to achieve the desired wide light reflection before curing under the lamp. - 7Adjust Cat-Eye Light Reflection
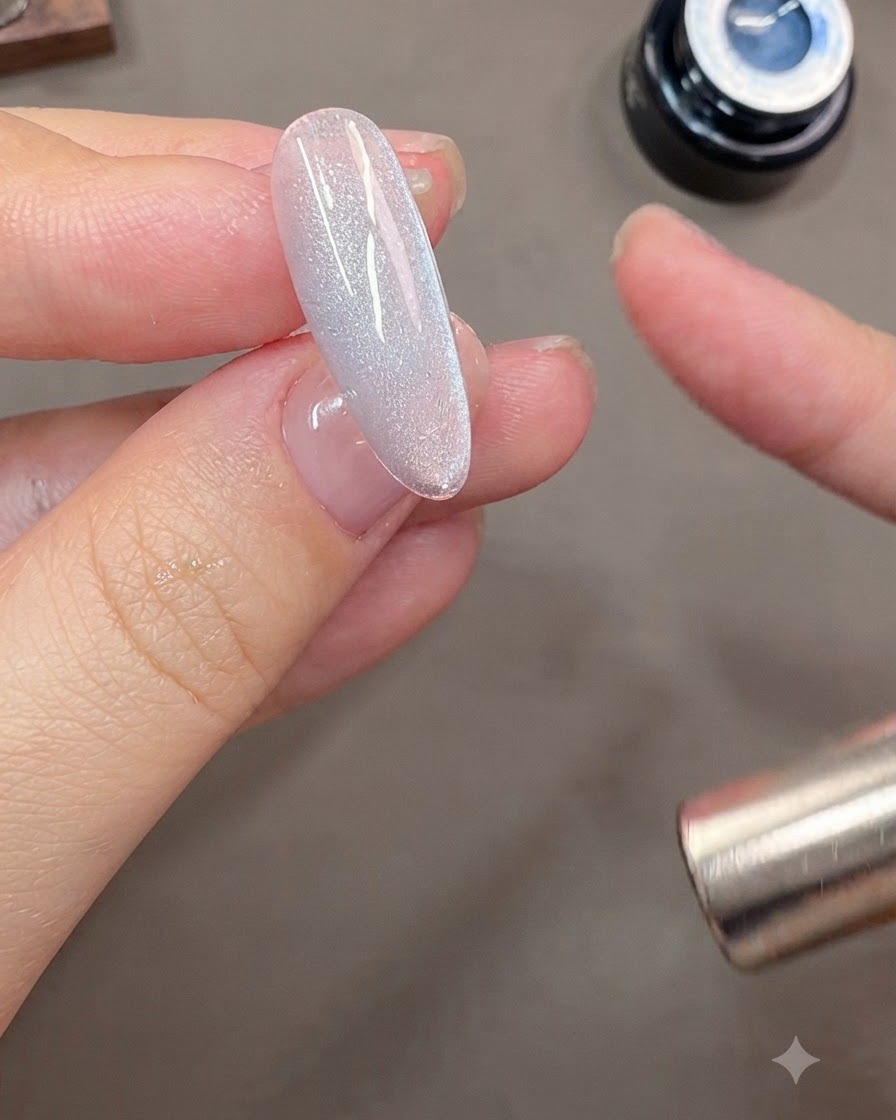
After pulling out a wide light reflection with your magnet, slide the magnet back and forth on one side of the nail to precisely adjust and set the side-light effect. Once you achieve the desired luminous dimension, cure the nail under your UV or LED lamp to lock the magnetic particles in place.
Tip: Keep the magnet close to the nail surface without touching it for maximum control over the magnetic gel shift. - 8Draw Random Silver Foil Lines
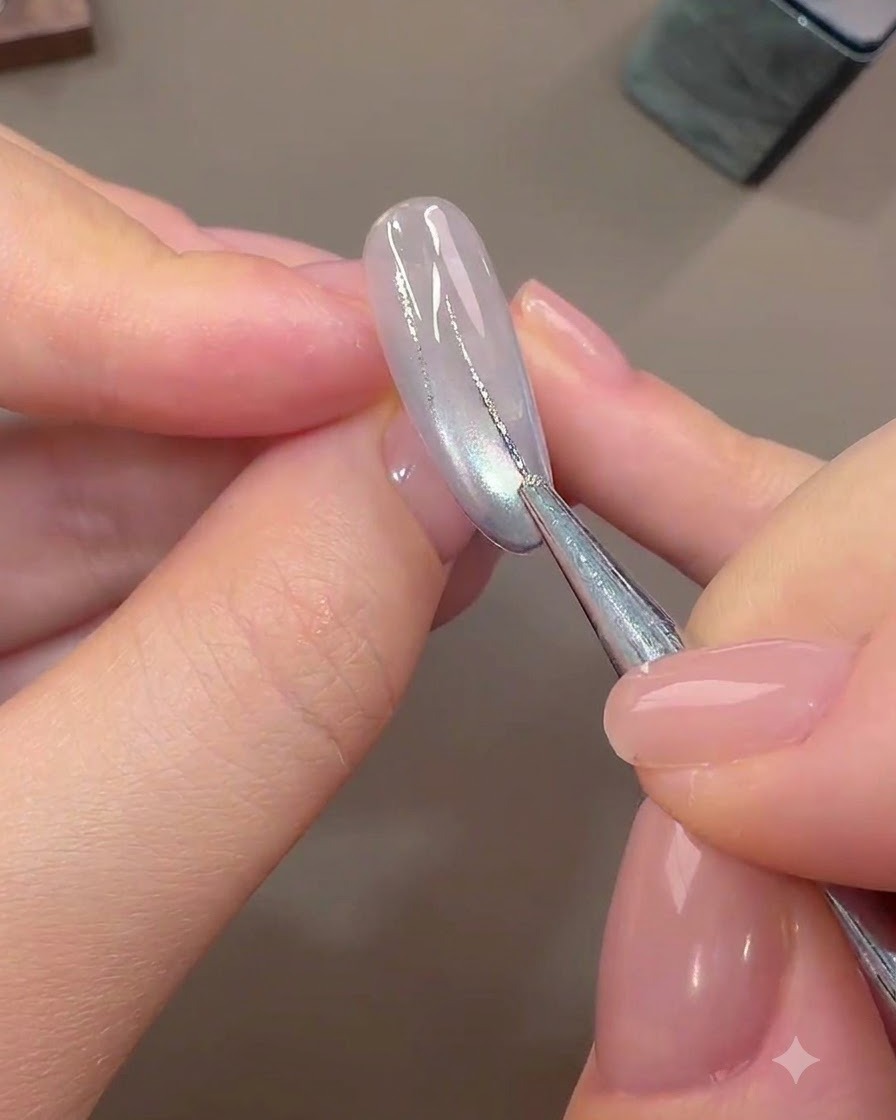
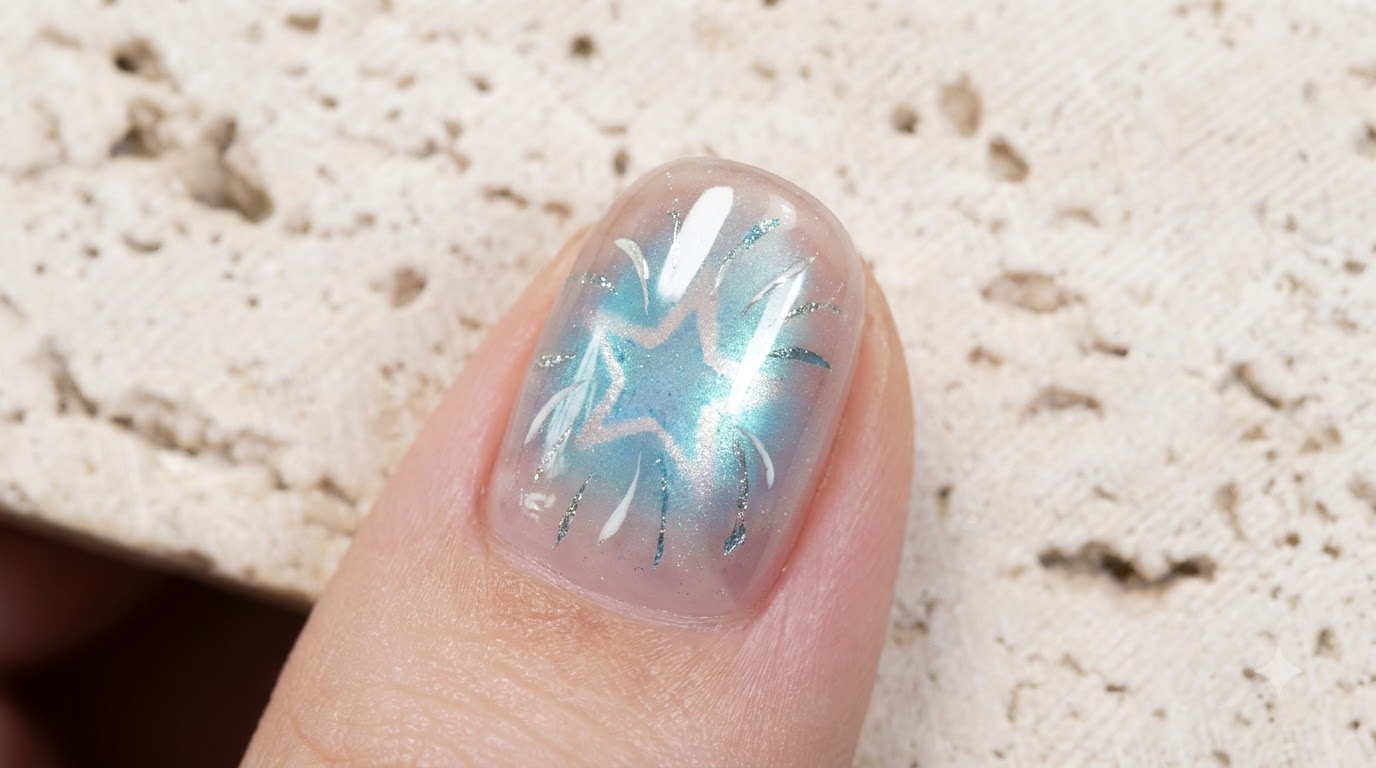
Take a fine liner brush dipped in silver foil gel and gently draw random, abstract lines across the cured cat-eye nail surface. These organic linework details add depth and emulate cosmic streaks for the galaxy design.
Tip: Use a light touch with the liner brush to keep the lines thin, delicate, and varied in length. - 9Apply Thin Coat of Builder Gel
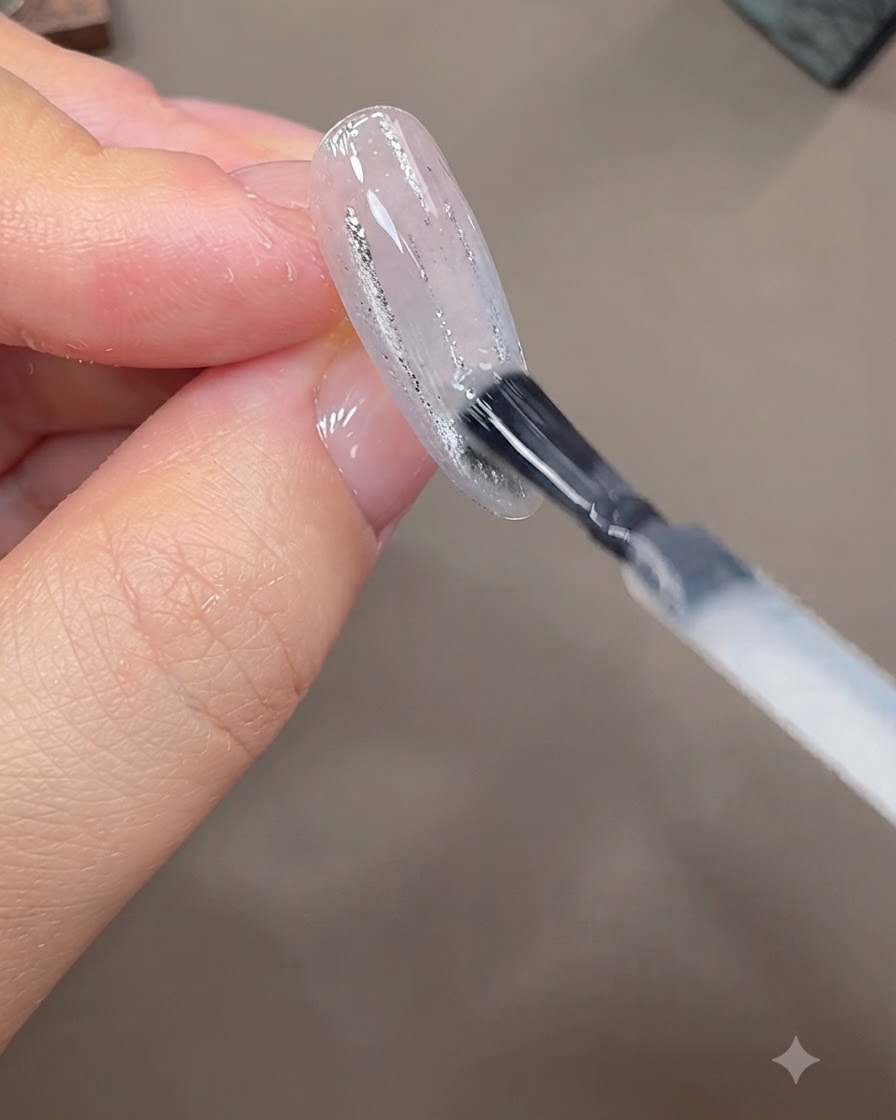
Apply a thin coat of builder gel across the entire nail surface without curing it under the lamp yet. This acts as a wet base layer that allows you to easily place and position your nail art elements.
Tip: Keep the layer thin and even so the decorative pieces do not slide around uncontrollably. - 10Embed Star Glitter Pieces
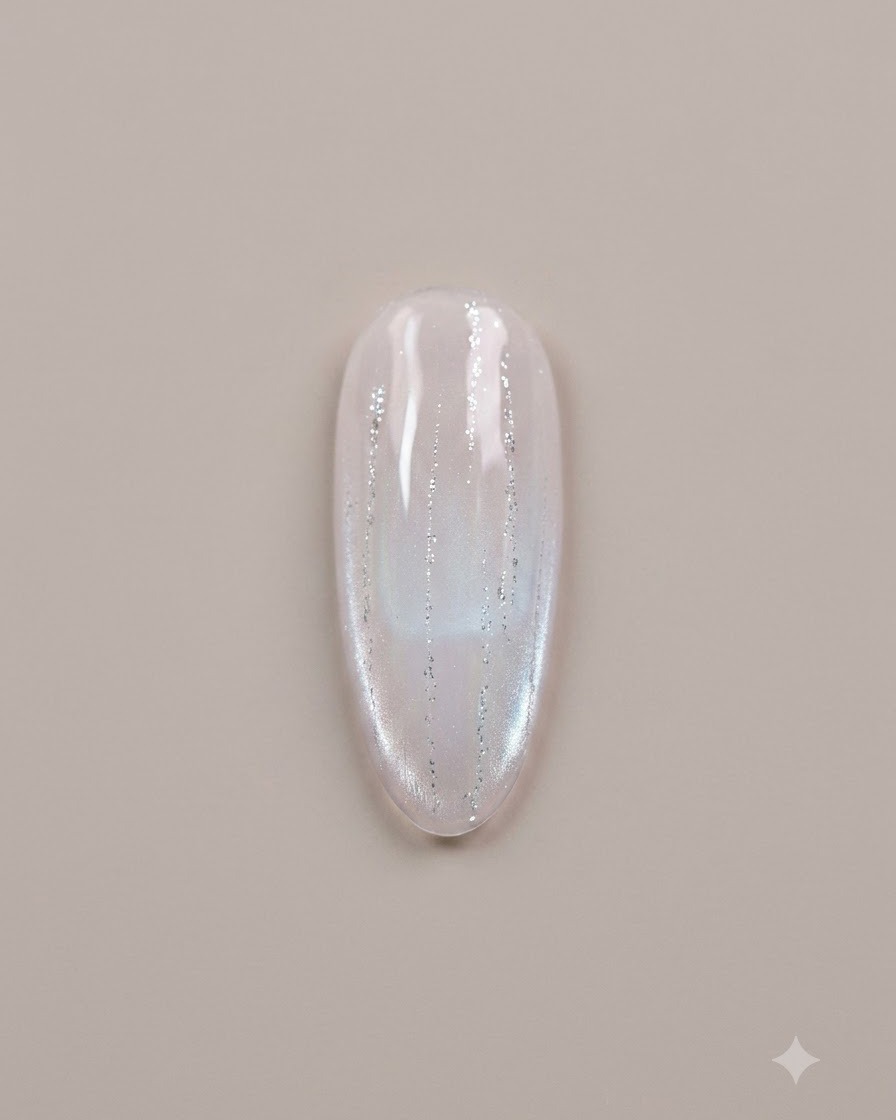
Using a pair of precision tweezers, pick up and strategically place star-shaped glitter pieces of various sizes onto the wet, uncured builder gel layer. Arrange them to float harmoniously around the abstract silver lines for a starry galaxy effect.
Tip: Press down lightly on the center of each glitter star with your tweezers to ensure it lies flat against the wet gel layer. - 11Encapsulate Stars with Builder Gel
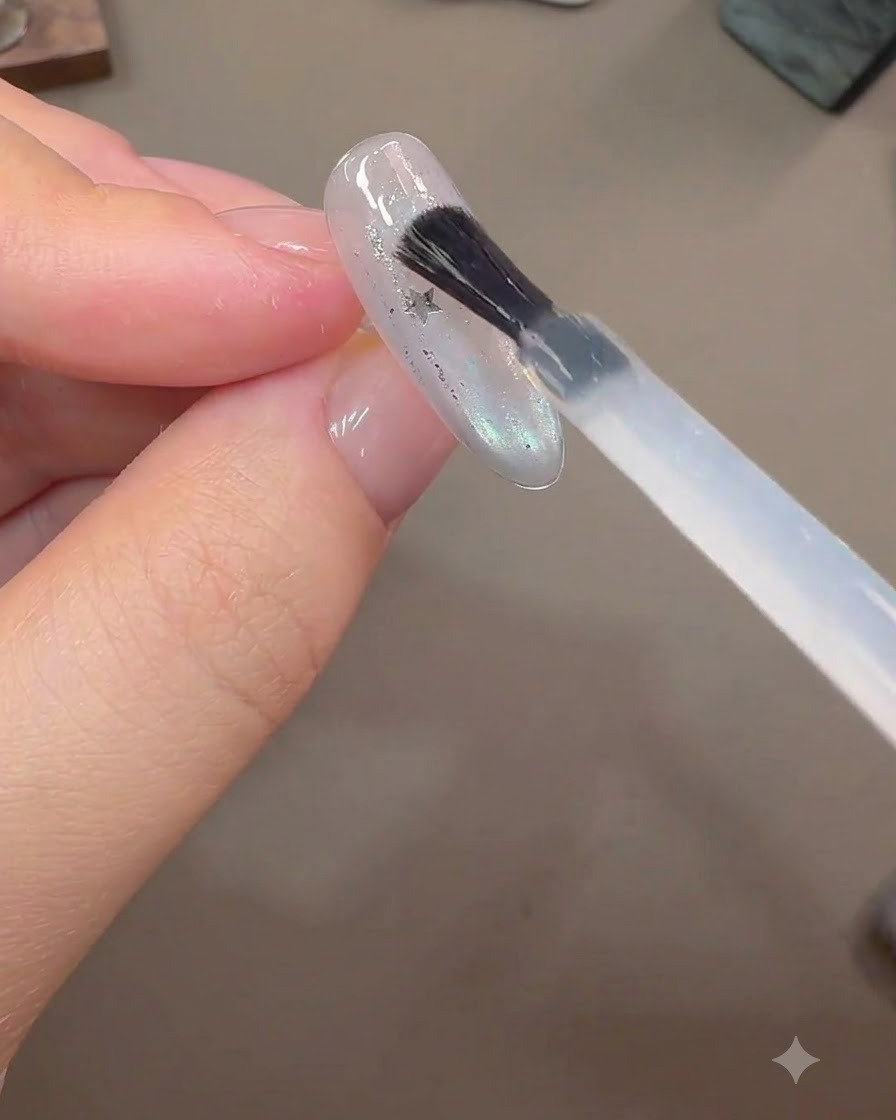
Apply a slightly thicker layer of builder gel over the entire nail to completely encapsulate the embedded star glitter pieces. Flip the nail upside down briefly to allow the gel to self-level and create a smooth apex, then cure under the lamp.
Tip: Flipping the finger helps gravity pull the builder gel into a smooth, rounded arch before curing. - 12Cleanse the Inhibition Layer
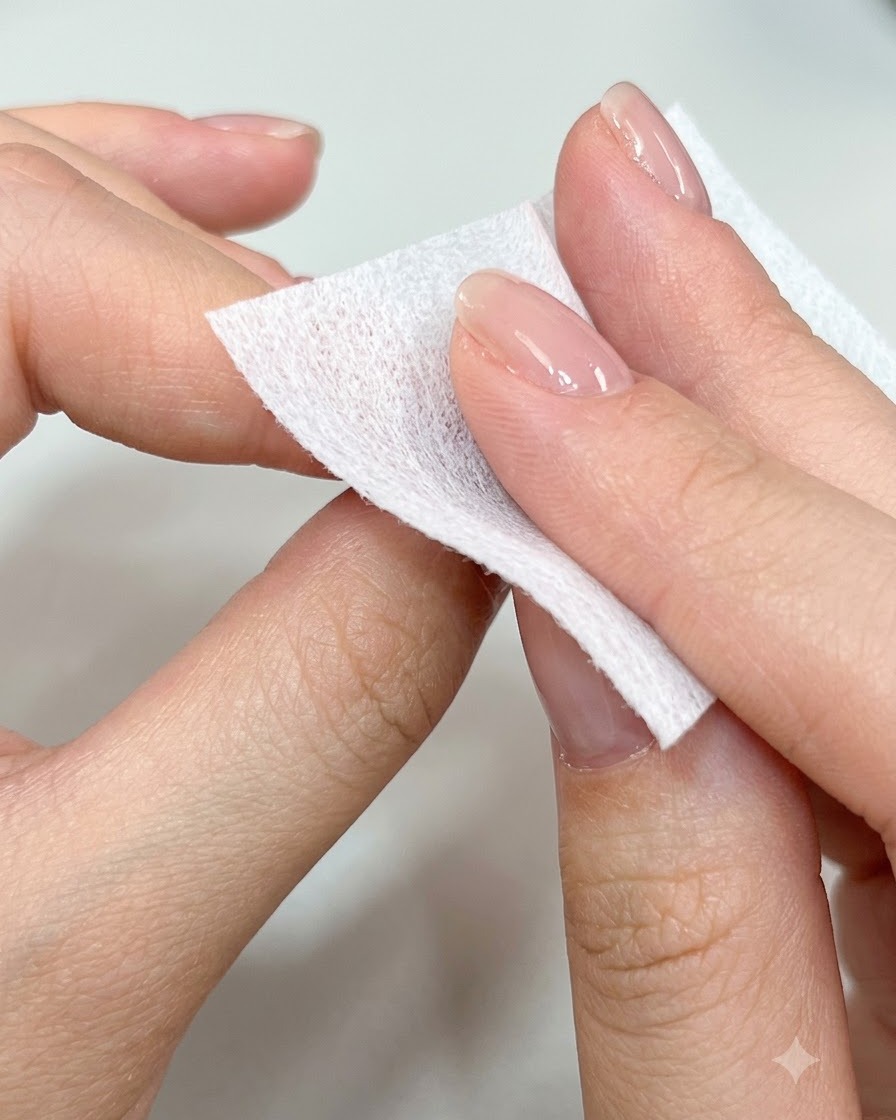
Take a lint-free wipe saturated with nail cleanser and thoroughly wipe down the nail surface to remove any sticky inhibition layer left behind after curing. This prepares the surface for final buffing and top coat application.
Tip: Use a fresh section of the cleansing pad for each wipe to prevent smearing residual uncured gel back onto the nail. - 13File and Buff the Nail Surface
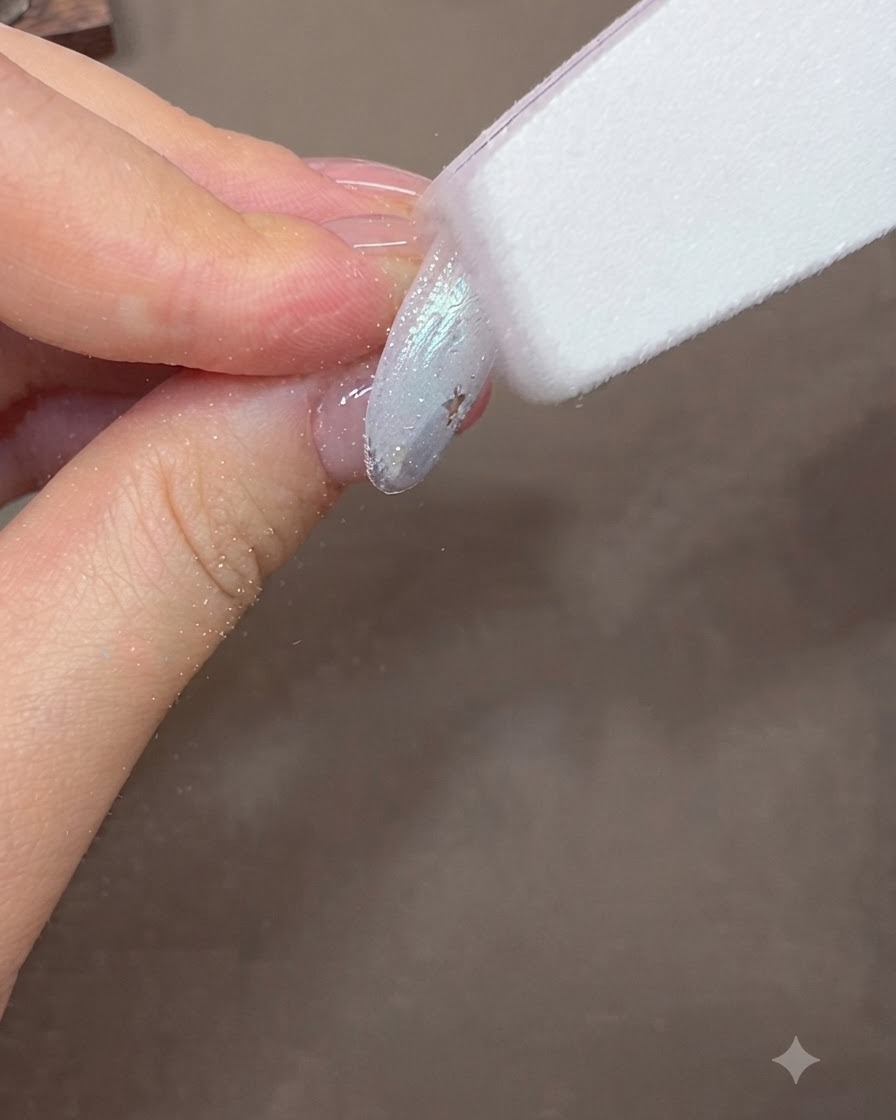
File and buff the nail surface using a nail file or buffer to make it completely smooth, flat, and evencite: 1. This removes any bumps or uneven texture caused by the encapsulated glitter pieces.
Tip: Be gentle around the edges to avoid filing through the protective layer of builder gel and damaging your nail art. - 14Apply Final Glossy Top Coat
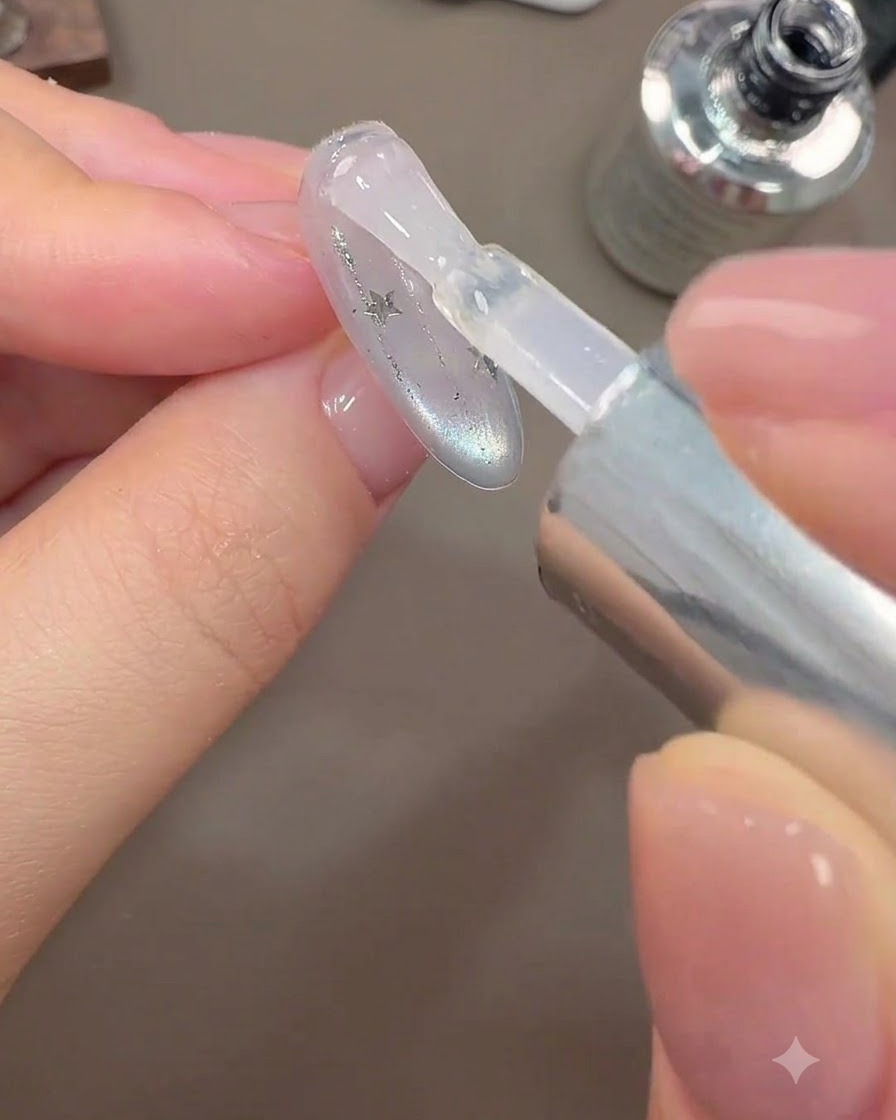
Apply a final glossy top coat sealing layer over the completed and buffed nail design to restore shine and protect the stylecite: 1. Cure under the lamp to complete the tutorial.
Tip: Cap the free edge with the top coat to prevent chipping and ensure long-lasting wear.