Glass Bead Cat Eye Green Nails — Summer-to-Winter Trend Tutorial
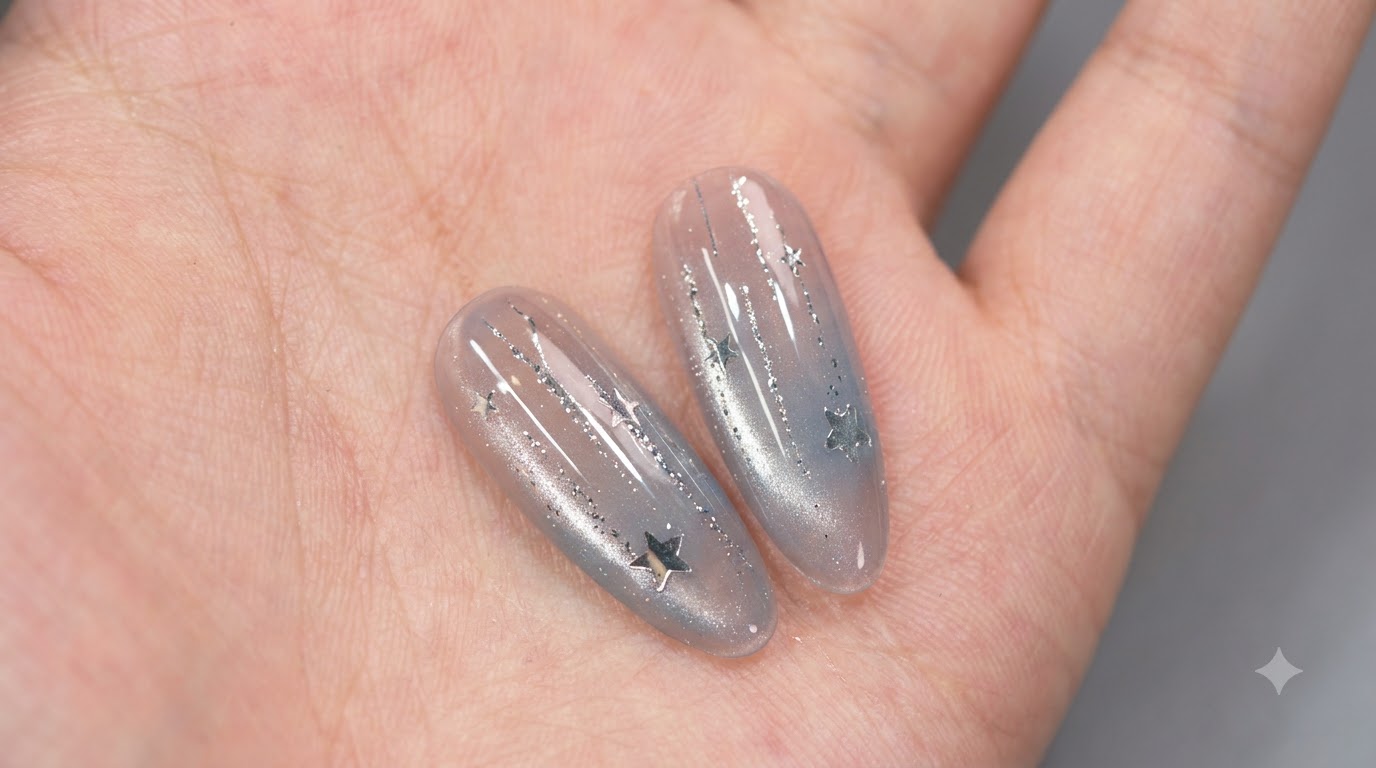
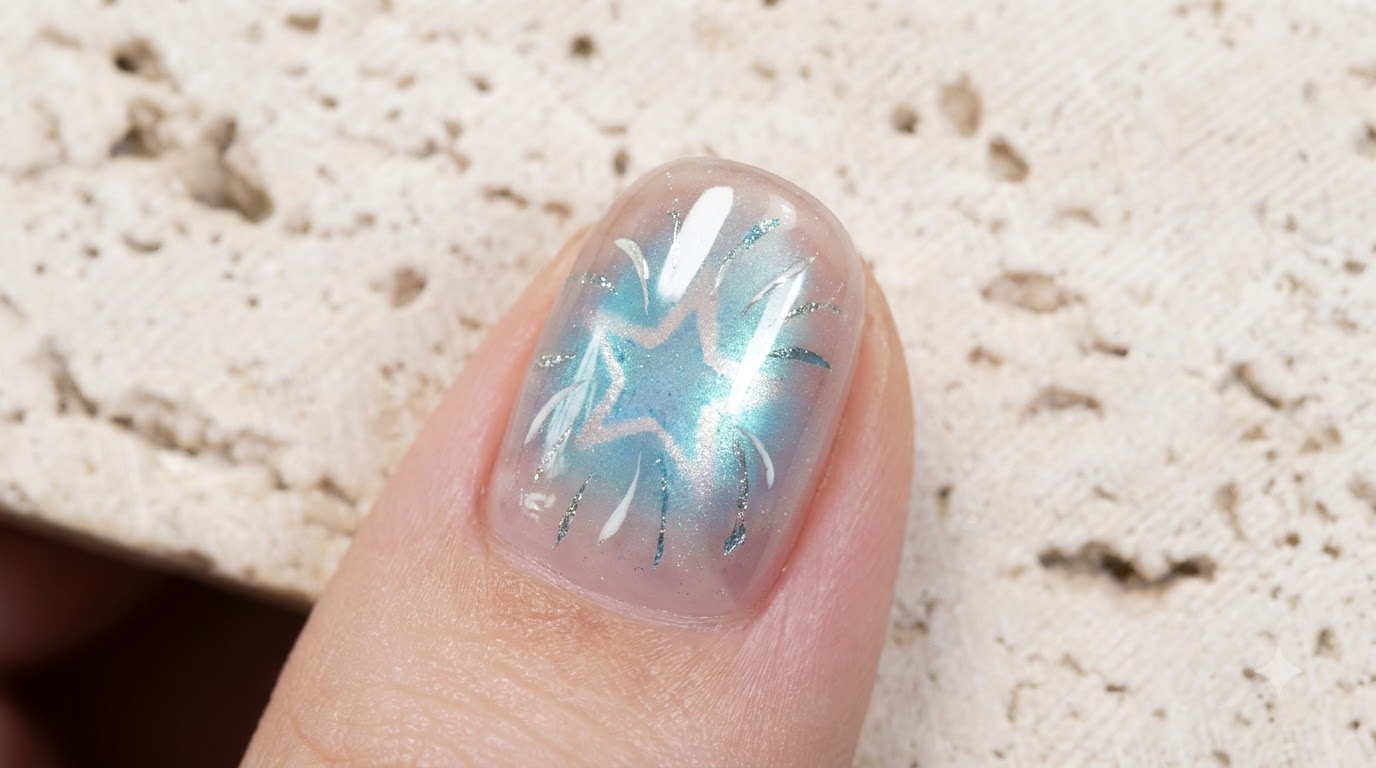
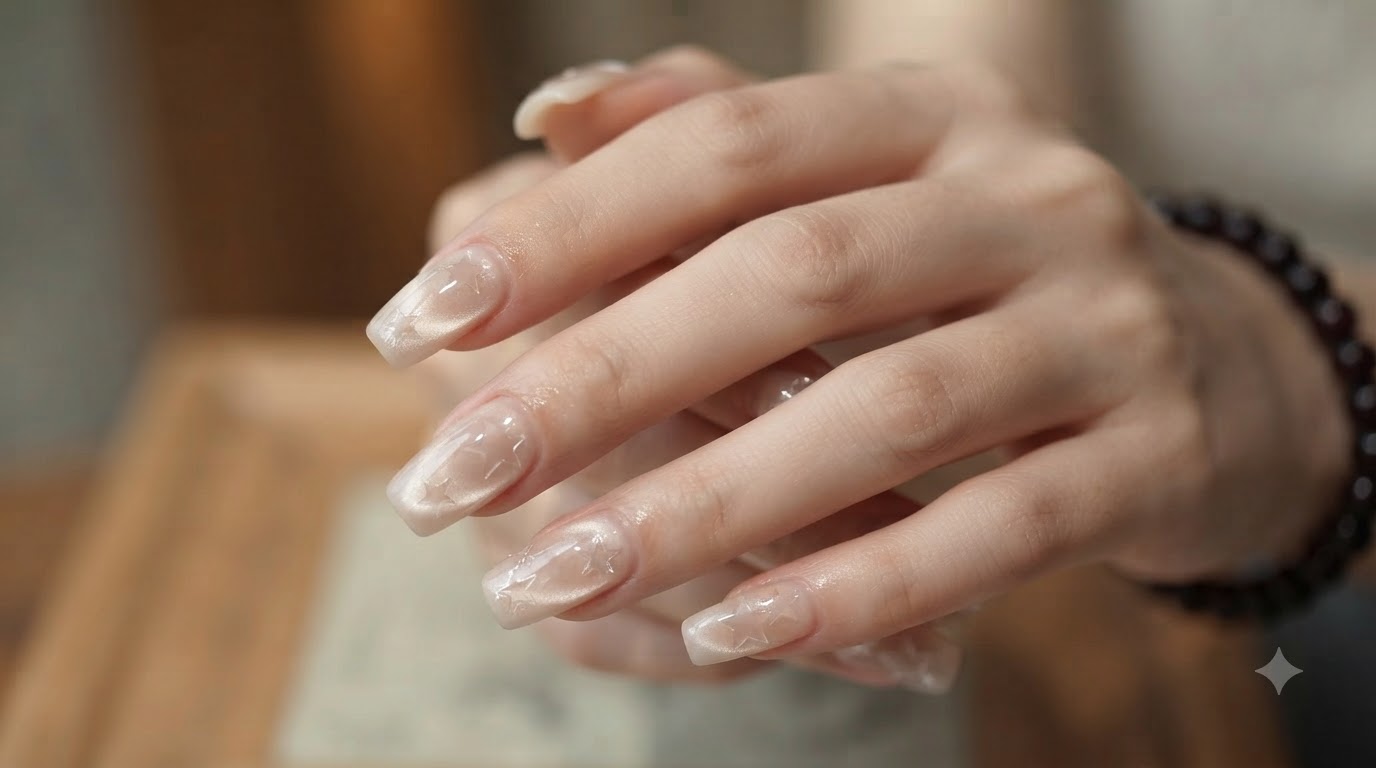
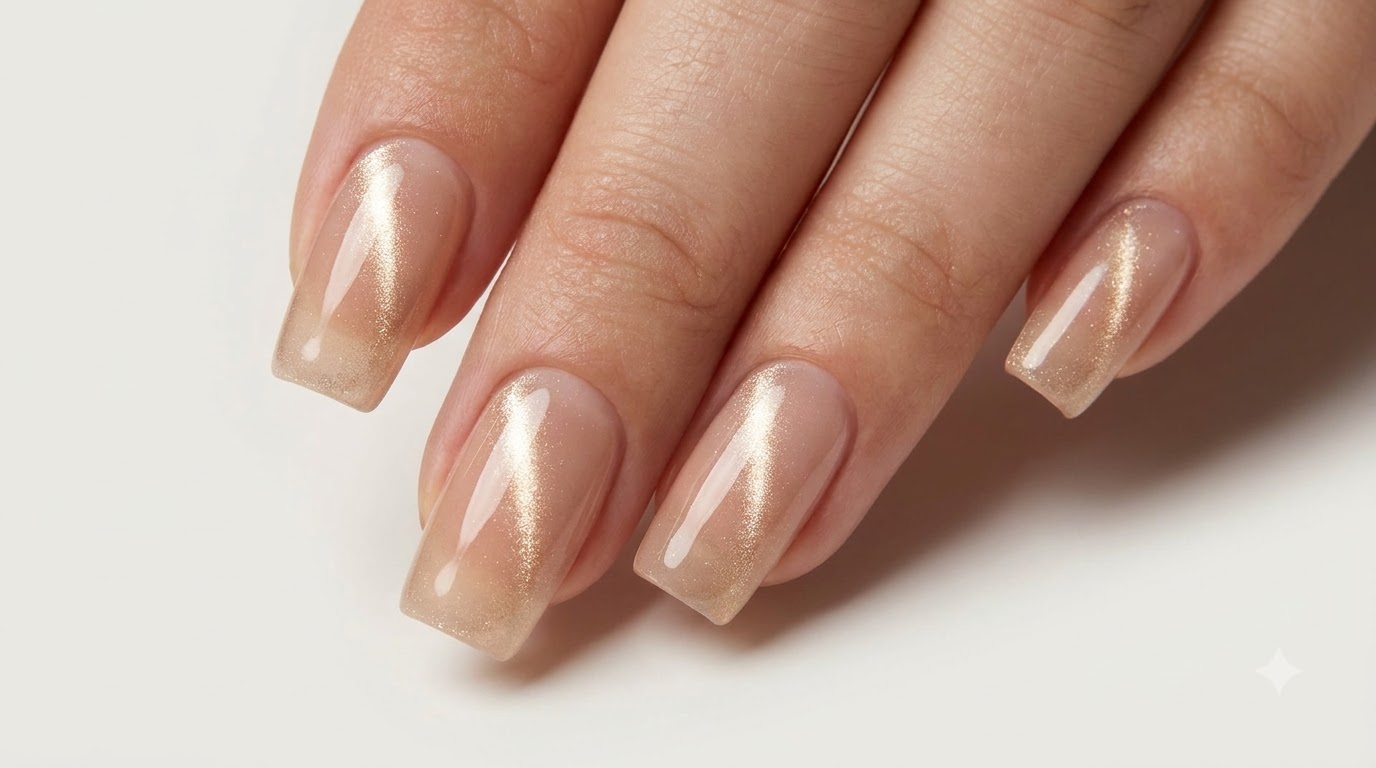
Create a soothing light teal green manicure featuring a dimensional glass bead cat-eye effect using an all-in-one magnetic gel formula.
Green cat eye manicures offer a unique visual cooling sense that transitions effortlessly across seasons. By combining an all-in-one gel with clever magnetic placement and self-leveling beads, you can achieve a high-end salon finish with remarkable depth right at home.
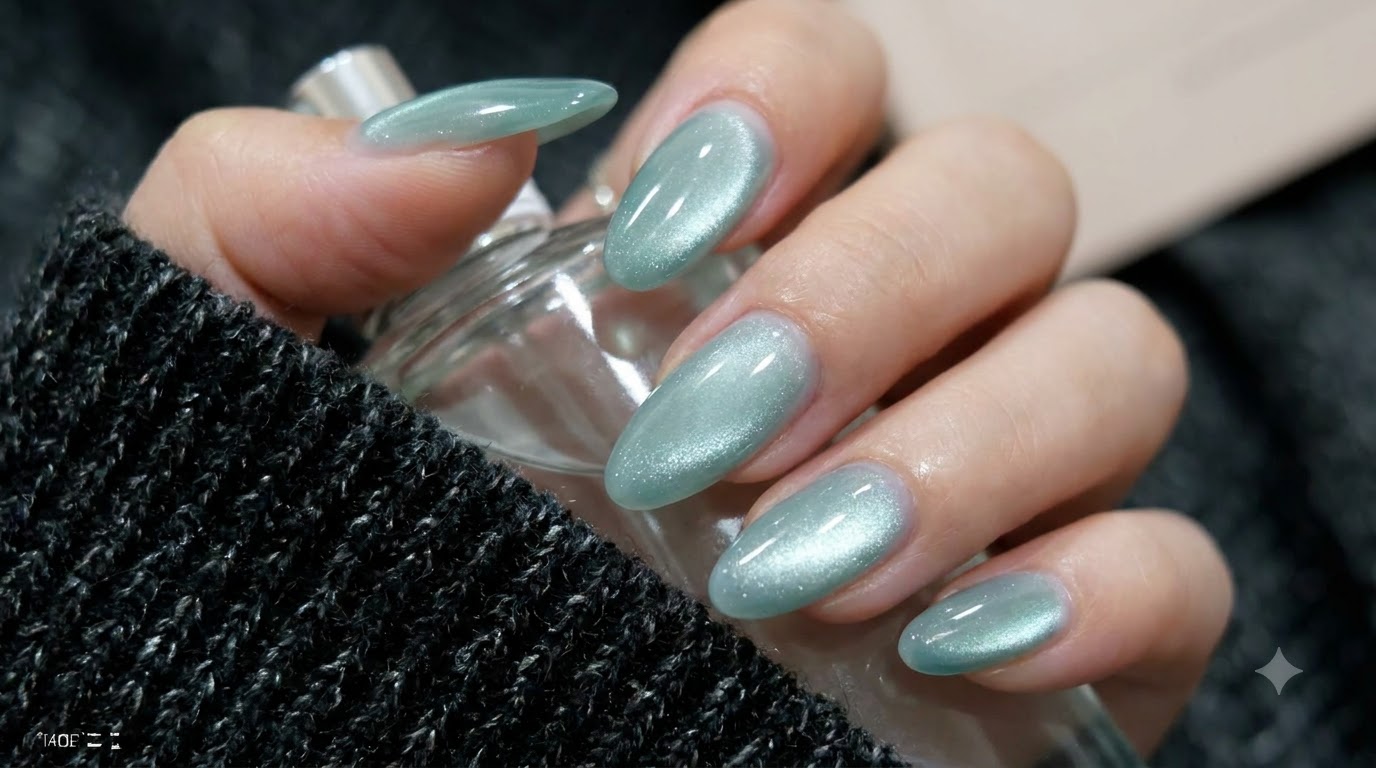
Steps
- 1Present the all-in-one gel polish
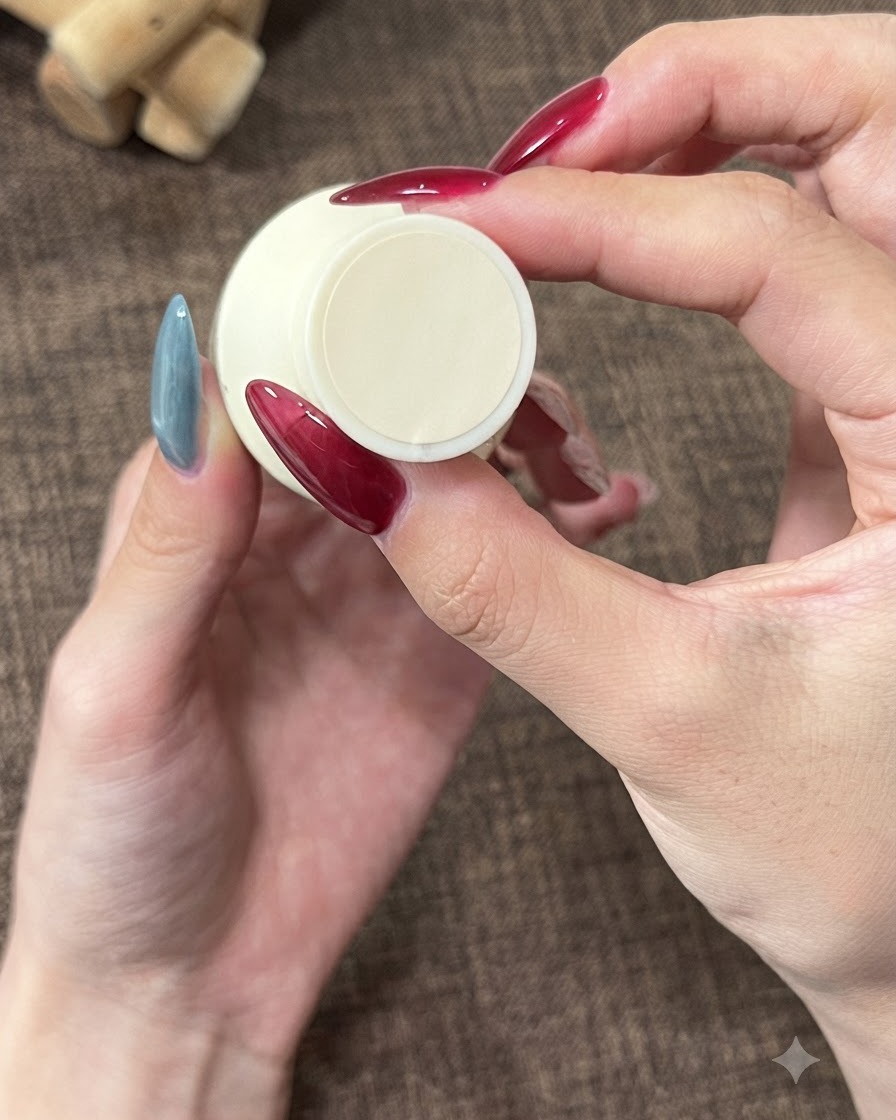
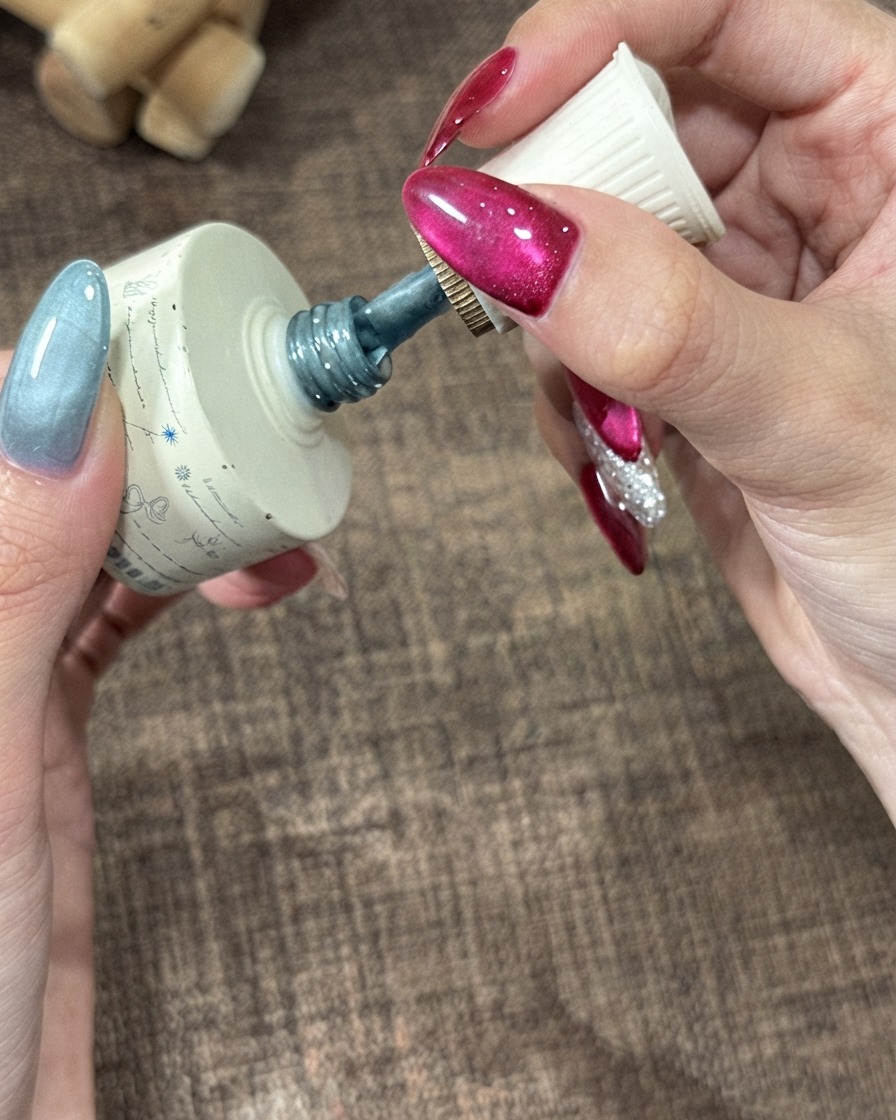
Hold up the all-in-one magnetic gel polish bottle to showcase the product. This formulation combines features that simplify the process, allowing application without separate base or top coats.
Tip: Check the bottle label to ensure you have the correct shade and formula type before starting your manicure. - 2Apply a thin layer of cat-eye gel
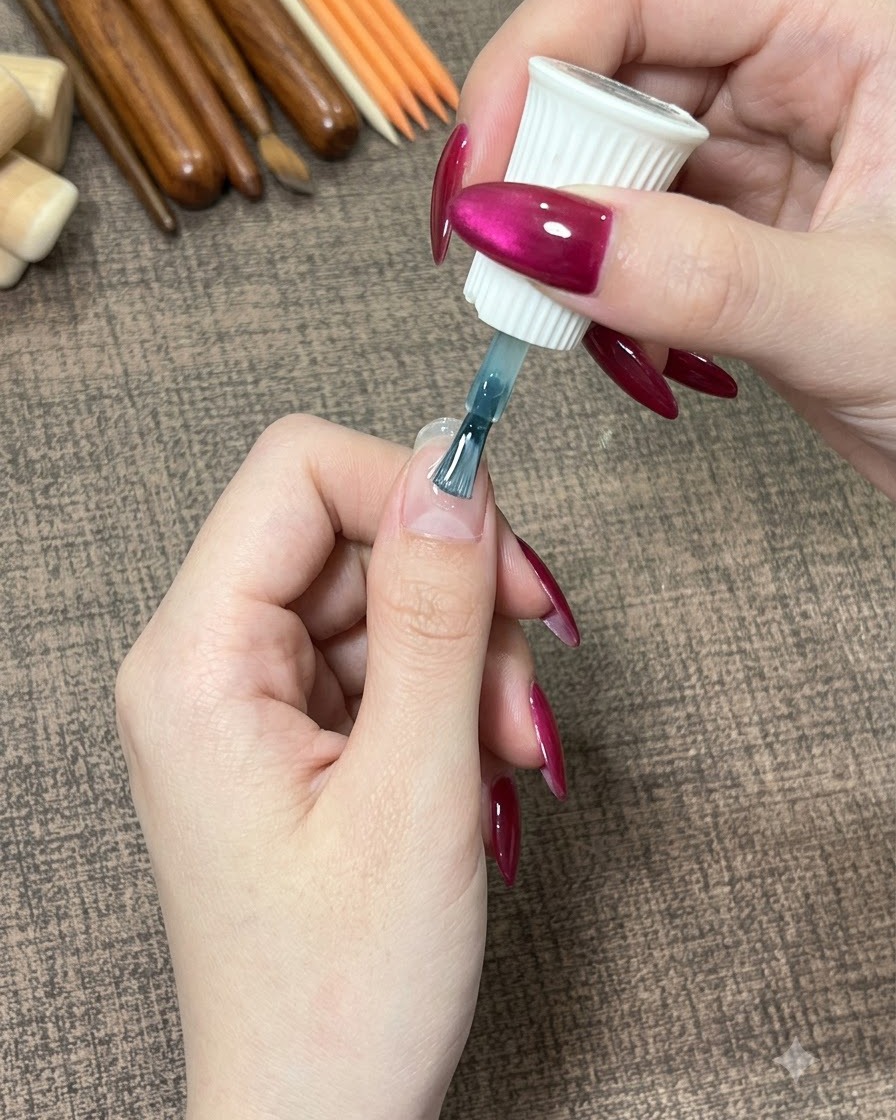
Take the brush applicator and apply a thin layer of the light teal cat-eye gel directly onto the bare nail surface. Spread the product evenly across the plate from the cuticle area to the free edge.
Tip: Apply a thin initial layer to ensure proper curing and prevent pooling around the cuticles. - 3Absorb the cat eye light effect
Position your hand or a magnetic tool near the wet gel layer to interact with the magnetic particles. Hover closely over the surface to draw out and shape the cat-eye light effect before it sets.
Tip: Hold the magnet steady for a few seconds to let the magnetic shimmer concentrate into a sharp line or glow. - 4Cure under the lamp
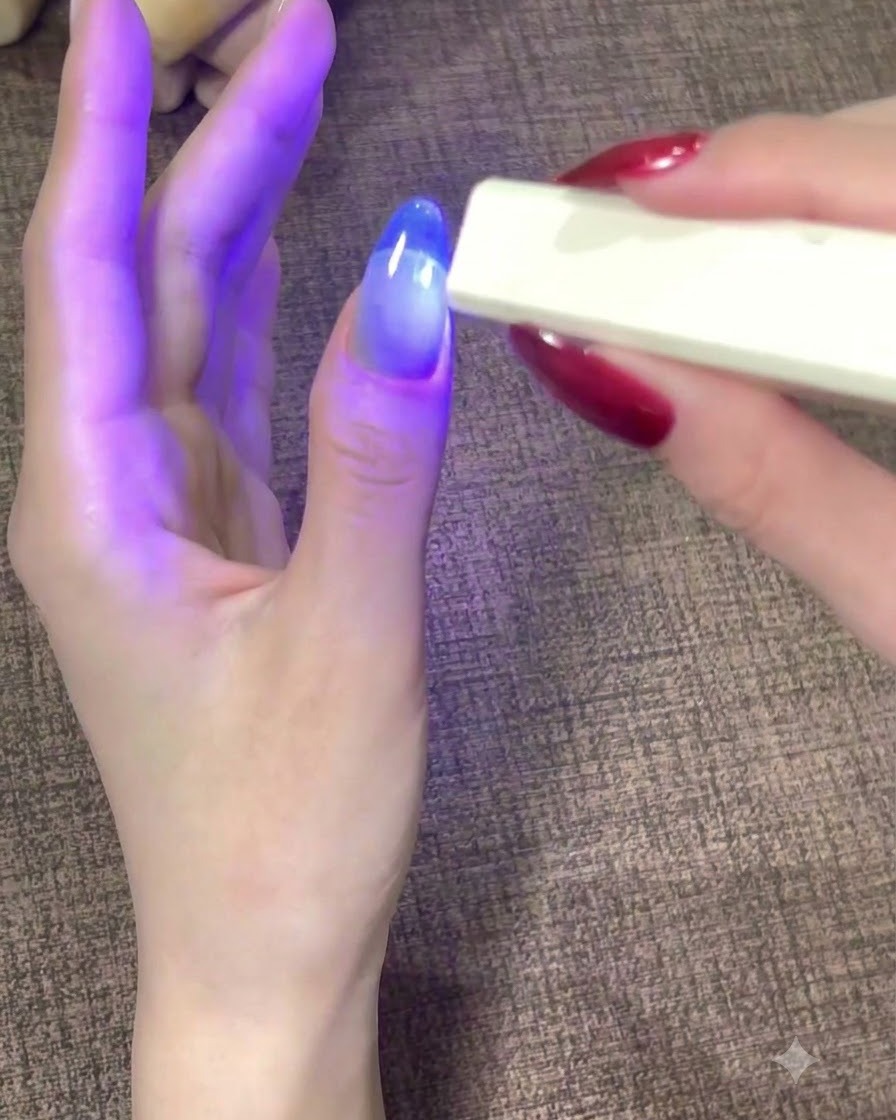
Place the newly painted thumb under a portable UV or LED nail lamp to harden the layer. Turn on the lamp and let the gel cure fully until the surface is dry and set.
Tip: Ensure the light reaches every angle of the nail, especially the sides and free edge, to prevent uncured spots. - 5Pick up a gel bead
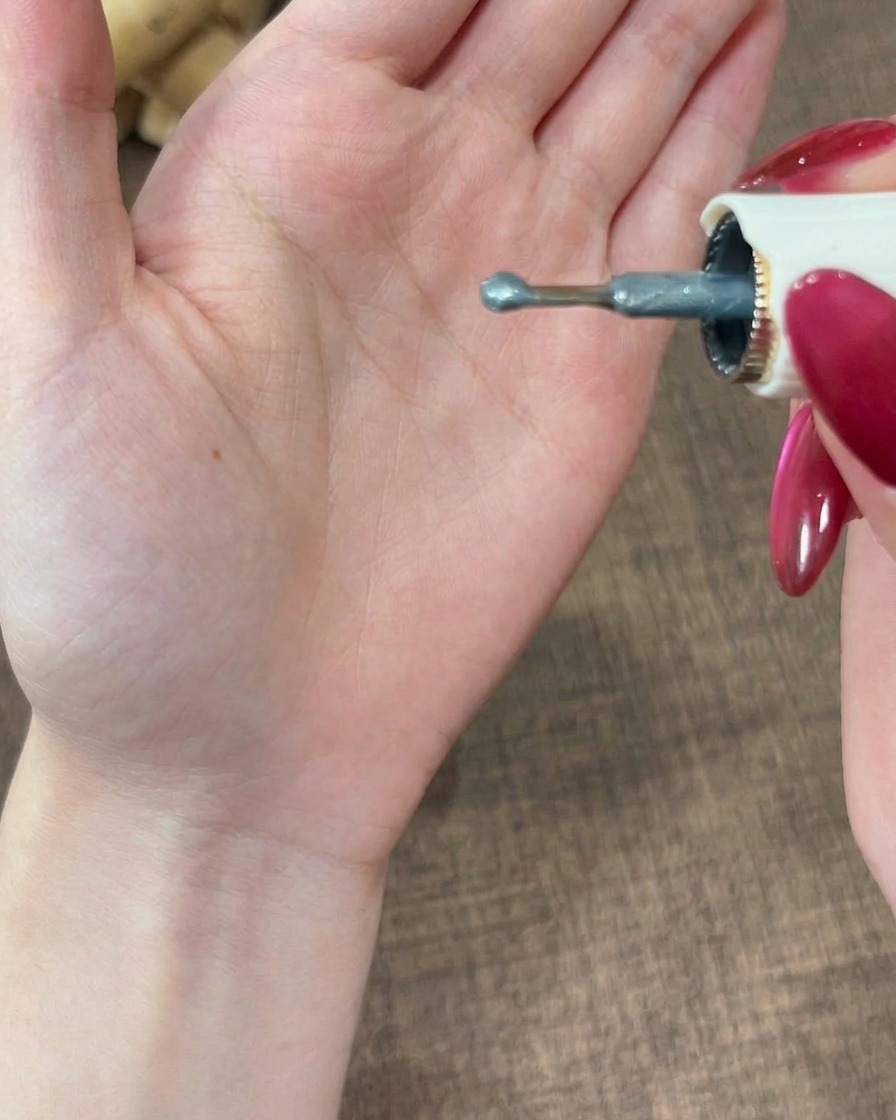
Load the brush applicator with a dollop of the cat-eye gel. This extra amount will be used to create depth and a smooth, self-leveling structure over the nail.
Tip: Collect a controlled amount on the tip of the brush to avoid taking too much product at once. - 6Apply a leveling coat
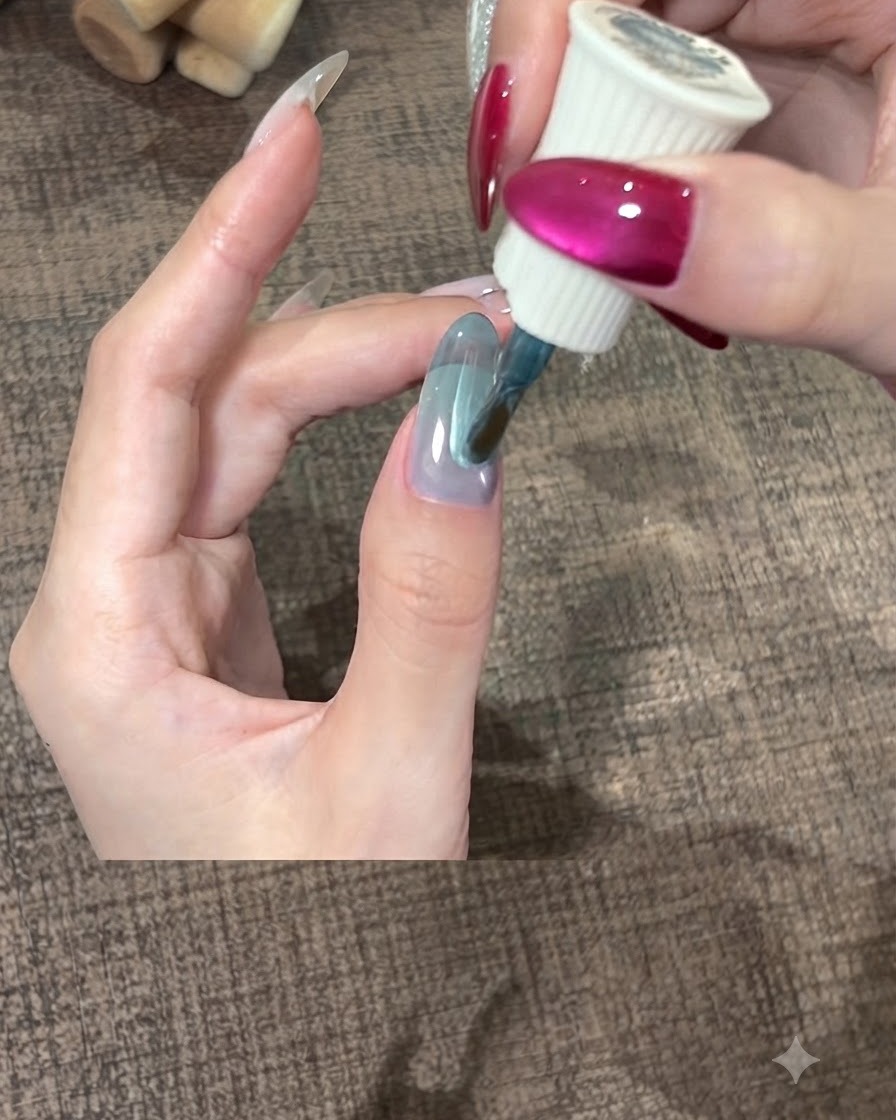
Take the gel bead and evenly spread it across the nail surface. The formula features a self-leveling effect, so allow it to rest for a few seconds to smooth out naturally into an even dome.
Tip: Do not overwork the gel with the brush; let its self-leveling property create a smooth finish on its own. - 7Let the self-leveling gel settle
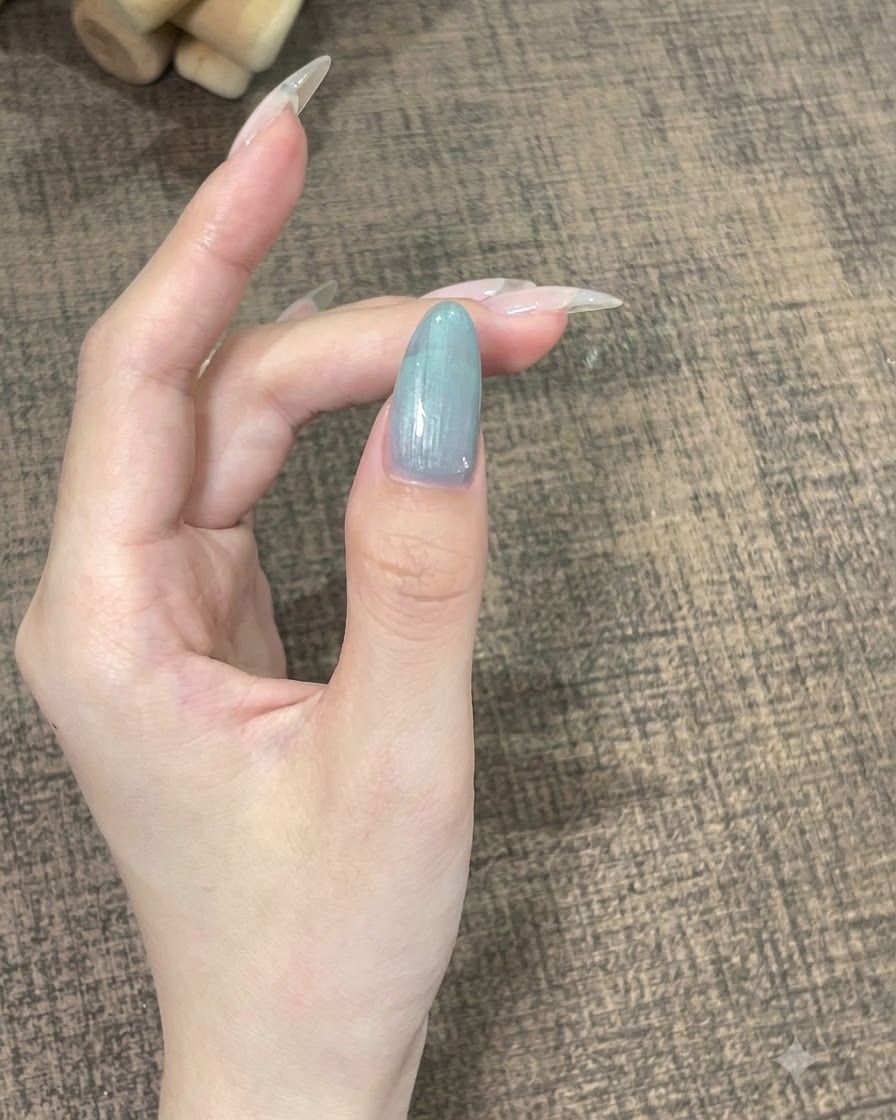
Hold the finger completely still for a few seconds to allow the gel bead to naturally self-level and create a smooth, even surface across the nail without bumps.
Tip: Keep the finger parallel to the table surface while waiting so the gel doesnt pool to one side. - 8Concentrate cat-eye particles with a magnet
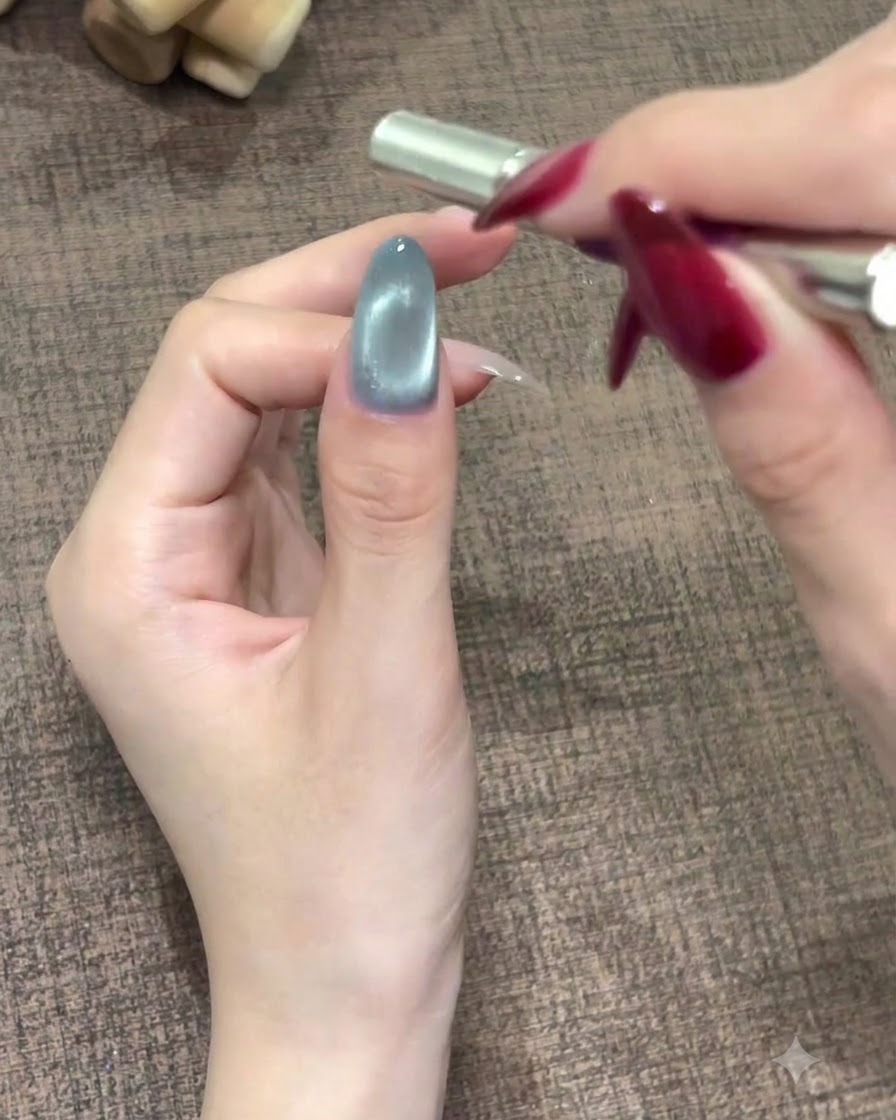
Take your magnet tool and position it around the uncured gel to pull and concentrate the magnetic particles into a distinct, centered rounded glass bead effect.
Tip: Hold the magnet steady for a few seconds until the particle line looks sharp and well-defined. - 9Cure the cat-eye layer under UV/LED light
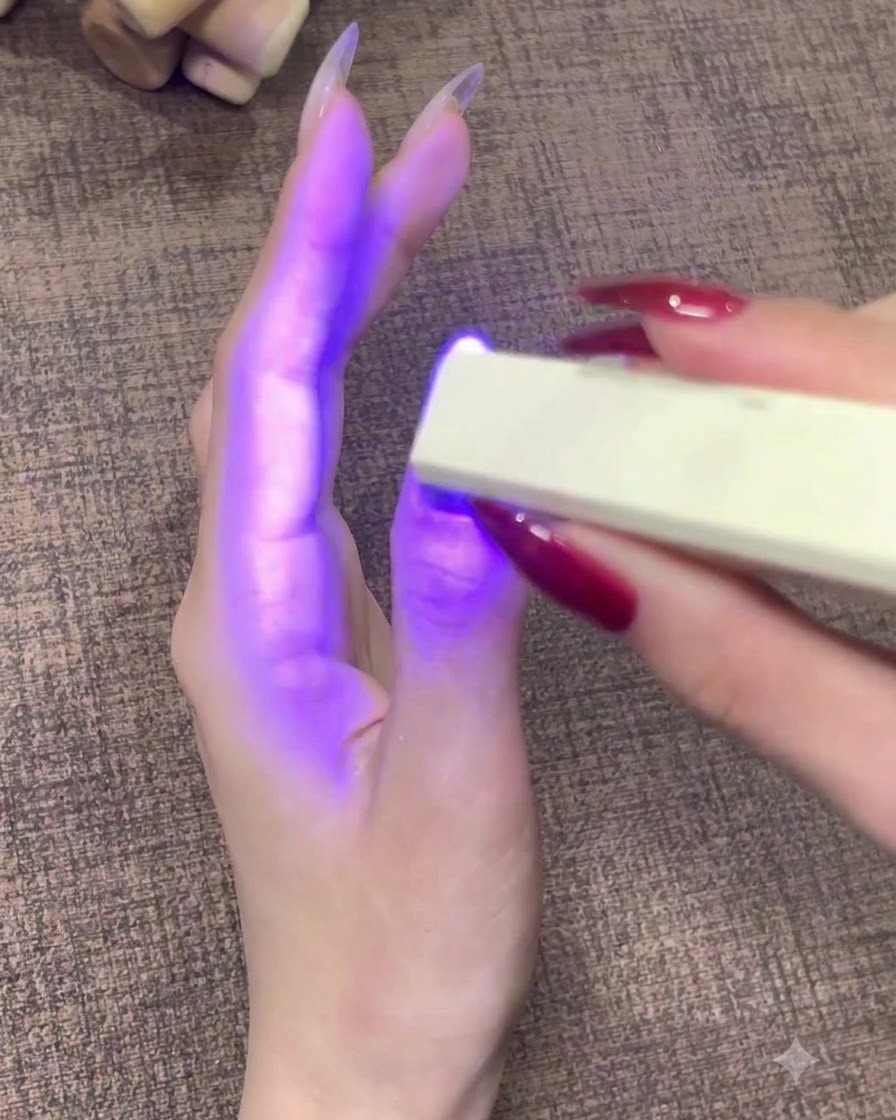
Place your finger under the UV or LED lamp to immediately flash cure and lock the rounded glass bead cat-eye effect in place before it can shift.
Tip: Ensure the light source covers the entire nail evenly so the magnetic effect hardens without distortion. - 10Repeat steps on remaining fingers
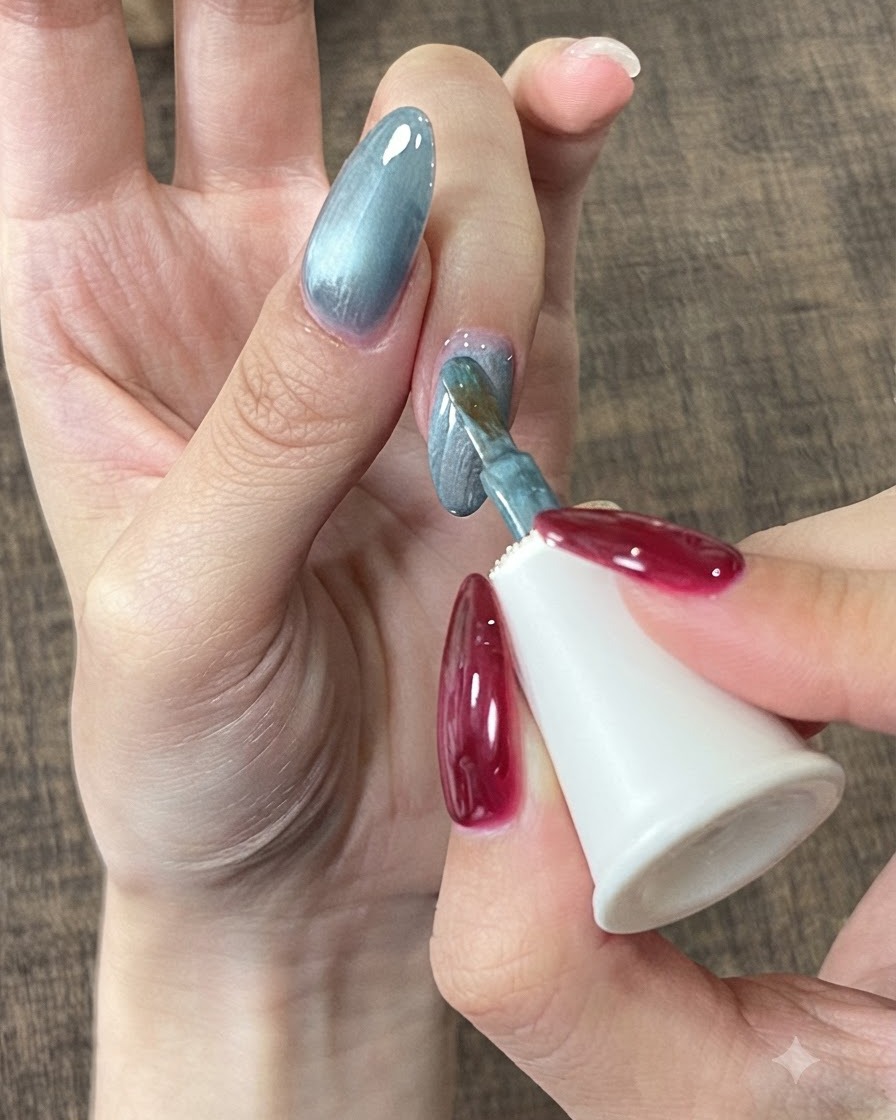
Apply the exact same layering, self-leveling, magnet shaping, and curing process to your other fingers to achieve a uniform and consistent style across the entire hand.
Tip: Work one or two fingers at a time when using cat-eye and self-leveling gels to prevent shifting before curing.