Advanced Champagne Gold Glass Bead Cat Eye Nails — Step-by-Step Tutorial
Master the luxurious champagne gold glass bead cat-eye look for autumn and winter with this step-by-step translucent gel tutorial.
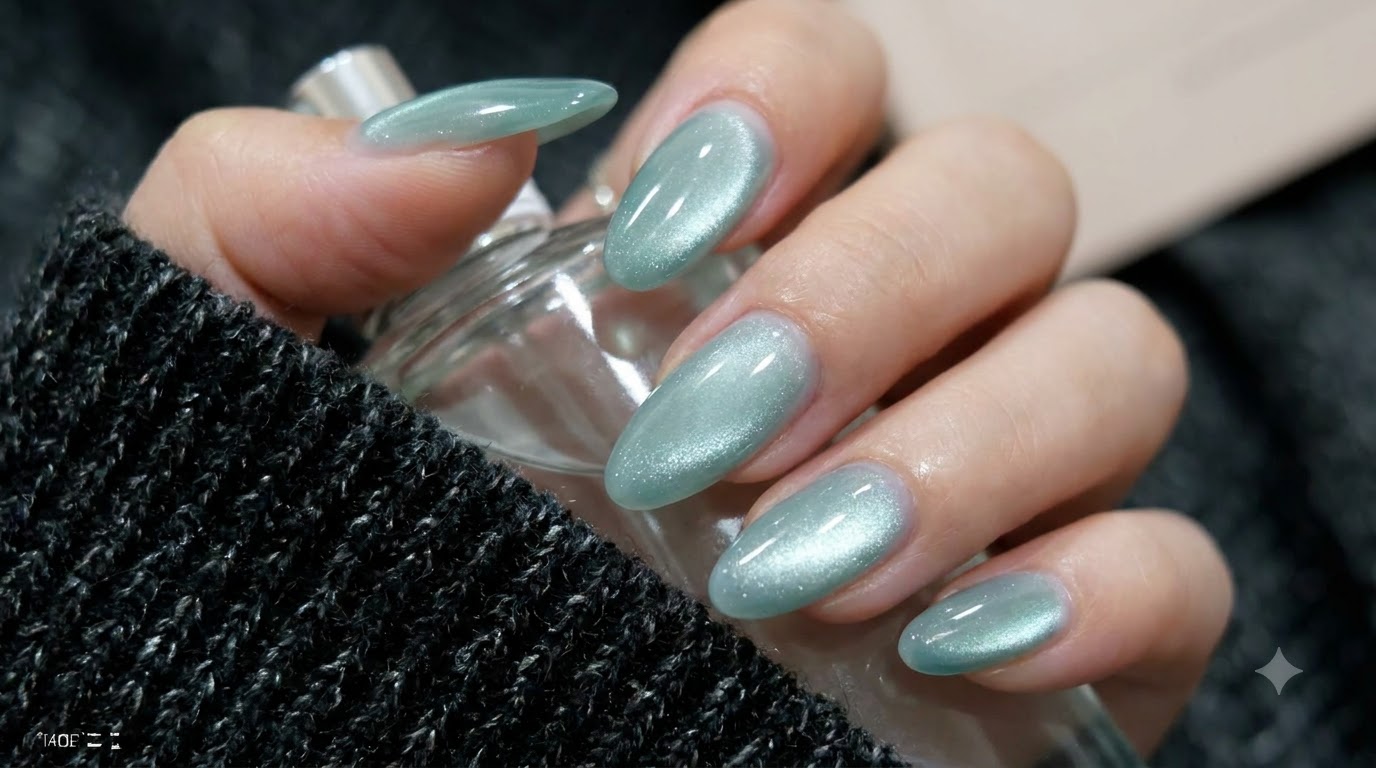
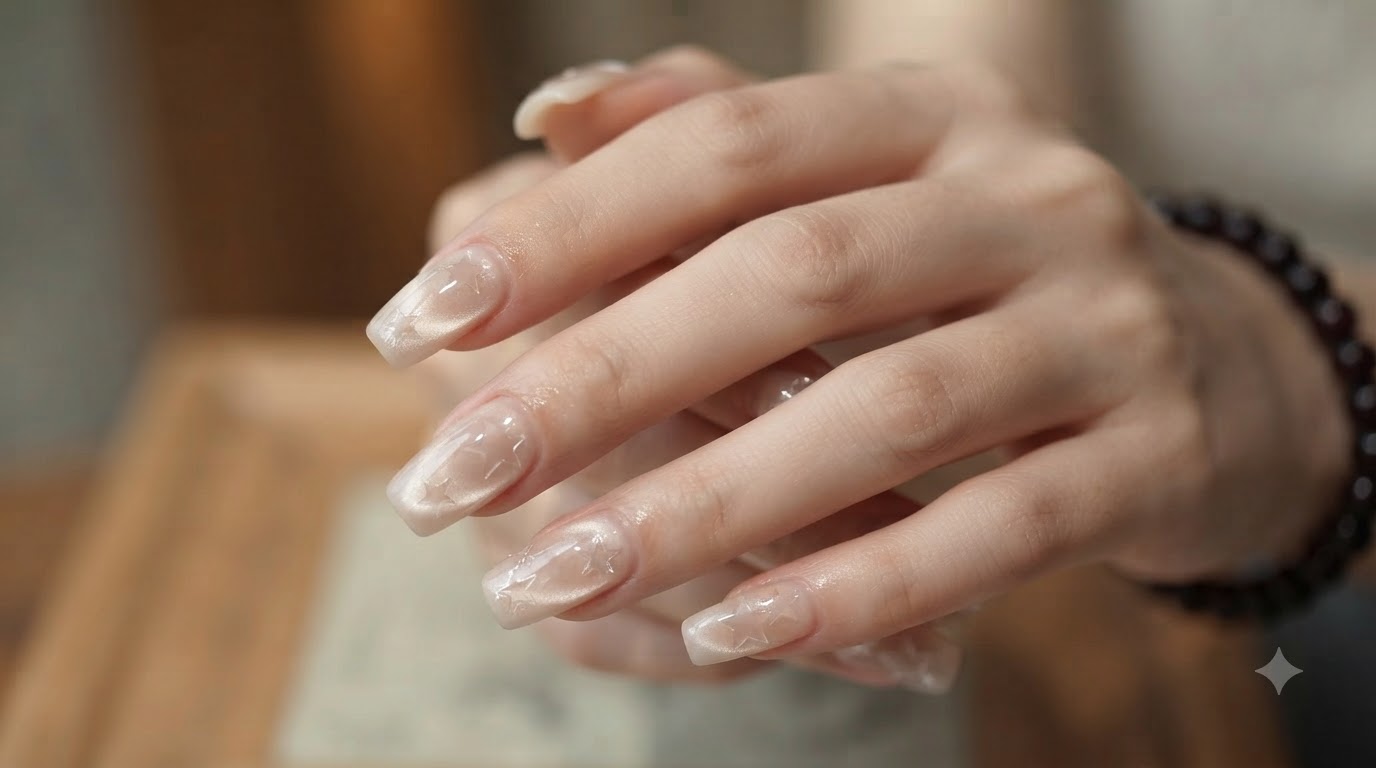
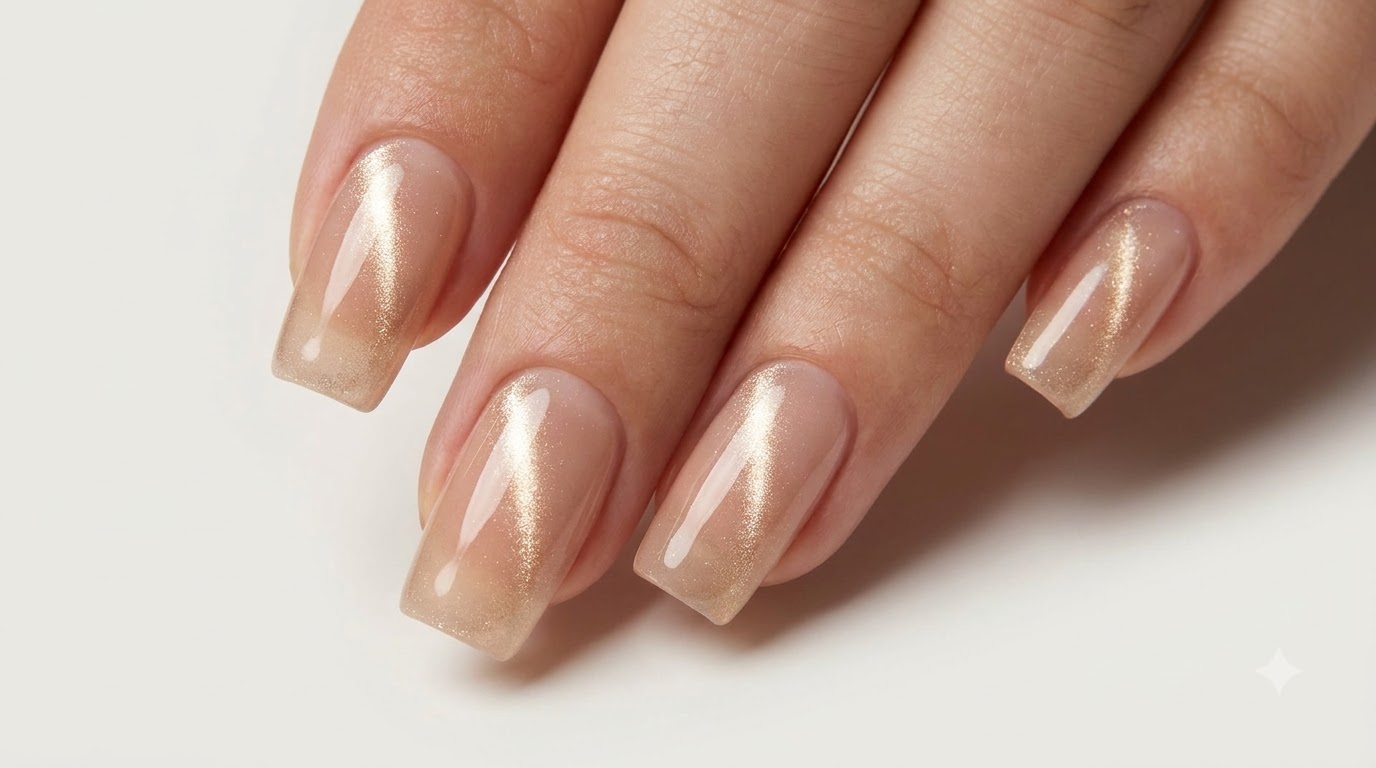
Cat-eye nails continue to dominate seasonal trends, and this advanced champagne gold glass bead look offers a stunning translucent finish that resembles clear glass. Although the gel appears dark inside the container, it transforms upon application into a soft, nude shade with a luminous side-light effect. This tutorial guides you through professional magnetic manipulation techniques to create stable, flowing light reflections that elevate your everyday manicure.
Steps
- 1Inspect the Cat Eye Gel Jar
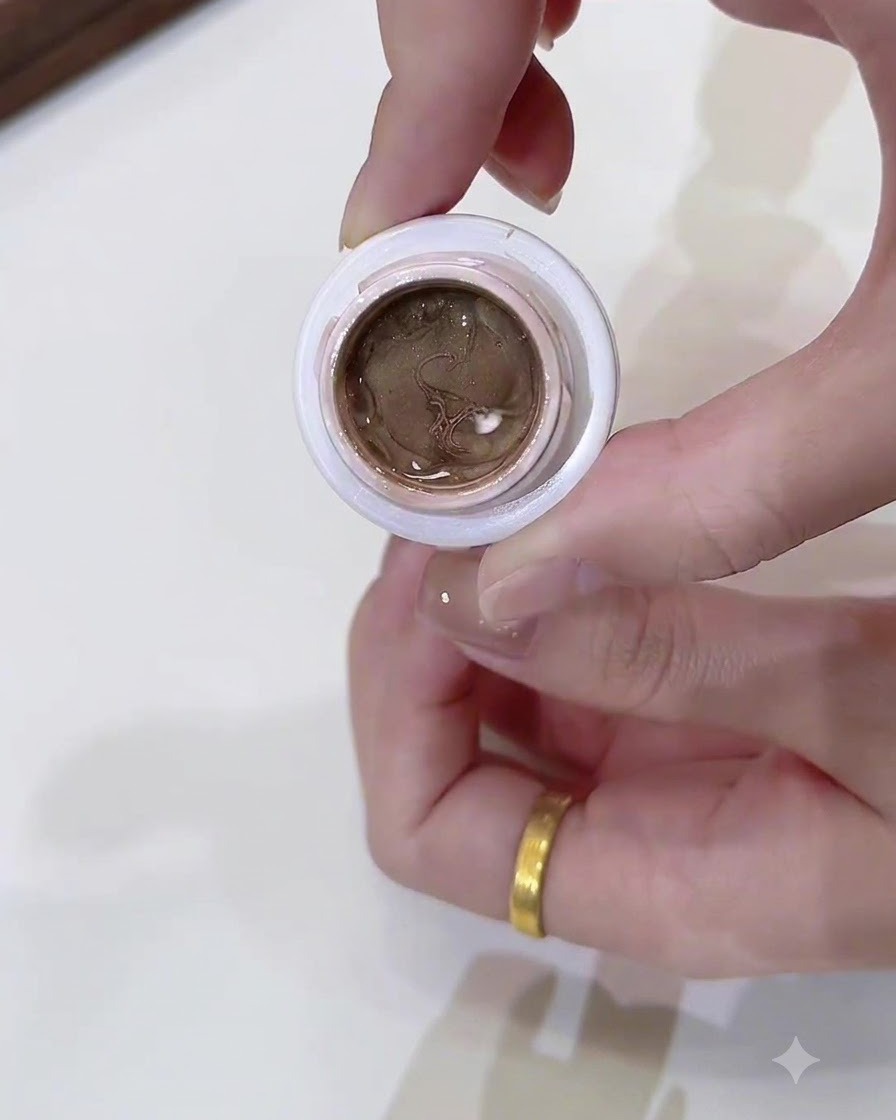
Observe the champagne gold glass bead cat eye gel inside the jar, where it appears dark in the container before application. Despite its dark look in the jar, it transforms into a light, nude shade when applied to the hand.
Tip: The appearance of gel polishes in their containers can often look darker than their actual swatch color on nails. - 2Scoop Gel Product with a Brush
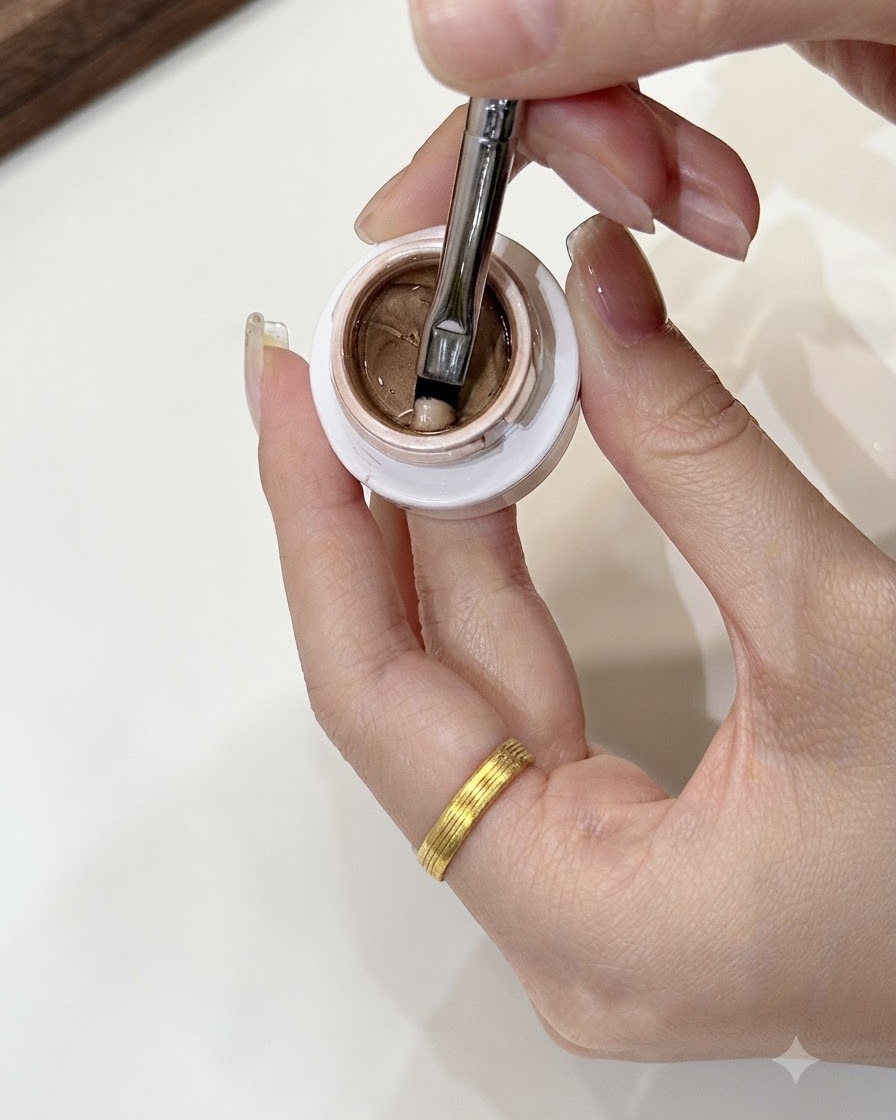
Dip the application brush into the gel jar to retrieve a small amount of product, approximately the size of a mung bean. Ensure the brush feel remains smooth as you pick up the gel for an even application.
Tip: Taking a small, controlled amount prevents product buildup and ensures a smooth, even layer on the nail. - 3Apply Nude Cat Eye Gel Layer
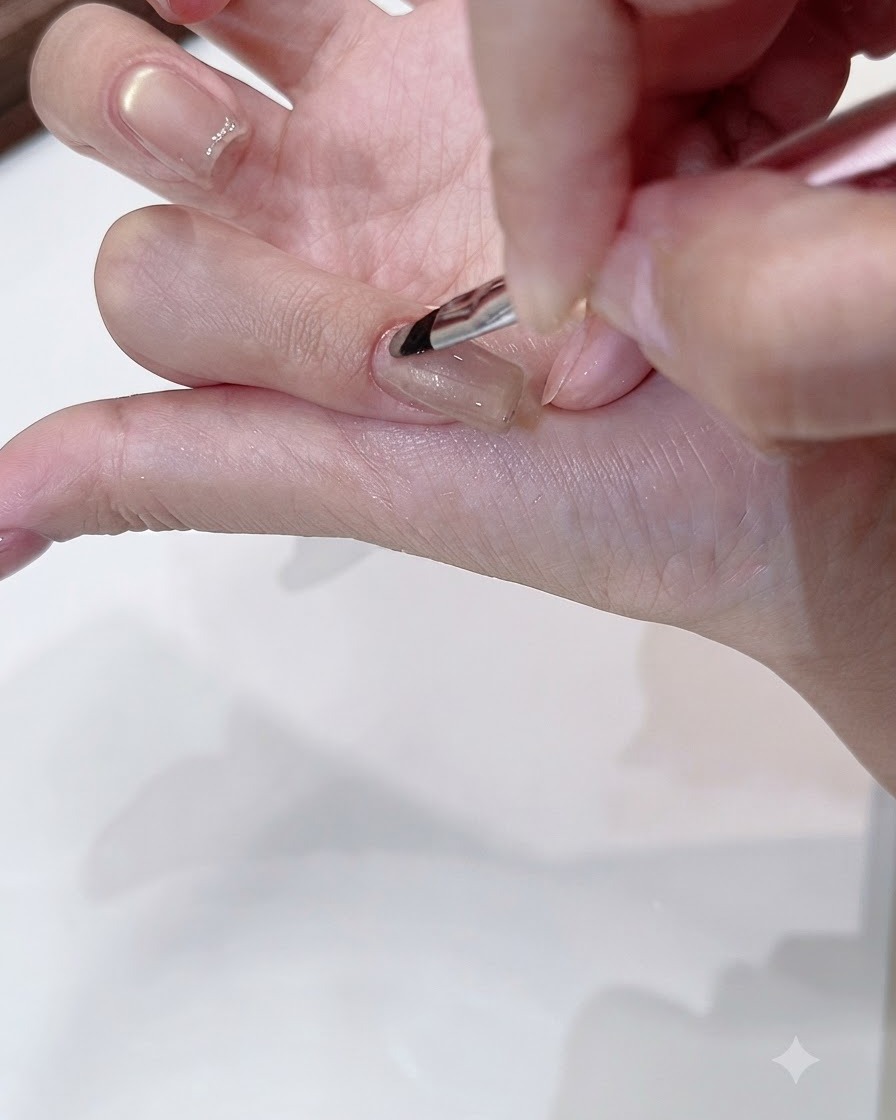
Apply a smooth layer of the light nude cat eye gel onto the nail plate using the brush. Although the product looked dark in the jar, it reveals a very light, nude, and soft color on the hand.
Tip: Apply with gentle, even strokes to maintain a smooth texture across the entire nail surface. - 4Magnetize a Wide Strip of Light
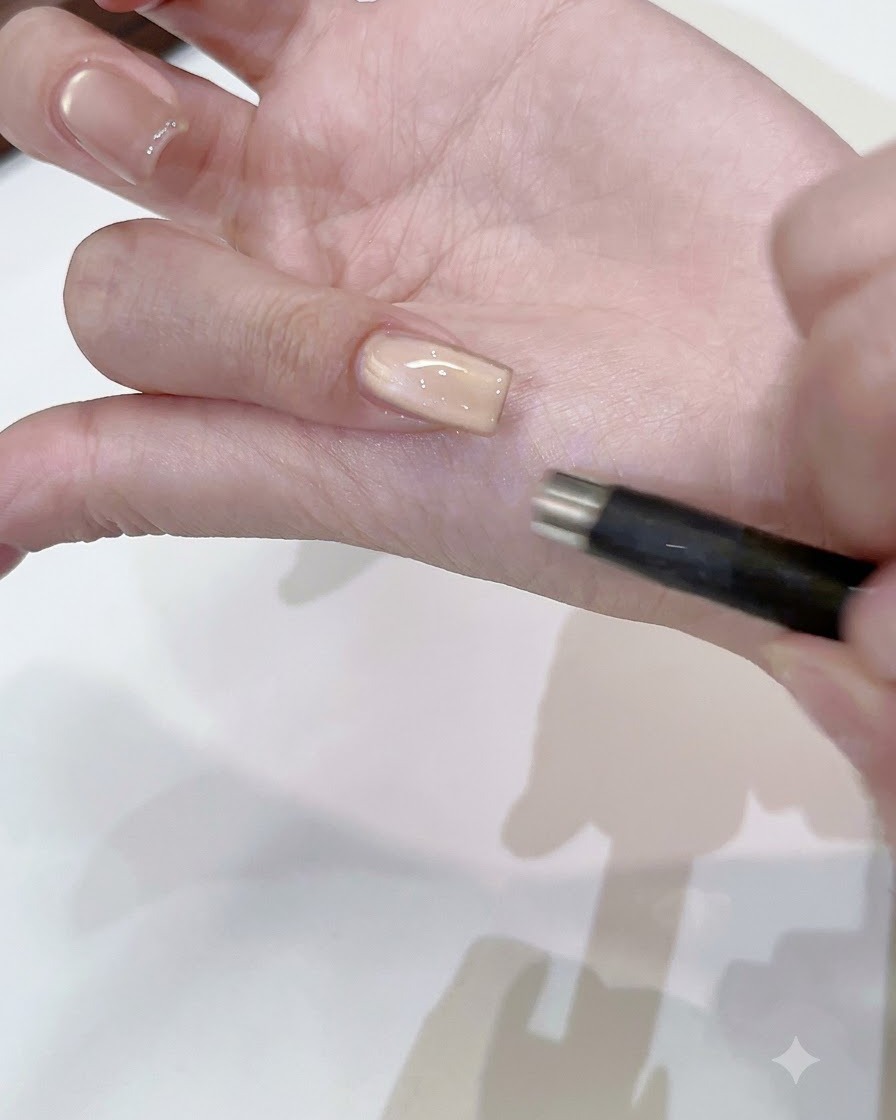
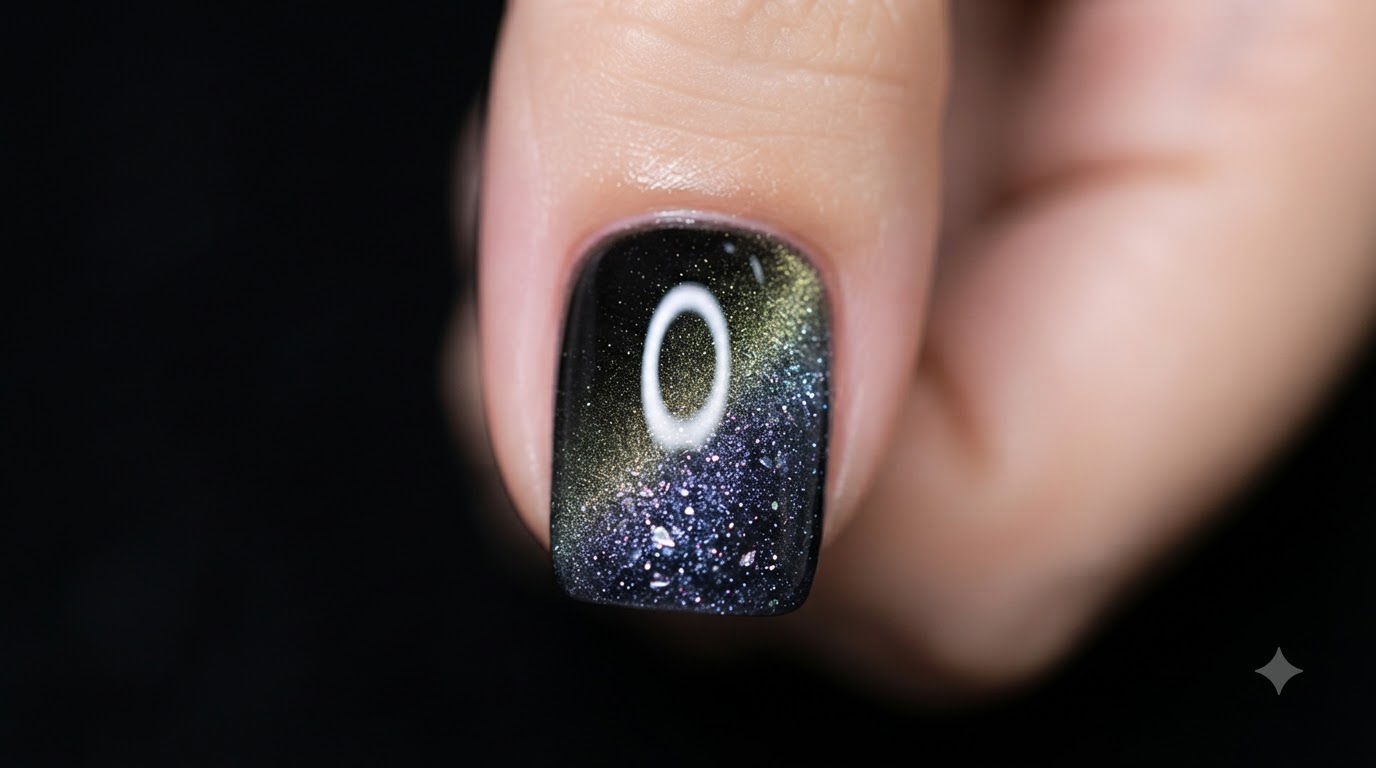
Take a magnetic tool and use it to magnetize a wide strip of light across the freshly applied gel layer. The resulting light effect is very soft, resembling side lighting from a lamp with a matching champagne color tone.
Tip: Hold the magnet steady and close enough to the wet gel to pull the magnetic particles into a clean, wide stripe. - 5Create Side-Light Lamp Effect
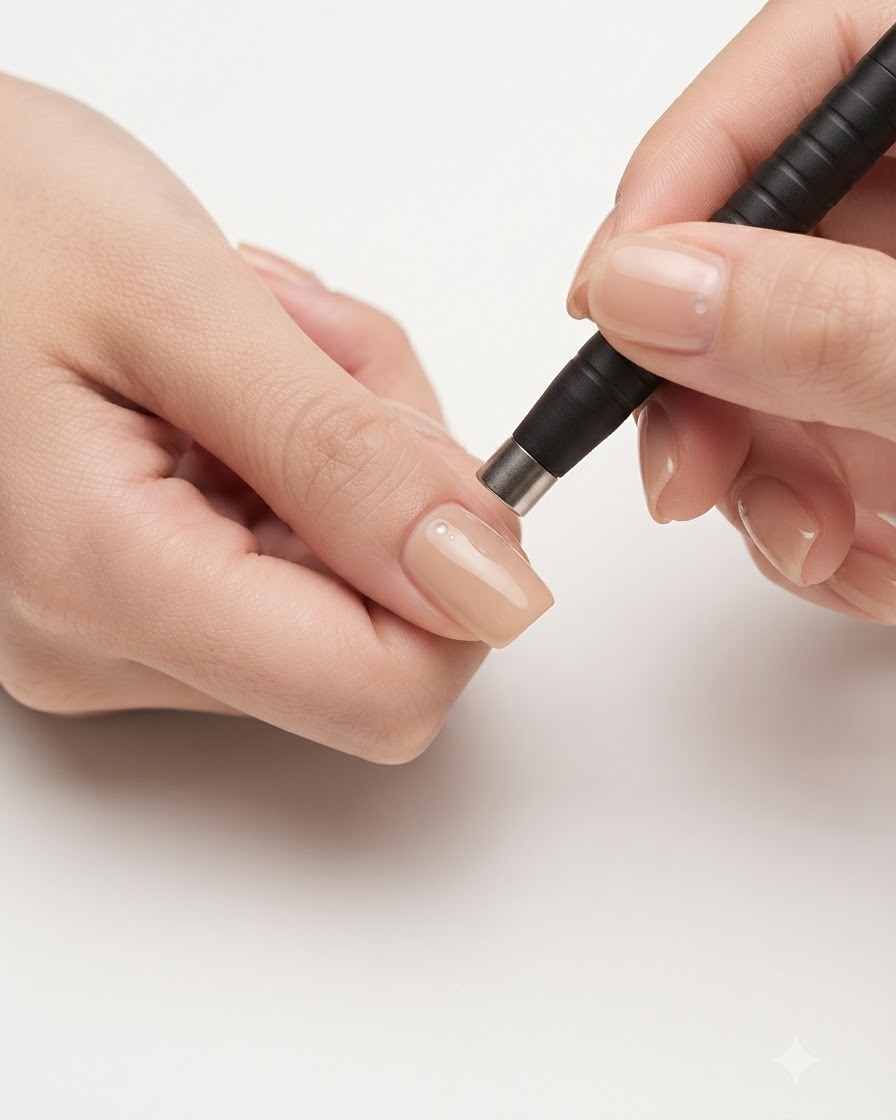
Continue using the magnet to shape a side-light lamp effect on the nail, ensuring the glowing champagne-colored reflection is properly set. This technique gives the cat eye gel a translucent, glass-like appearance suited for autumn and winter.
Tip: Precise placement of the magnet helps control the diffusion of the cat eye particles for a lamp-like glow. - 6Refine Cat Eye Light Reflection
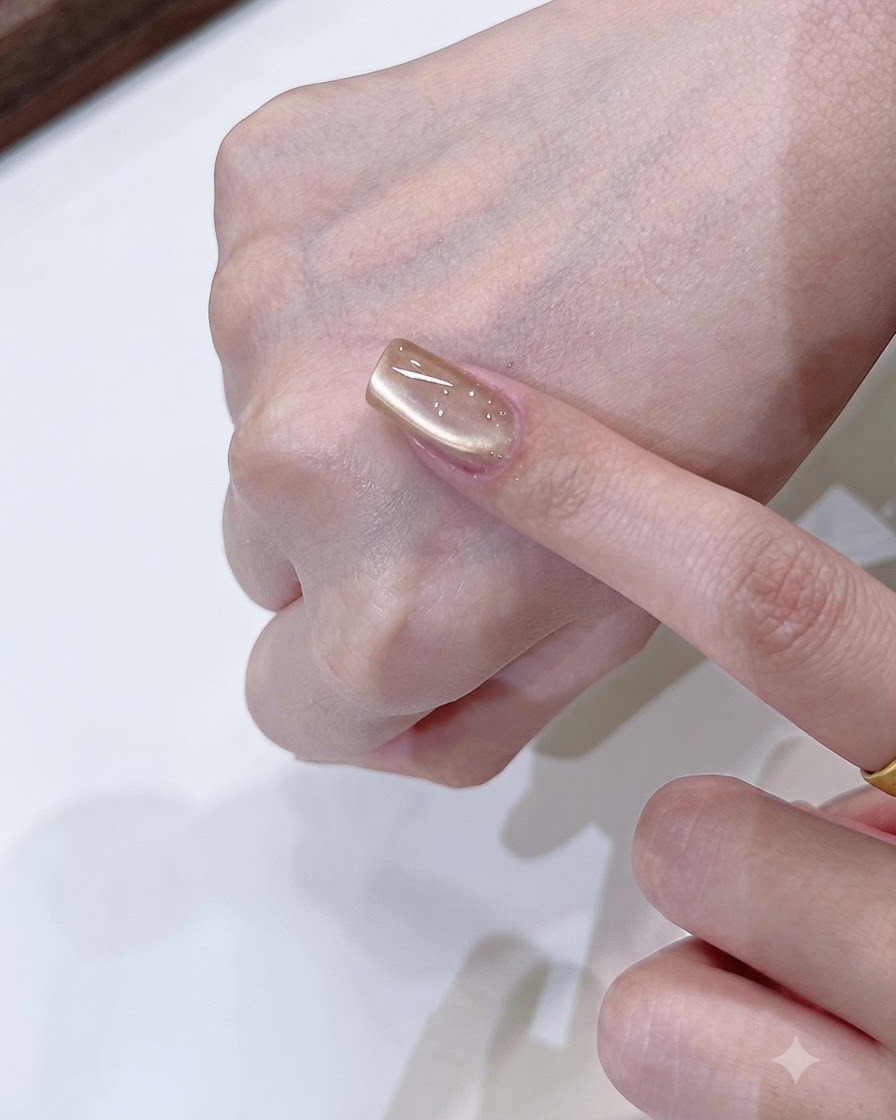
Use the magnet tool to carefully adjust and refine the cat eye magnetic particles, creating a soft, single-side glowing effect that resembles gentle lamp light. Hold the magnet steadily to shape the highlight cleanly before curing.
Tip: Keep the magnet at a consistent distance from the nail to prevent the magnetic particles from dispersing unevenly. - 7Create Flowing Light Effect
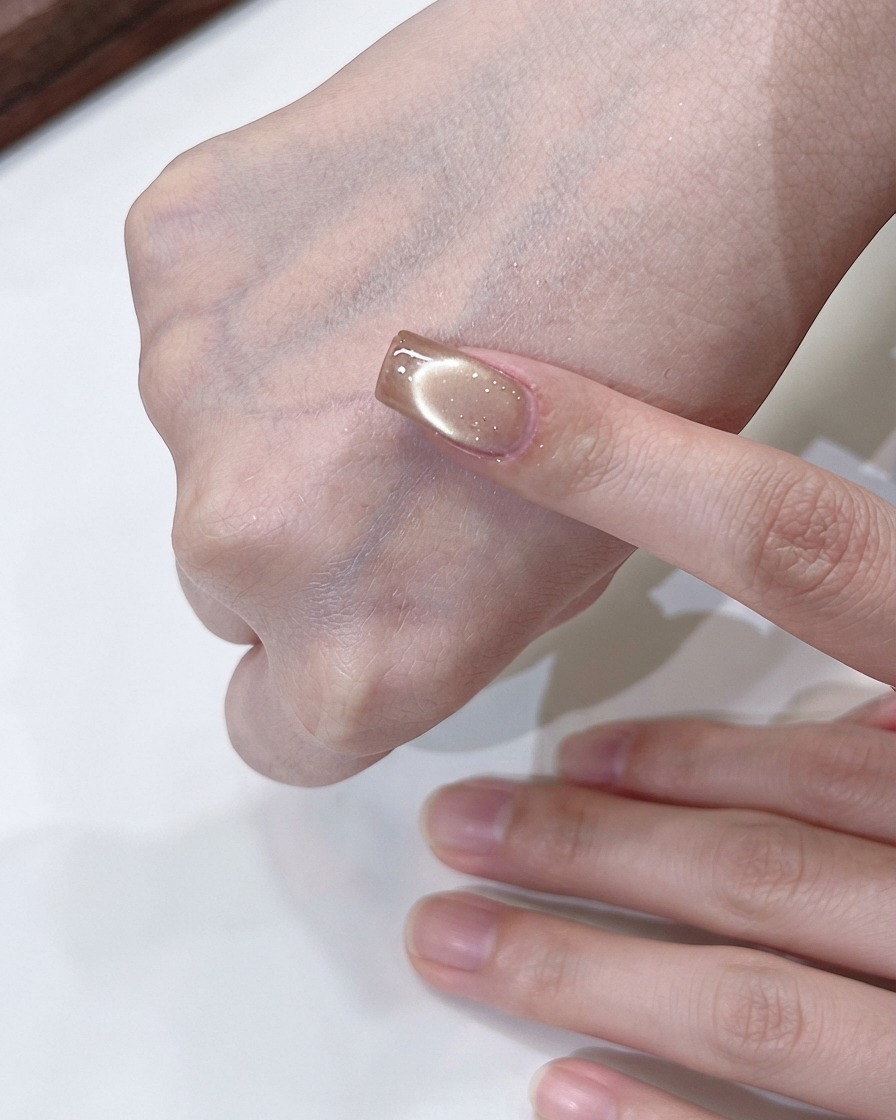
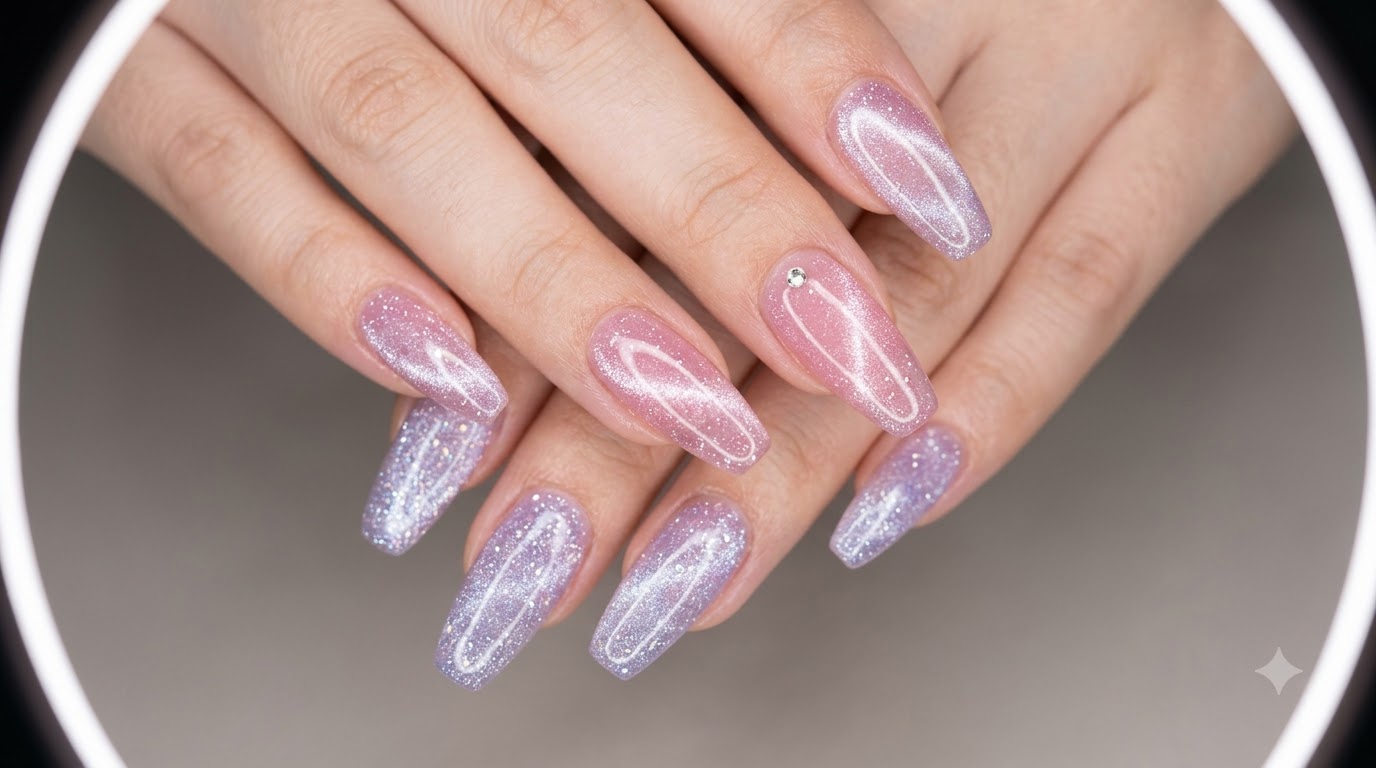
Position the magnet directly above the nail surface and gently move it in circular motions. This technique helps concentrate the magnetic particles, creating a dynamic flowing light effect that stays stable and prevents the cat-eye reflection from scattering too quickly.
Tip: Circular swirling motions help achieve that popular flowing dimension unique to advanced cat-eye gels. - 8Apply Final Top Coat
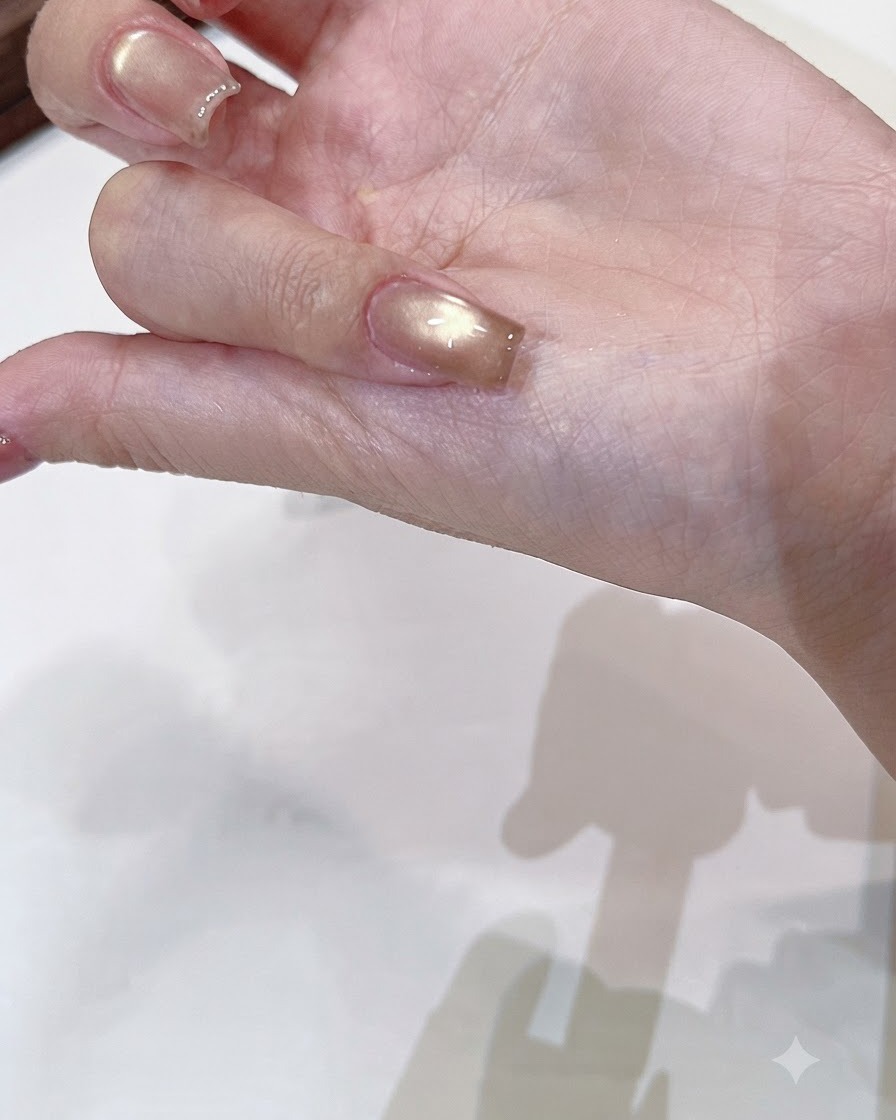
Apply a generous layer of clear sealing top coat over the fully cured cat eye gel layer to lock in the design. Make sure to cap the free edge completely to protect the manicure and enhance the glossy glass-like transparency.
Tip: Ensure the top coat is applied smoothly to maximize the translucent glass effect over the cat-eye base.