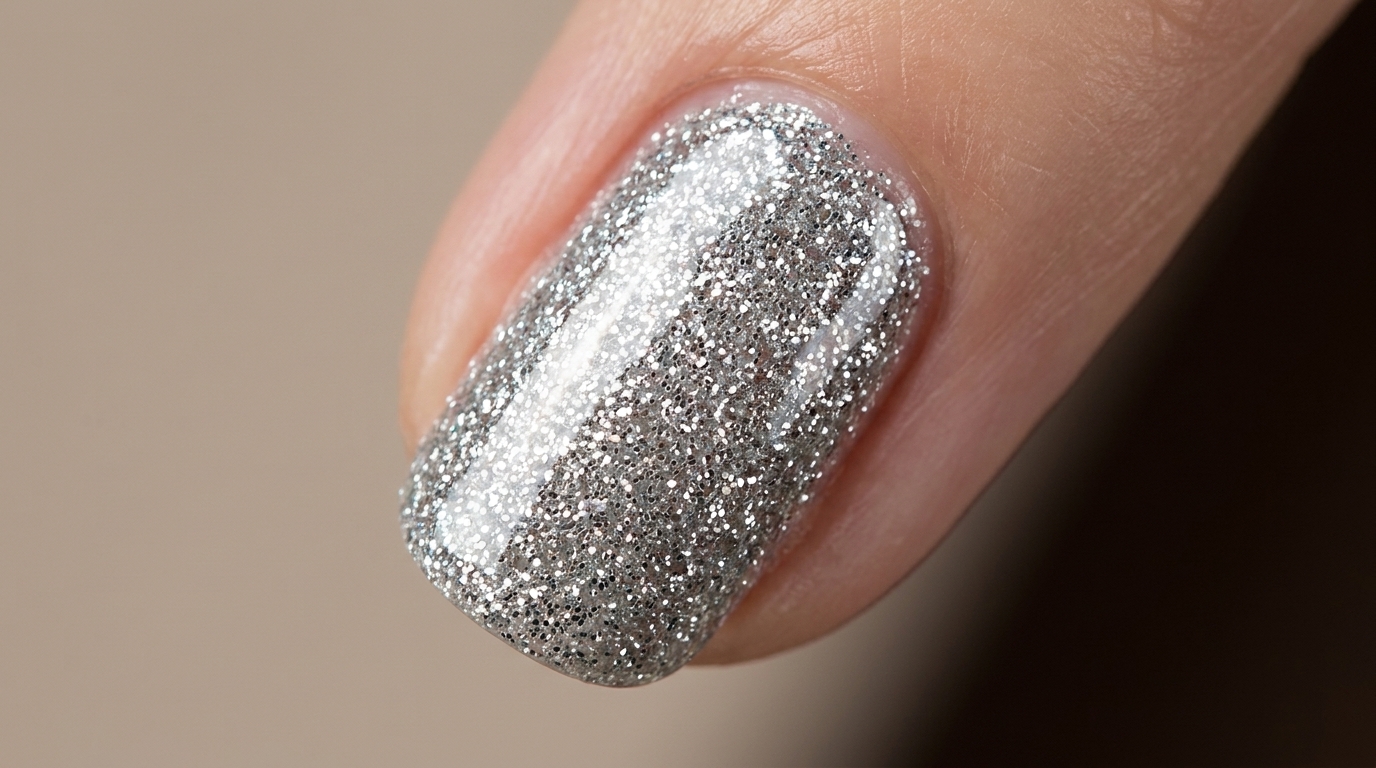
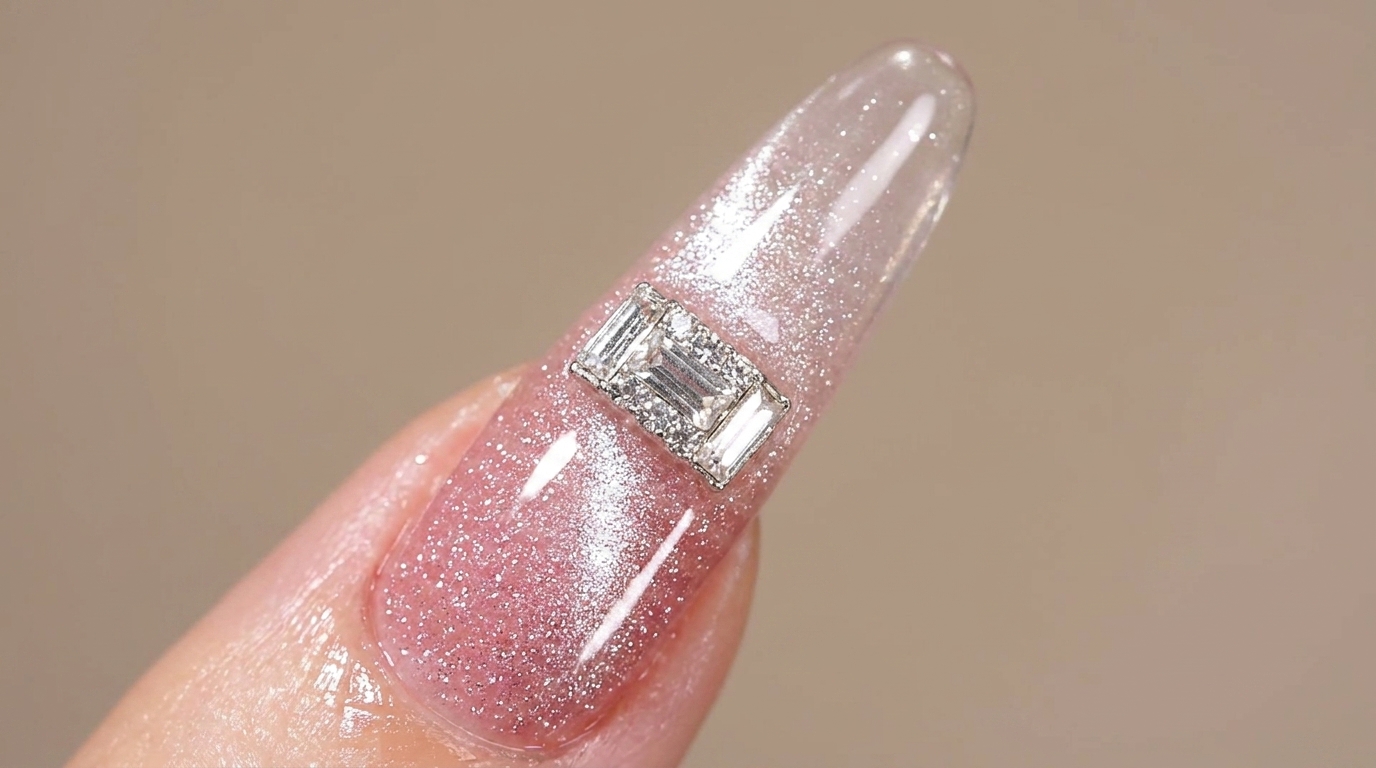
Diamond Ring Inspired Nail Art — Step-by-Step Tutorial
Create a sophisticated, sparkling diamond ring look on your nails. This tutorial uses a gradient base and precision crystal placement for a professional finish.
Bring the elegance of high jewelry to your fingertips with this stunning diamond ring inspired design. Combining a delicate pink gradient base with a meticulously placed 3D crystal setting, this look mimics a real diamond ring. It is the perfect choice for special occasions or when you want your manicure to make a luxurious statement.
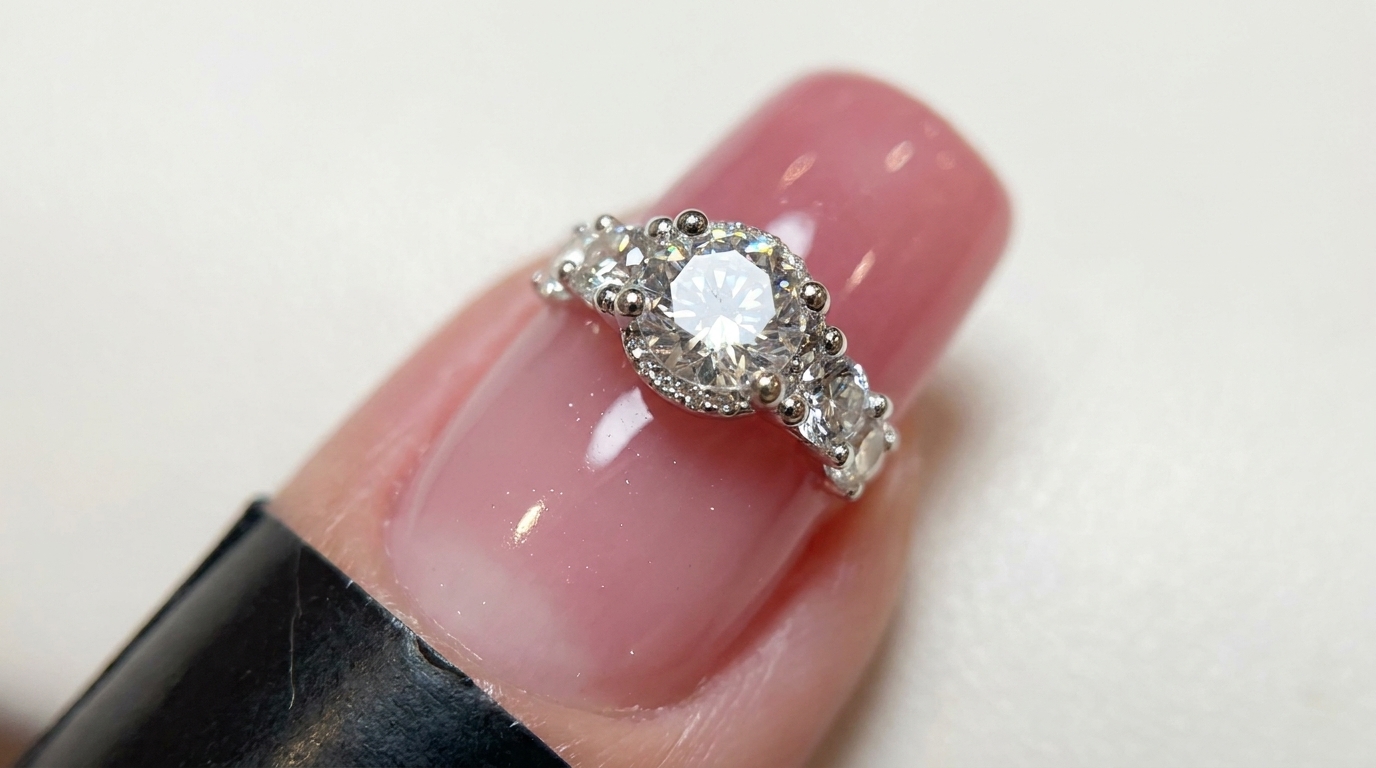
Steps
- 1Apply pink gradient base
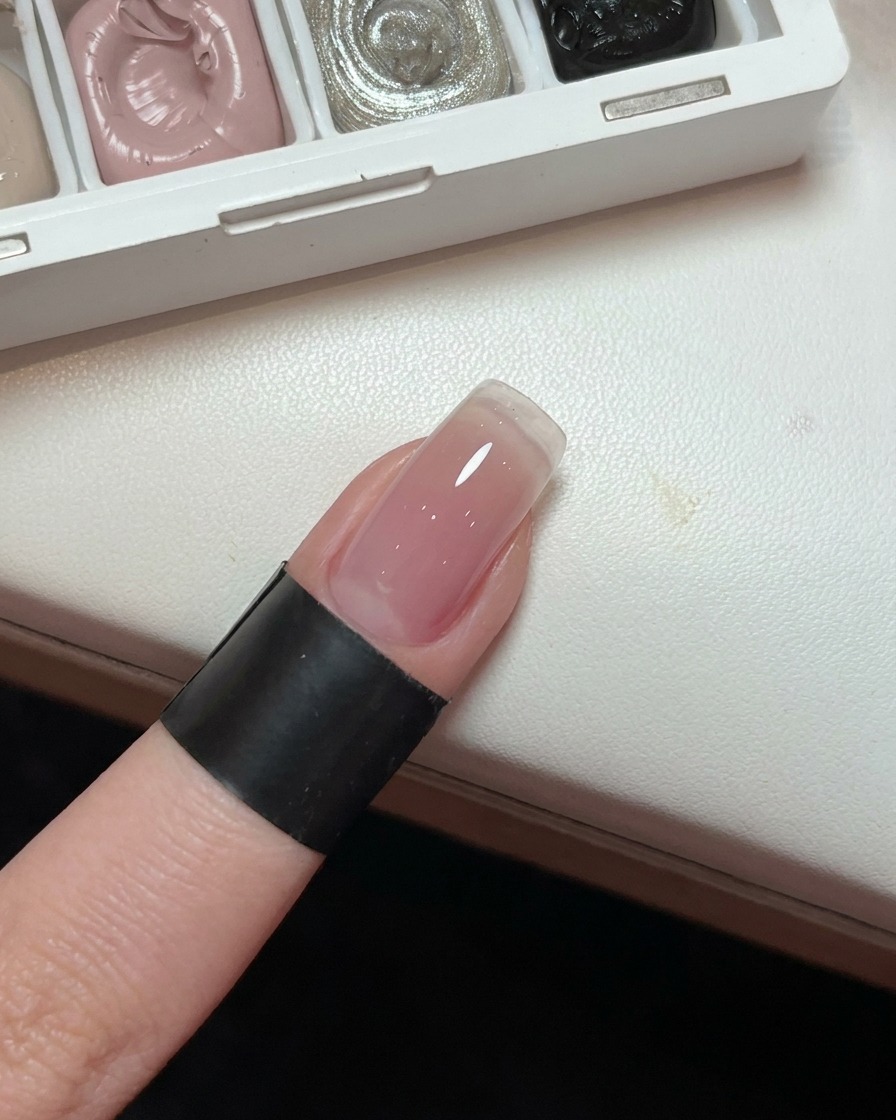
Apply a light pink gel to the nail plate to create a soft, seamless gradient effect. This blush tone serves as an elegant and subtle backdrop for the diamond ring nail art.
Tip: Building the gradient in thin layers helps create a smoother, more natural transition of color. - 2Cure the base layer
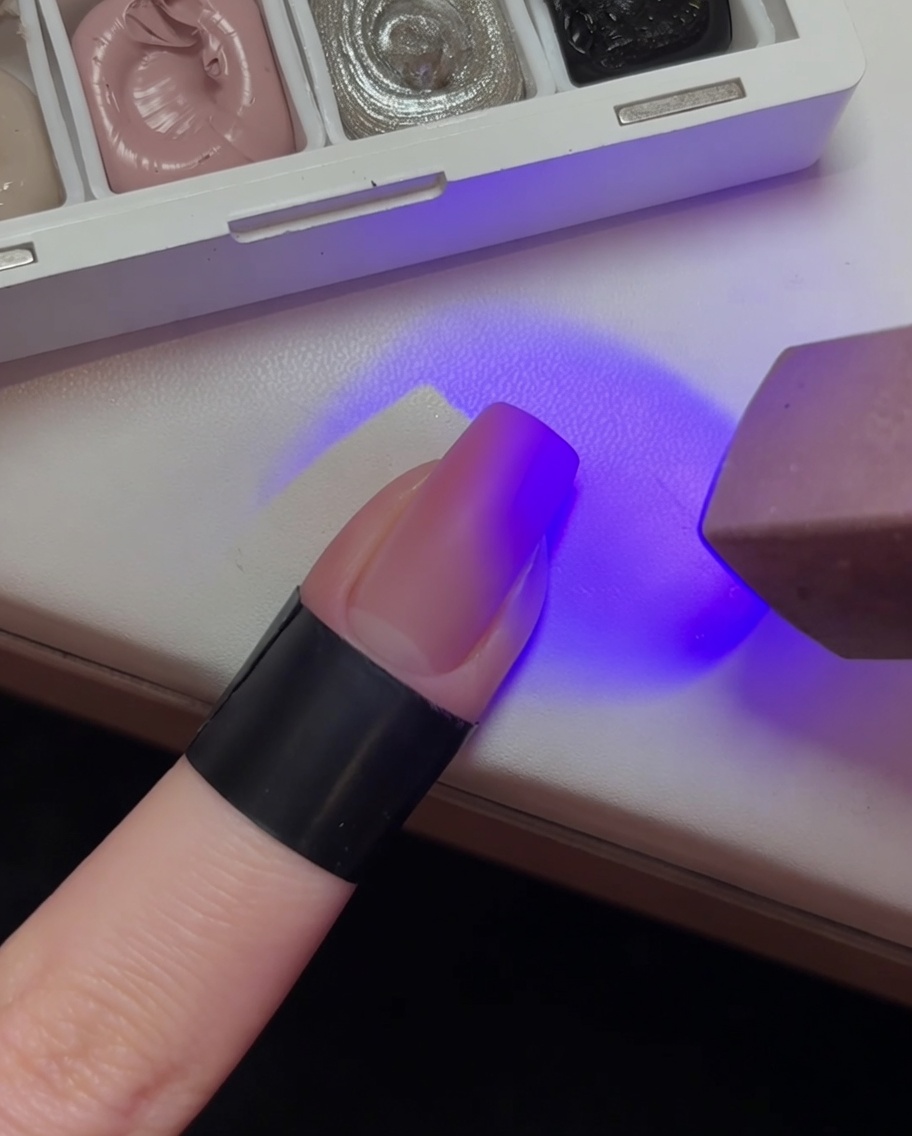
After applying your light pink gradient base, place your hand inside the UV lamp. Ensure your fingers are positioned correctly under the lights. Cure for the manufacturers recommended time to ensure the base layer is completely set and durable.
Tip: Keep your fingers flat and centered in the lamp to ensure even curing across the entire nail surface. - 3Apply top coat
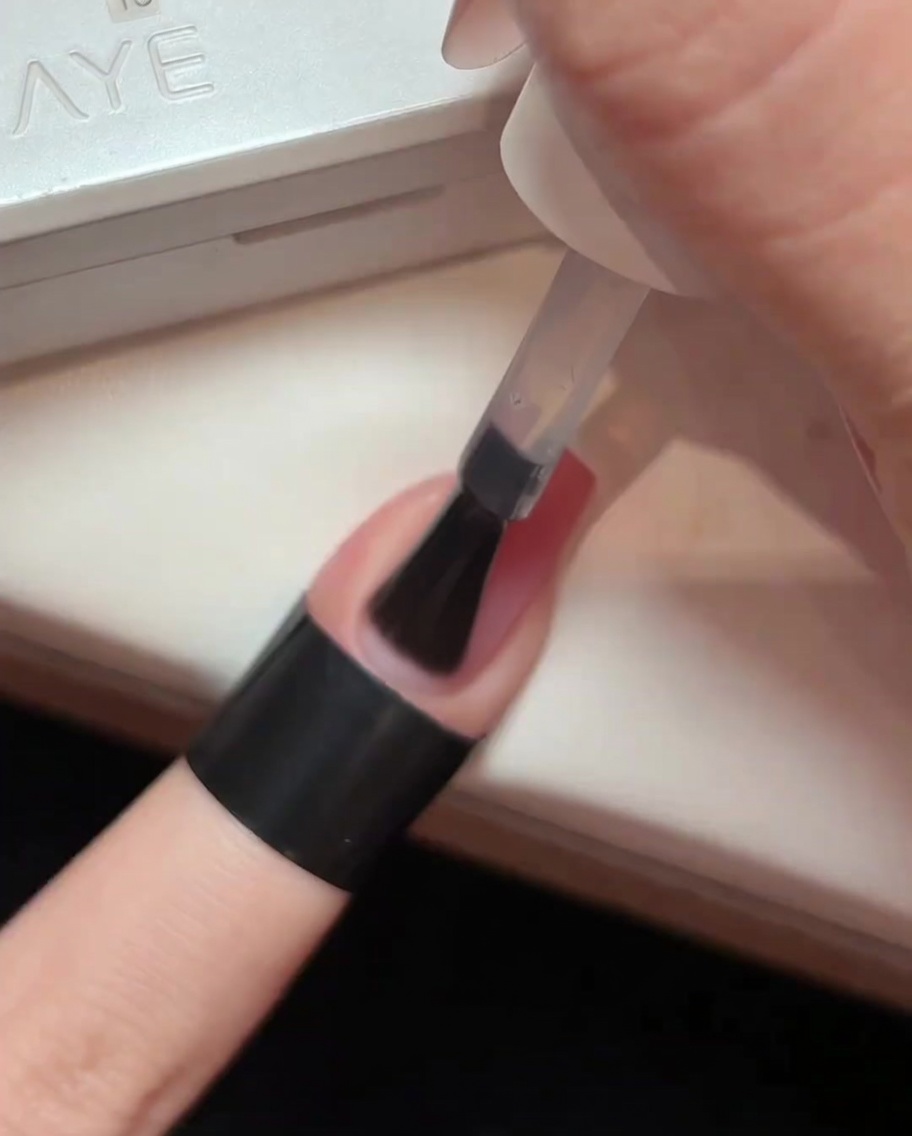
Brush an even layer of clear top coat over the cured pink gradient base. This smooth layer seals your color work and provides a sleek, durable surface before beginning the 3D diamond gel placement.
Tip: Ensure the top coat does not pool at the sidewalls or cuticles to maintain a crisp, refined nail shape. - 4Cure the top coat
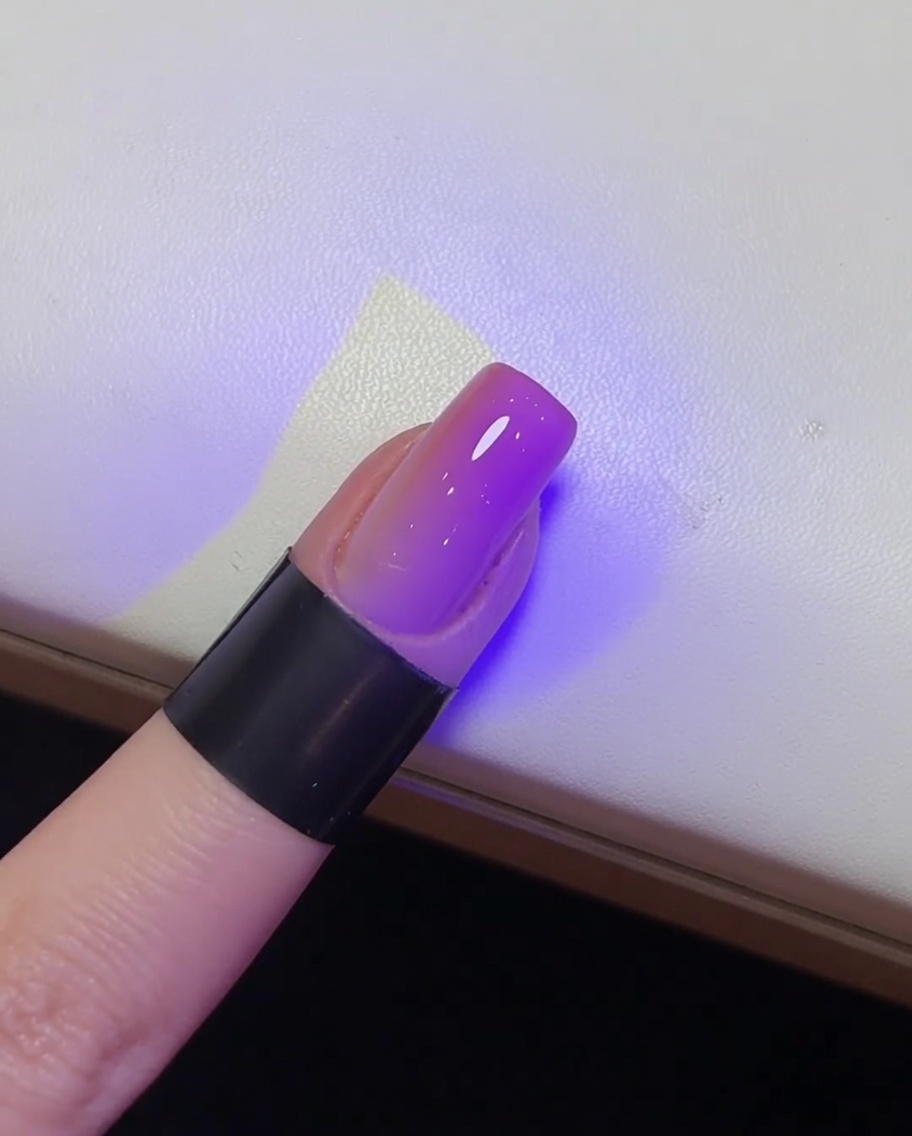
Once the top coat is applied over your finished design, place the nail back into the UV lamp. Cure for the full duration specified by your top coat product instructions to lock in the nail art and provide a glossy, protective finish.
Tip: Do not rush the final cure; a thorough cure ensures the diamond ring nail art stays securely in place. - 5Apply adhesive gel
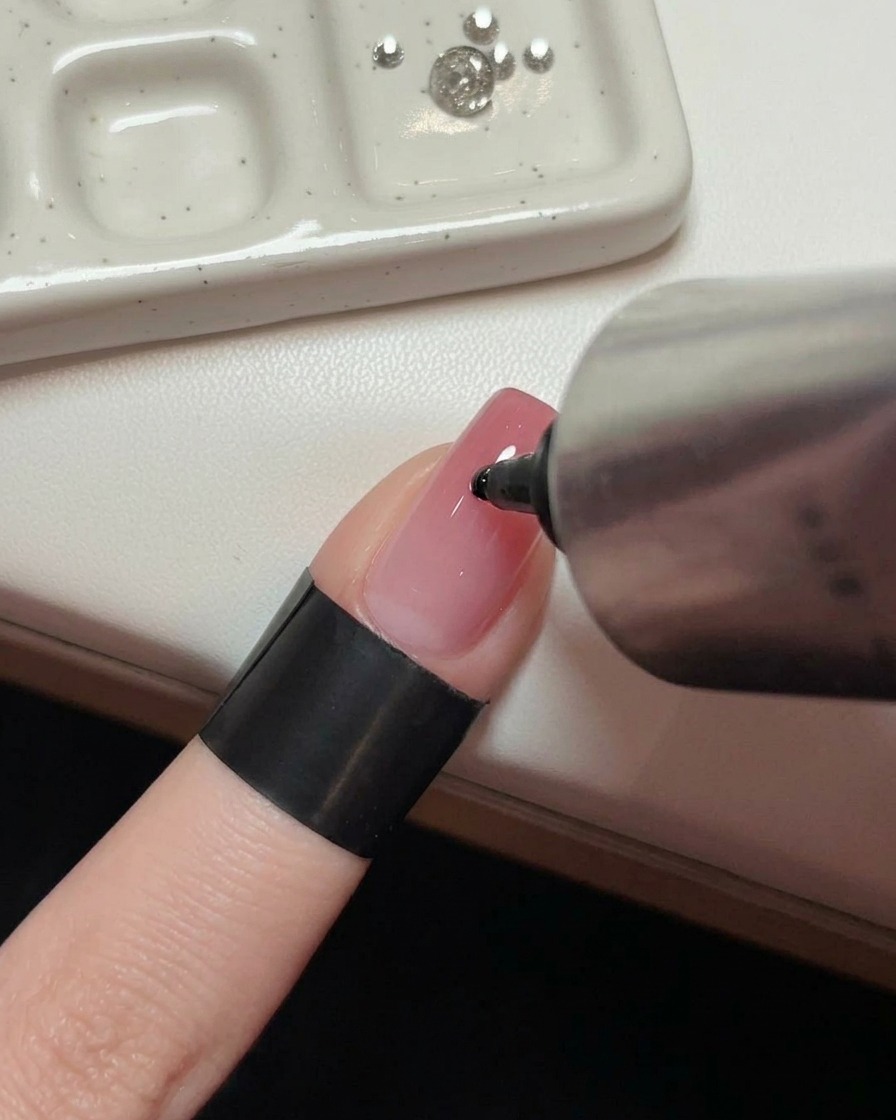
Squeeze a small drop of clear adhesive gel or diamond gel directly onto the center of the nail where your main ring setting will go. Using a thicker gel ensures the crystal stays securely in place without sliding before you have a chance to cure it.
Tip: Use a thick viscosity builder gel or dedicated rhinestone glue so the gem doesnt slip around. - 6Pick up the main crystal
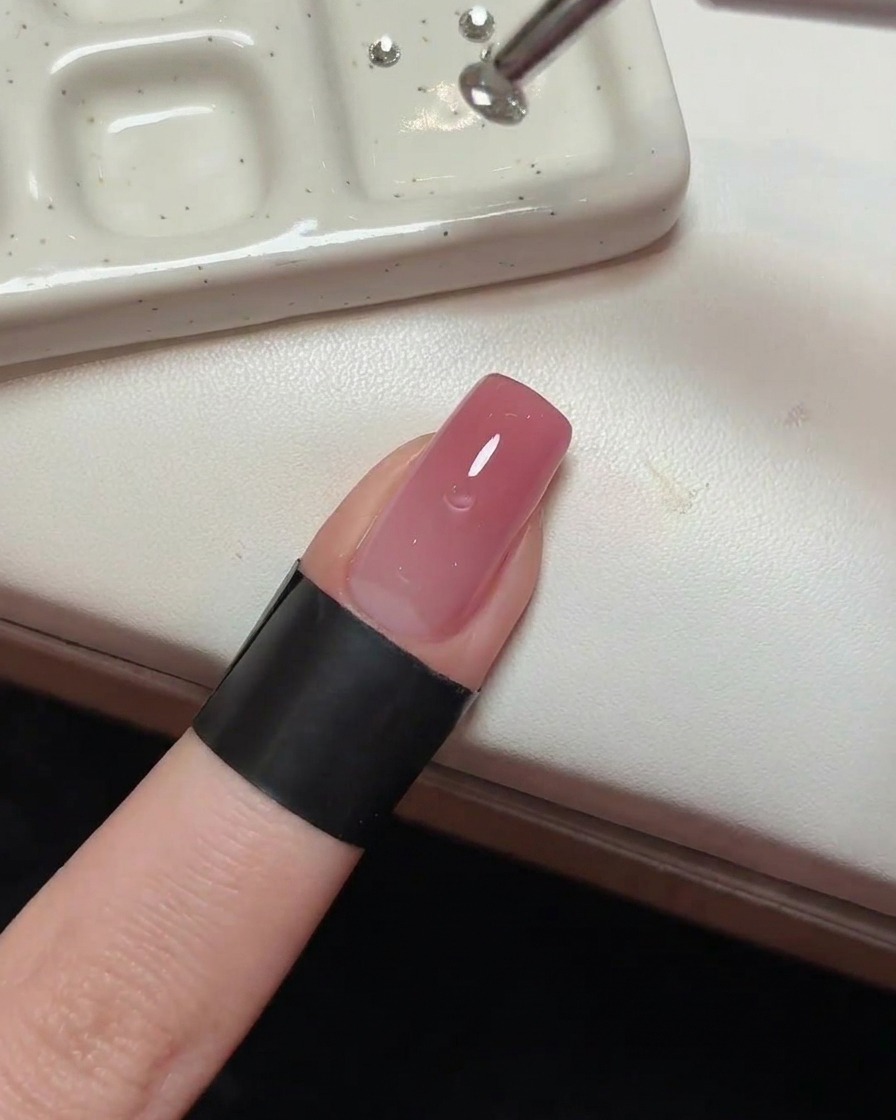
Using a wax-tipped detail pen or a precision pick-up tool, gently lift the 5mm main crystal from your workspace. The wax tip provides enough grip to hold the stone securely without needing to touch it with your fingers or glue-covered tools.
Tip: Ensure your wax tip is clean; if it gets dusty, wipe it lightly on a lint-free cloth to restore its stickiness. - 7Place the main crystal
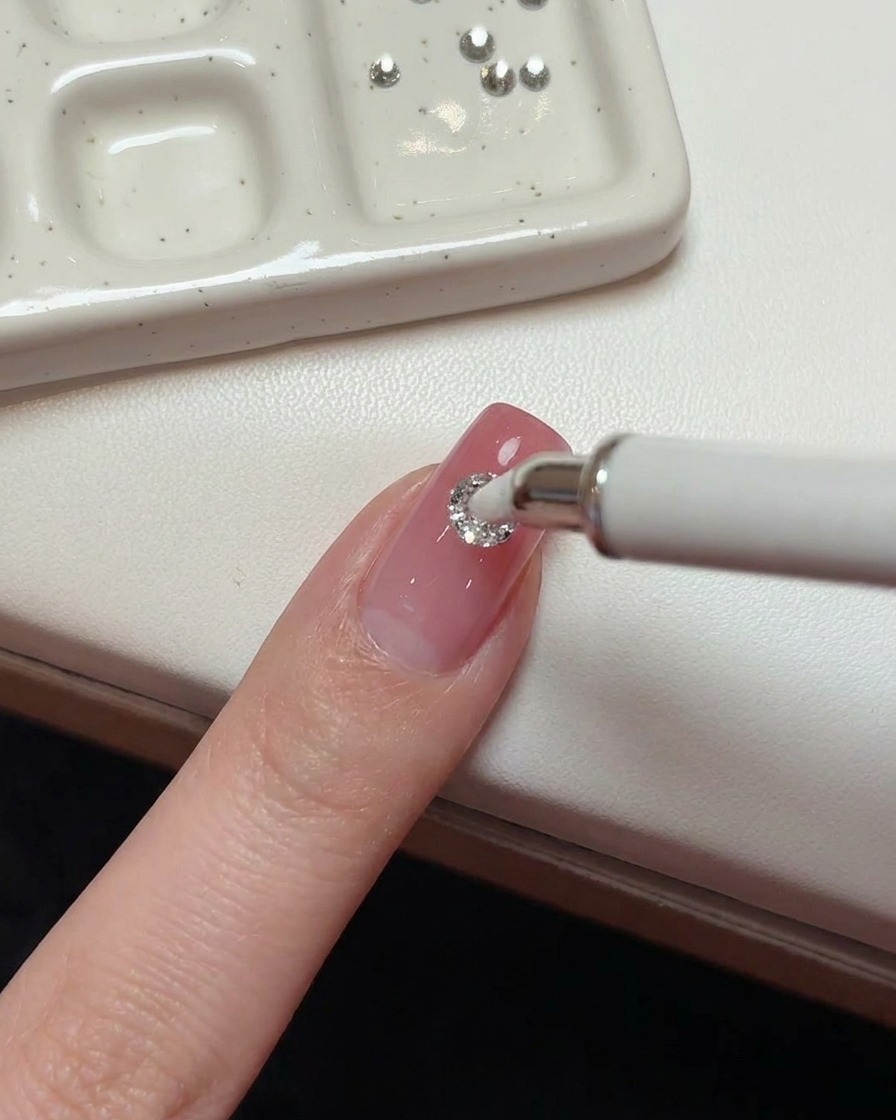
Using a precision wax-tipped pick-up tool or detail pen, carefully place a 5mm main crystal directly onto the center of the nail where the diamond gel bead was applied. Gently press it in to secure its position as the centerpiece of the ring setting.
Tip: A wax-tipped tool gives you the precision needed to position the crystal perfectly upright and centered without smudging the gel. - 8Flash cure the main crystal
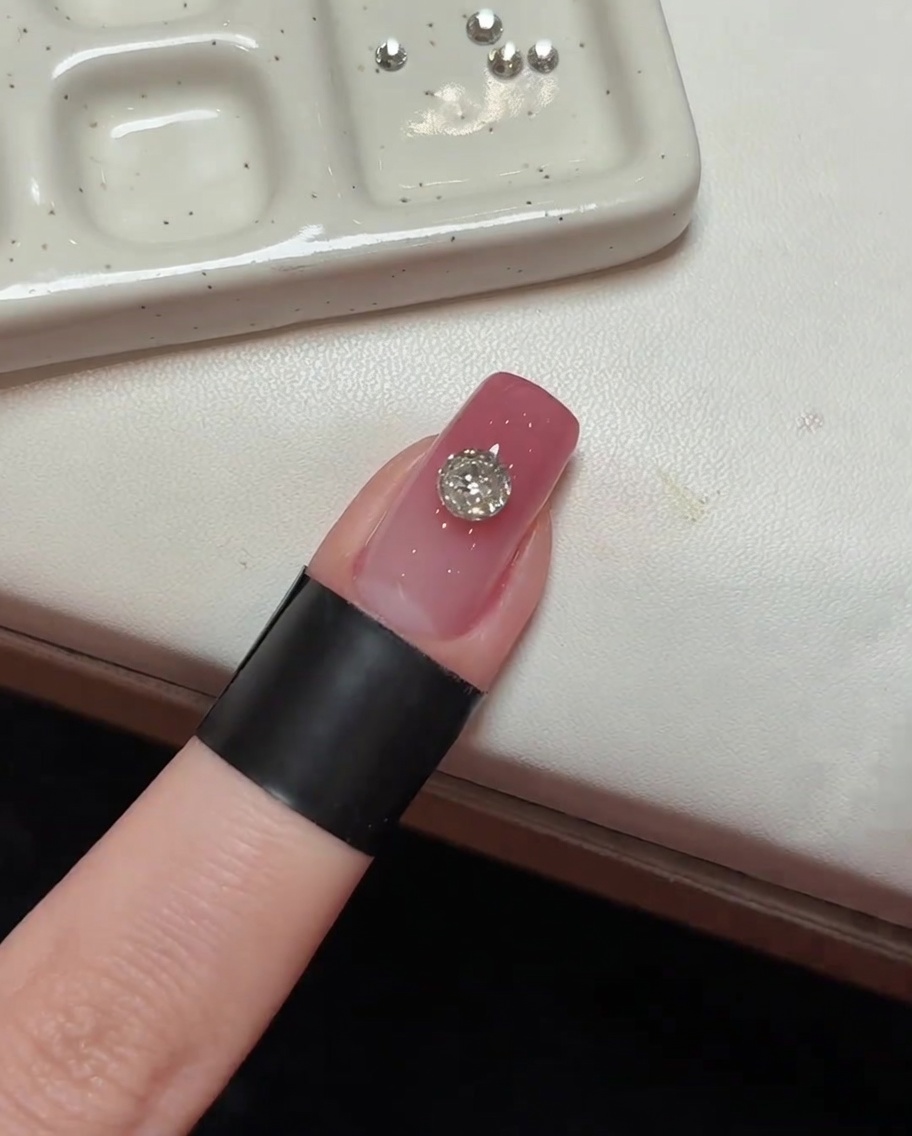
Once the 5mm main crystal is perfectly positioned on your ring setting, perform a flash cure under your UV lamp. This short curing cycle fixes the crystal firmly in place so it wont shift while you add the surrounding accent stones.
Tip: A quick 5-10 second flash cure is sufficient at this stage, as you will perform a full cure at the very end. - 9Prepare for accent stones
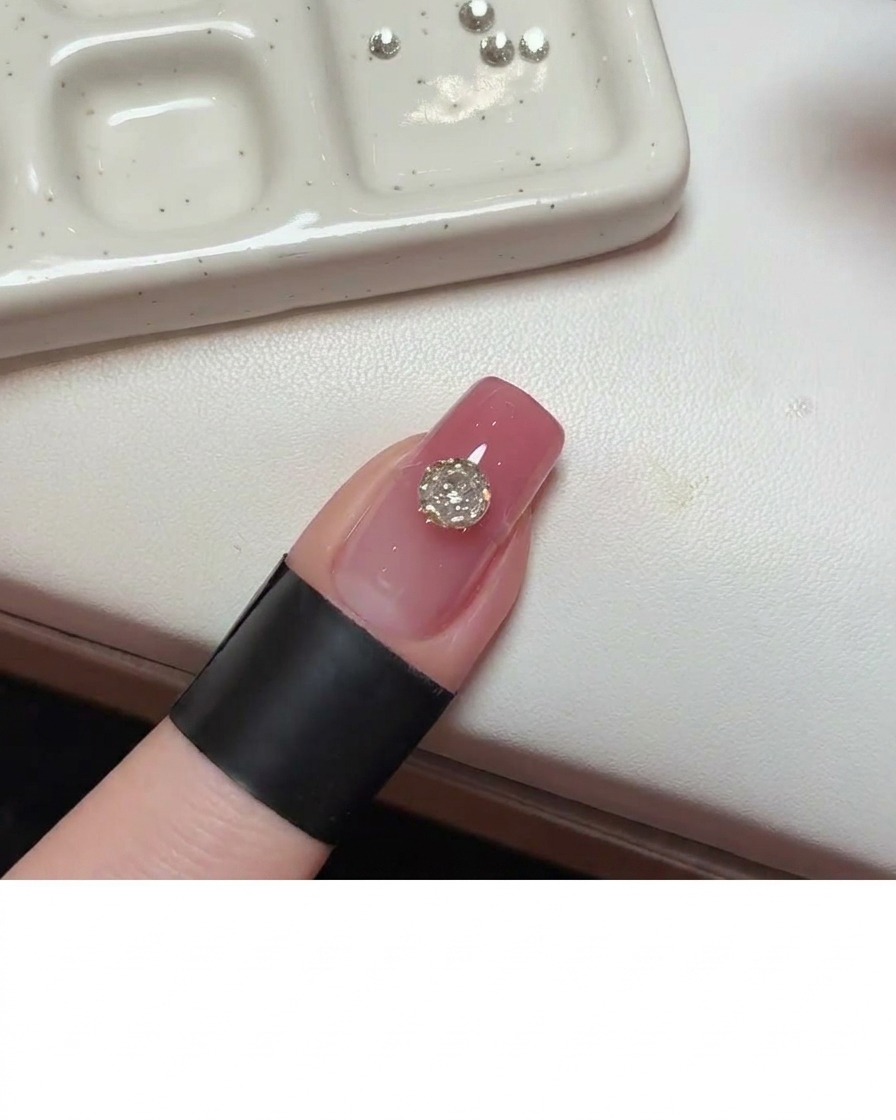
Using a fine detail brush, carefully apply a small amount of adhesive or diamond gel to the sides of the main crystal. This will serve as the base for the smaller flat-back crystals that will complete the diamond ring effect.
Tip: Use only a tiny amount of gel to avoid flooding the base of the main crystal and obscuring its sparkle. - 10Add accent crystals
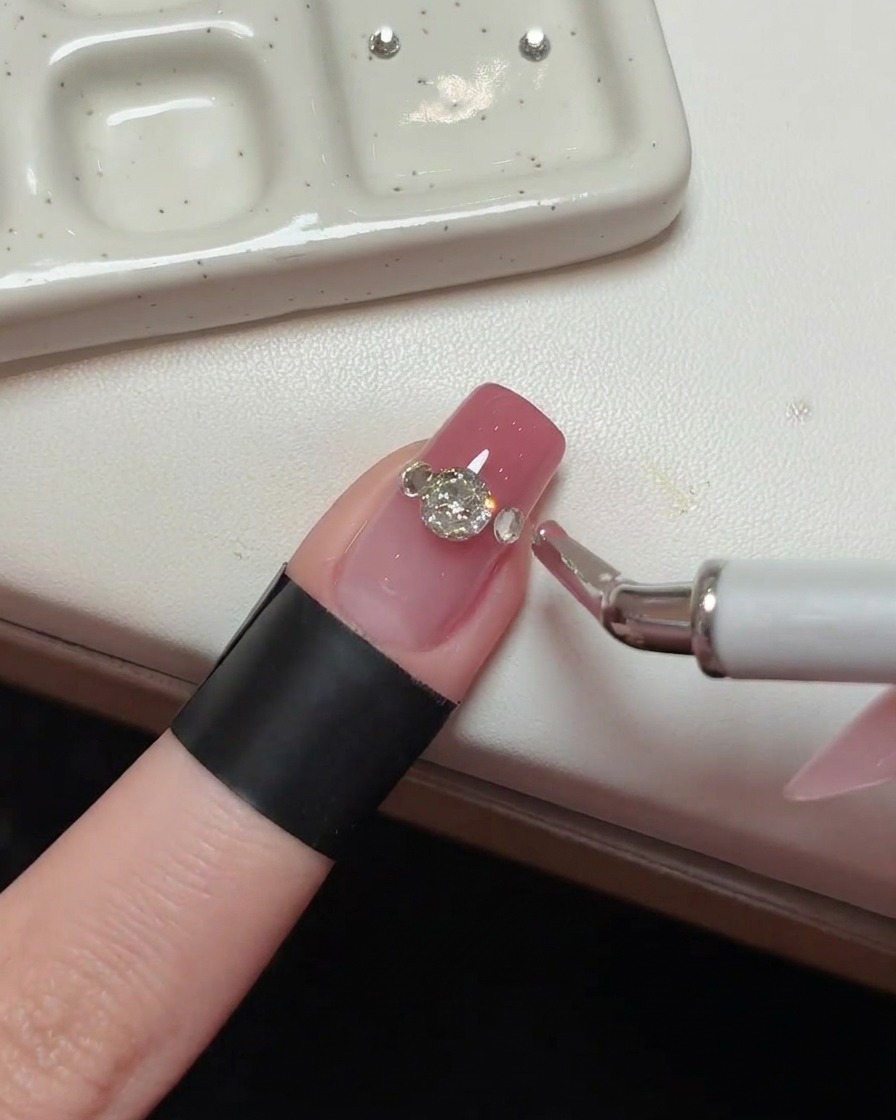
Using your pick-up tool, carefully place two different sizes of flat-back crystals on either side of the main stone. These accents create the delicate, realistic look of a ring setting surrounding the larger center diamond.
Tip: Place the larger accent stone closer to the center crystal, then the smaller one, to create a natural tapering effect. - 11Add steel bead prongs
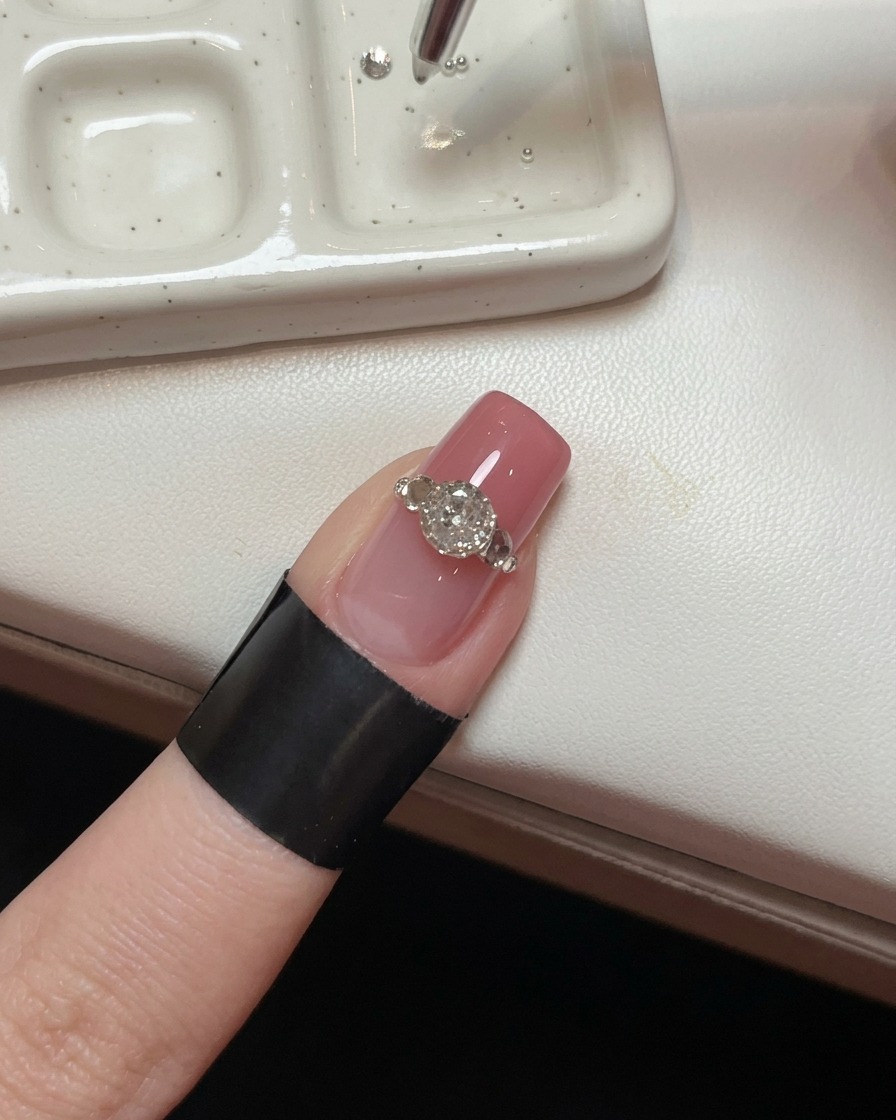
Using your precision tool, carefully place four 0.8mm steel beads directly around the base of the main crystal. These beads simulate the look of metallic prongs holding the diamond in place, adding a realistic and refined touch to your ring-inspired nail art.
Tip: Work in small sections to prevent the gel glue from spreading before you can place all the beads. - 12Fill gaps with accent beads
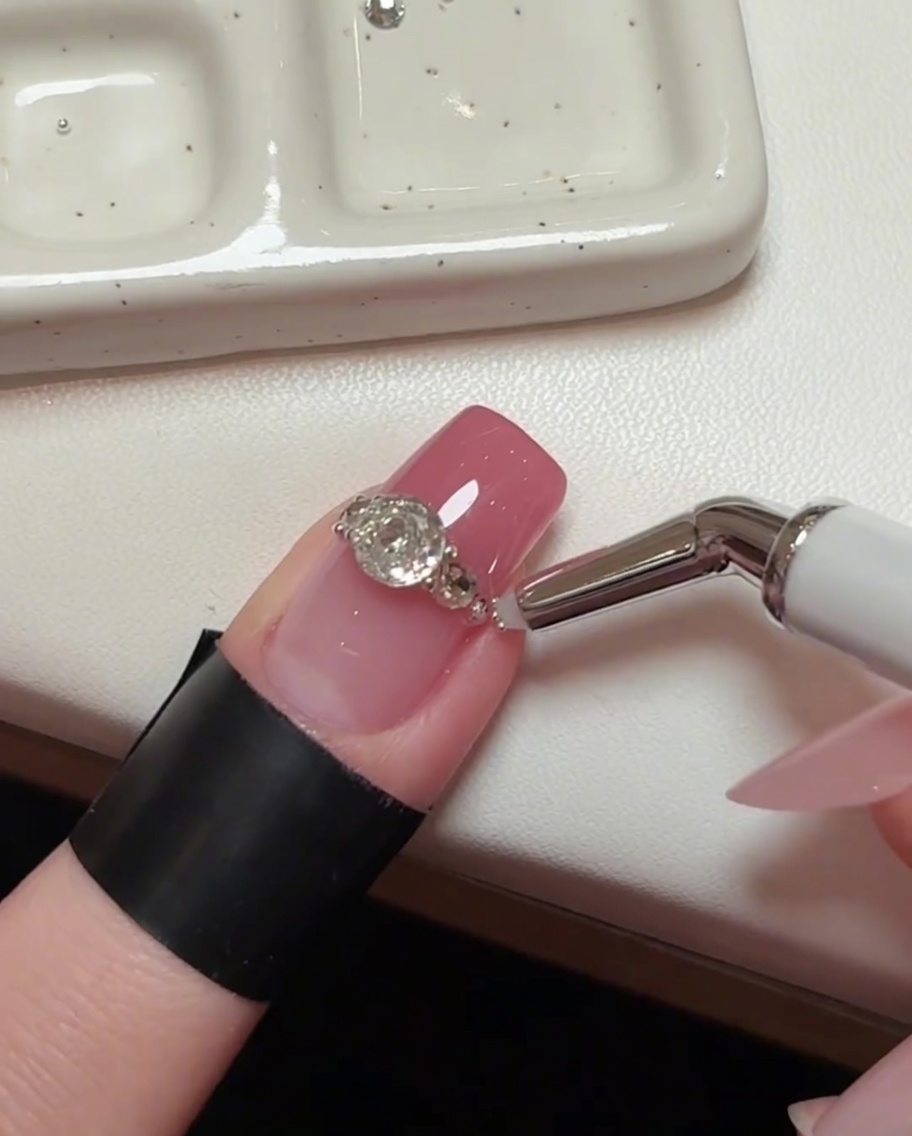
To complete the sophisticated ring setting, use smaller 0.4mm and 0.6mm steel beads to fill any remaining gaps around your crystals. This layering technique adds texture and fills the space, making the embellished design look dense and professional.
Tip: Use a slightly tacky gel base to hold the tiny beads in place before the final cure. - 13Seal and cure the design
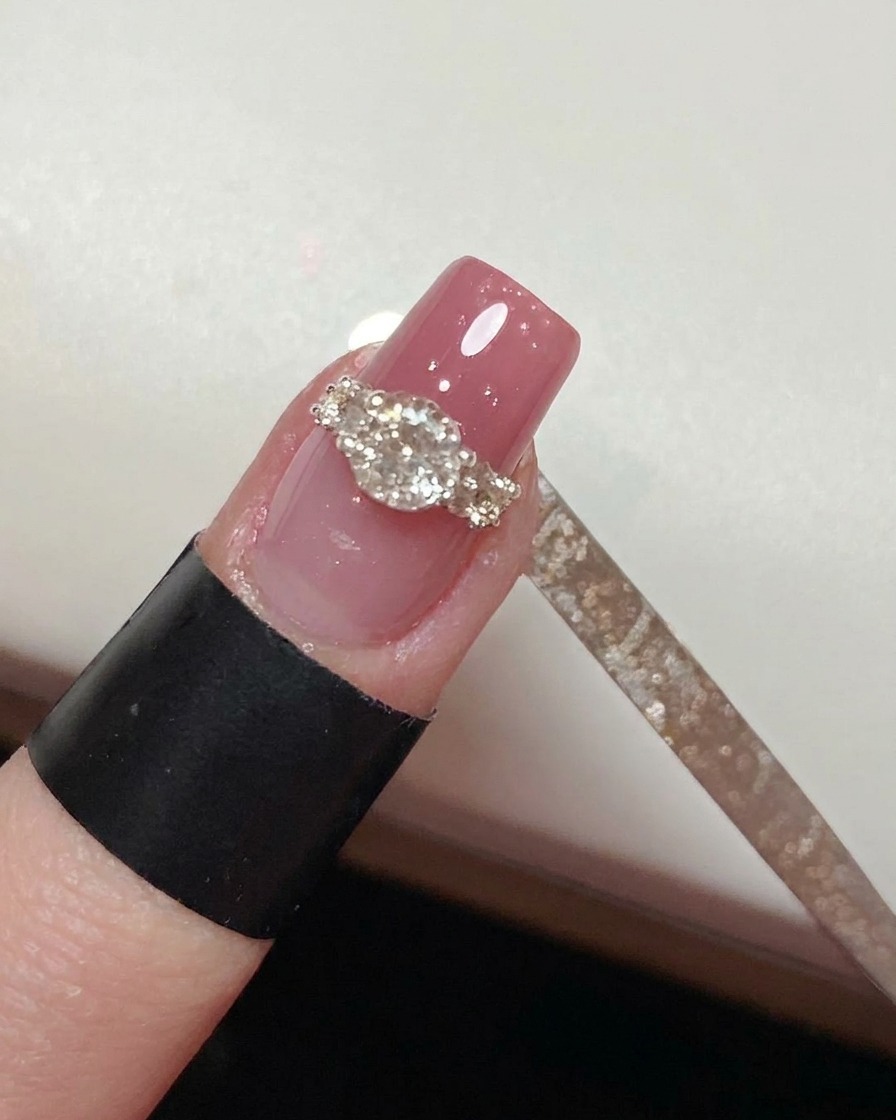
Using a fine liner brush, carefully apply top coat around the base and between the crystals and beads. Avoid covering the tops of the stones to maintain their shine. Once applied, cure the nail fully under your UV or LED lamp to permanently secure all embellishments.
Tip: Ensuring the edges of the crystals are sealed with top coat prevents them from catching on clothes or hair.