Crushed Diamond Structural Gel Manicure — Step-by-Step Tutorial
Discover how to master a high-shine crushed diamond gel look. Learn both thin-layer and structural application techniques for a flawless, reflective finish.
Achieving the perfect glitter manicure is all about technique. Whether you want a delicate shimmer or a slightly structured, high-coverage look, this crushed diamond gel tutorial breaks down the essential methods to elevate your nail game. Follow along to master the art of self-leveling glitter application for a salon-quality result at home.
Steps
- 1Introduce the crushed diamond gel
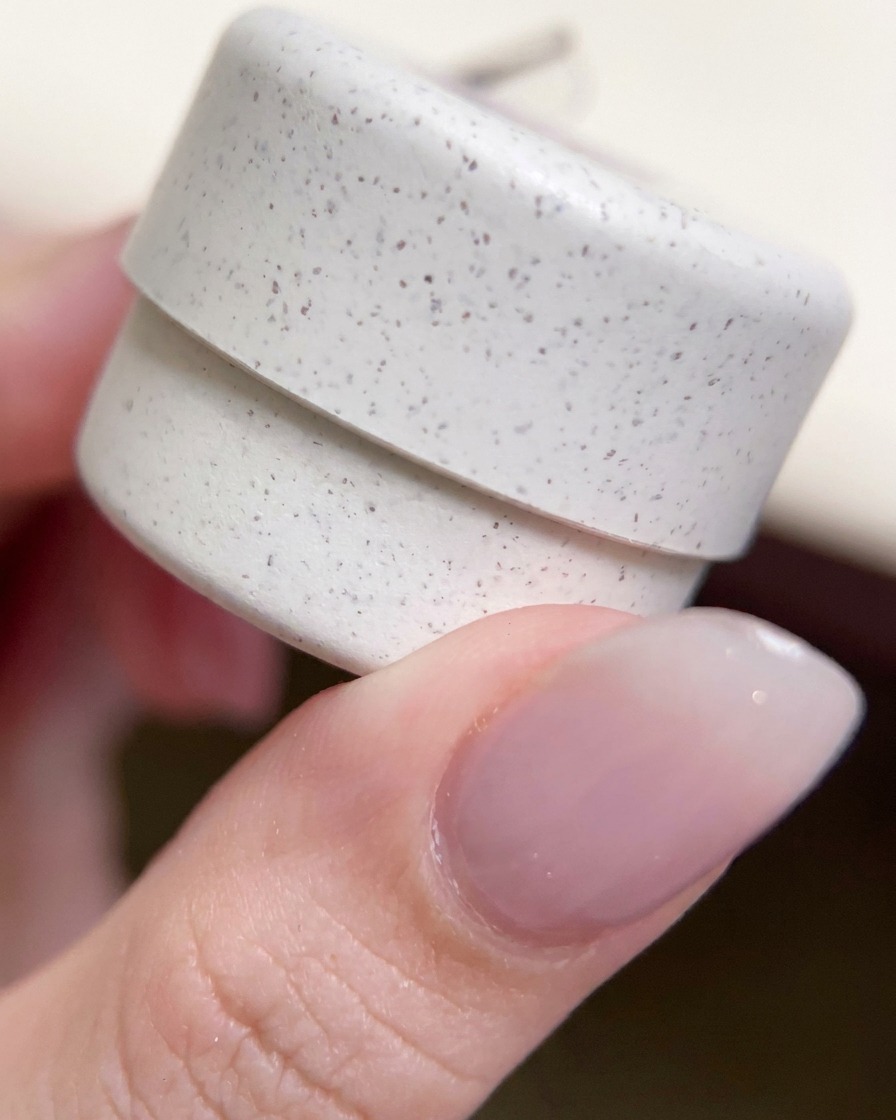
Take a look at the packaging for the crushed diamond gel, shade number 61. It is important to inspect the product jar and ensure the seal is intact before beginning your application.
Tip: Keep your workspace clean to ensure a professional-looking tutorial. - 2Load the brush
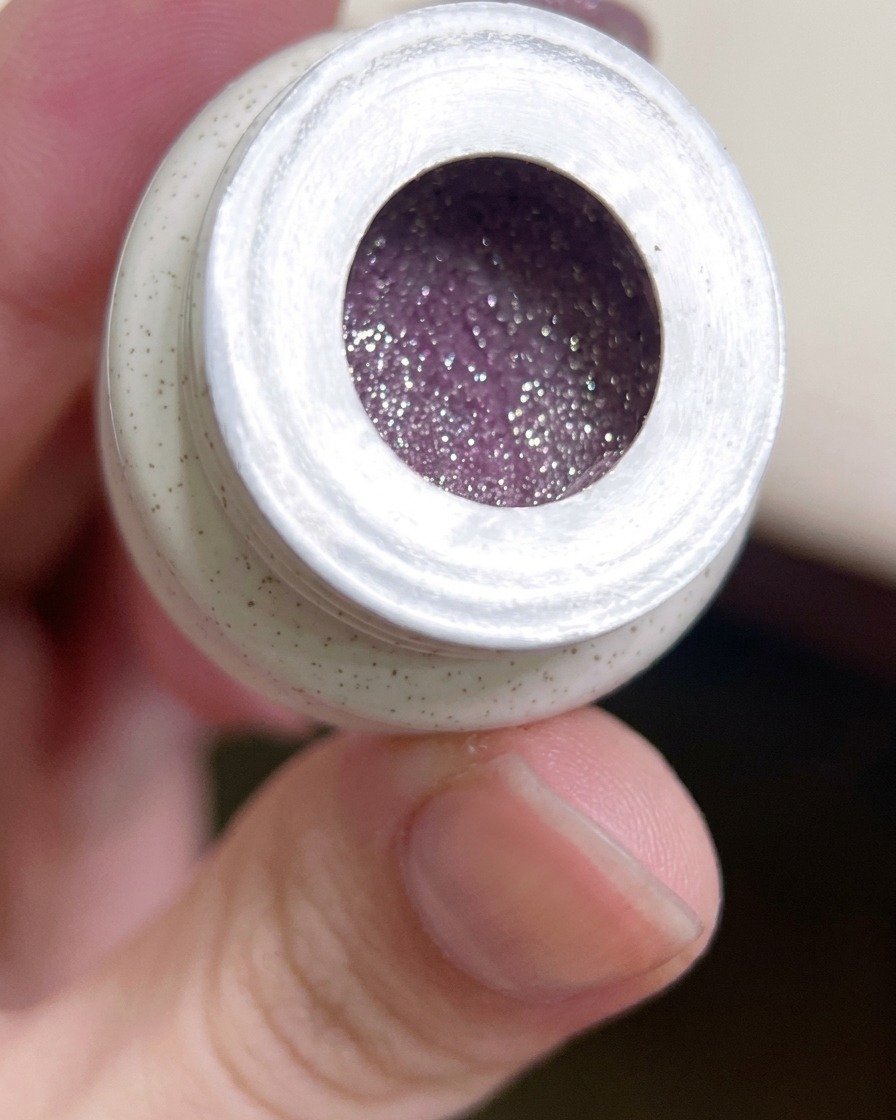
Open the jar to reveal the crushed diamond gel. Use a clean, flat gel brush to pick up a small, controlled amount of the product from the jar, preparing it for application to the nail.
Tip: Start with a small amount of product to maintain better control during the initial application. - 3Apply the first thin layer
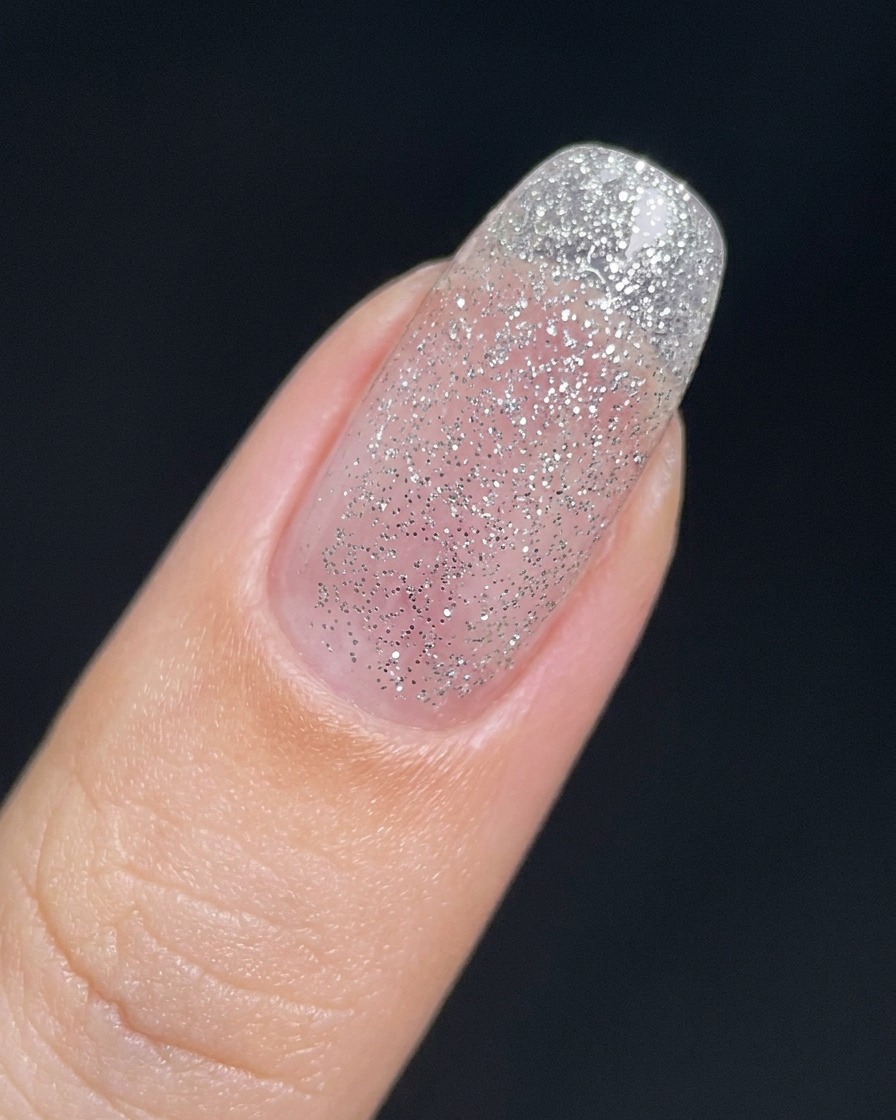
Apply a thin, even layer of the crushed diamond gel across the entire nail surface. At this stage, the coverage may look light and the surface might appear slightly textured.
Tip: Working in thin layers helps ensure a more even cure and prevents the product from pooling. - 4Apply top coat
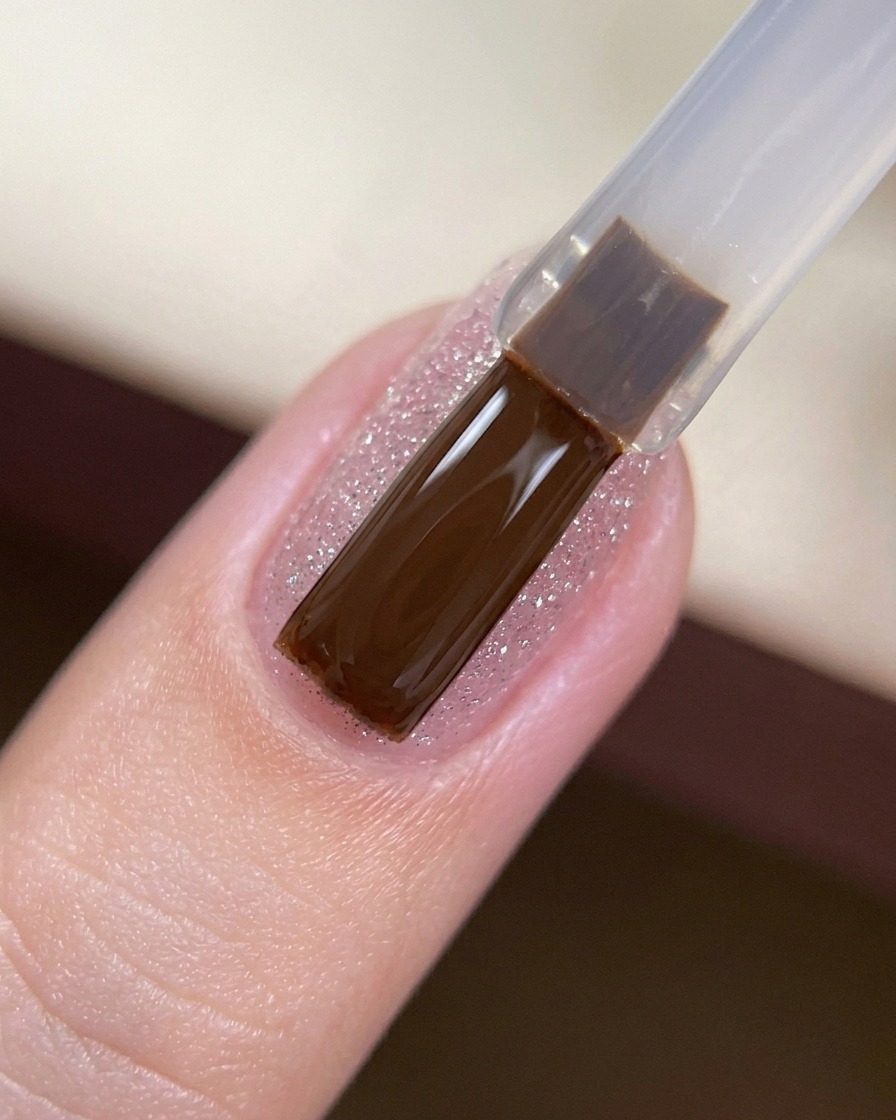
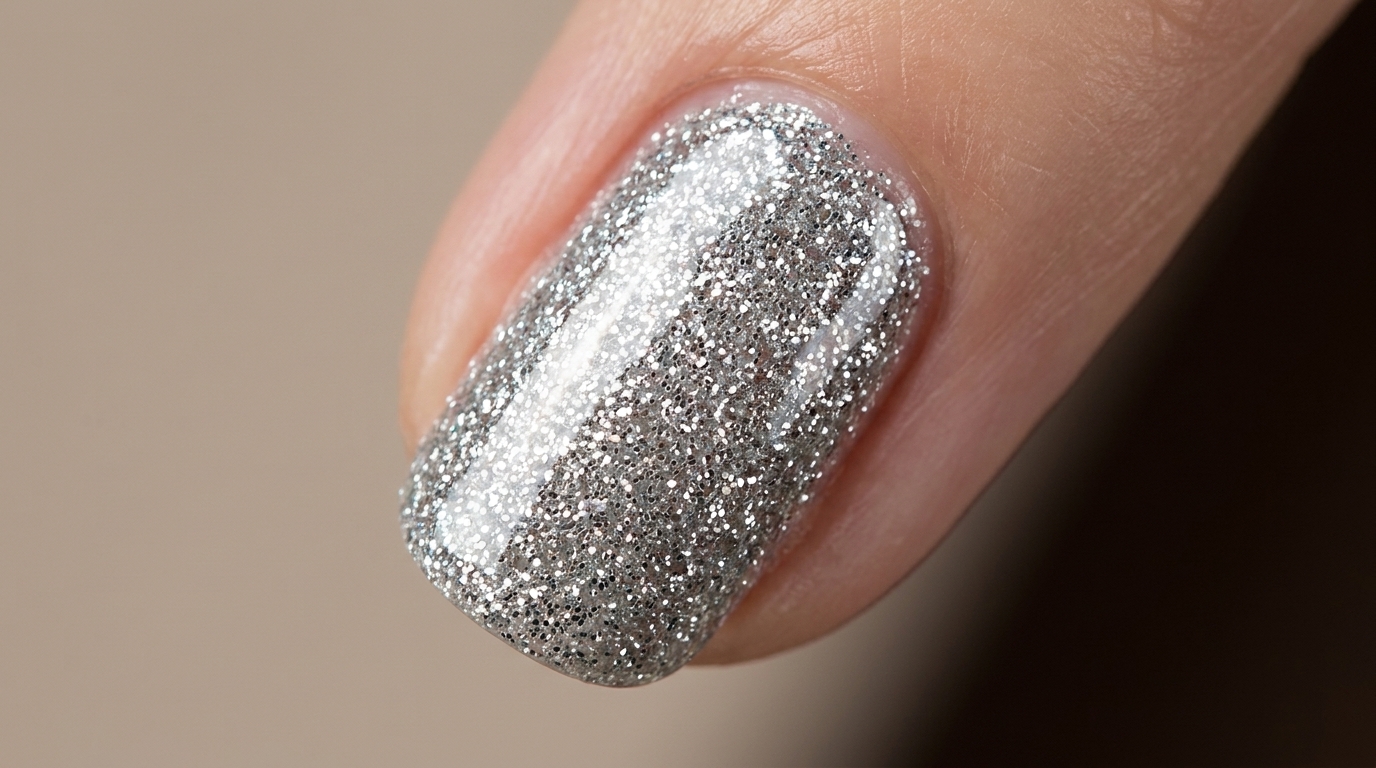
Apply a layer of clear top coat over the cured glitter layer. This step is essential for smoothing out the textured surface of the glitter and adding a high-shine finish to the nail.
Tip: Capping the free edge with your top coat helps improve the longevity of your manicure. - 5Prepare for the structural technique
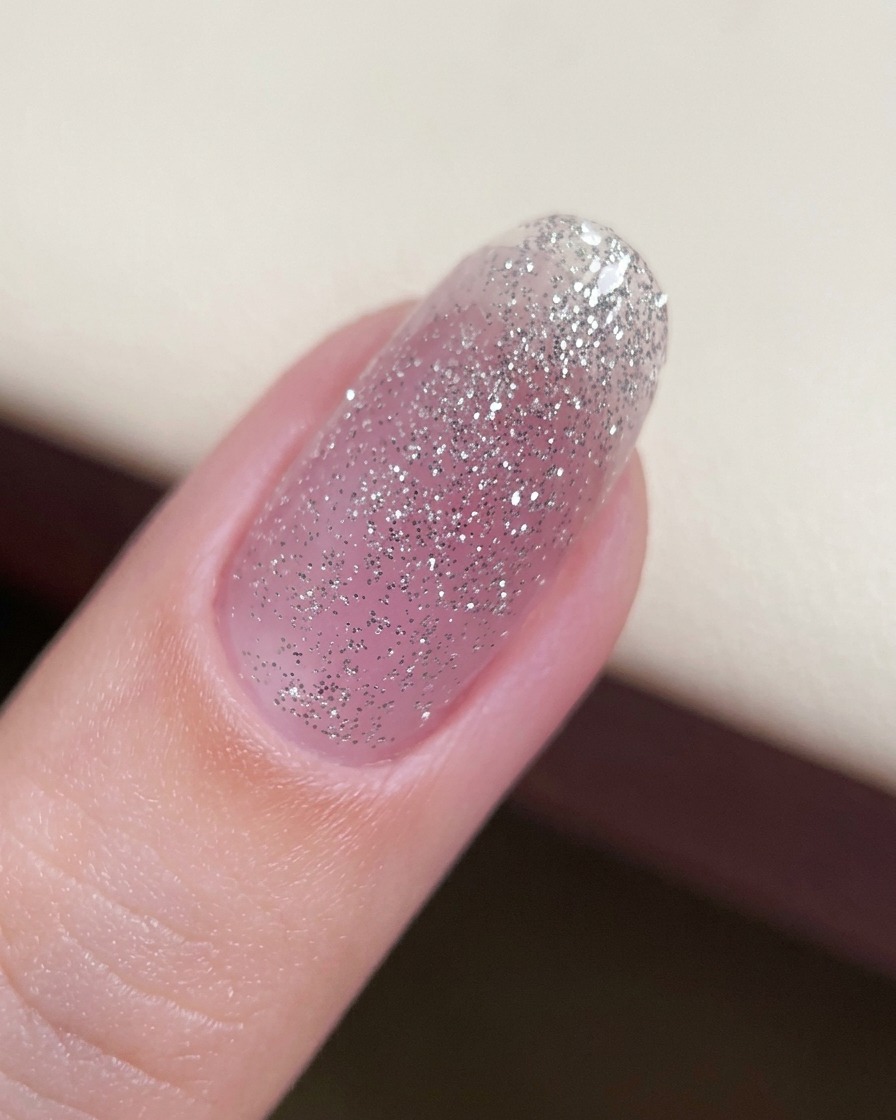
For the alternative structural application method, start by applying a thin base layer of the crushed diamond gel to the nail. This thin layer provides an anchor for the larger bead of gel that follows.
Tip: Ensuring this base layer is thin will keep the overall nail structure from becoming too bulky. - 6Apply a structural bead
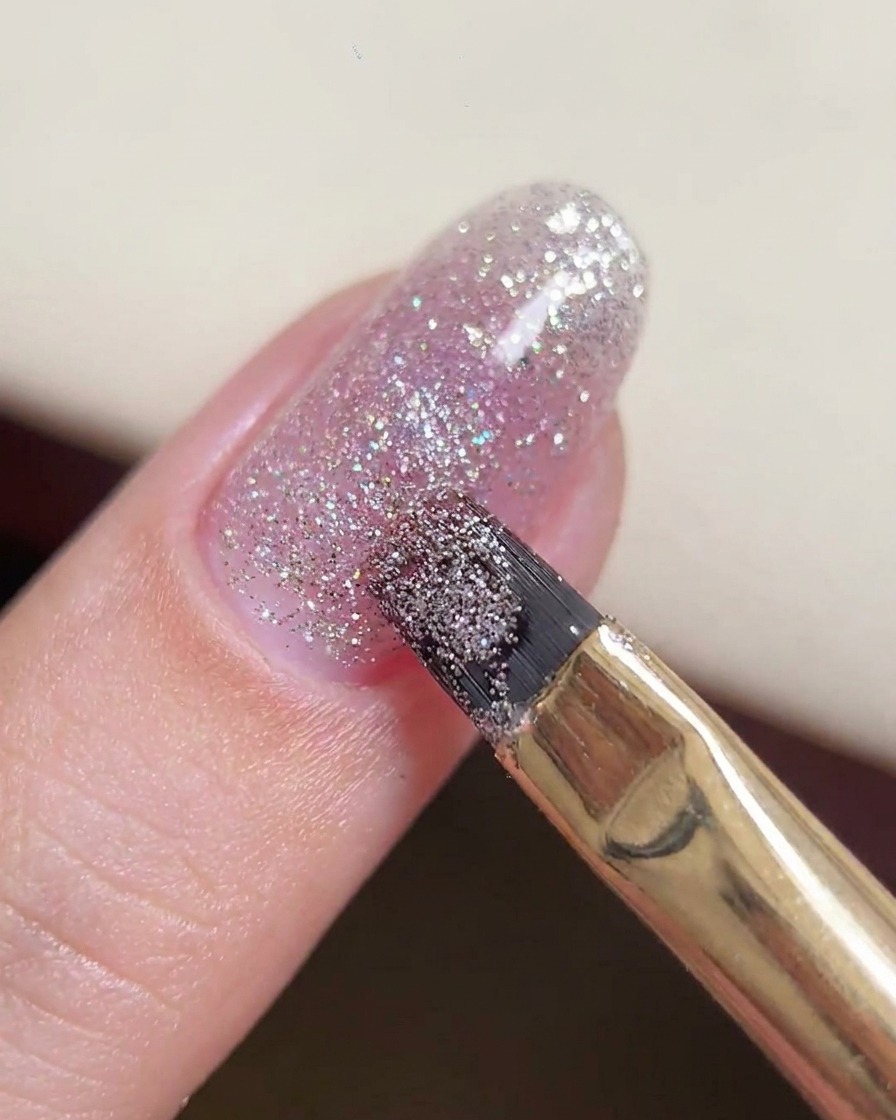
Place a larger bead of the crushed diamond gel into the center of the nail plate. Use your gel brush to gently glide the product back and forth, allowing the gels self-leveling properties to create an even, structured surface.
Tip: Dont press down too hard; let the weight of the brush guide the gel across the nail. - 7Distribute structural gel
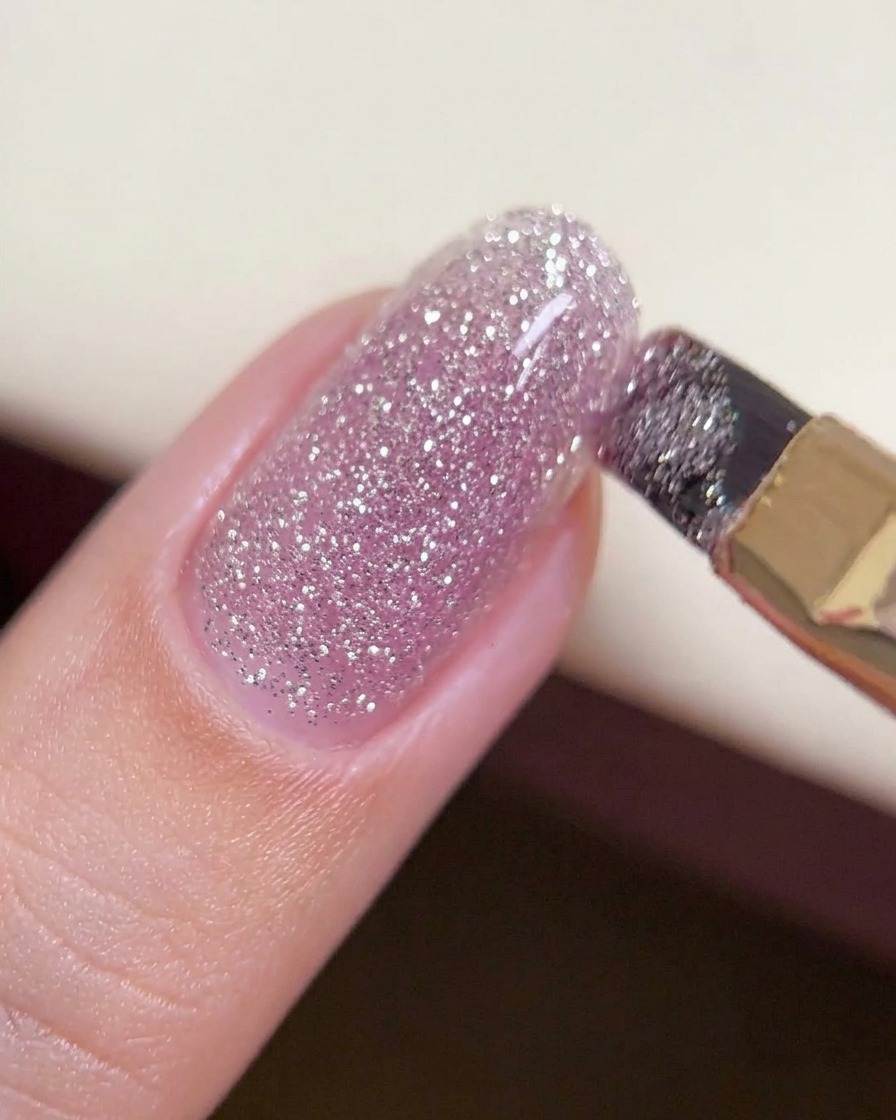
With the bead placed, use your gel brush in a light back-and-forth gliding motion to distribute the product toward the edges. Rely on the gels natural self-leveling properties to create a smooth, structured surface without needing to press hard.
Tip: Keep the brush motion light and smooth to allow the gel to self-level effectively. - 8Apply fine glitter gel
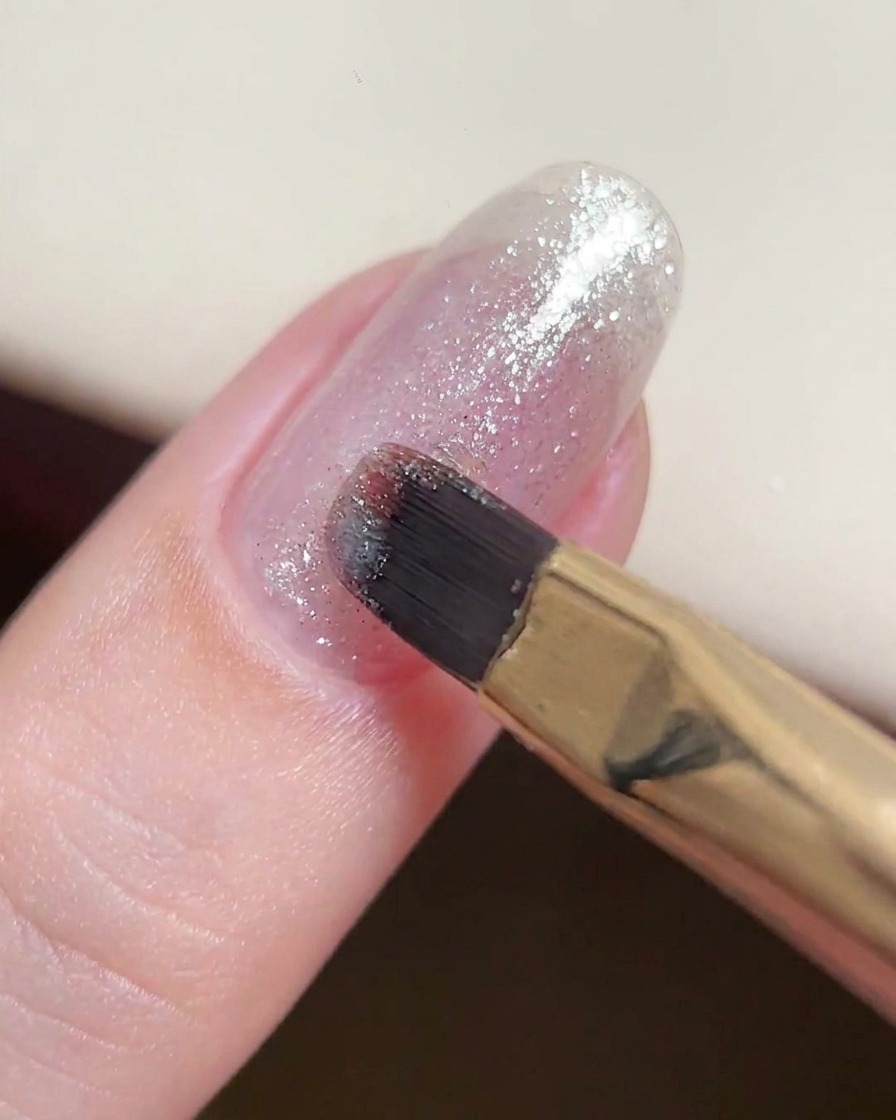
Apply a thin layer of fine glitter gel to the nail surface. This method helps to increase the overall pigmentation of the glitter, creating a more intense and uniform coverage.
Tip: Thin layers of glitter gel are easier to control and prevent the product from looking bulky. - 9Apply top coat
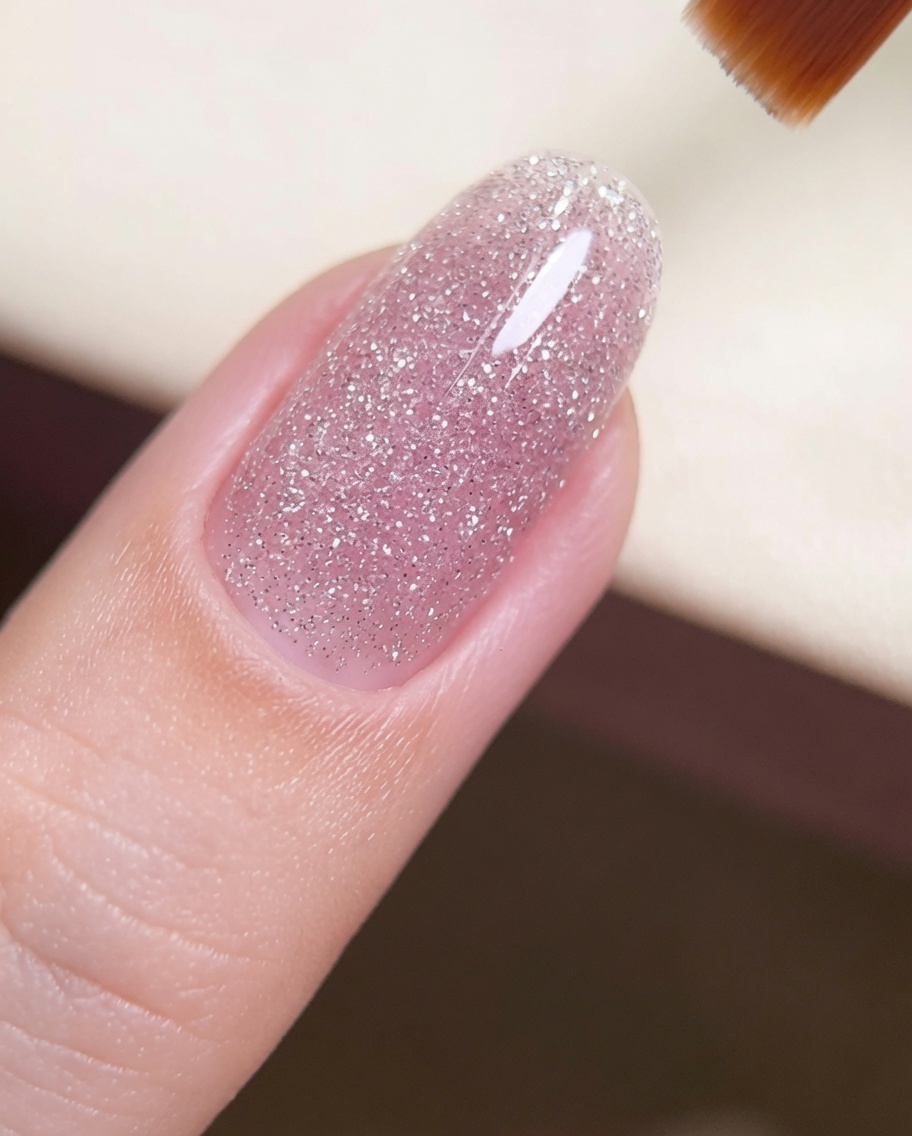
Apply a layer of clear top coat over the entire nail to seal in the crushed diamond or glitter effect. This step levels the surface and adds a high-gloss finish to complete the manicure.
Tip: Ensure you cap the free edge with the top coat to maximize the longevity of your nail design.